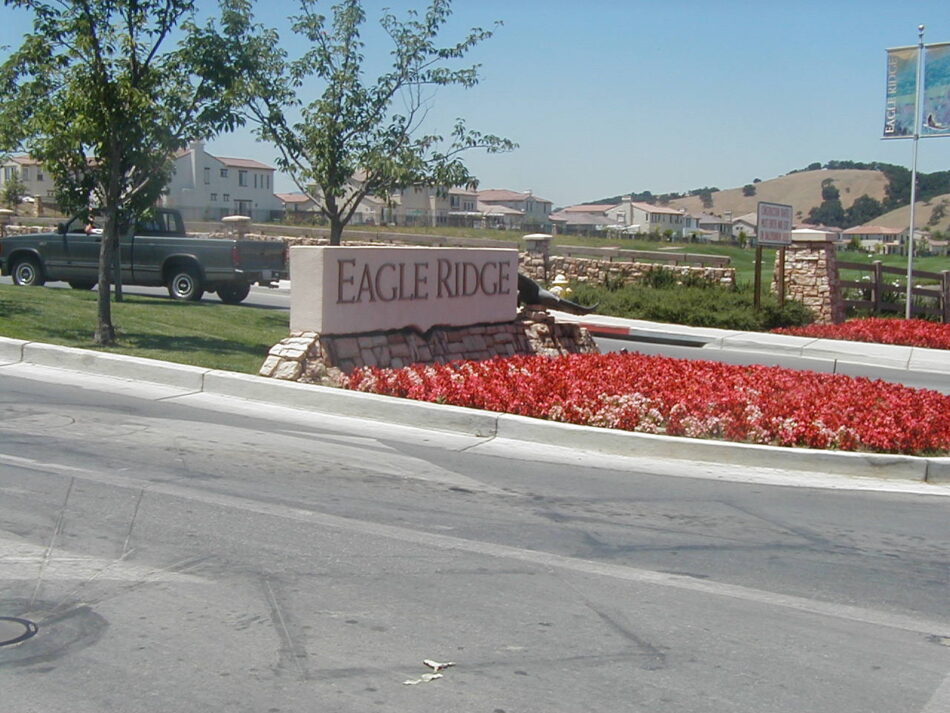
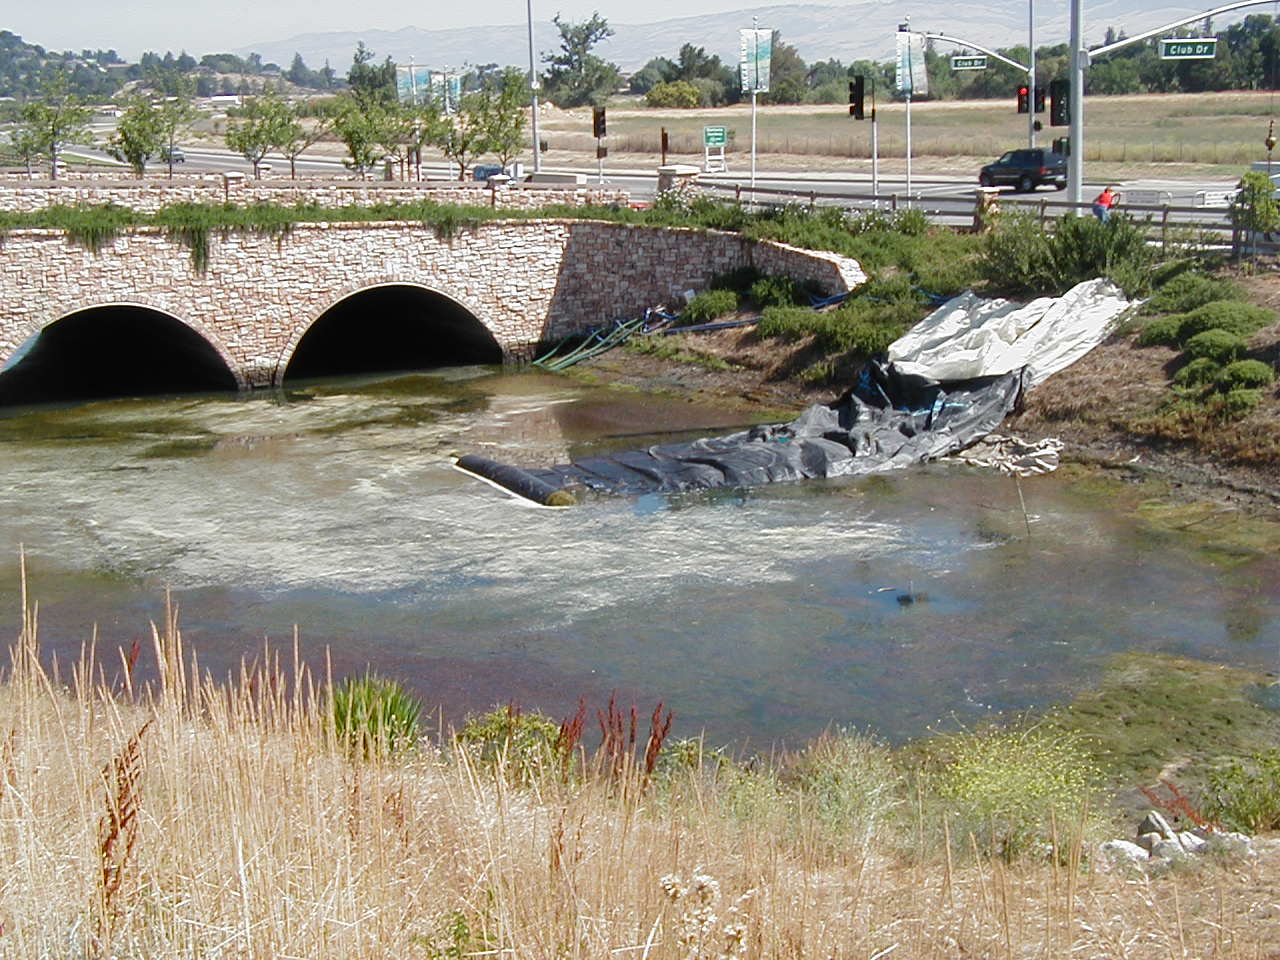
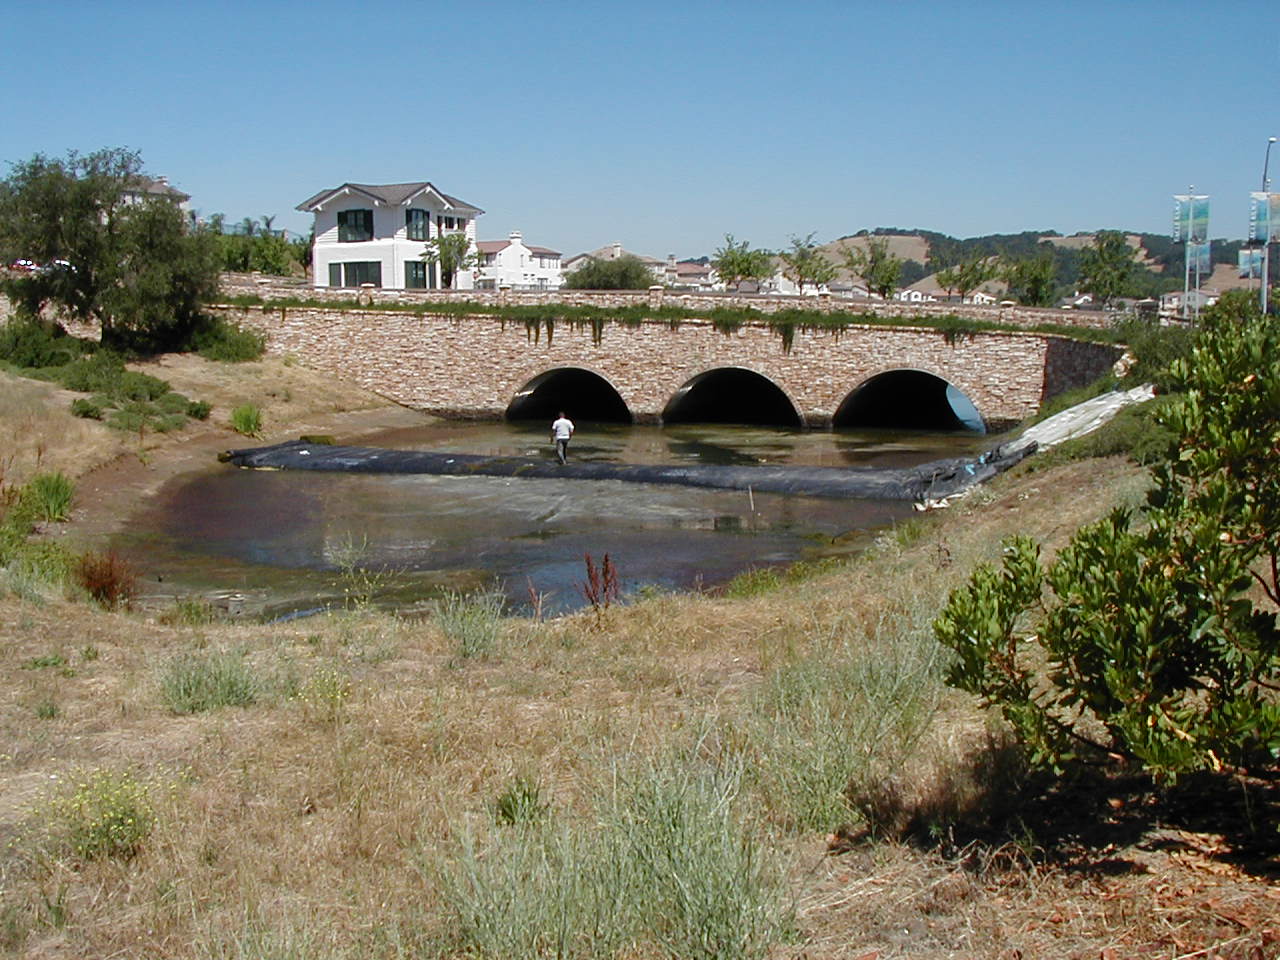
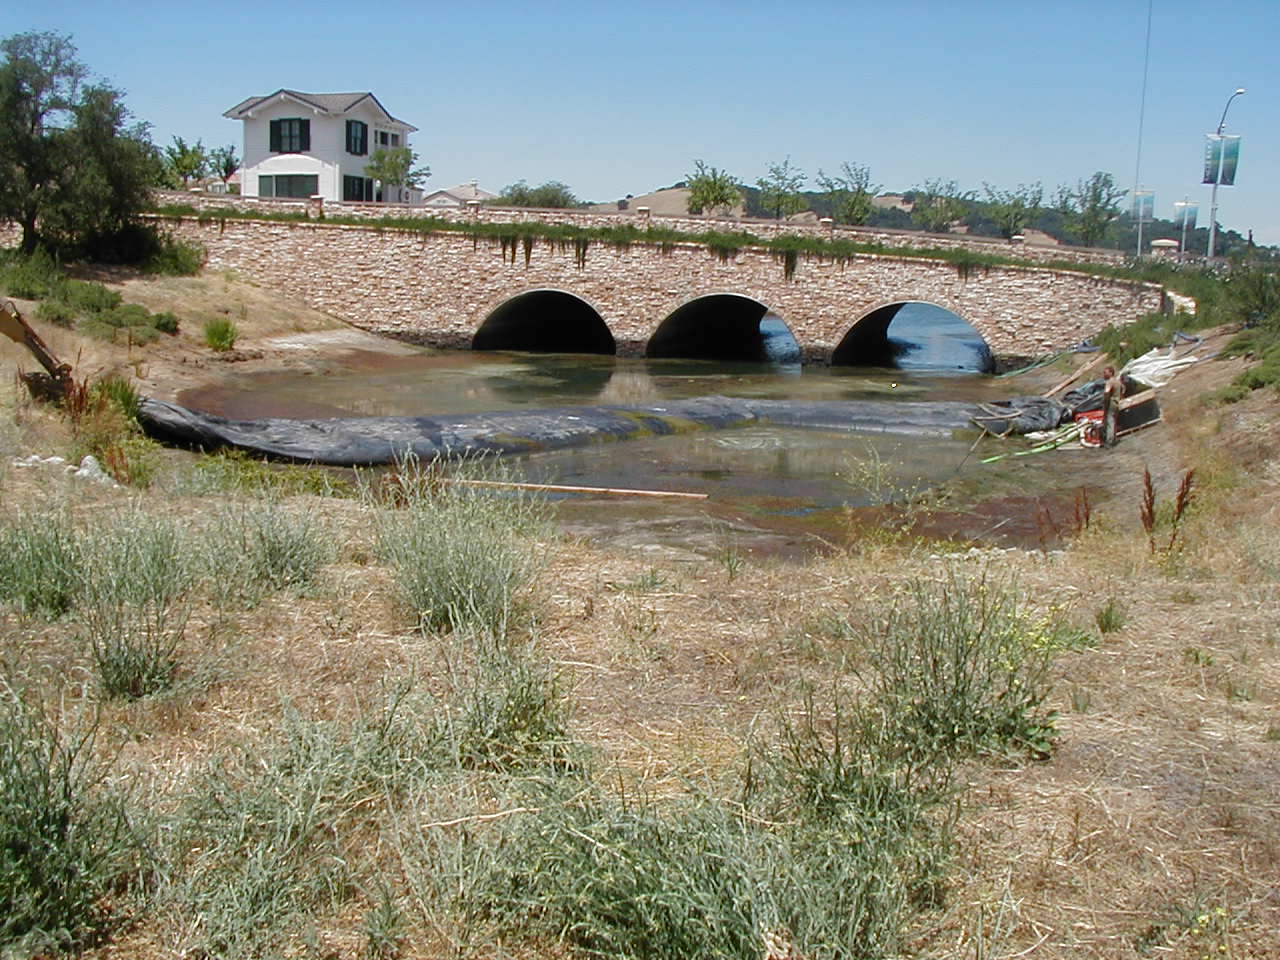
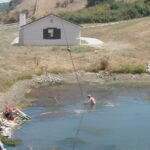
1.) Eagle Ridge golf course in Gilroy California had a drainage problem in one of their ponds. The outlet that drained runoff water from the course was plugged up and needed to be replaced. Since no one knew exactly where the drain was, an AquaDam was needed to de-water the work area.
2.) An 8ft tall by 120ft long double open end (DOE) AquaDam was used to isolate and de-water the area around the drain. The contractor originally told Aqua Dam Inc. personnel that the water depth was 5ft at a maximum. It was 7ft at the deepest point, but since the 8ft tall AquaDam was the largest that was brought, it had to suffice. An 8ft tall AquaDam controls a maximum of 74-inches (6ft) of mud/water depth.
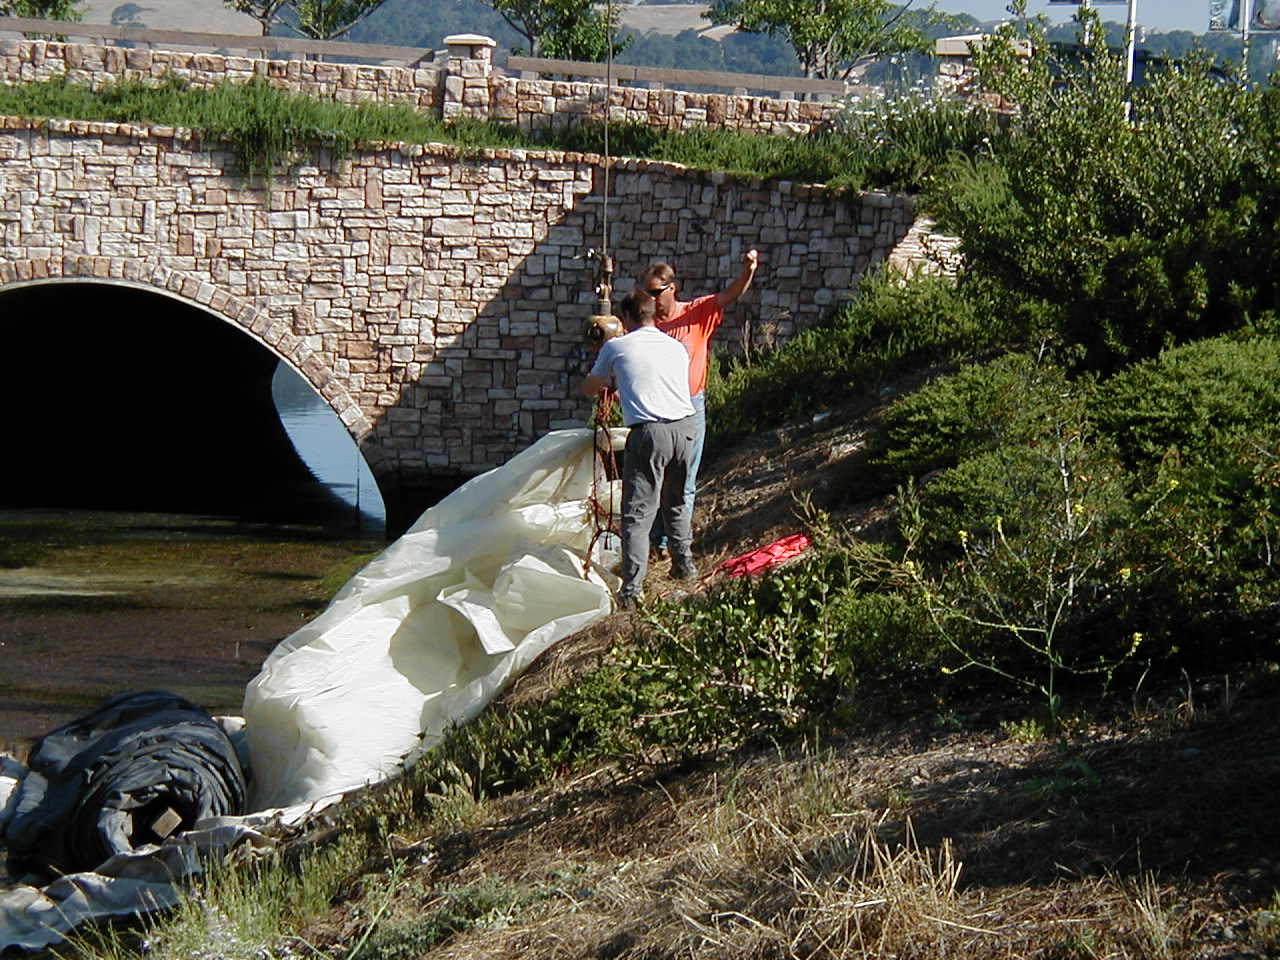
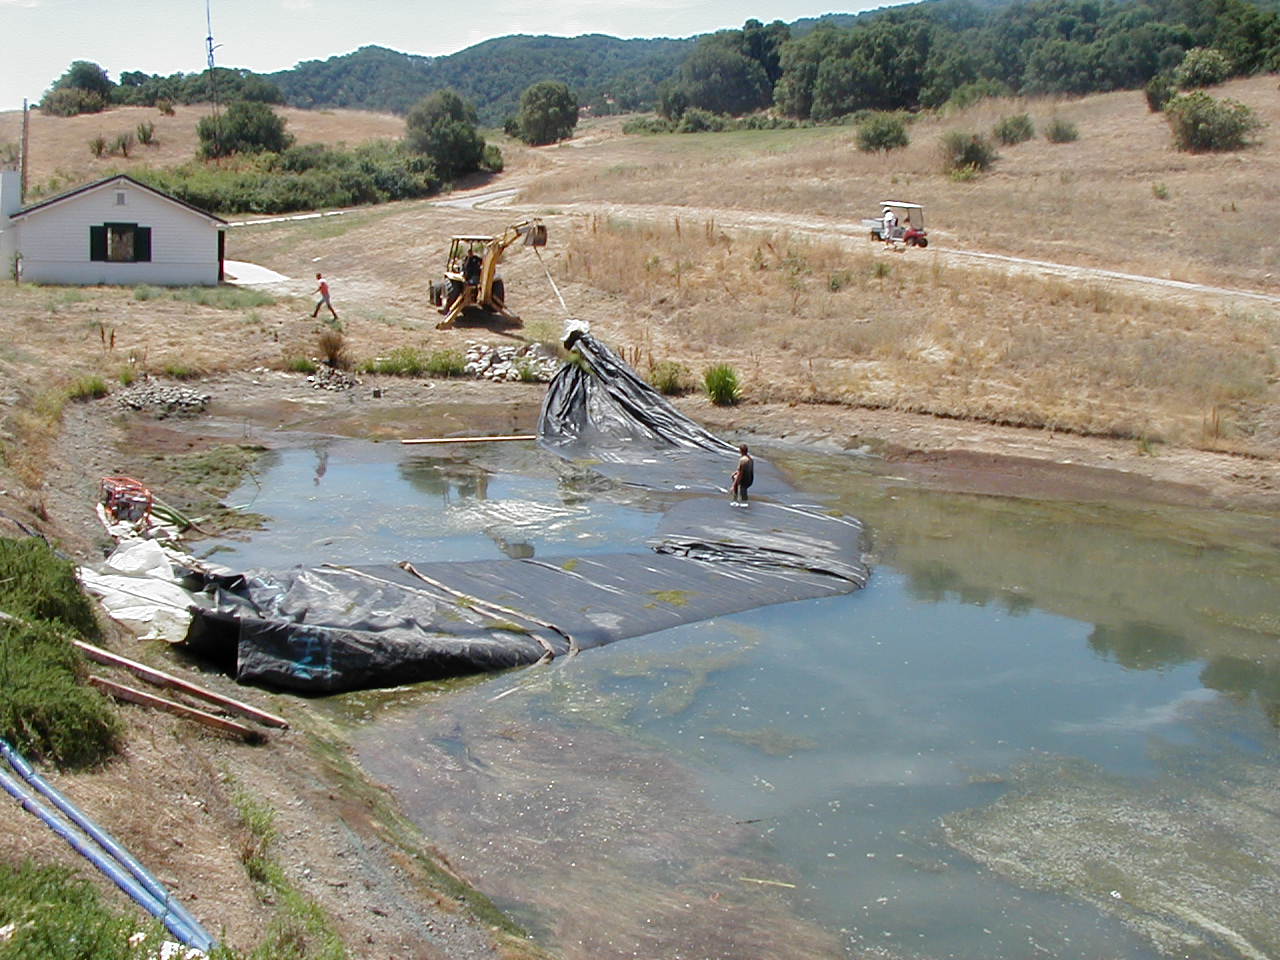
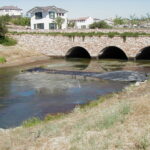
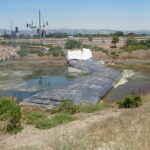
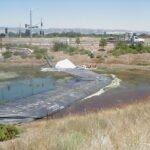
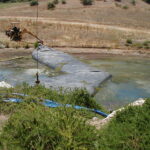
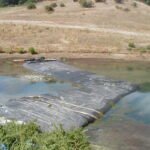
3.) A view of the area around the work site. The AquaDam installation started well up the bank to ensure it could reach its maximum height. The open end and fill-tubes of a DOE AquaDam must be elevated higher than the full height of dam along its given path. An AquaDam will only reach its full height at the lowest elevation along its given path.
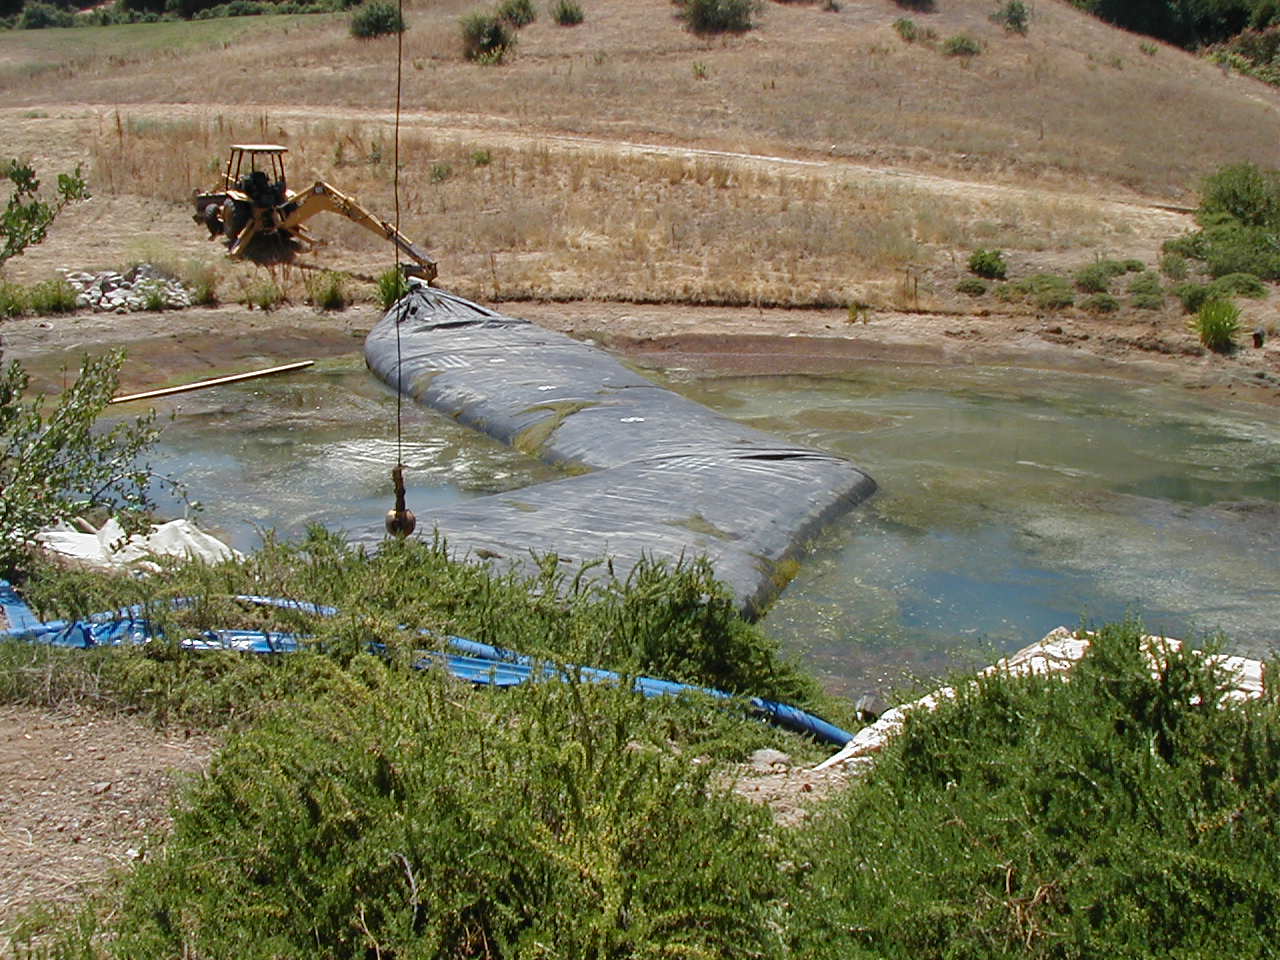
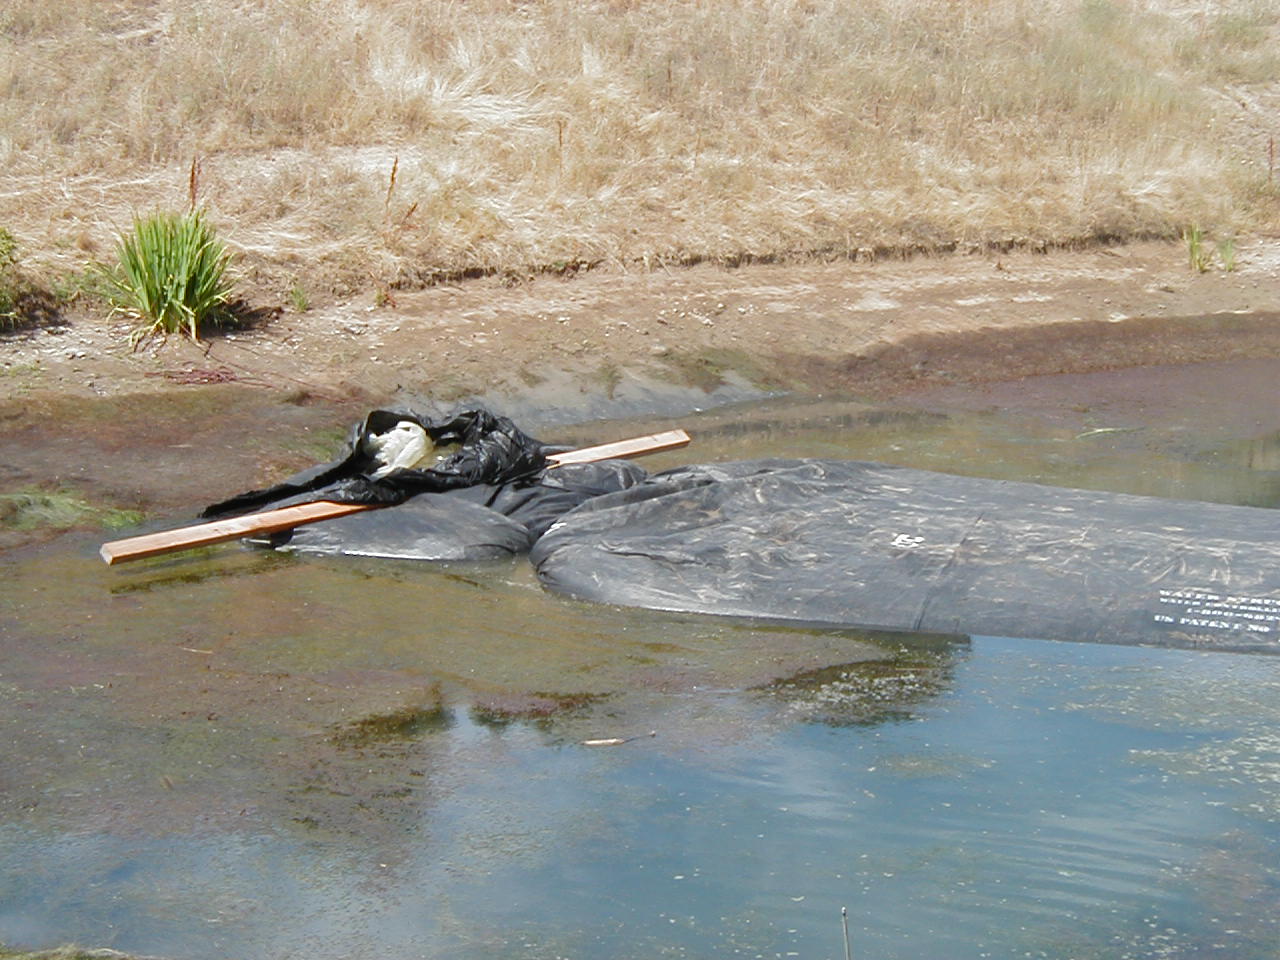
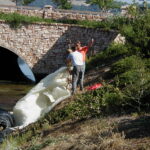
4.) The AquaDam is allowed to unroll of its own accord as it is filled with water. A rope is attached to one end of the wooden beam, and it is used to force the dam to turn when necessary.
5.) The AquaDam continues to fill and is allowed to unroll of its own accord. Water pumps are pumping water into the fill-tubes of the AquaDam. The increasing water pressure causes the rolled-up AquaDam to unroll.
6.) A worker ties a rope around the AquaDam at the roll end to help with positioning the unit as it is filled.

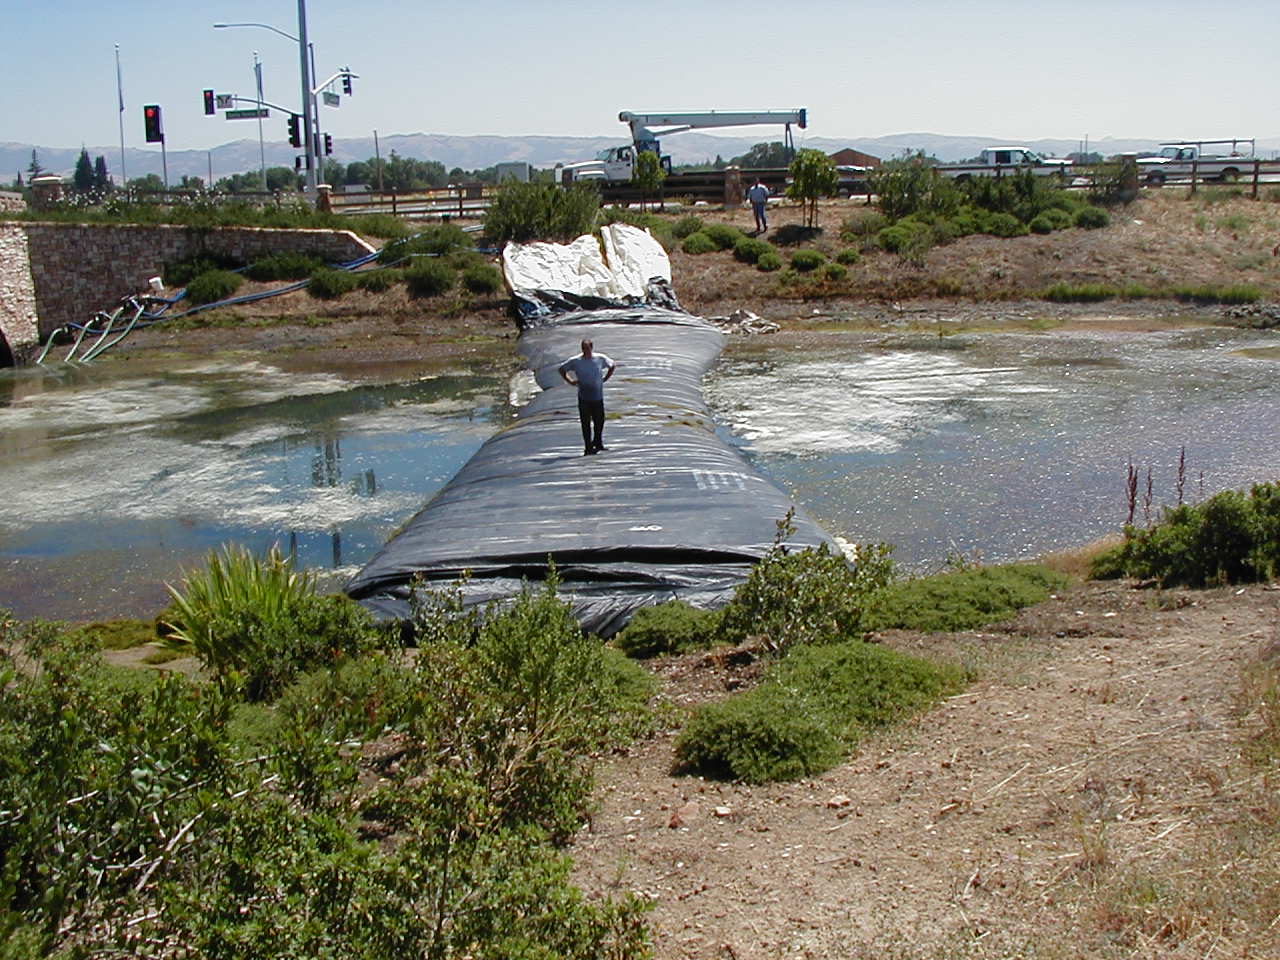
7.) The 8ft tall 120ft long DOE AquaDam continues to fill and unroll across the small pond. Notice the bump on the right side? Pumps will discharge air along with water sometimes into an AquaDam. The air can easily be walked out, starting at the closed end, and walking the air bubble out towards the fill-tubes.
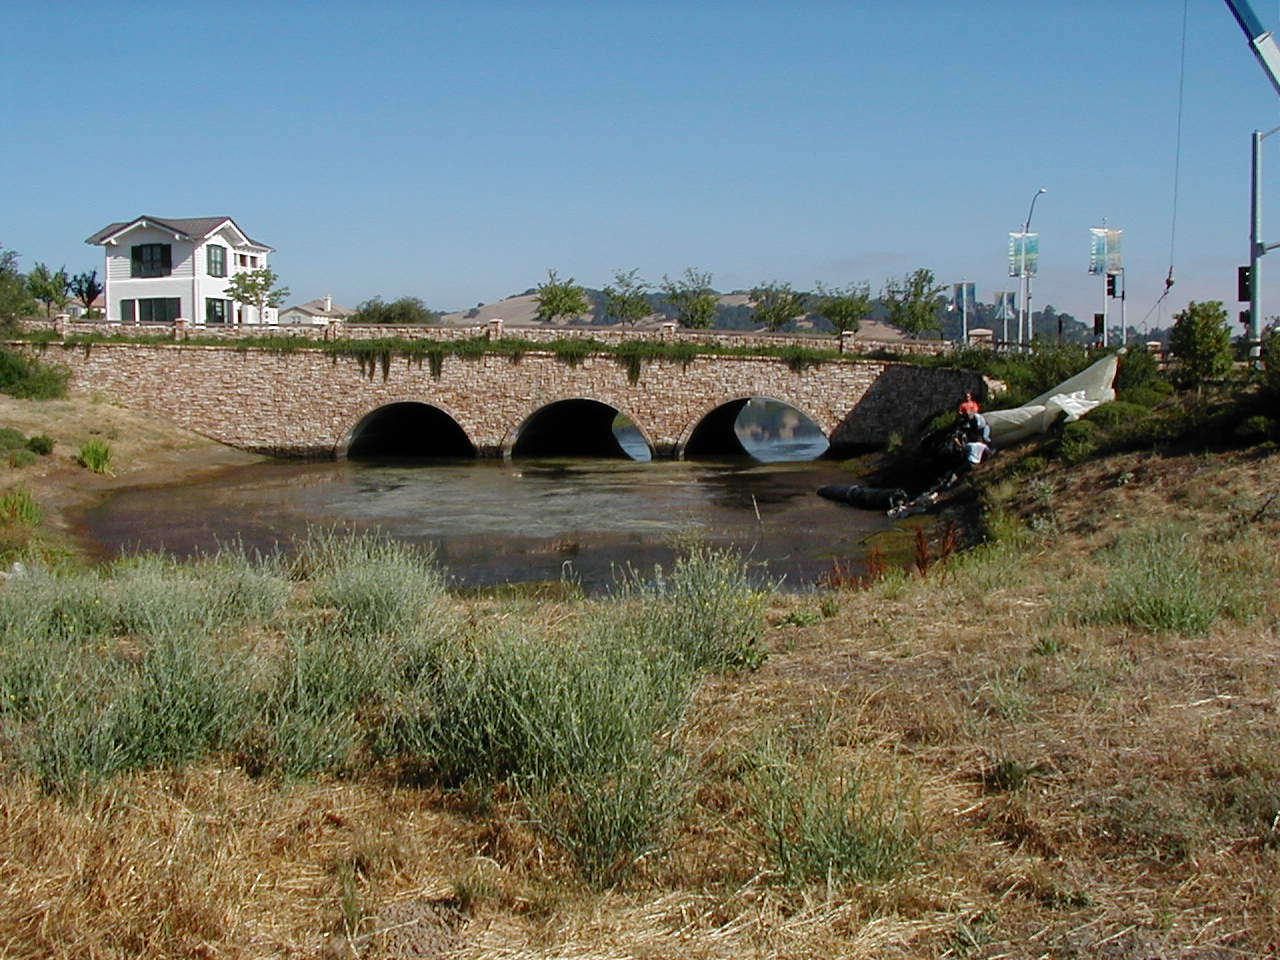
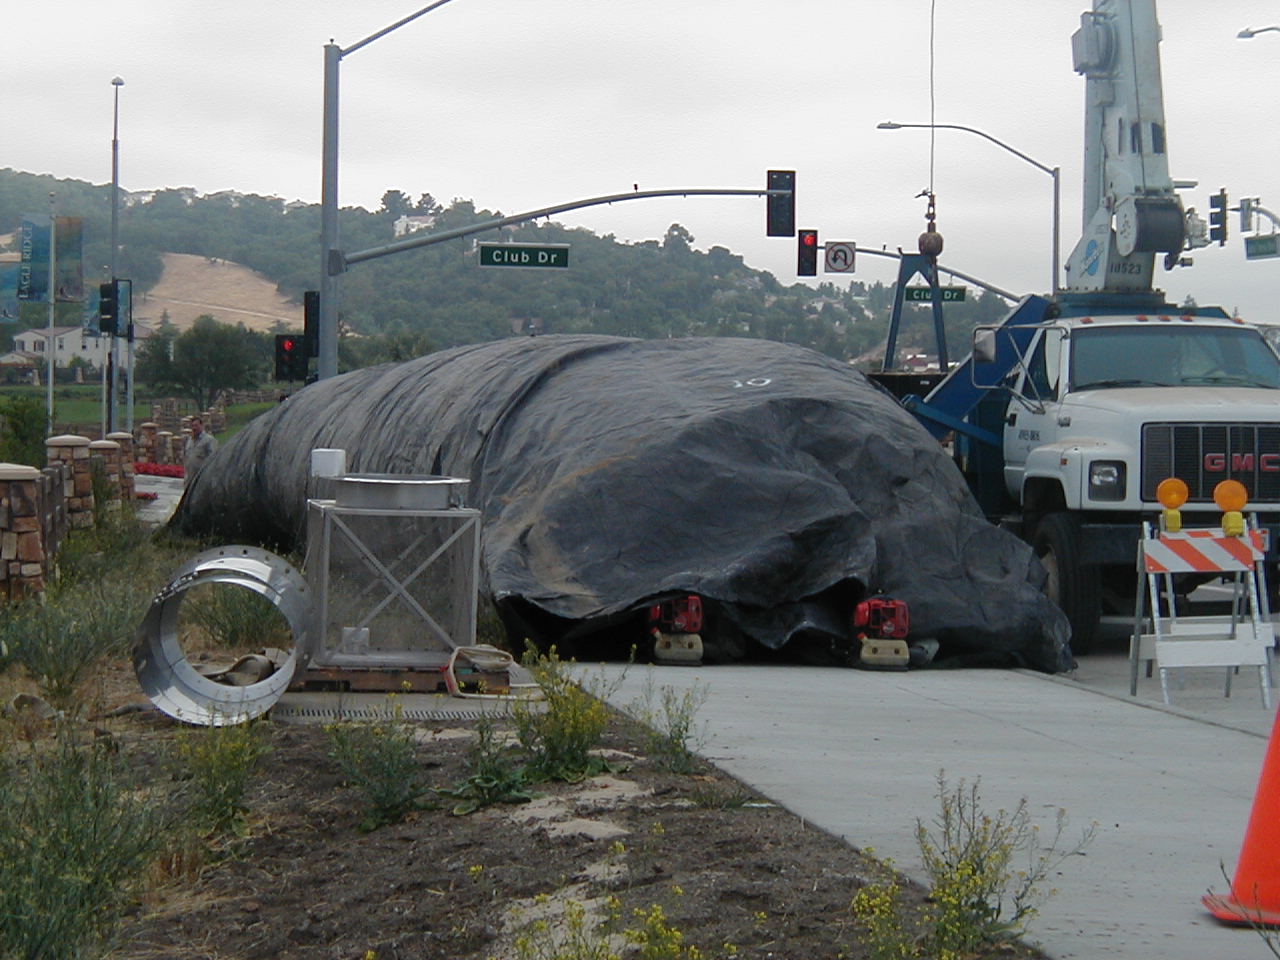
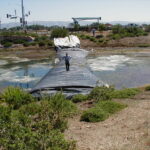
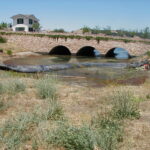
8.) The 120ft long DOE AquaDam has almost reached its ending bank.
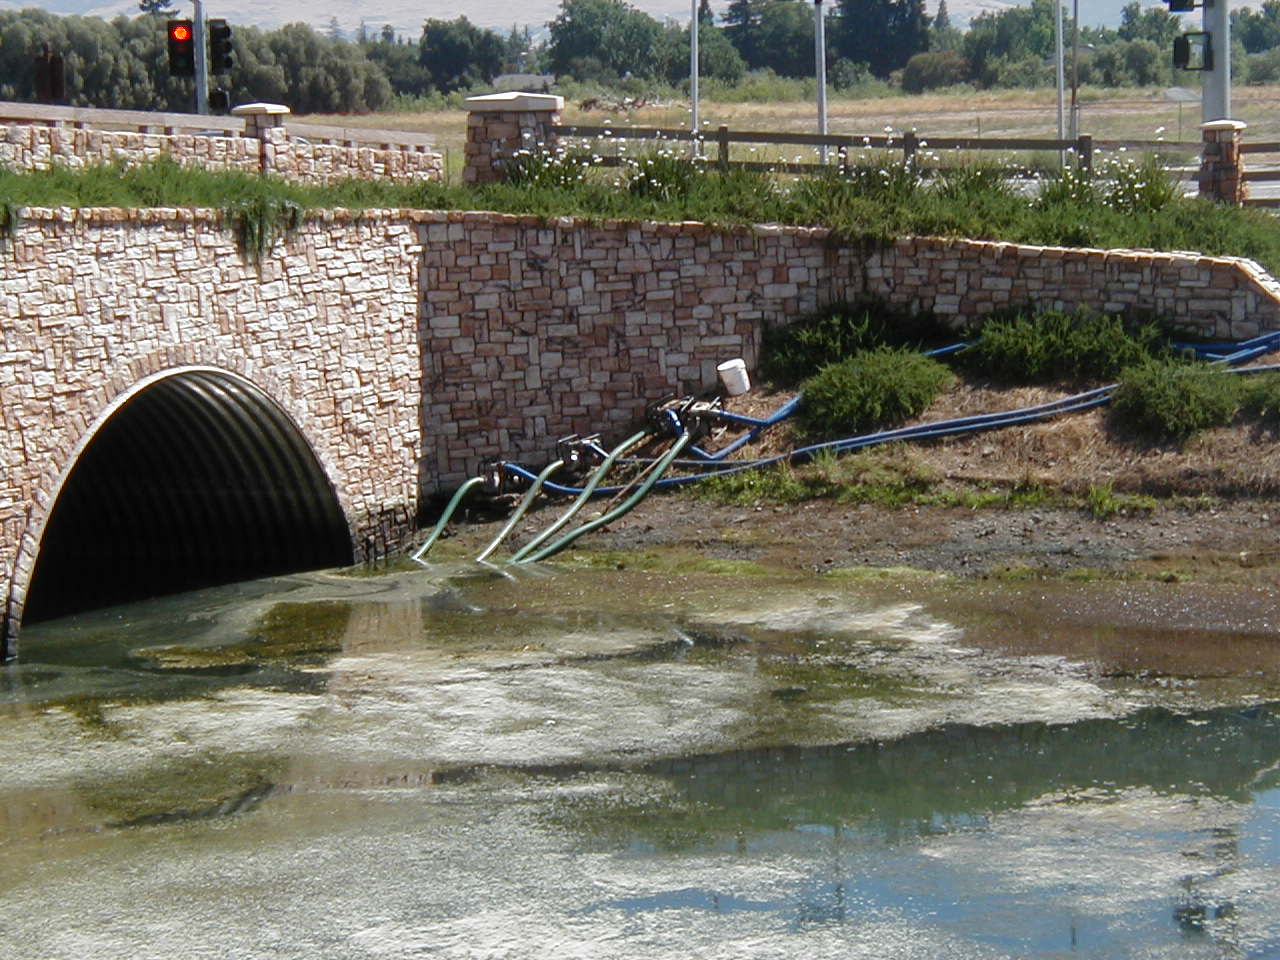
9.) The suction hoses for the pumps were placed at the deepest point possible (outside the work area) so that they would not need to continuously move them.
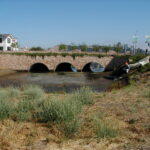
10.) The 8ft tall DOE has unrolled to its ending bank. Now the AquaDam will need to finish filling with water to reach its full height.
11.) The 8ft tall DOE AquaDam is nearly full now. One open end is up on the opposite bank (where it was filled) and the other is still rolled up on the roll end (preventing water from exiting).
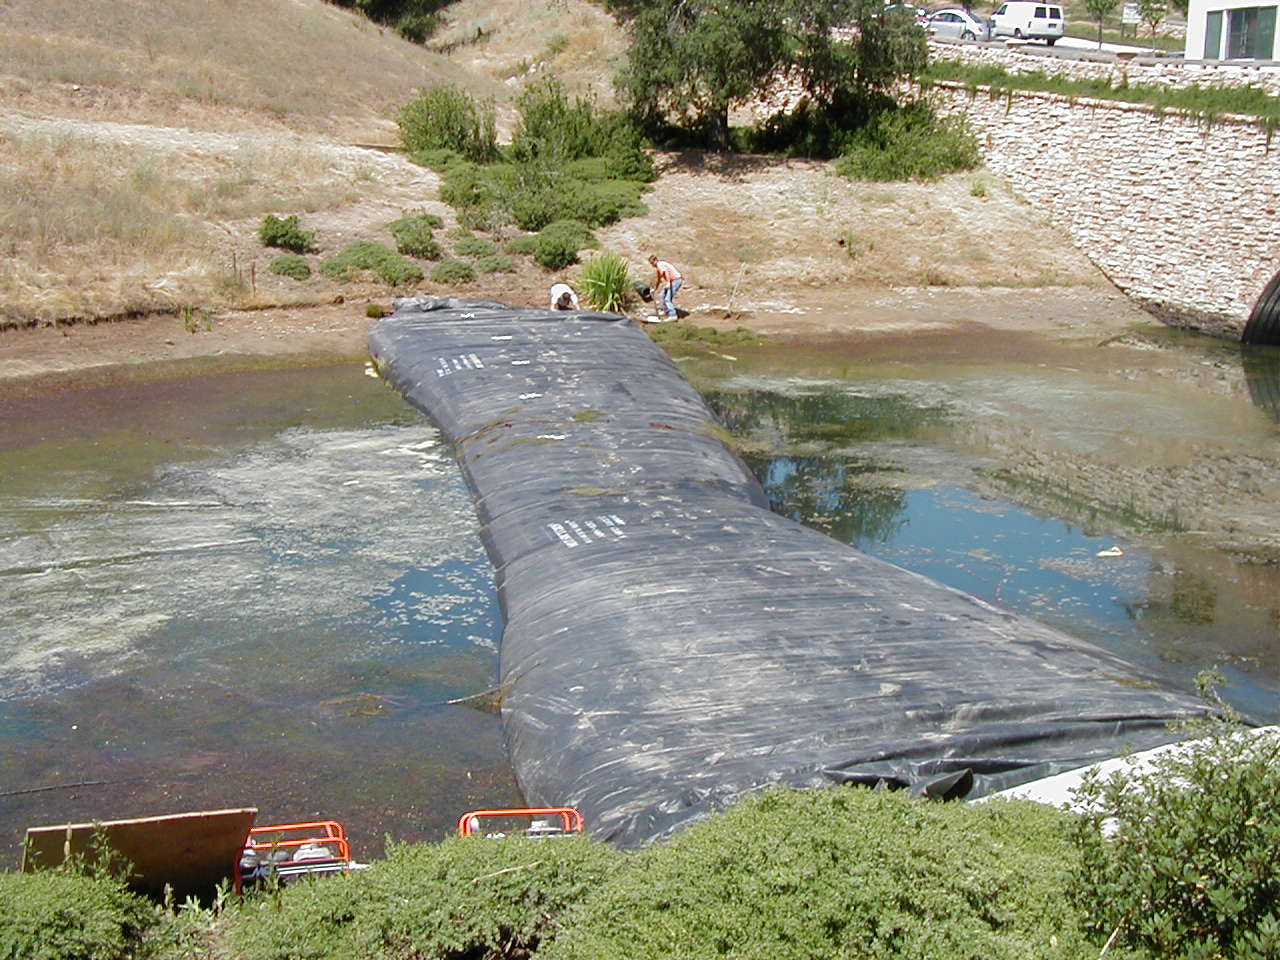
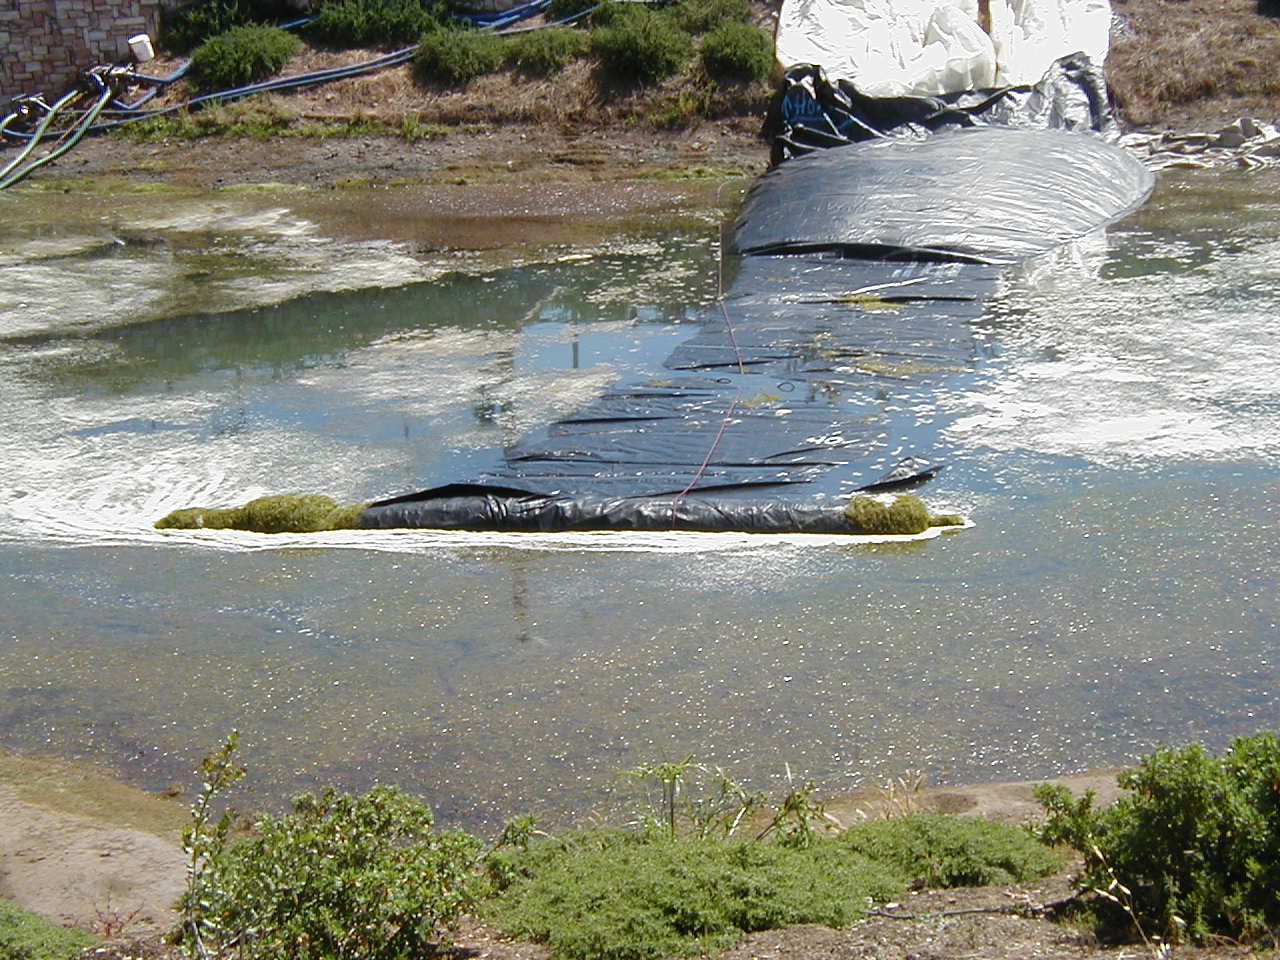
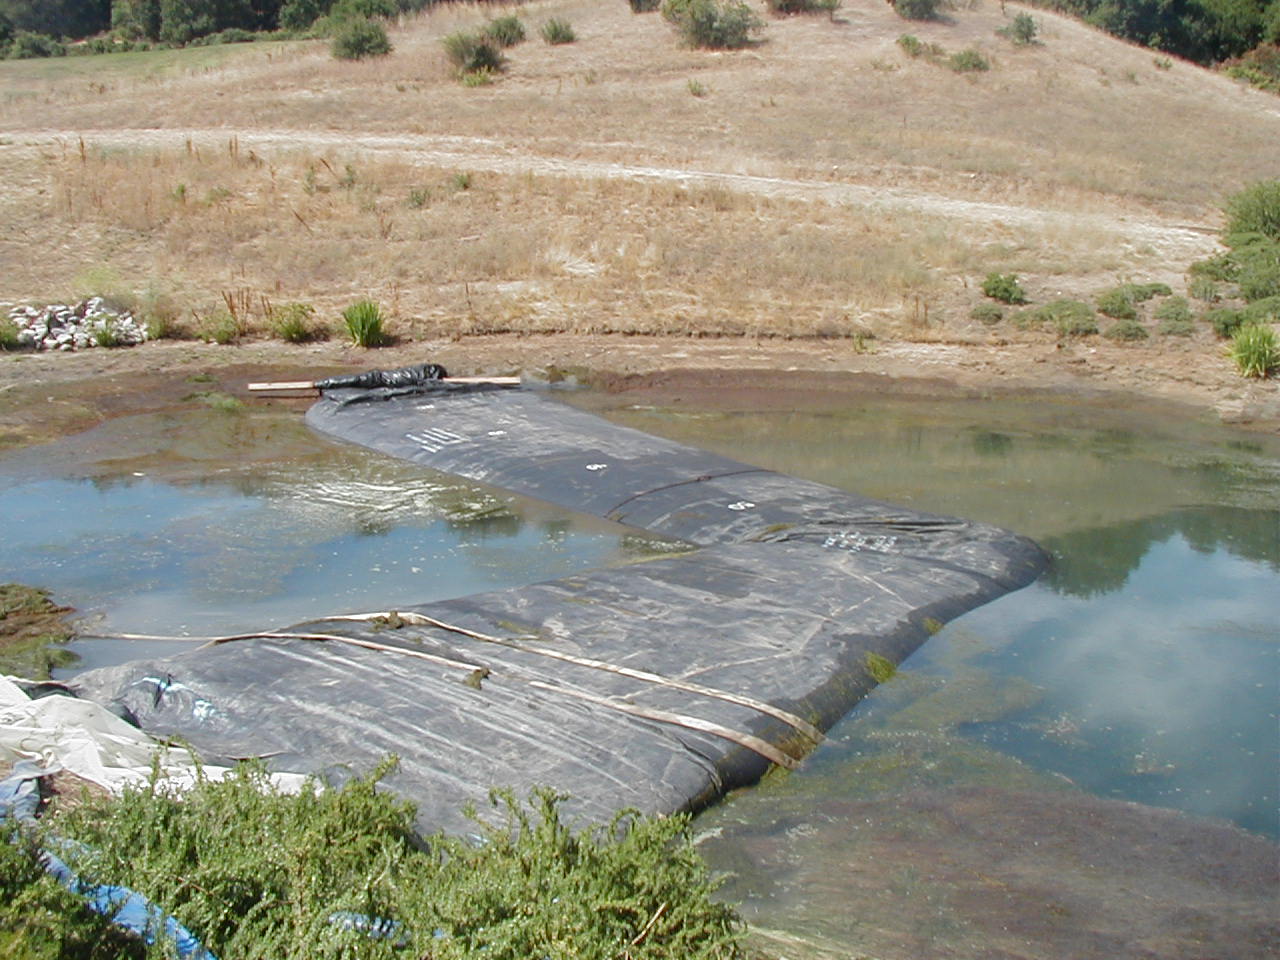
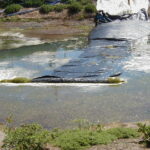
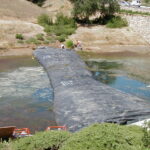
12.) The slim portion in the middle of the AquaDam is where the water depth is the deepest.
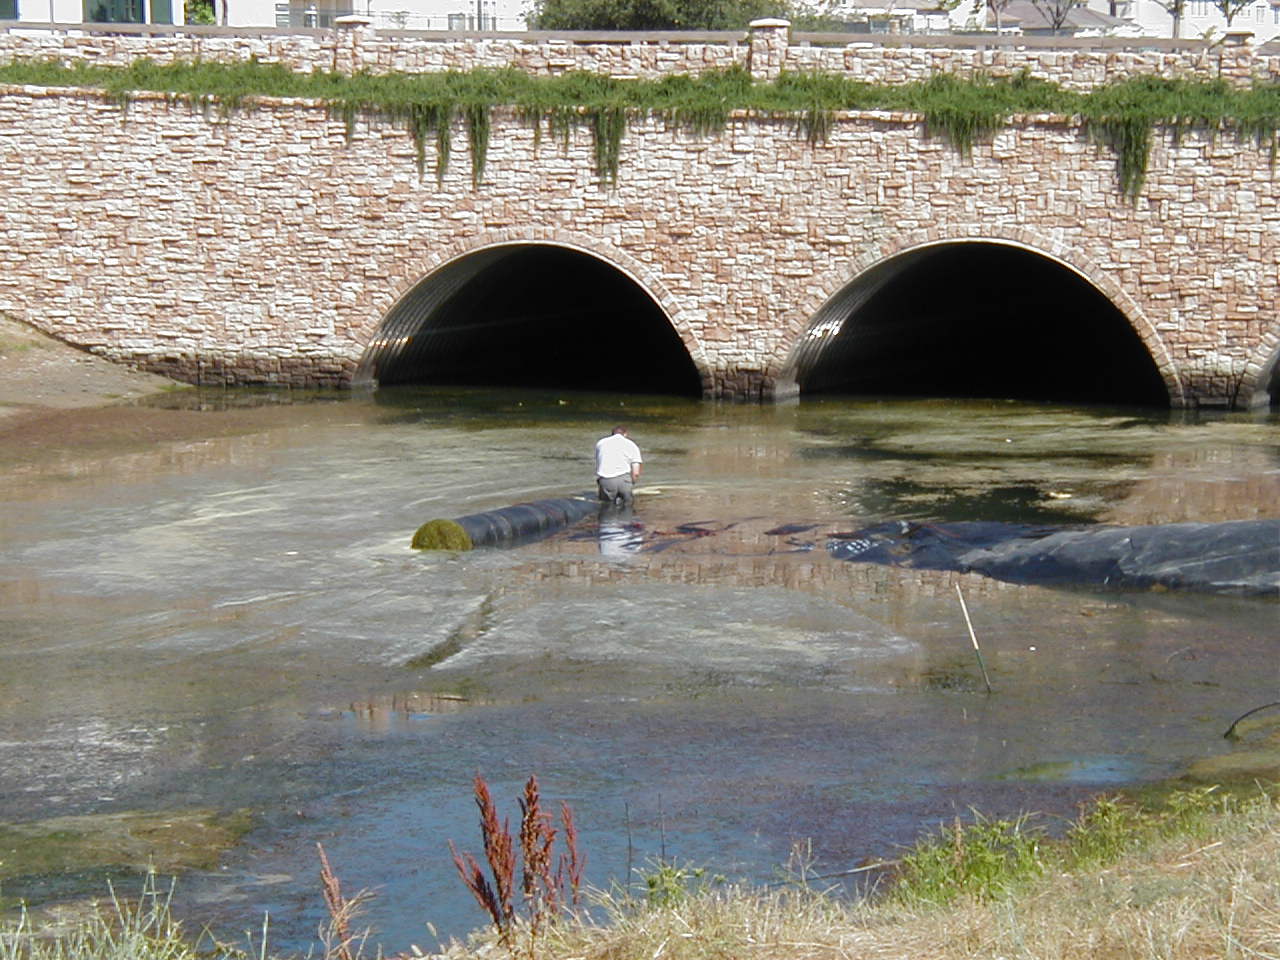
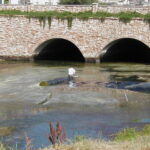
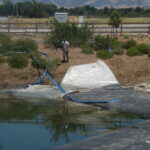
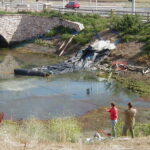
13.) As the work area is de-watered, it becomes apparent where the drain is located.
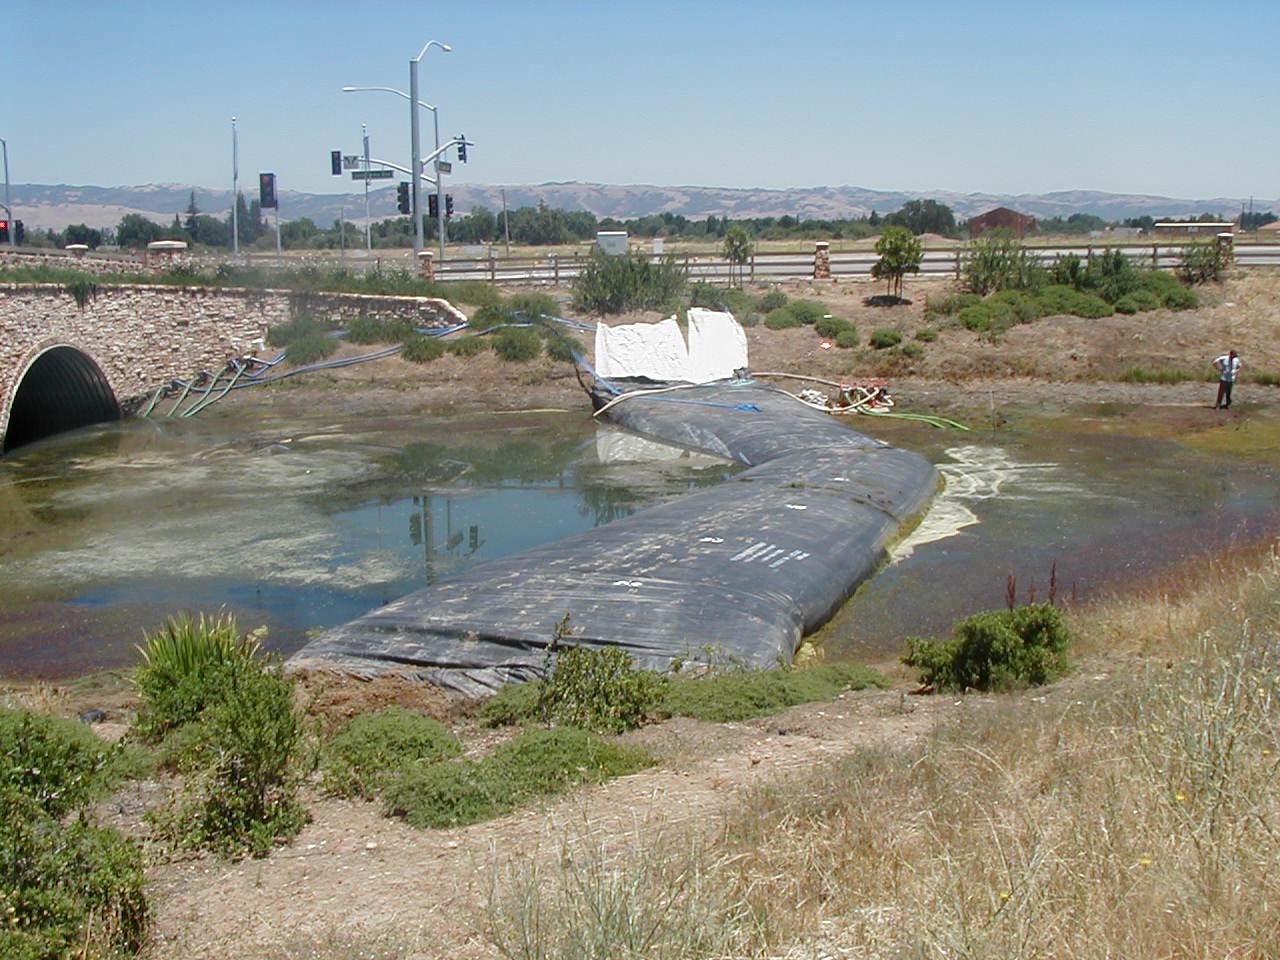
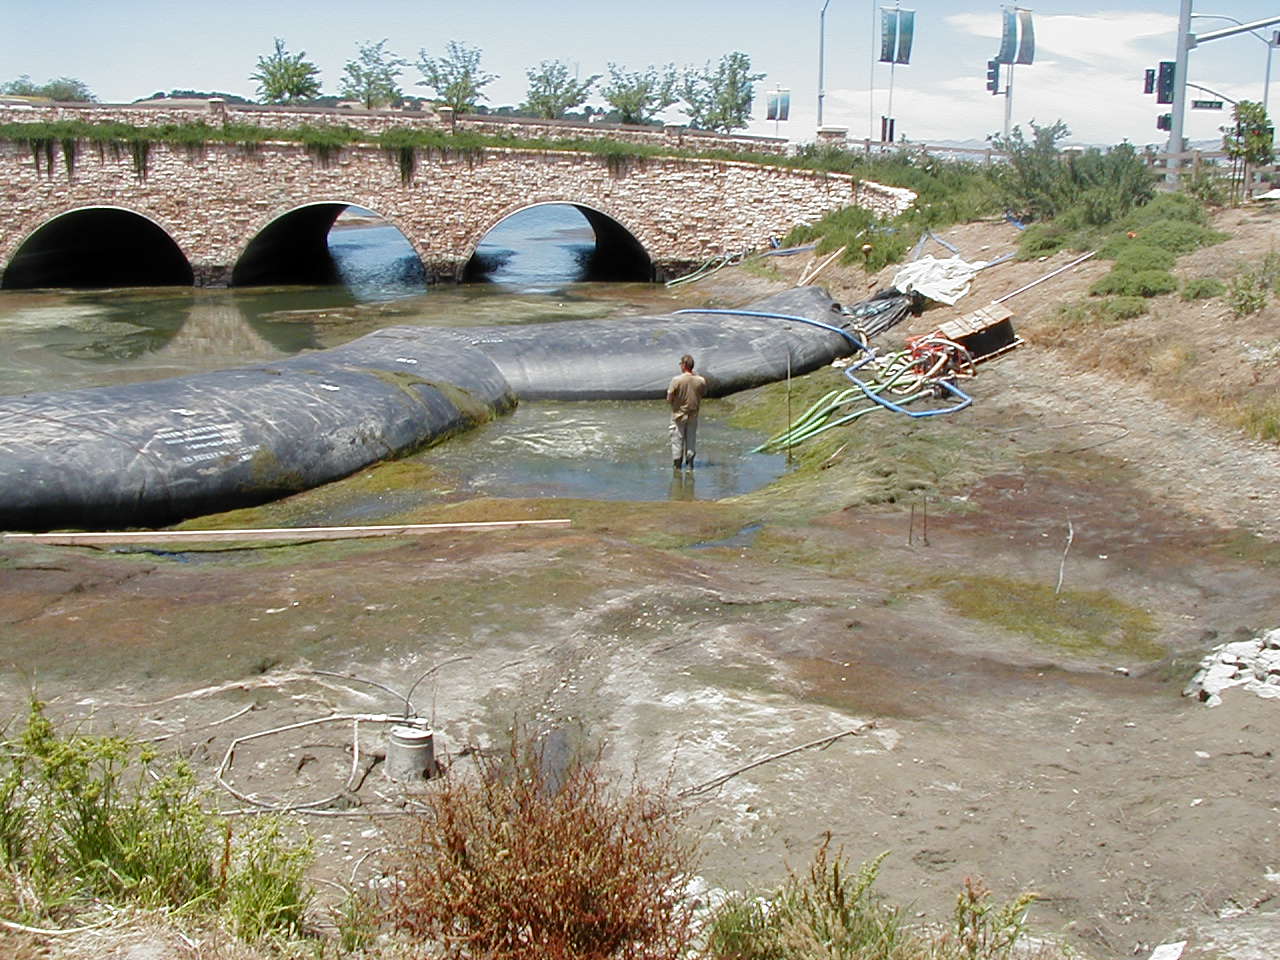
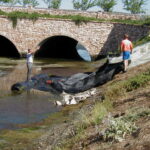
14.) The water depth was much greater than the original 5ft estimate, and it was closer to 9ft. This AquaDam (maximum safe water depth containment: 6ft) was beyond its maximum. As the water pressure became more uneven, the dam started to move laterally into the de-watered work area.
15.) The solution was to move the AquaDam closer to the work area where the water depth was shallower. The fill-tubes were pulled off the bank so the water could drain out of the AquaDam.
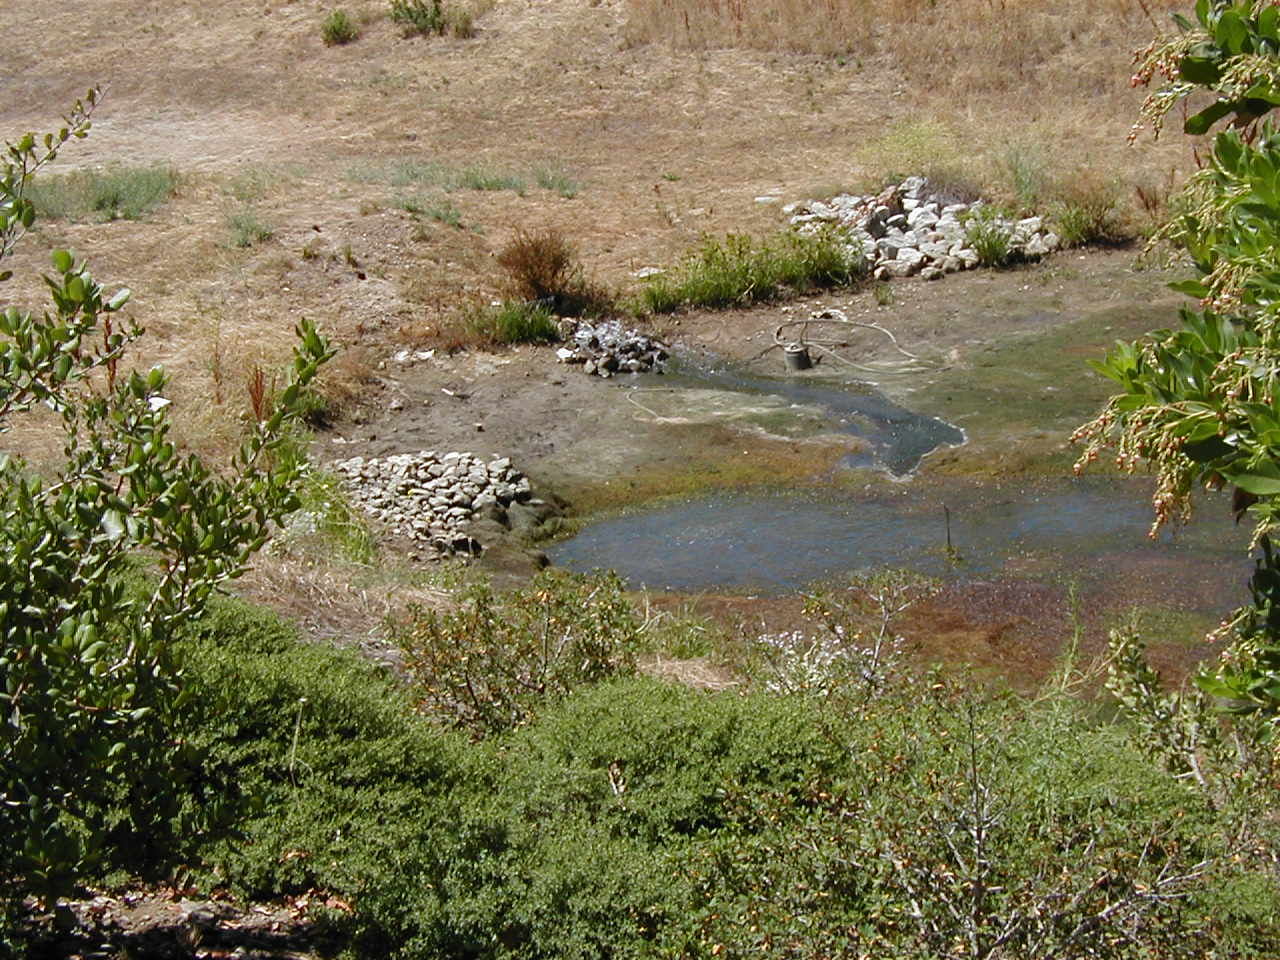
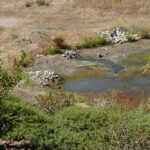
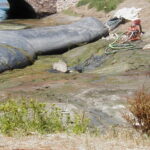
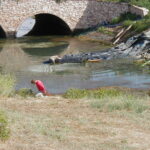
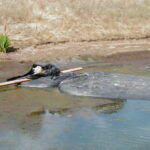
16.) The drain had quite a bit of aquatic life in it.

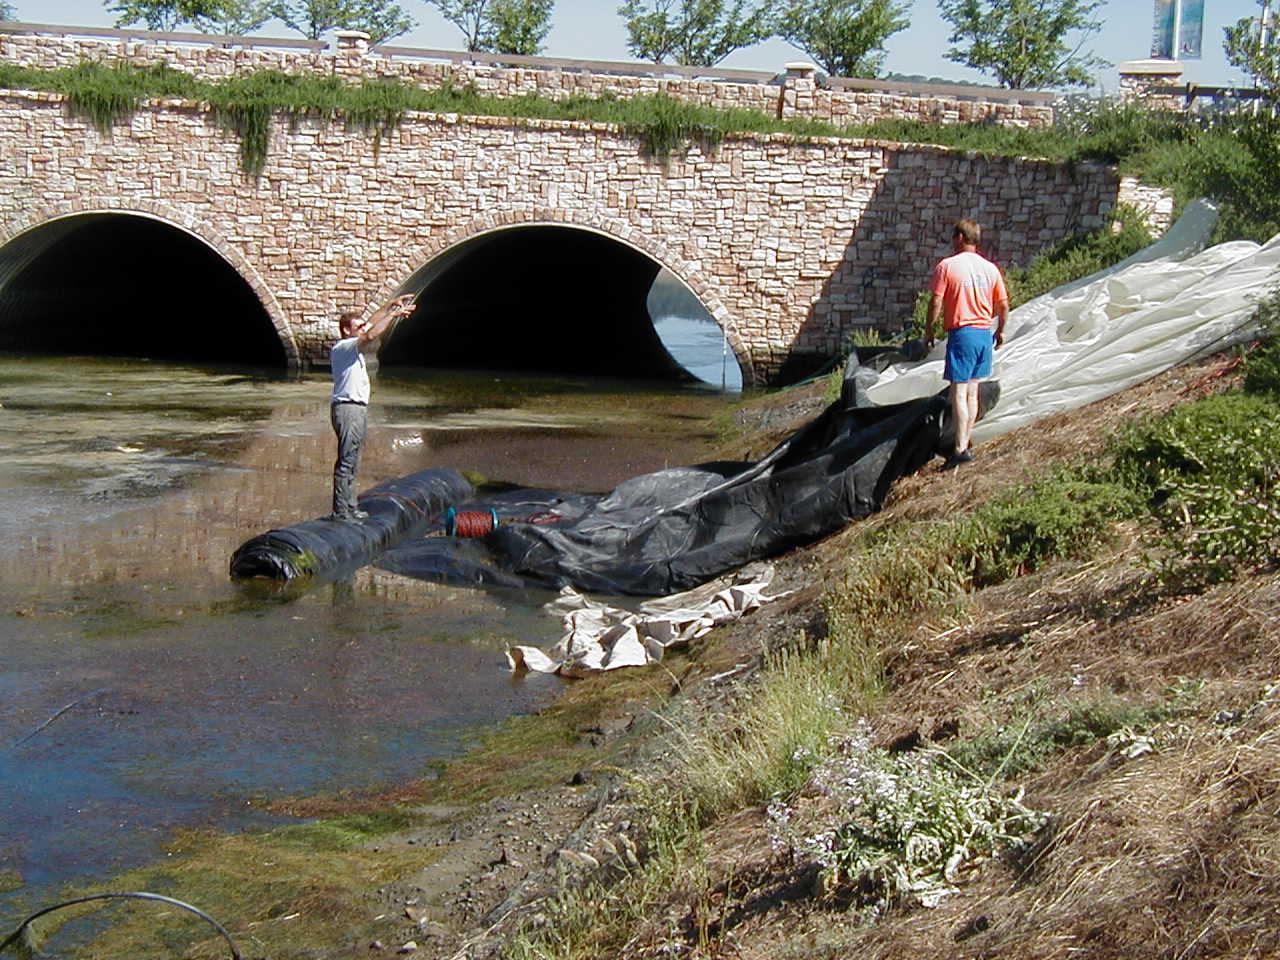
17.) The AquaDam continues to drain.
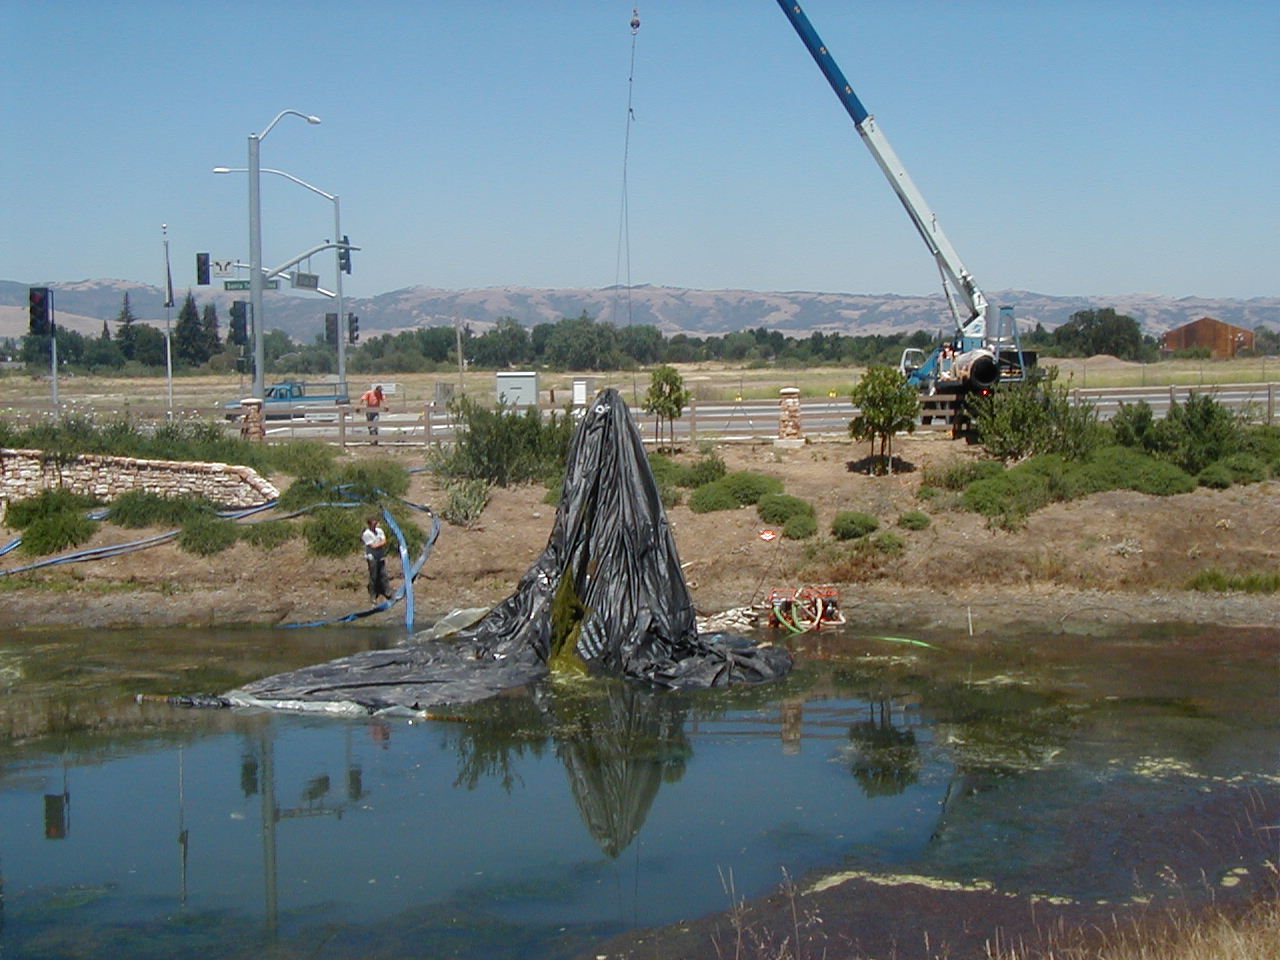
18.) The AquaDam is now empty and buoyant. AquaDams are made of light weight flexible materials and will float when empty in deep enough water.
19.) While it is buoyant, the AquaDam is pulled closer to the work area with the backhoe. It is then discovered that not only is the water depth almost twice as deep as originally planned for, but that the AquaDam is too short. The AquaDam should have been approximately 15ft longer.
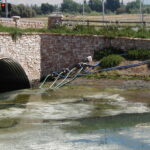
20.) Once again de-watering takes place. The worker is standing on the top of the drain.

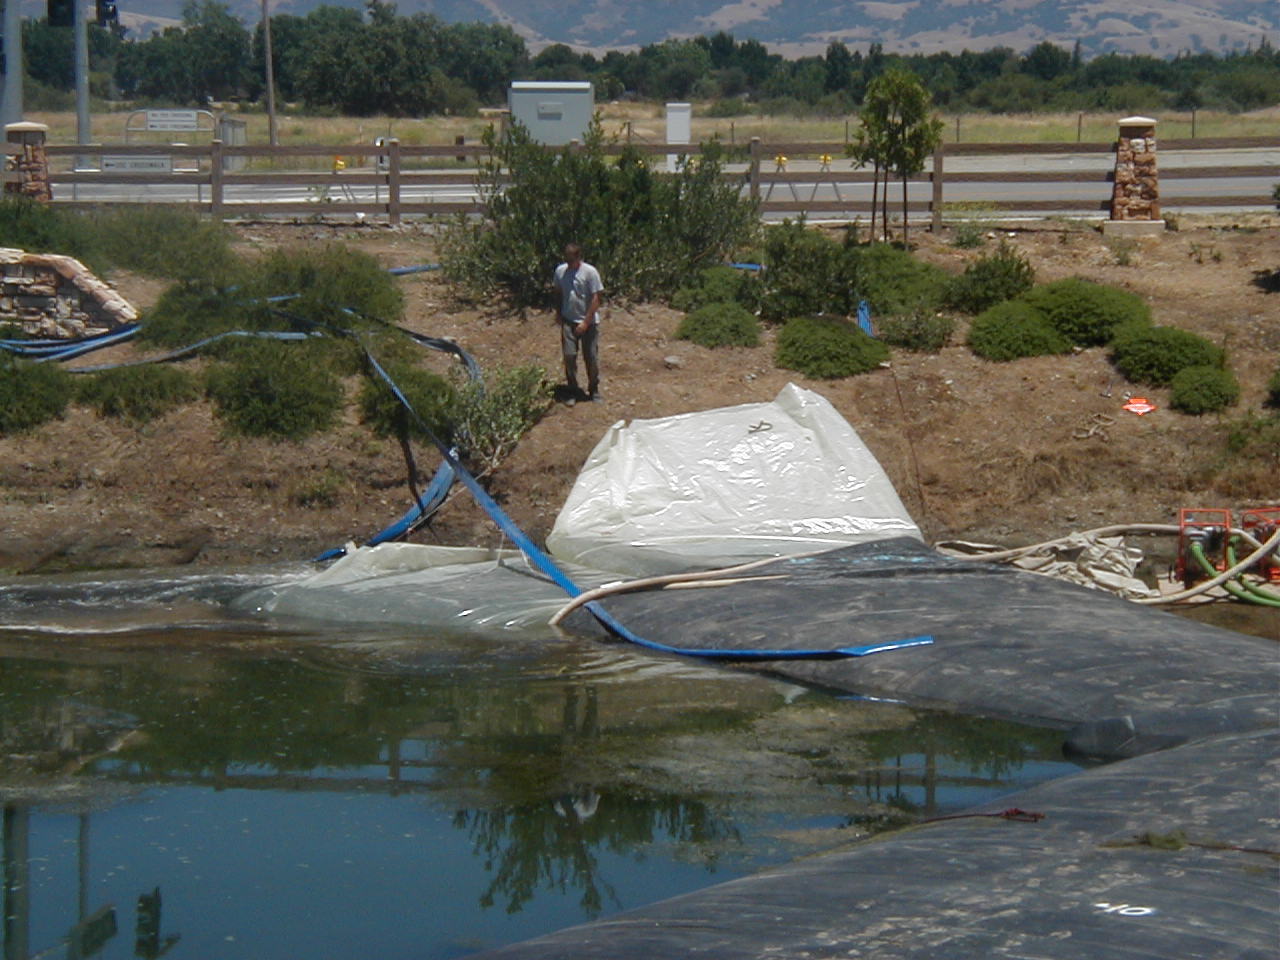
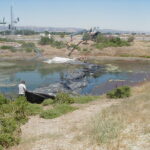
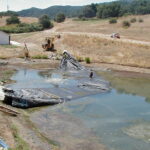
21.) The work area has been de-watered, but the AquaDam has moved in several feet due to the extreme water depth. As you can see, the collection box is almost completely silted in.
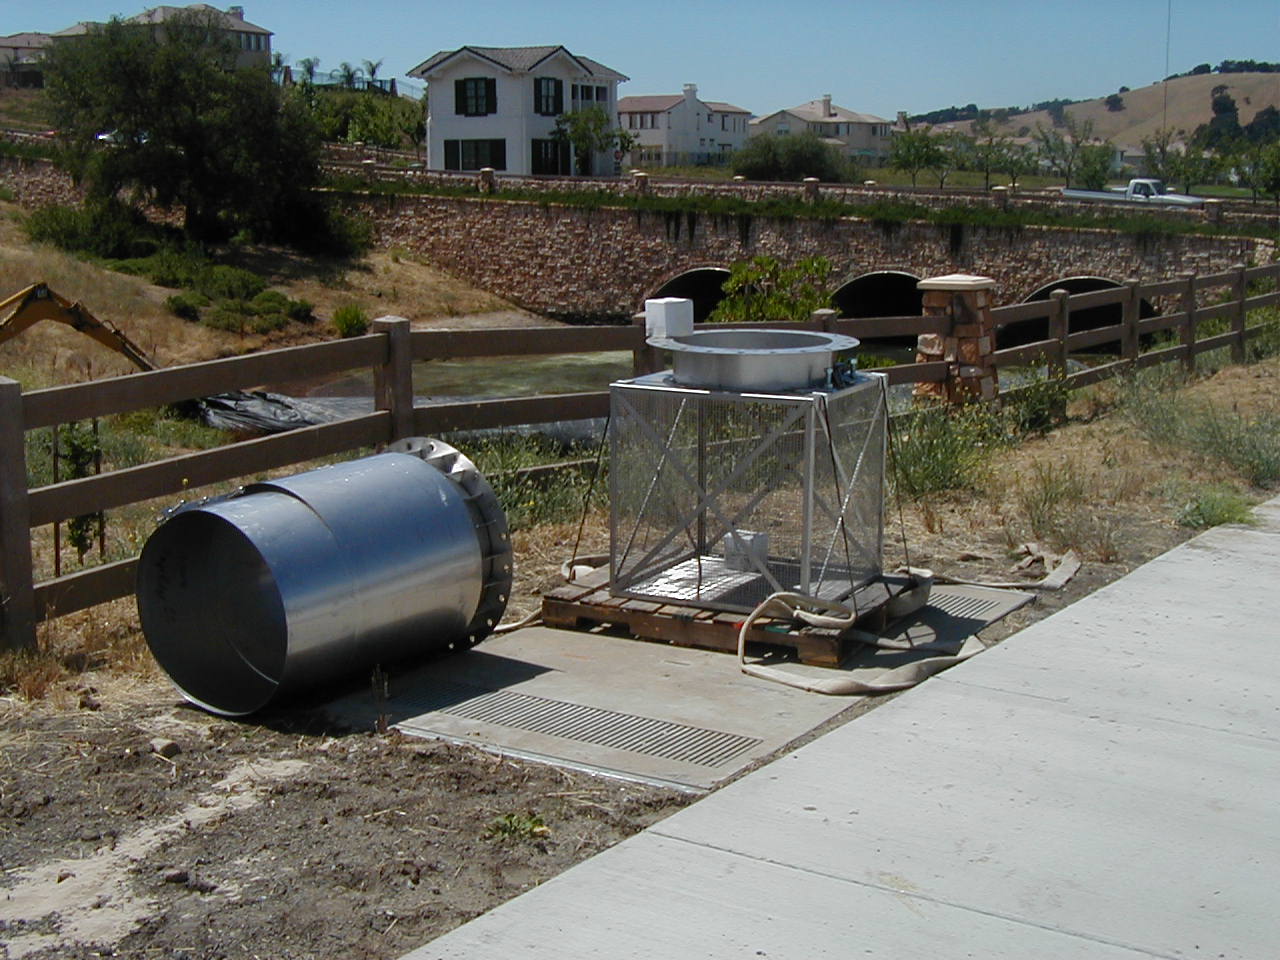
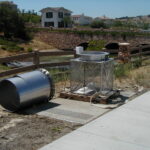
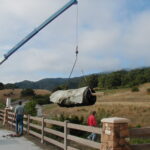
22.) This is the new collection box and pipe that will be installed to replace the one that is silted in.
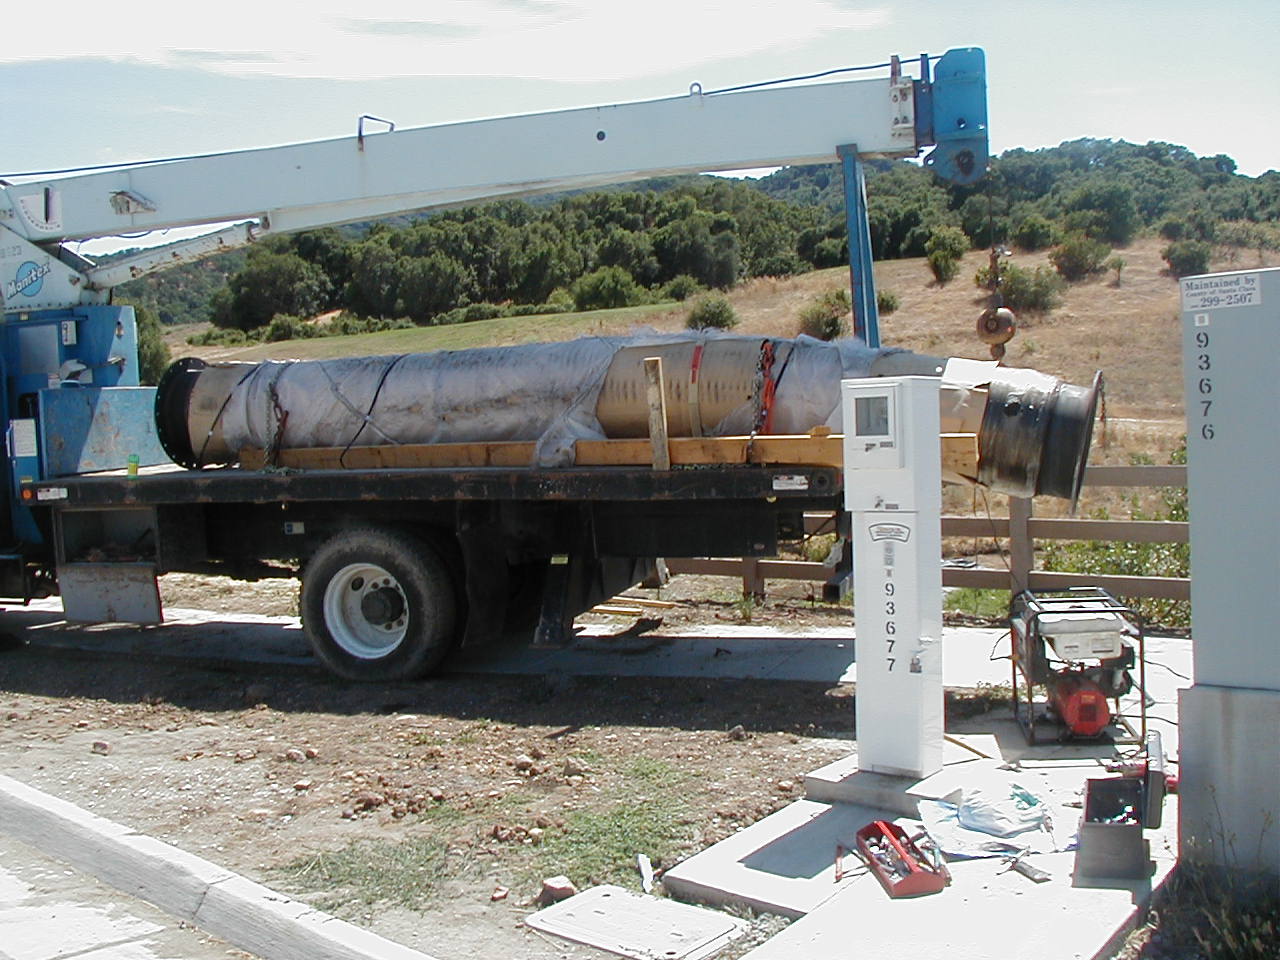
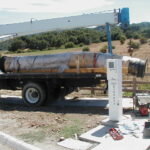
23.) This section of pipe also needed to be installed.
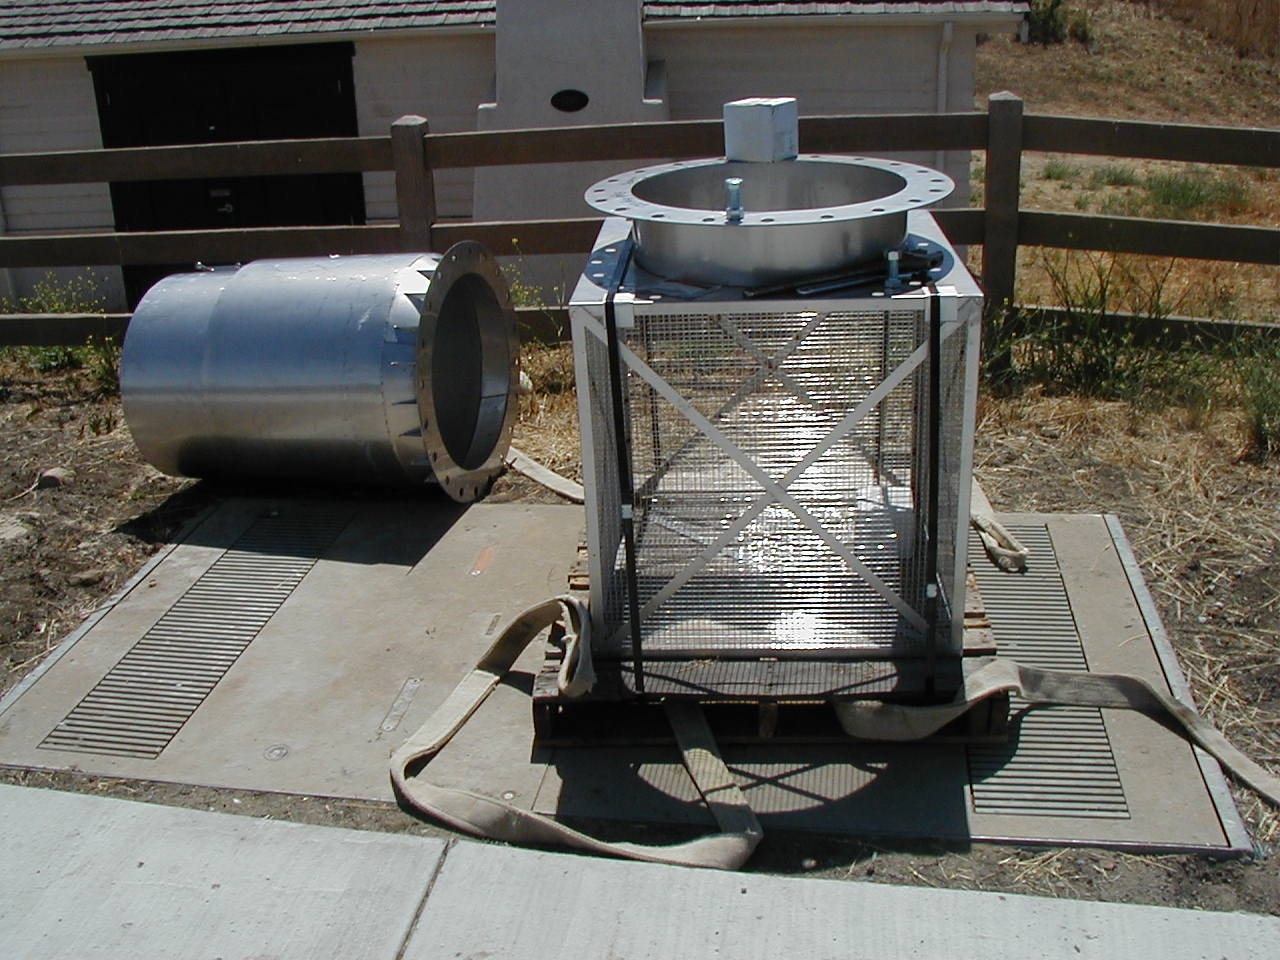
24.) A close-up of the new collection box.
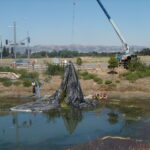
25.) Unfortunately, the water depth was so great that it eventually pulled the AquaDam off the bank and caused it to fail. It was decided that the best course of action was to completely remove, re-roll, and then re-install the AquaDam one more time.
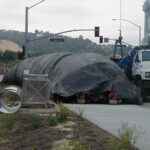
26.) Once pulled up on the sidewalk, the AquaDam is blown up with air to make sure that the inside tubes (fill-tubes) are still in good condition.
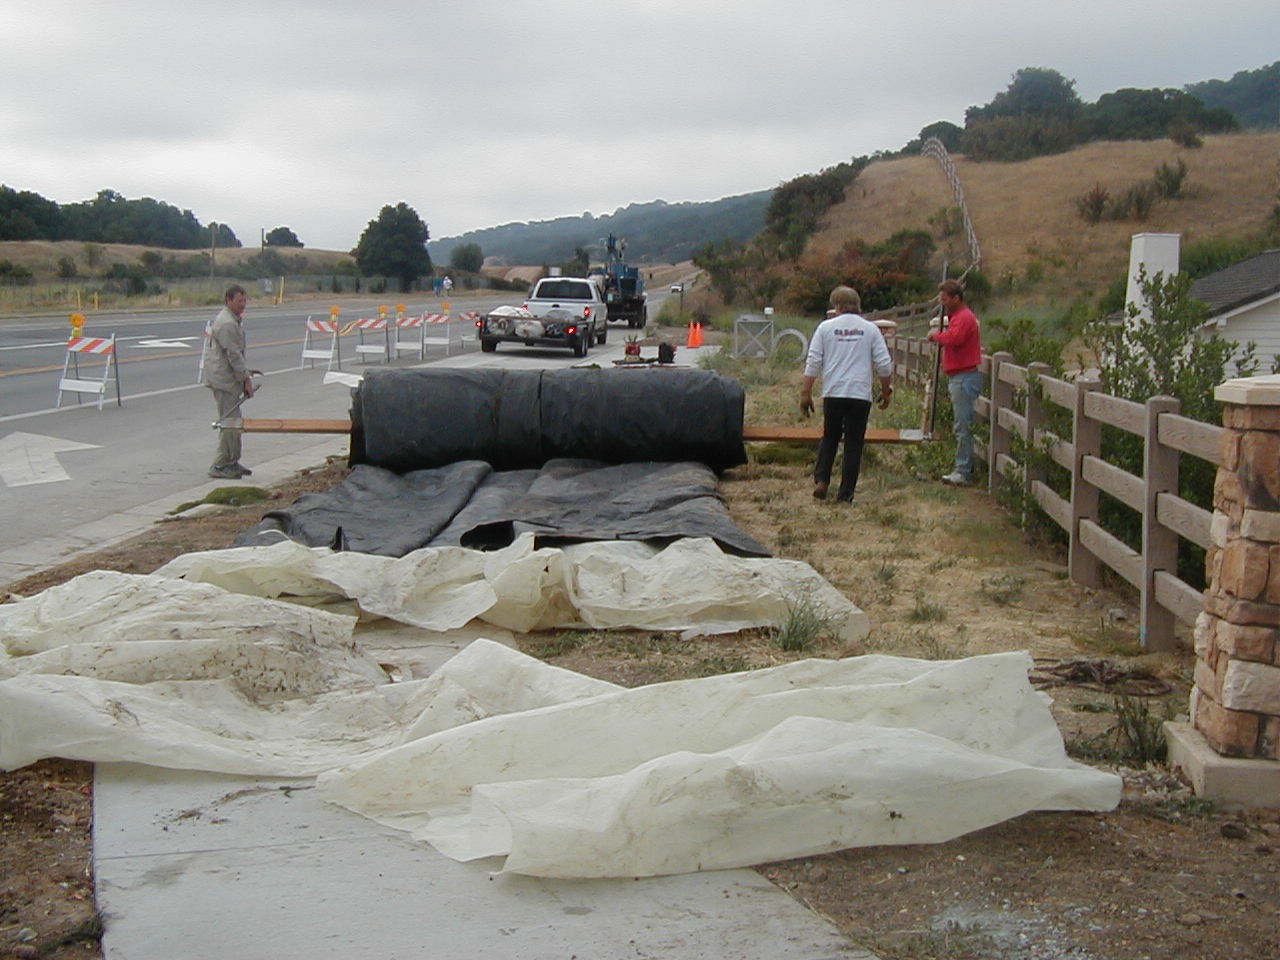
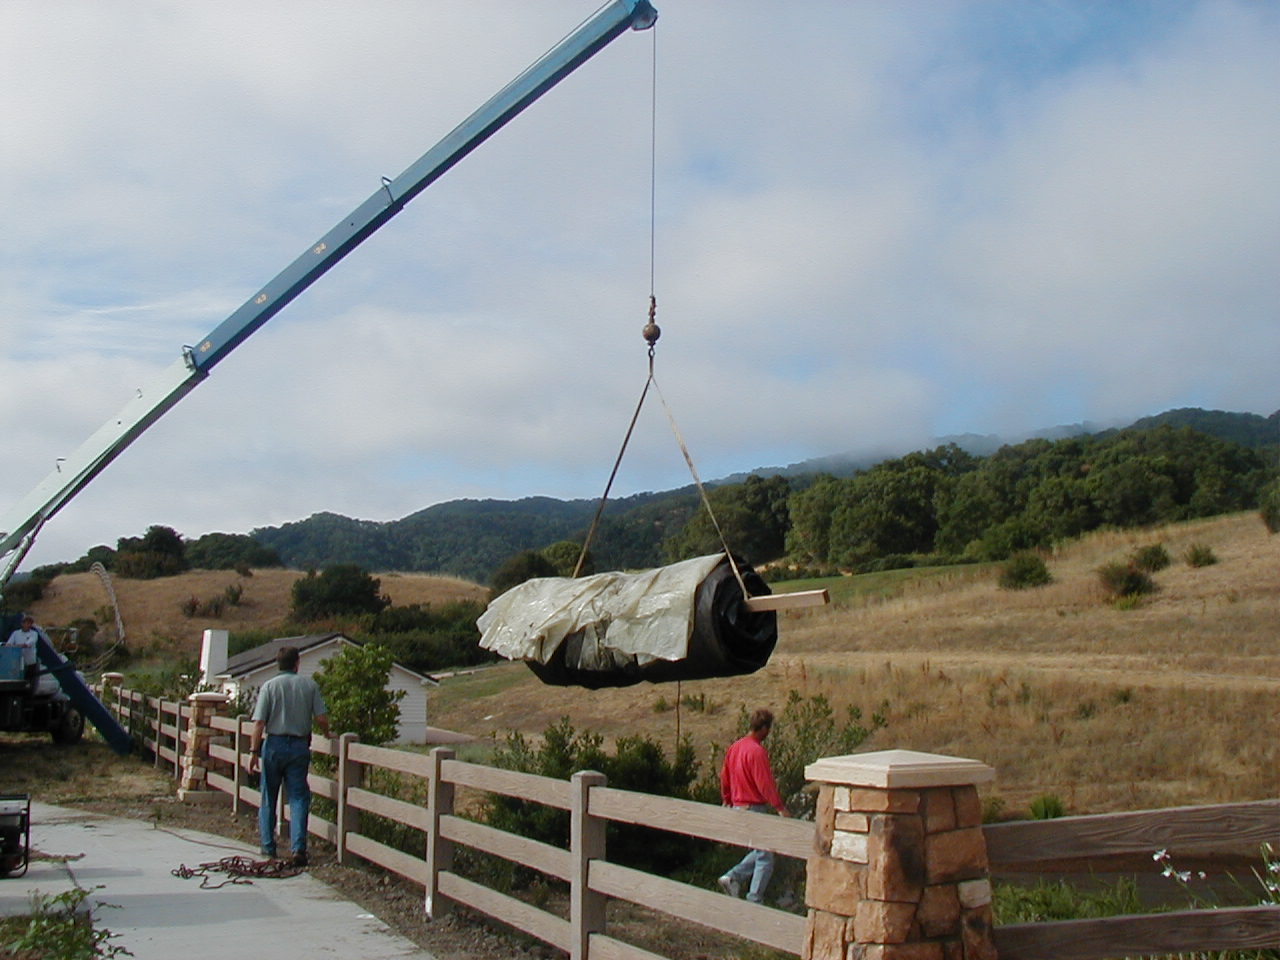
27.) Once deflated, the AquaDam is re-rolled with the sides folded in on the wooden beam that it originally came on. Folding in the sides makes the unit much more compact.
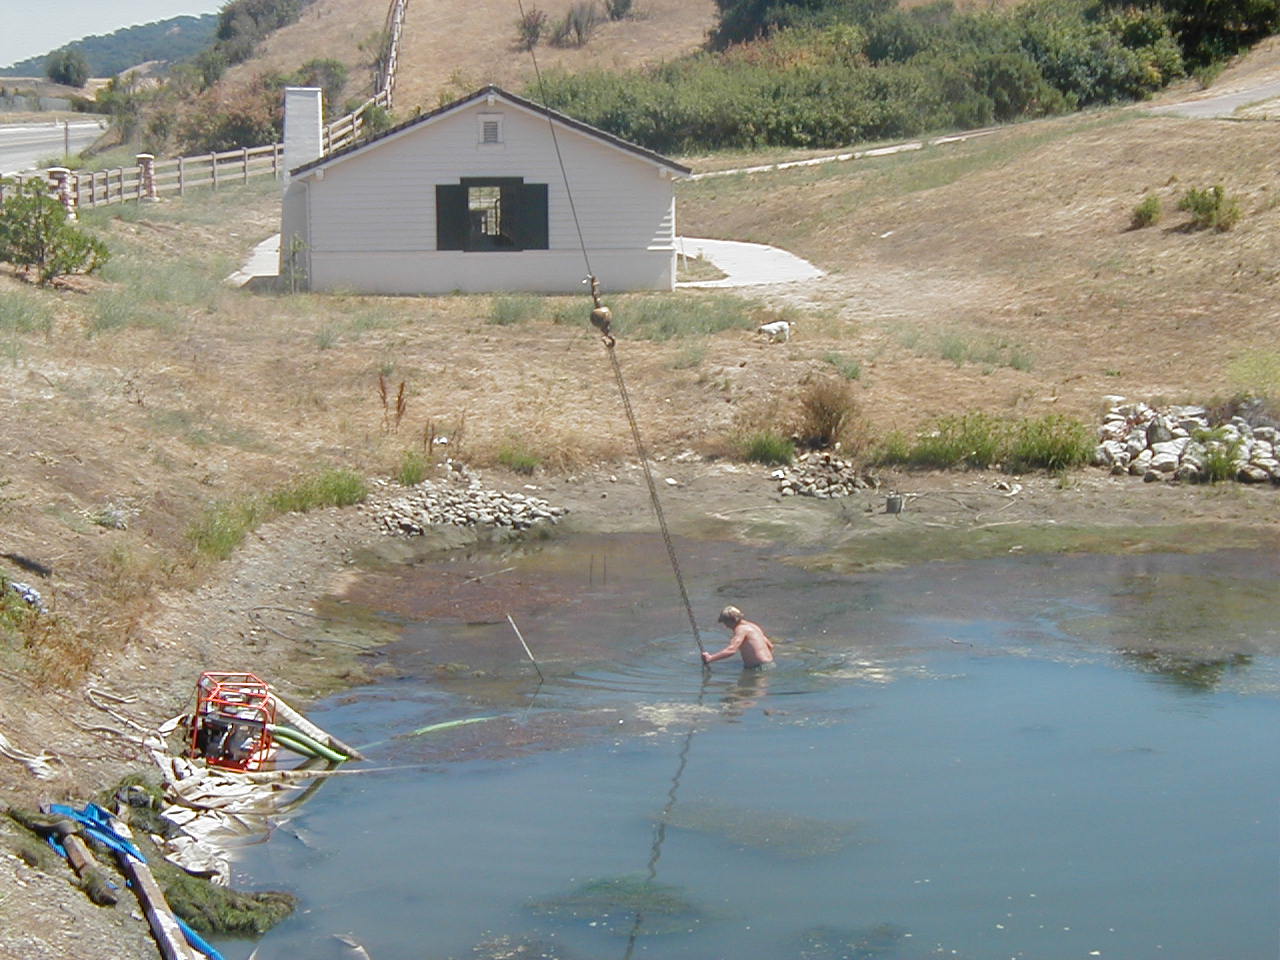
28.) The contracting foreman wanted to try to rip the collection screen out without de-watering. They hooked a chain around it and started pulling but were unsuccessful. This is the depth we were expanding when we arrived. This man found that he could not stand in the soft mud near the drain without sinking out of sight.
29.) When simply ripping the drain out did not work, the AquaDam was once again set in place.
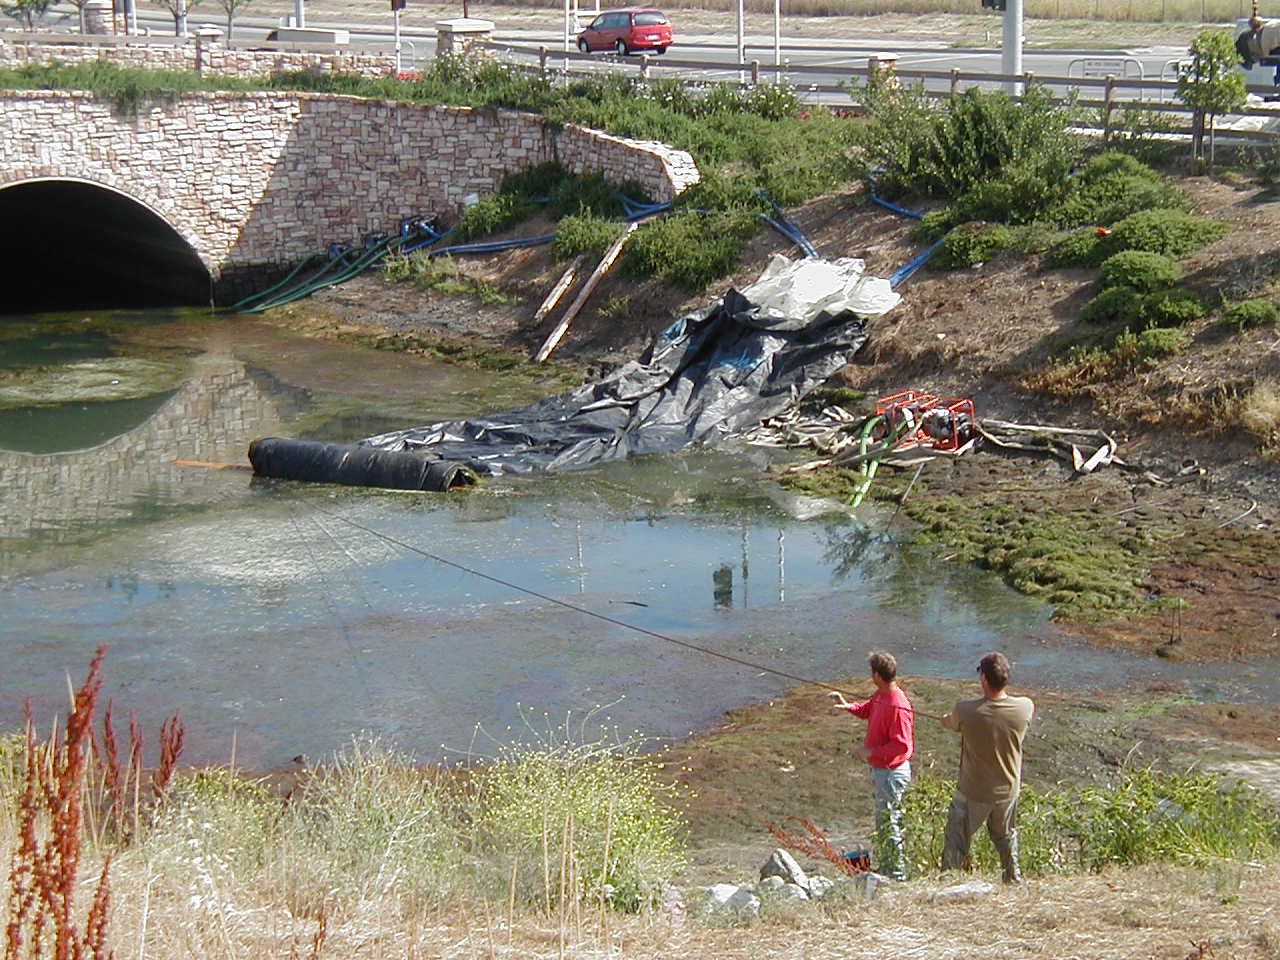
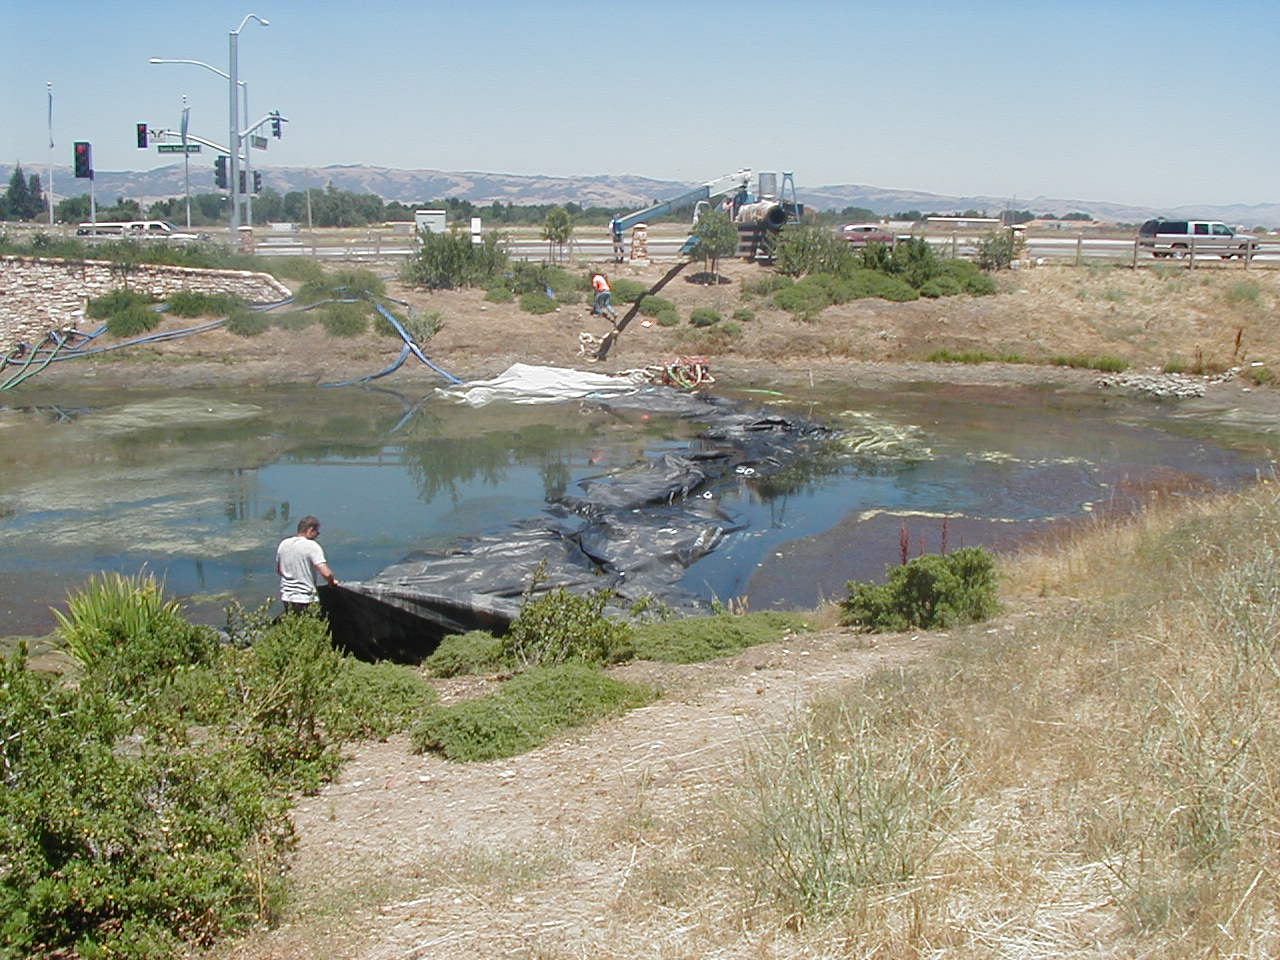
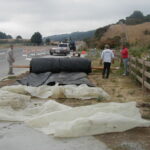
30.) A better solution was devised. The AquaDam was placed in a shallower area to start with and was pulled around with a rope to ensure that none of the length was wasted.
31.) Workers position ropes to get the right angle needed to pull the AquaDam.
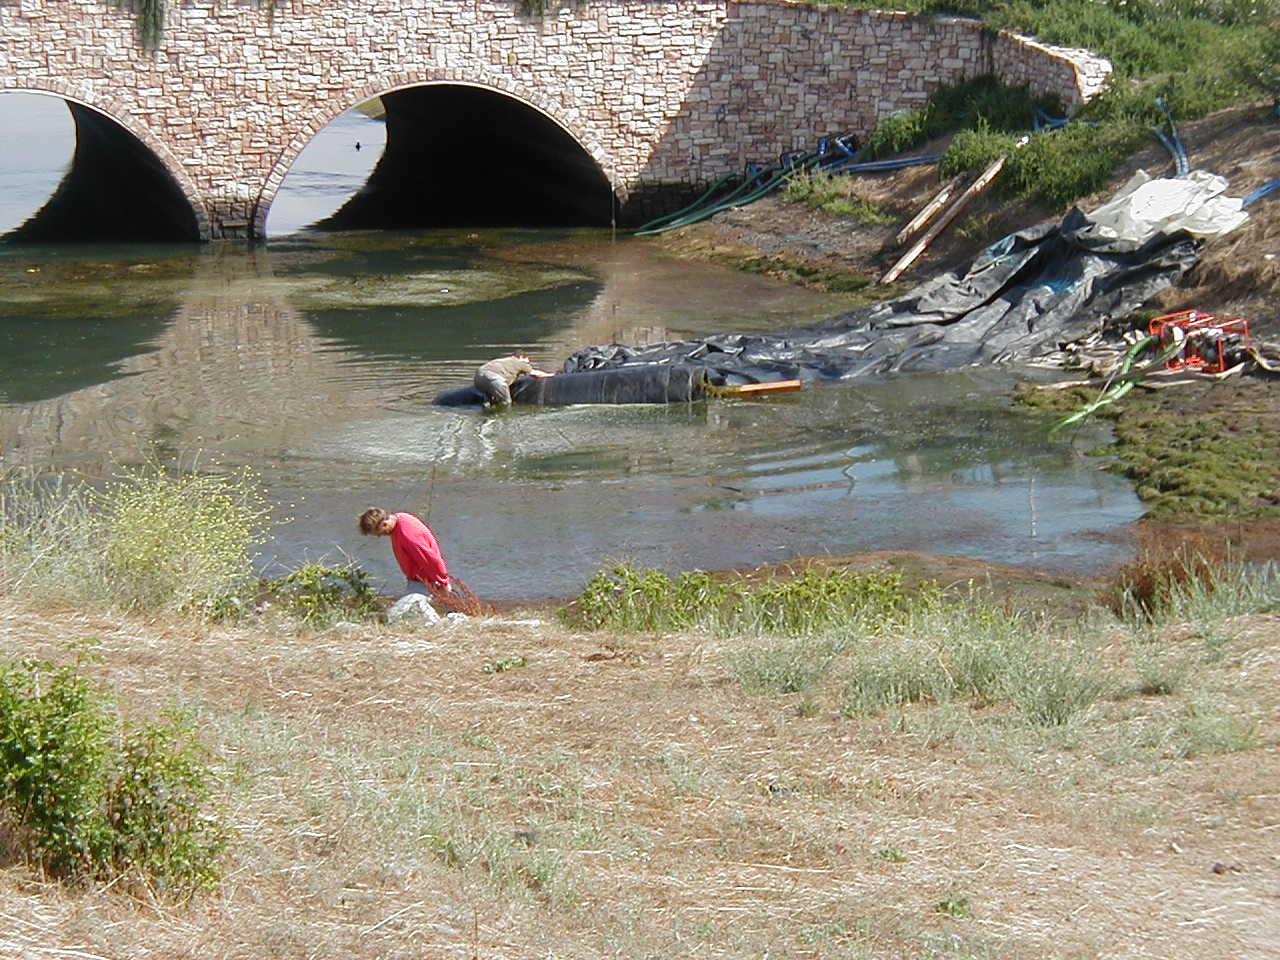
32.) The AquaDam was bent at a sharp angle to follow the shallowest possible path outside of the work area.
33.) The AquaDam is still too short to effectively contain the work area. The lesson learned here was to always plan for the worst-case scenario. Do not try to save money by being conservative with the length and water depth estimates. It may come back to haunt you.
34.) Workers maneuver the end rolled on the beam to close off the work area.
35.) A backhoe pulls the AquaDam further into the work area.
36.) Finally, the AquaDam was positioned, the backhoe held onto the roll end, de-watering was effective, and the drainage equipment was replaced. Good job AquaDam!


8ft Tall 17ft Wide (full) 120ft Long Double Open End (DOE) AquaDam, Drain Repair, Shoreline Isolation, Eagle Ridge Golf Course