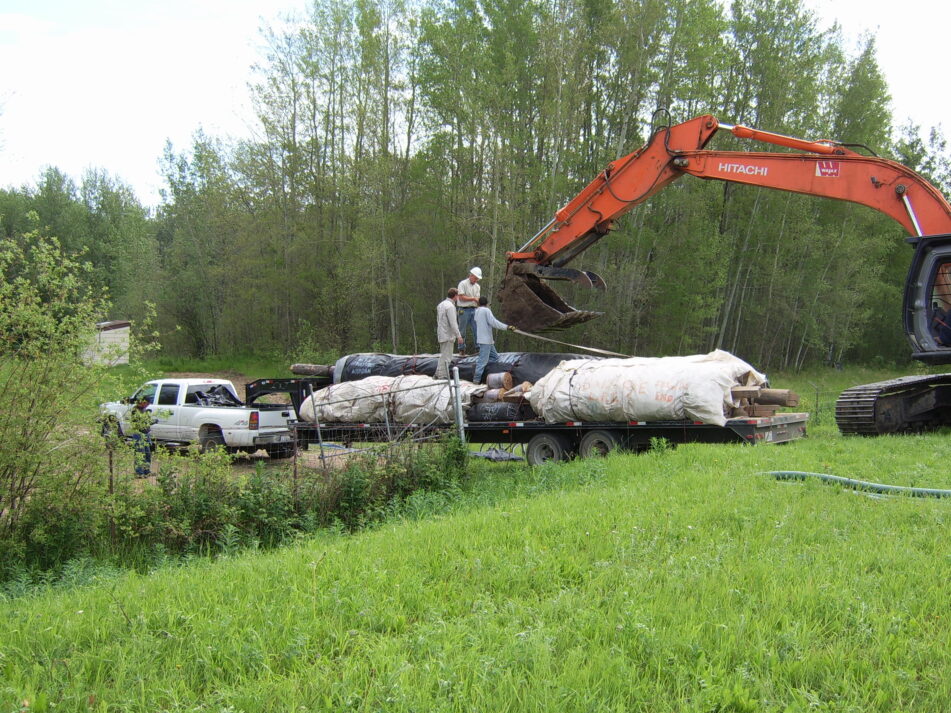
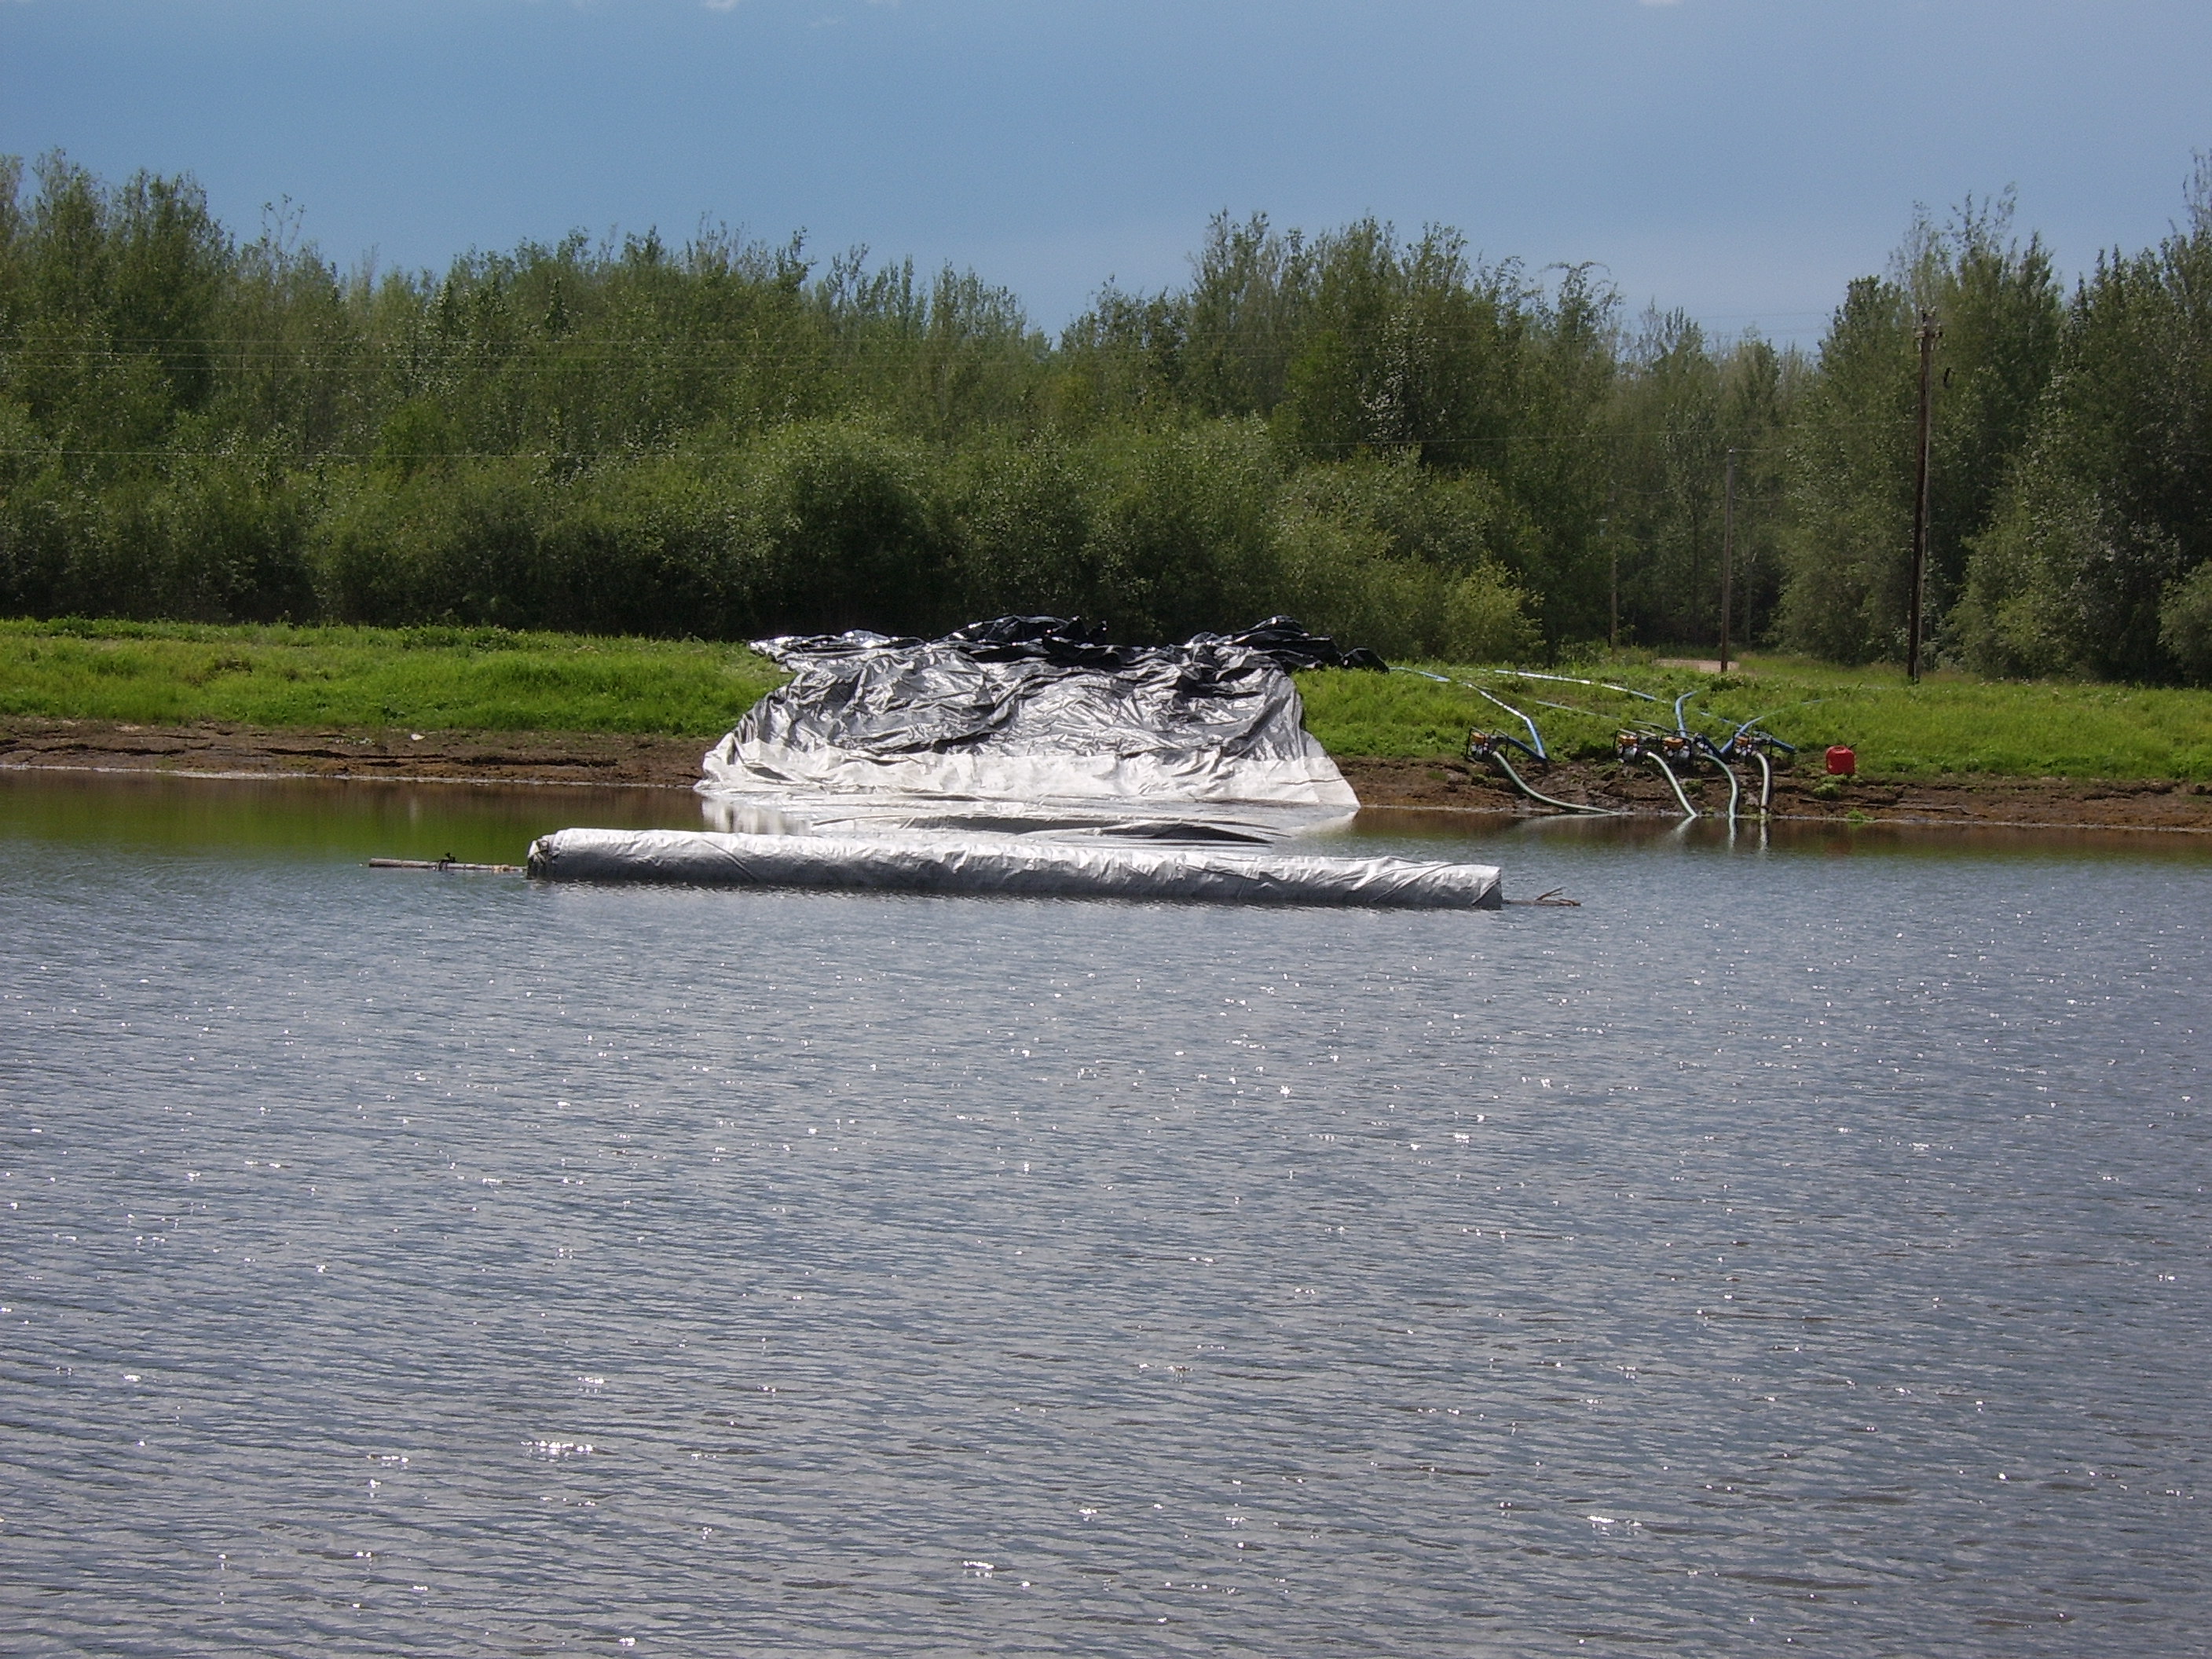
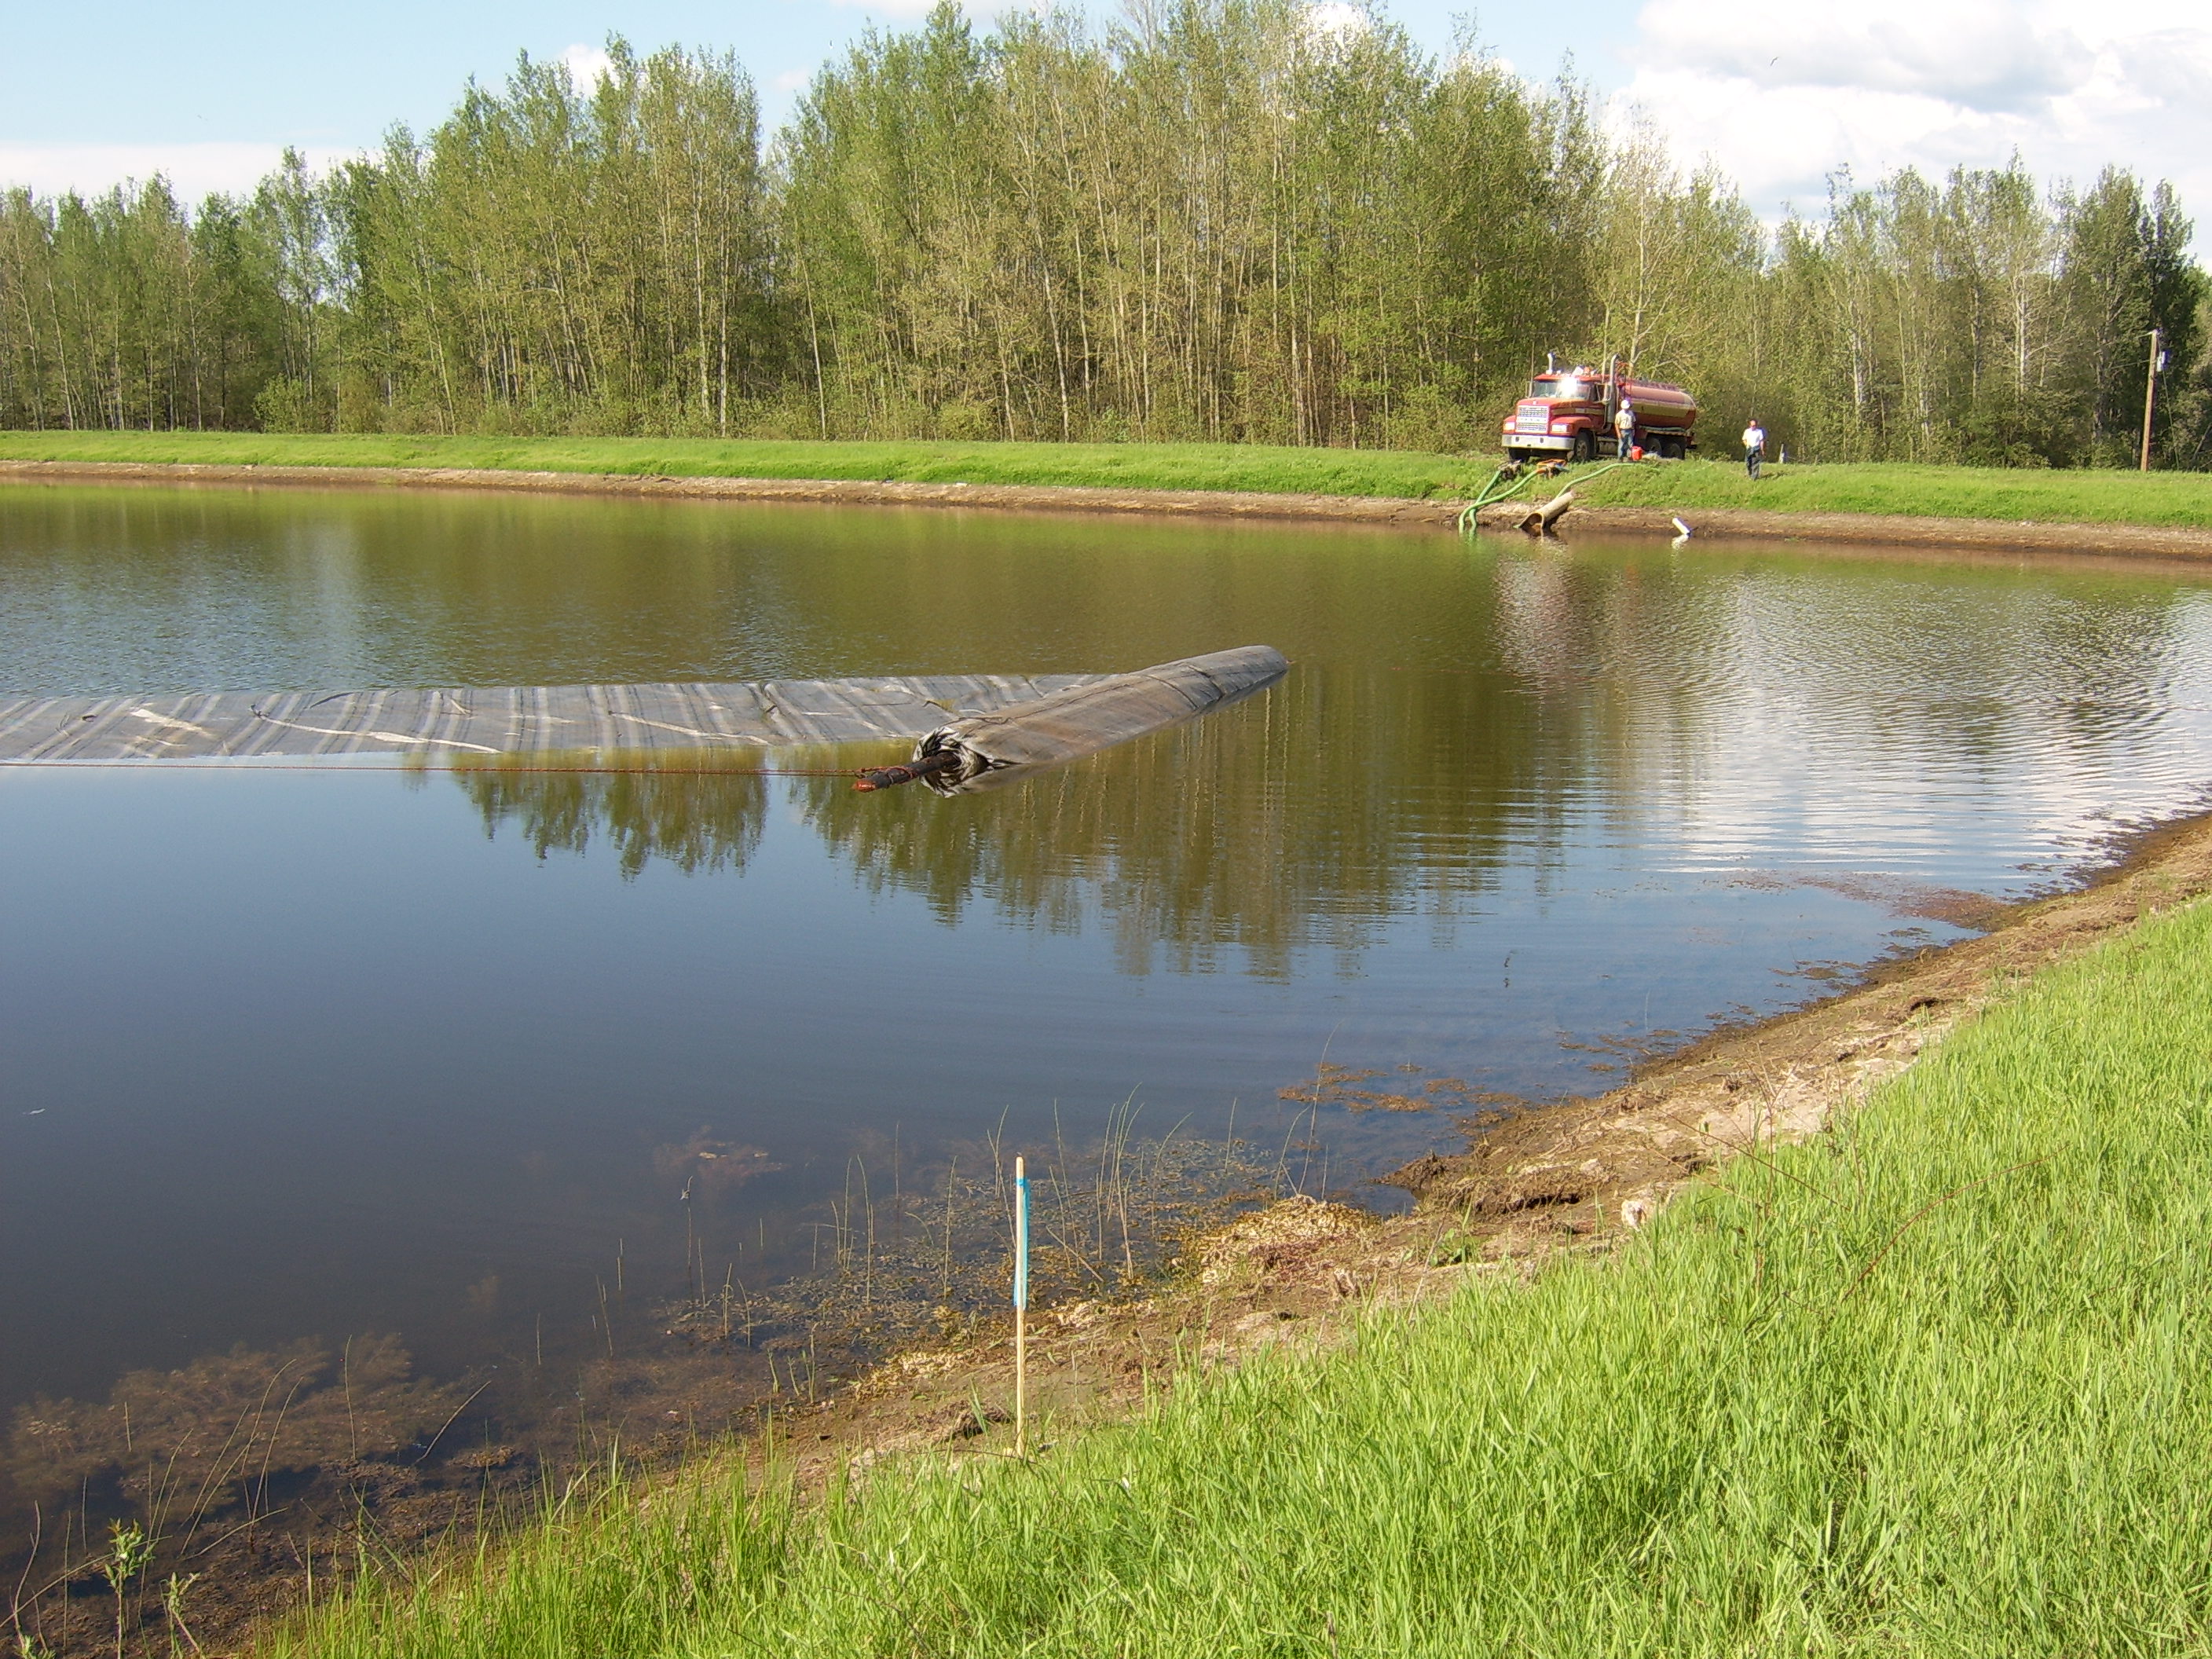
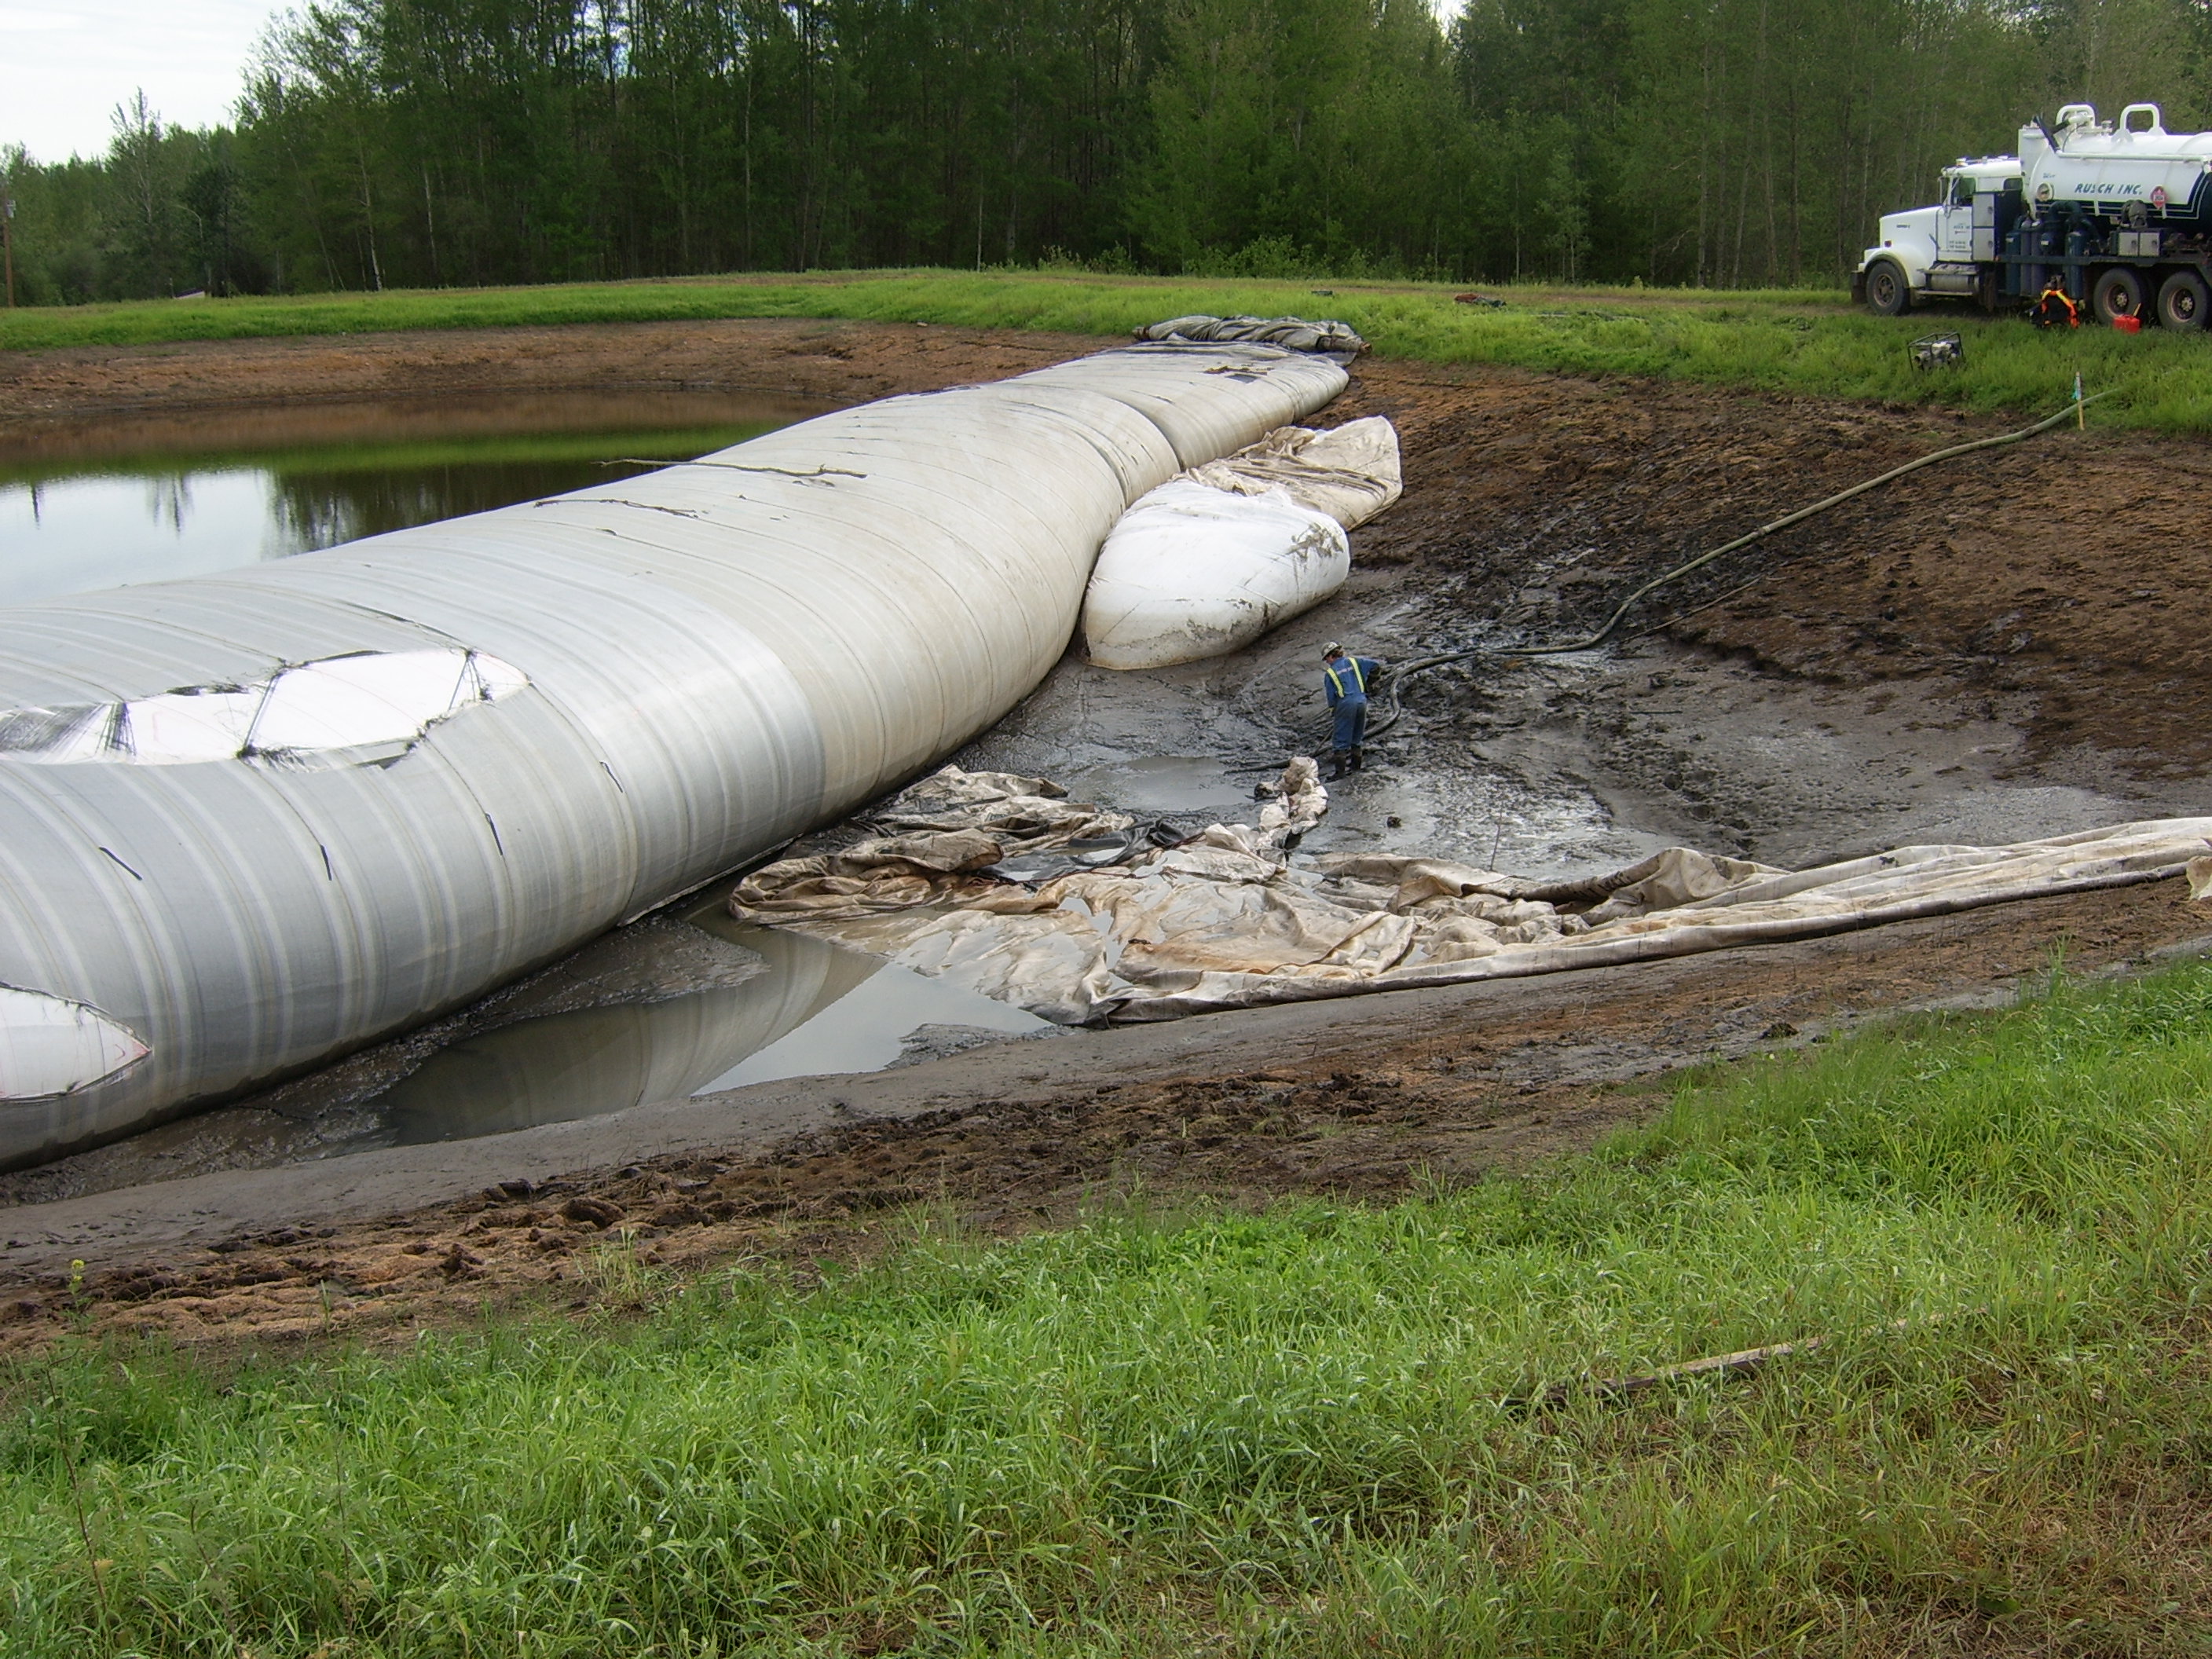
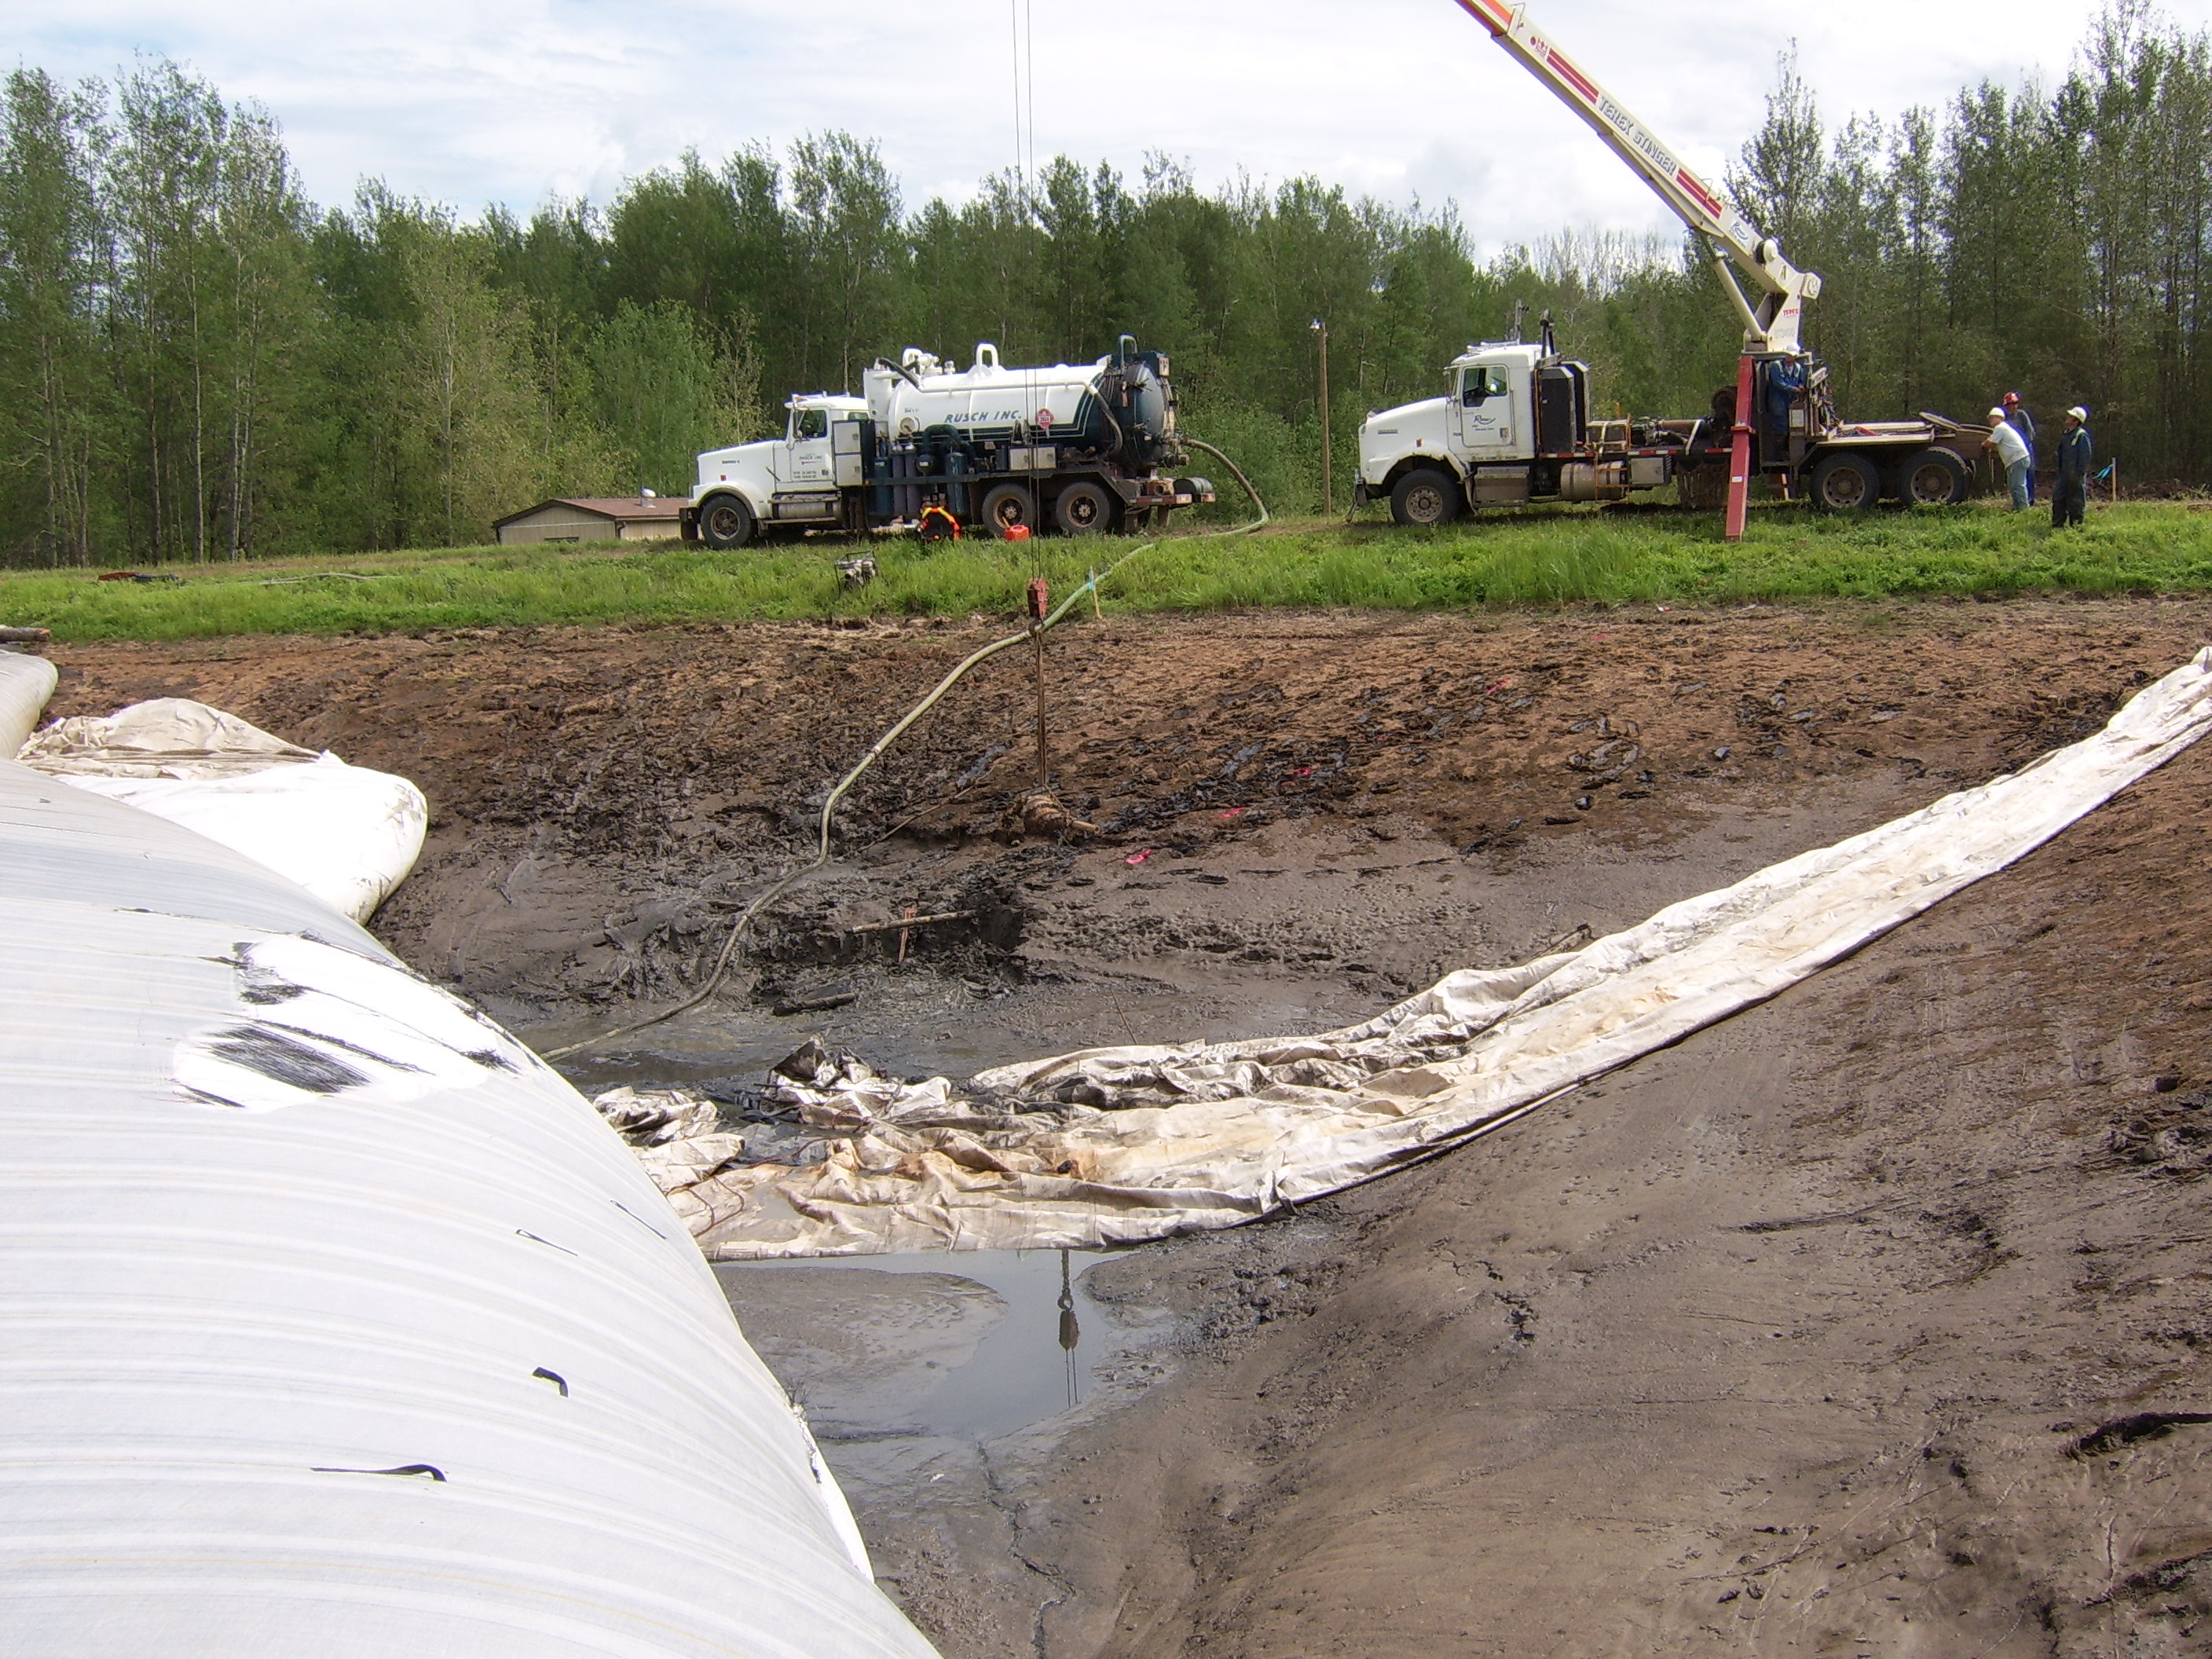
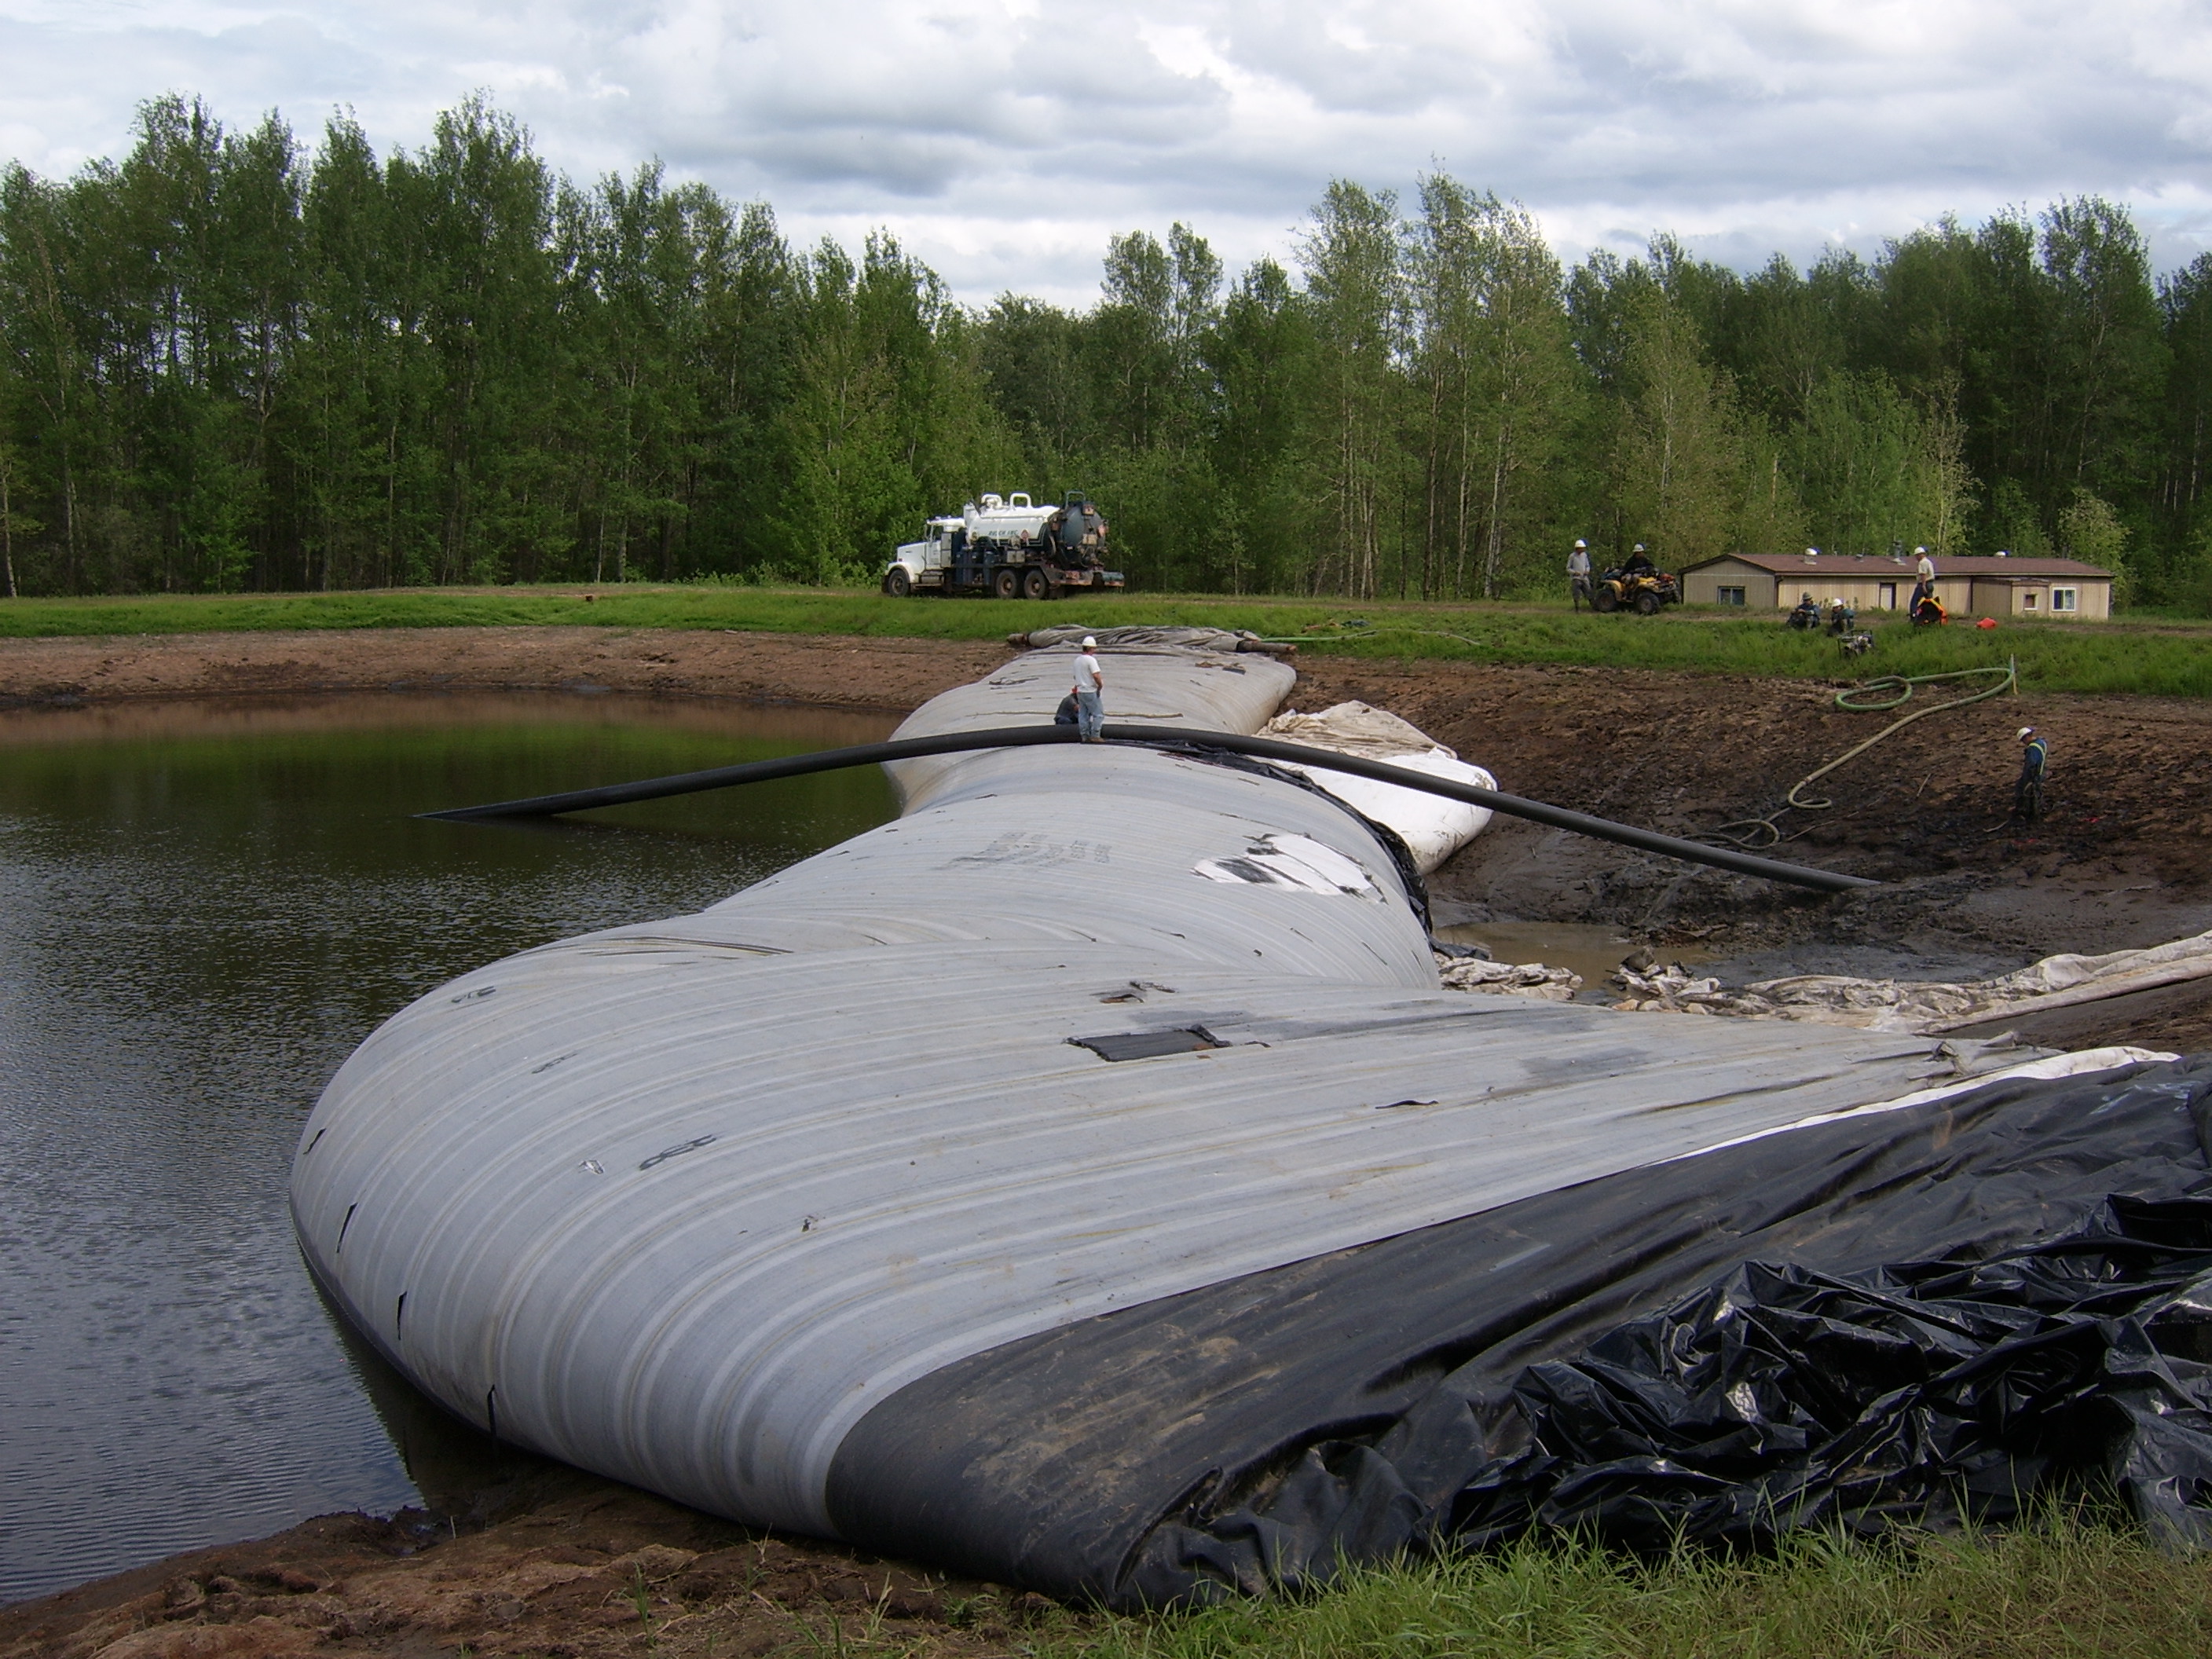
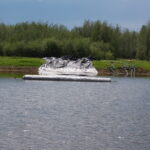
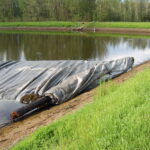
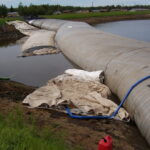
1.) This job called for a 200ft long by 12ft high AquaDam (big black roll), and (2) 8ft high AquaDams (white rolls) used as backup AquaDams.
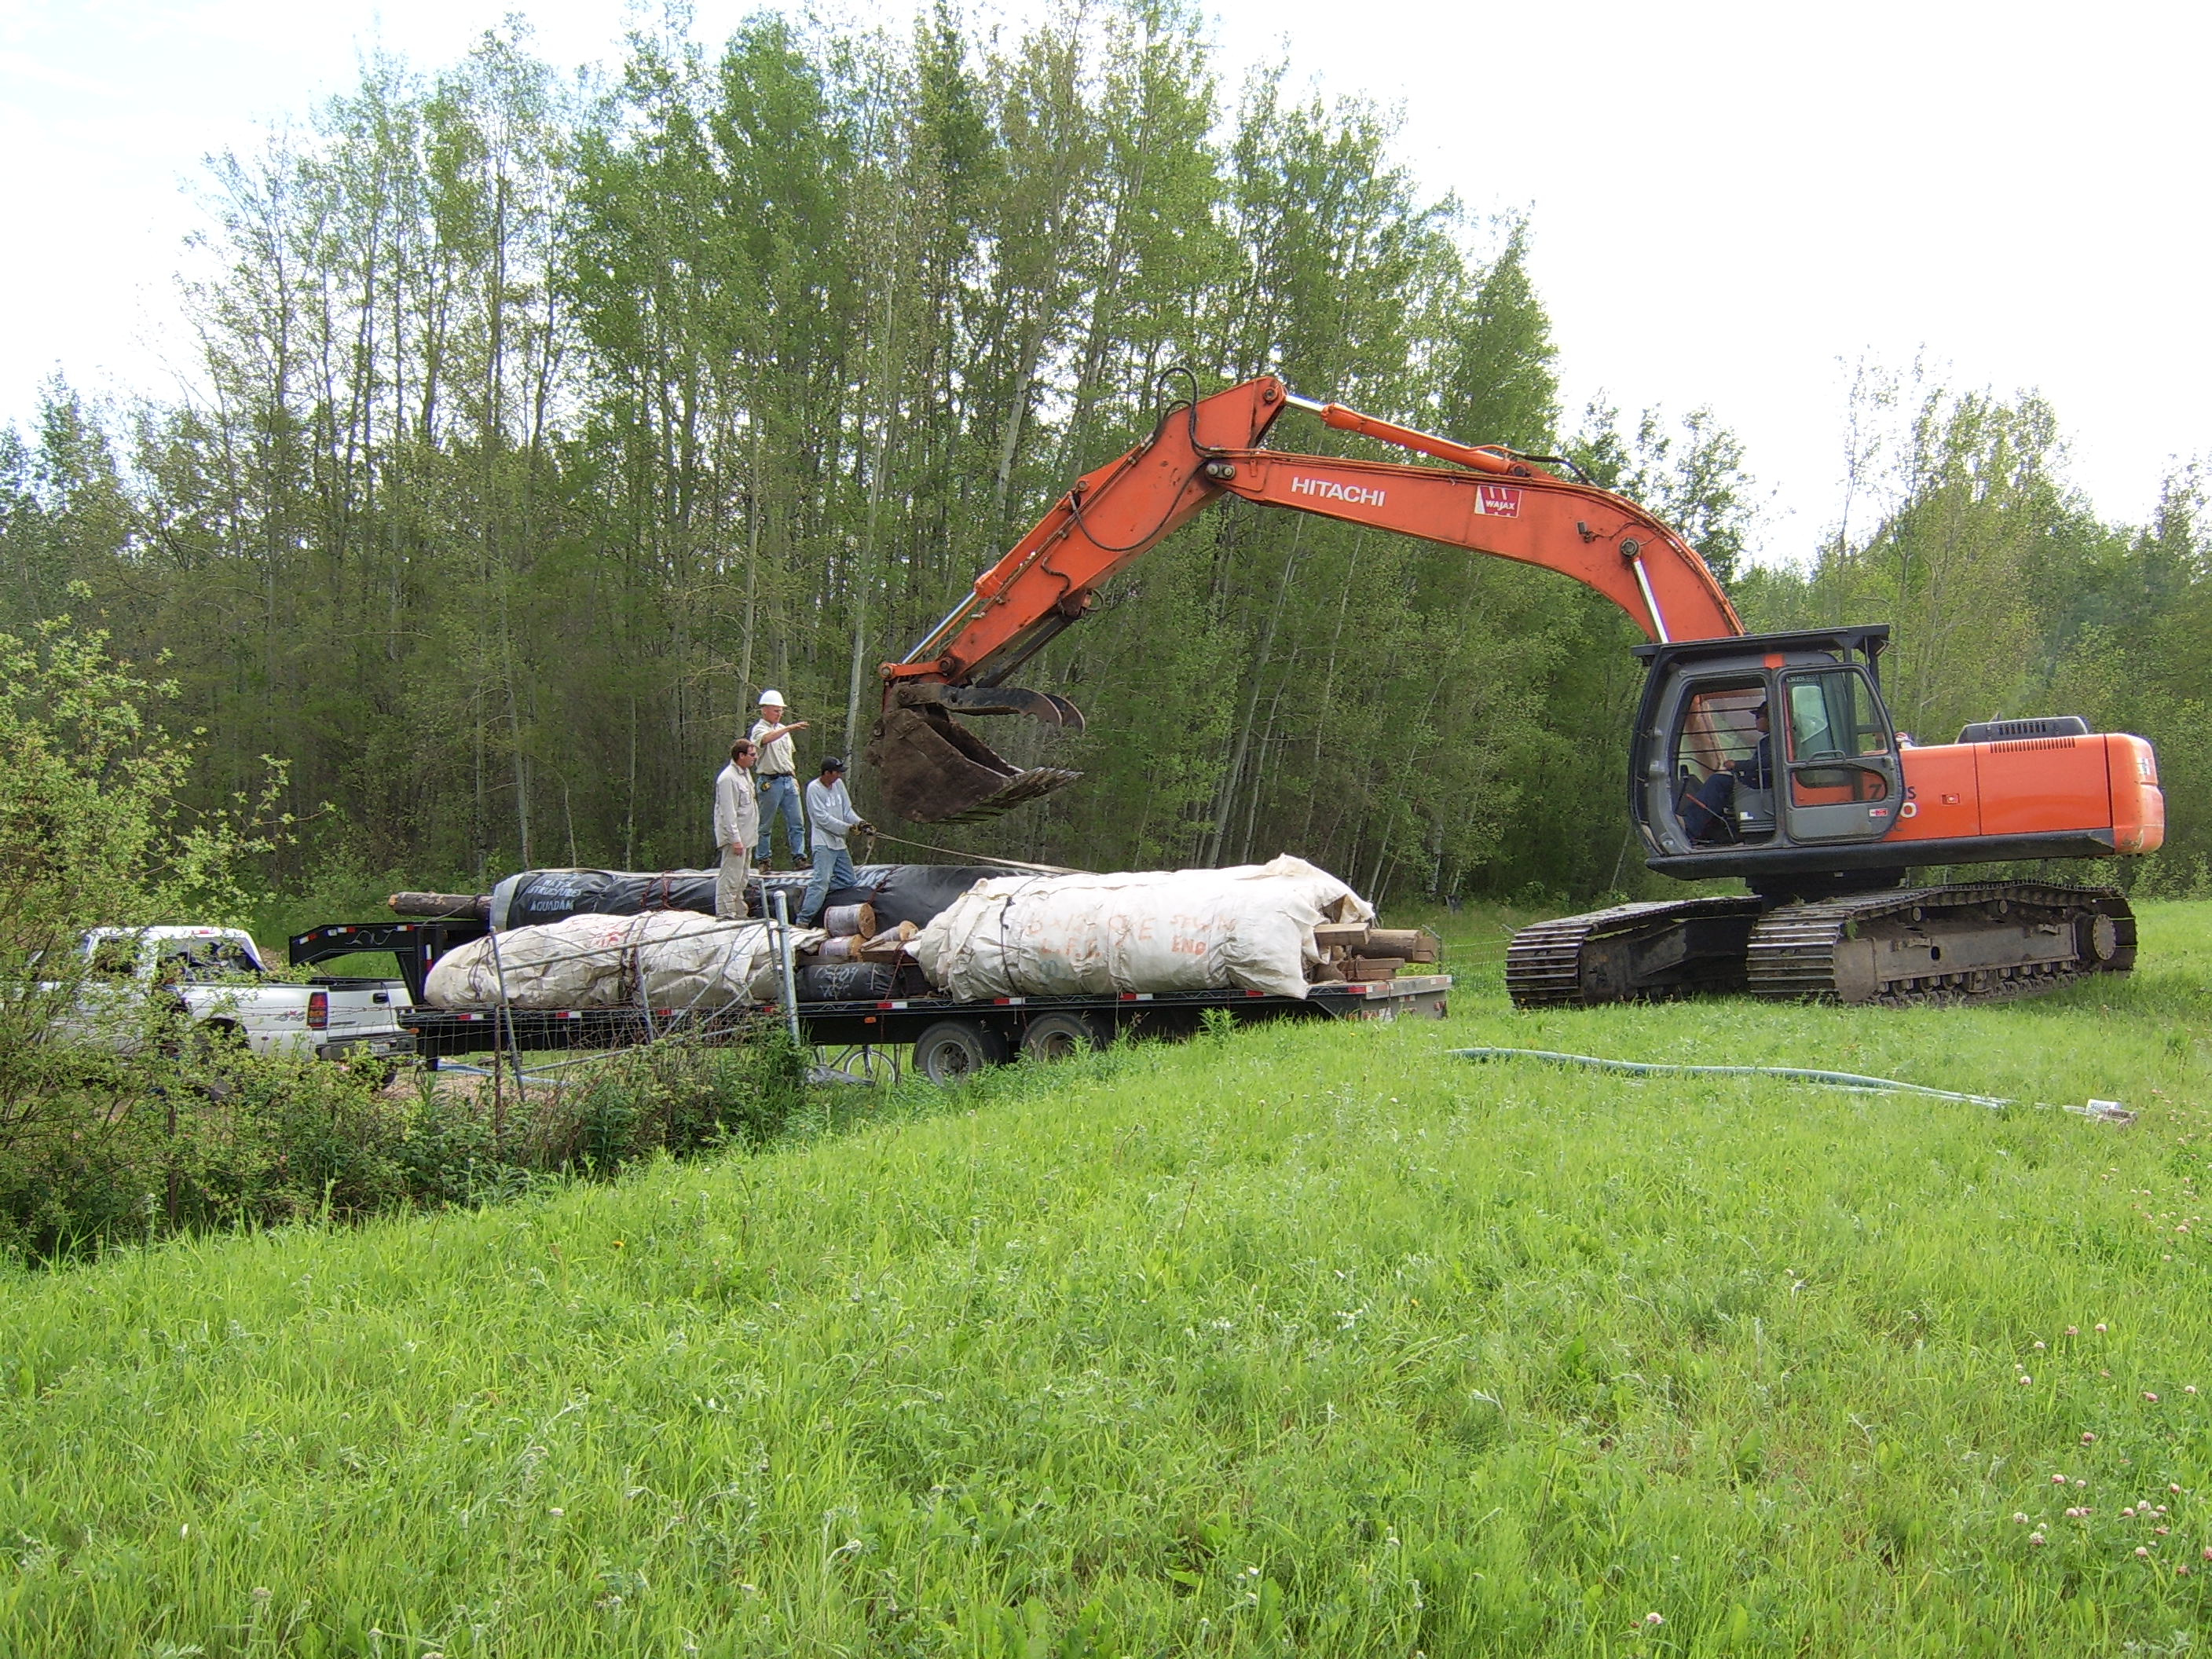
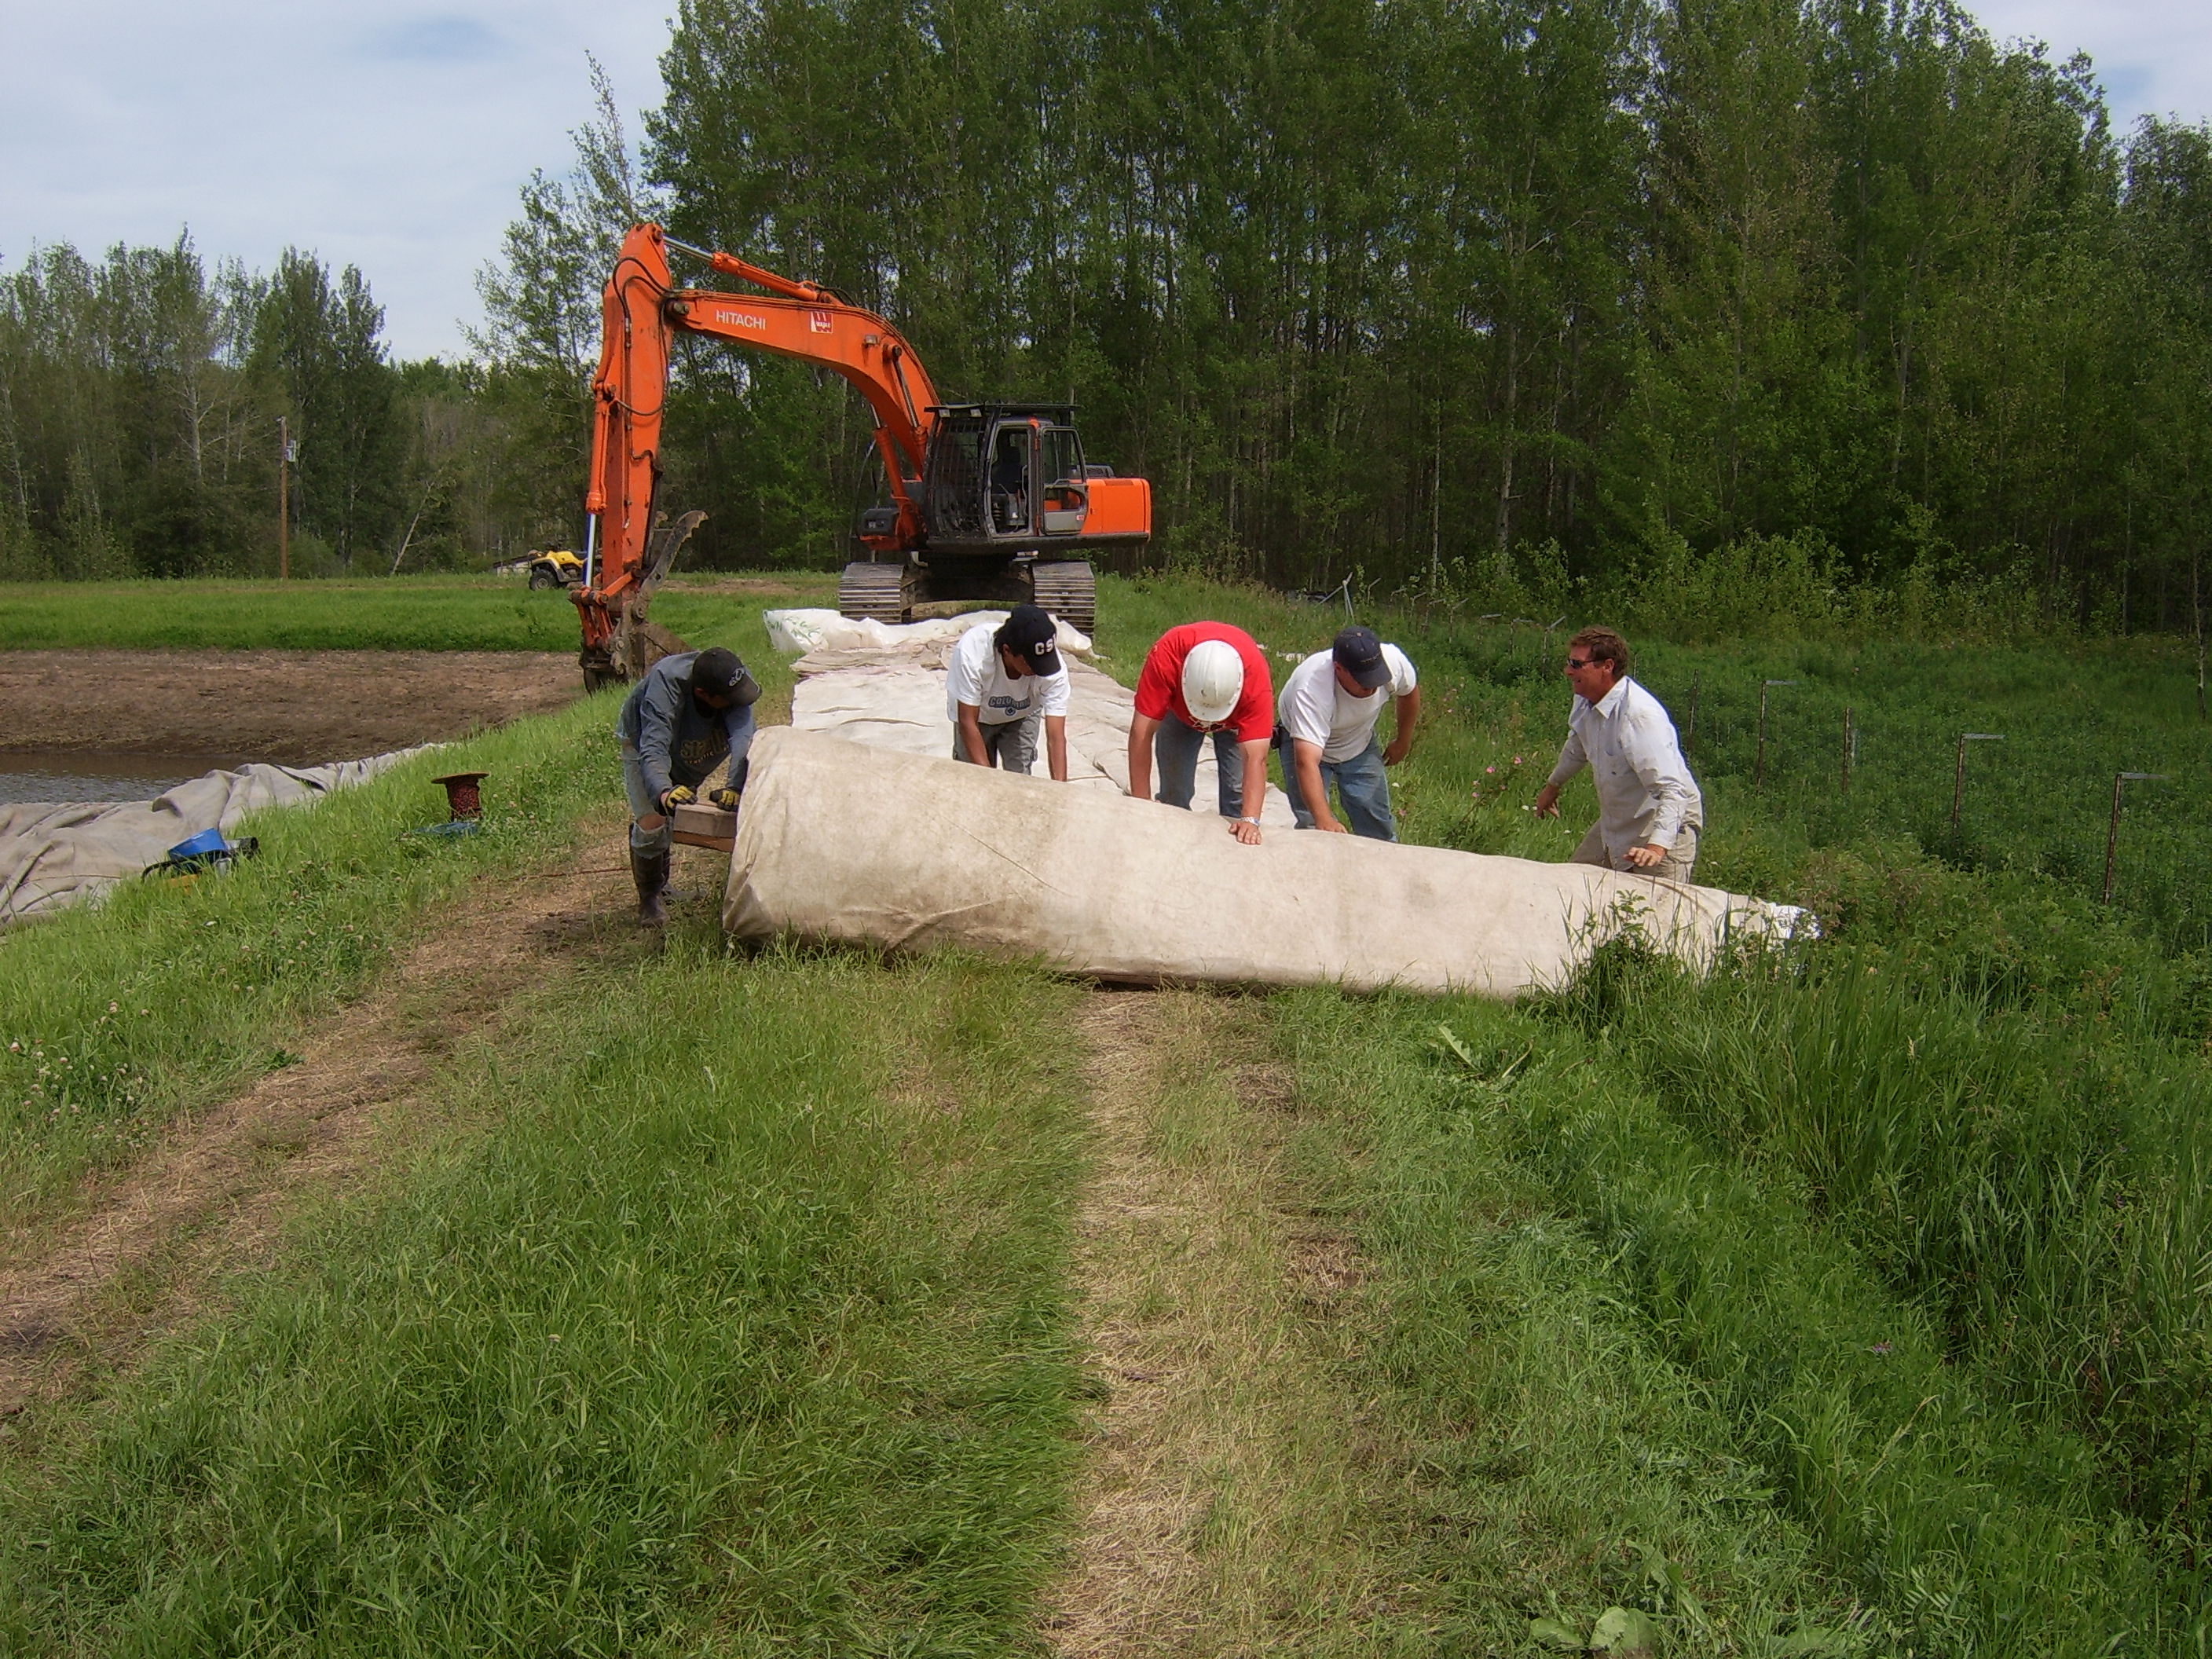
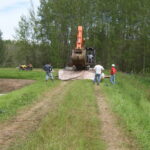
2.) Heavy equipment is an AquaDams best friend, provided the operator is skilled enough to not snag/tear the material of the AquaDam.
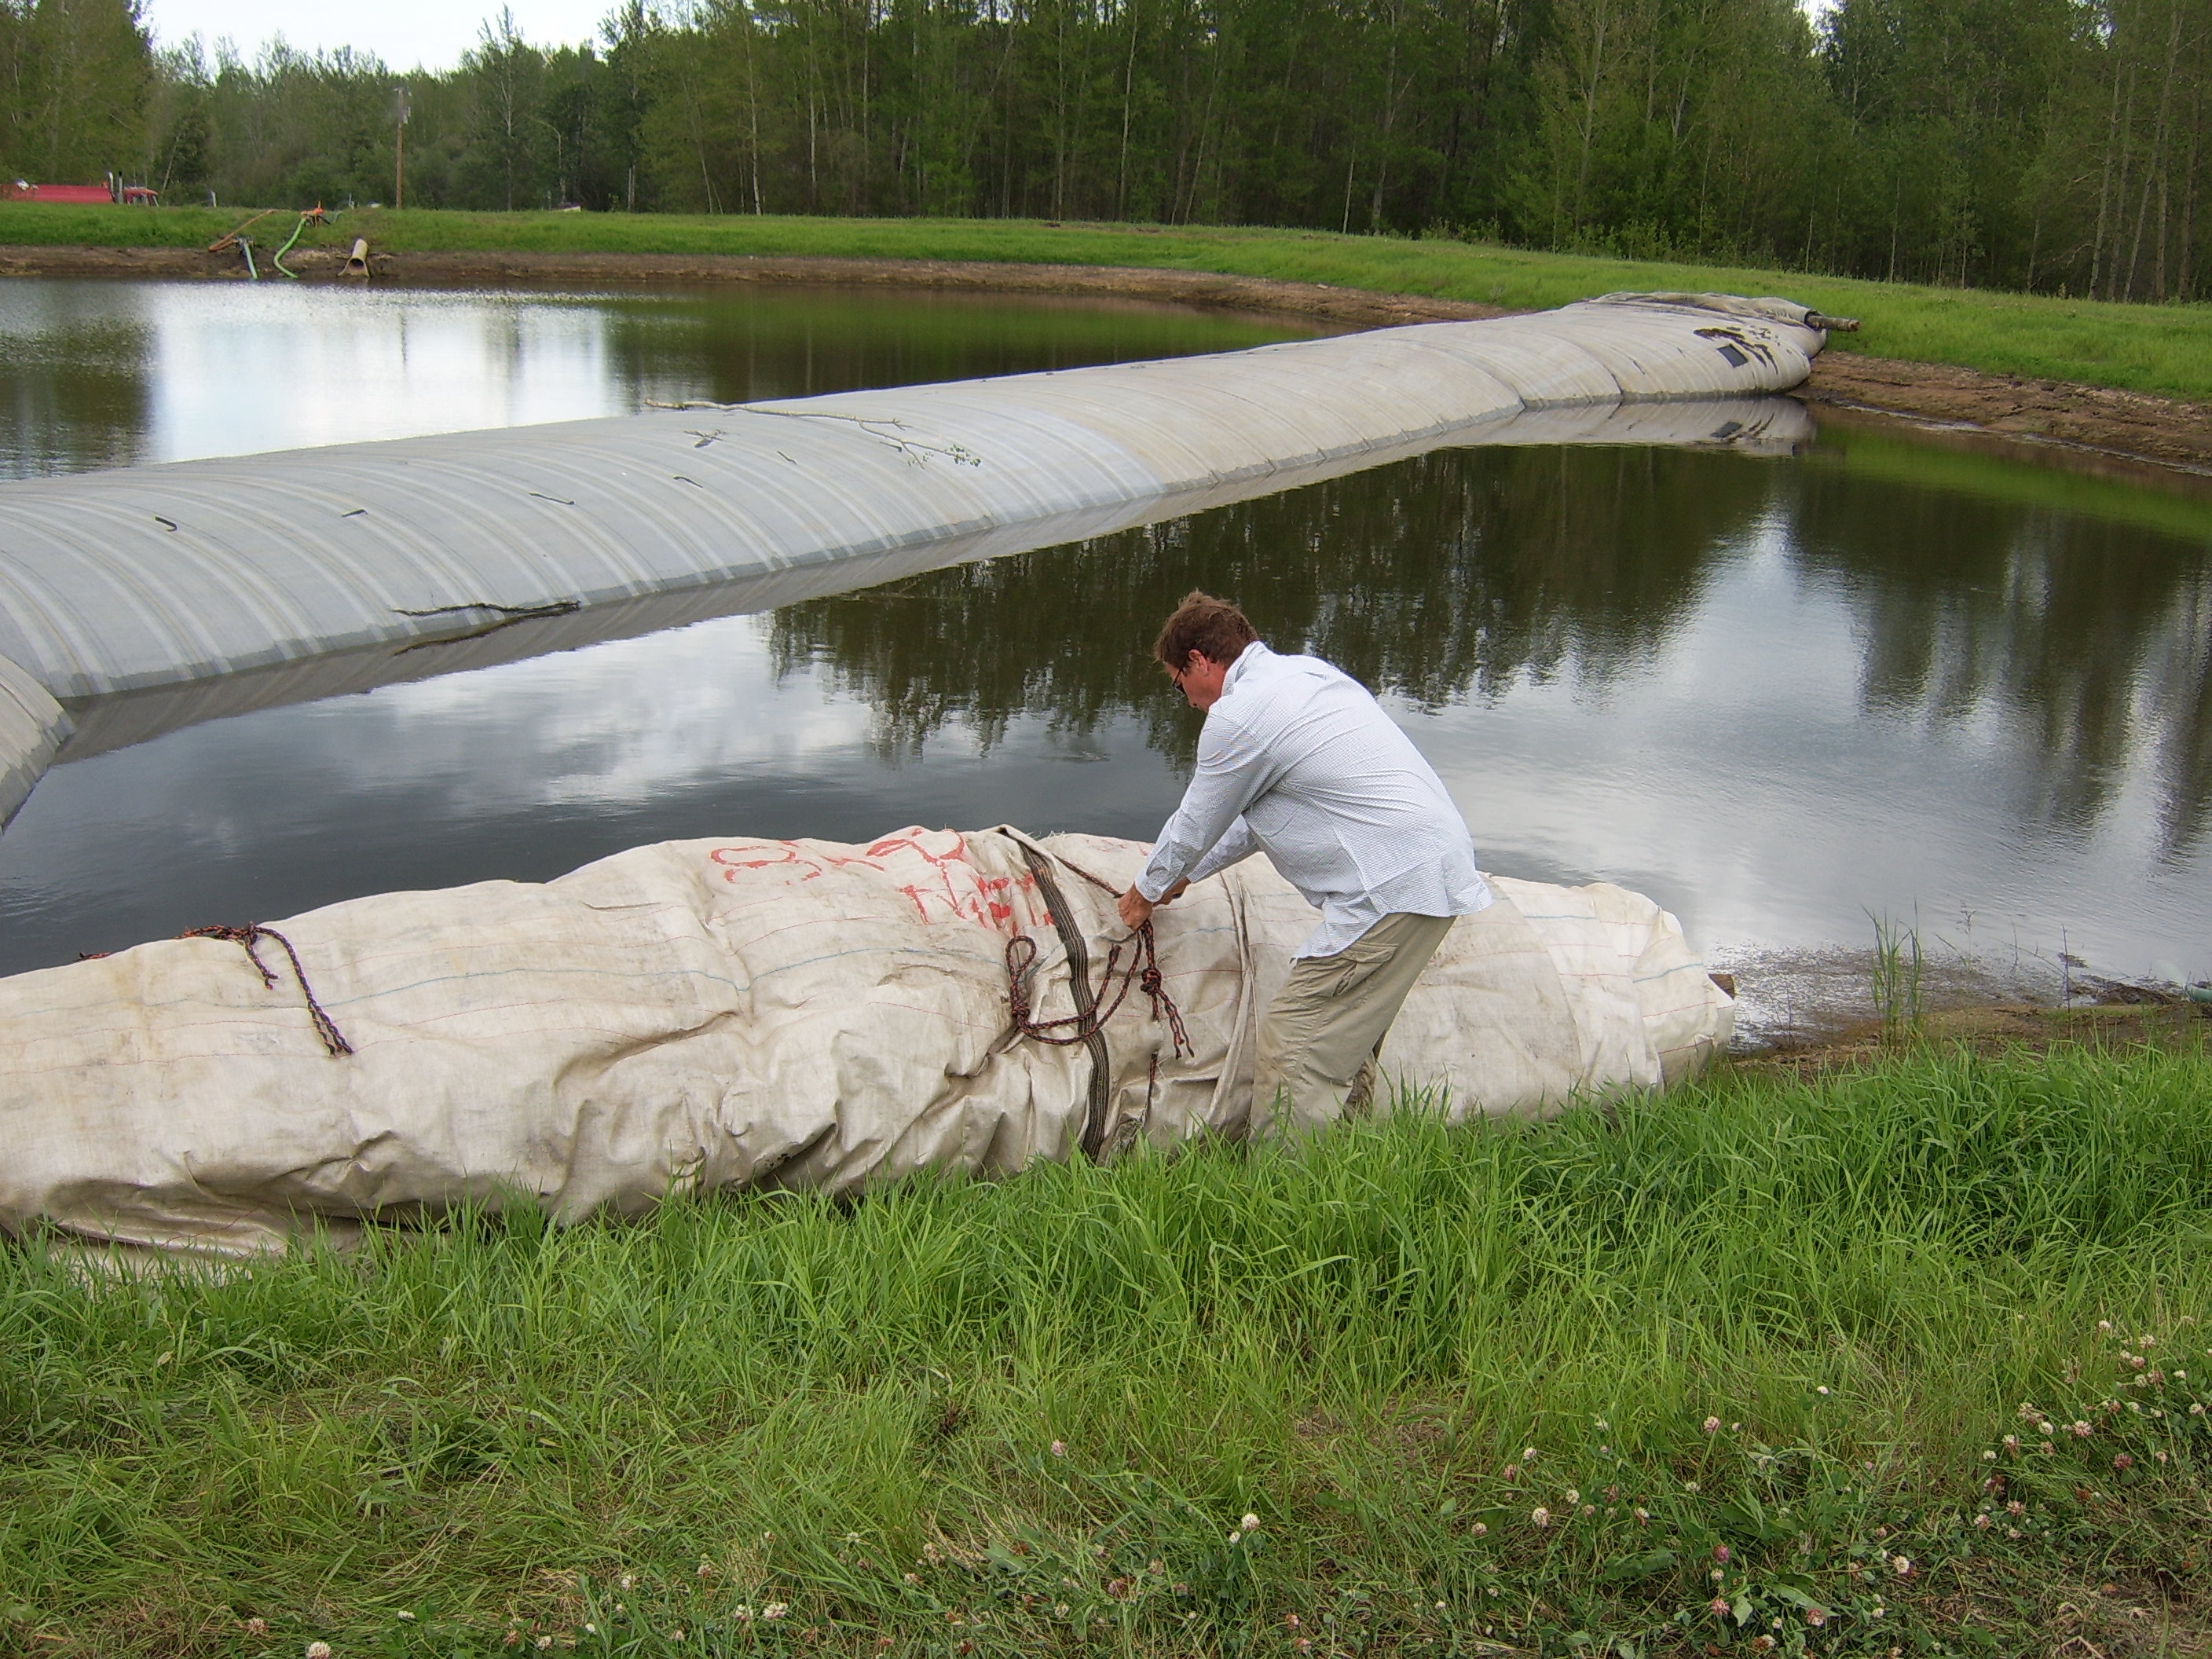
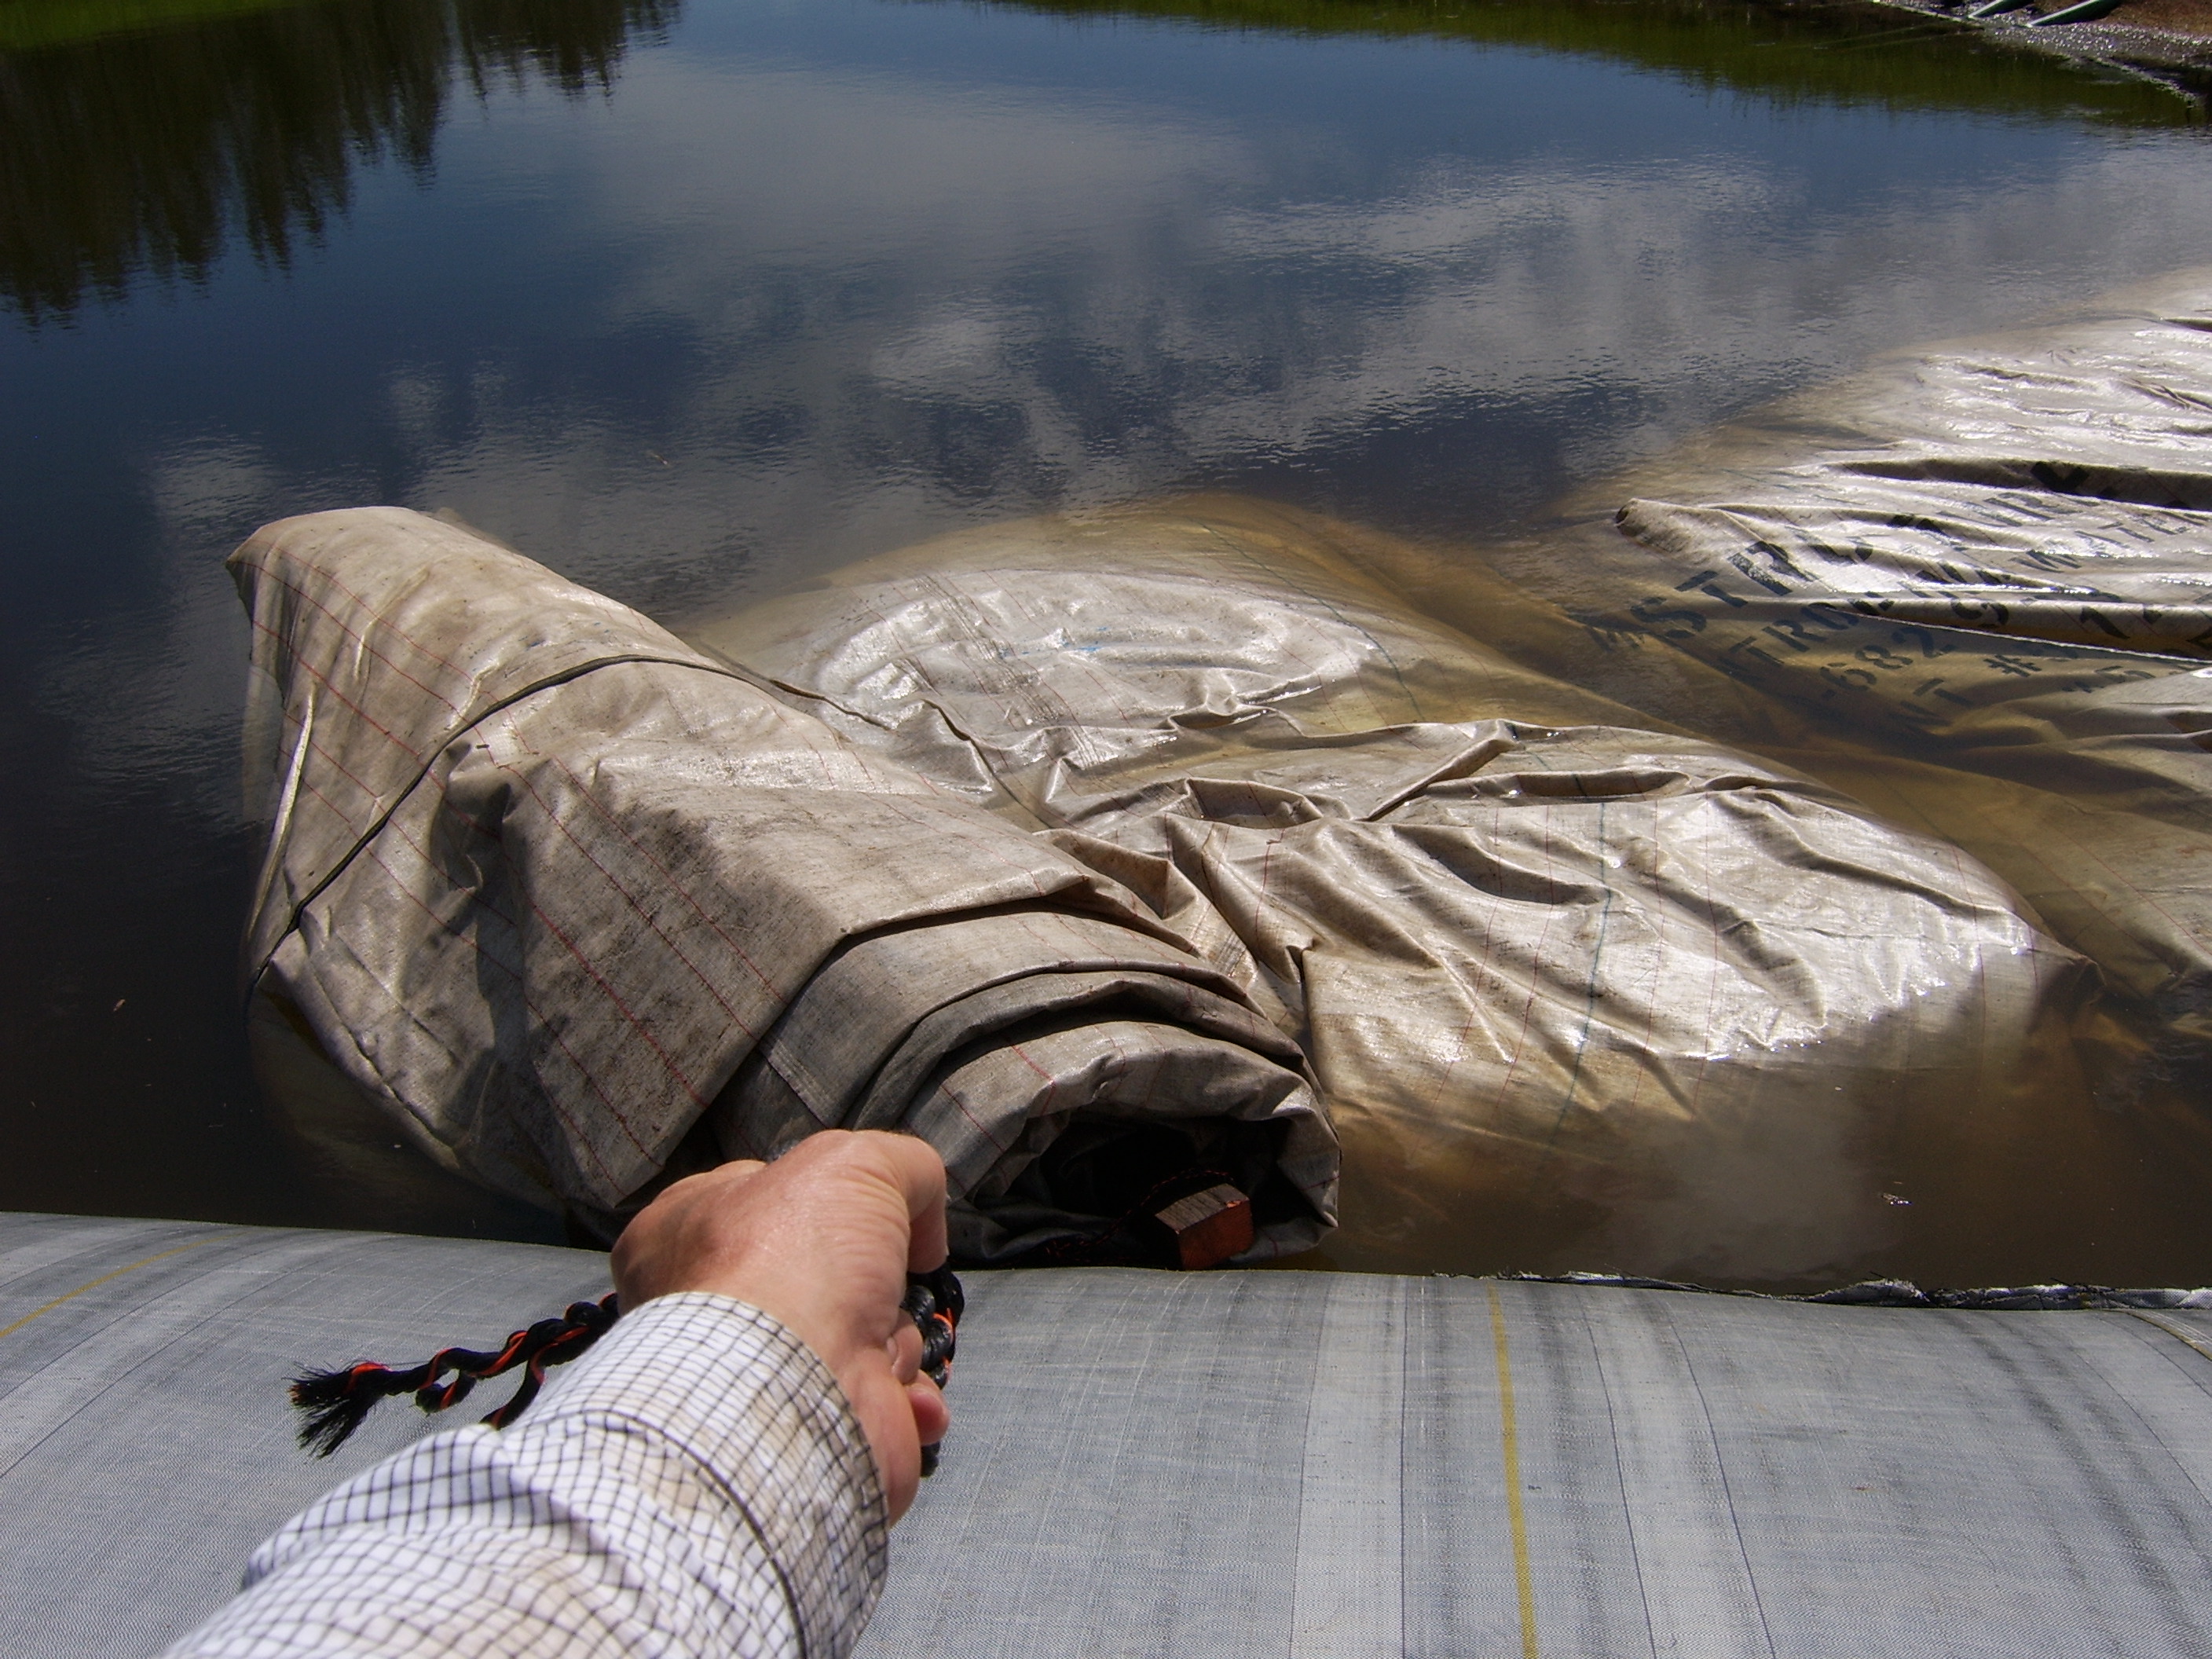
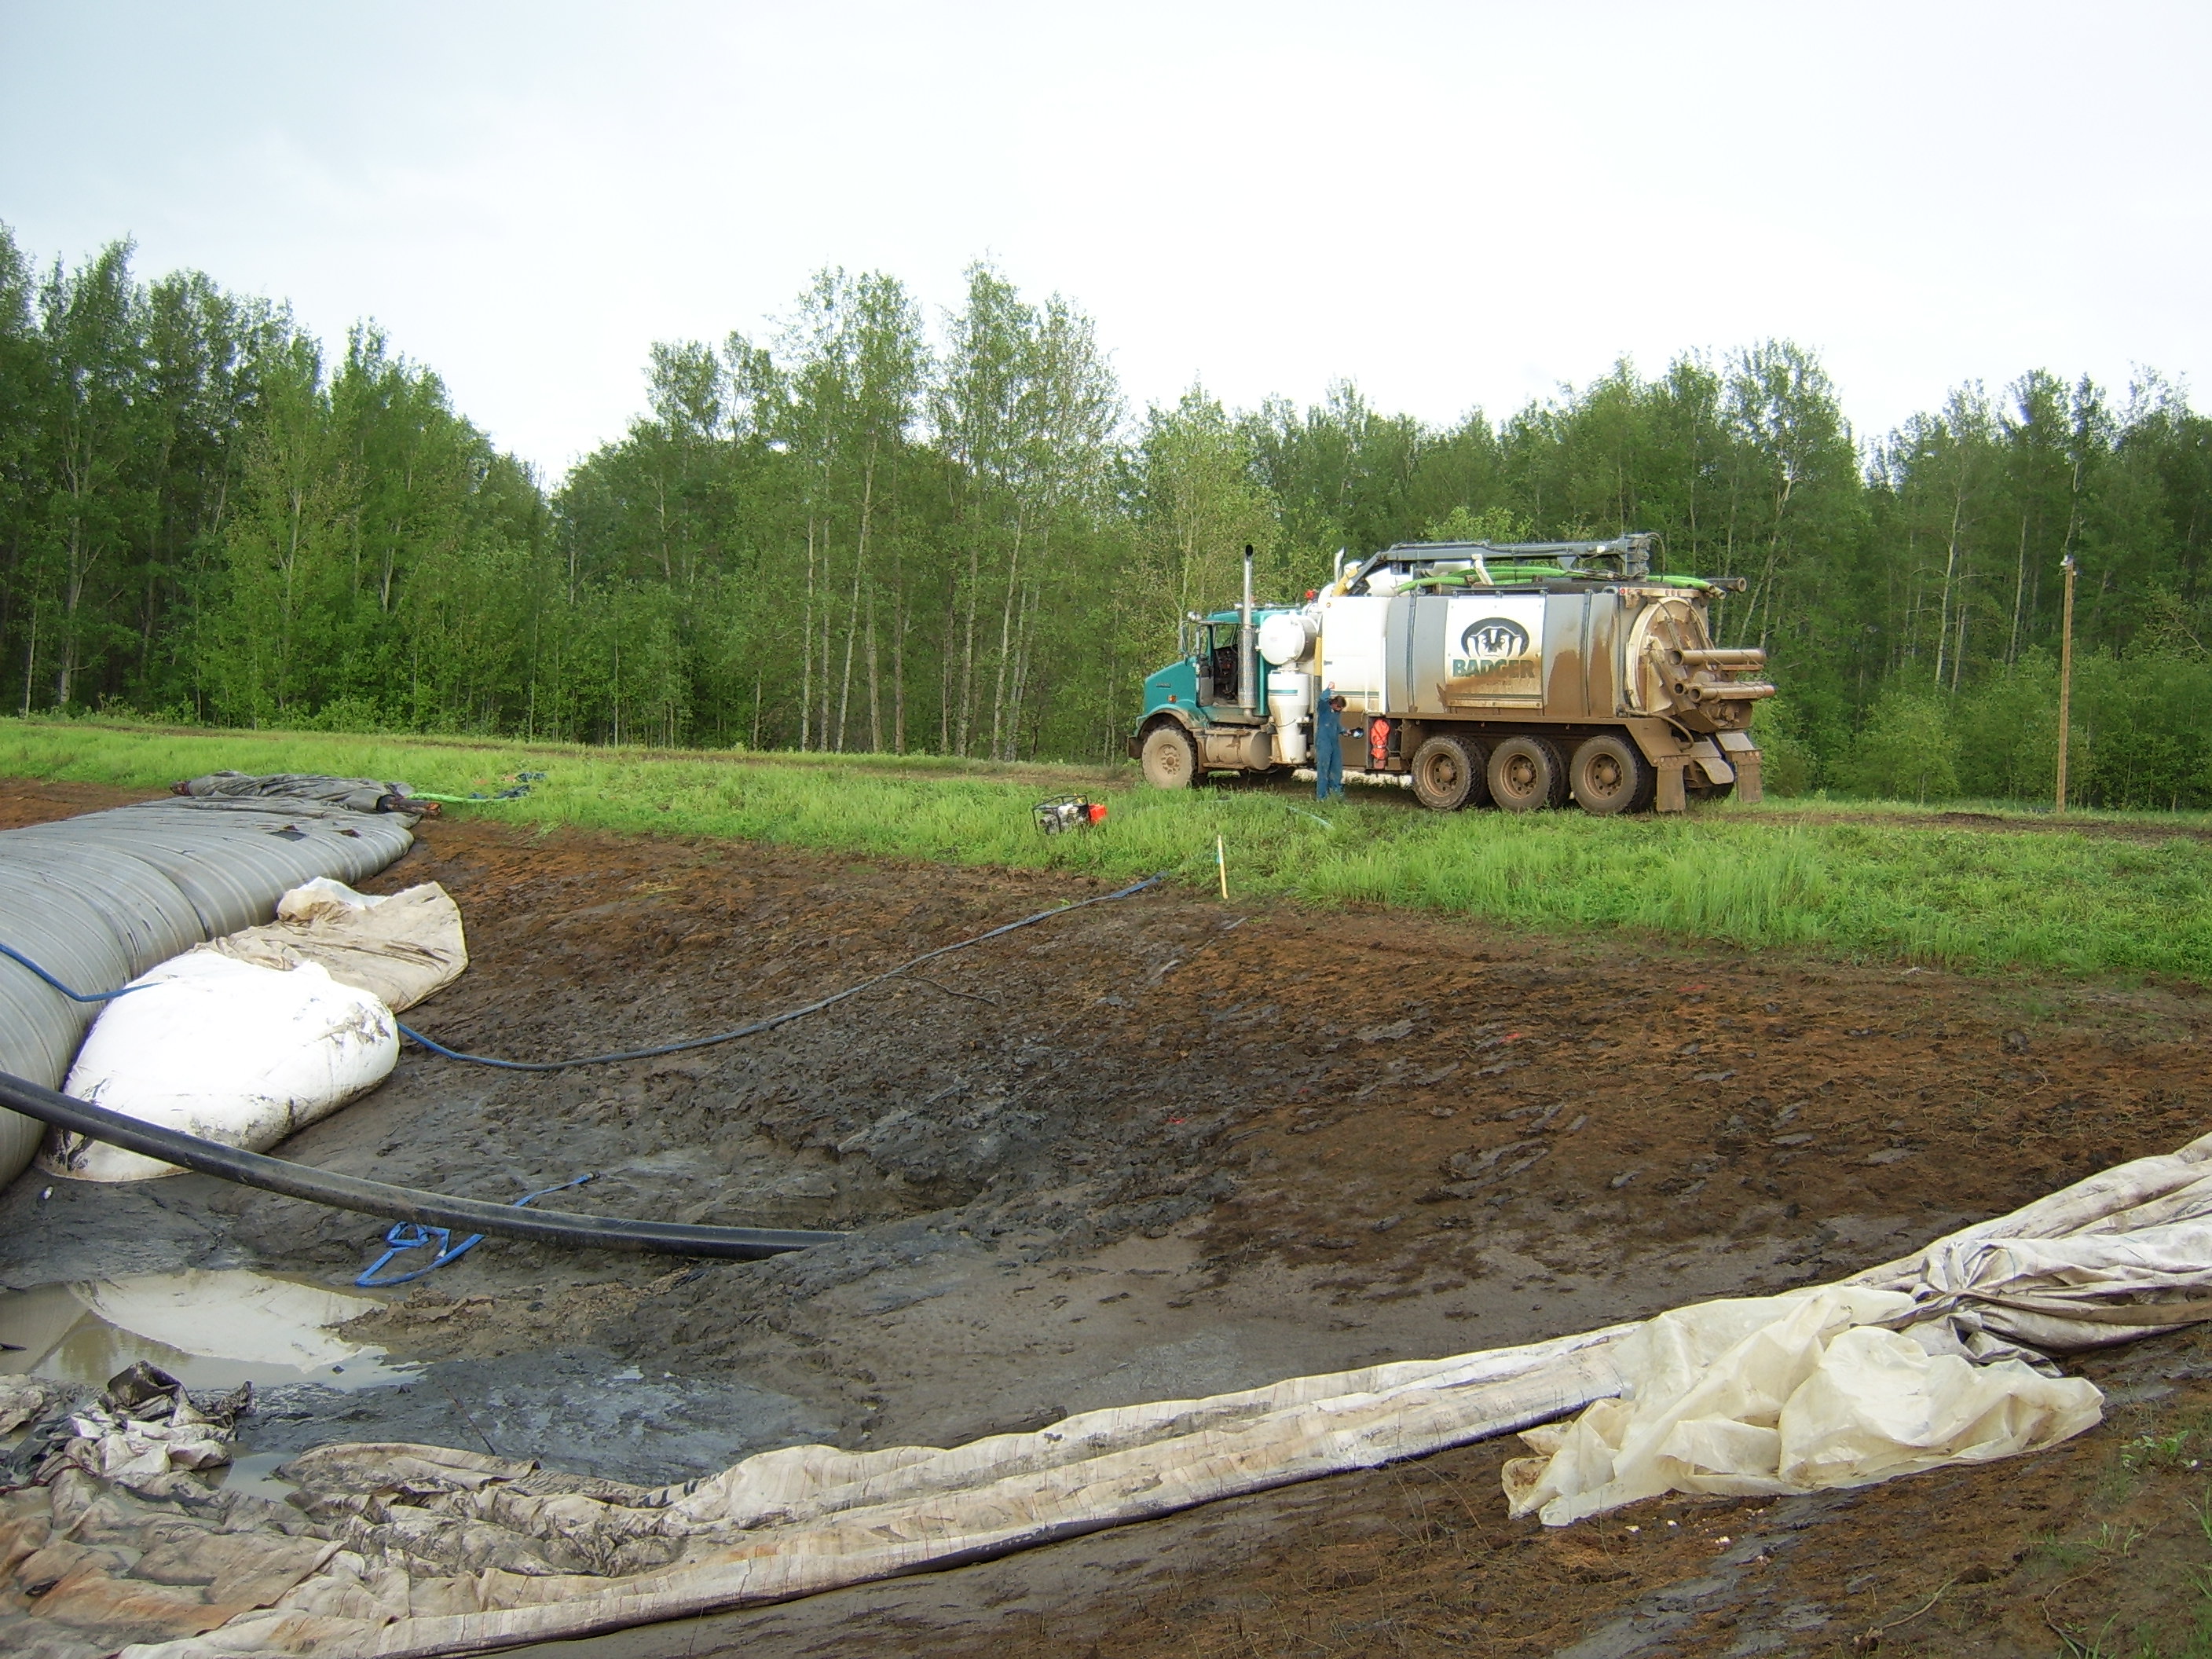
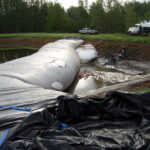
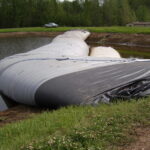
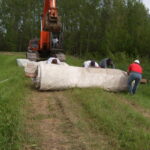
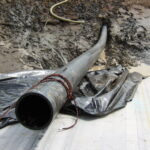
3.) AquaDams are shipped rolled-up like a carpet roll, wrapped in a protective covering, and have lifting ropes/straps.
4.) AquaDams come rolled on wooden beams. This way, they are as compact as possible, as well as being able to float during installation.
5.) Slow and steady is the key when dealing with AquaDams. Nothing good happens quickly. Take your time, and all will go well.
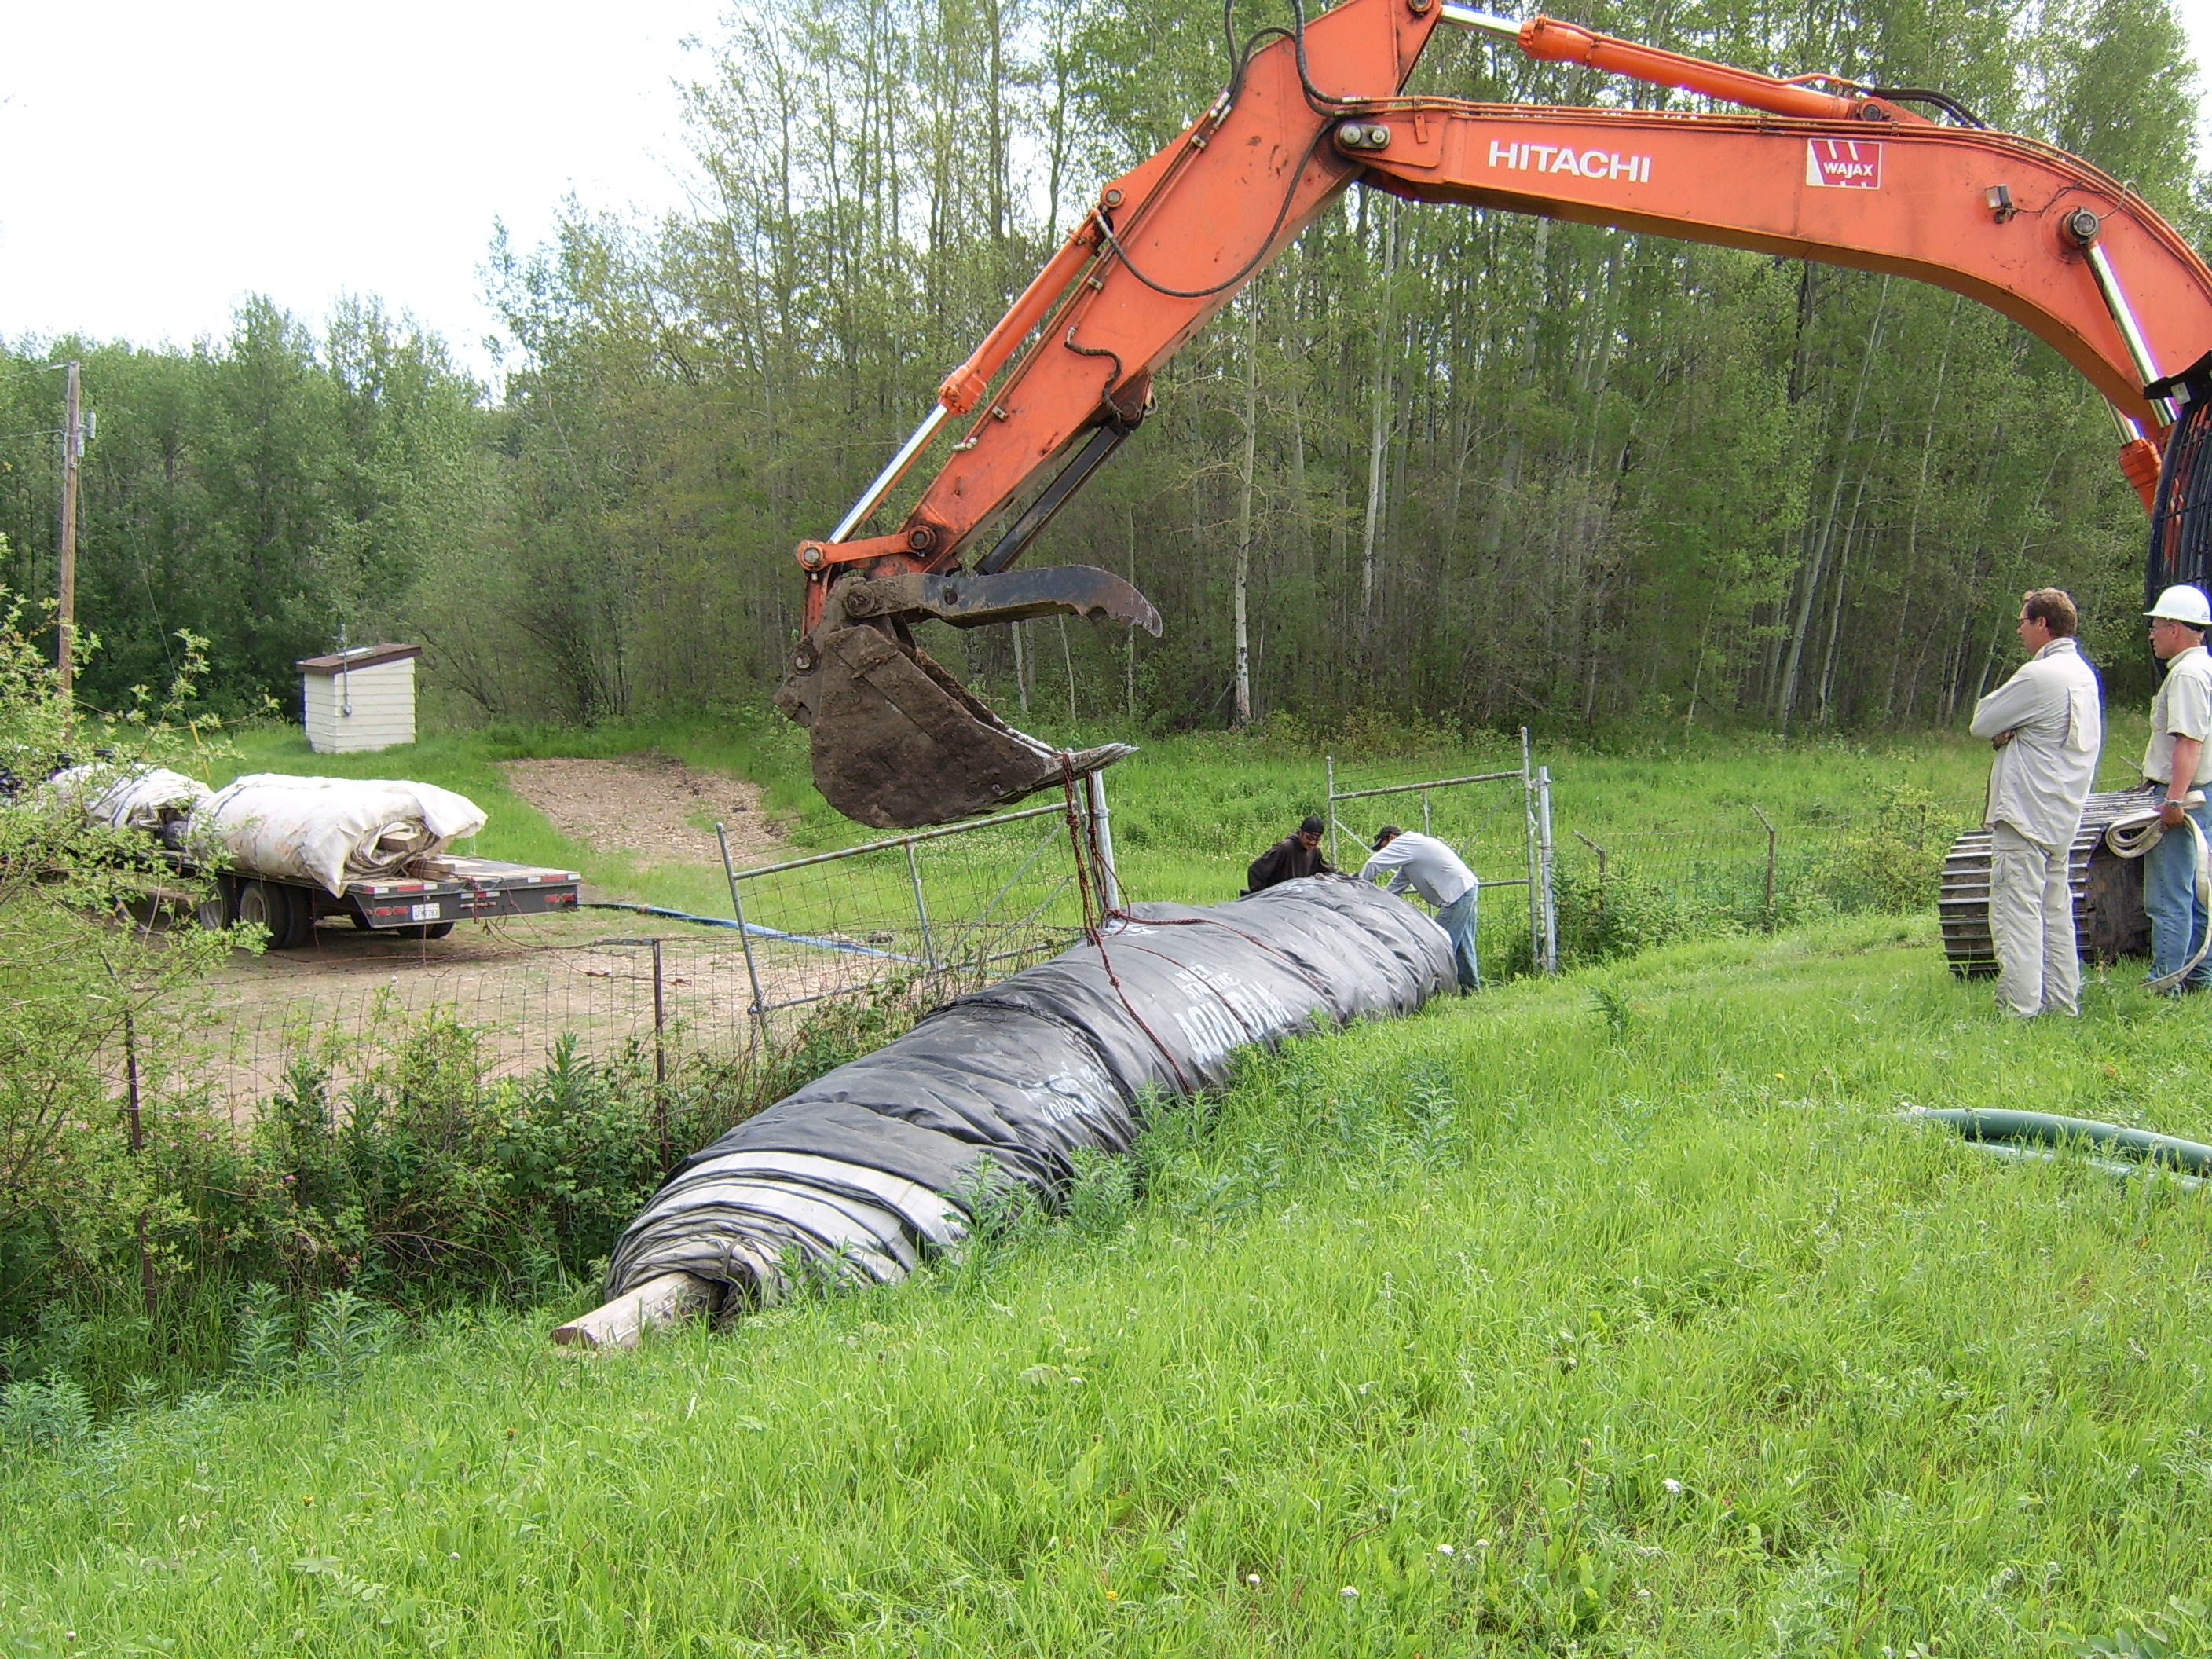
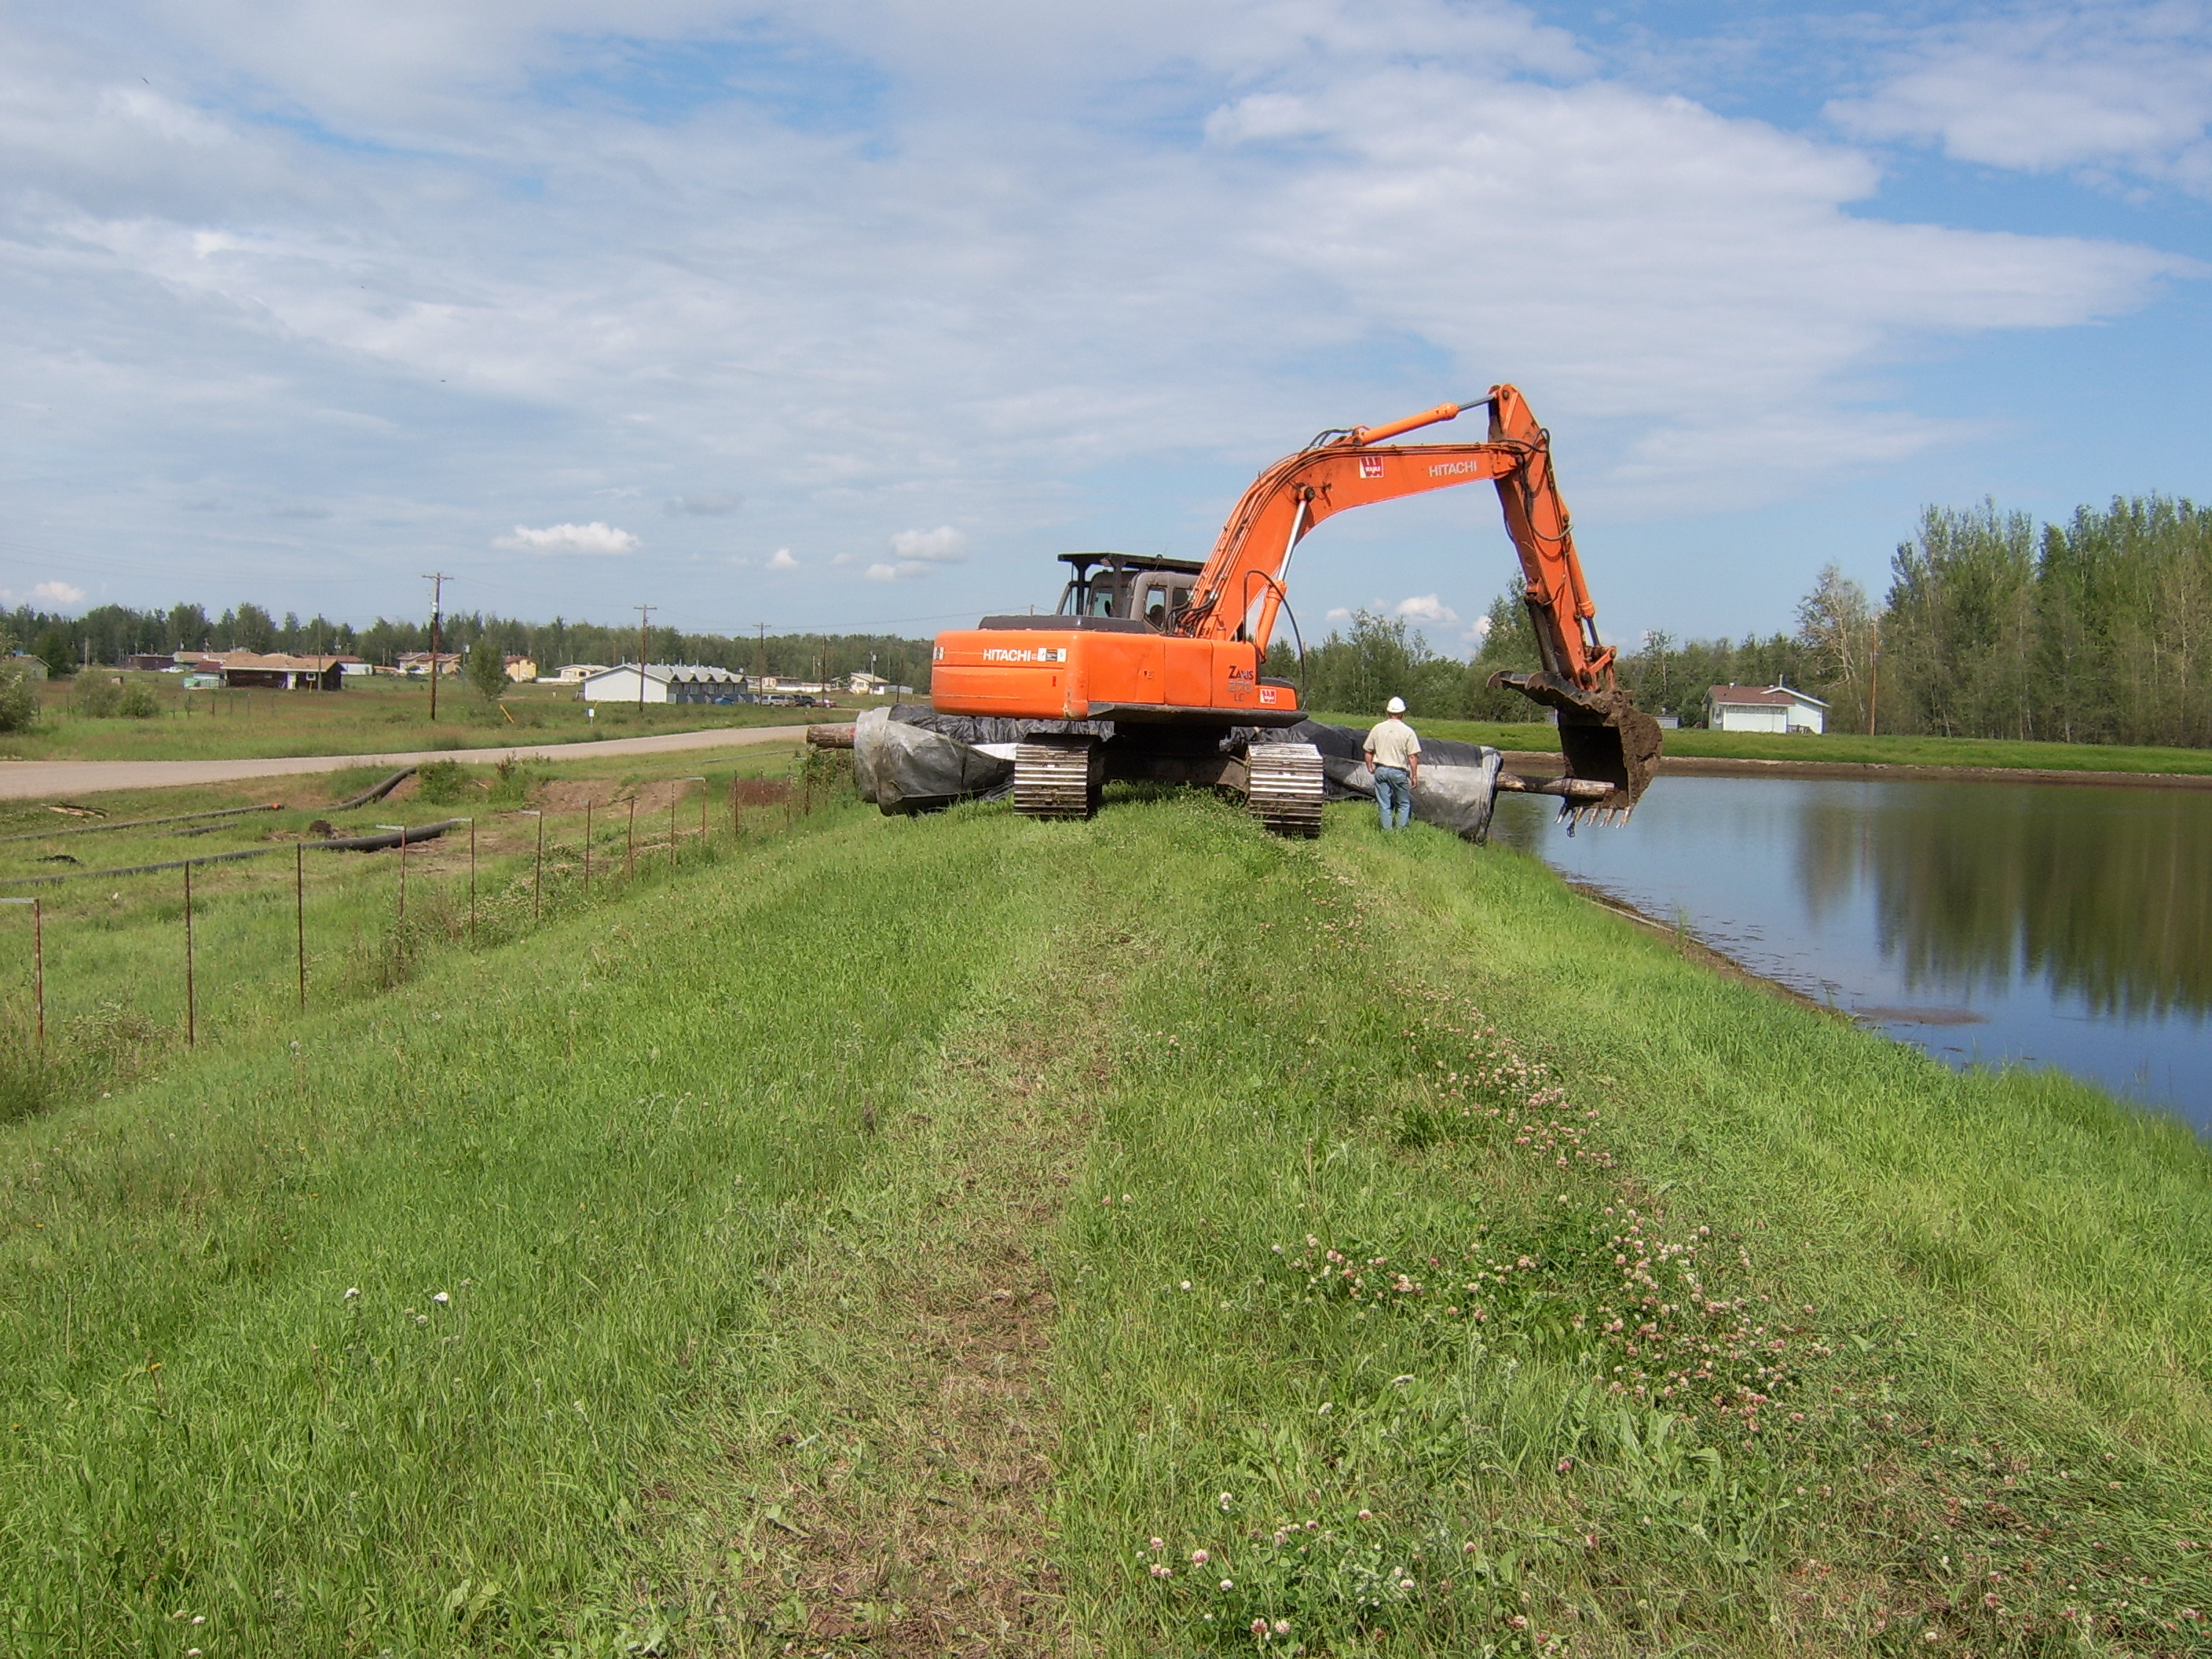
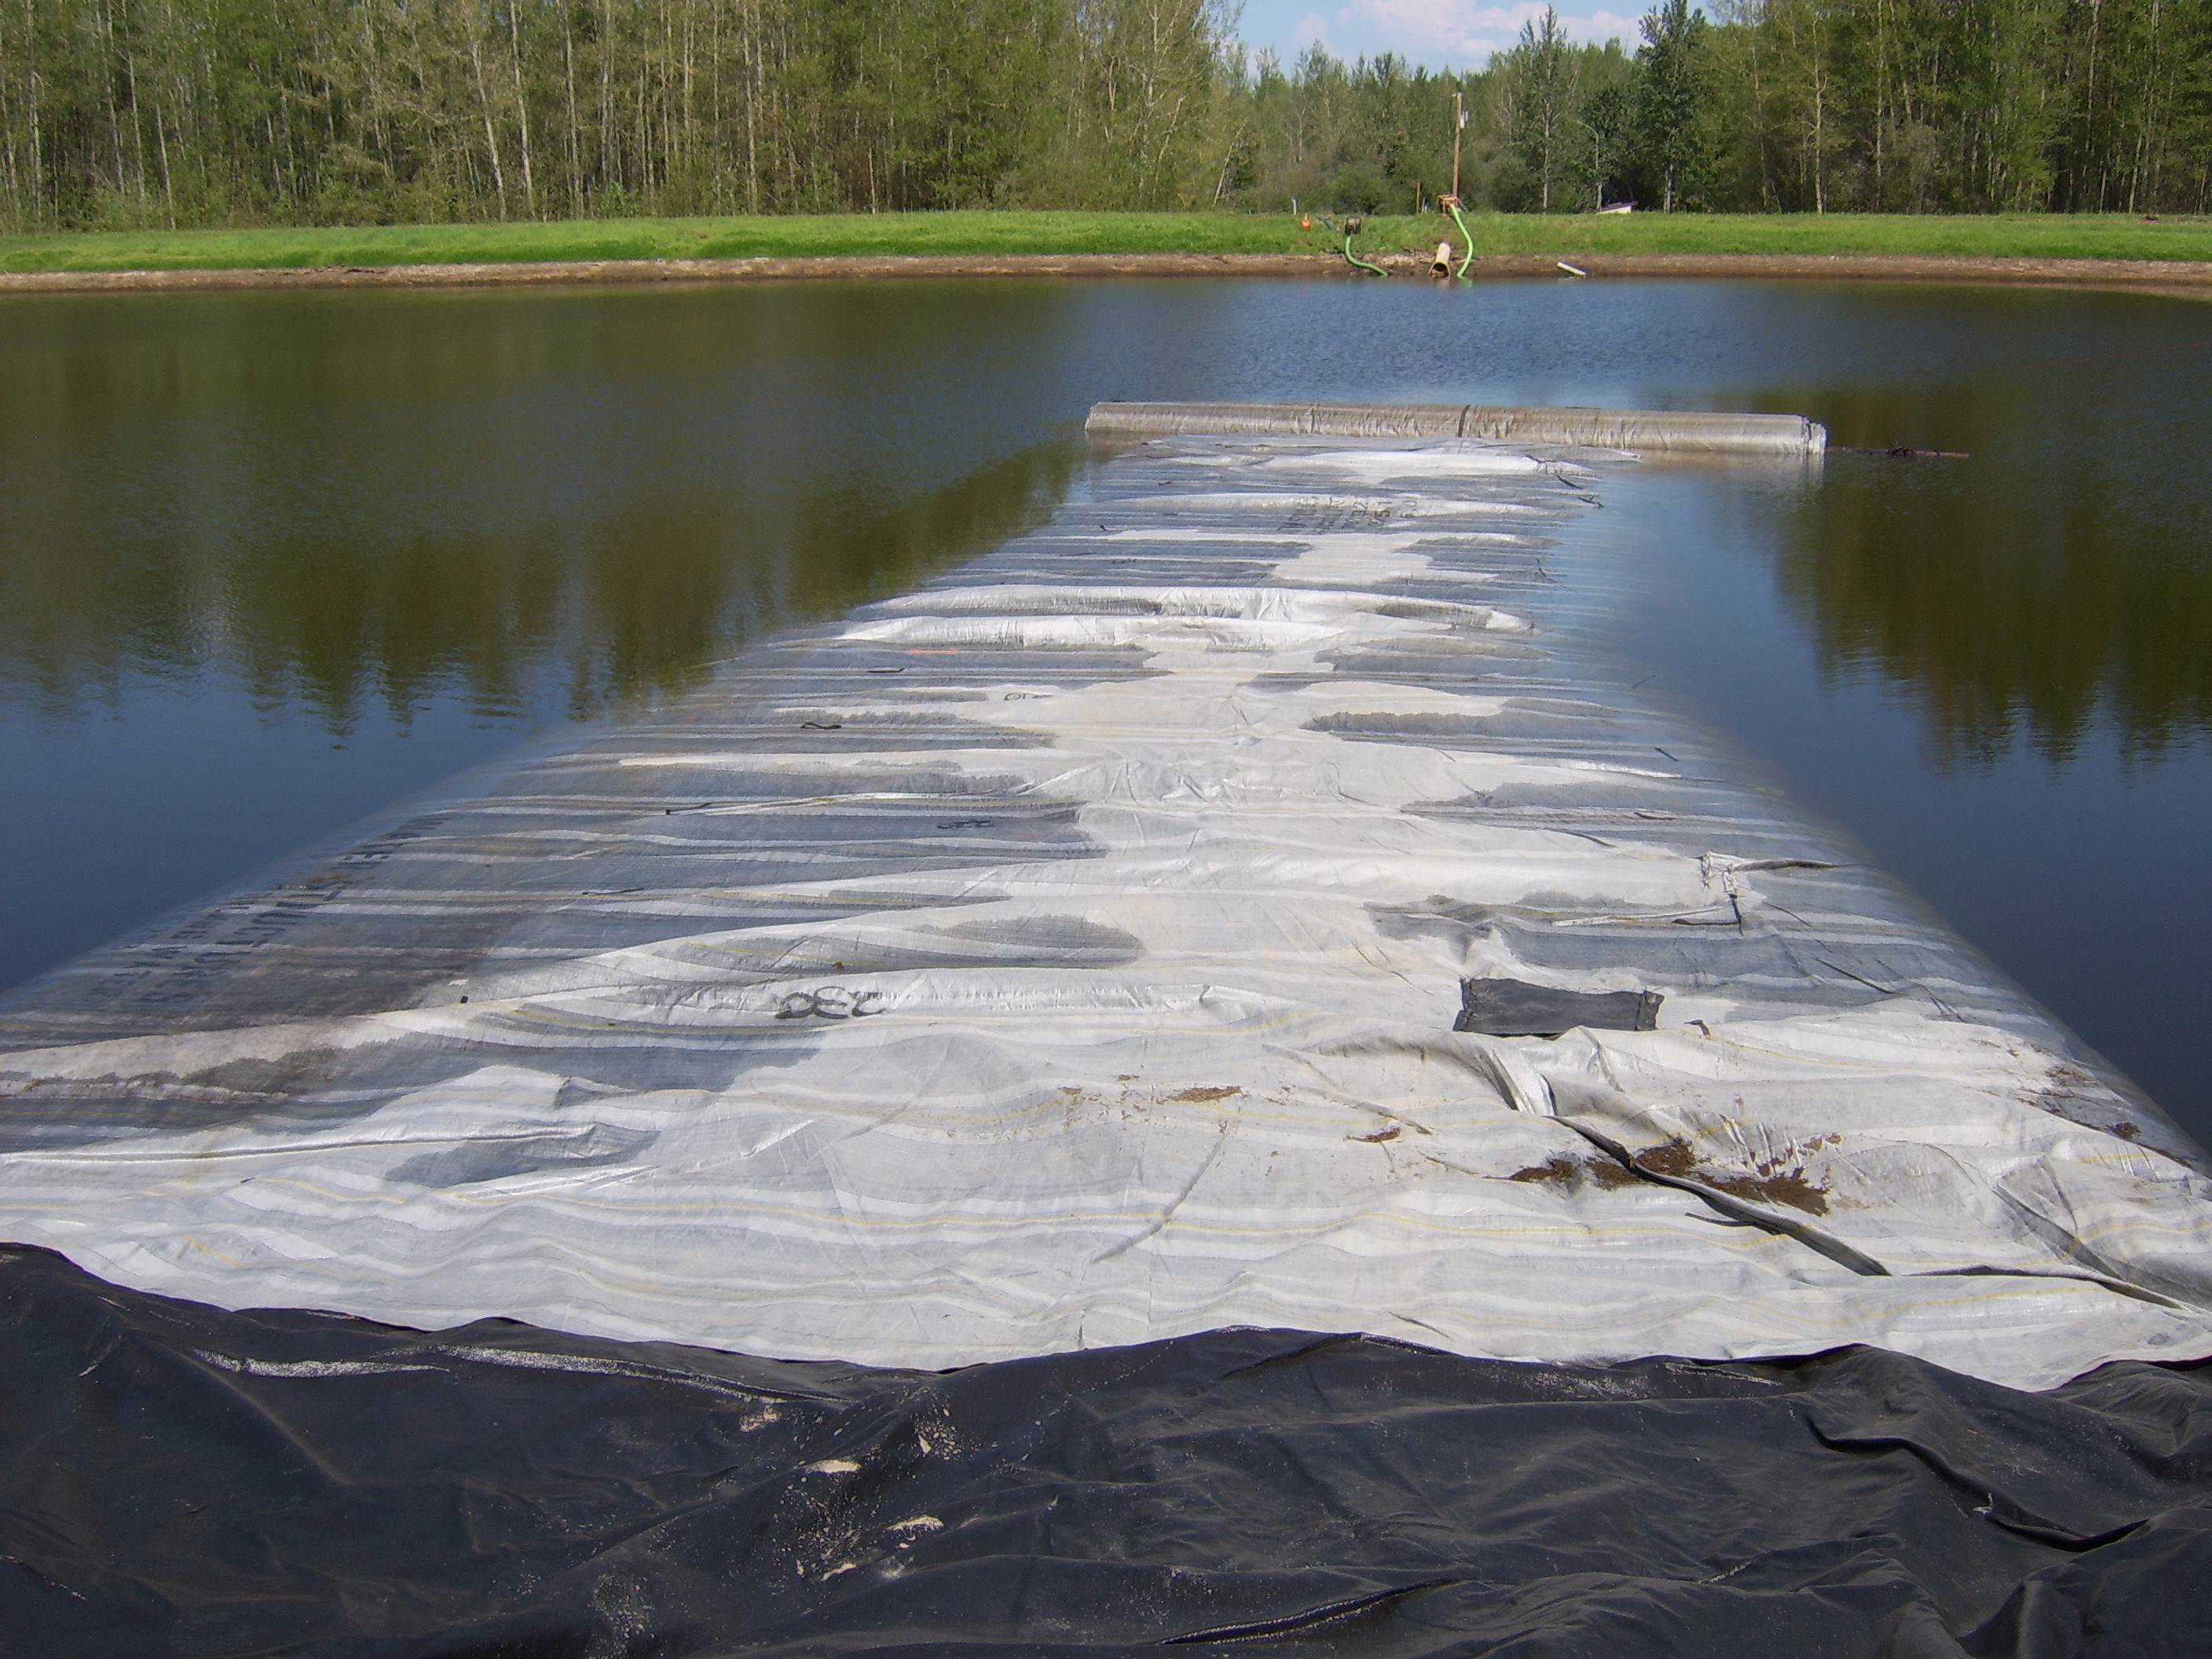
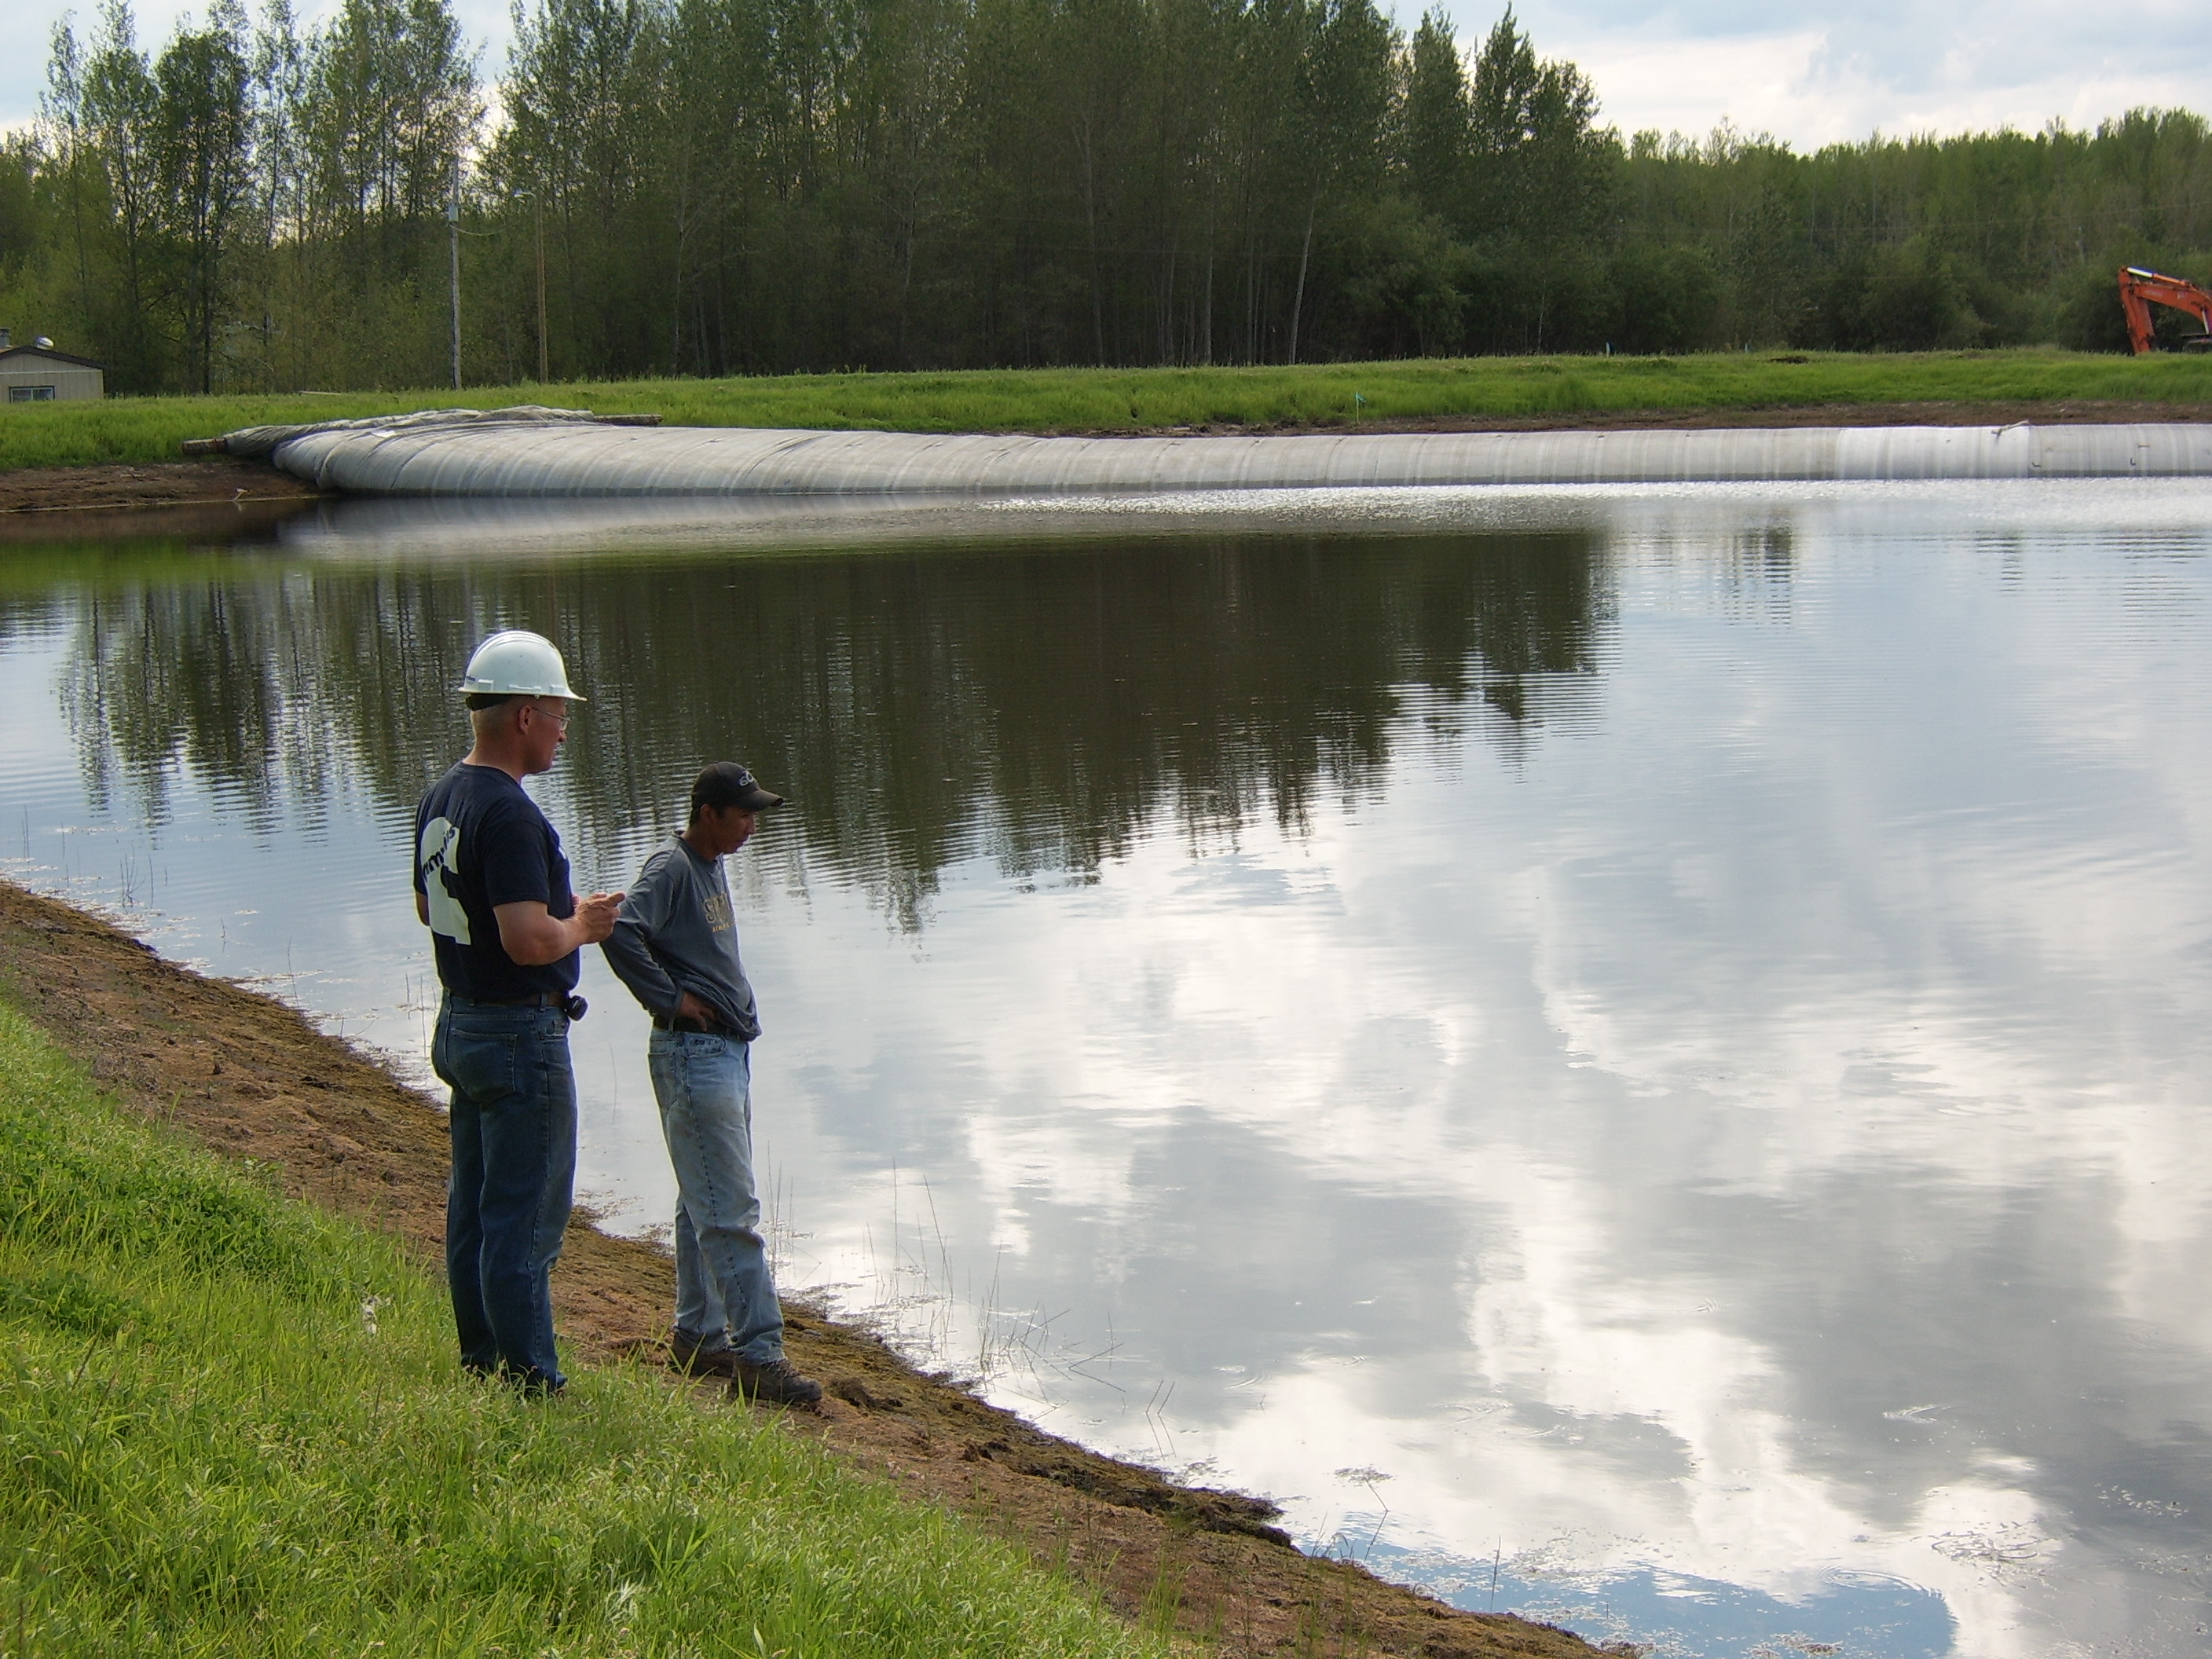
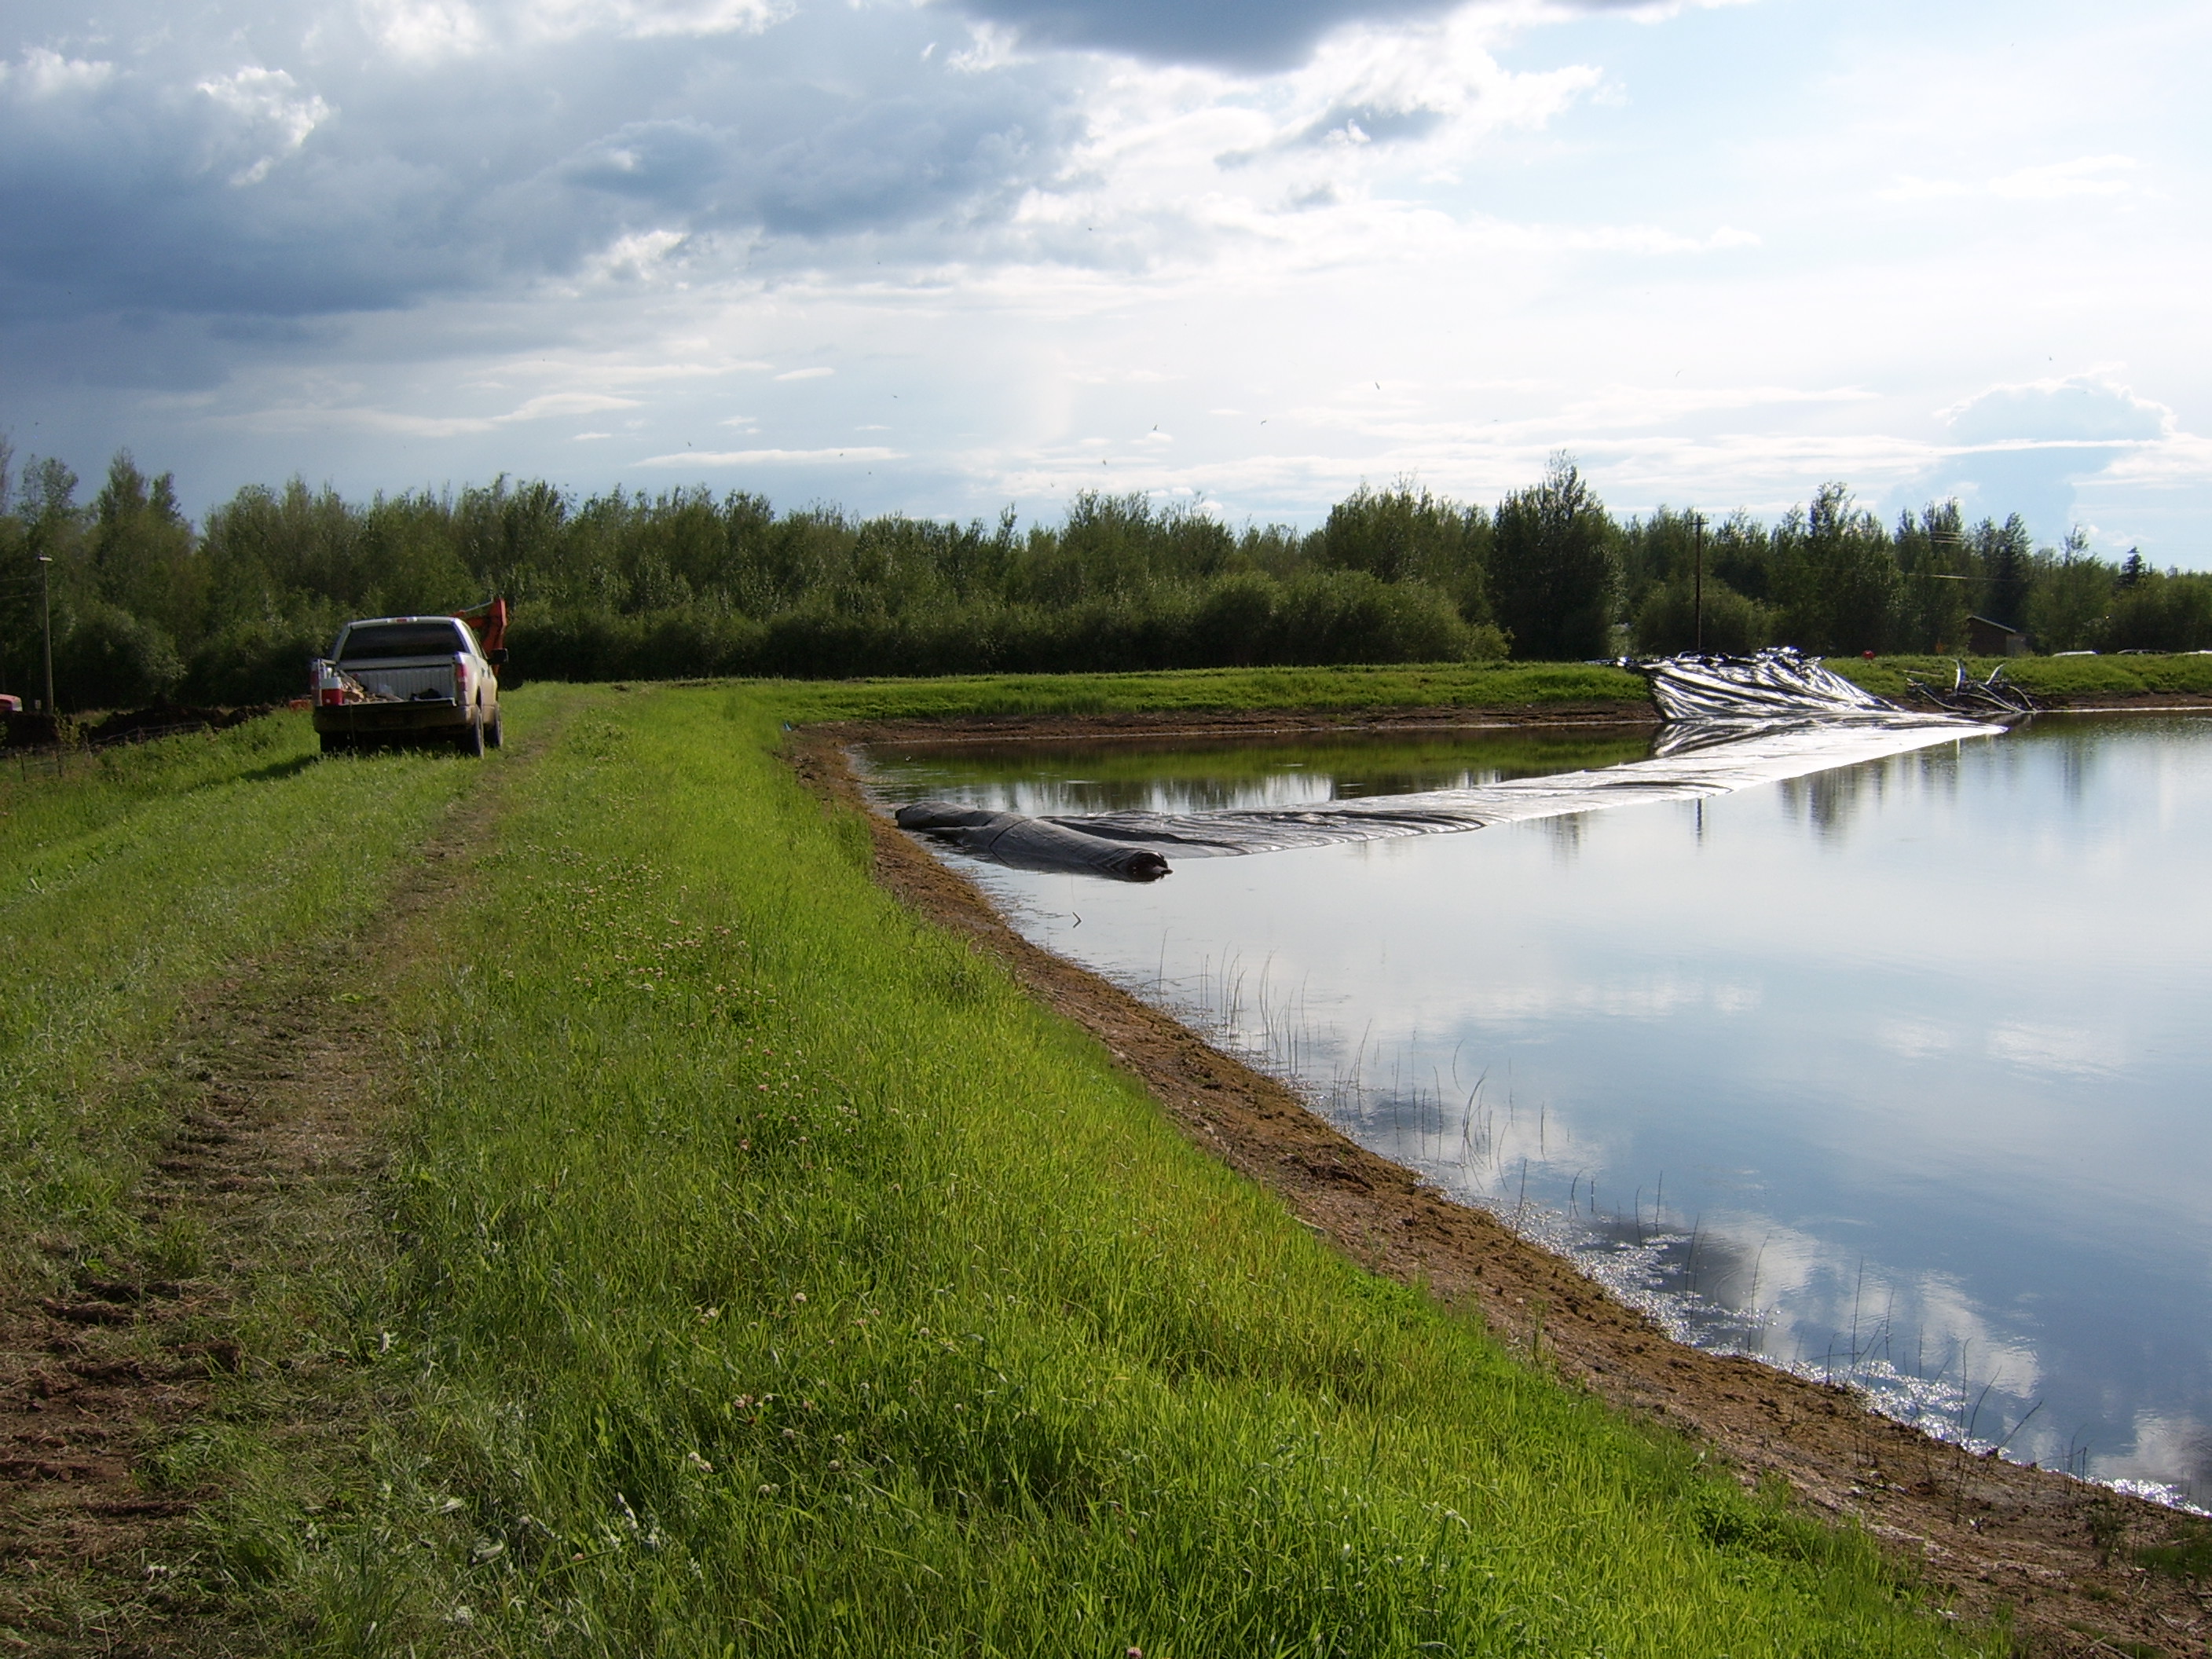
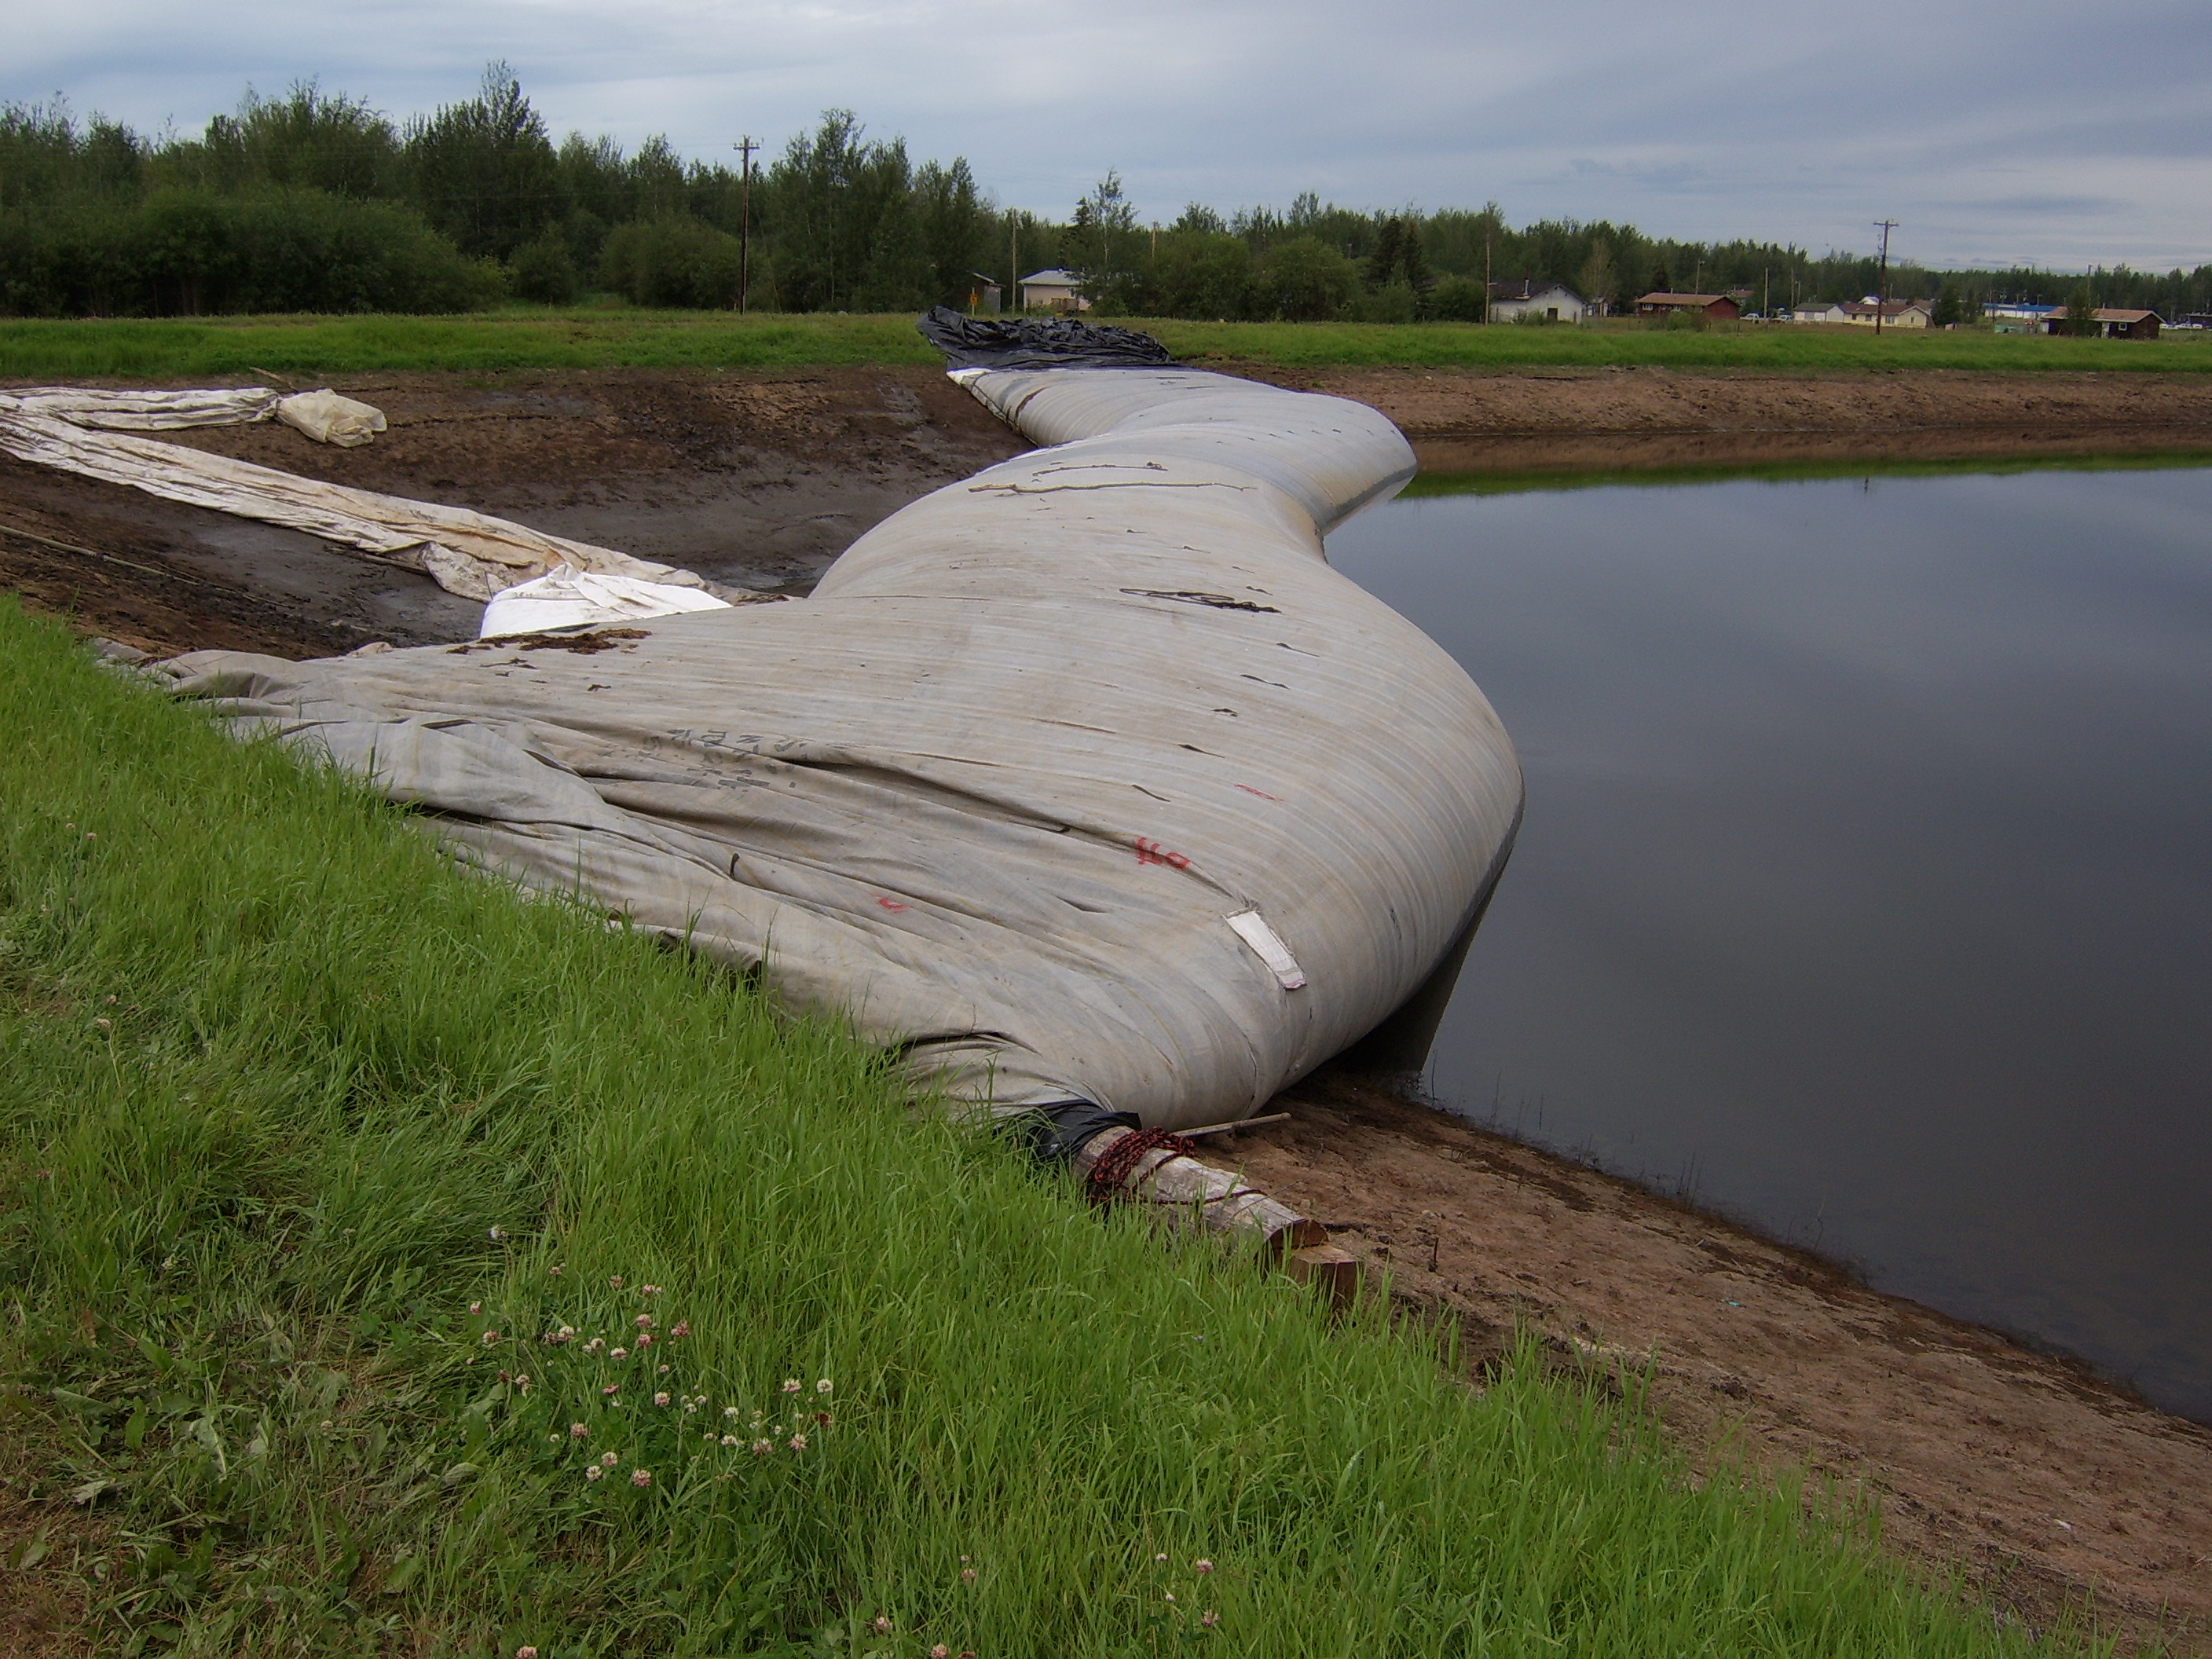
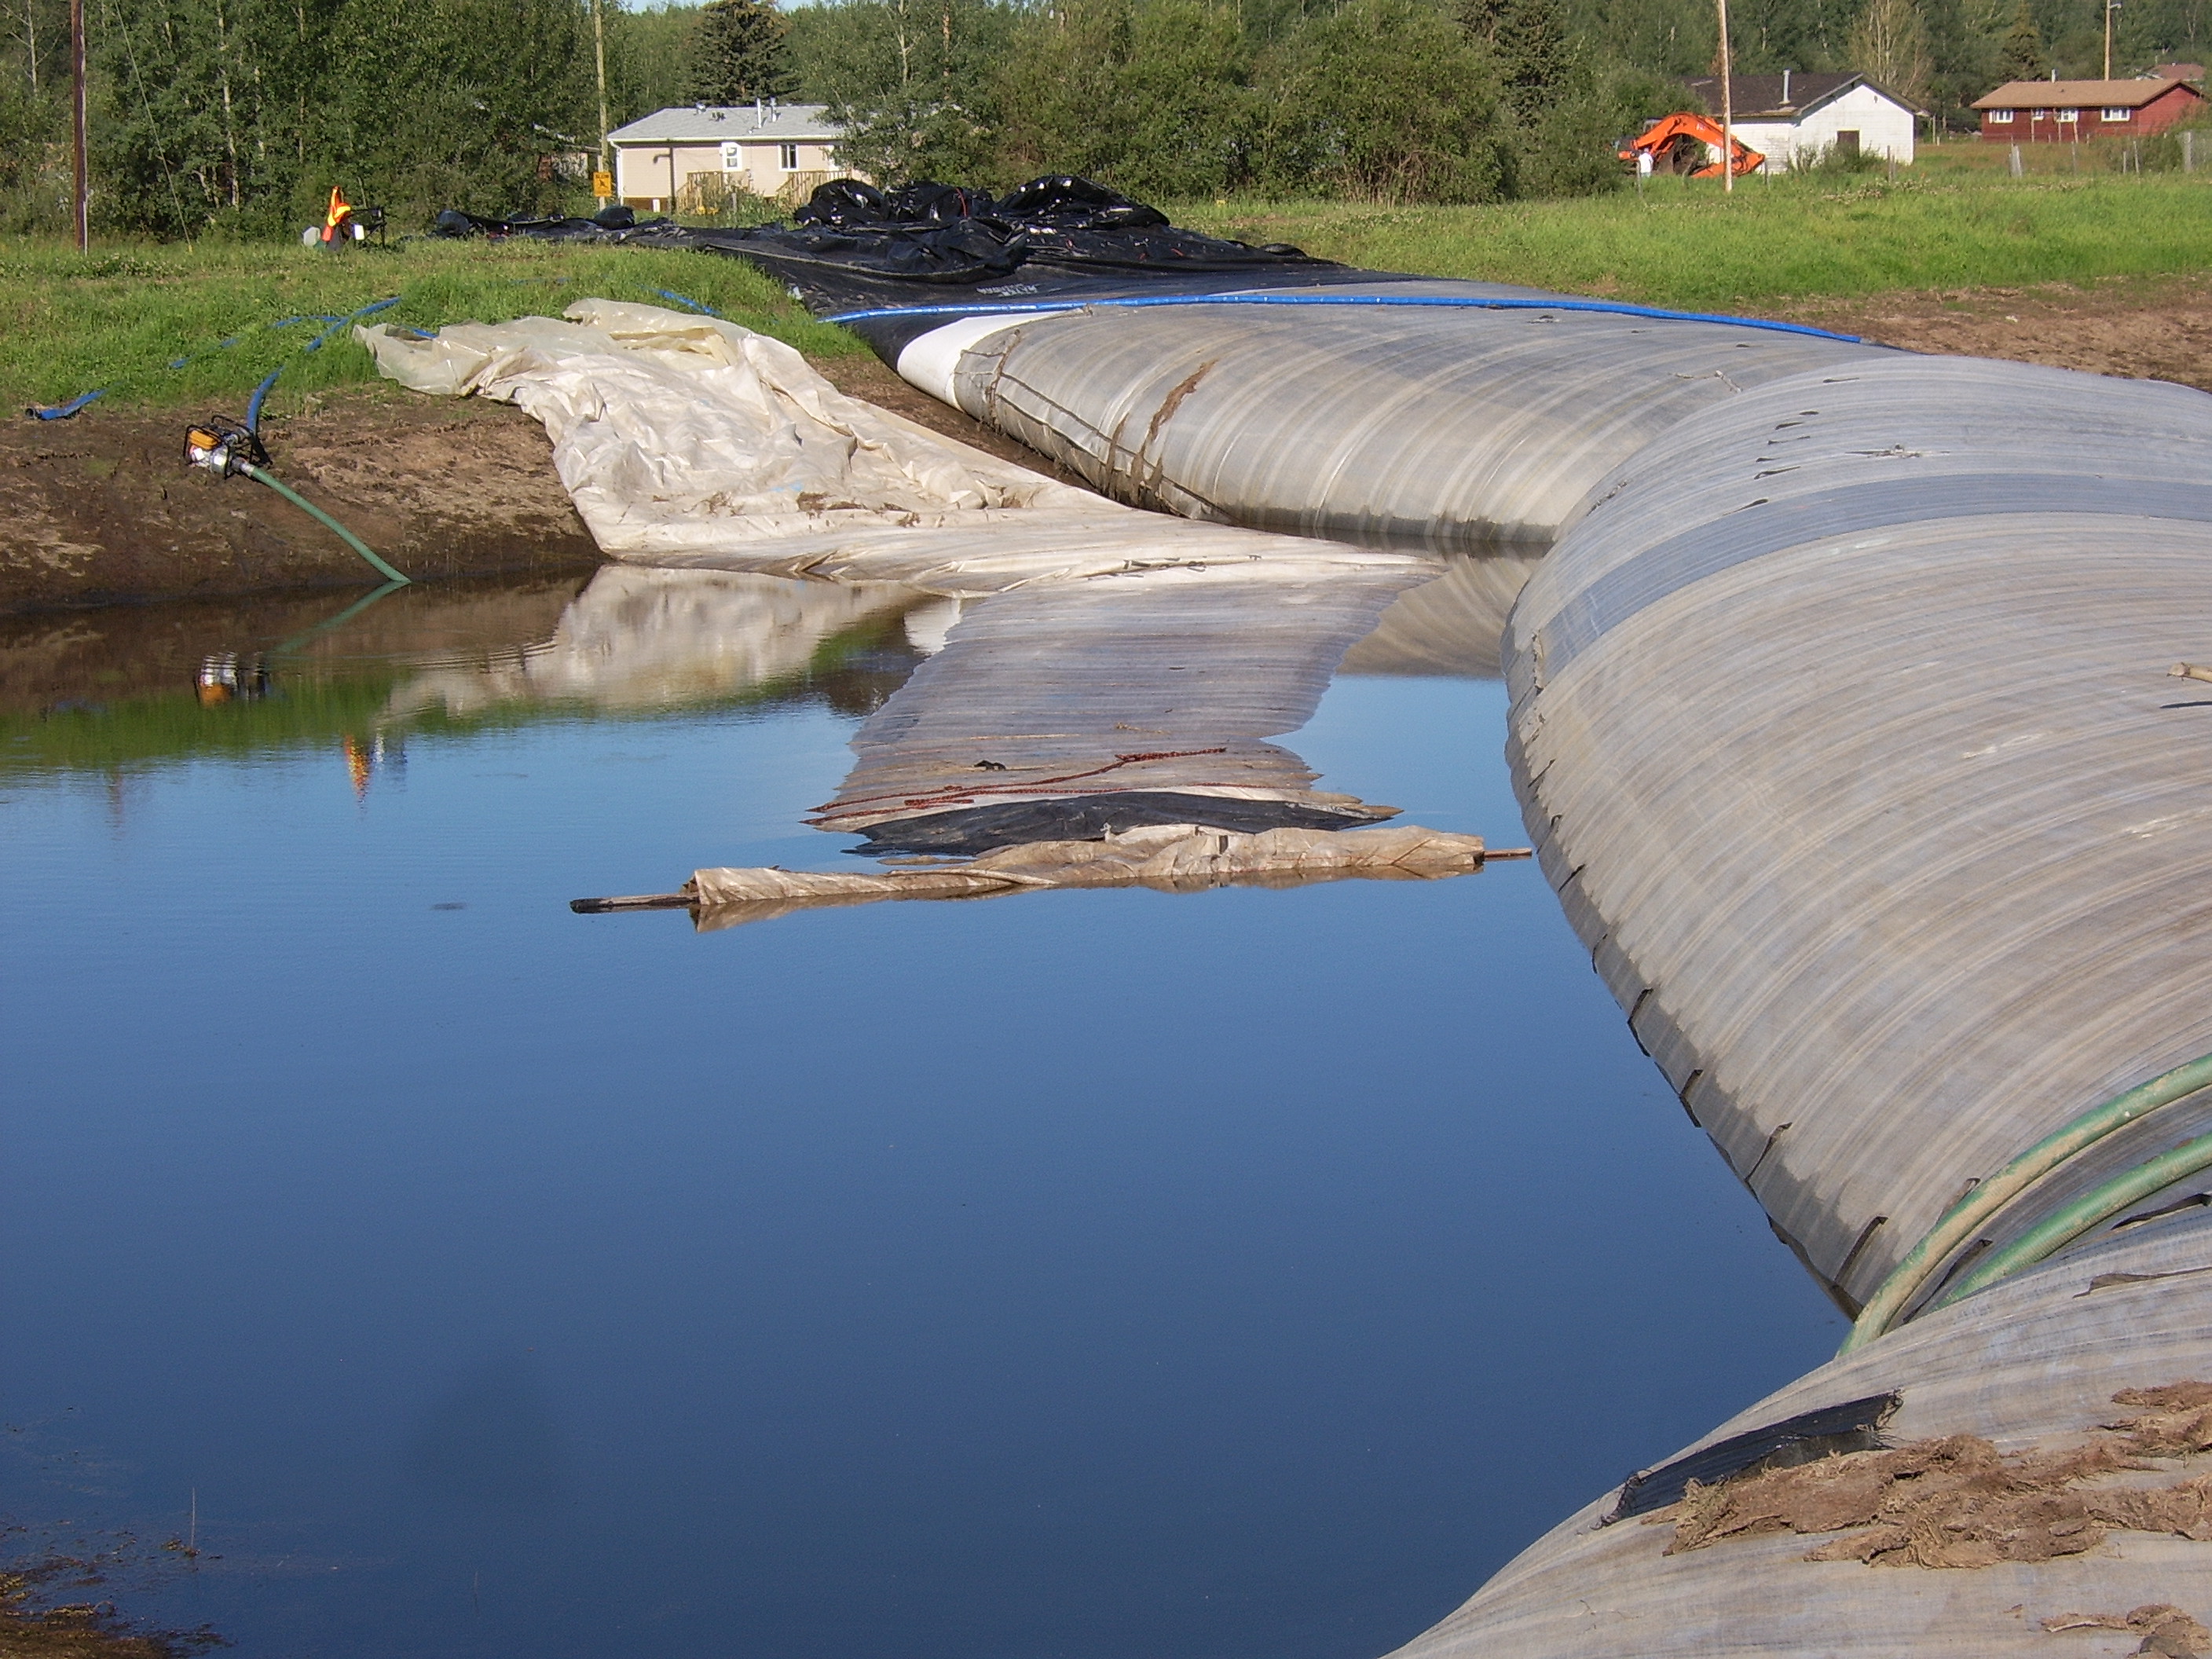
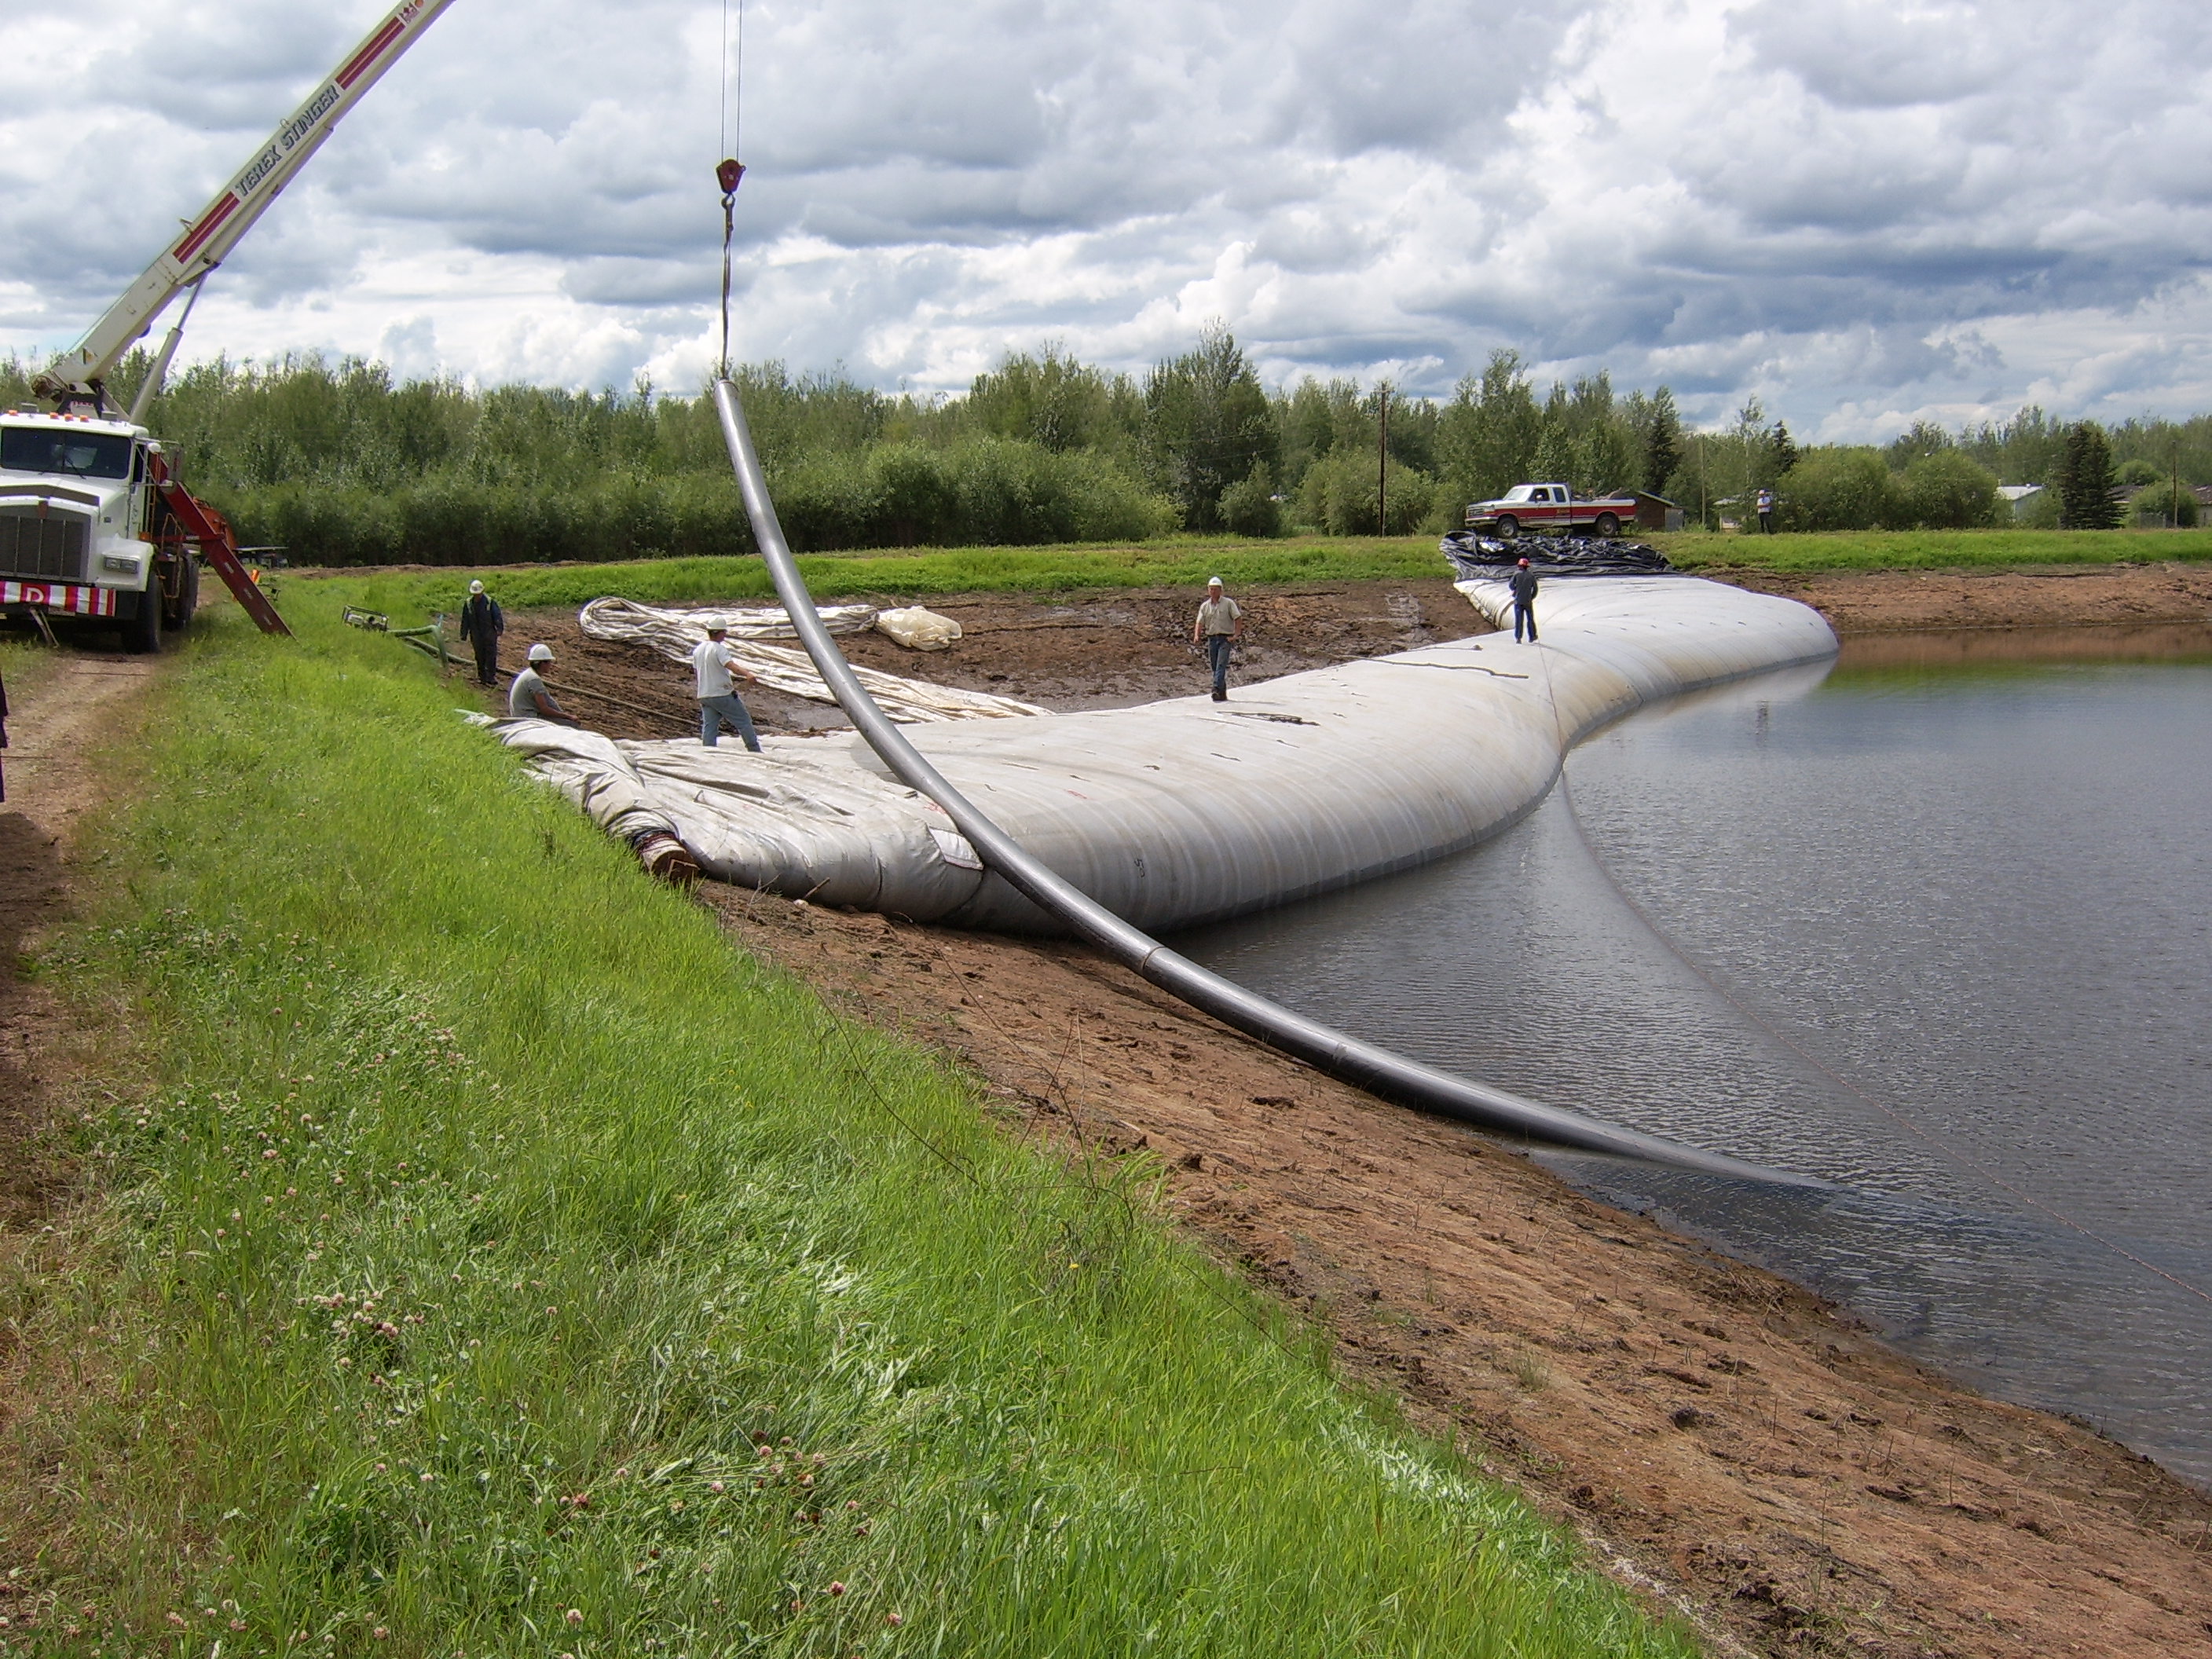
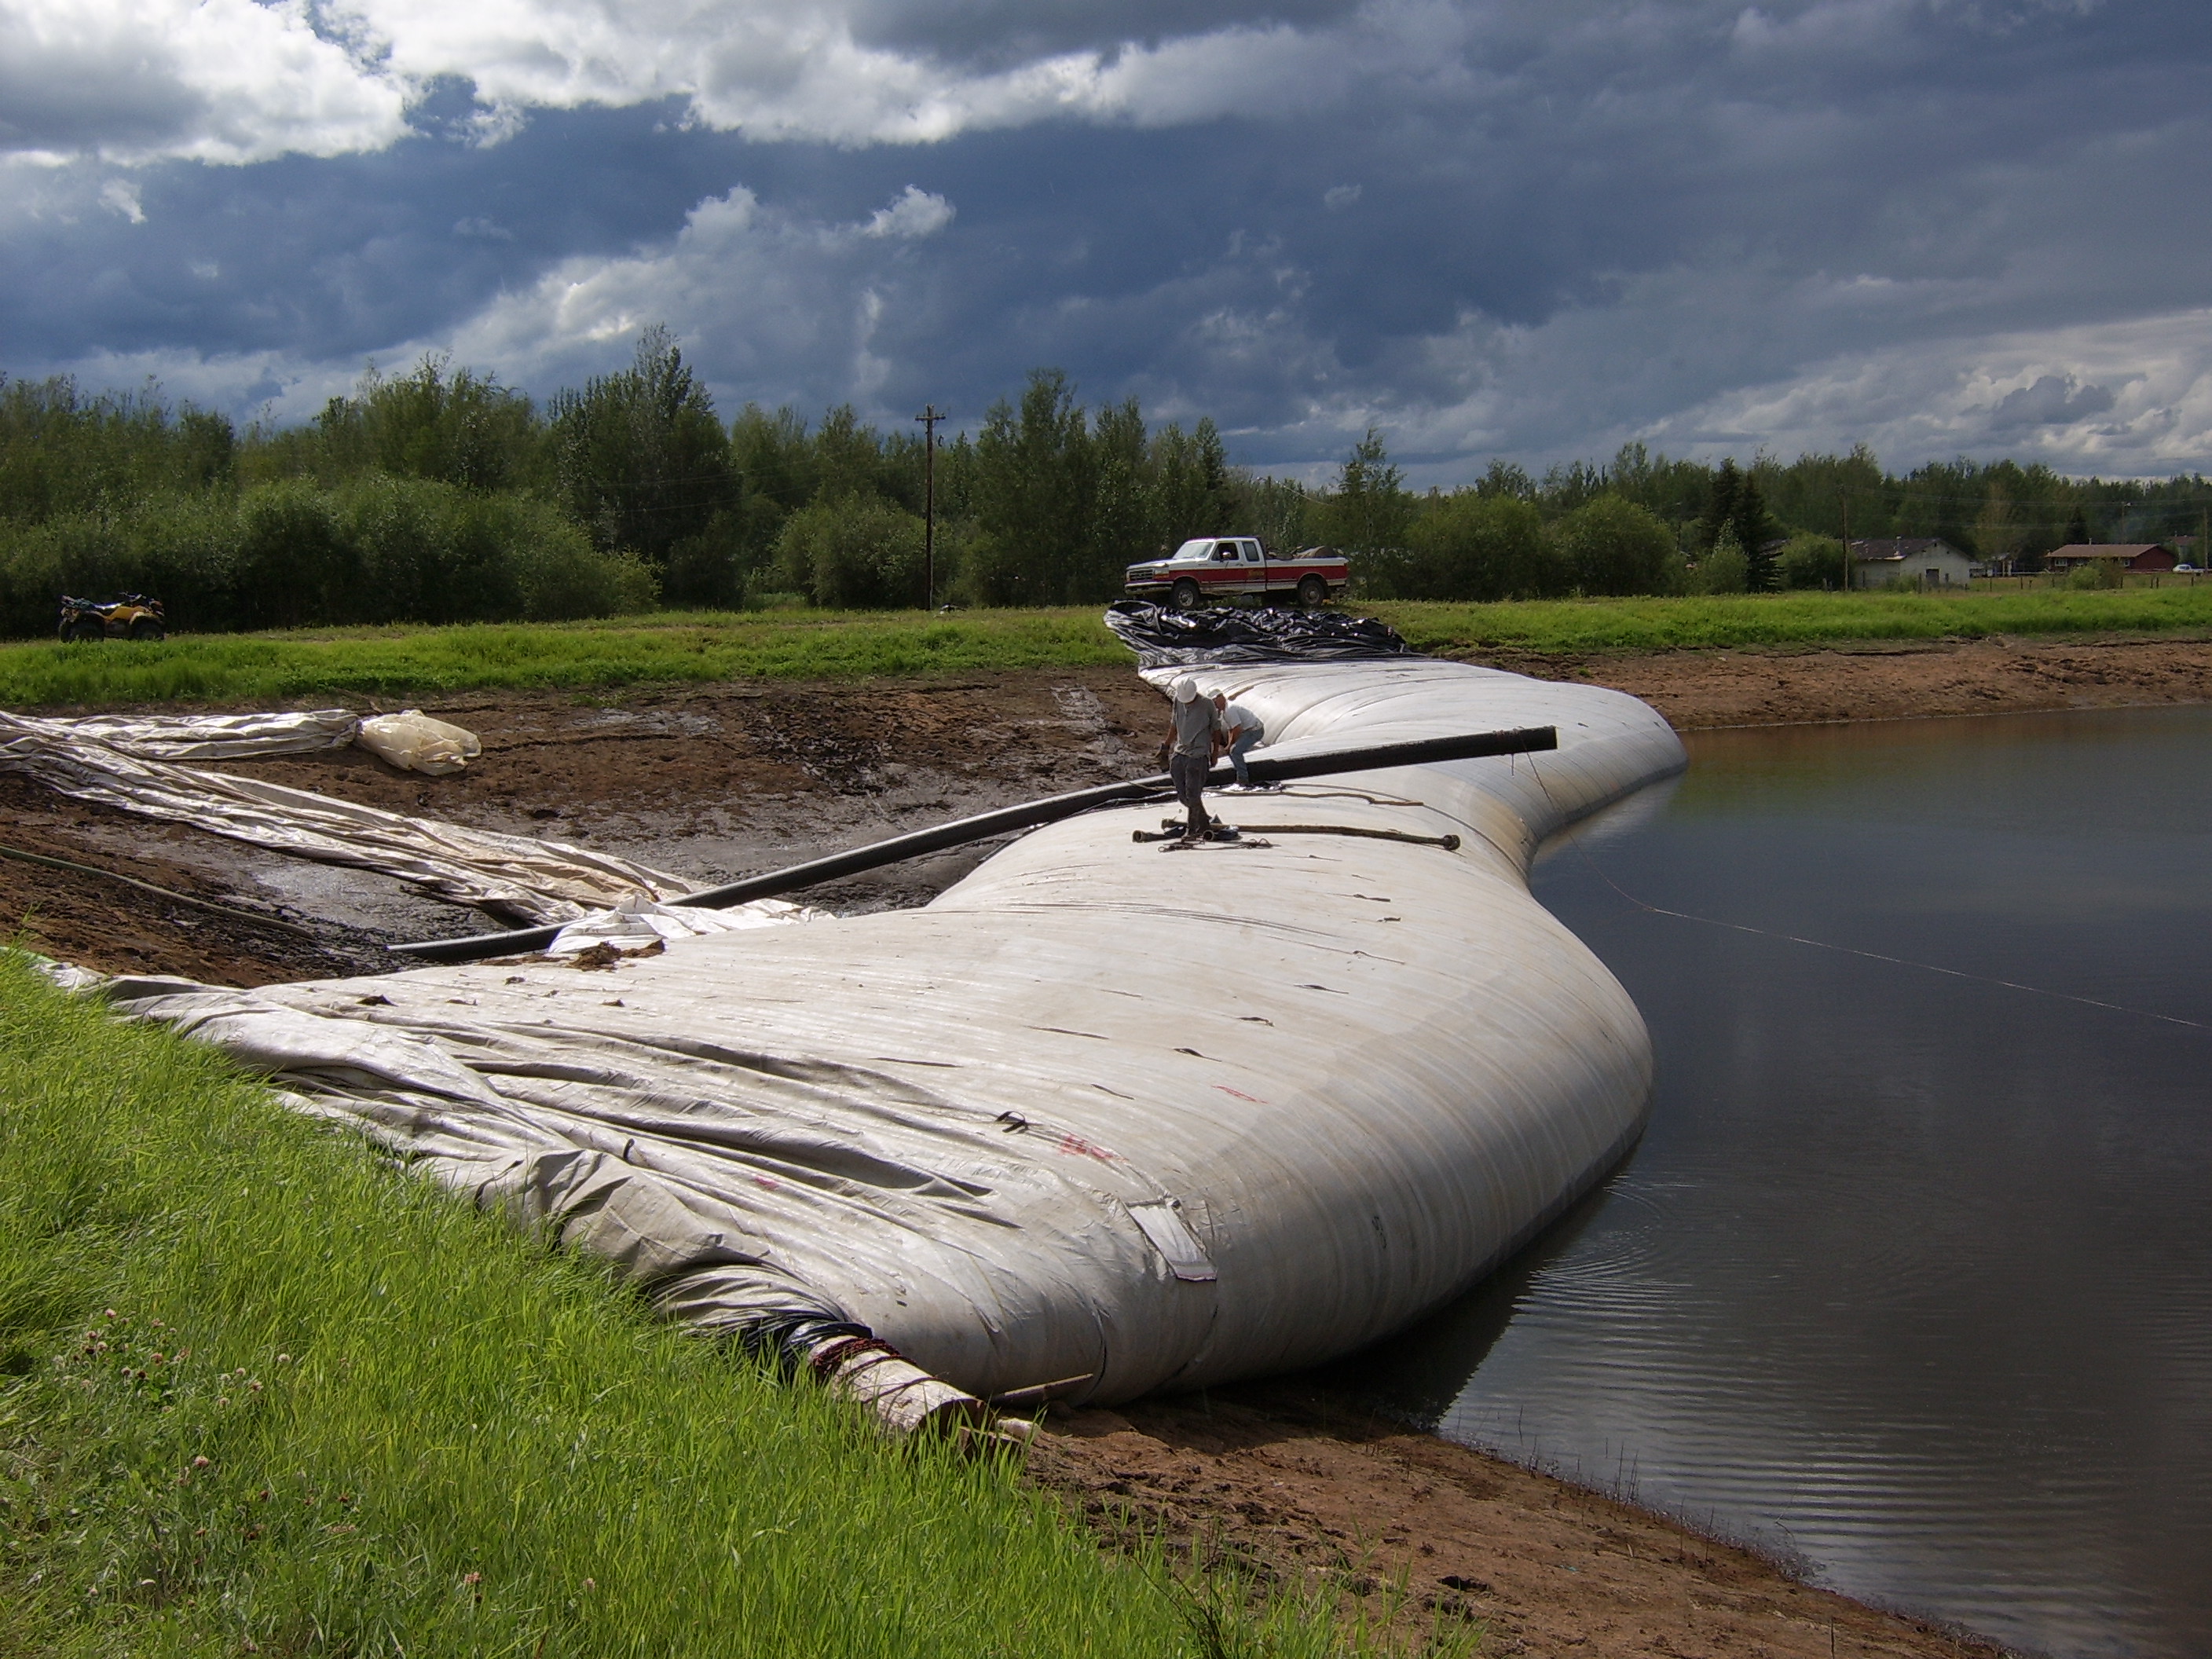
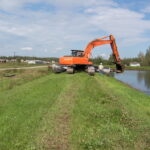
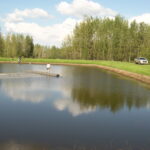
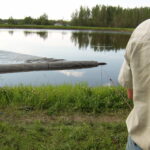
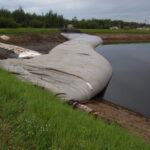
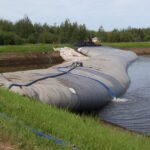
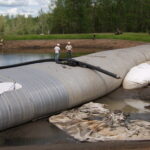
6.) The 12ft tall 25ft wide (full) 200ft long single closed end (SCE) AquaDam has been placed at its starting bank.
7.) The starting bank is important for a SCE AquaDam because it provides the needed height, and it is where the dam will be launched from. The starting point (open end) and fill-tubes of a SCE AquaDam must be elevated higher than the full height of dam along its given path. An AquaDam will only reach its full height at the lowest elevation along its given path.

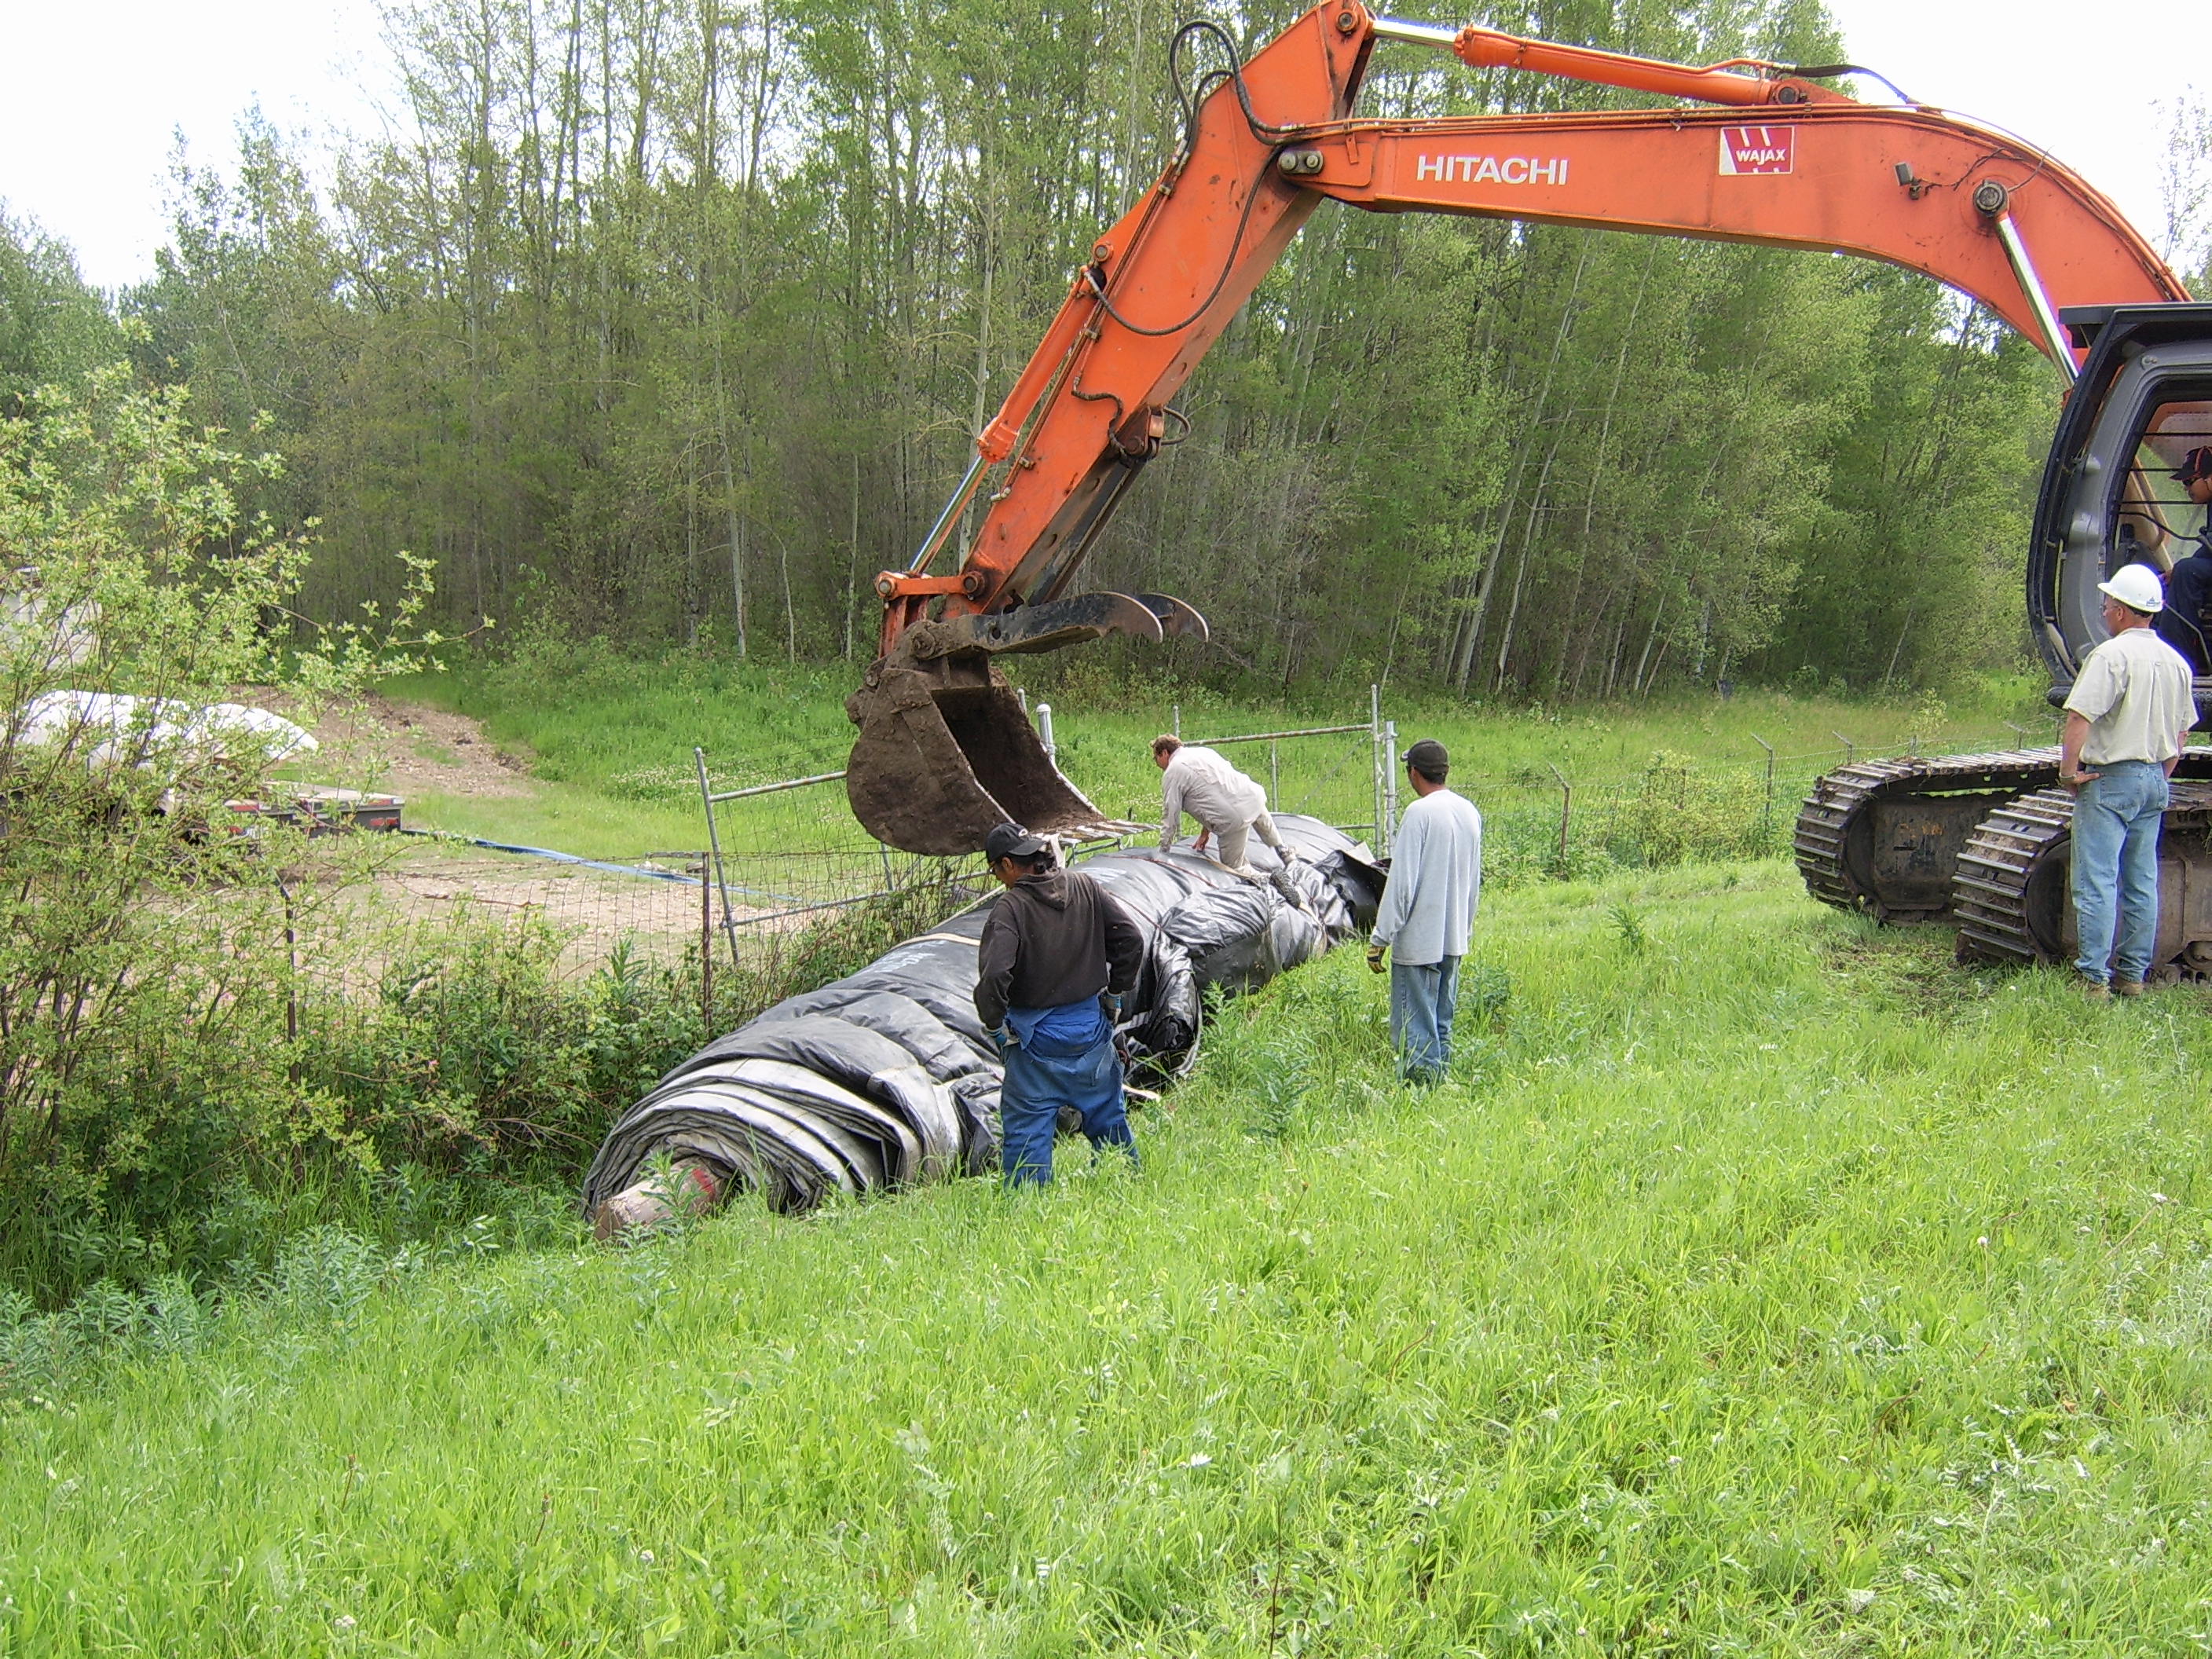
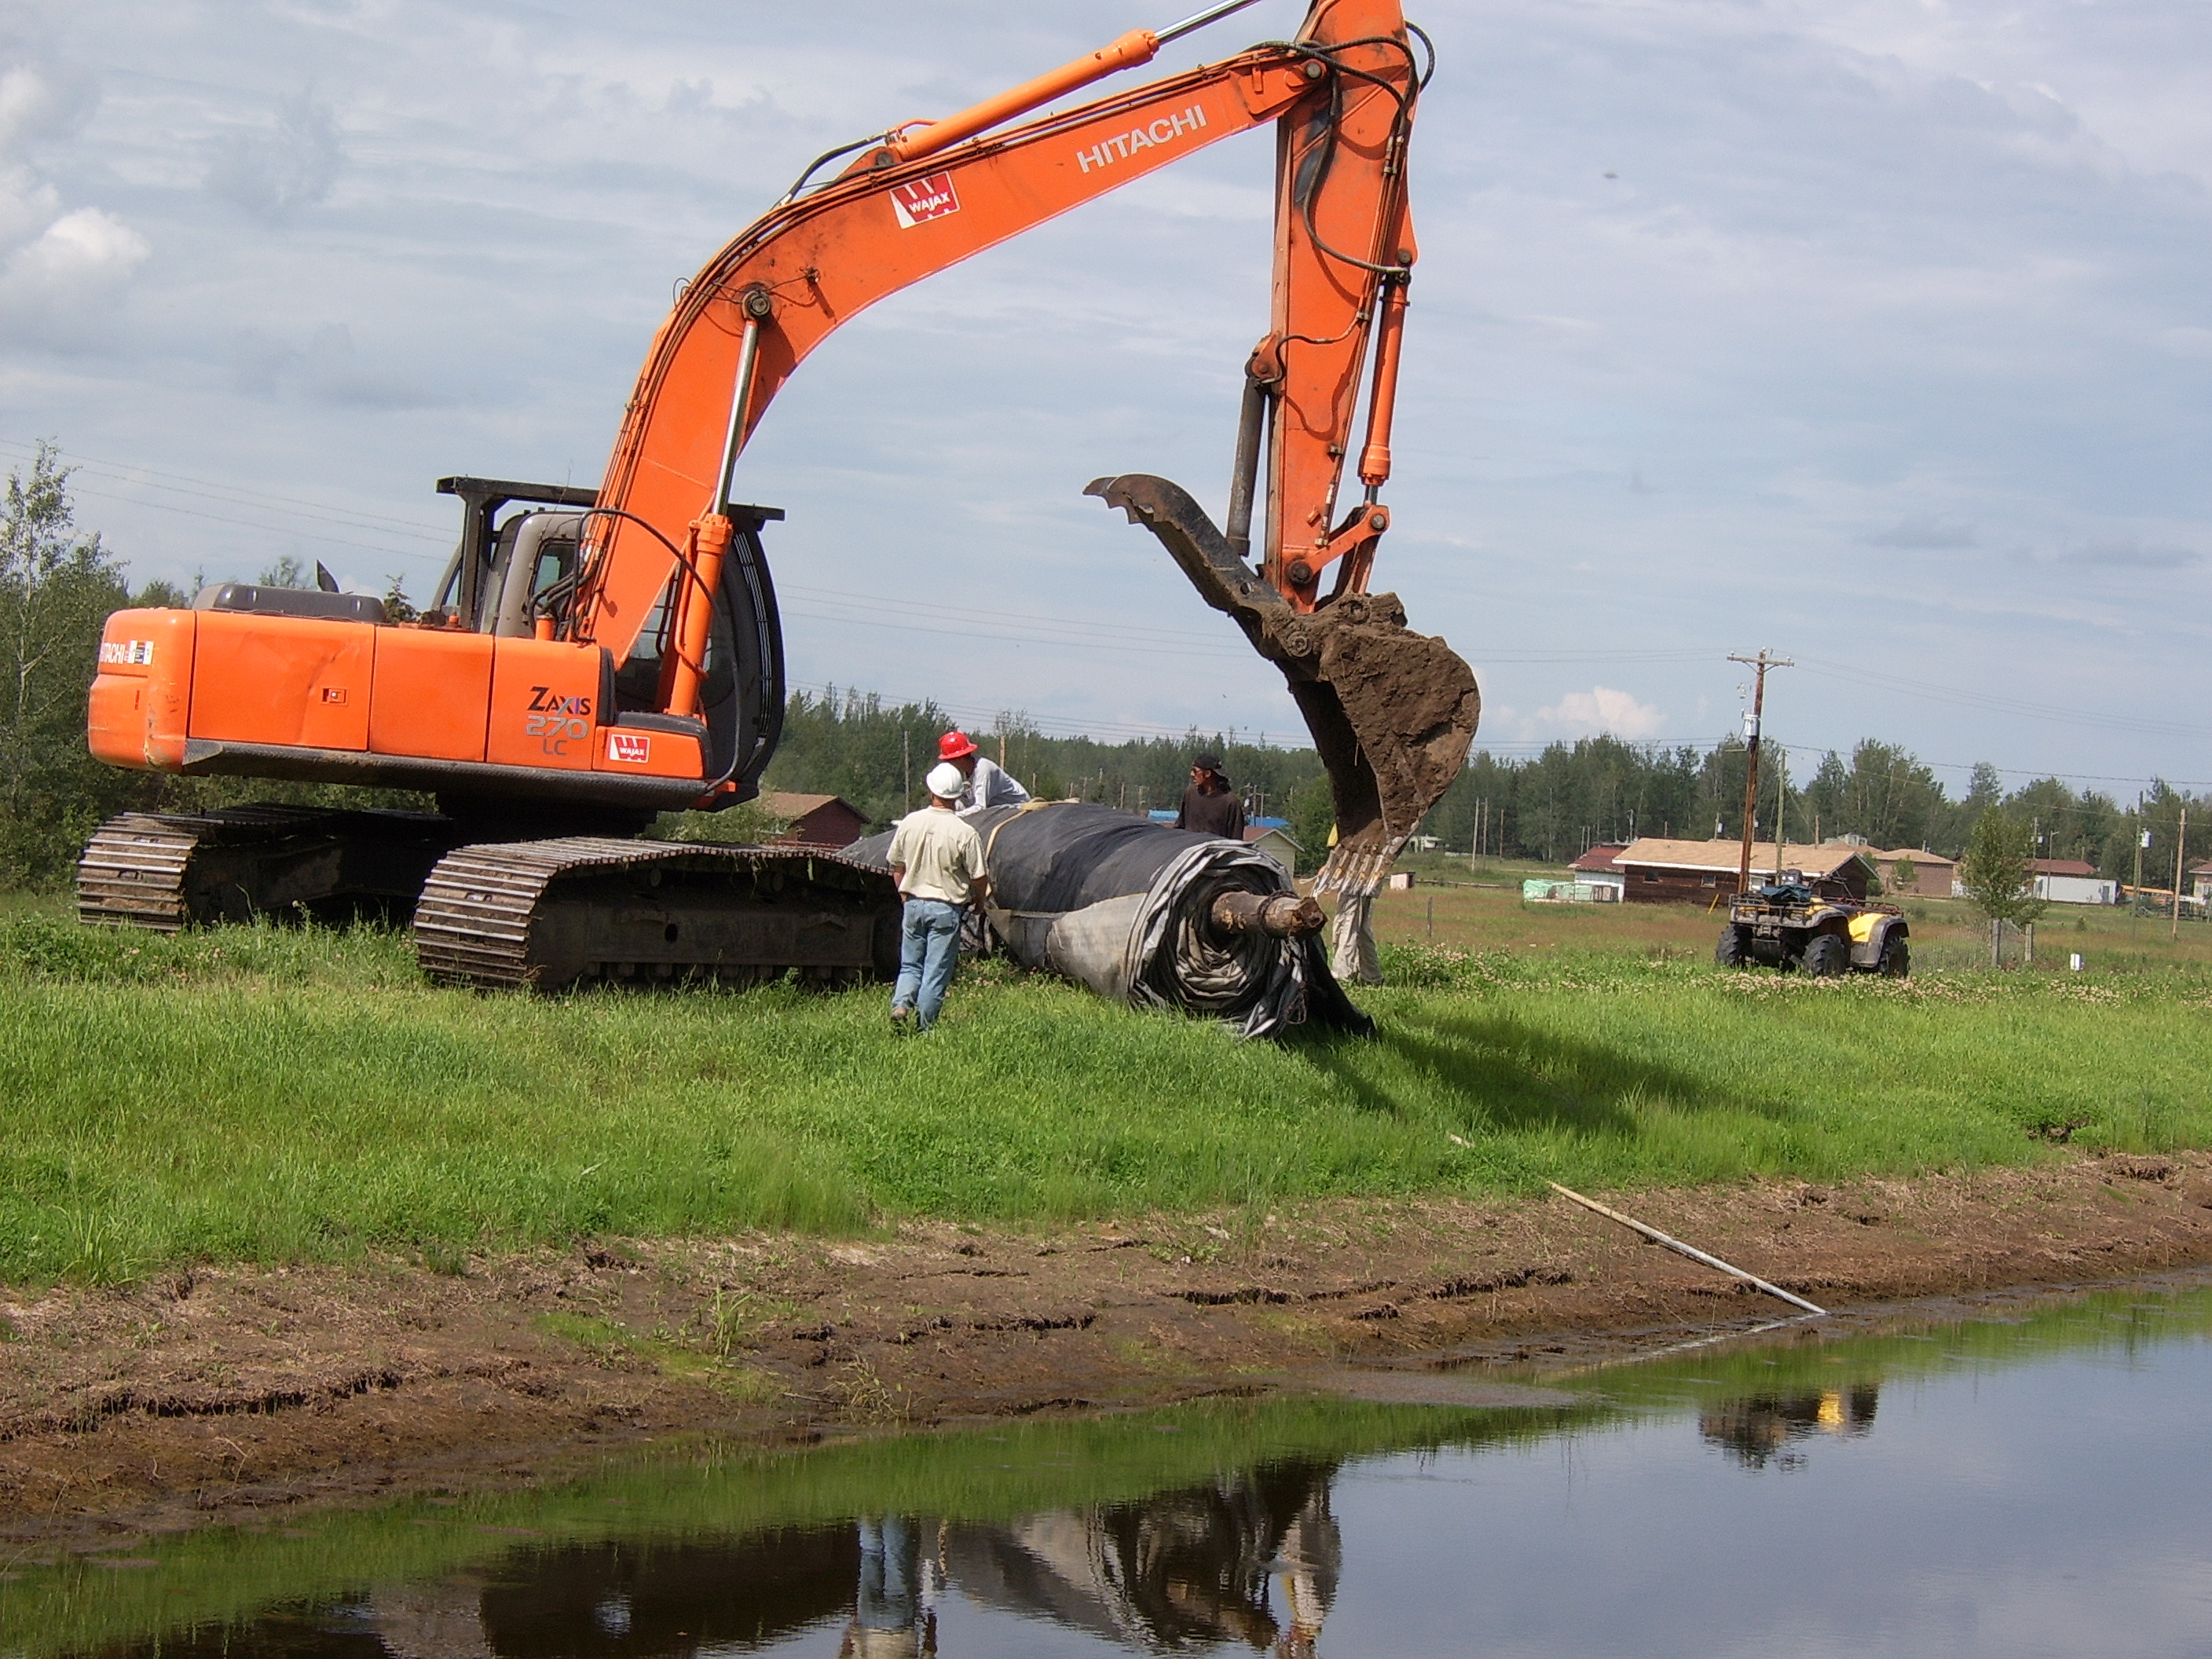
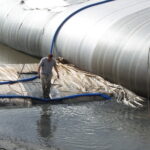
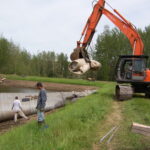
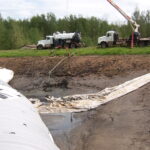
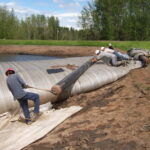
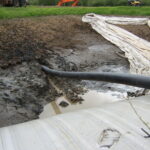
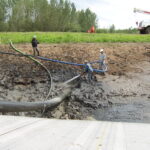
8.) 3-inch gas-powered portable water pumps are prepared. The partially unrolled AquaDam is floating in the water. AquaDams are made of light weight flexible materials and will float when empty in deep enough water.
9.) Water pumps are pumping water into the fill-tubes of the AquaDam. The increasing water pressure causes the rolled-up AquaDam to unroll.
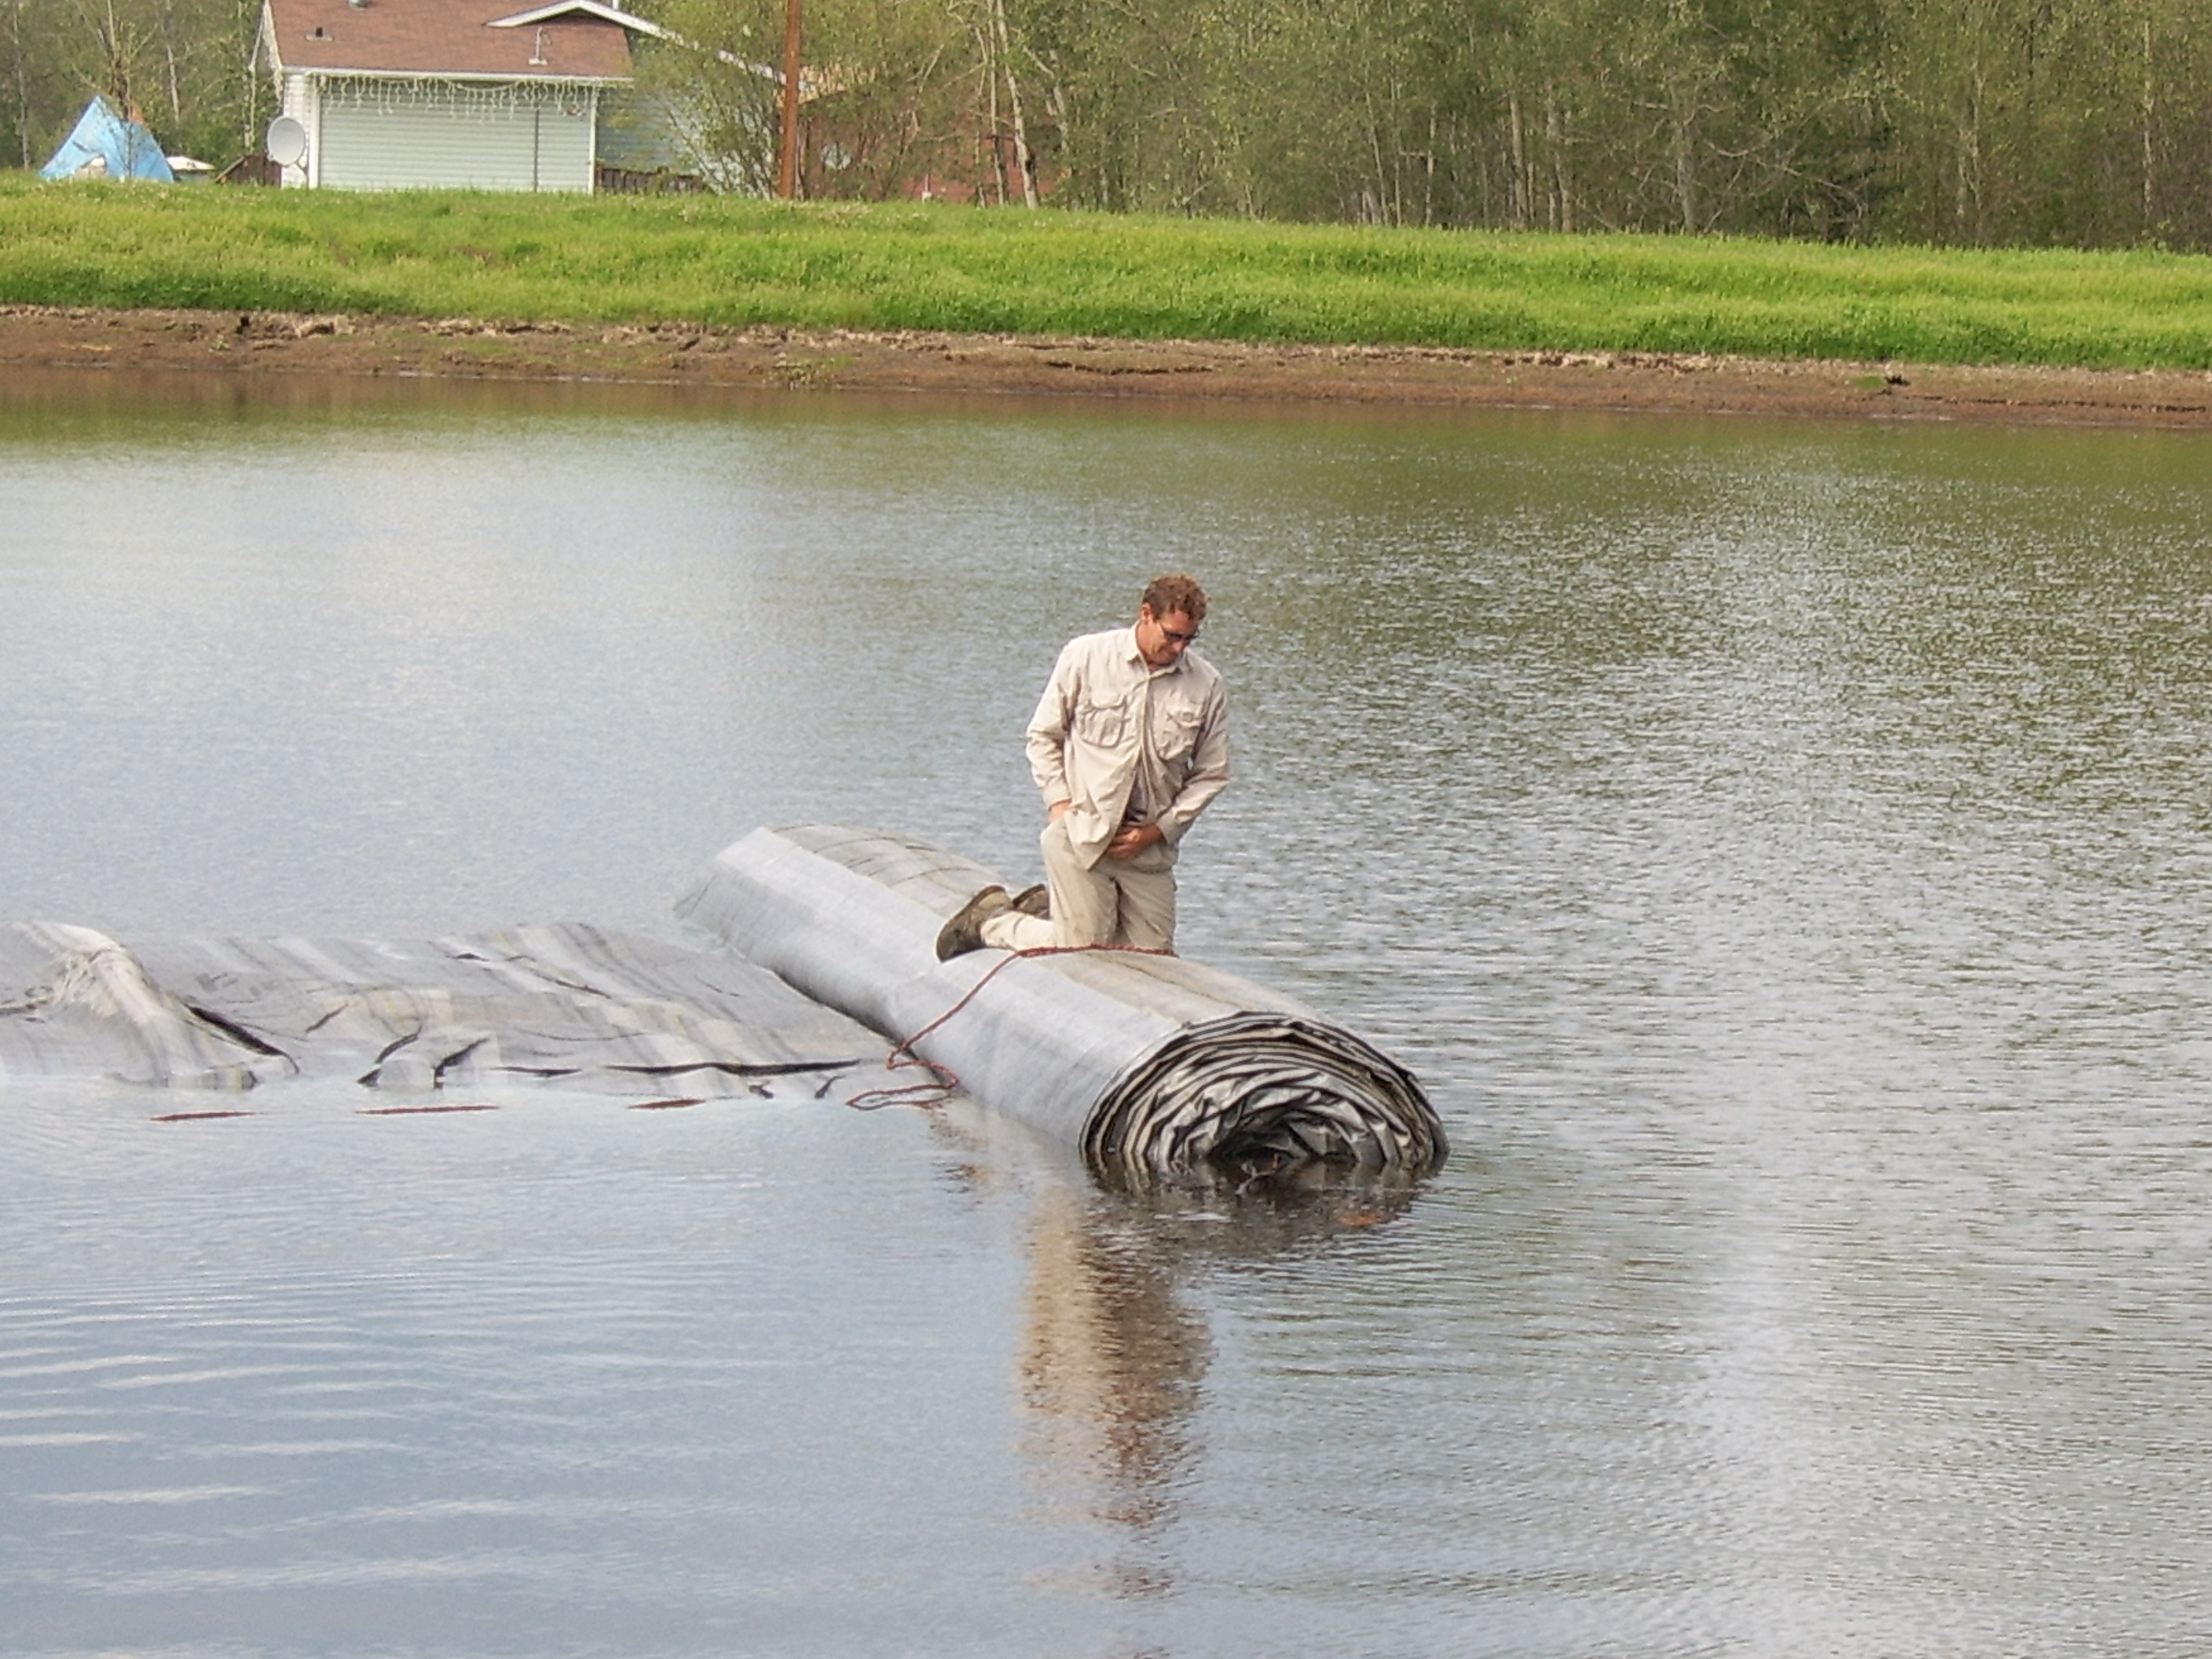
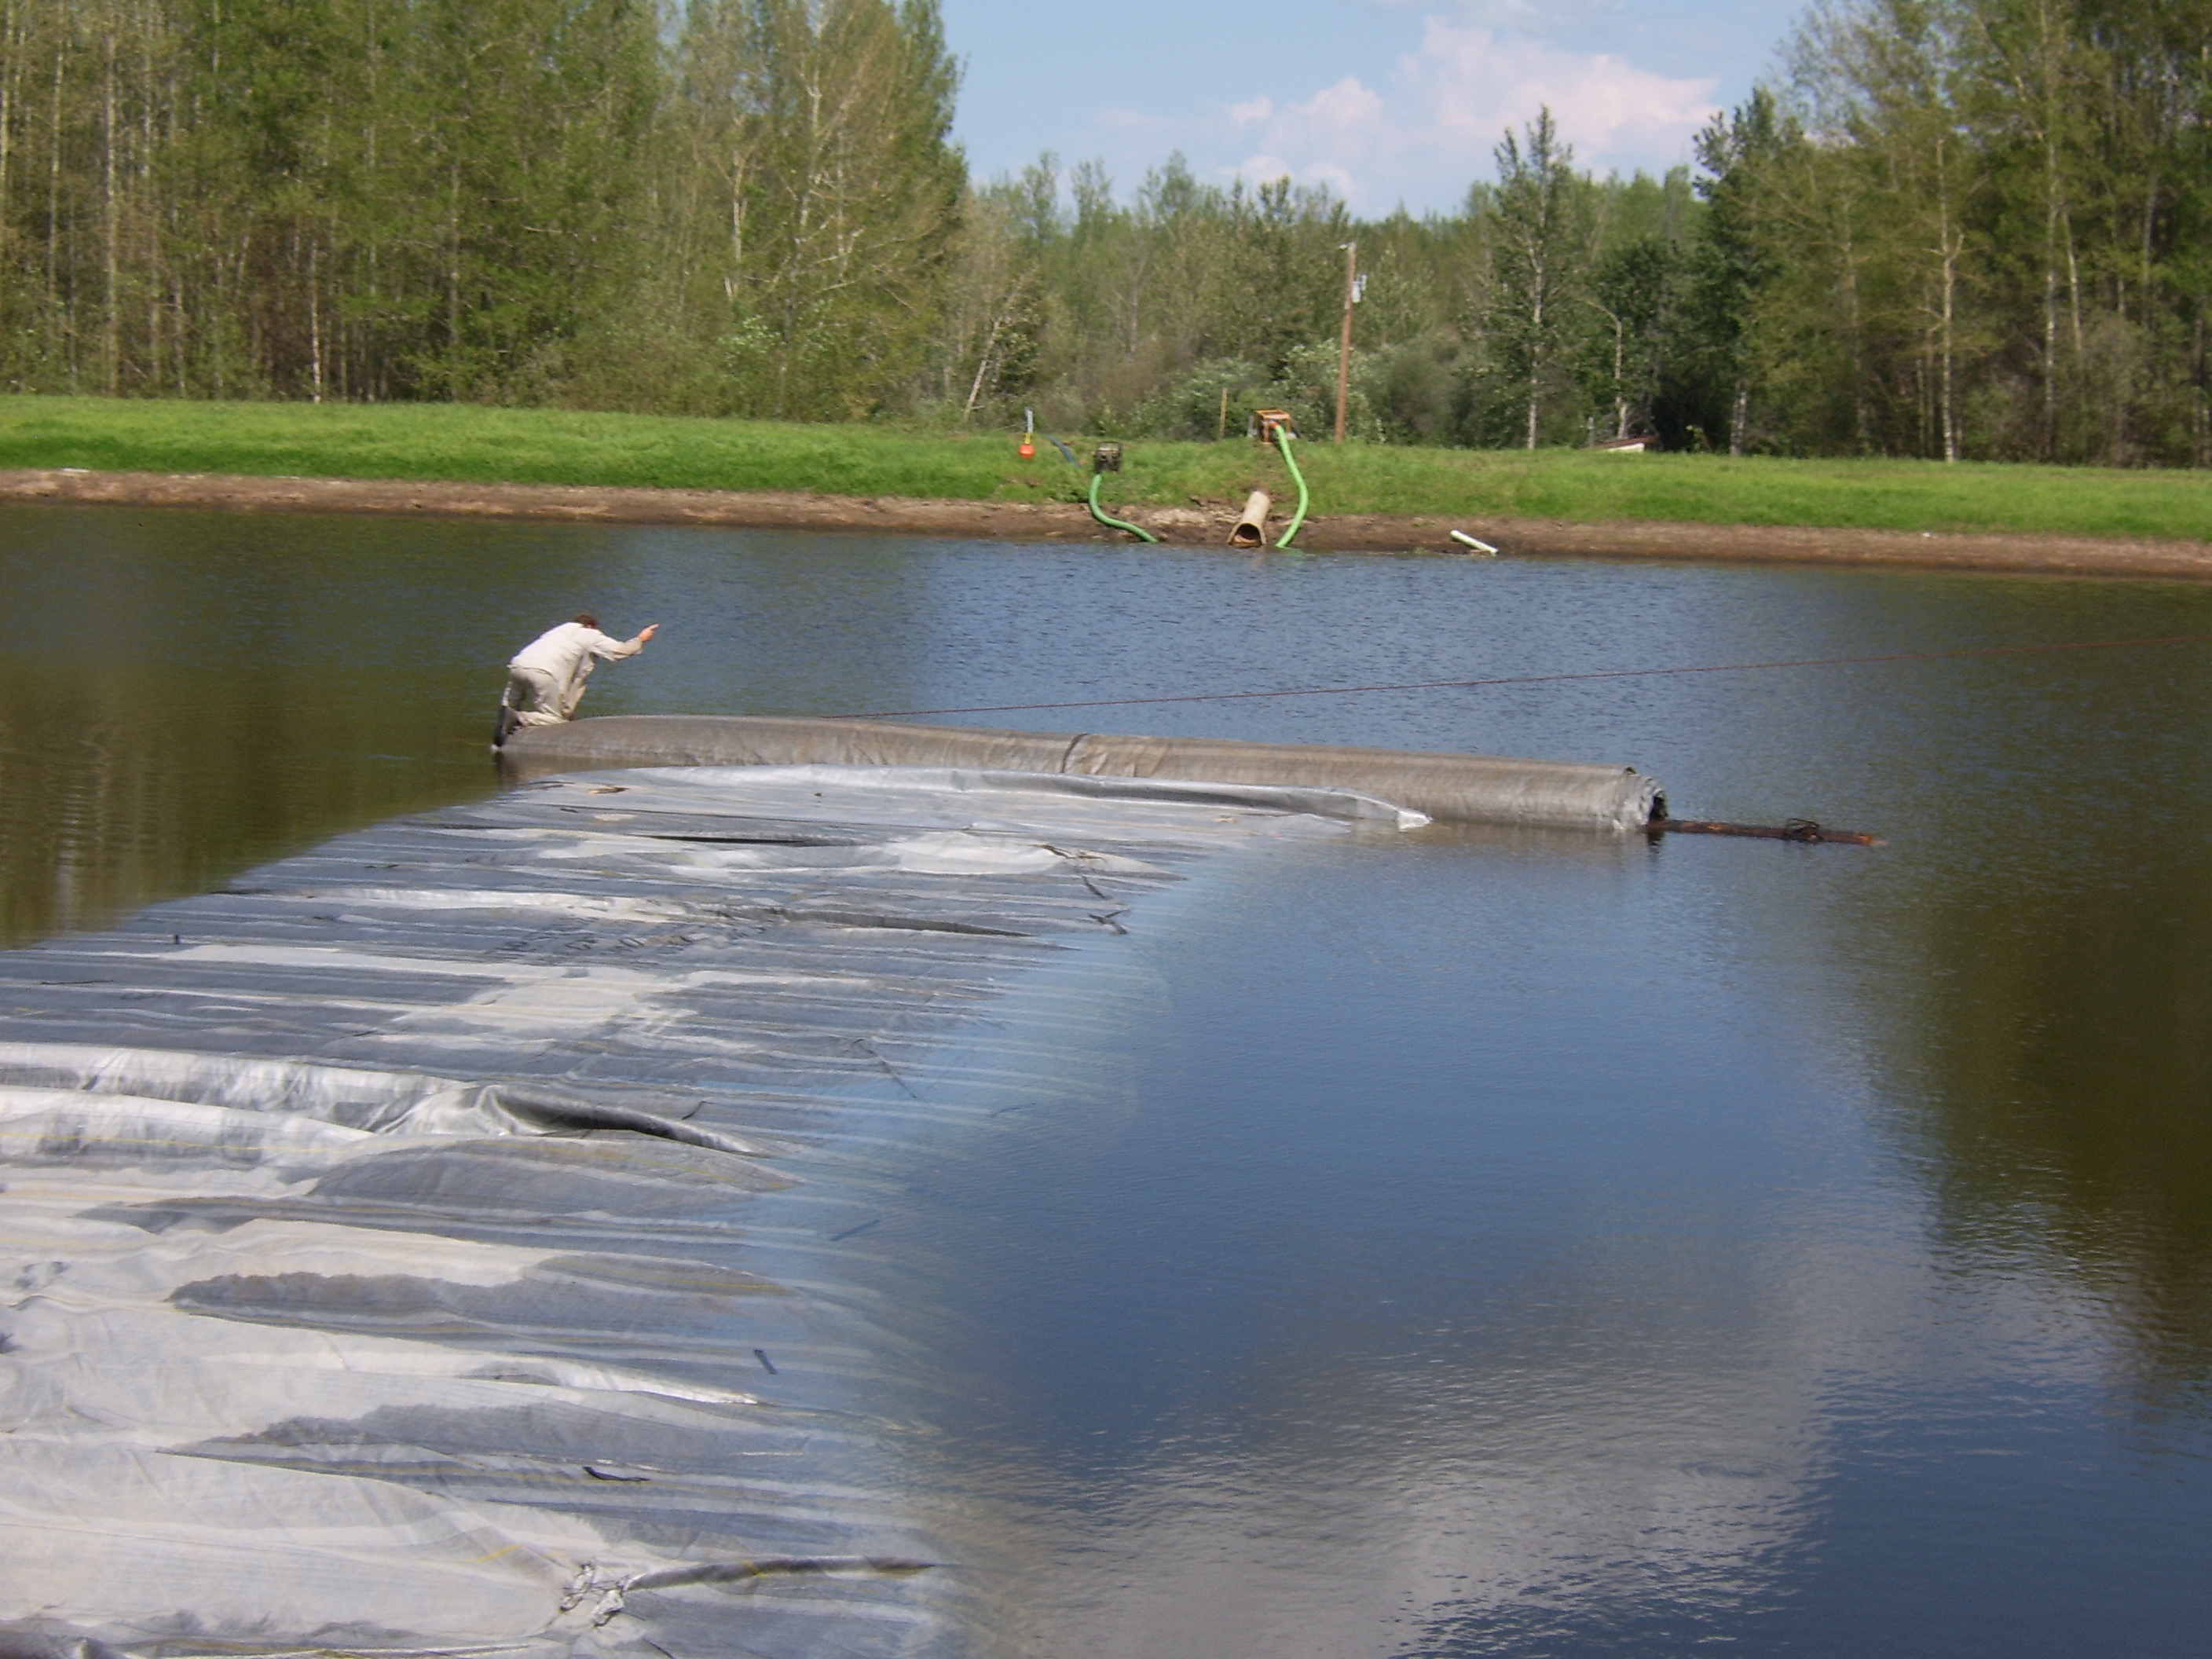
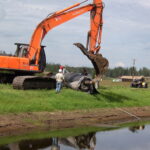
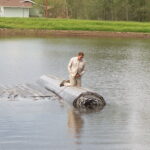
10.) David Doolaege the owner and inventor of AquaDams, kneels on the AquaDam.
11.) David has tied a rope onto the far end of the roll. This rope goes back to a heavy piece of equipment on shore and will be used to “steer’ the AquaDam into a turn.
12.) As the AquaDam unrolls, the rope pulls on one end of the roll. This makes a nice turn or curve in the path of the AquaDam.
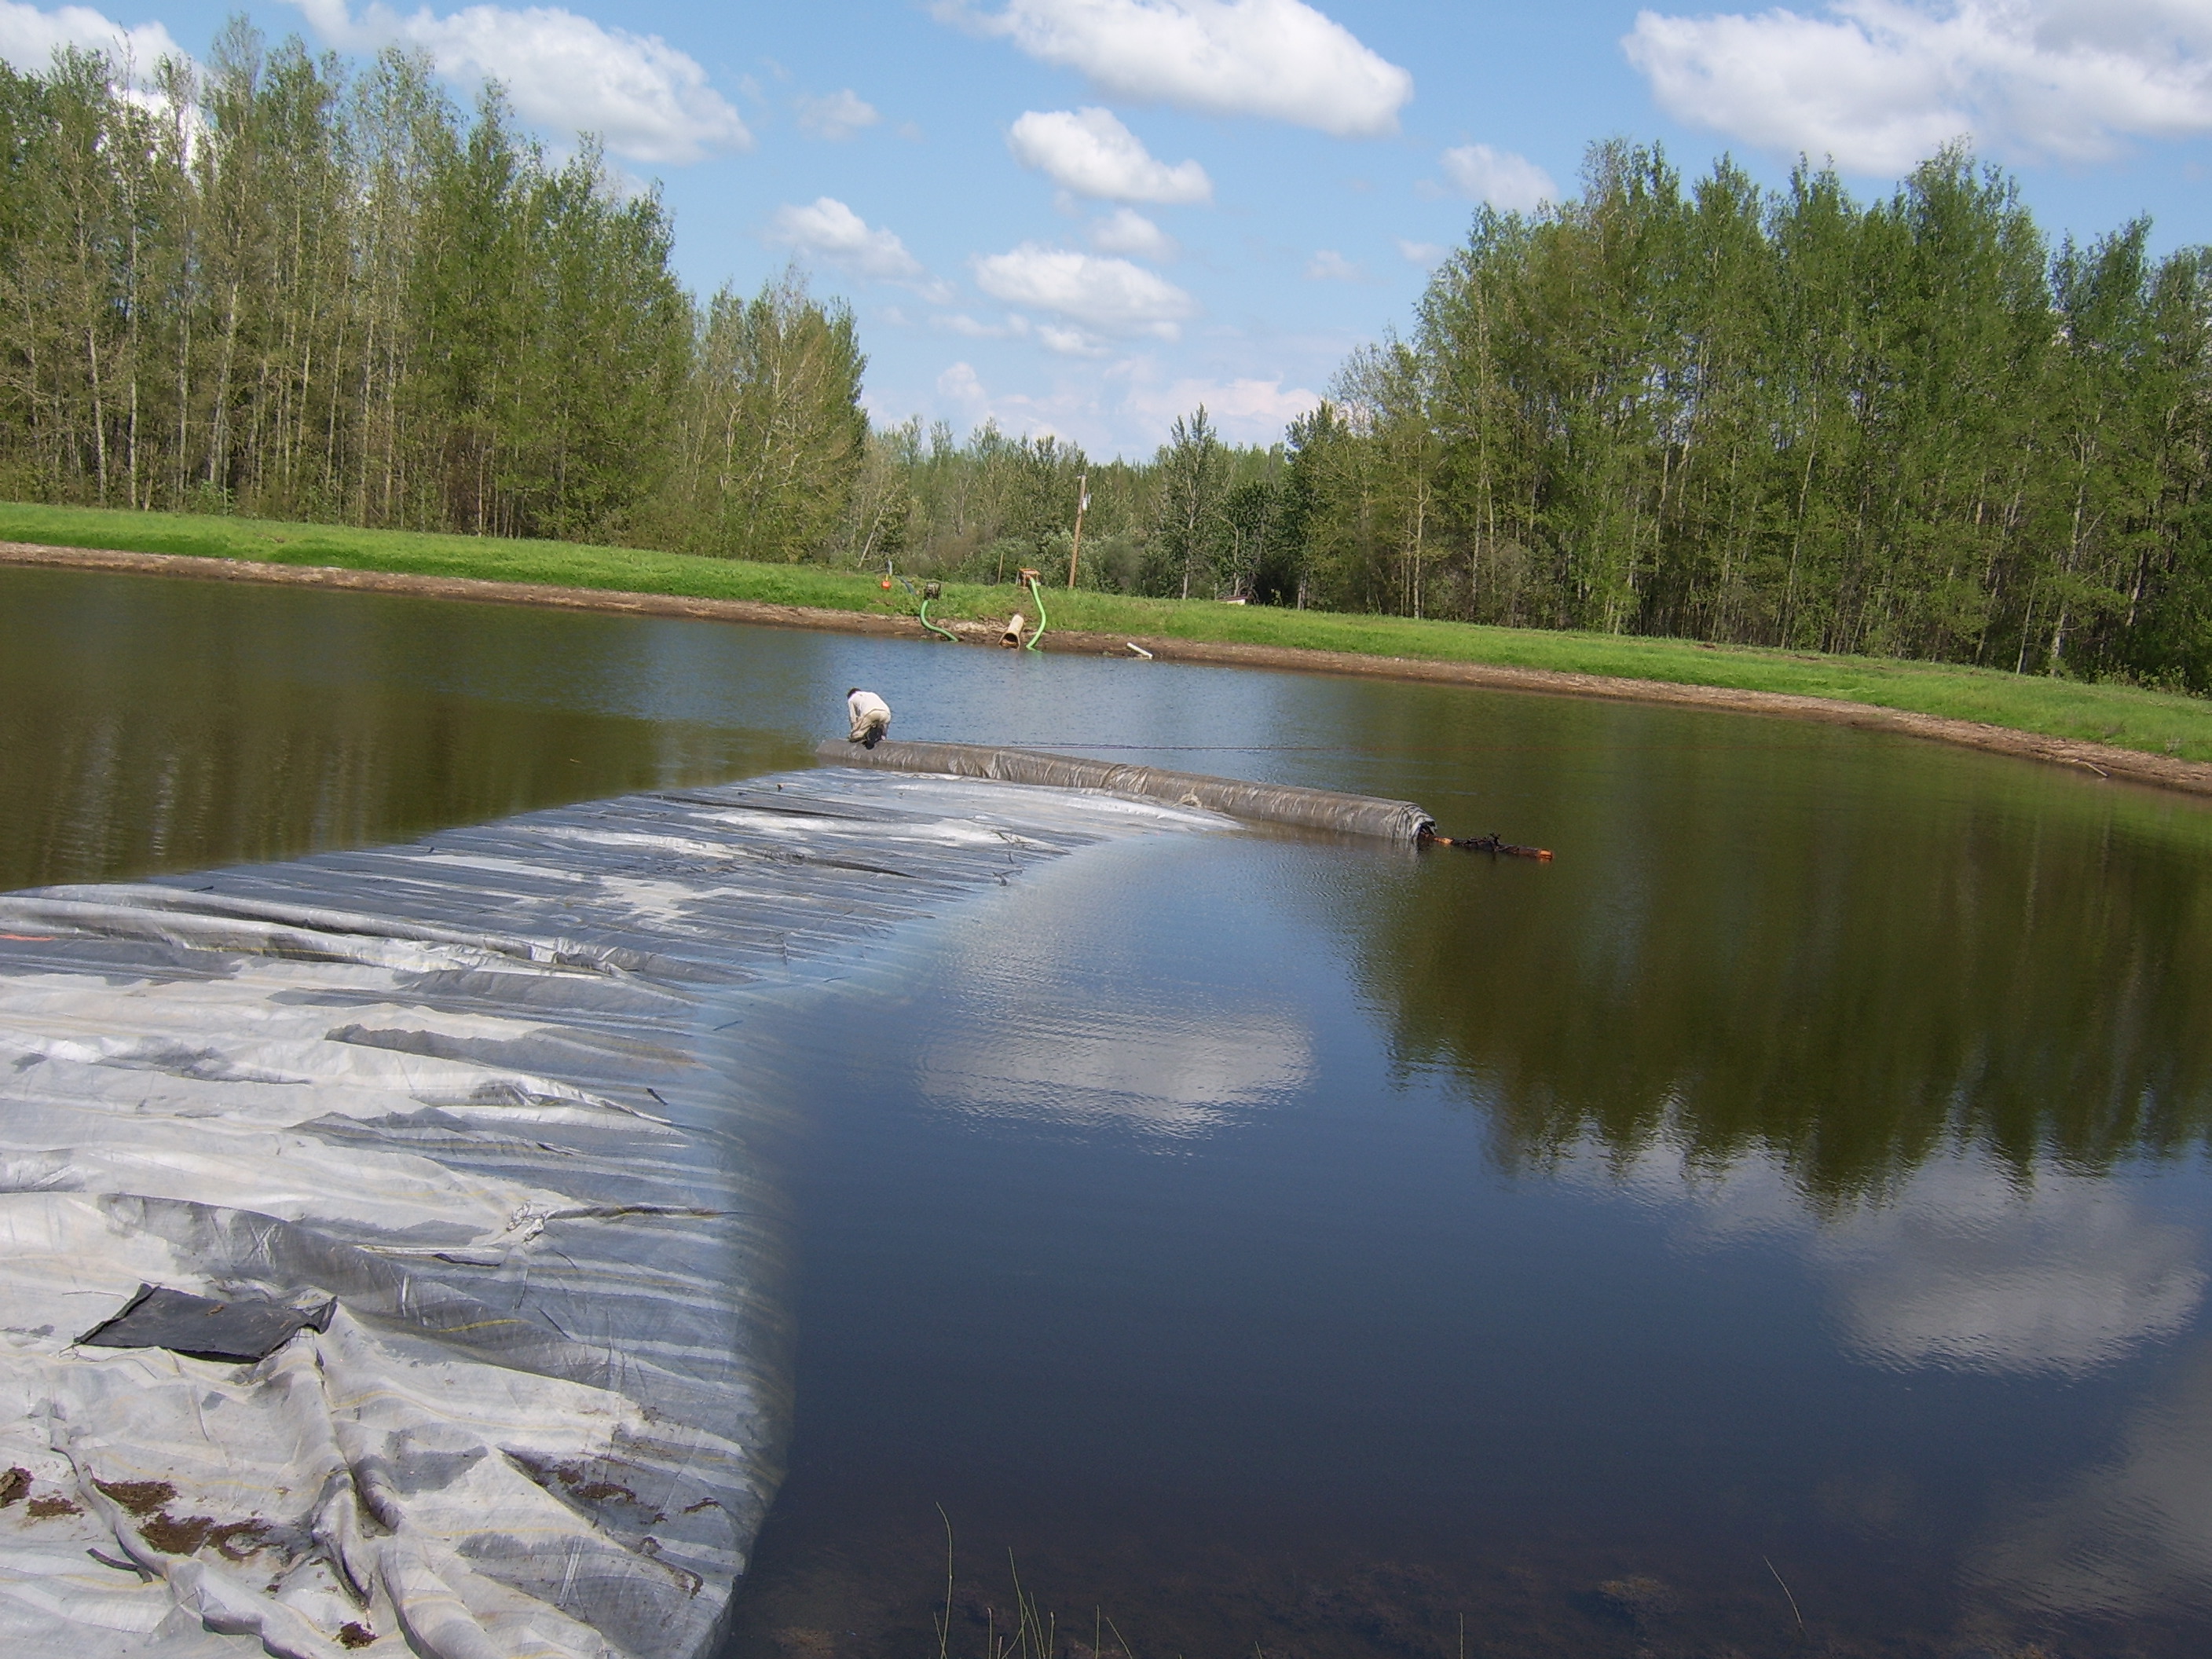
13.) Halfway unrolled, the AquaDam will be turned soon.
14.) The 12ft tall SCE AquaDam continues to fill.
15.) Ropes should be tied back to unmovable objects (anchors) on shore to assist with positioning while filling.
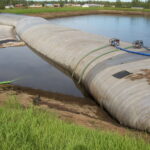
16.) AquaDam rolls float in the water, making installation much easier. As the AquaDam fills, it unrolls in a straight line. Bends or turns can be made by pulling on either side of the roll with heavy equipment by way of rope, often in conjunction with decreasing the pumping action in one side of the AquaDam, causing it to naturally turn.
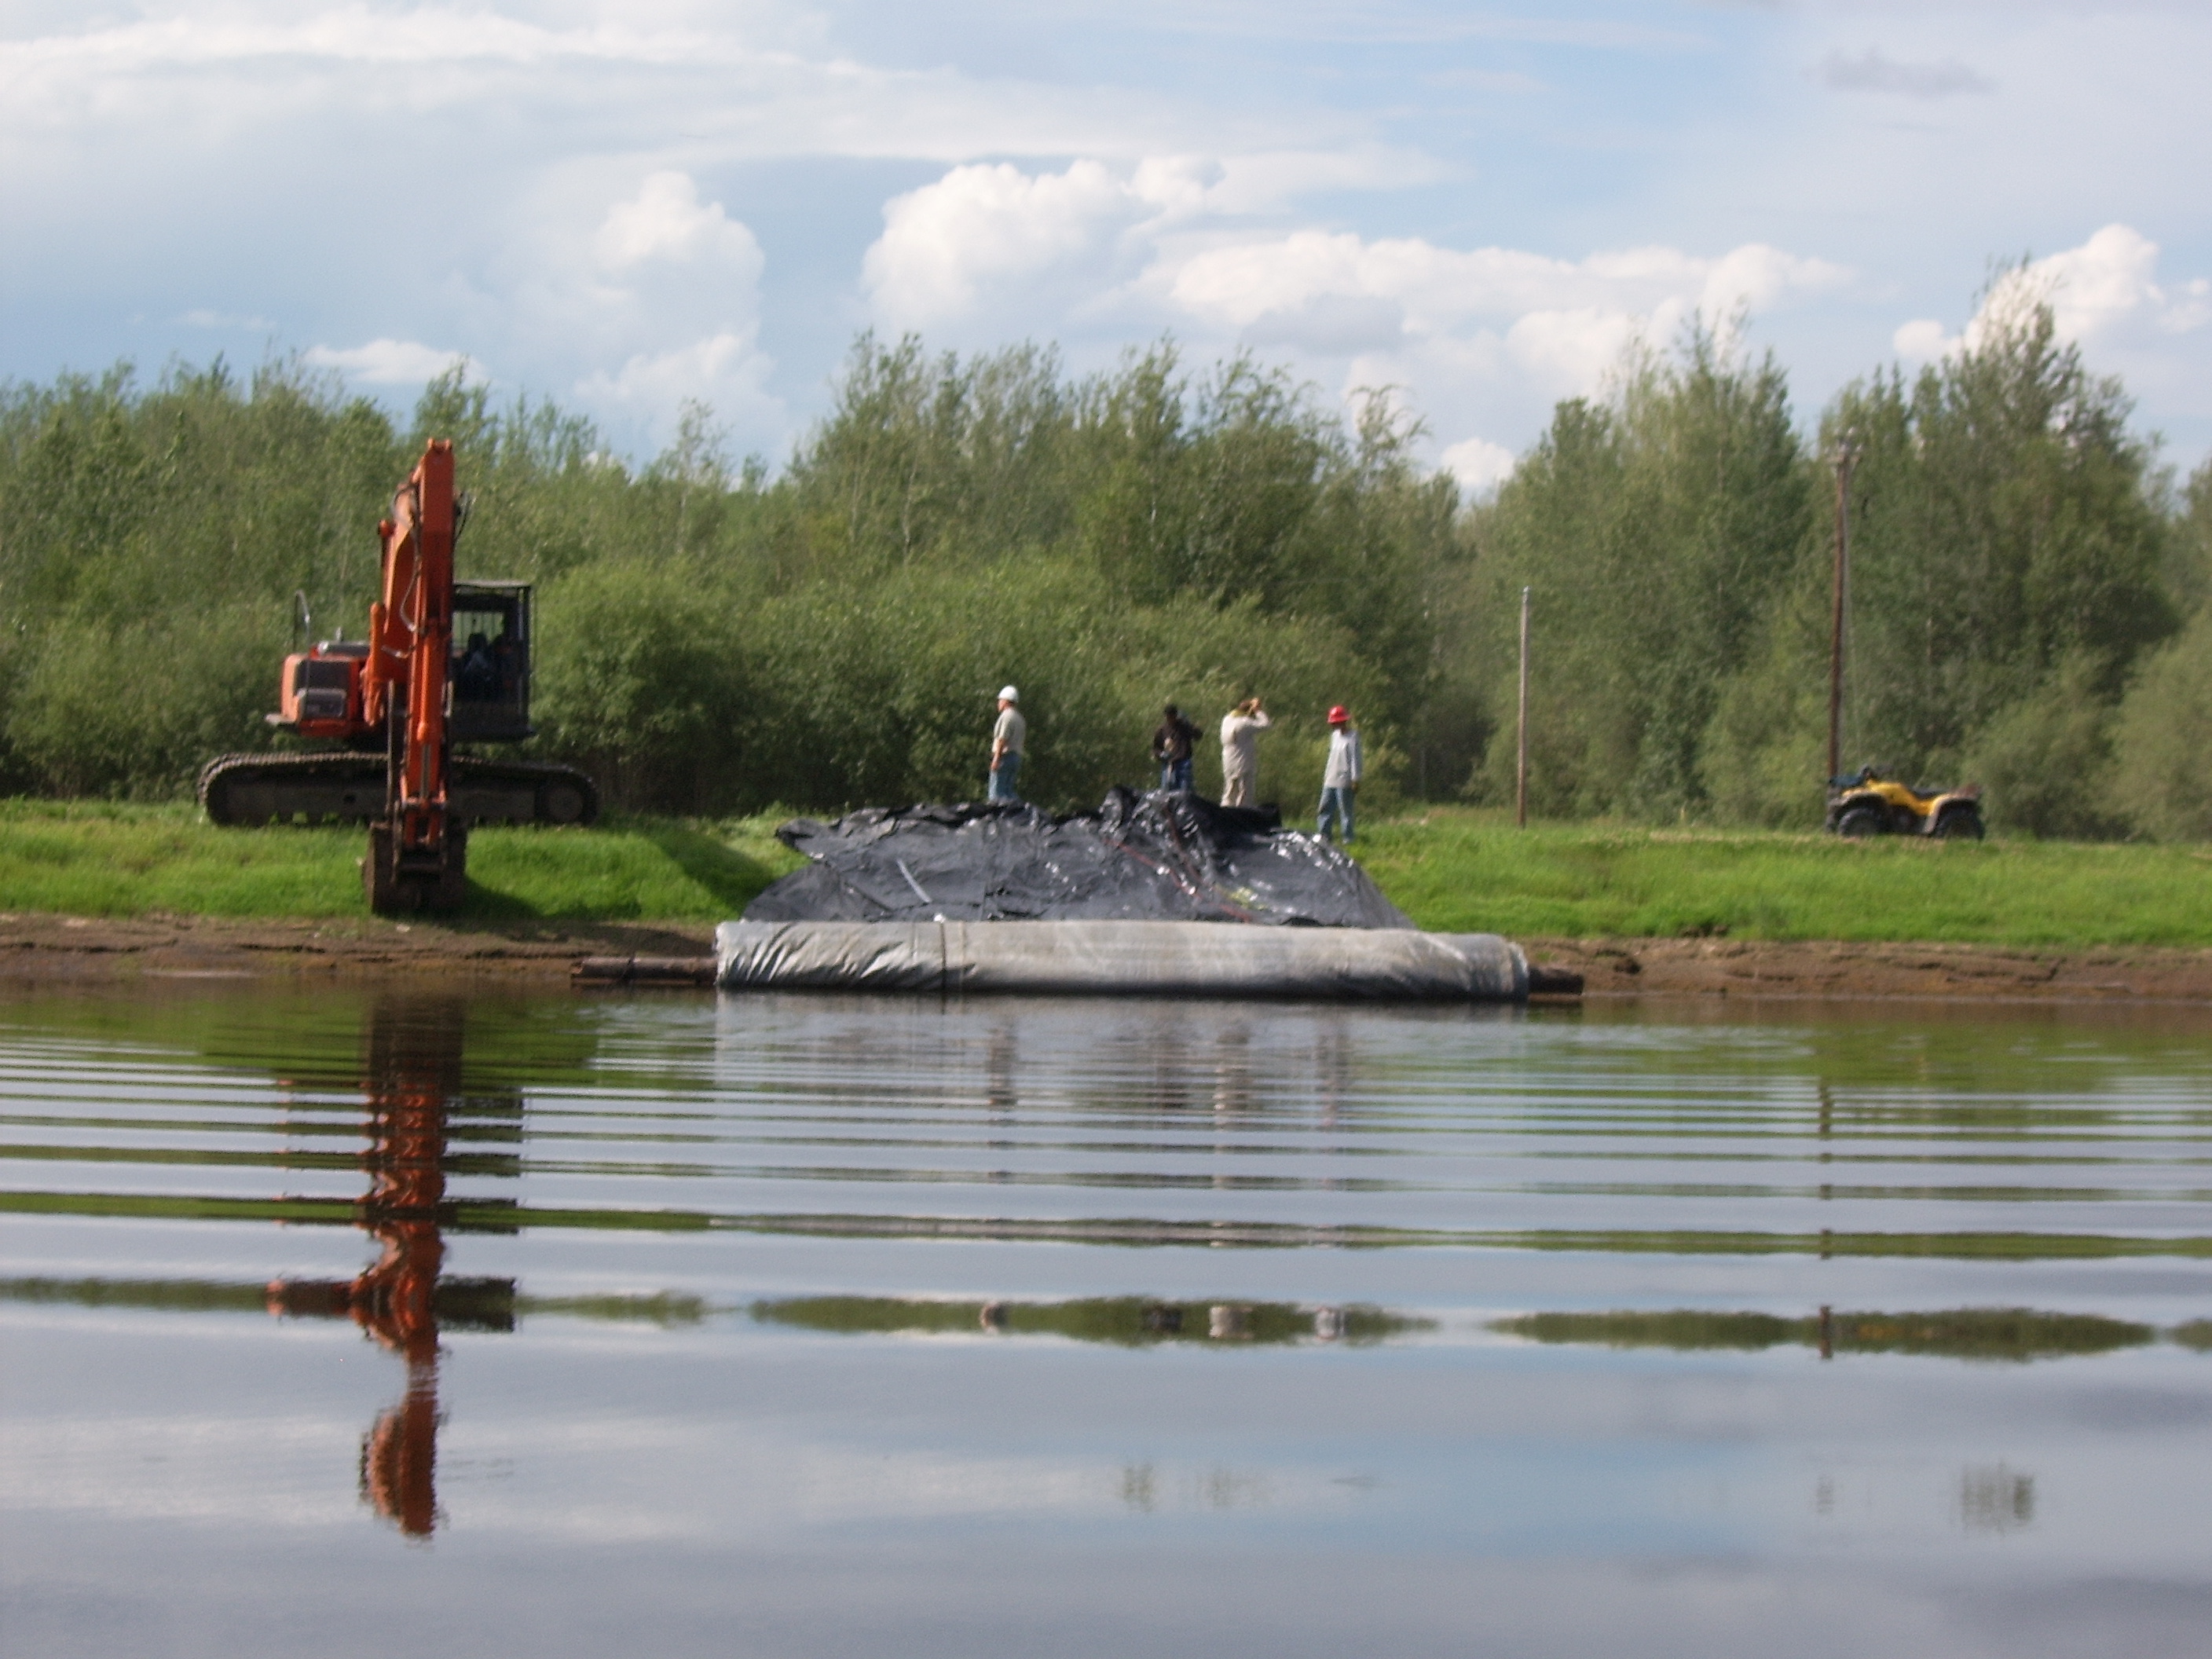
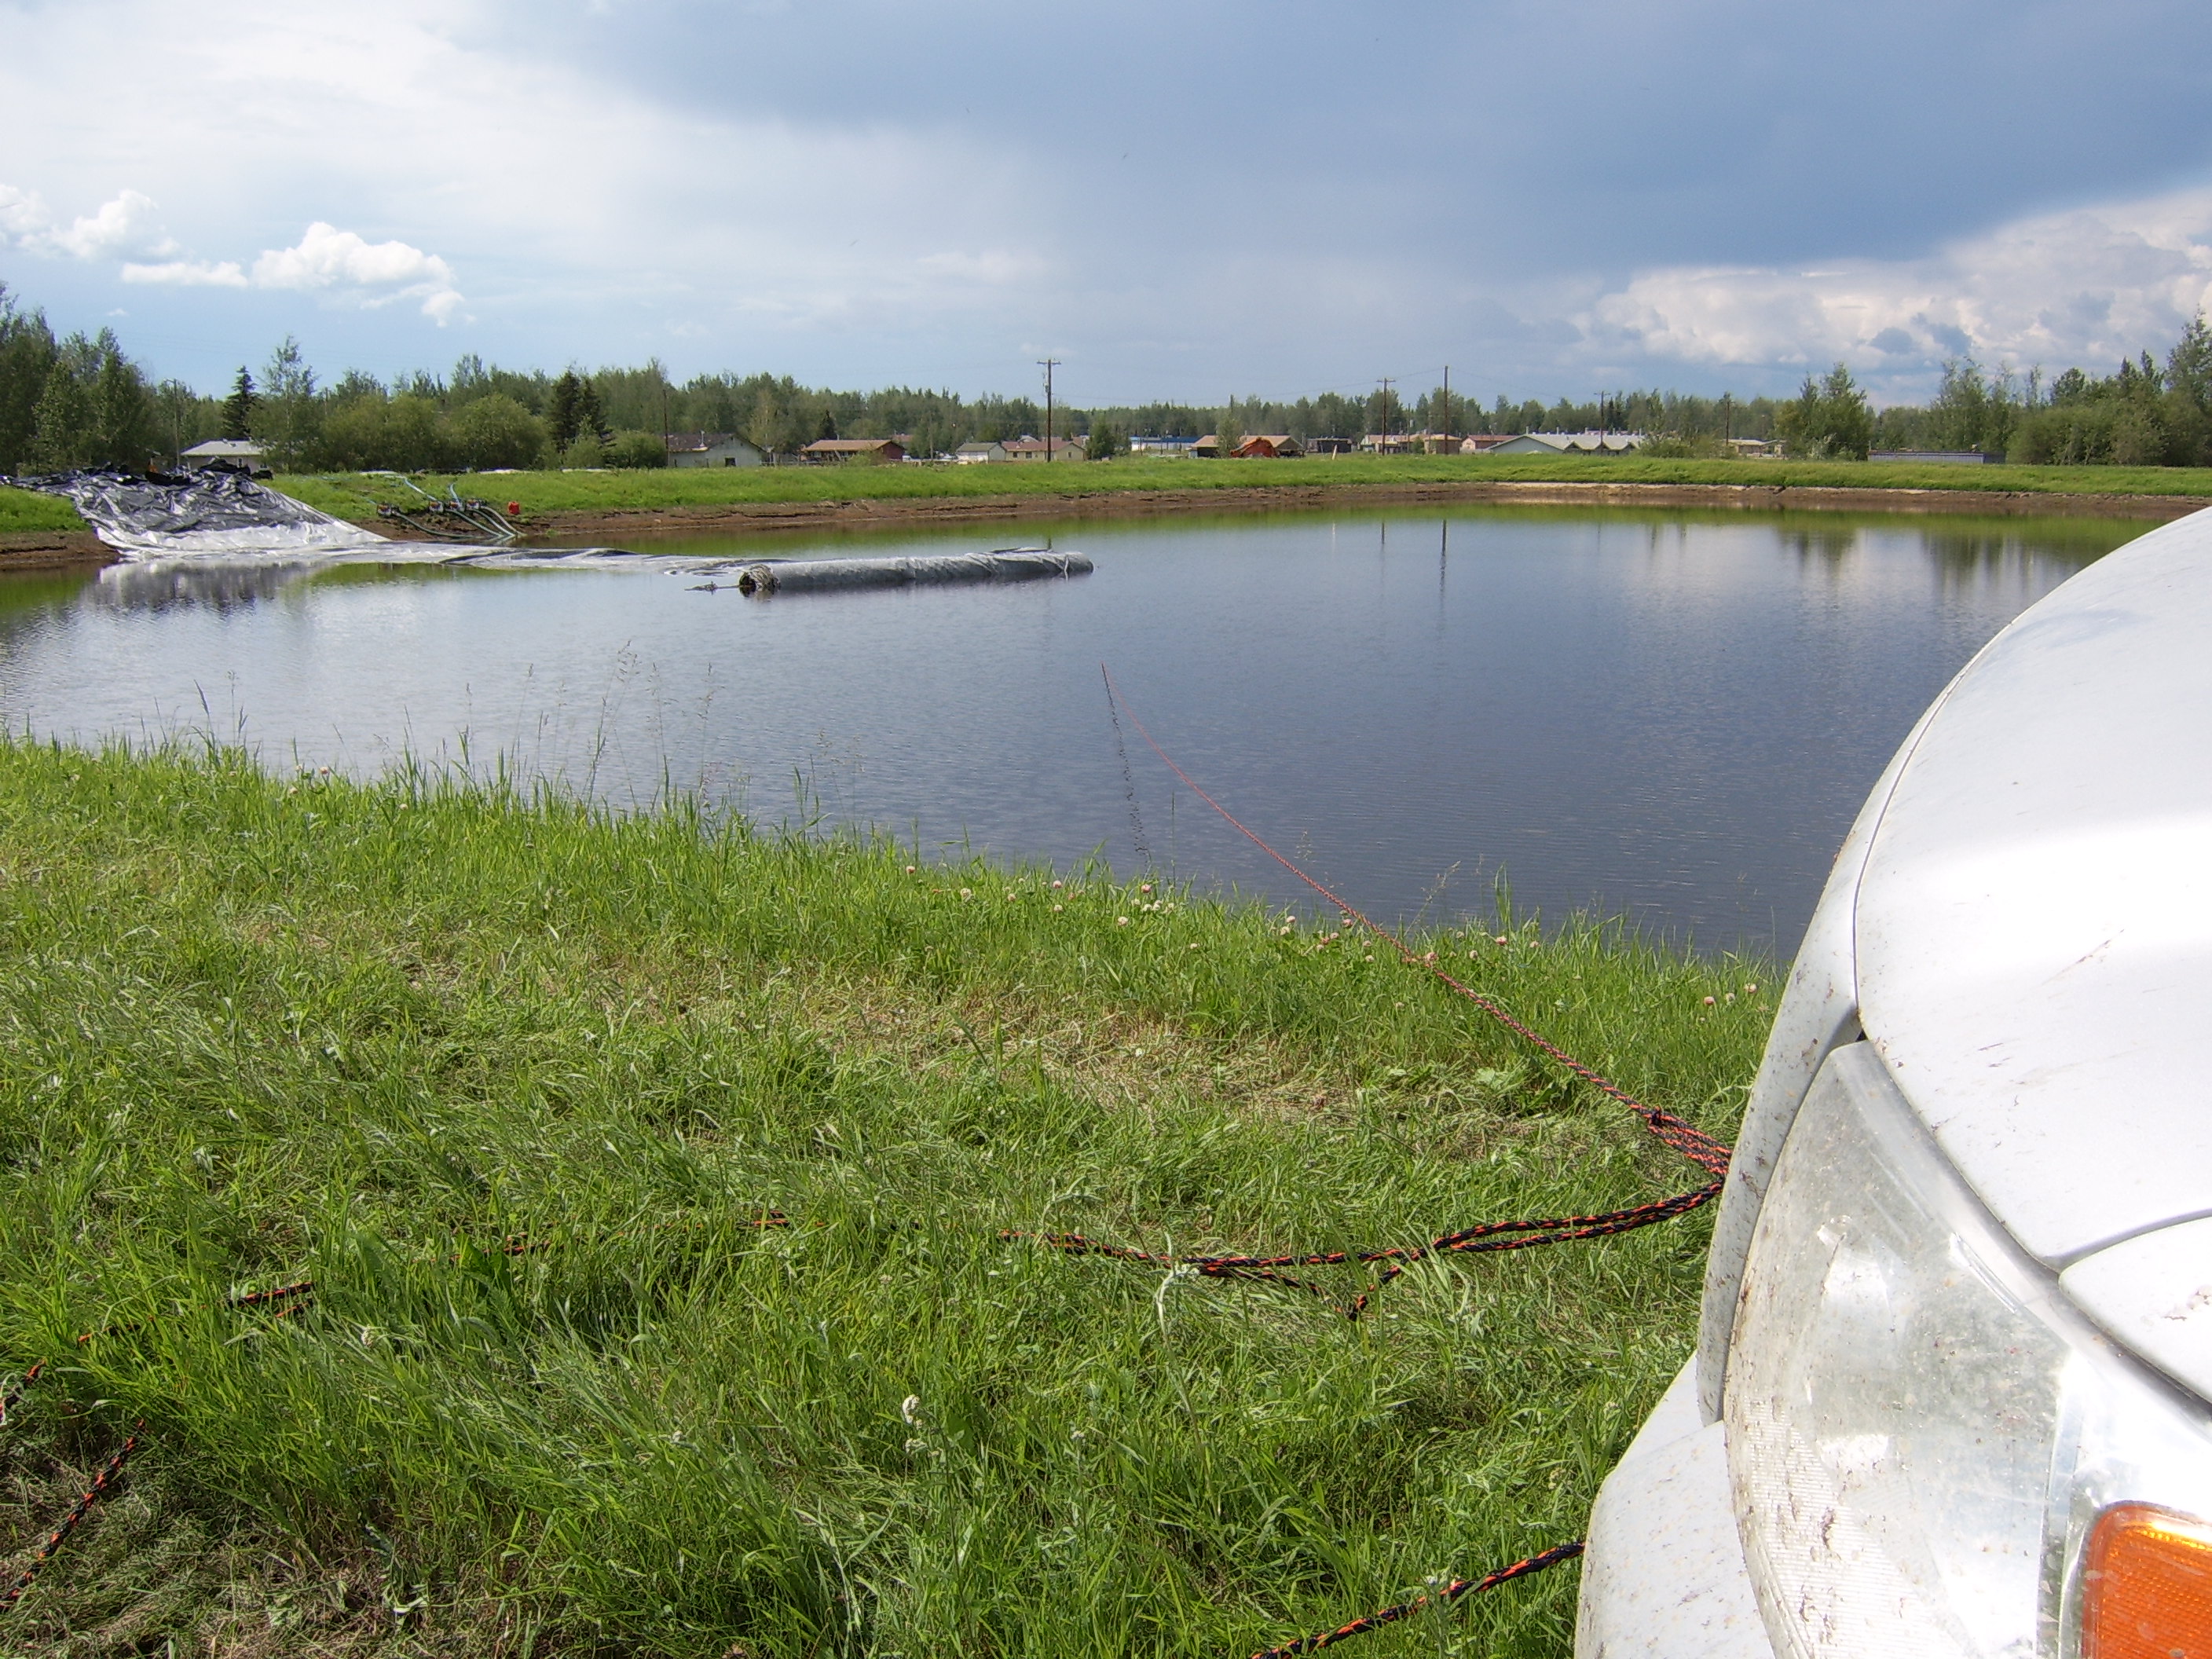
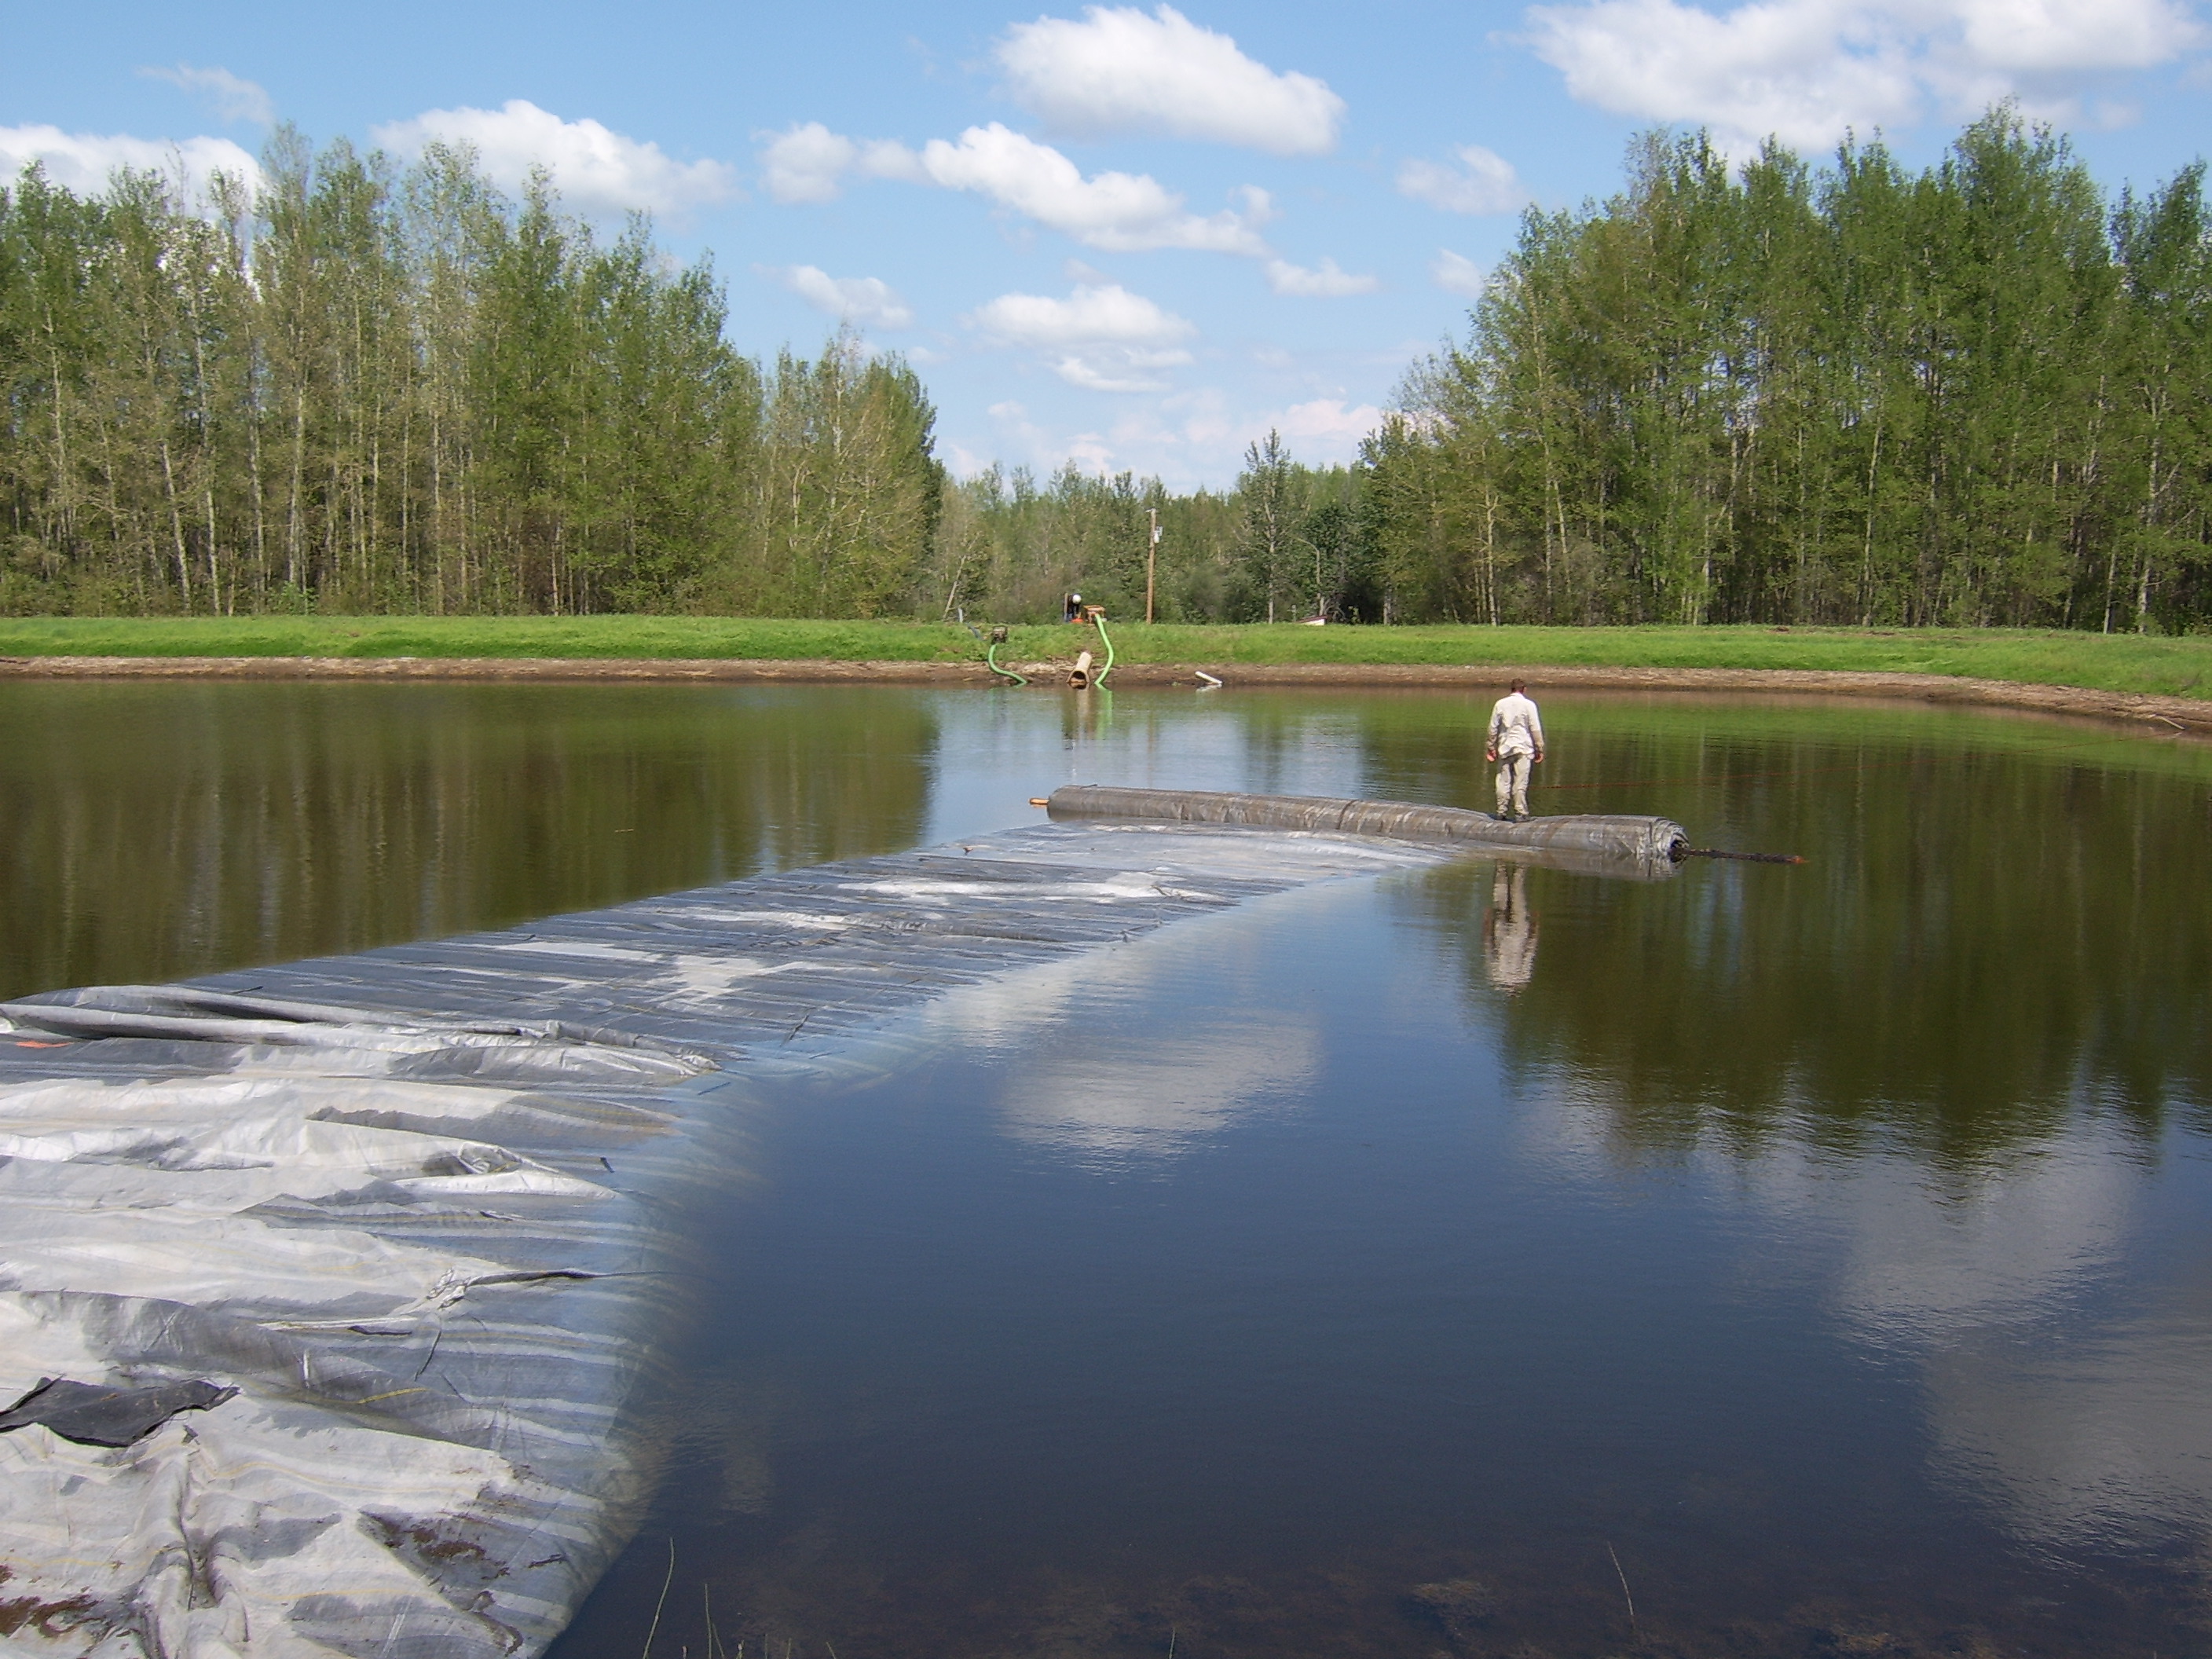
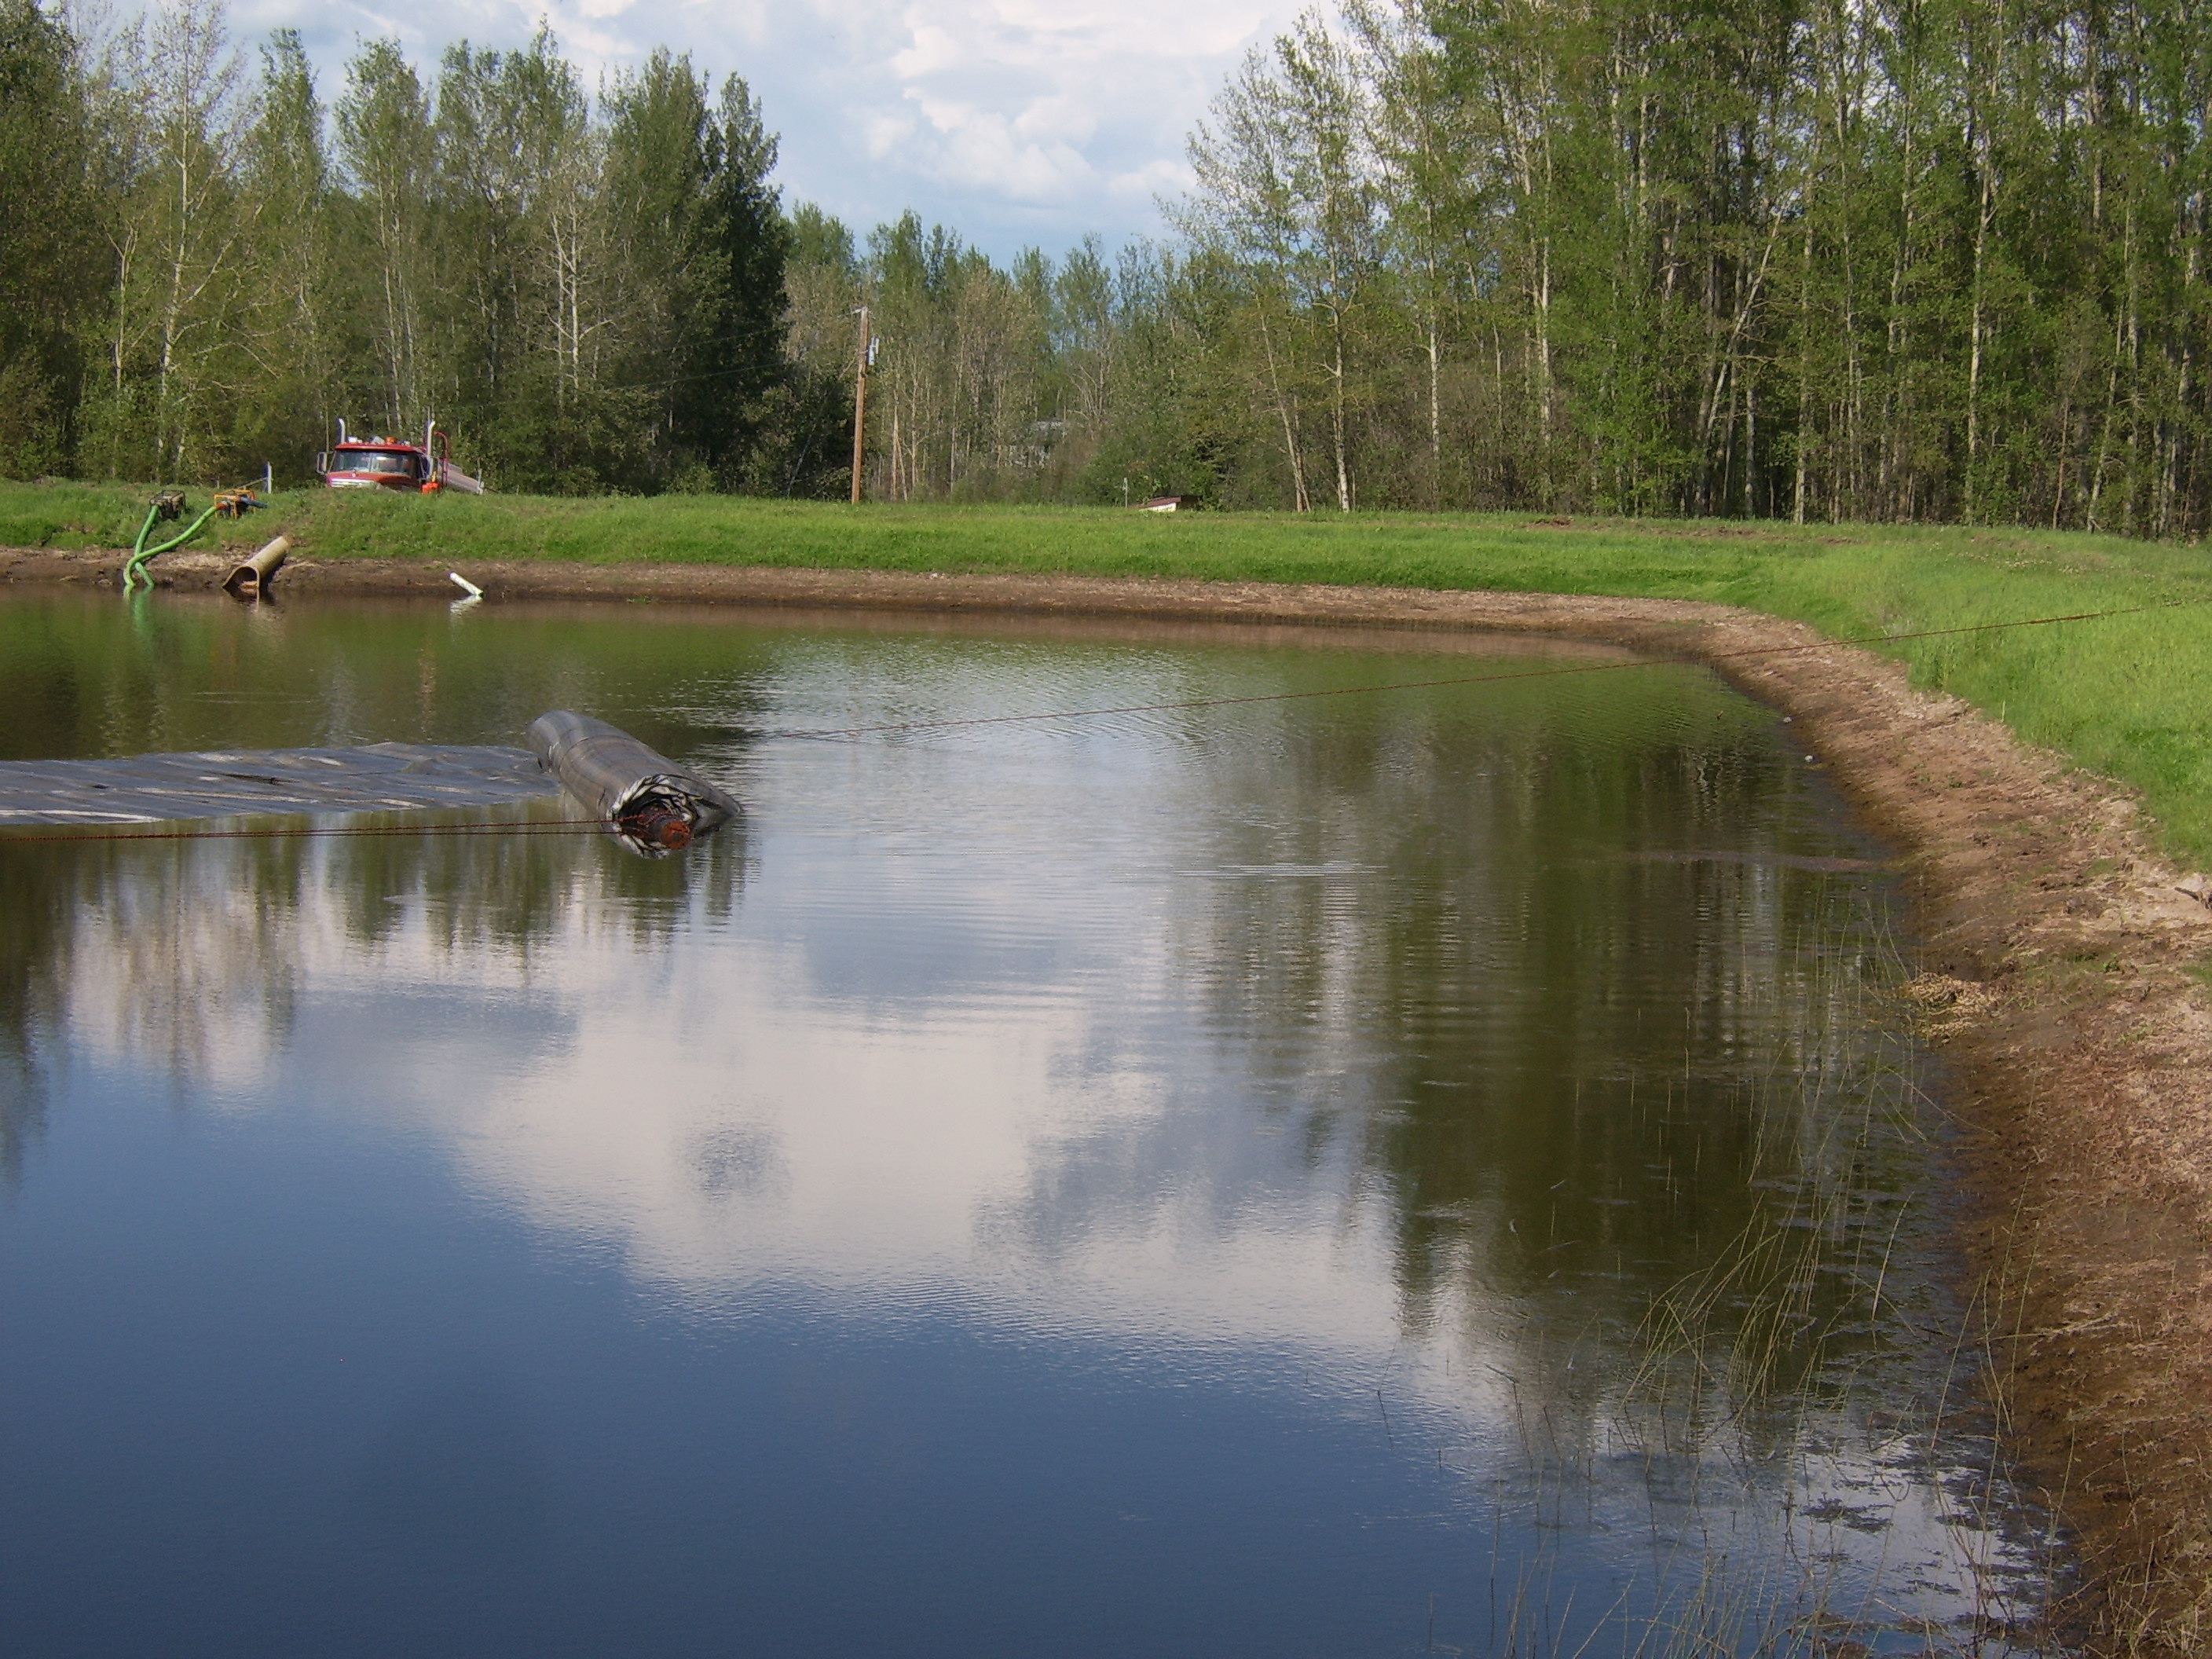
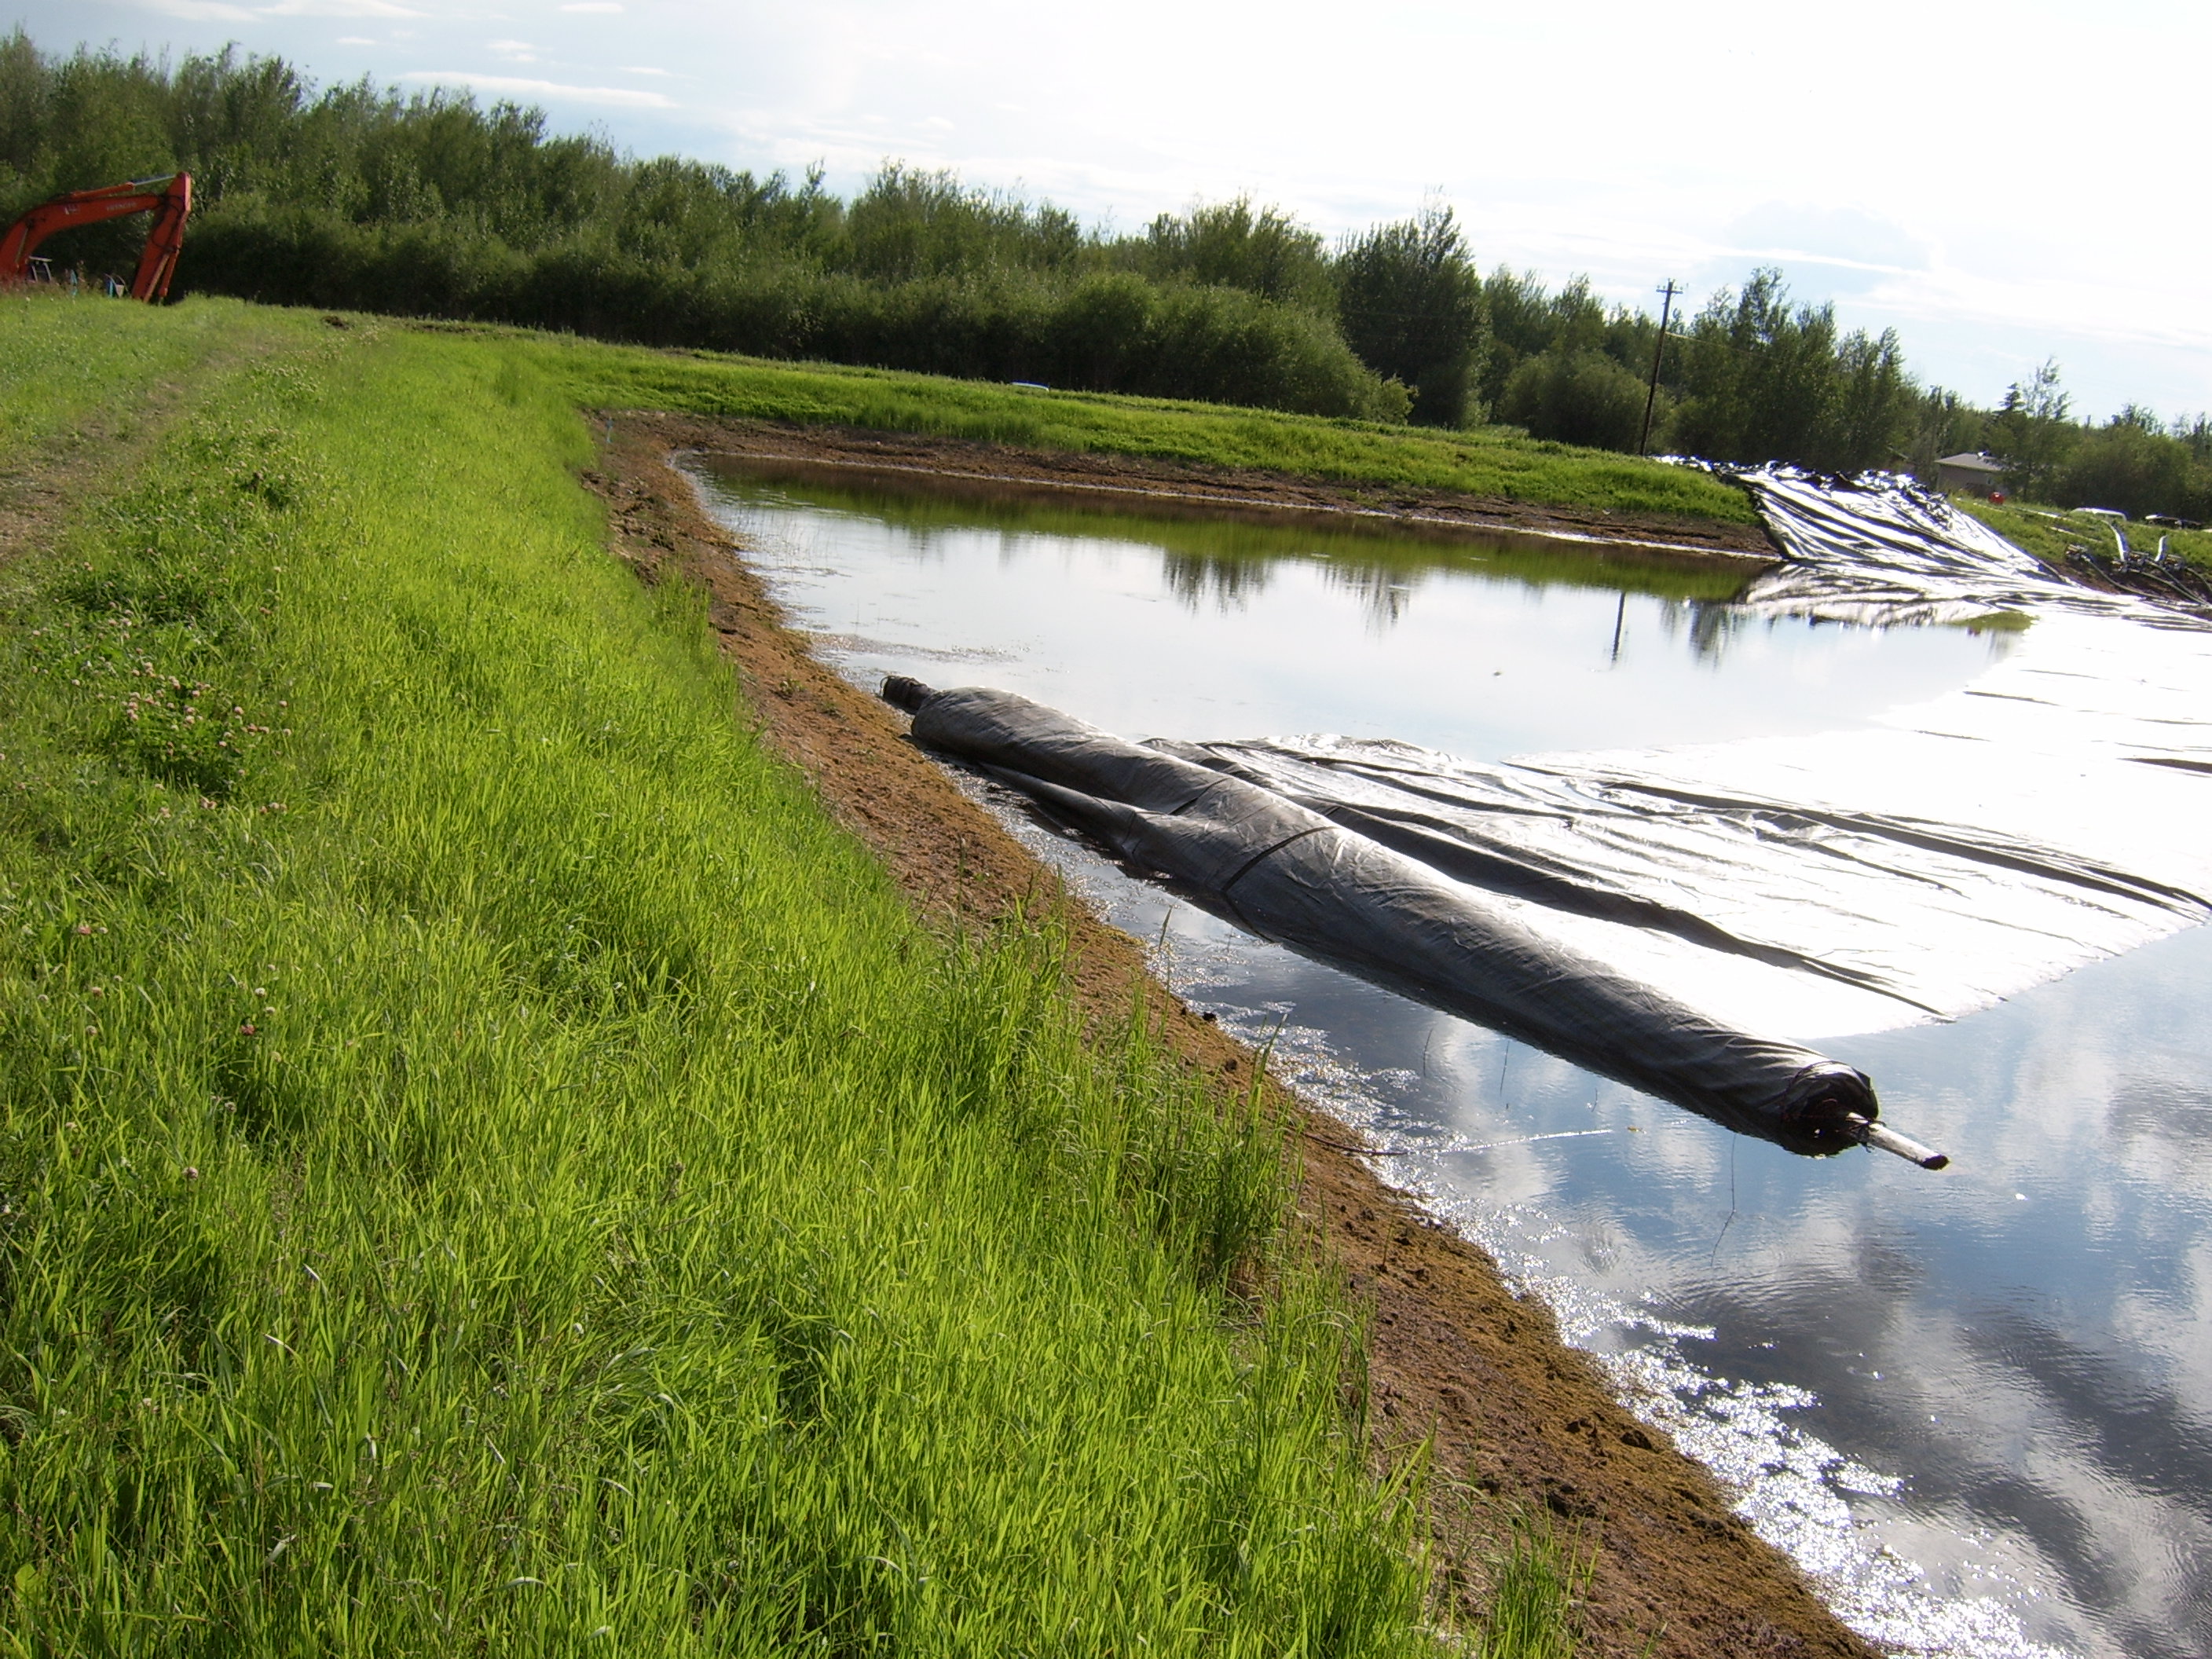
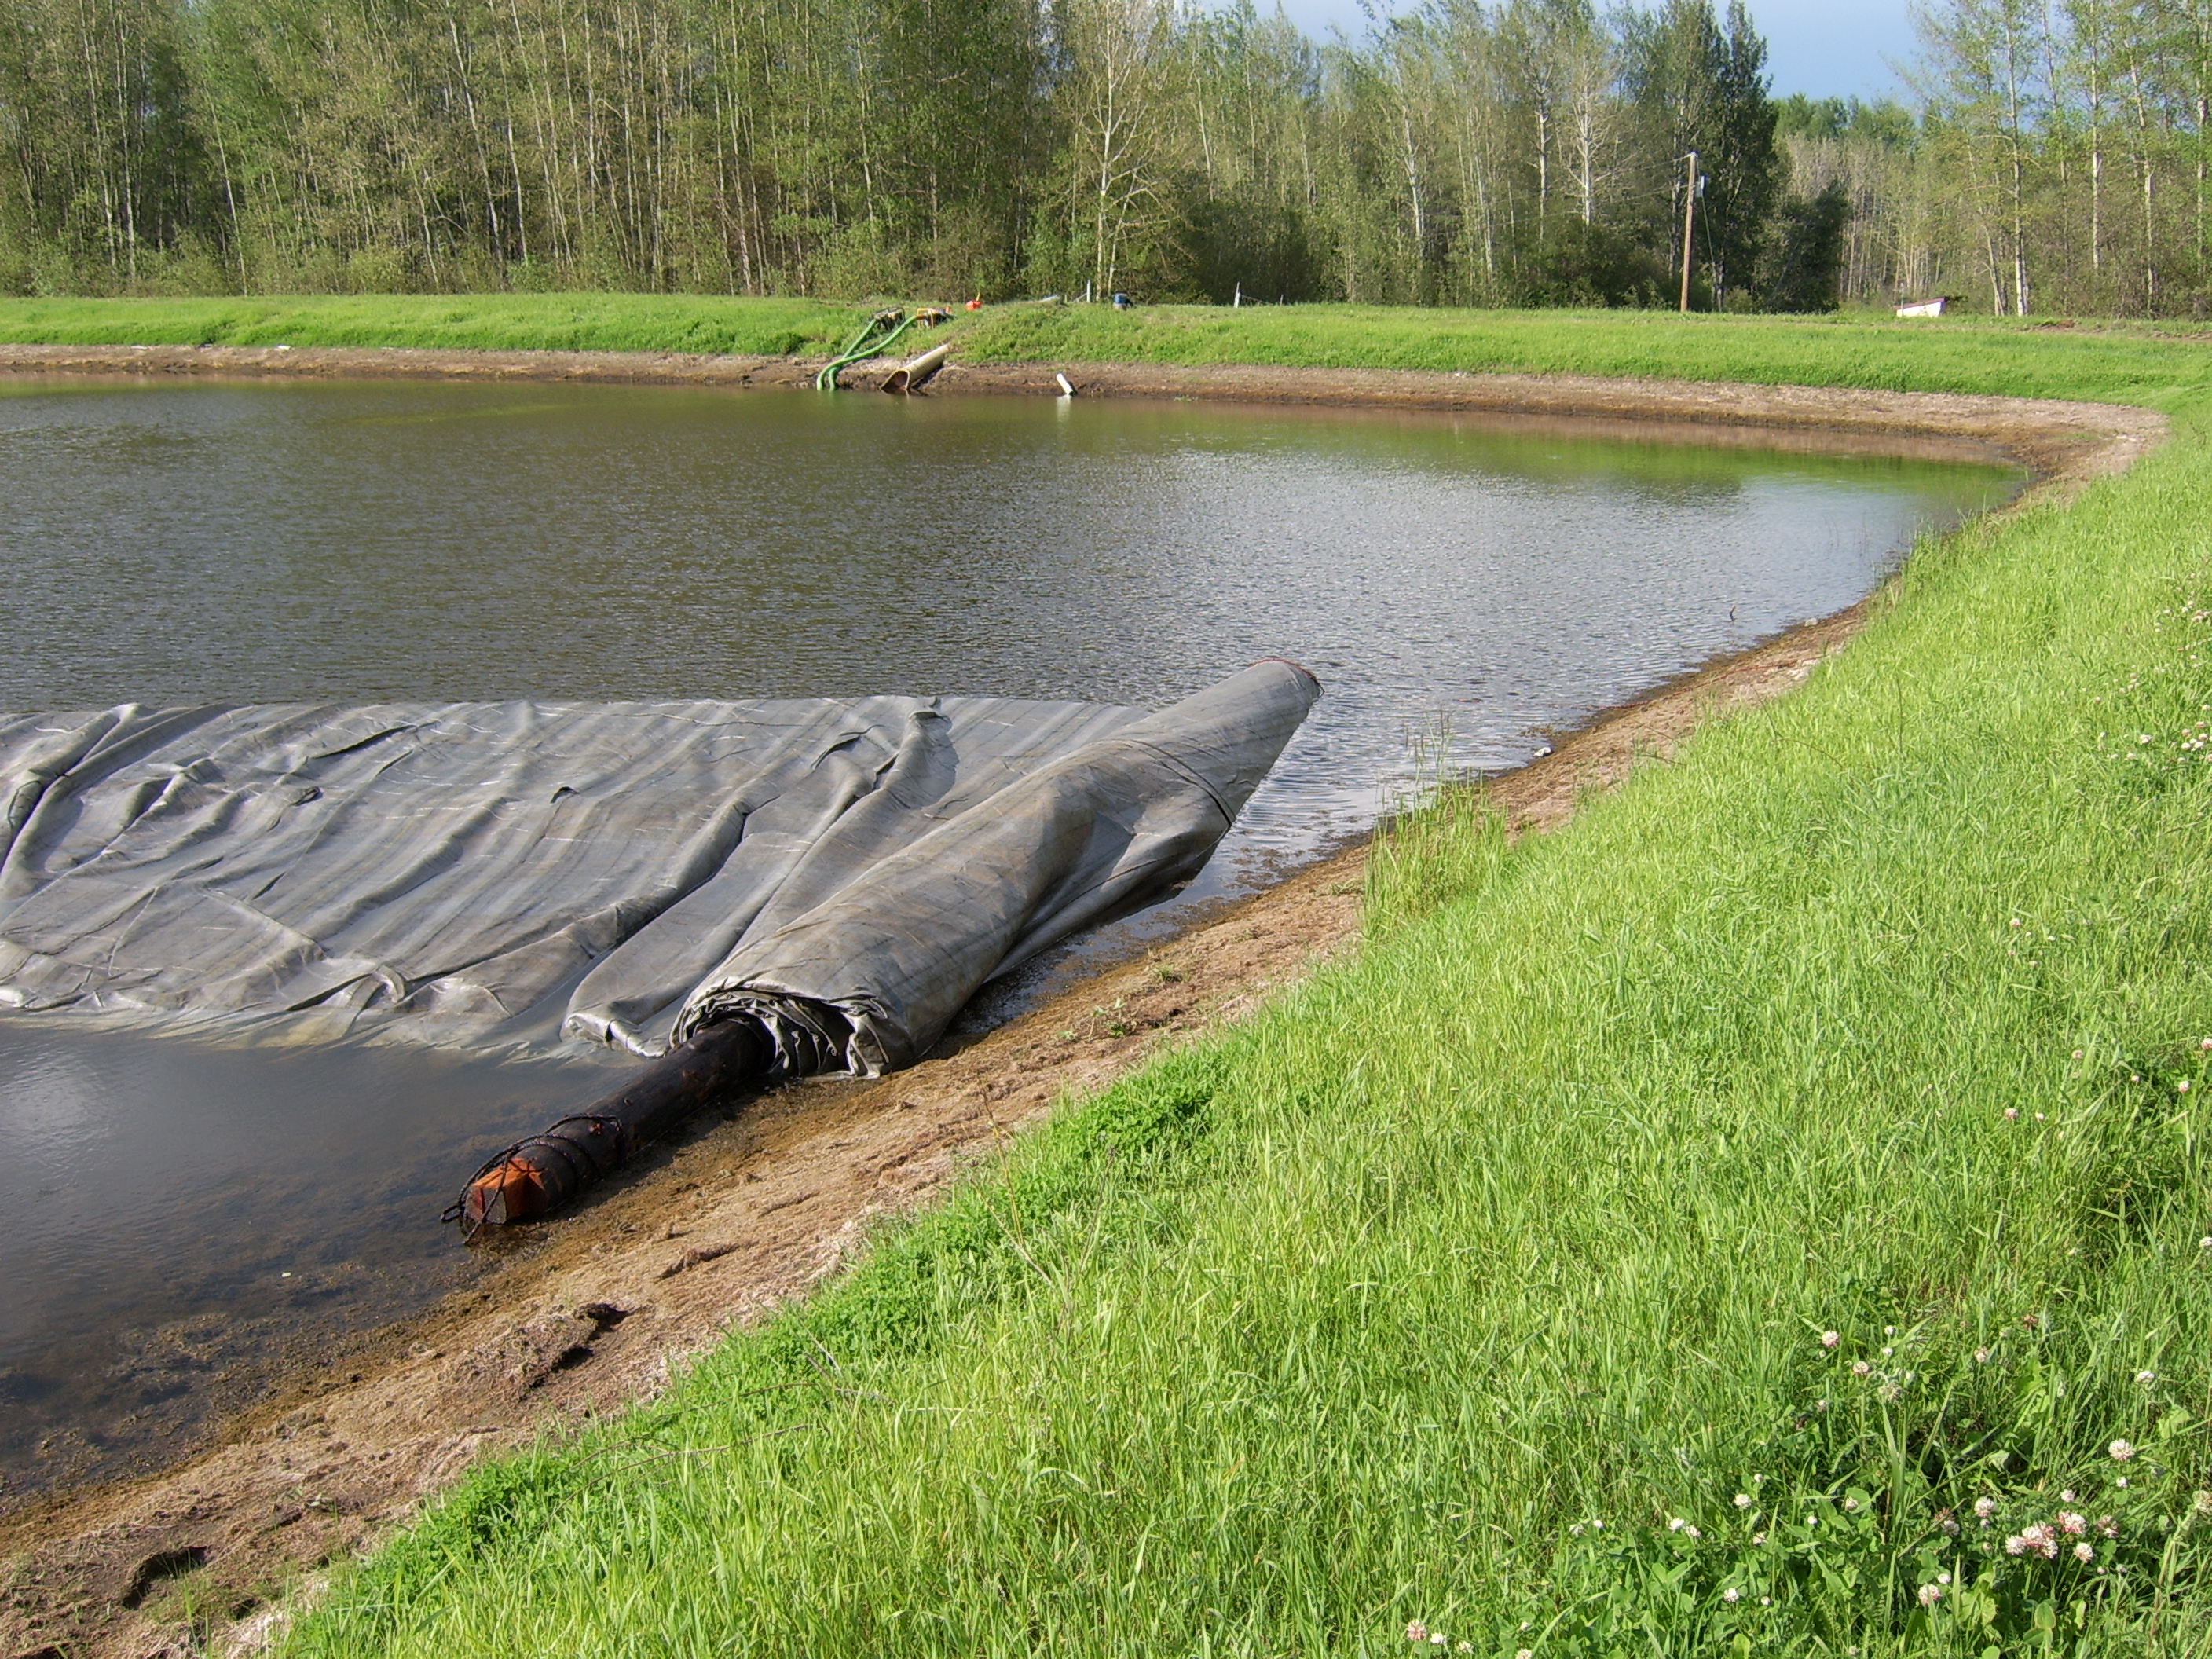
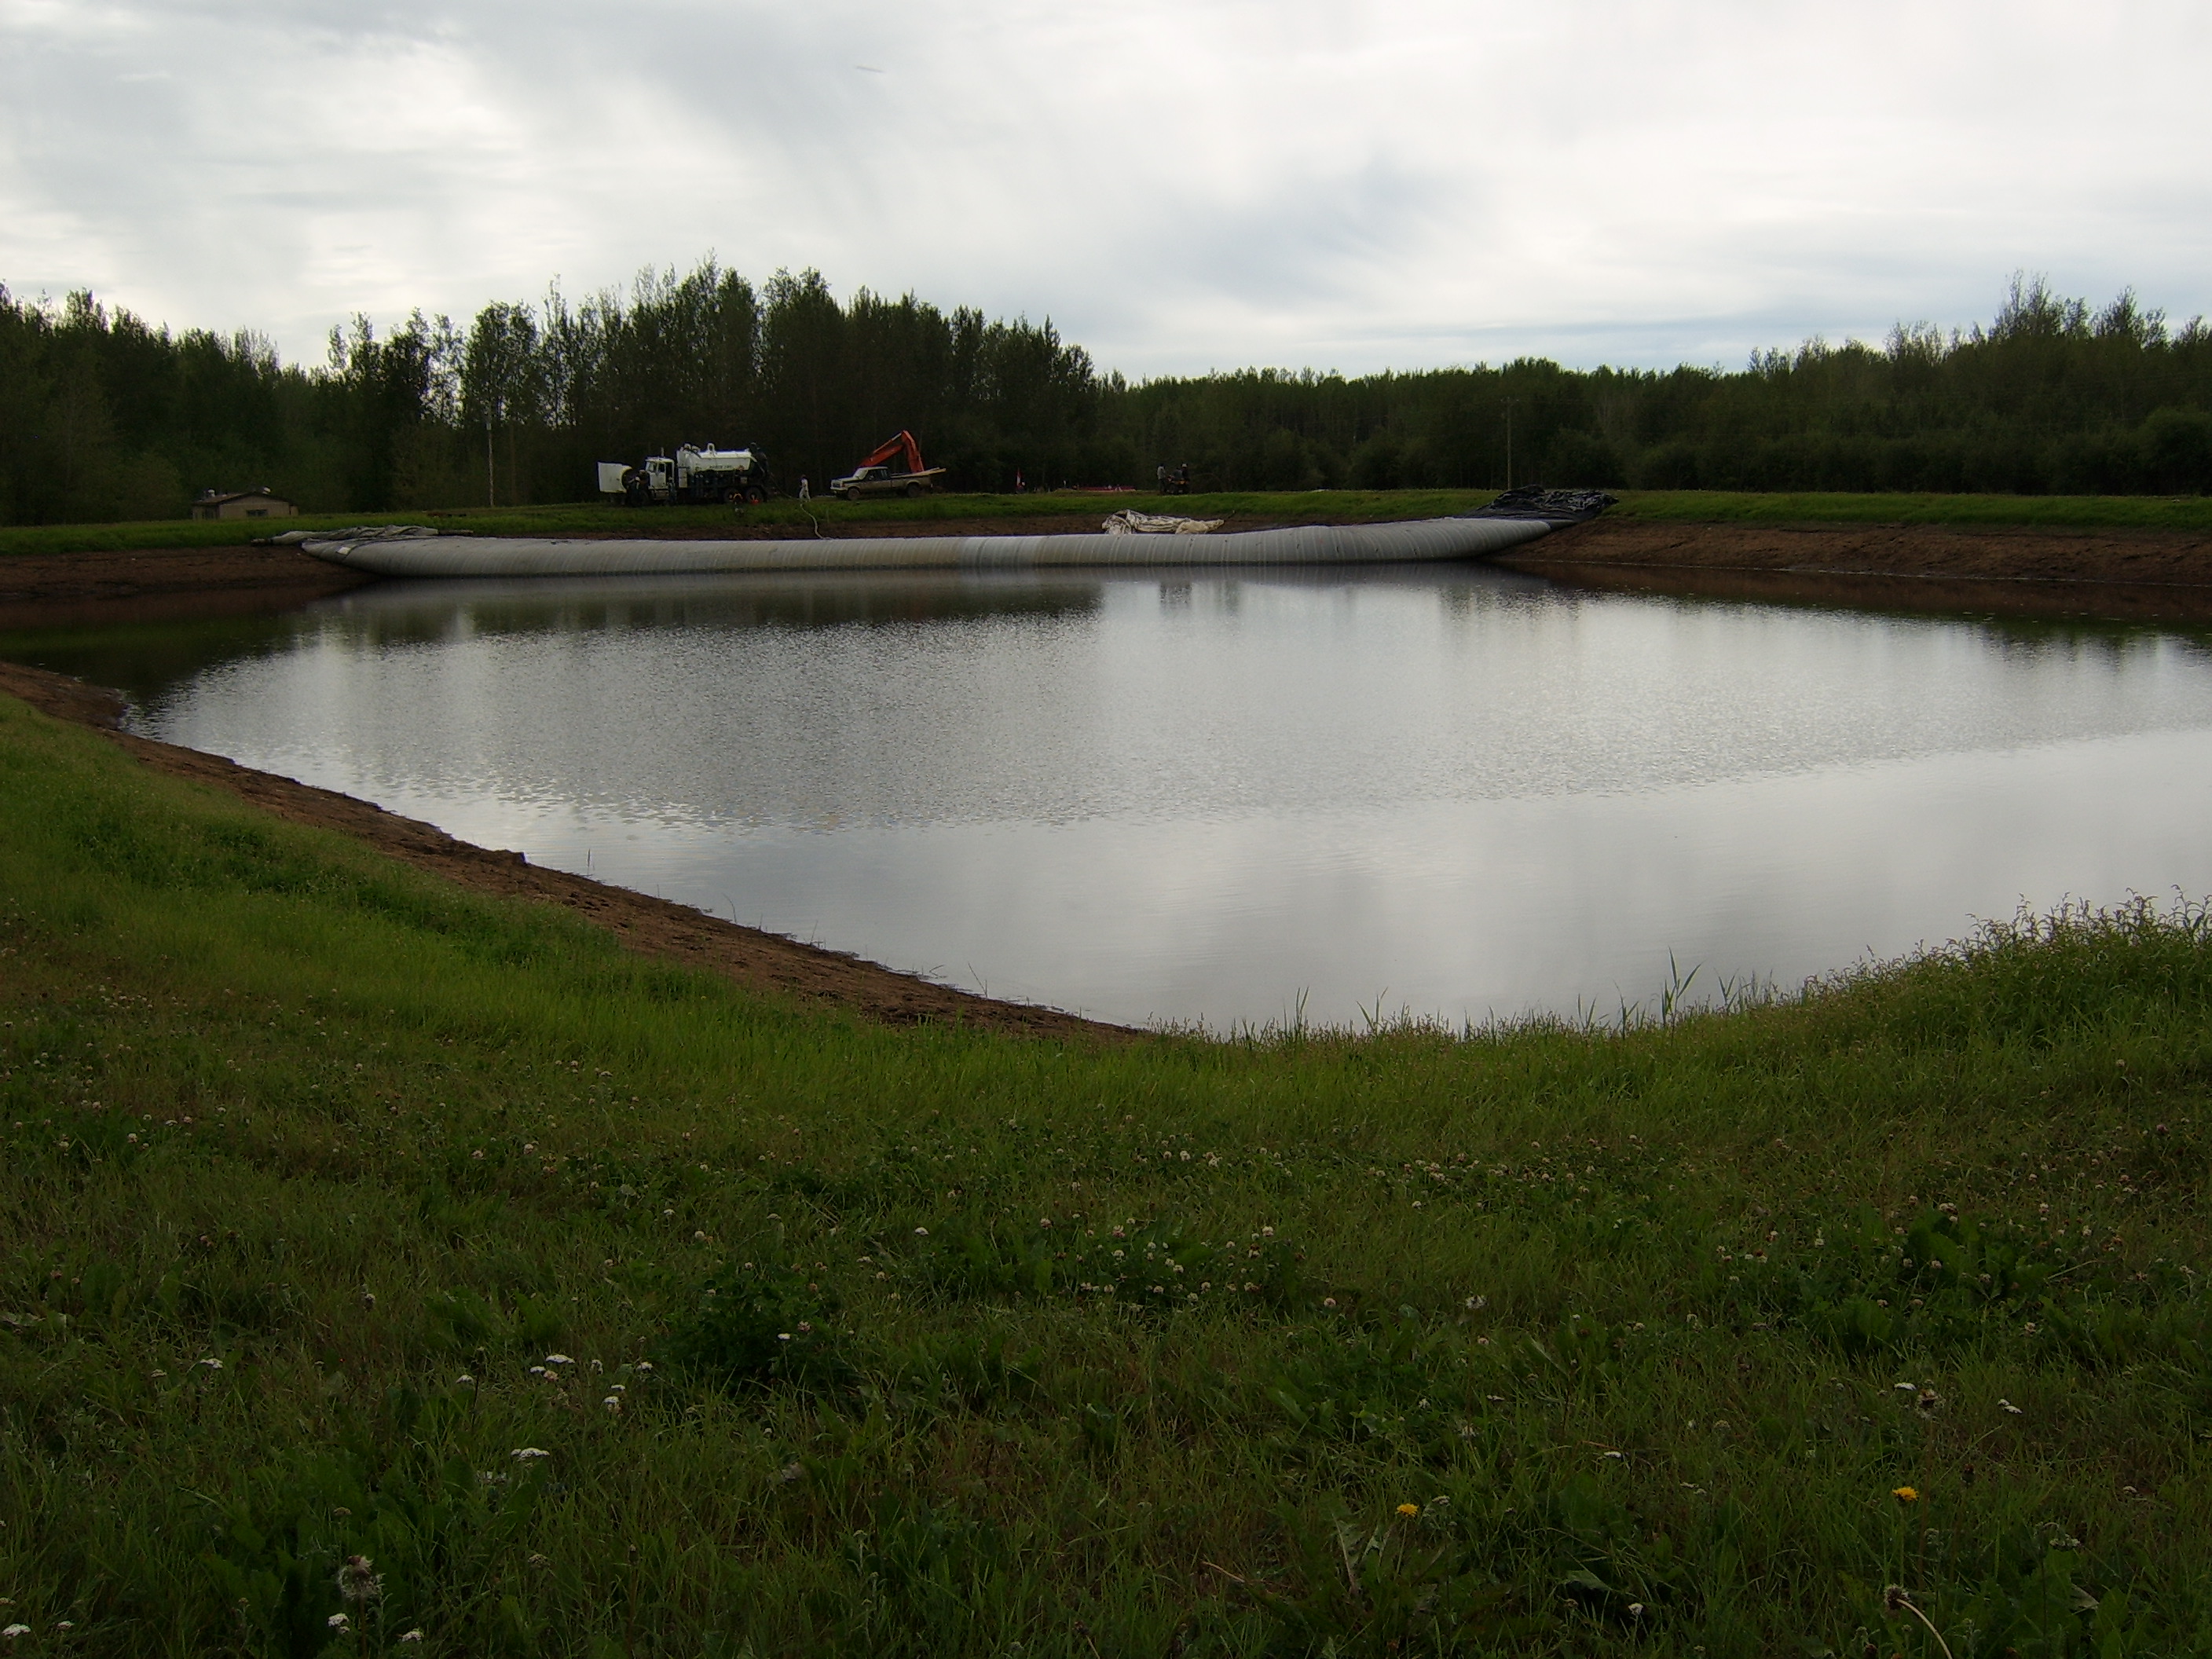
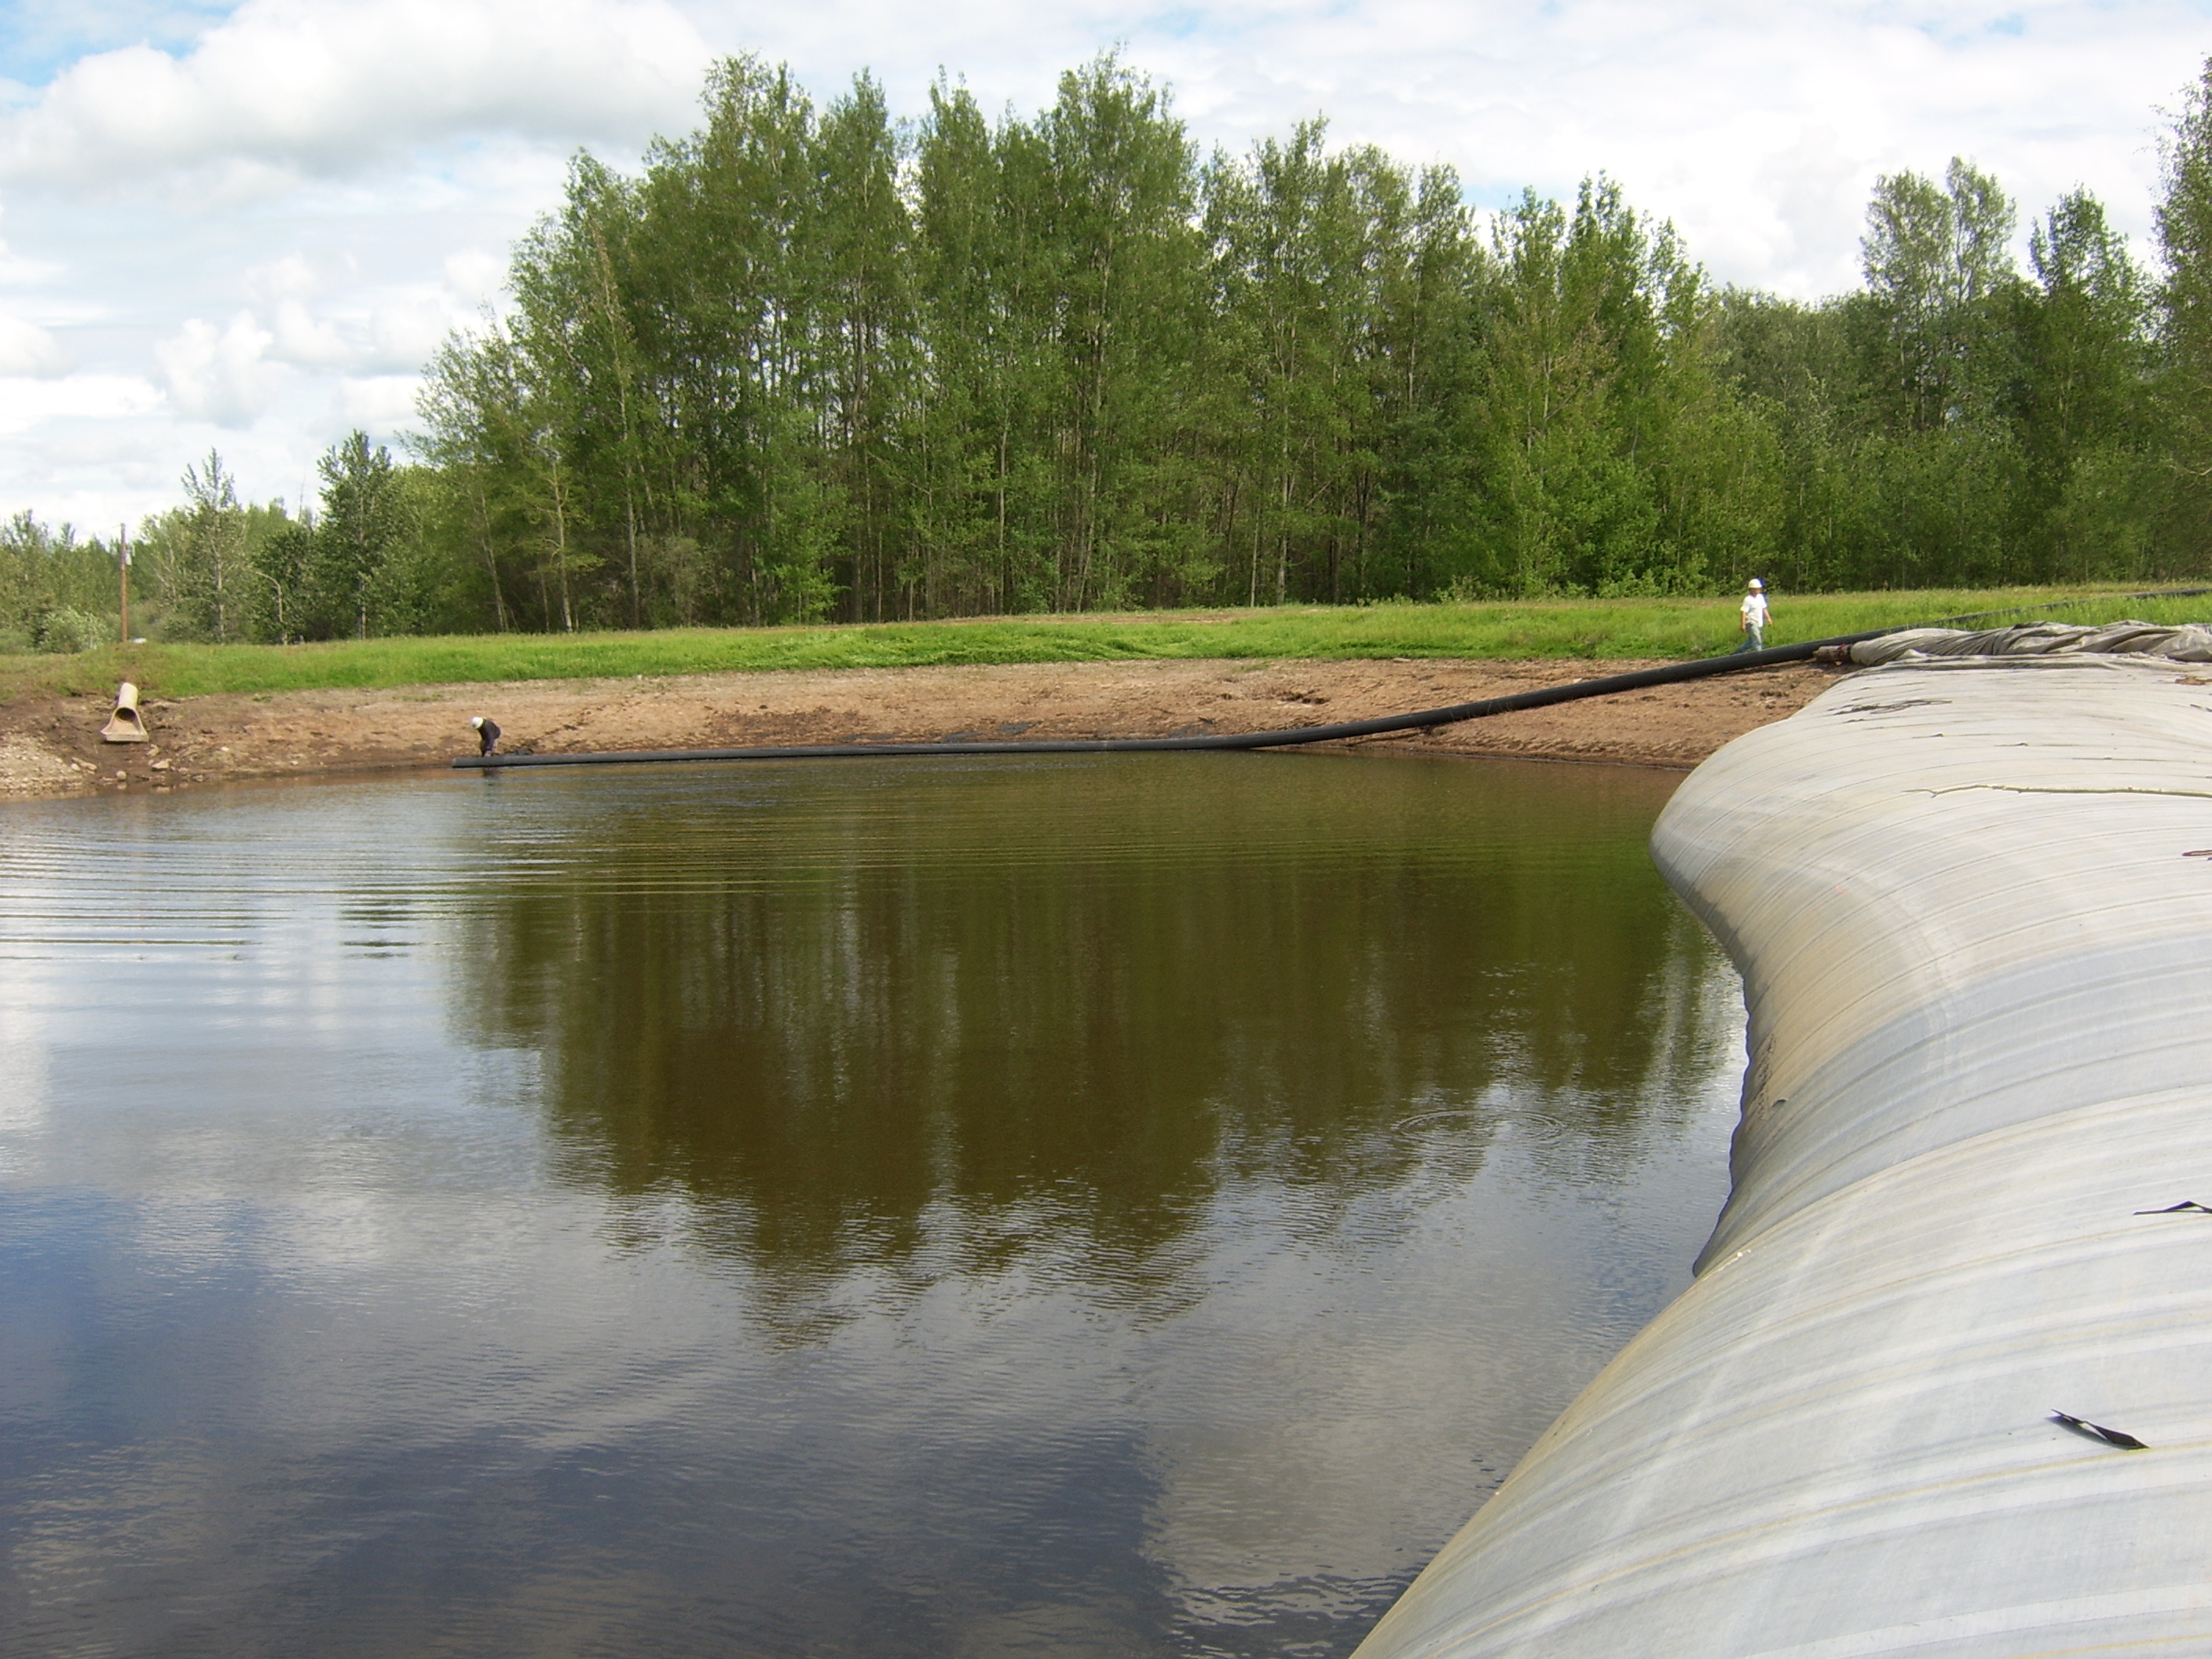
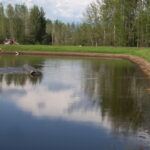
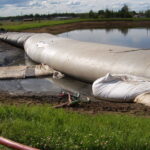
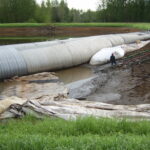
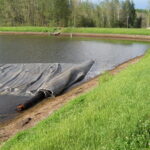
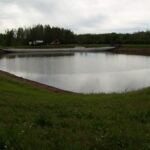
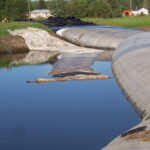
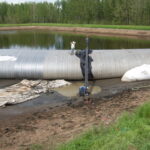
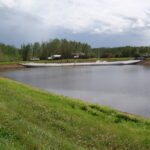
17.) The water depth in this pond is 8ft, down from the original 16ft of water depth.
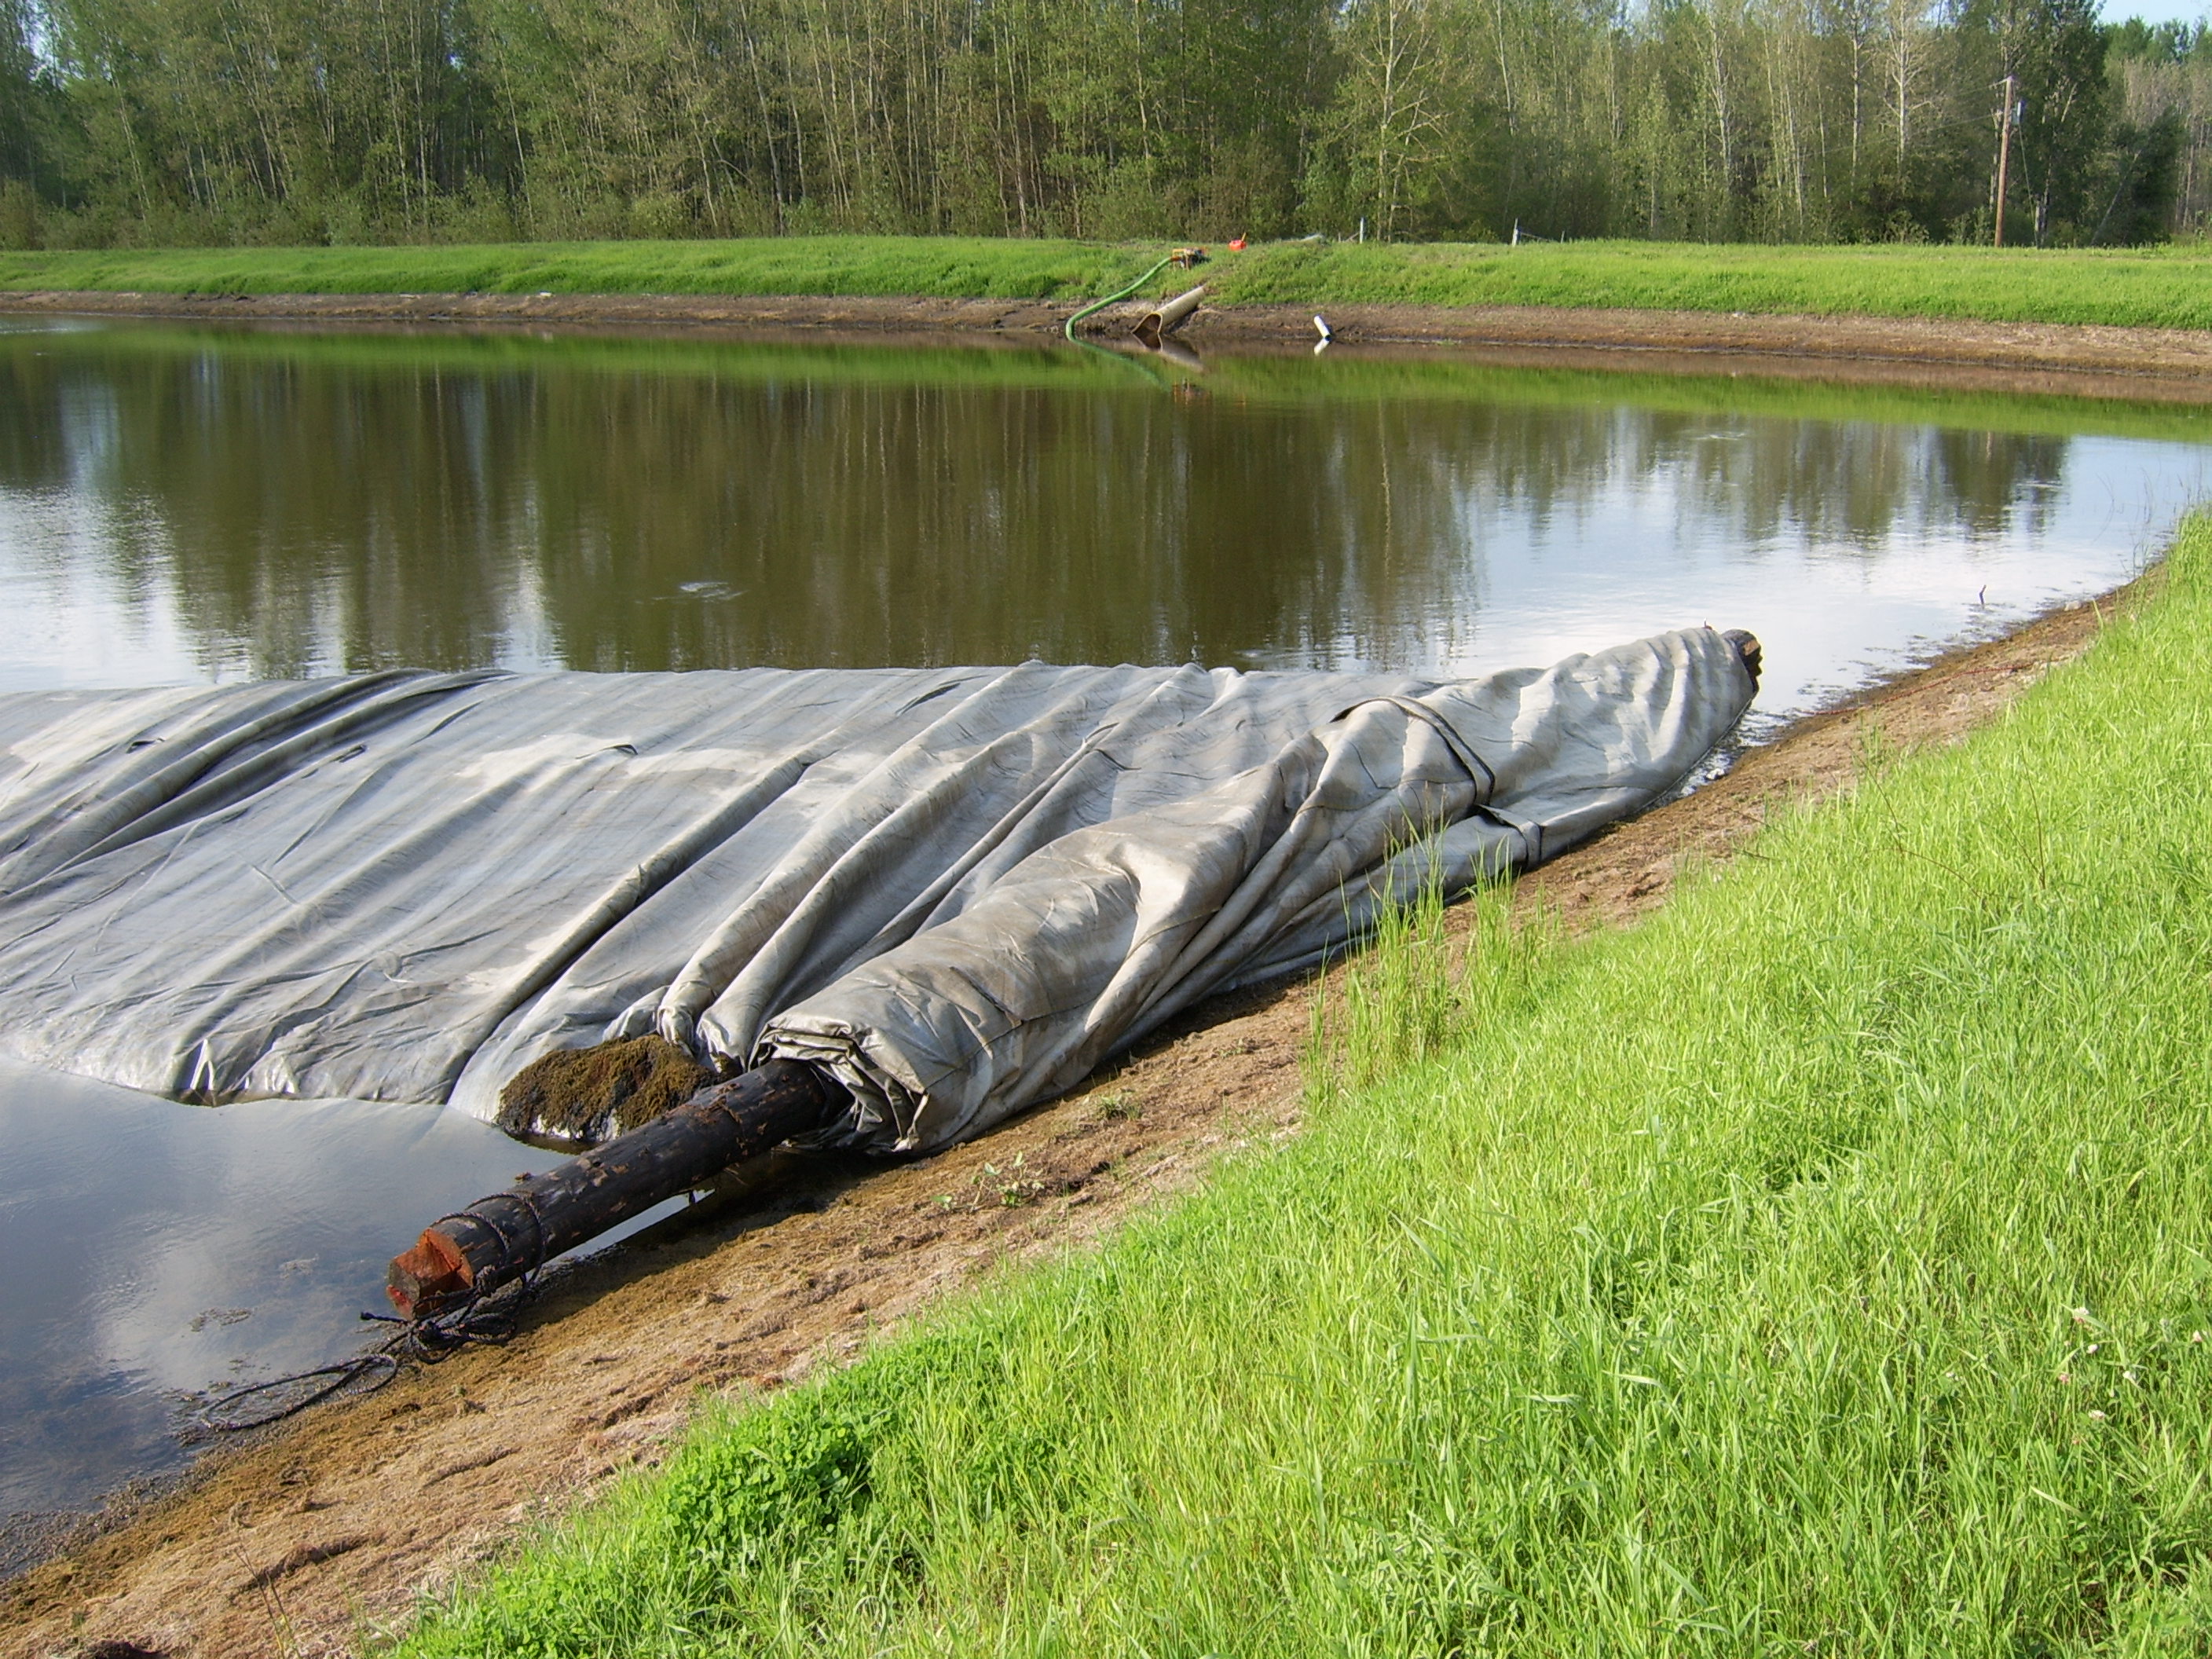
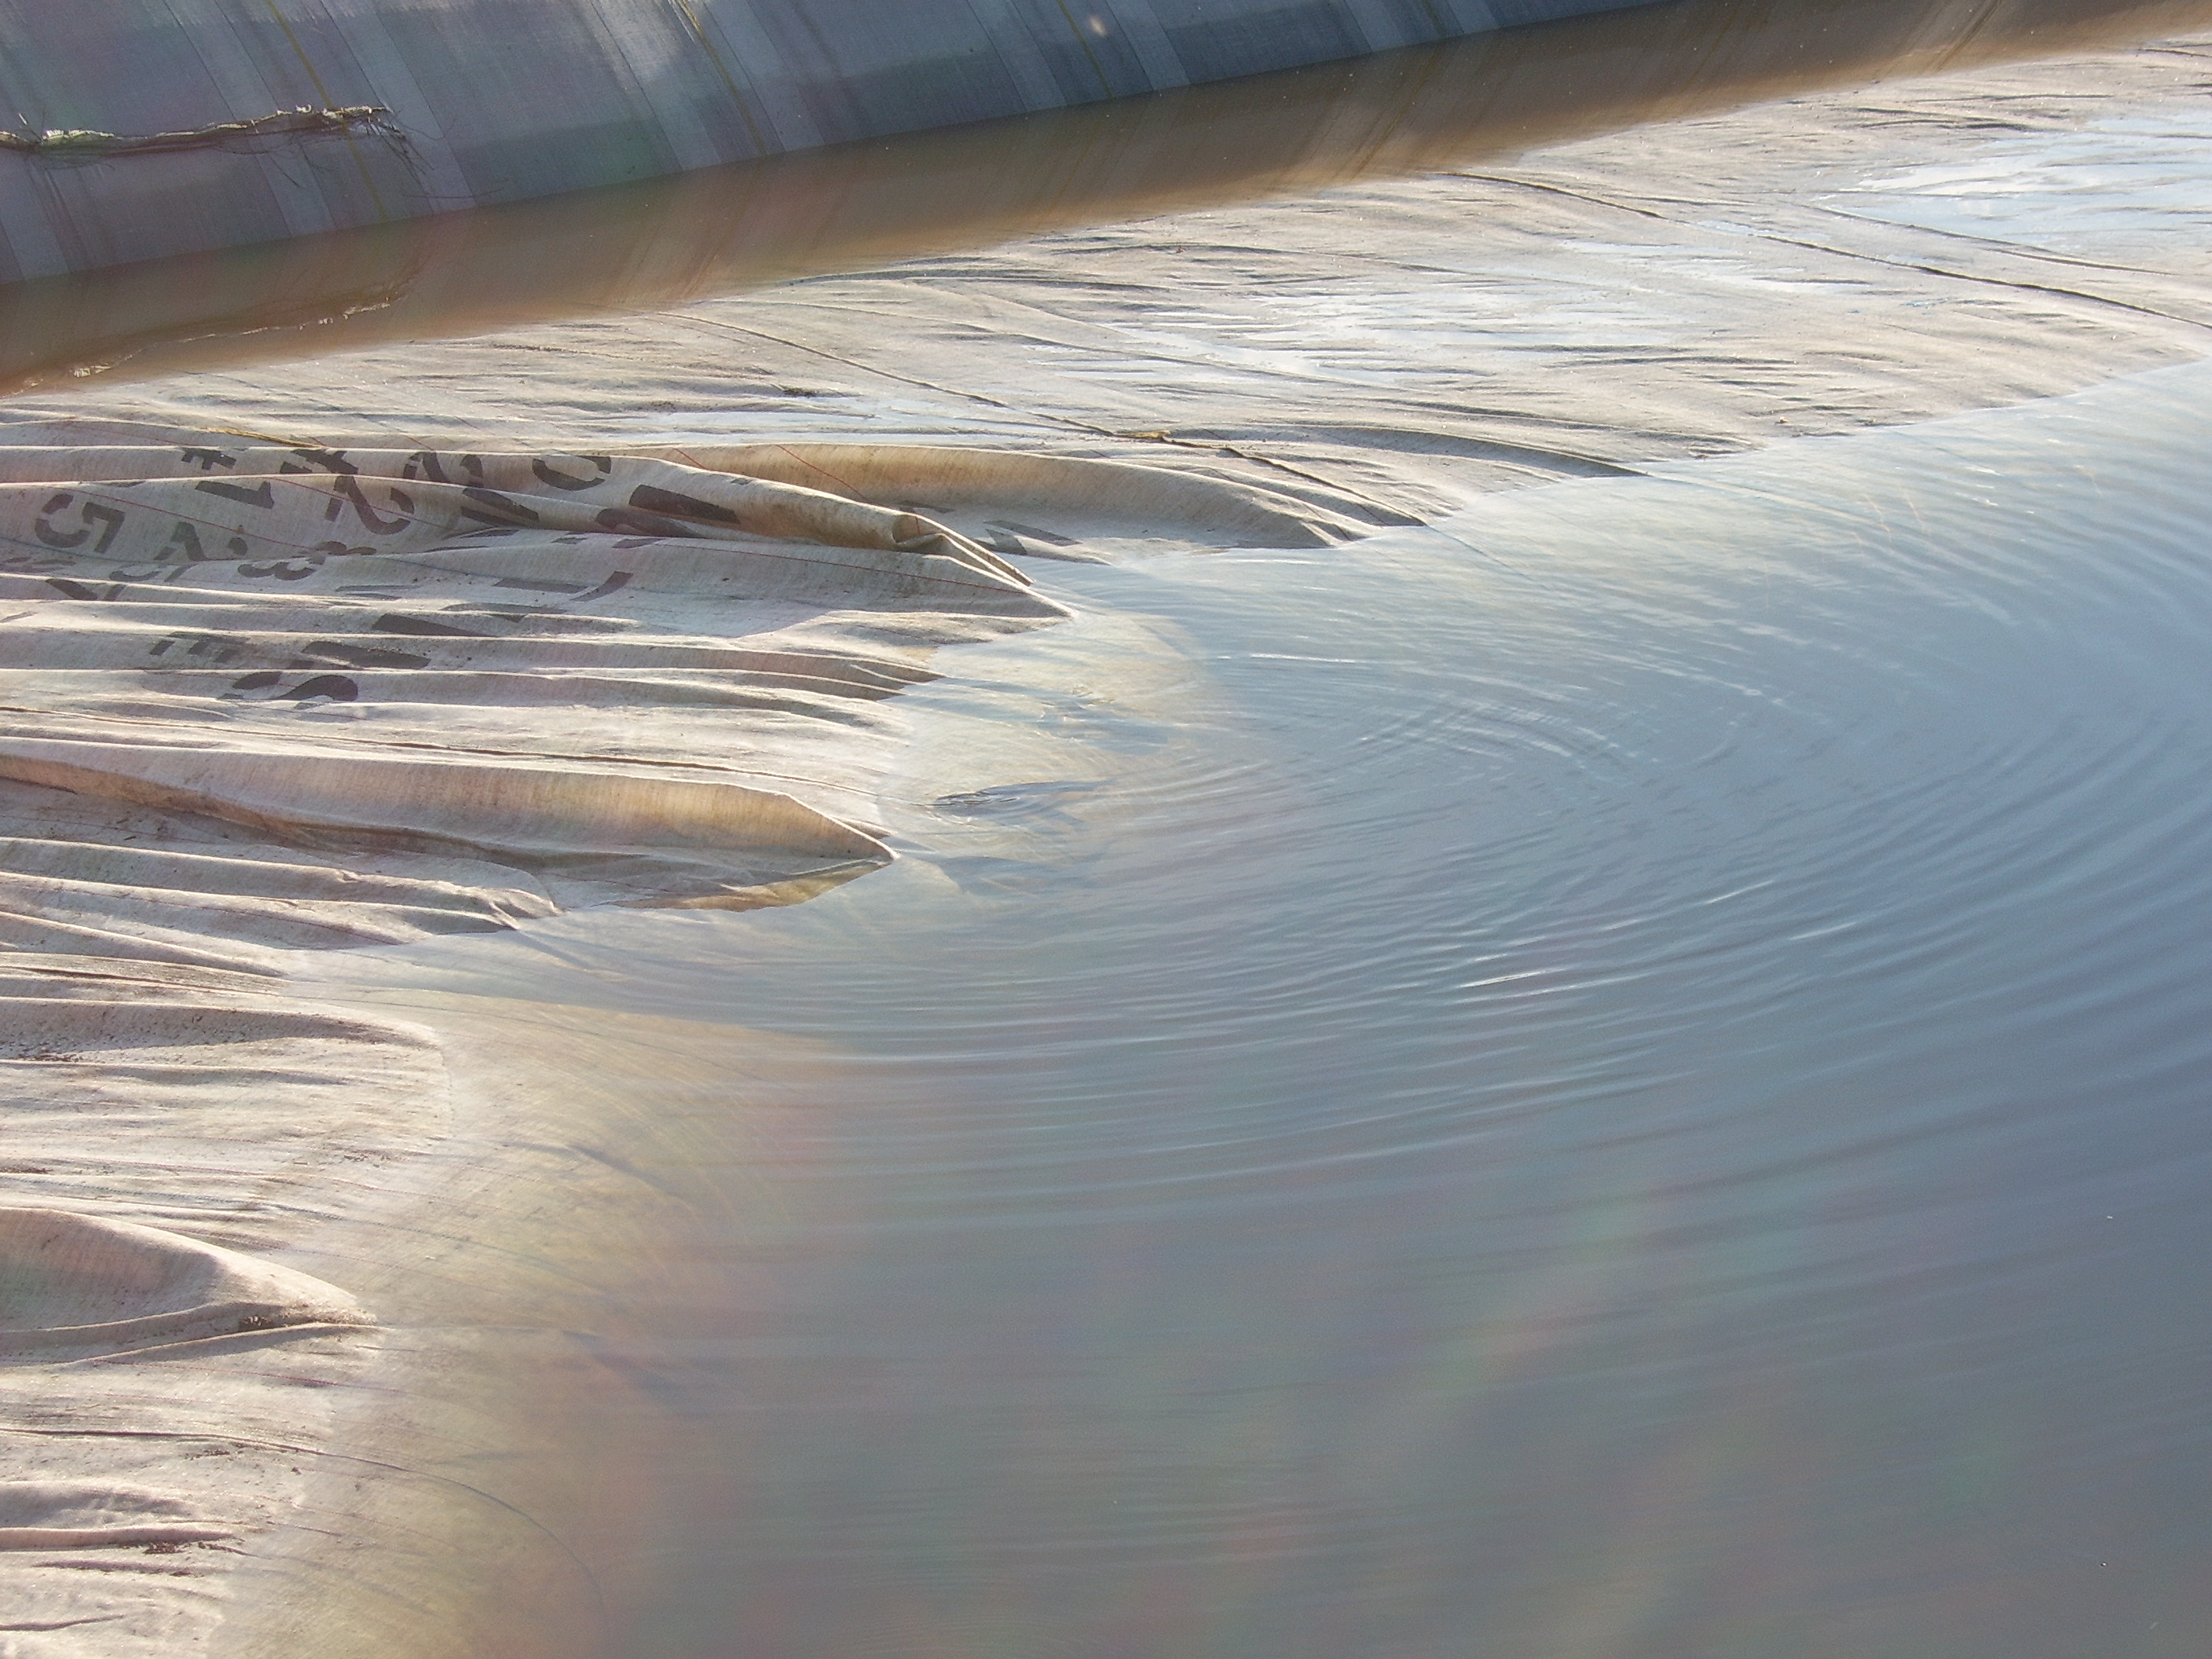
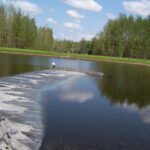
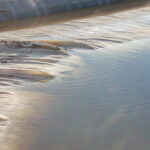
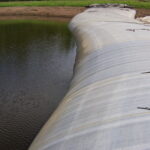
18.) Looking down the unrolling AquaDam. The portion of water contained within the AquaDam, above the surrounding water level, is called the head. Head pressure must always be present, otherwise the AquaDam will be subject to currents present in the body of water. Of course, there are no strong currents in this pond, so that’s not a concern on this job.
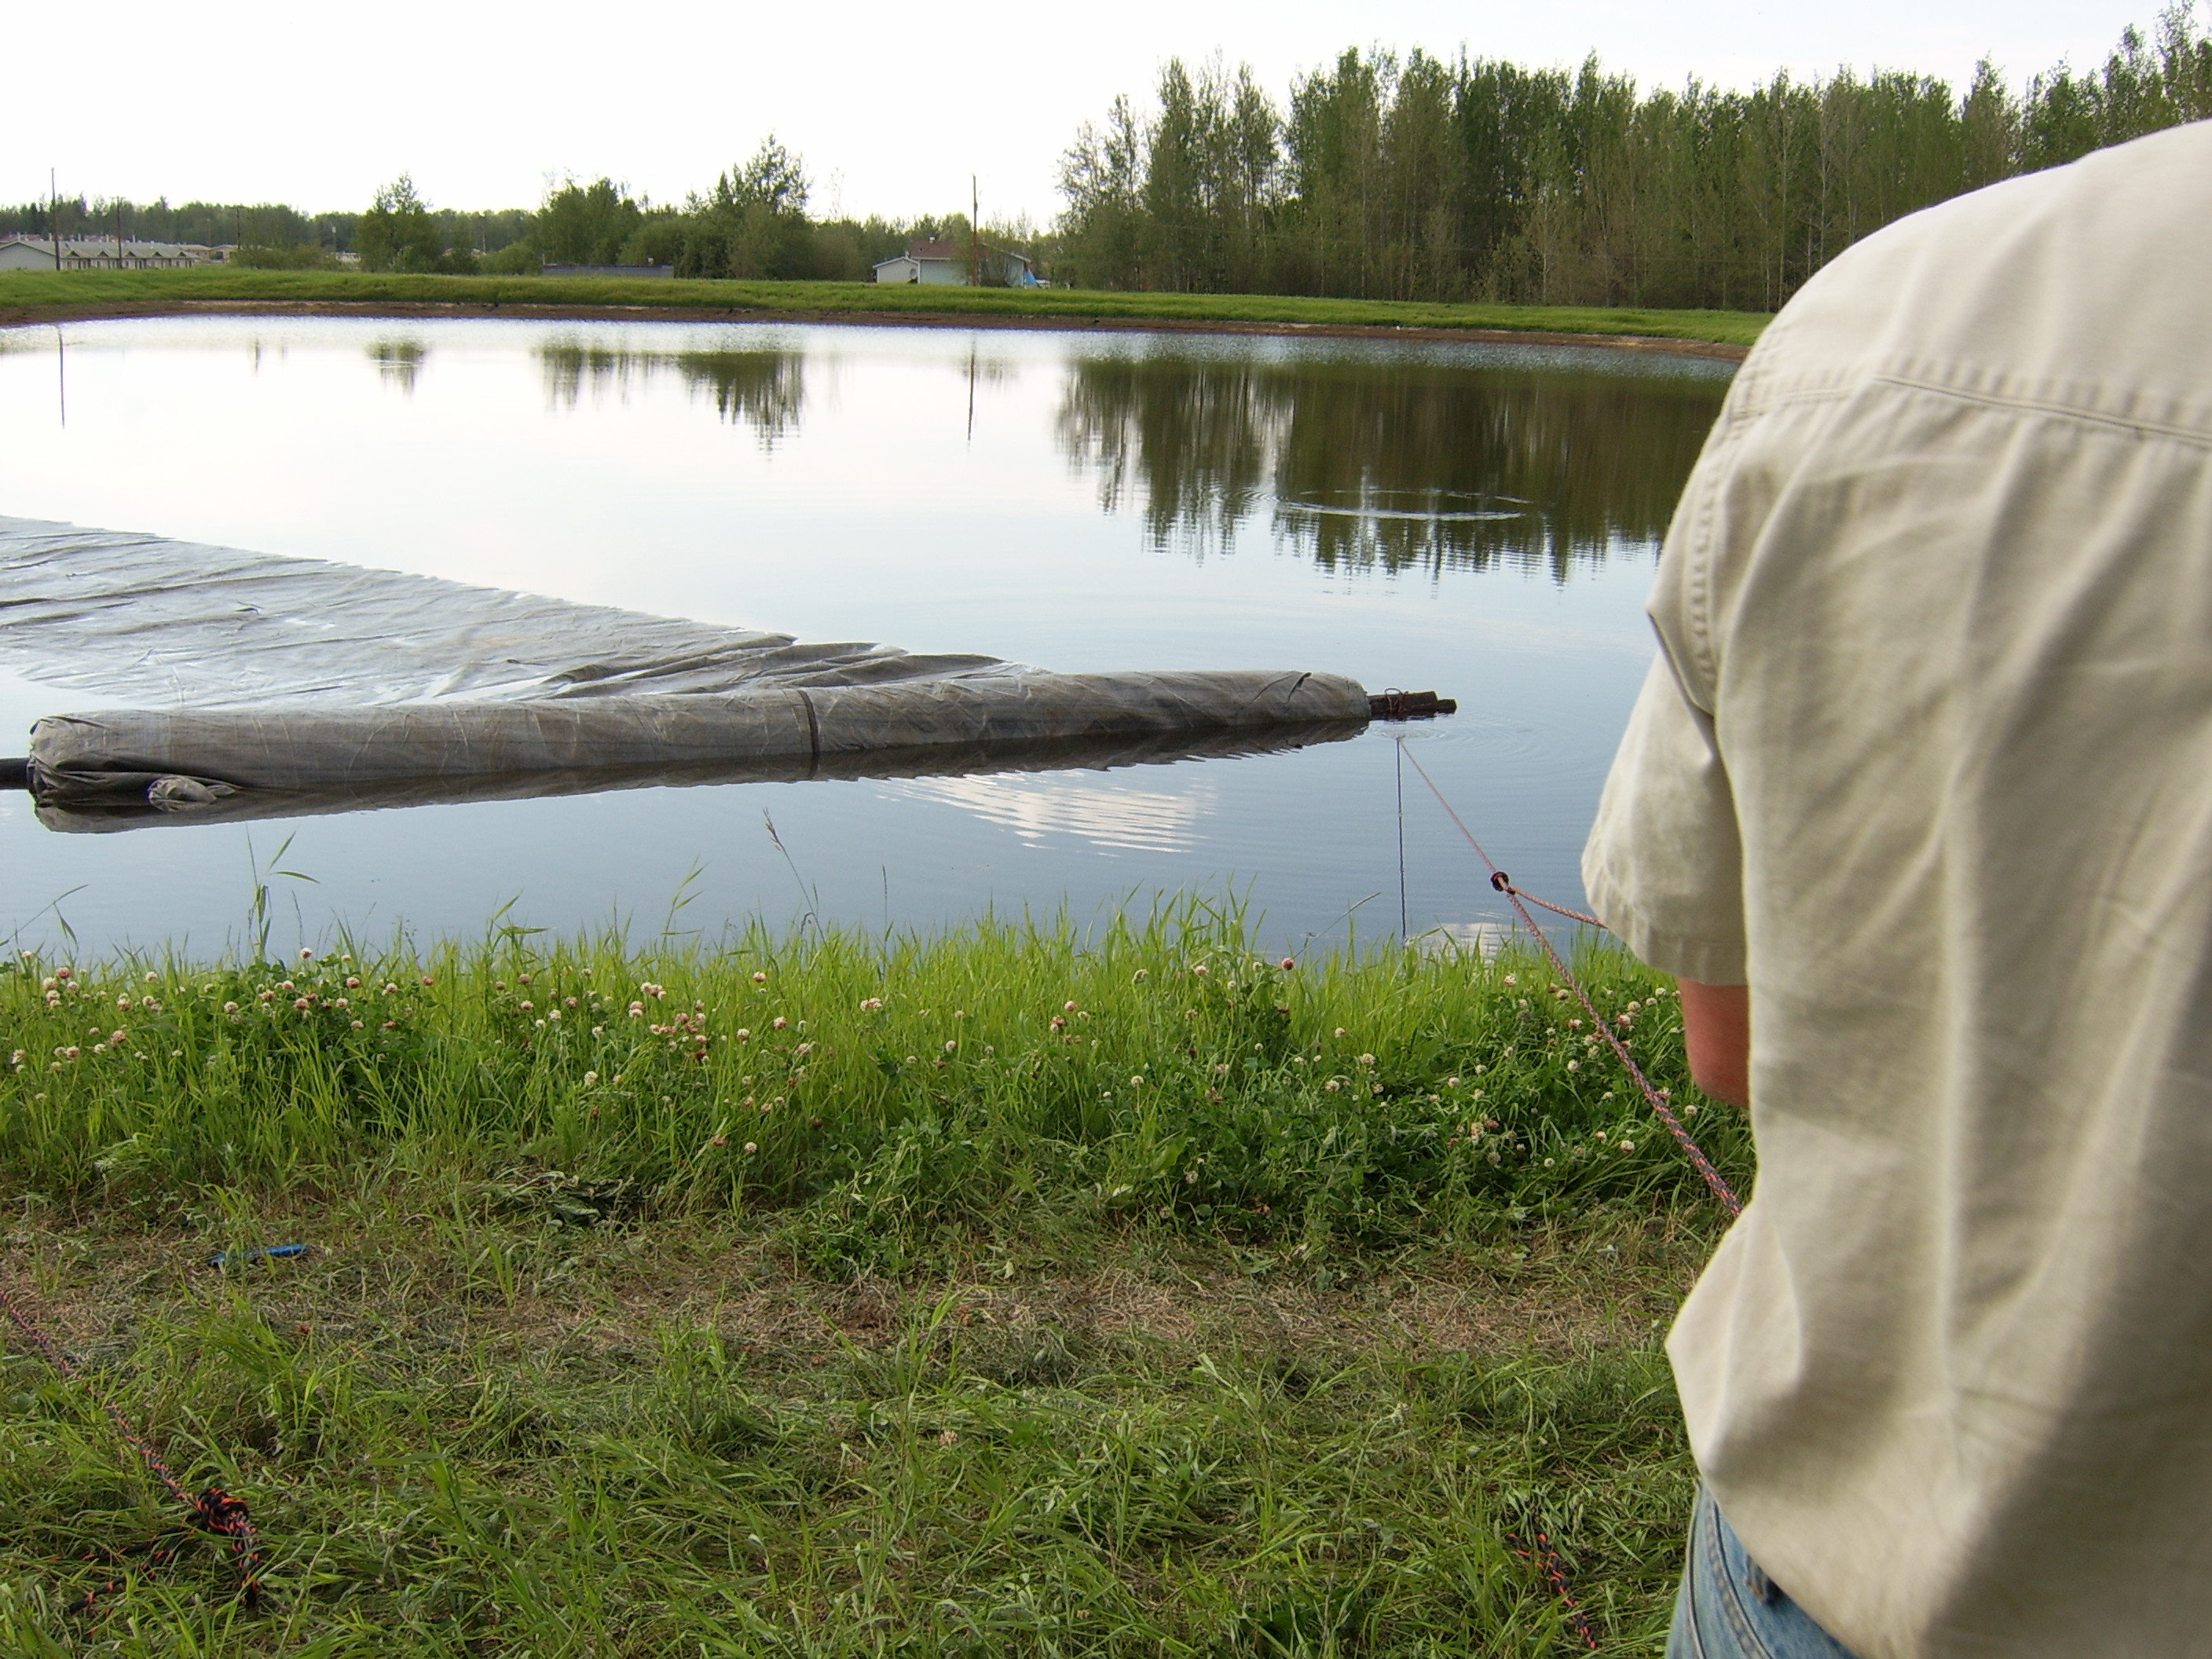
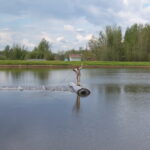
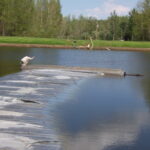
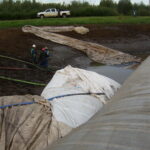
19.) The turn has begun. David signals for the operator of the equipment to pull more on the rope.

20.) The “heavy equipment”, in this case, is a quad.
21.) The AquaDam has already completed a portion of the turn.
22.) Turning the pump(s) filling the fill-tube on the inside of the turn down while making the turn will help.
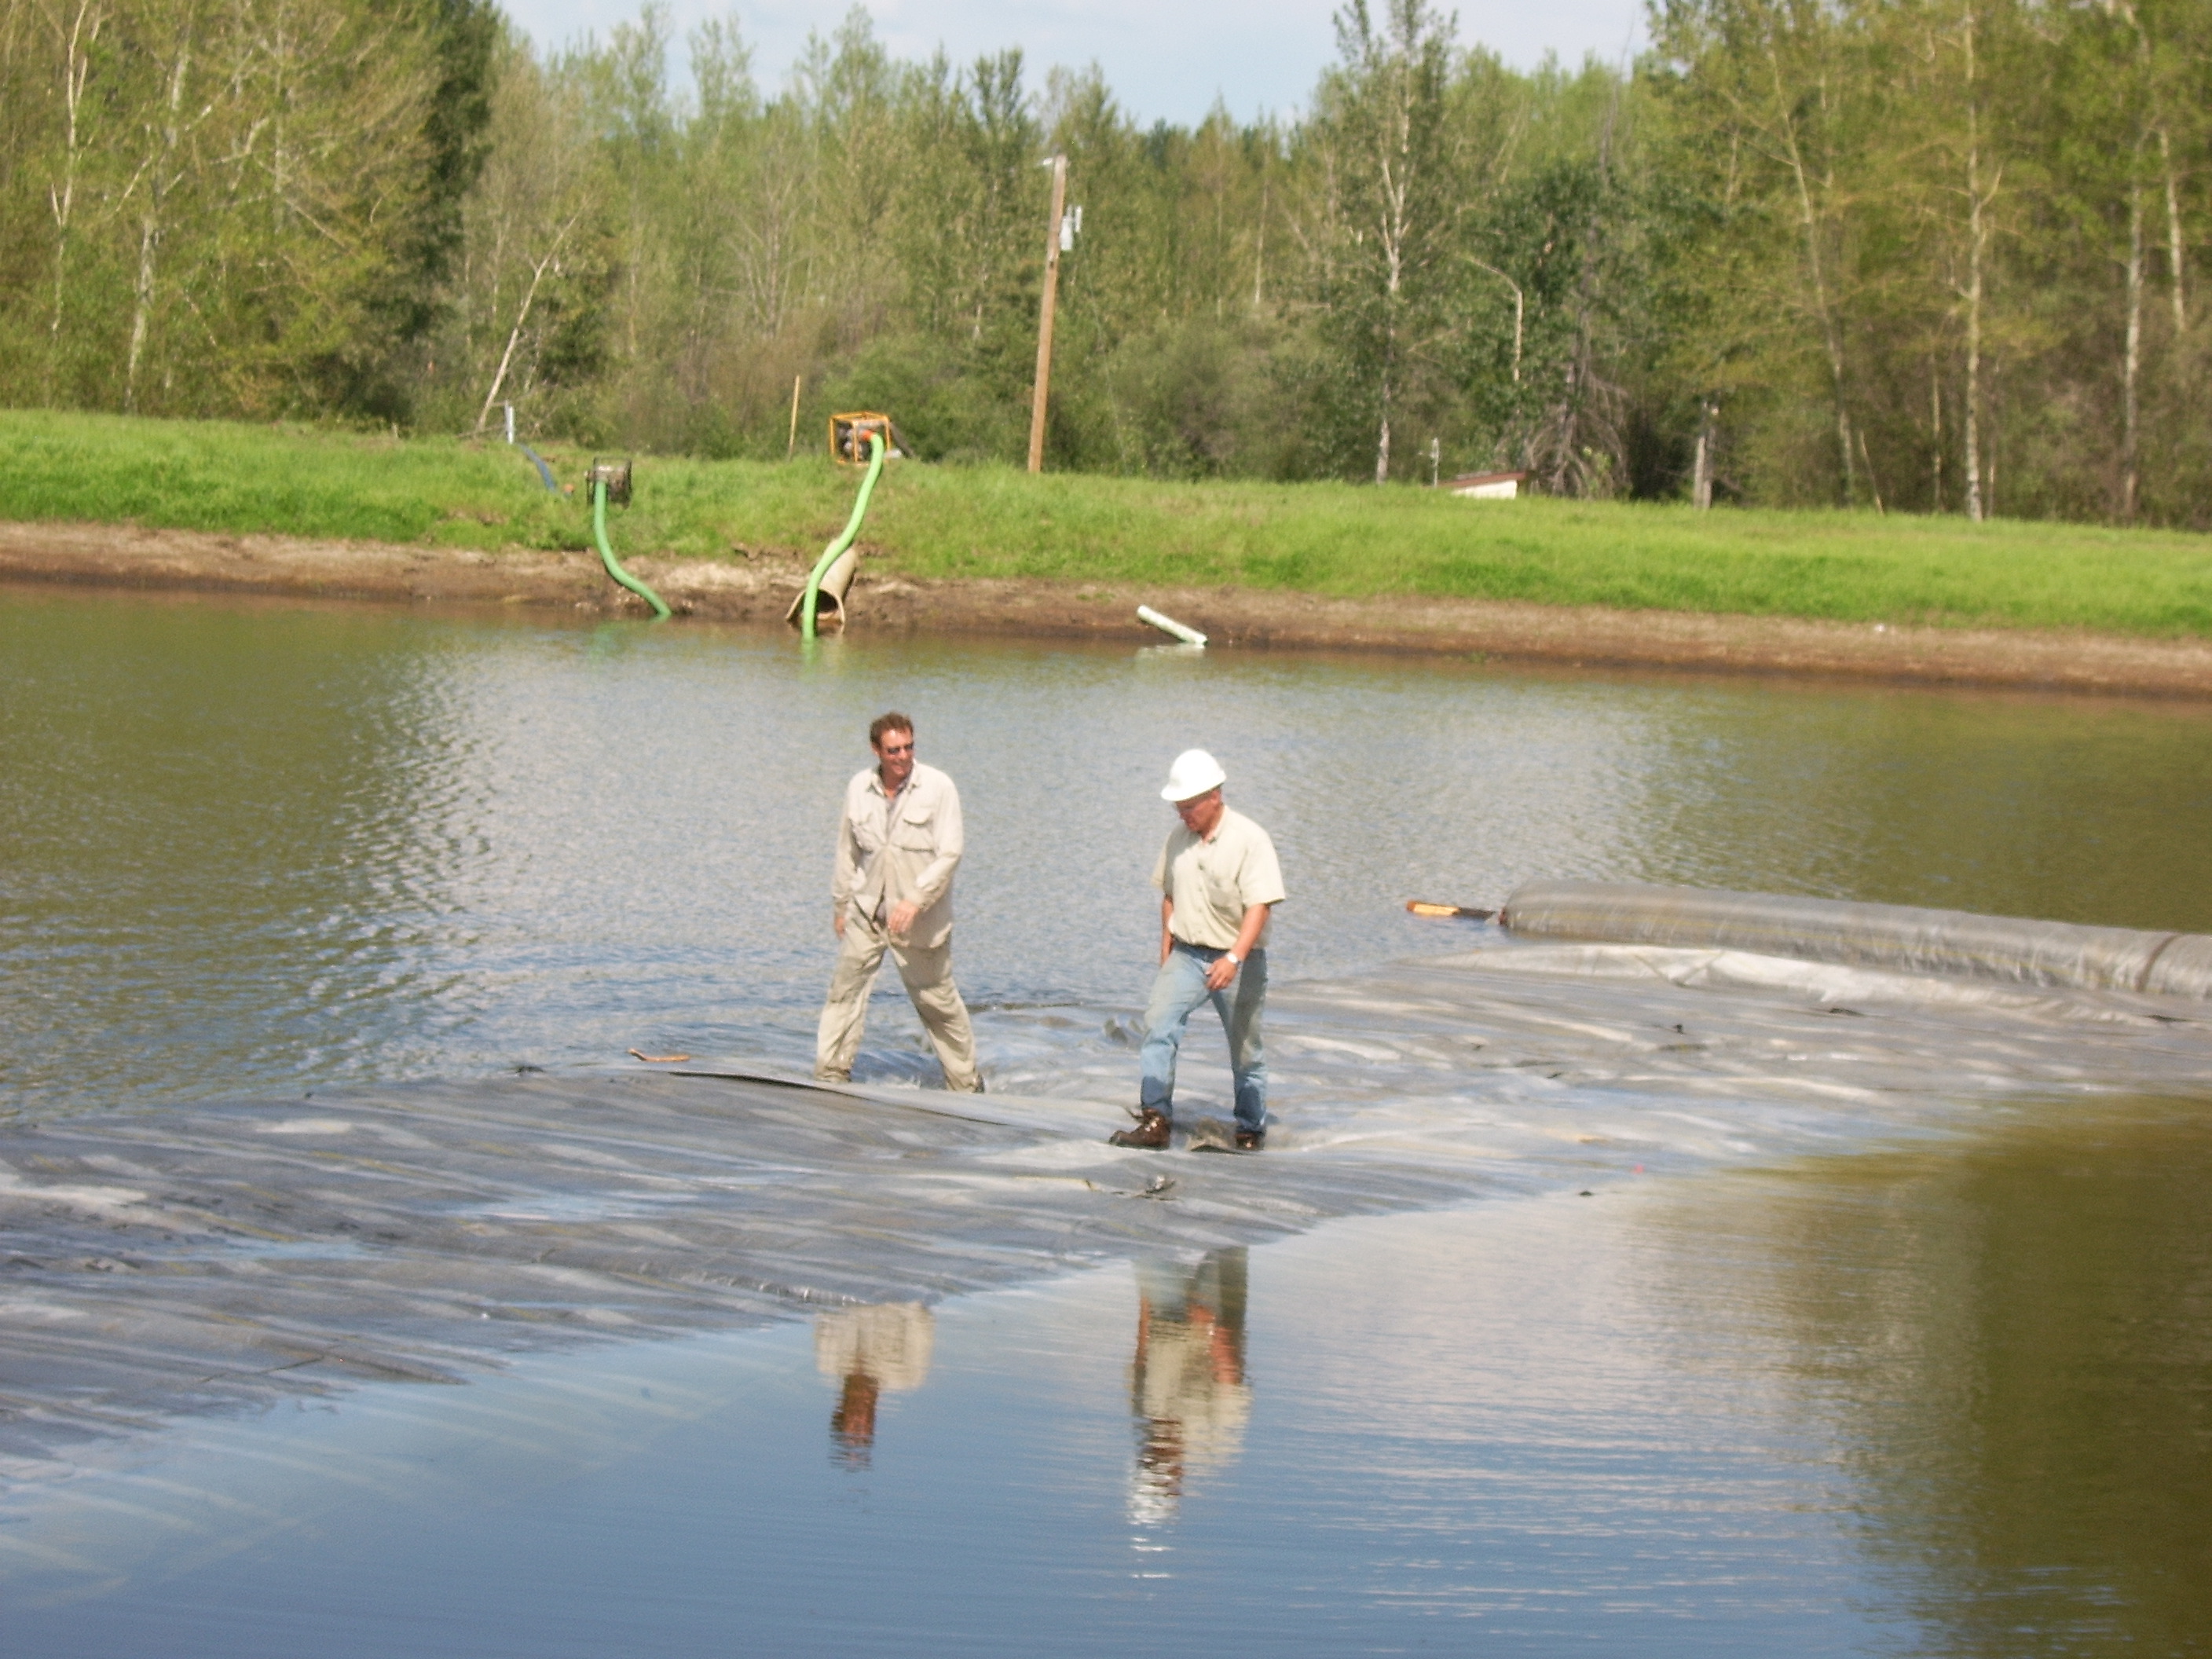
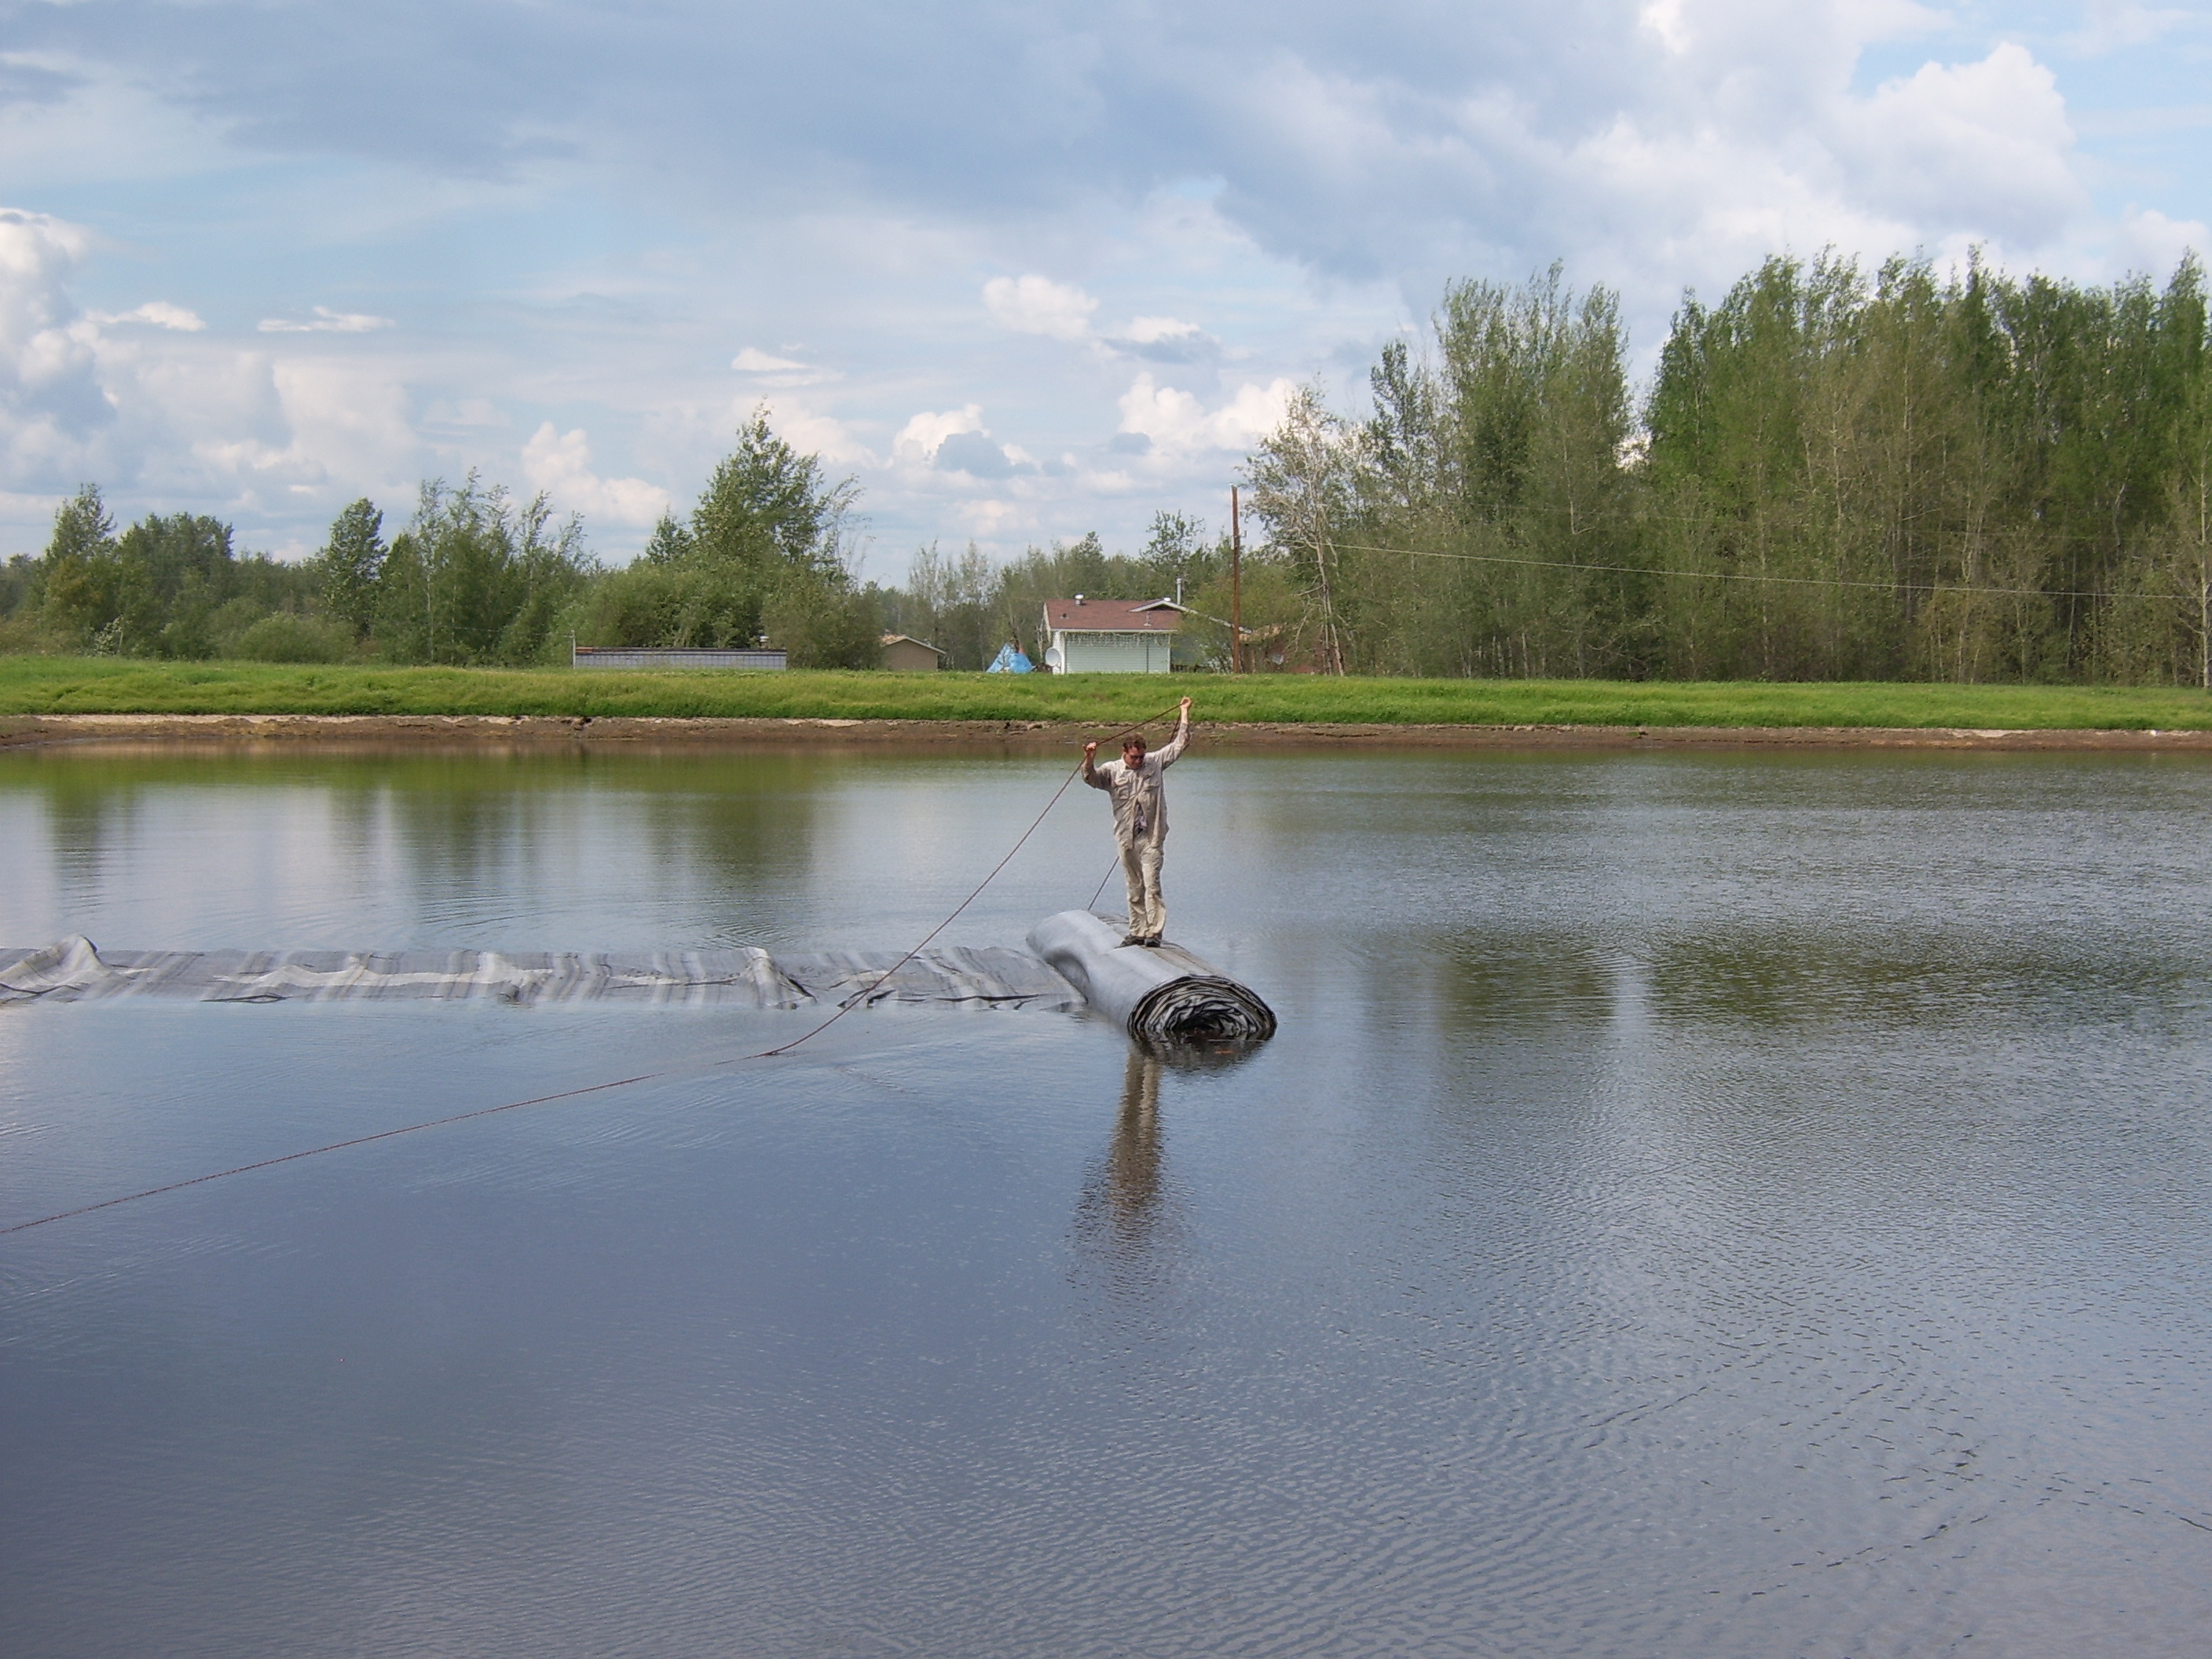
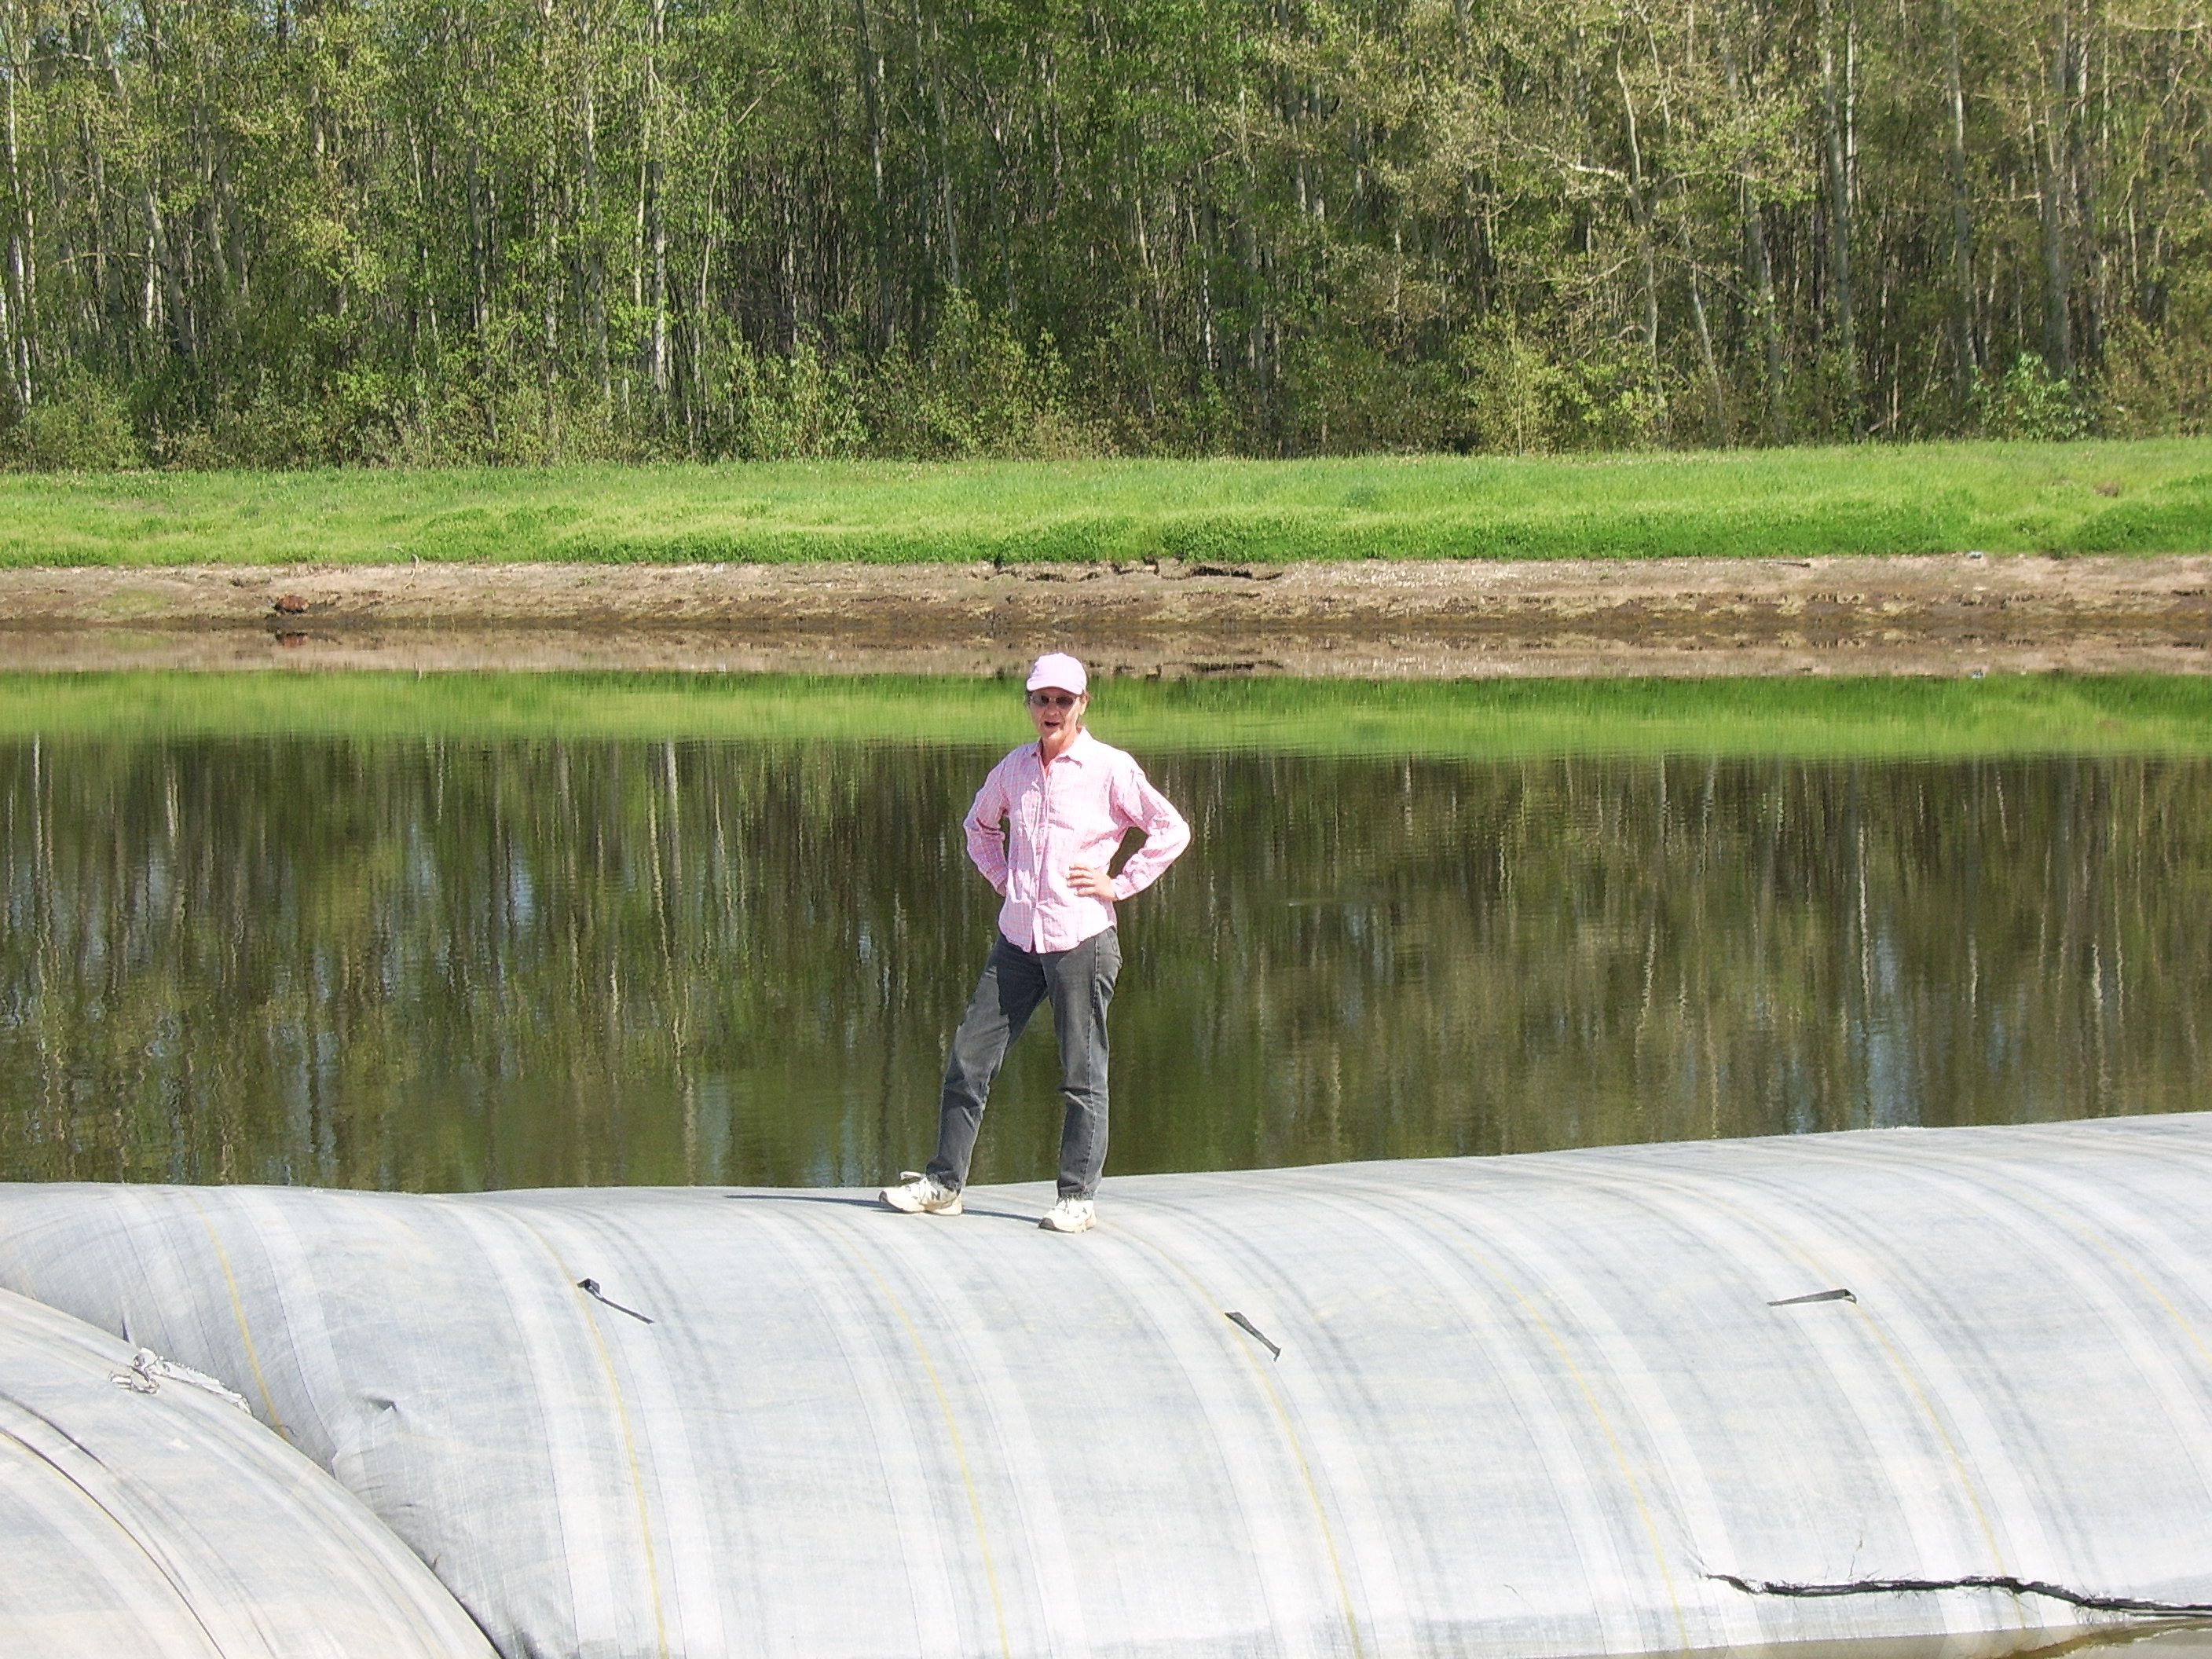
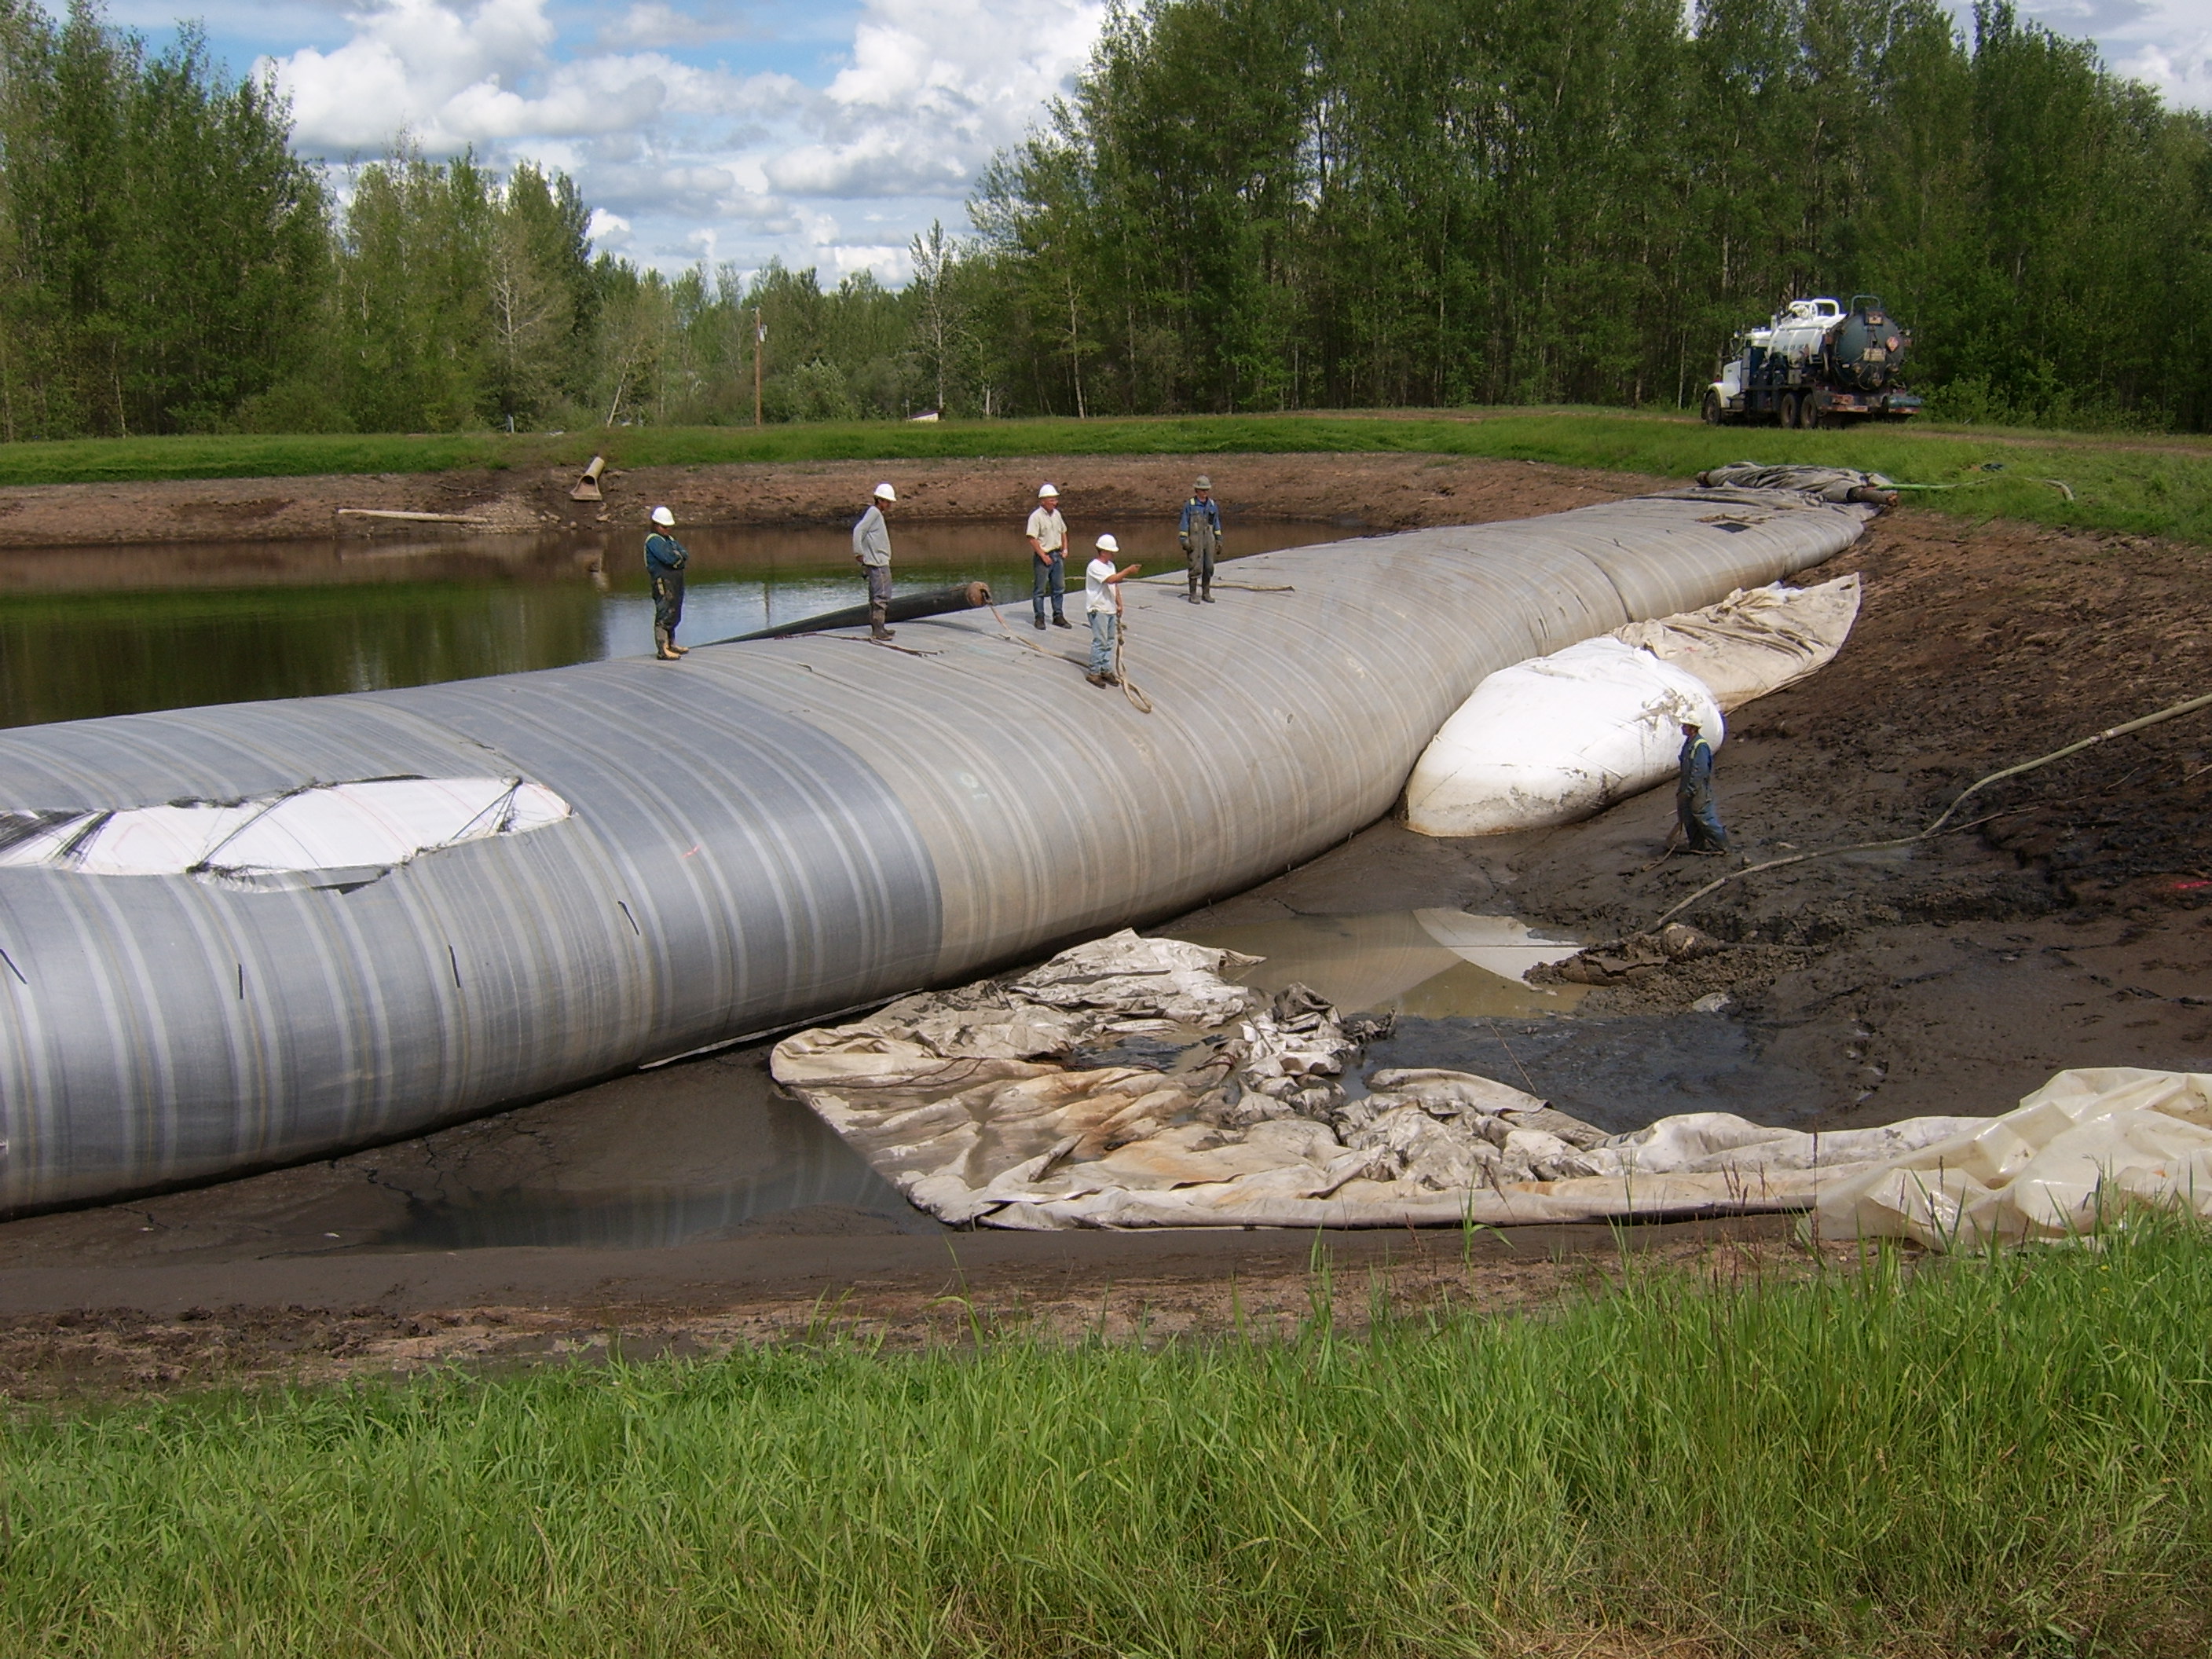
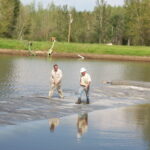
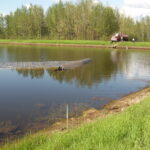
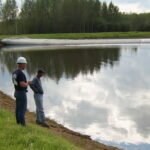
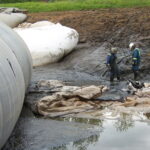
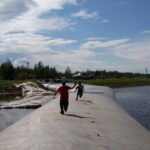
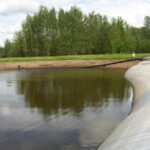
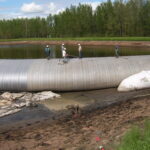
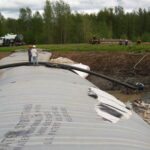
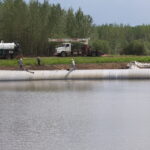
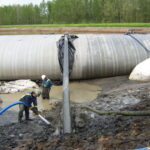
23.) There is enough head pressure to allow these men to walk on the surface of the AquaDam.
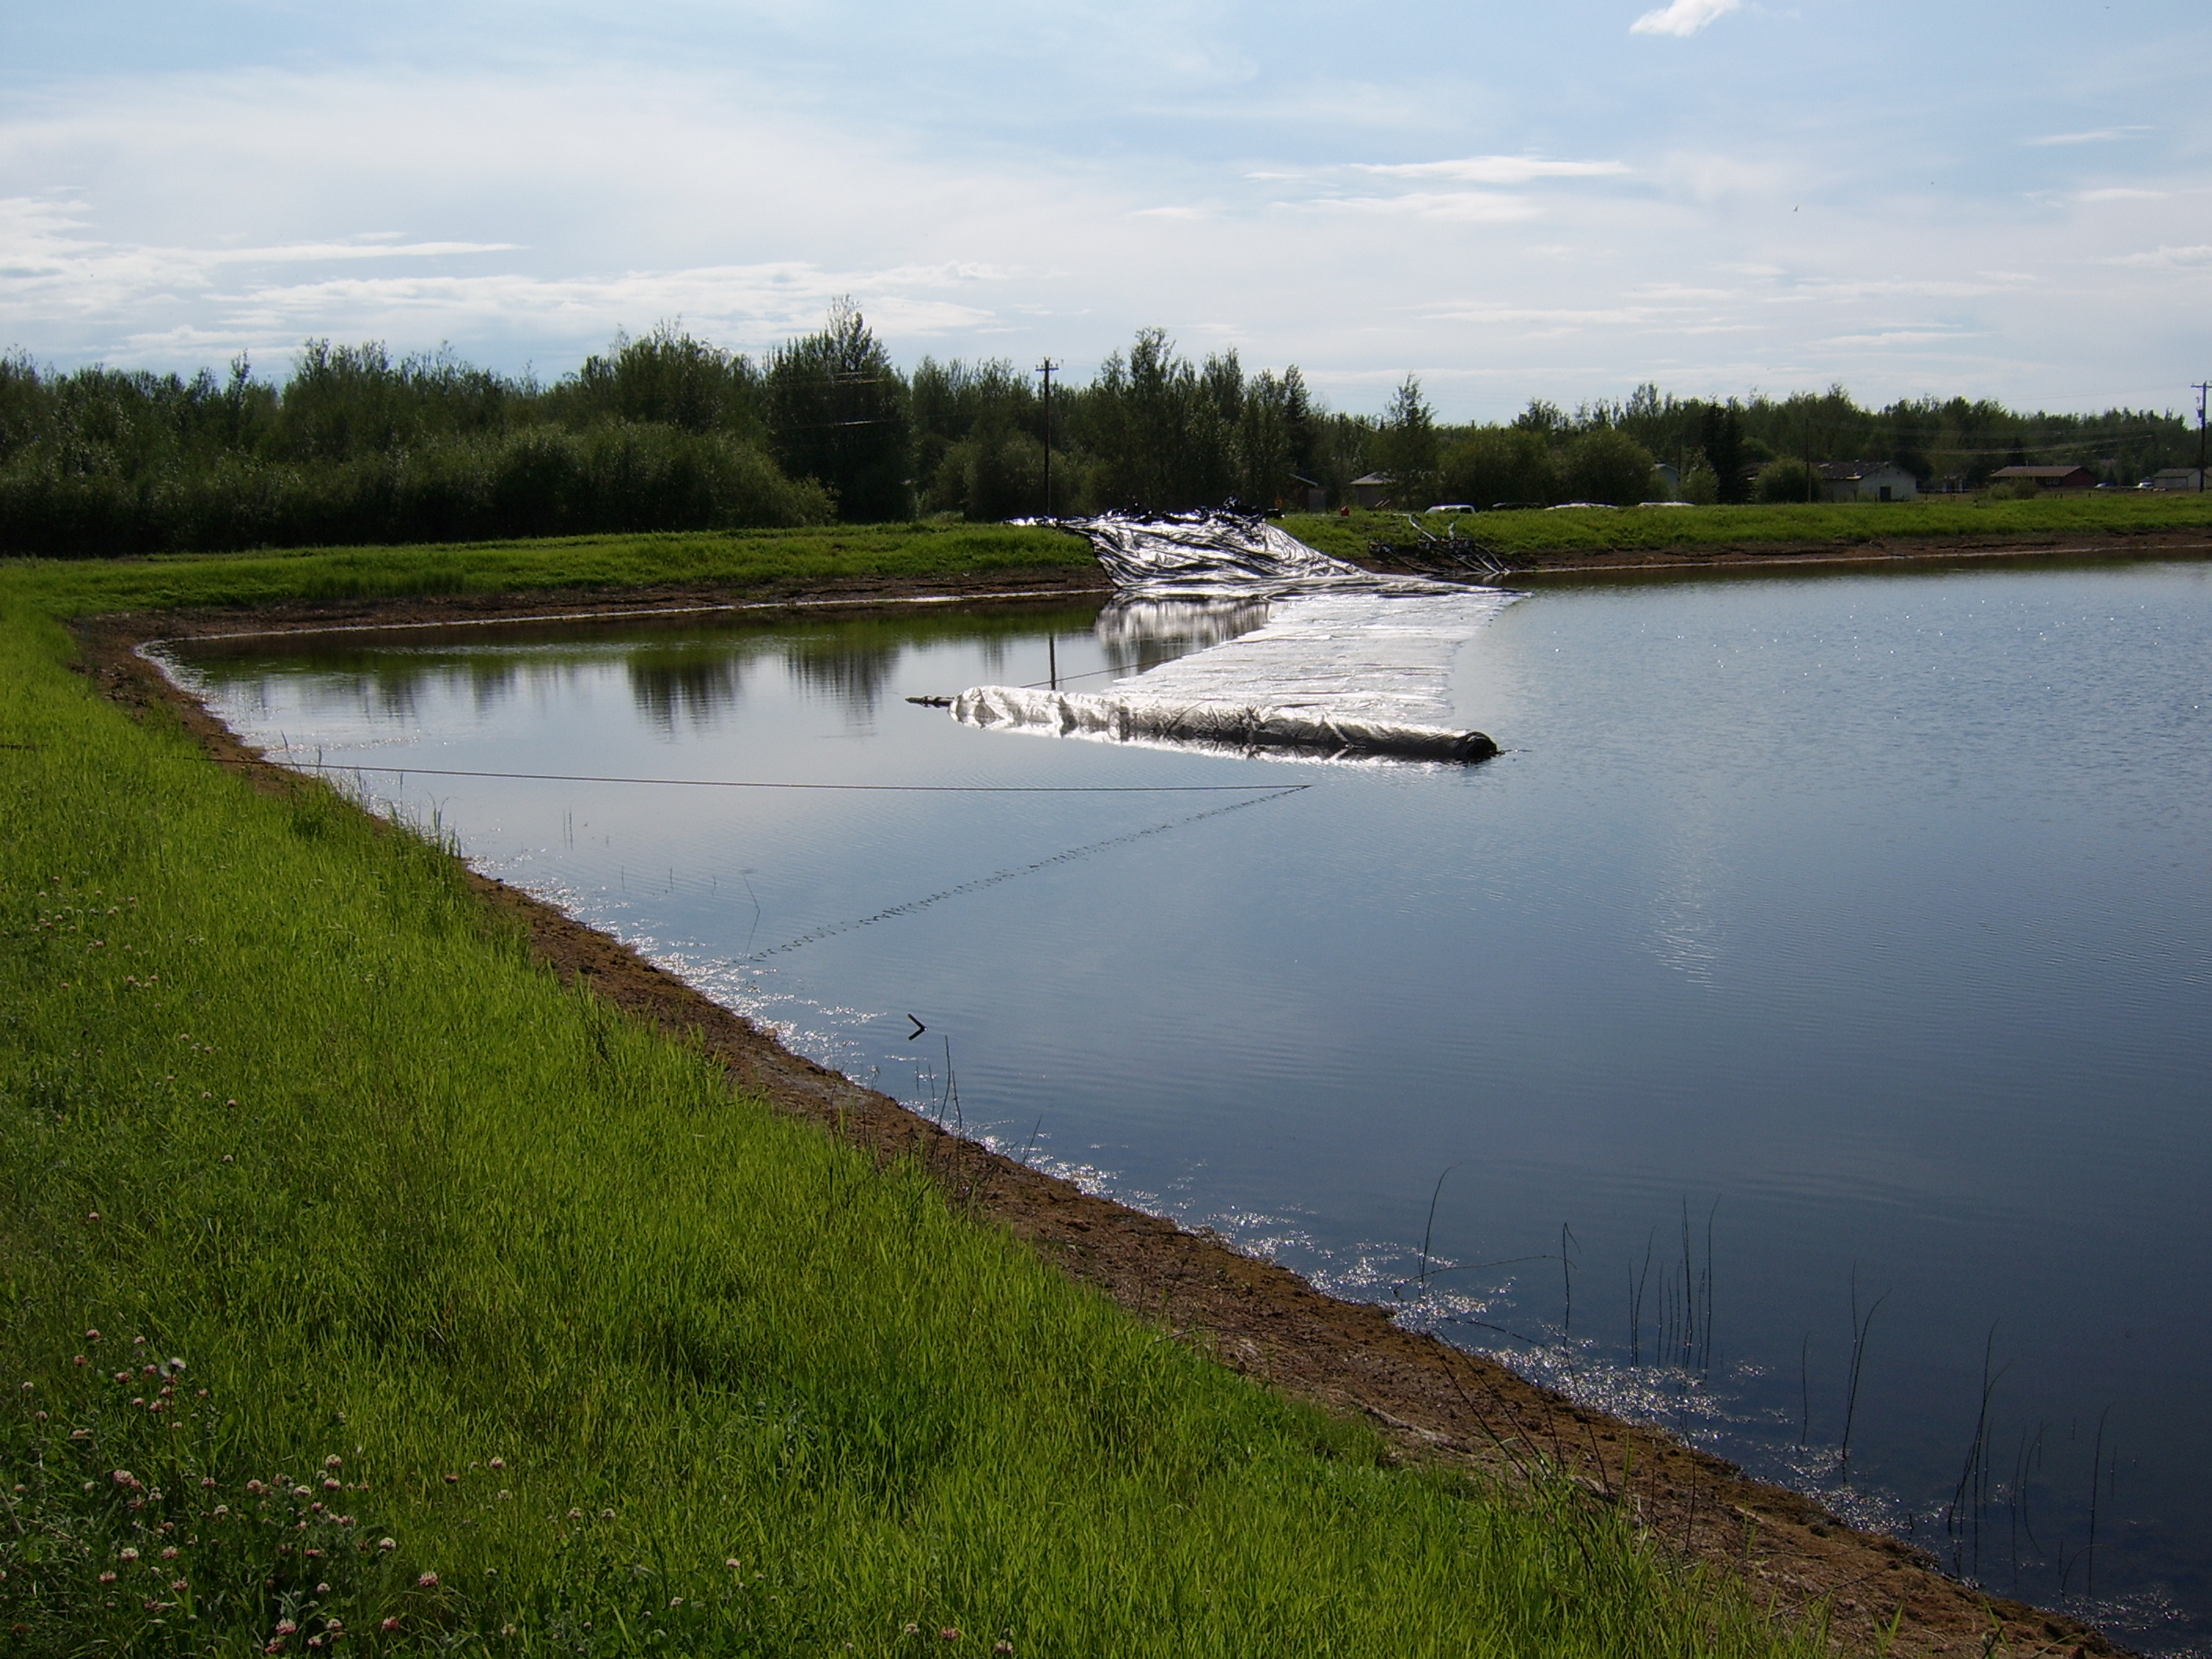
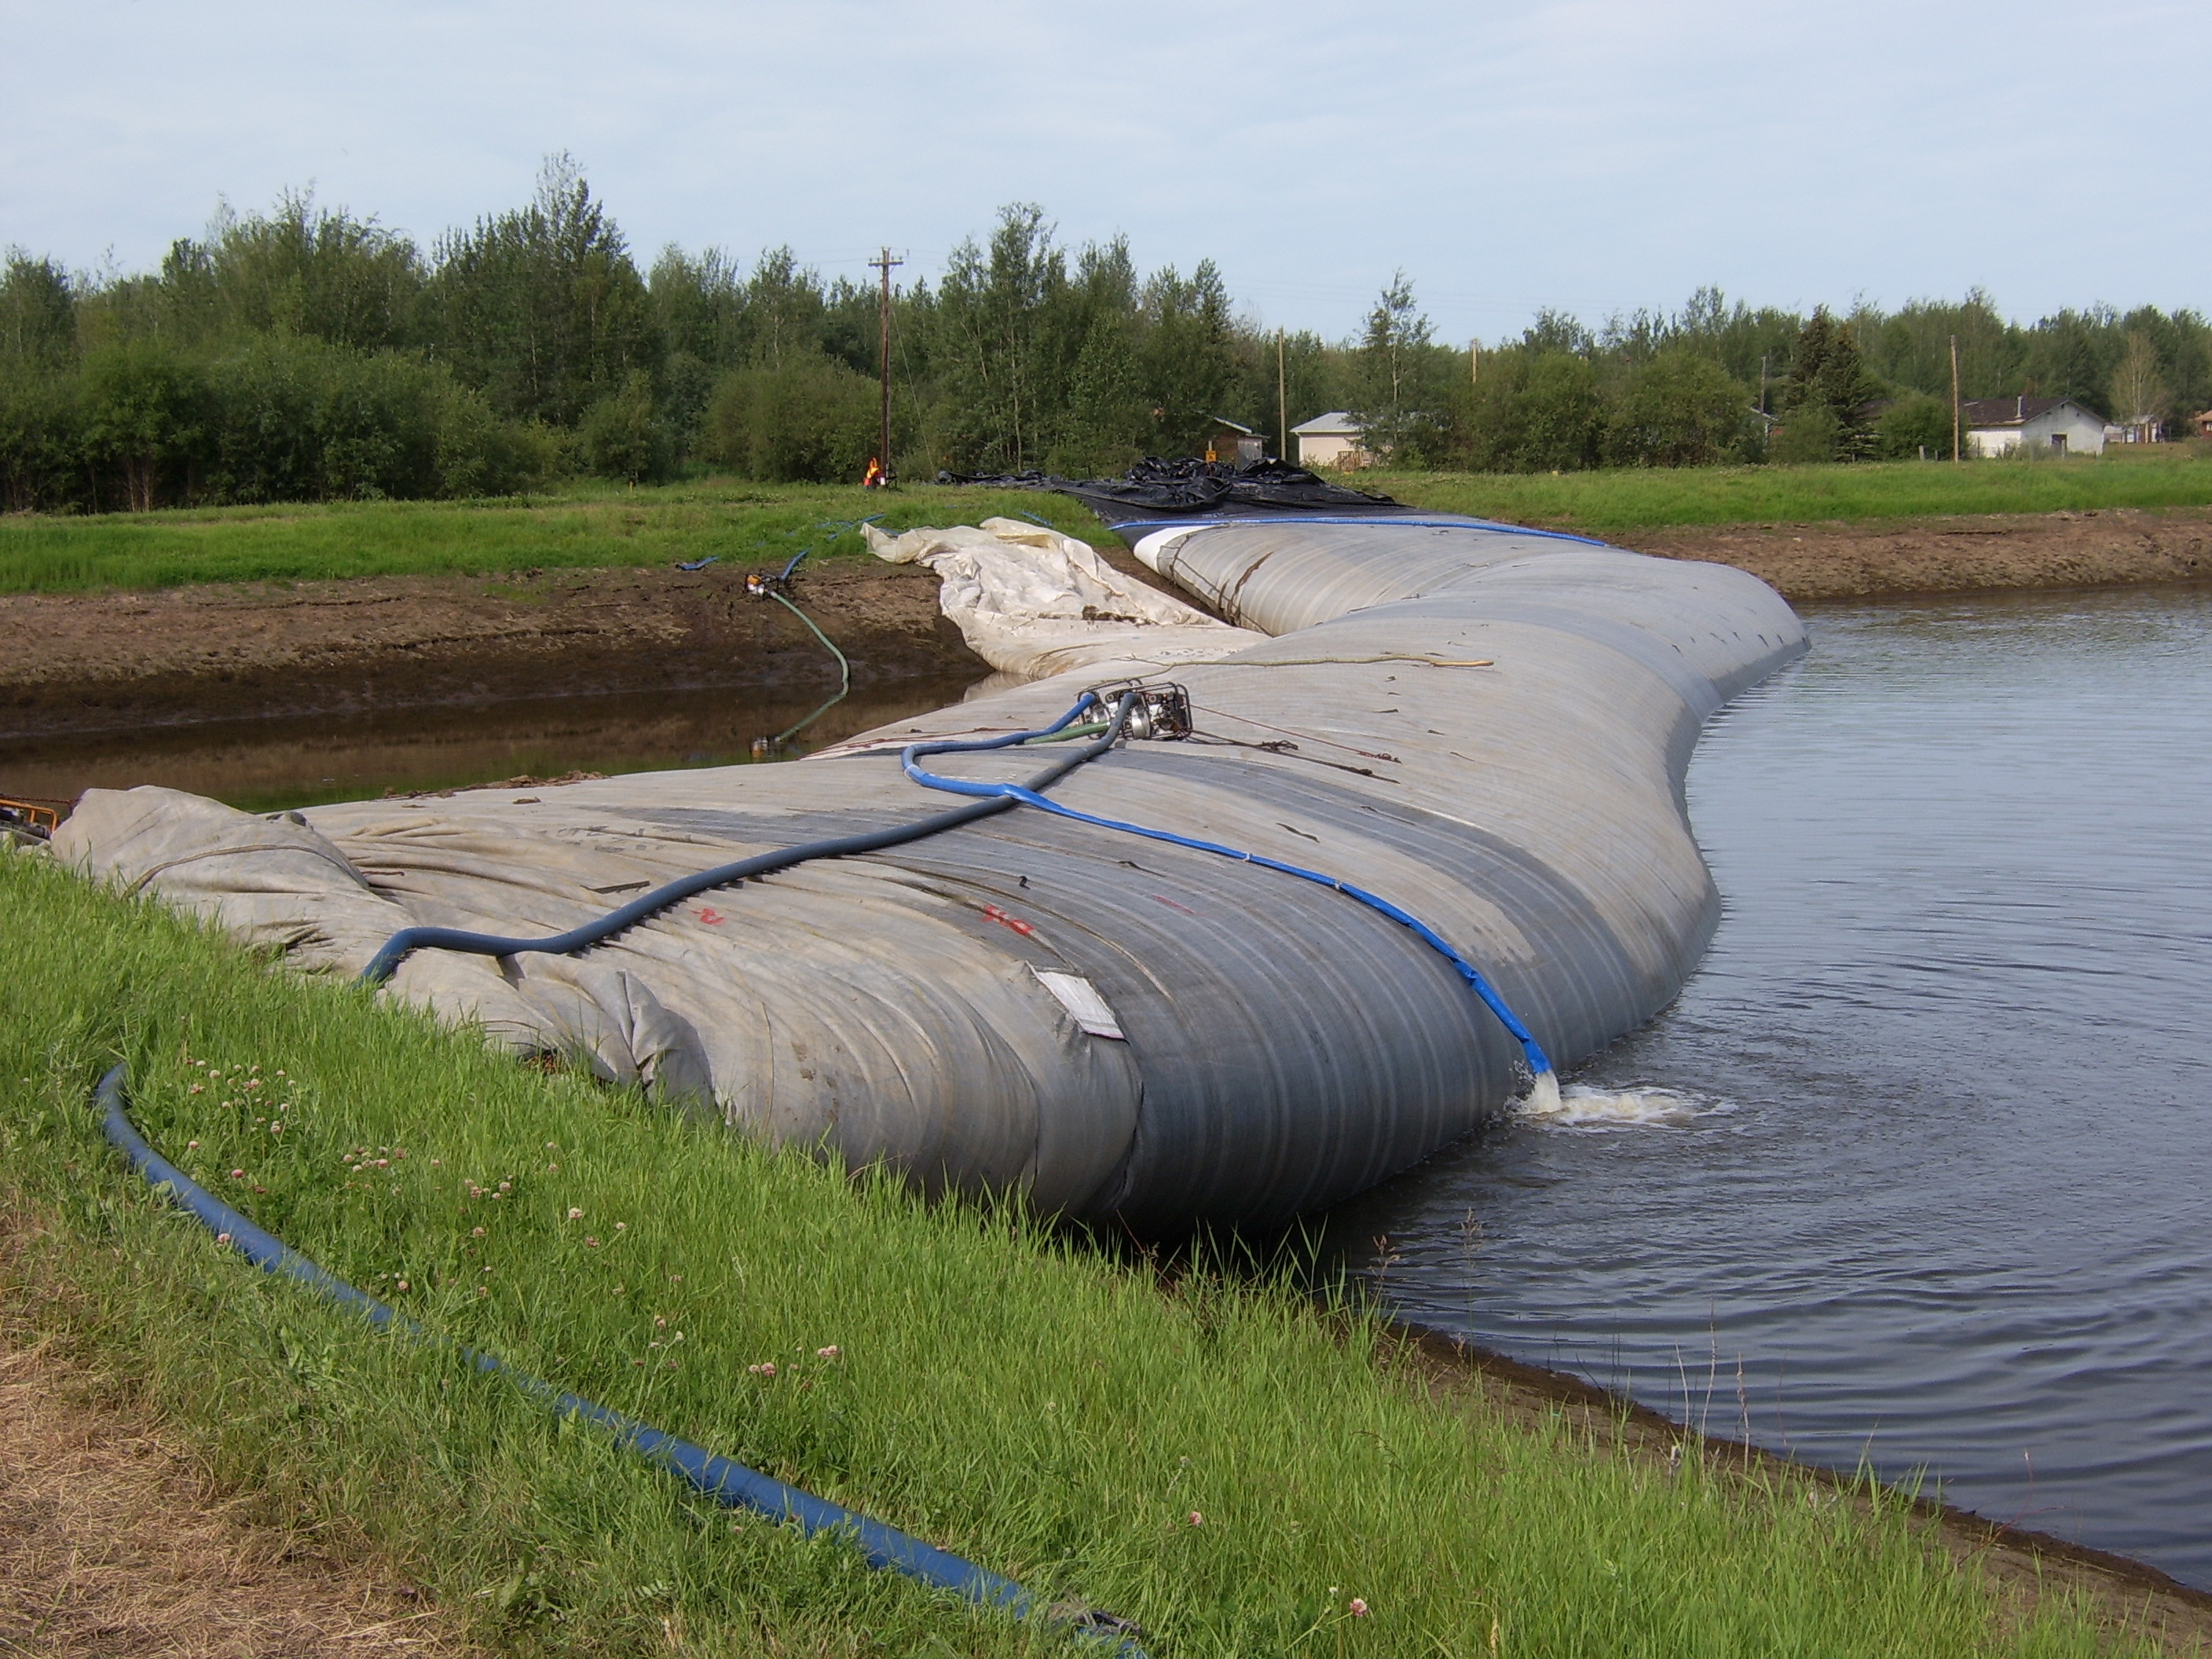
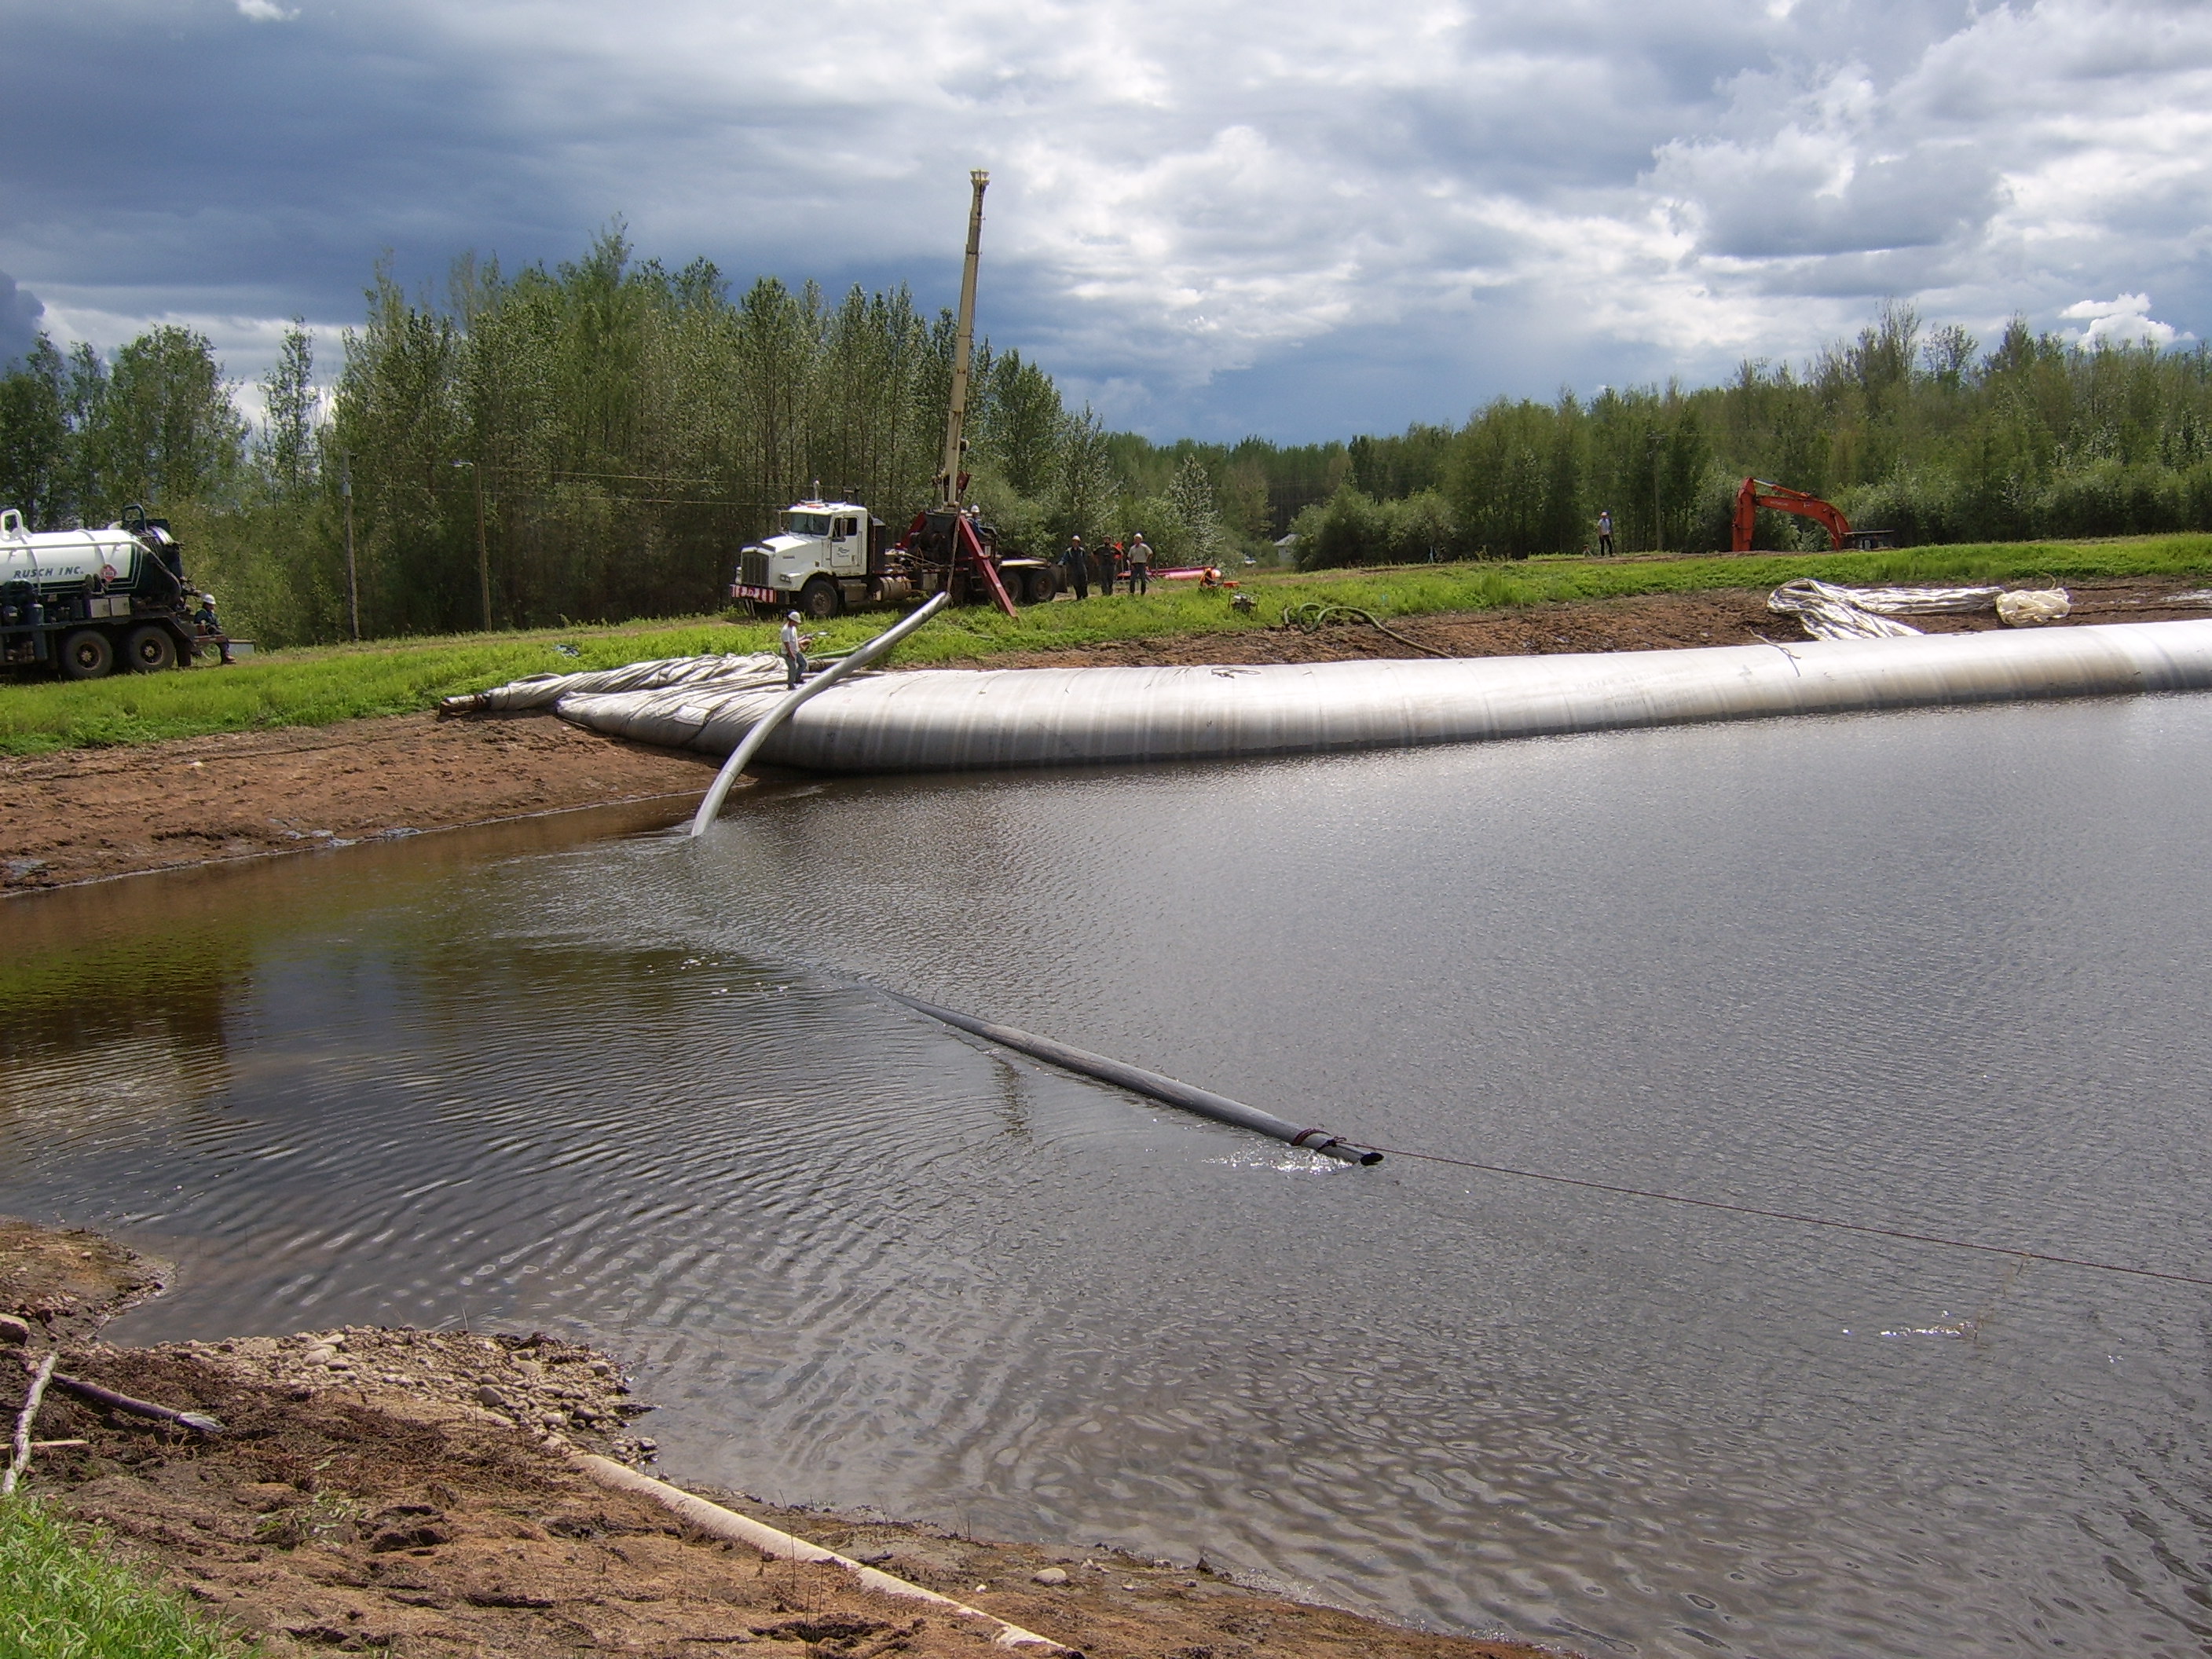
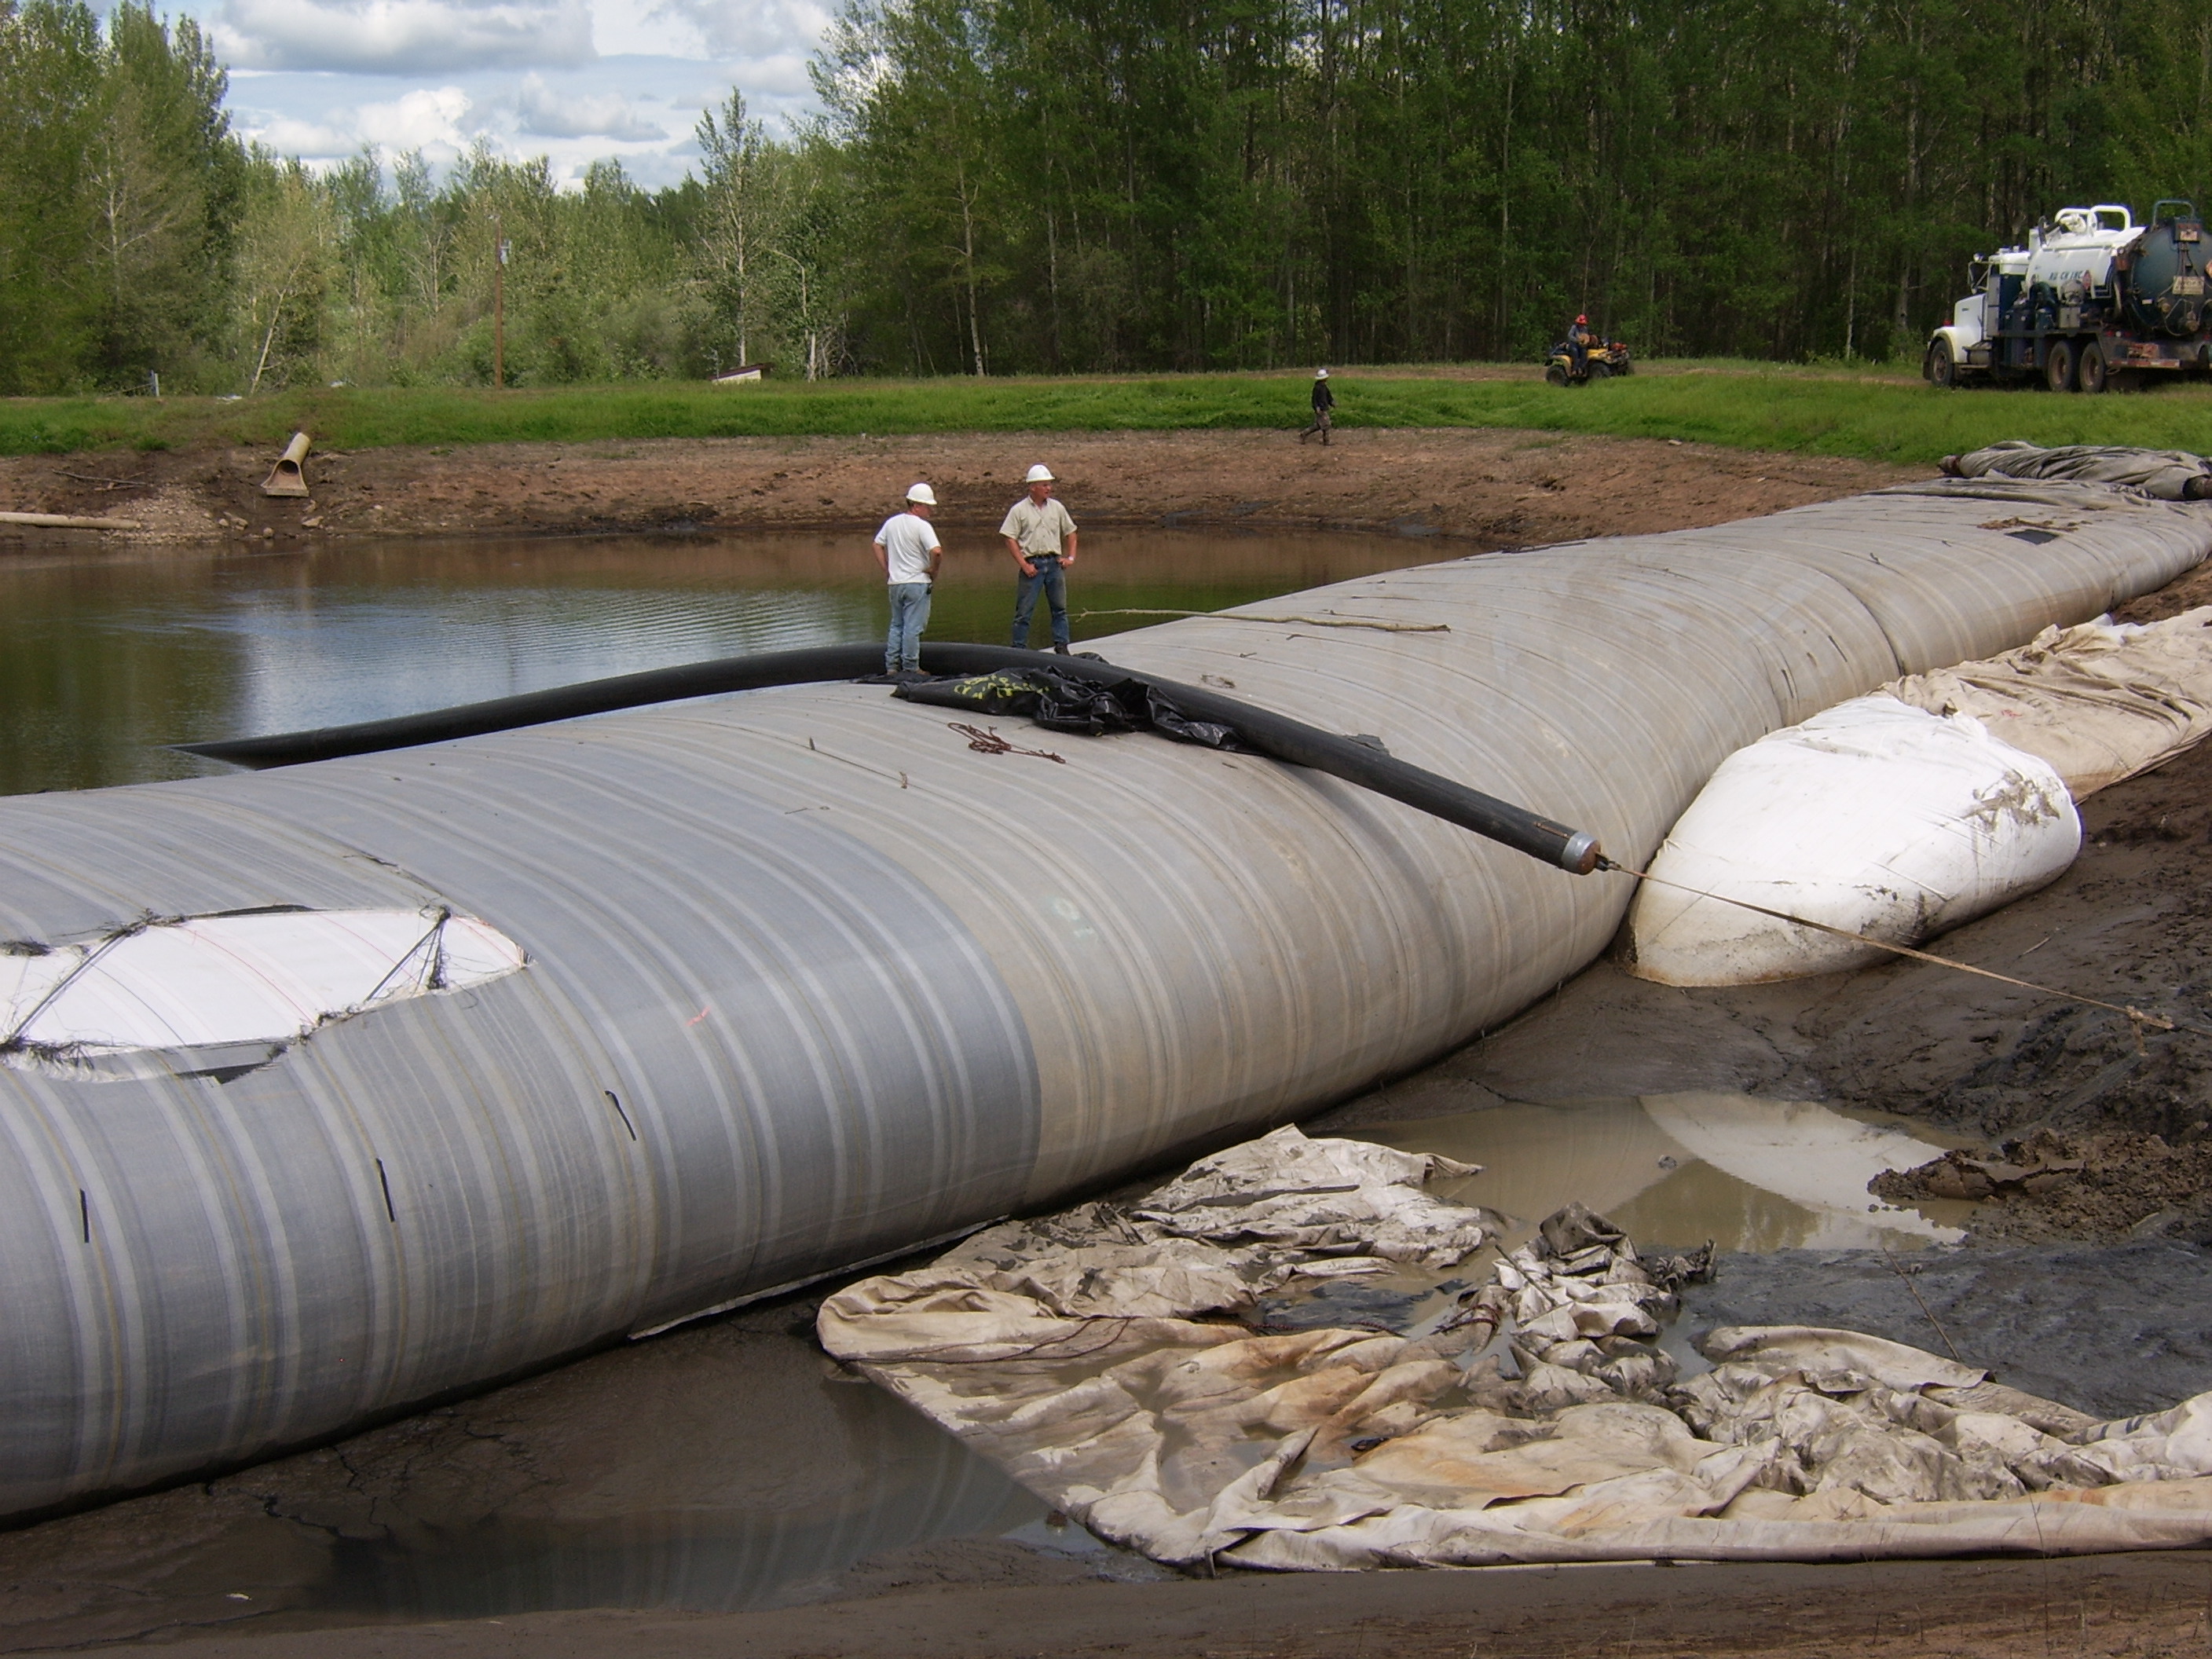
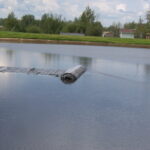
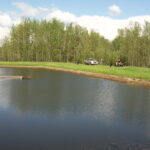
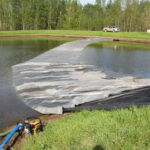
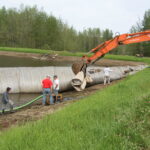
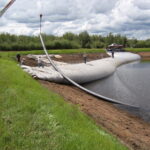
24.) The AquaDam is approaching the ending bank or receiving shore.
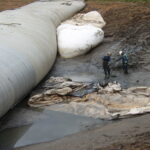
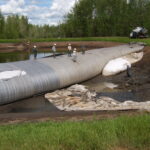
25.) The roll end of the AquaDam must meet up with the ending bank at a perpendicular angle to ensure a better seal and to maintain structural integrity.
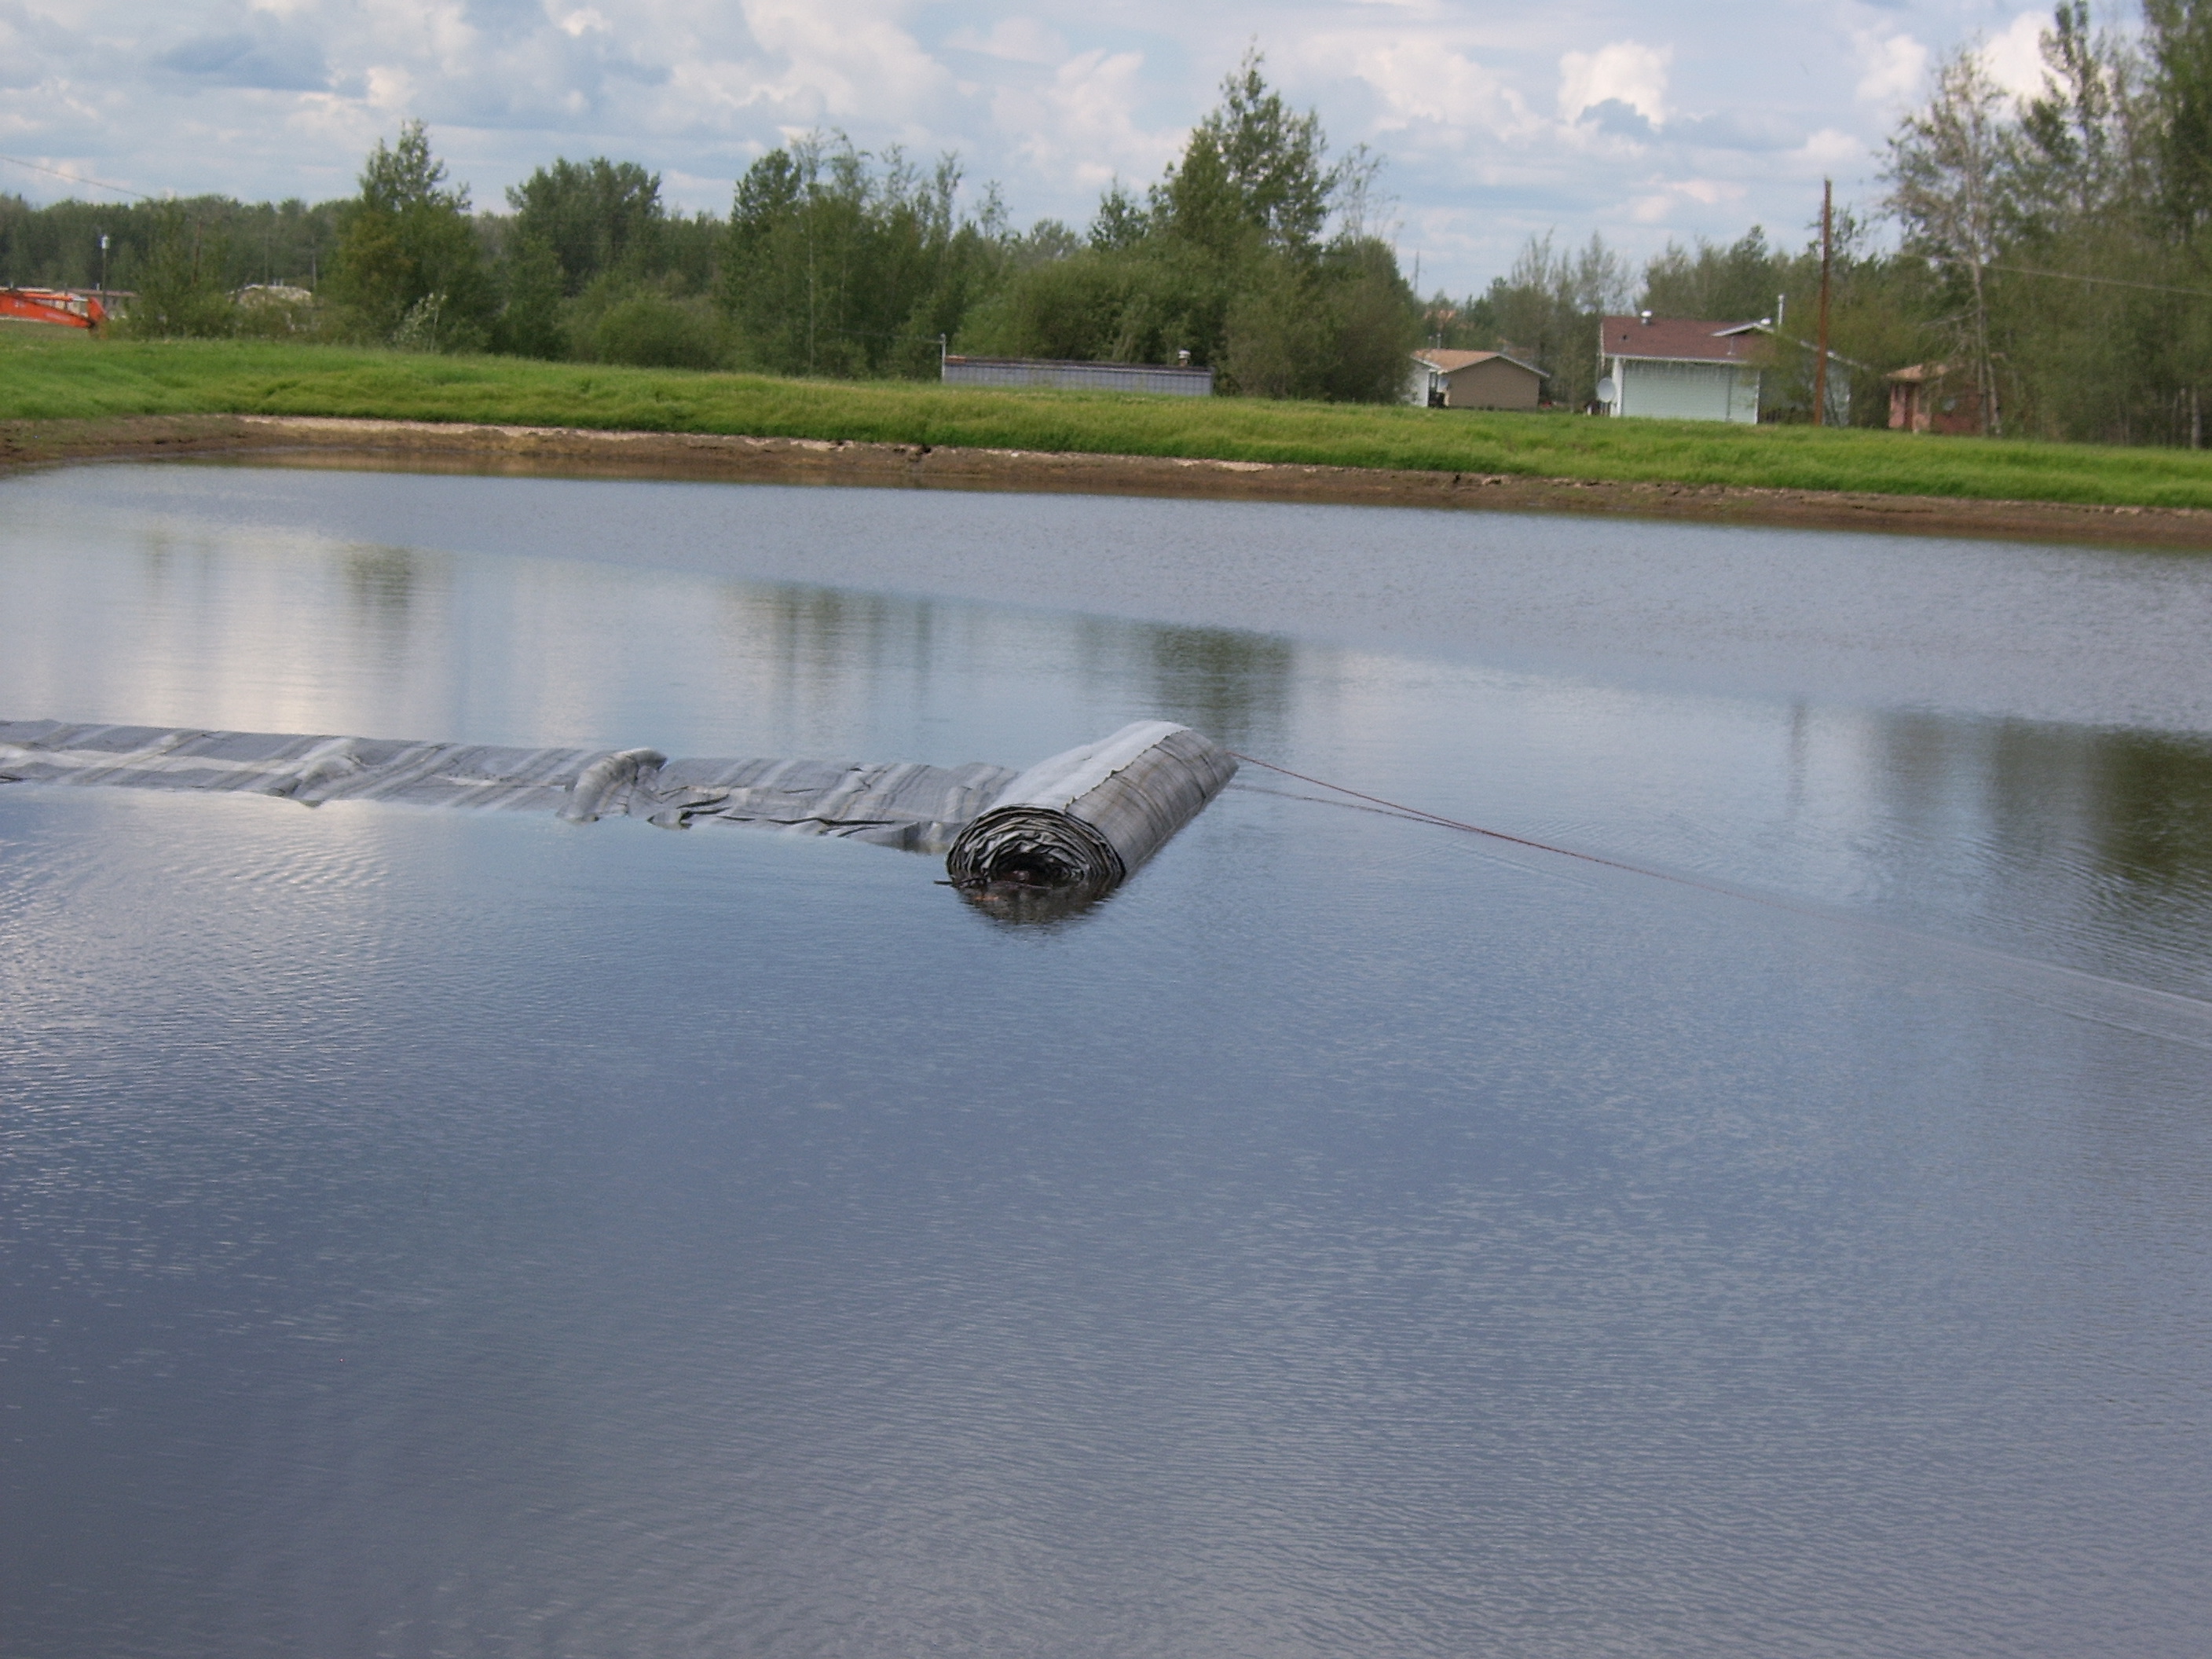
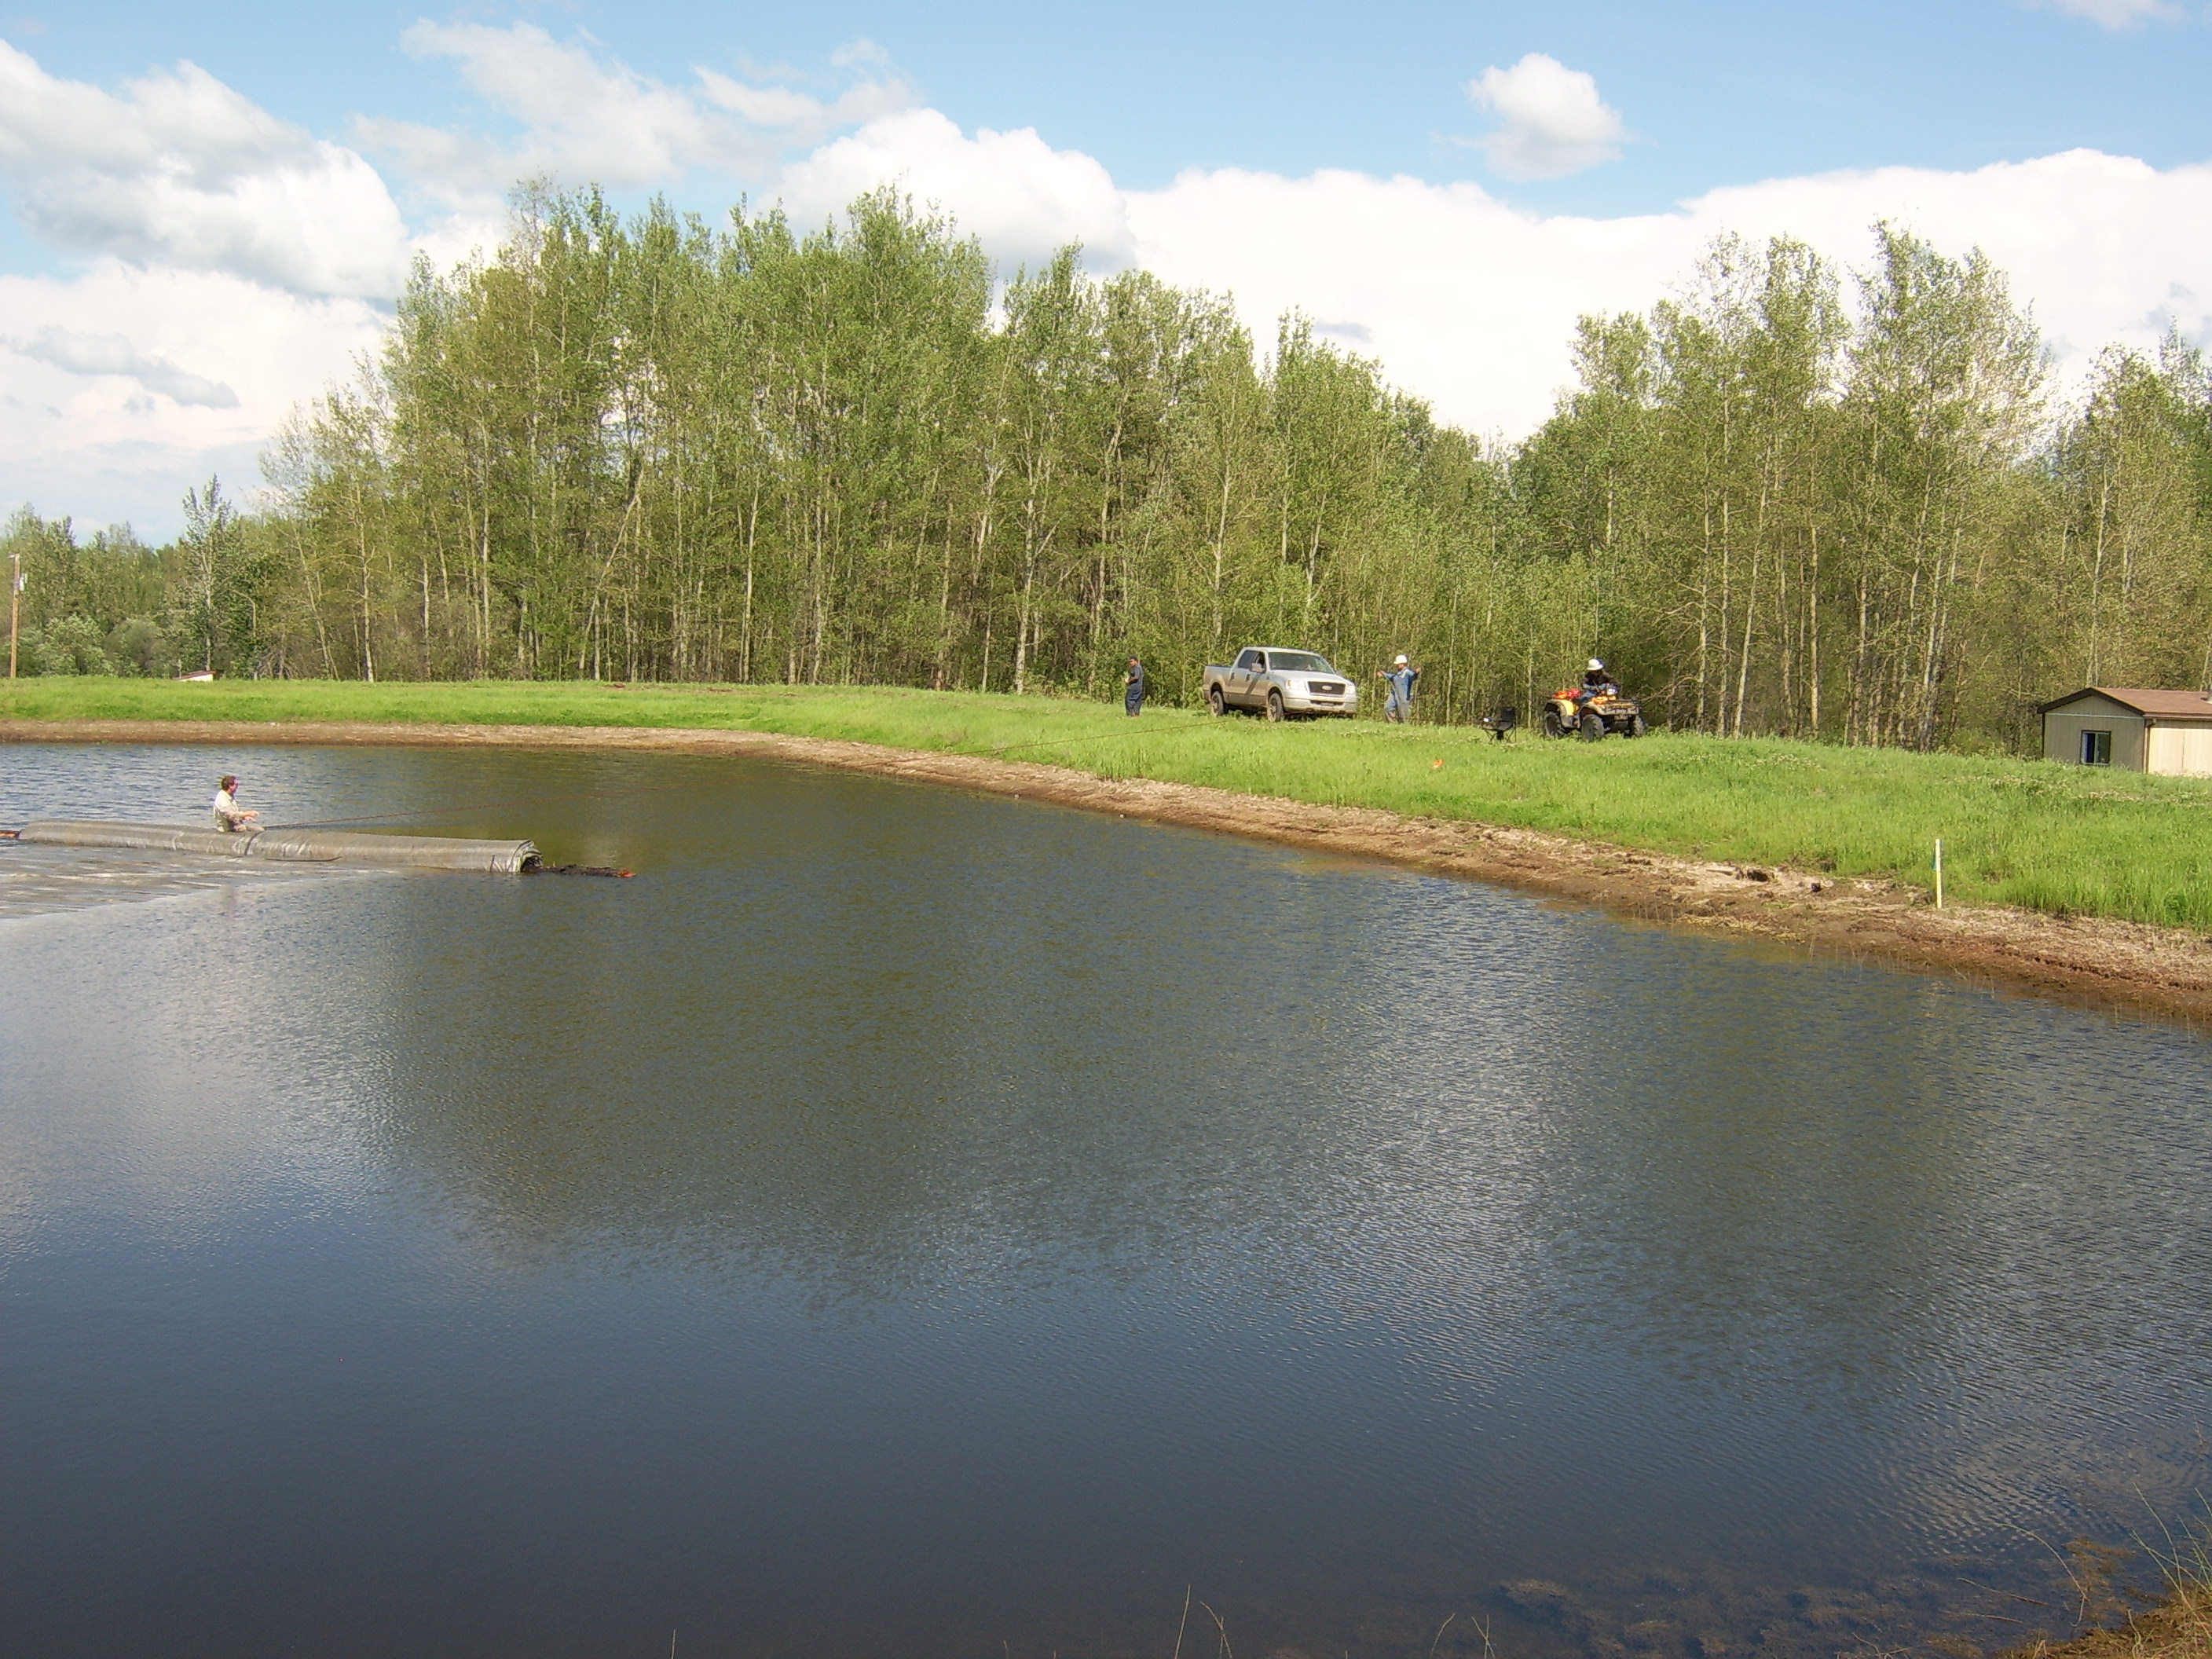
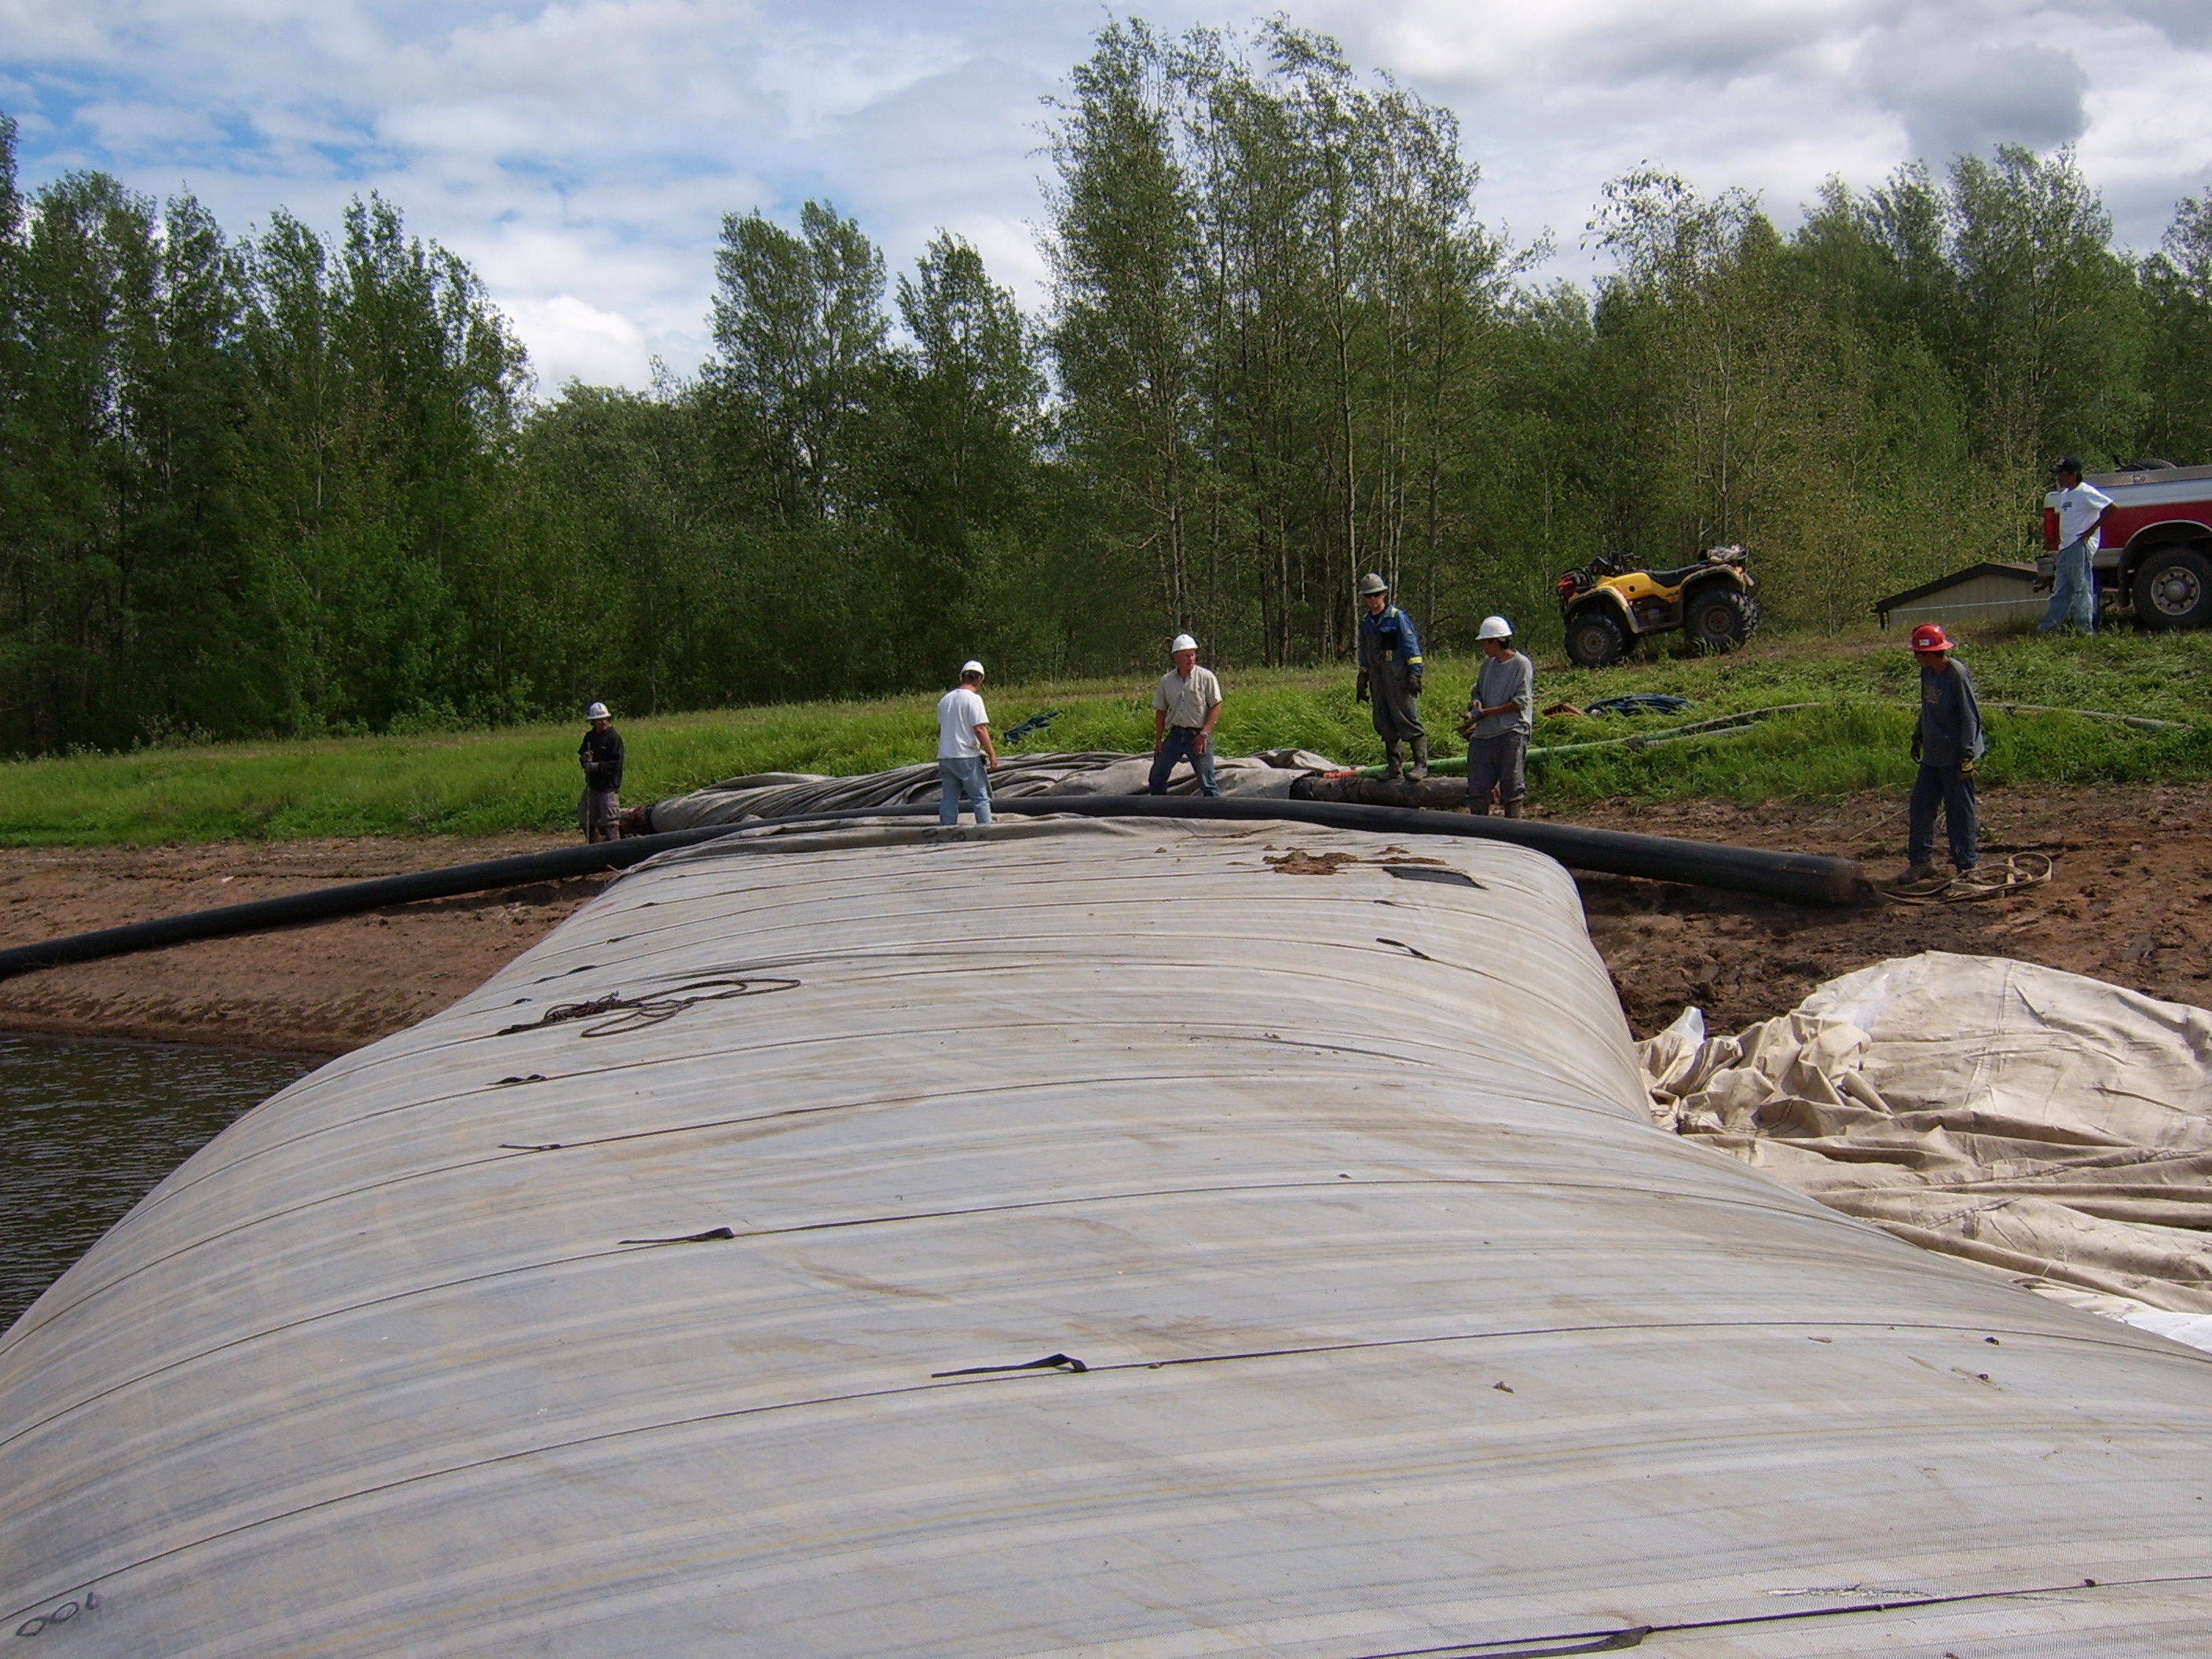
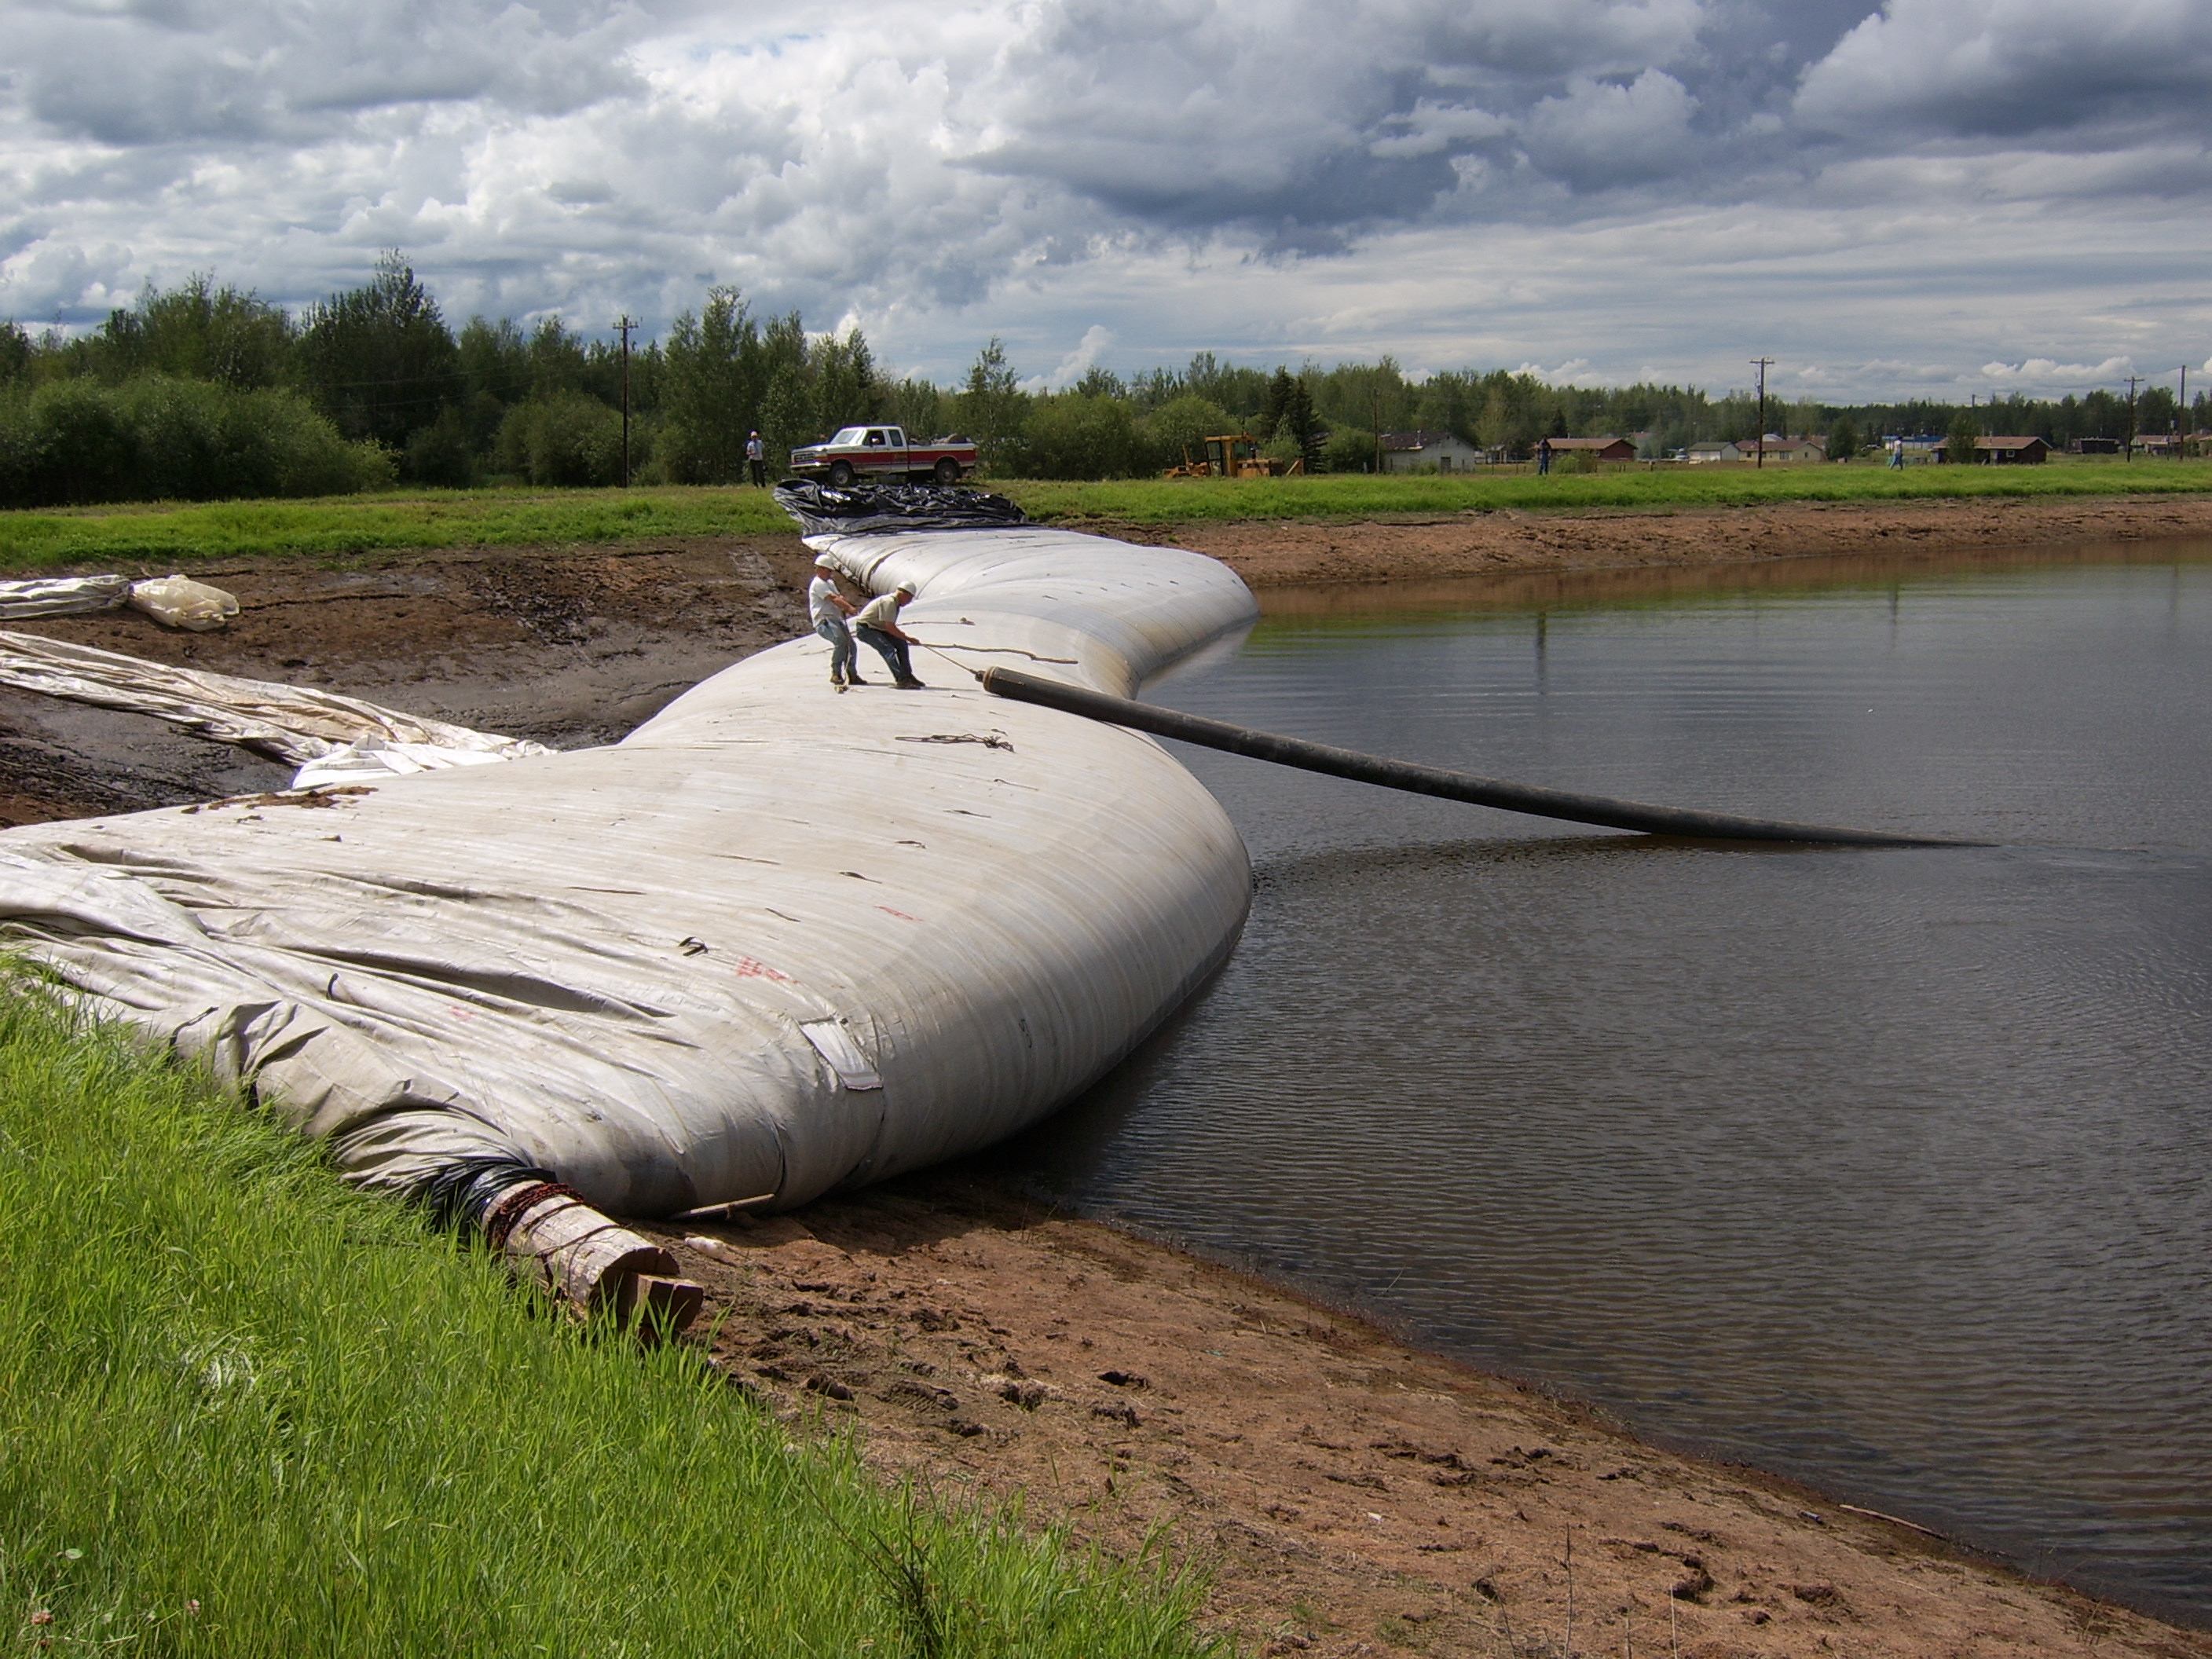
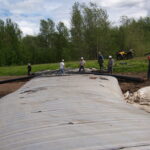
26.) The 200ft long SCE AquaDam has almost reached its ending bank. Workers keep tension on the rope that is pulling the roll to be perpendicular to the ending bank.

36.) Discovering an areas wildlife is always an adventure wherever an AquaDam goes.

37.) Stay out of that road, little buddy.
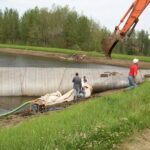
27.) The roll has been pulled sideways once again.
38.) Next day, the 12ft tall AquaDam is fully inflated with water.
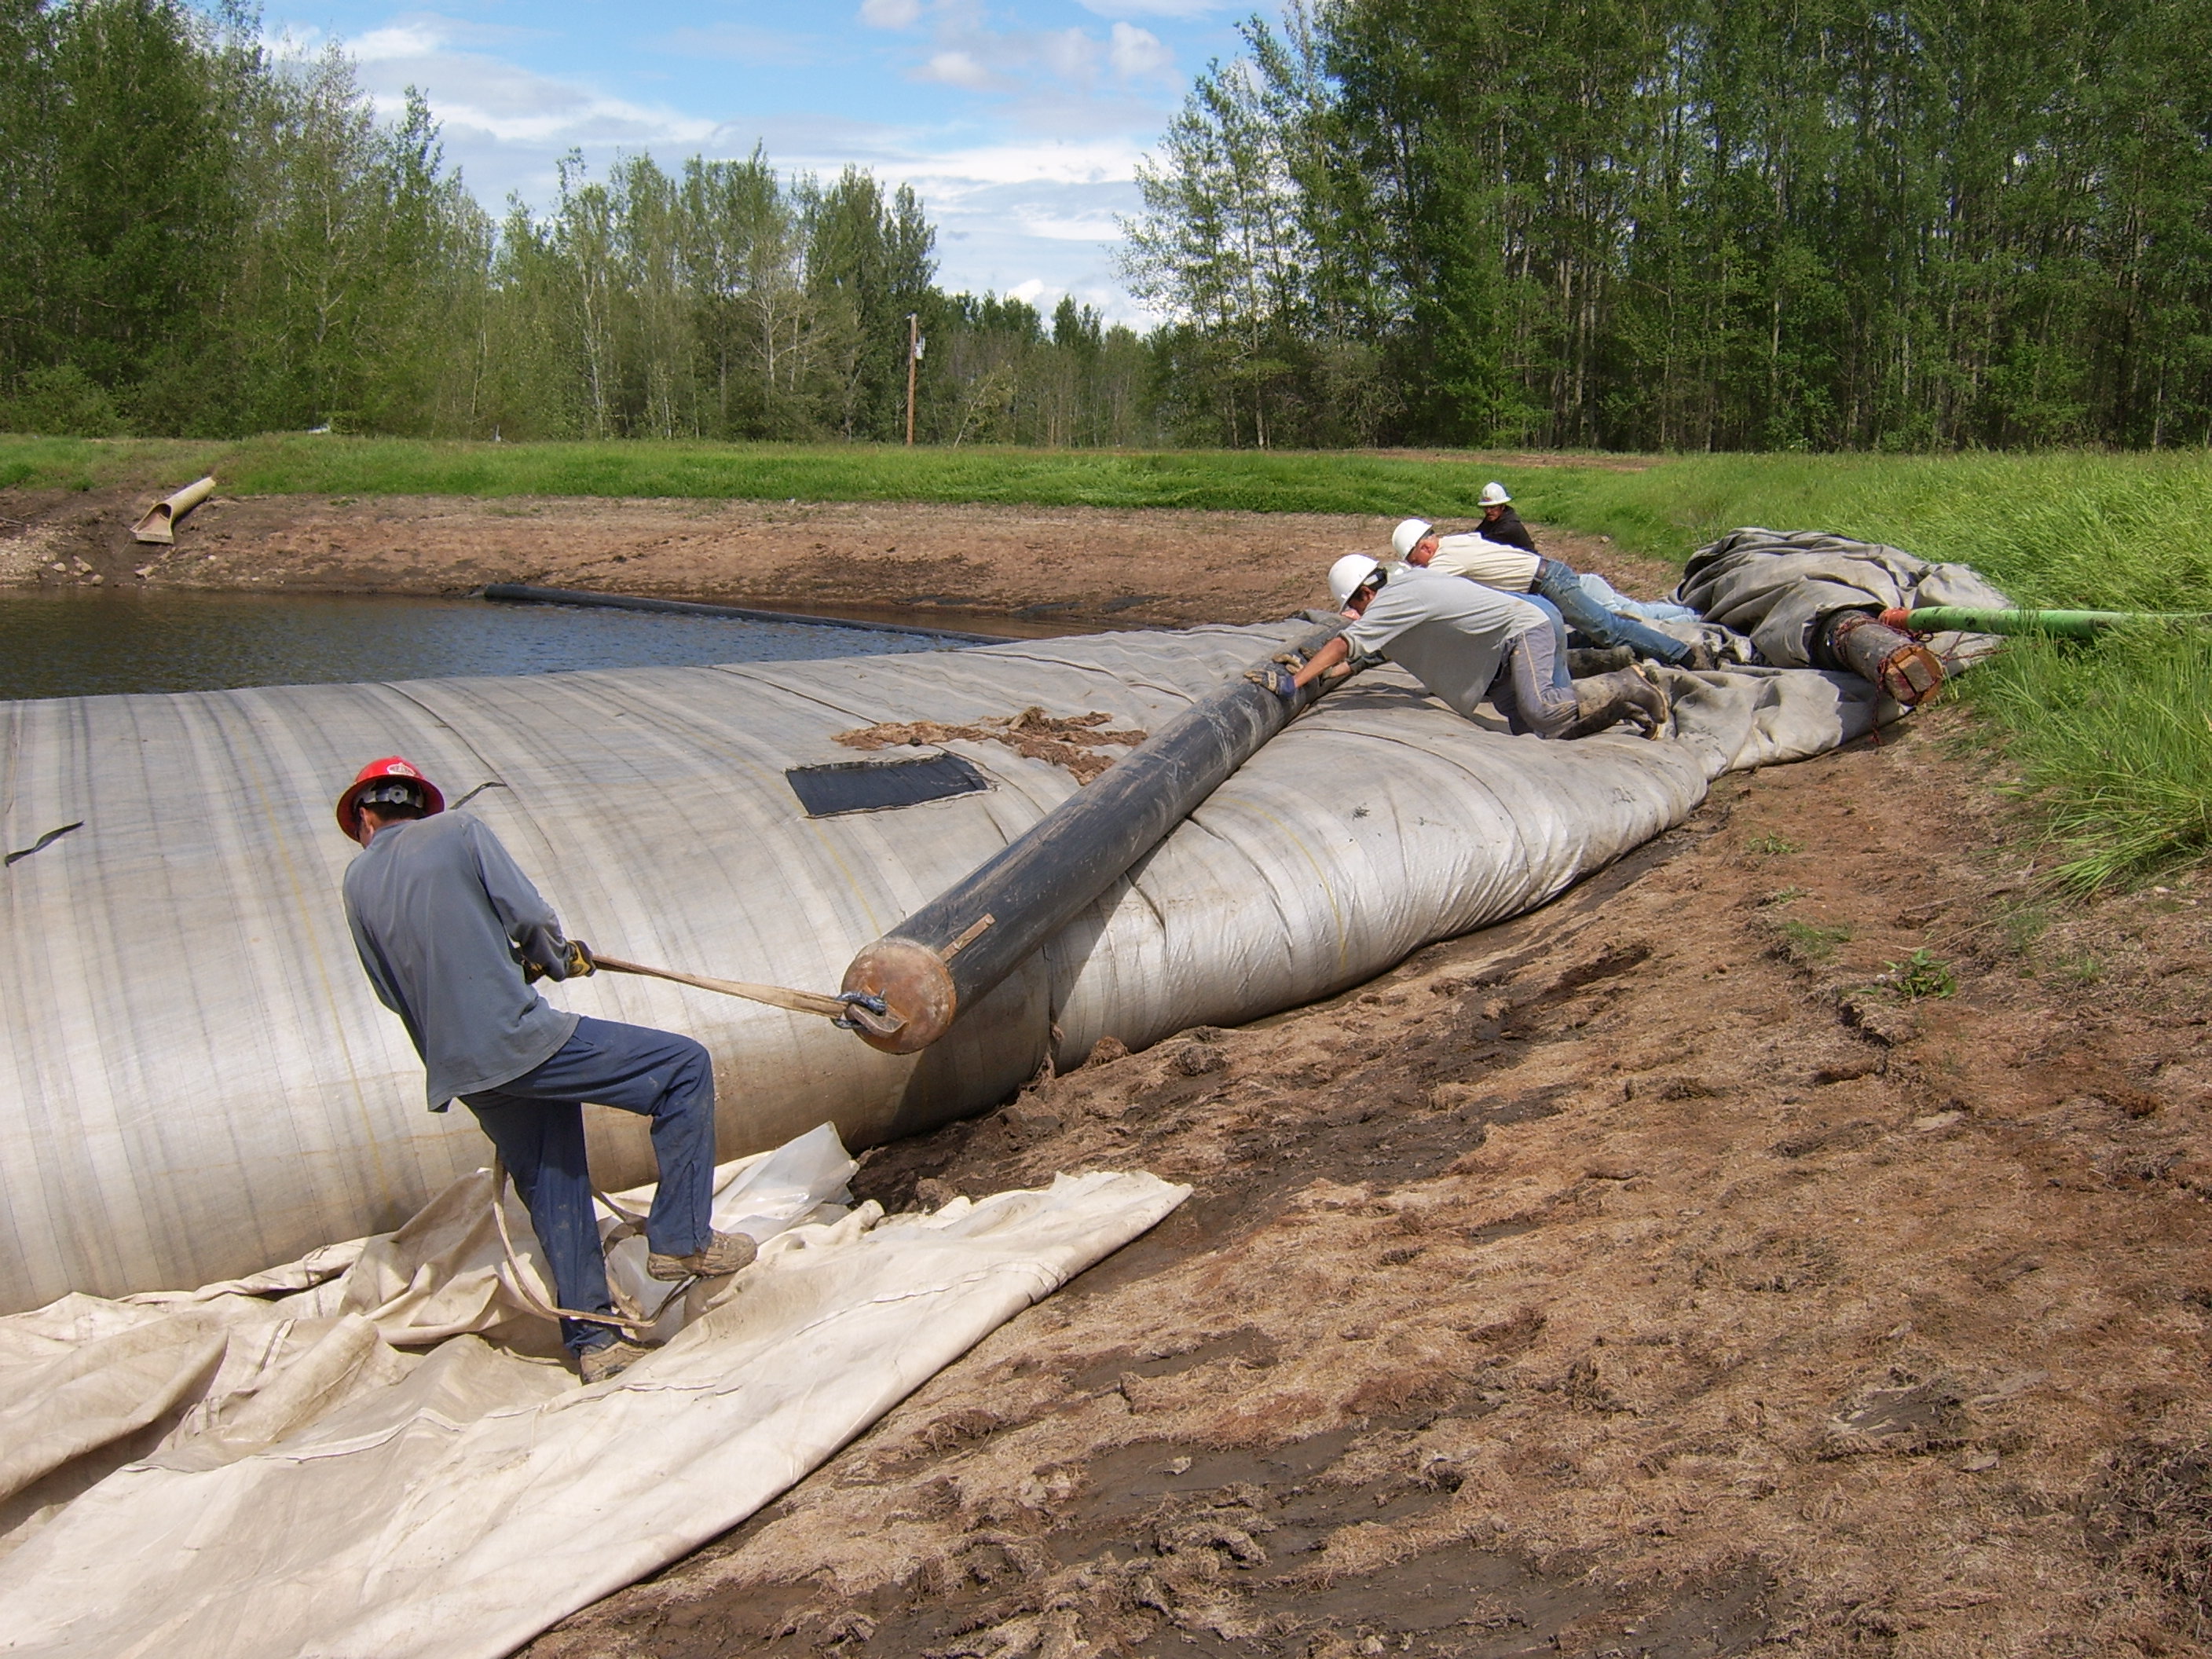
28.) It is important to always maintain control of the roll end, while filling.
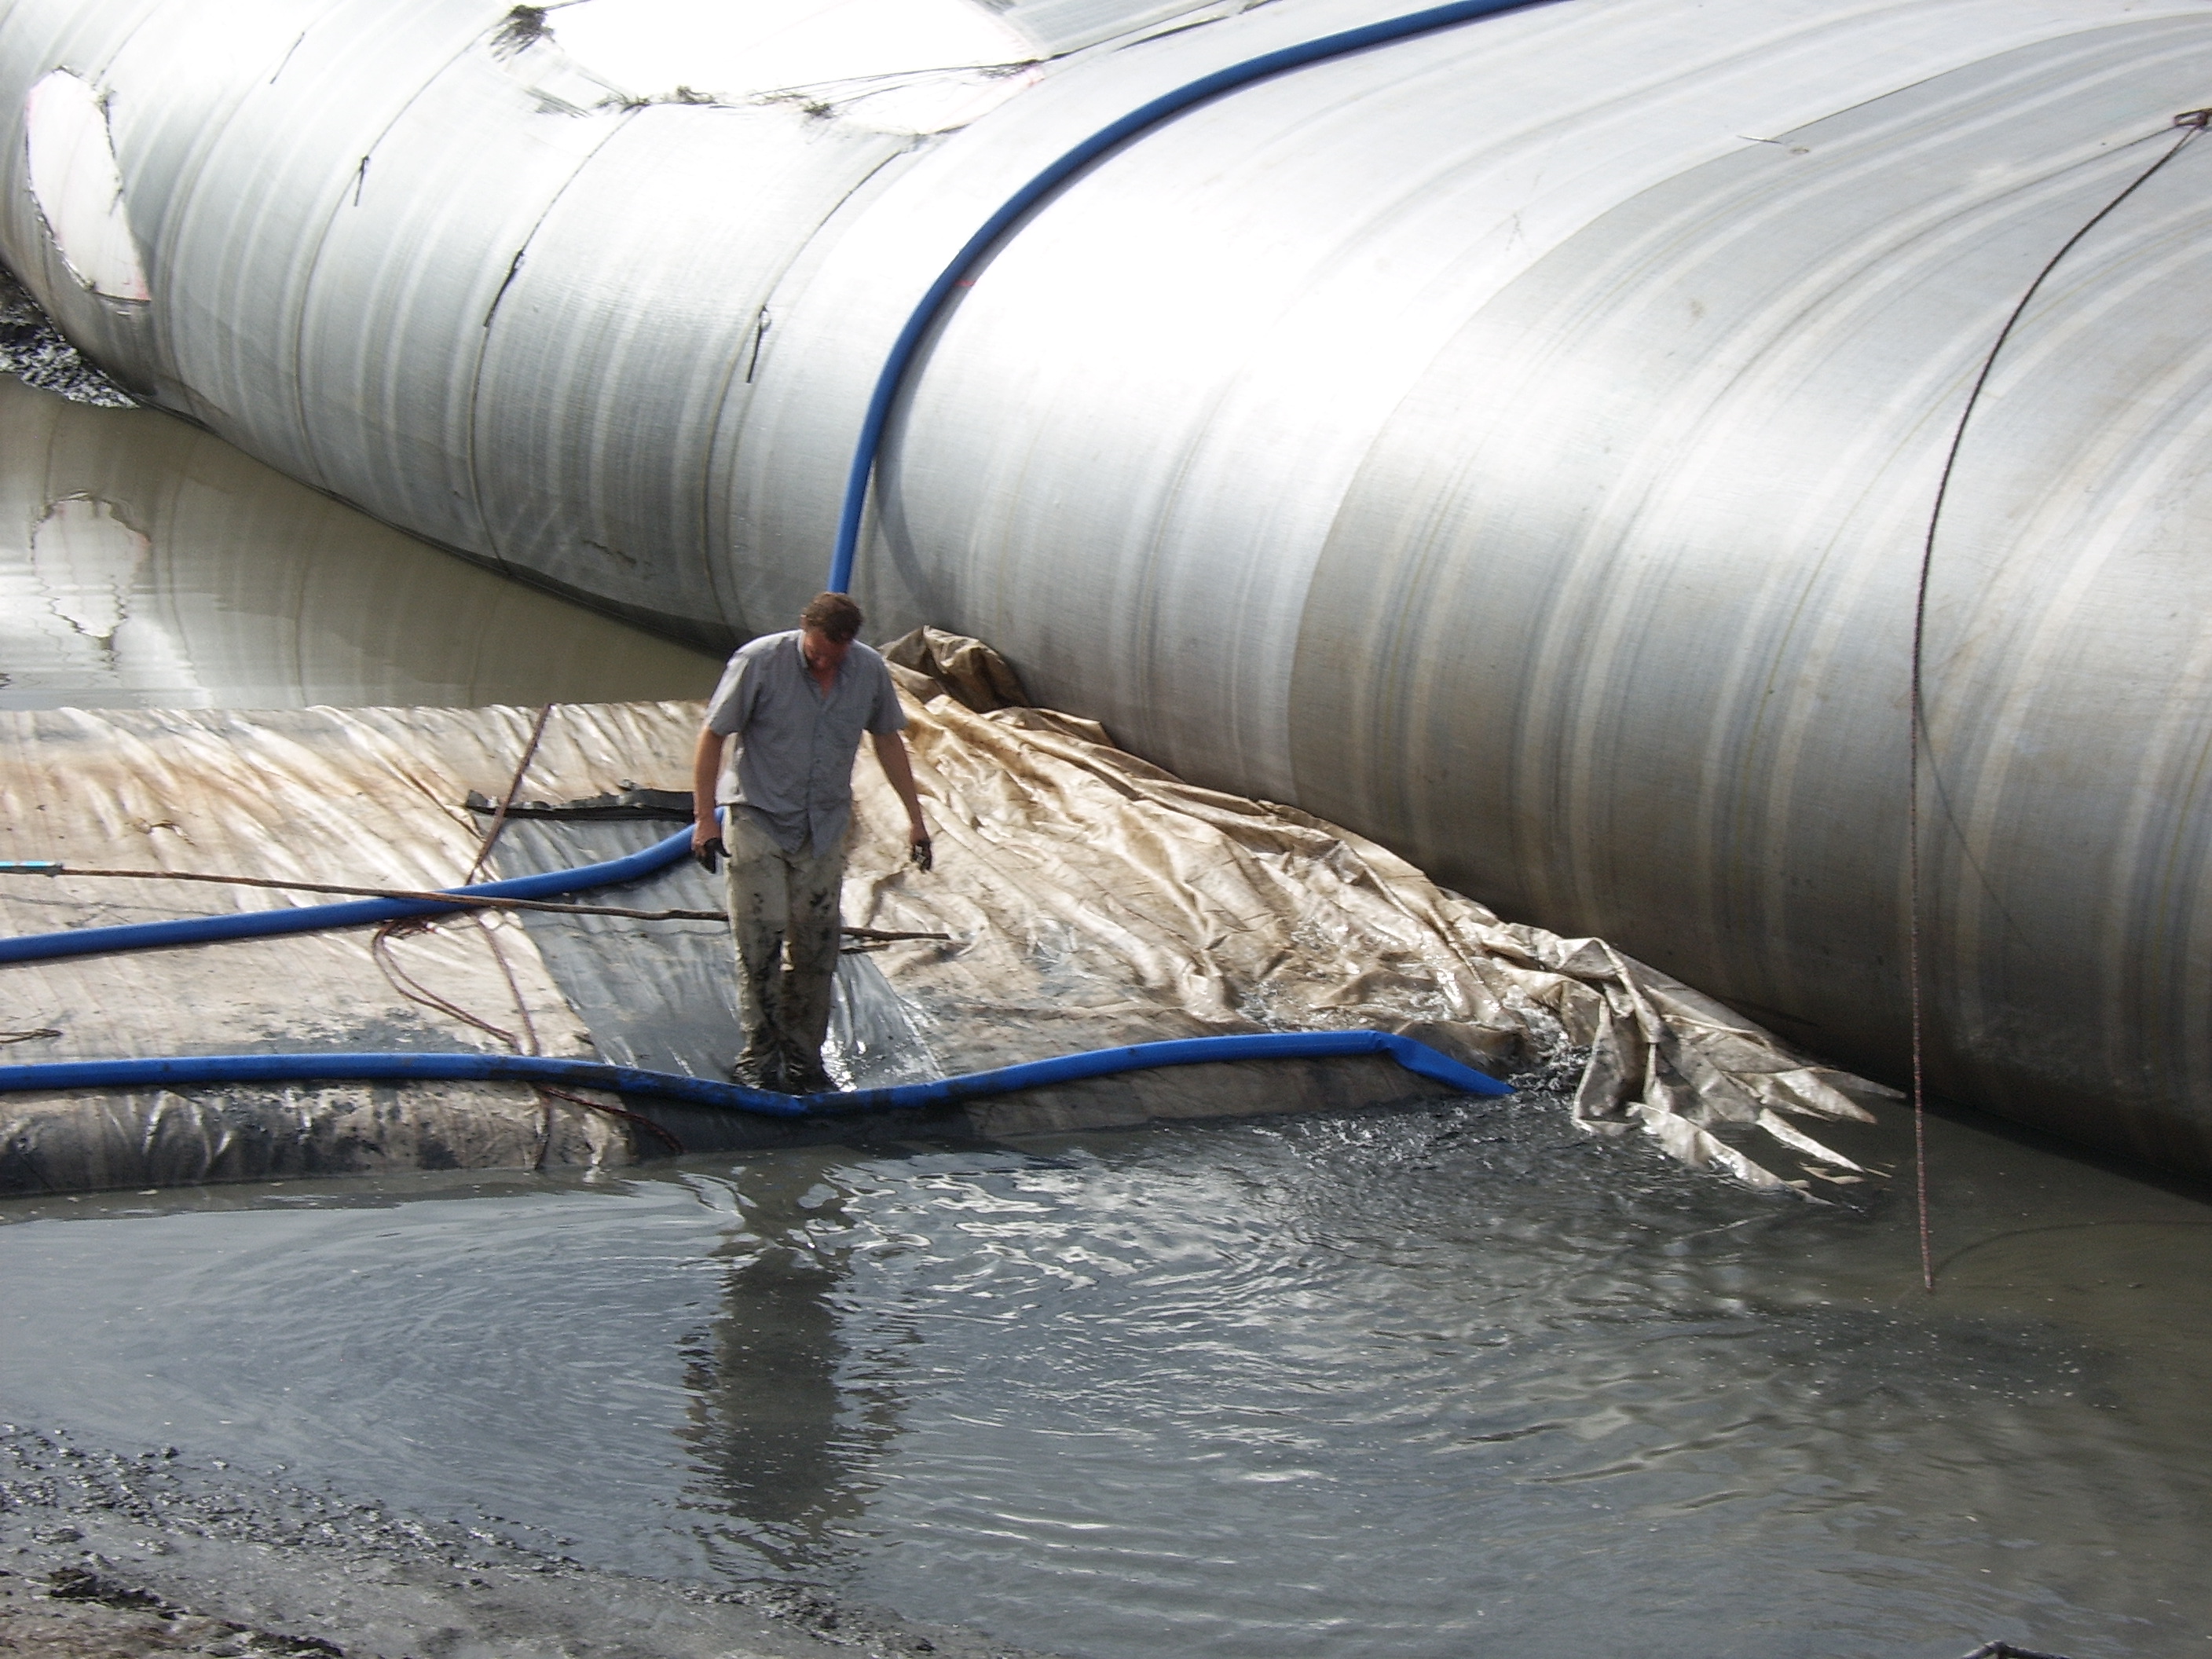
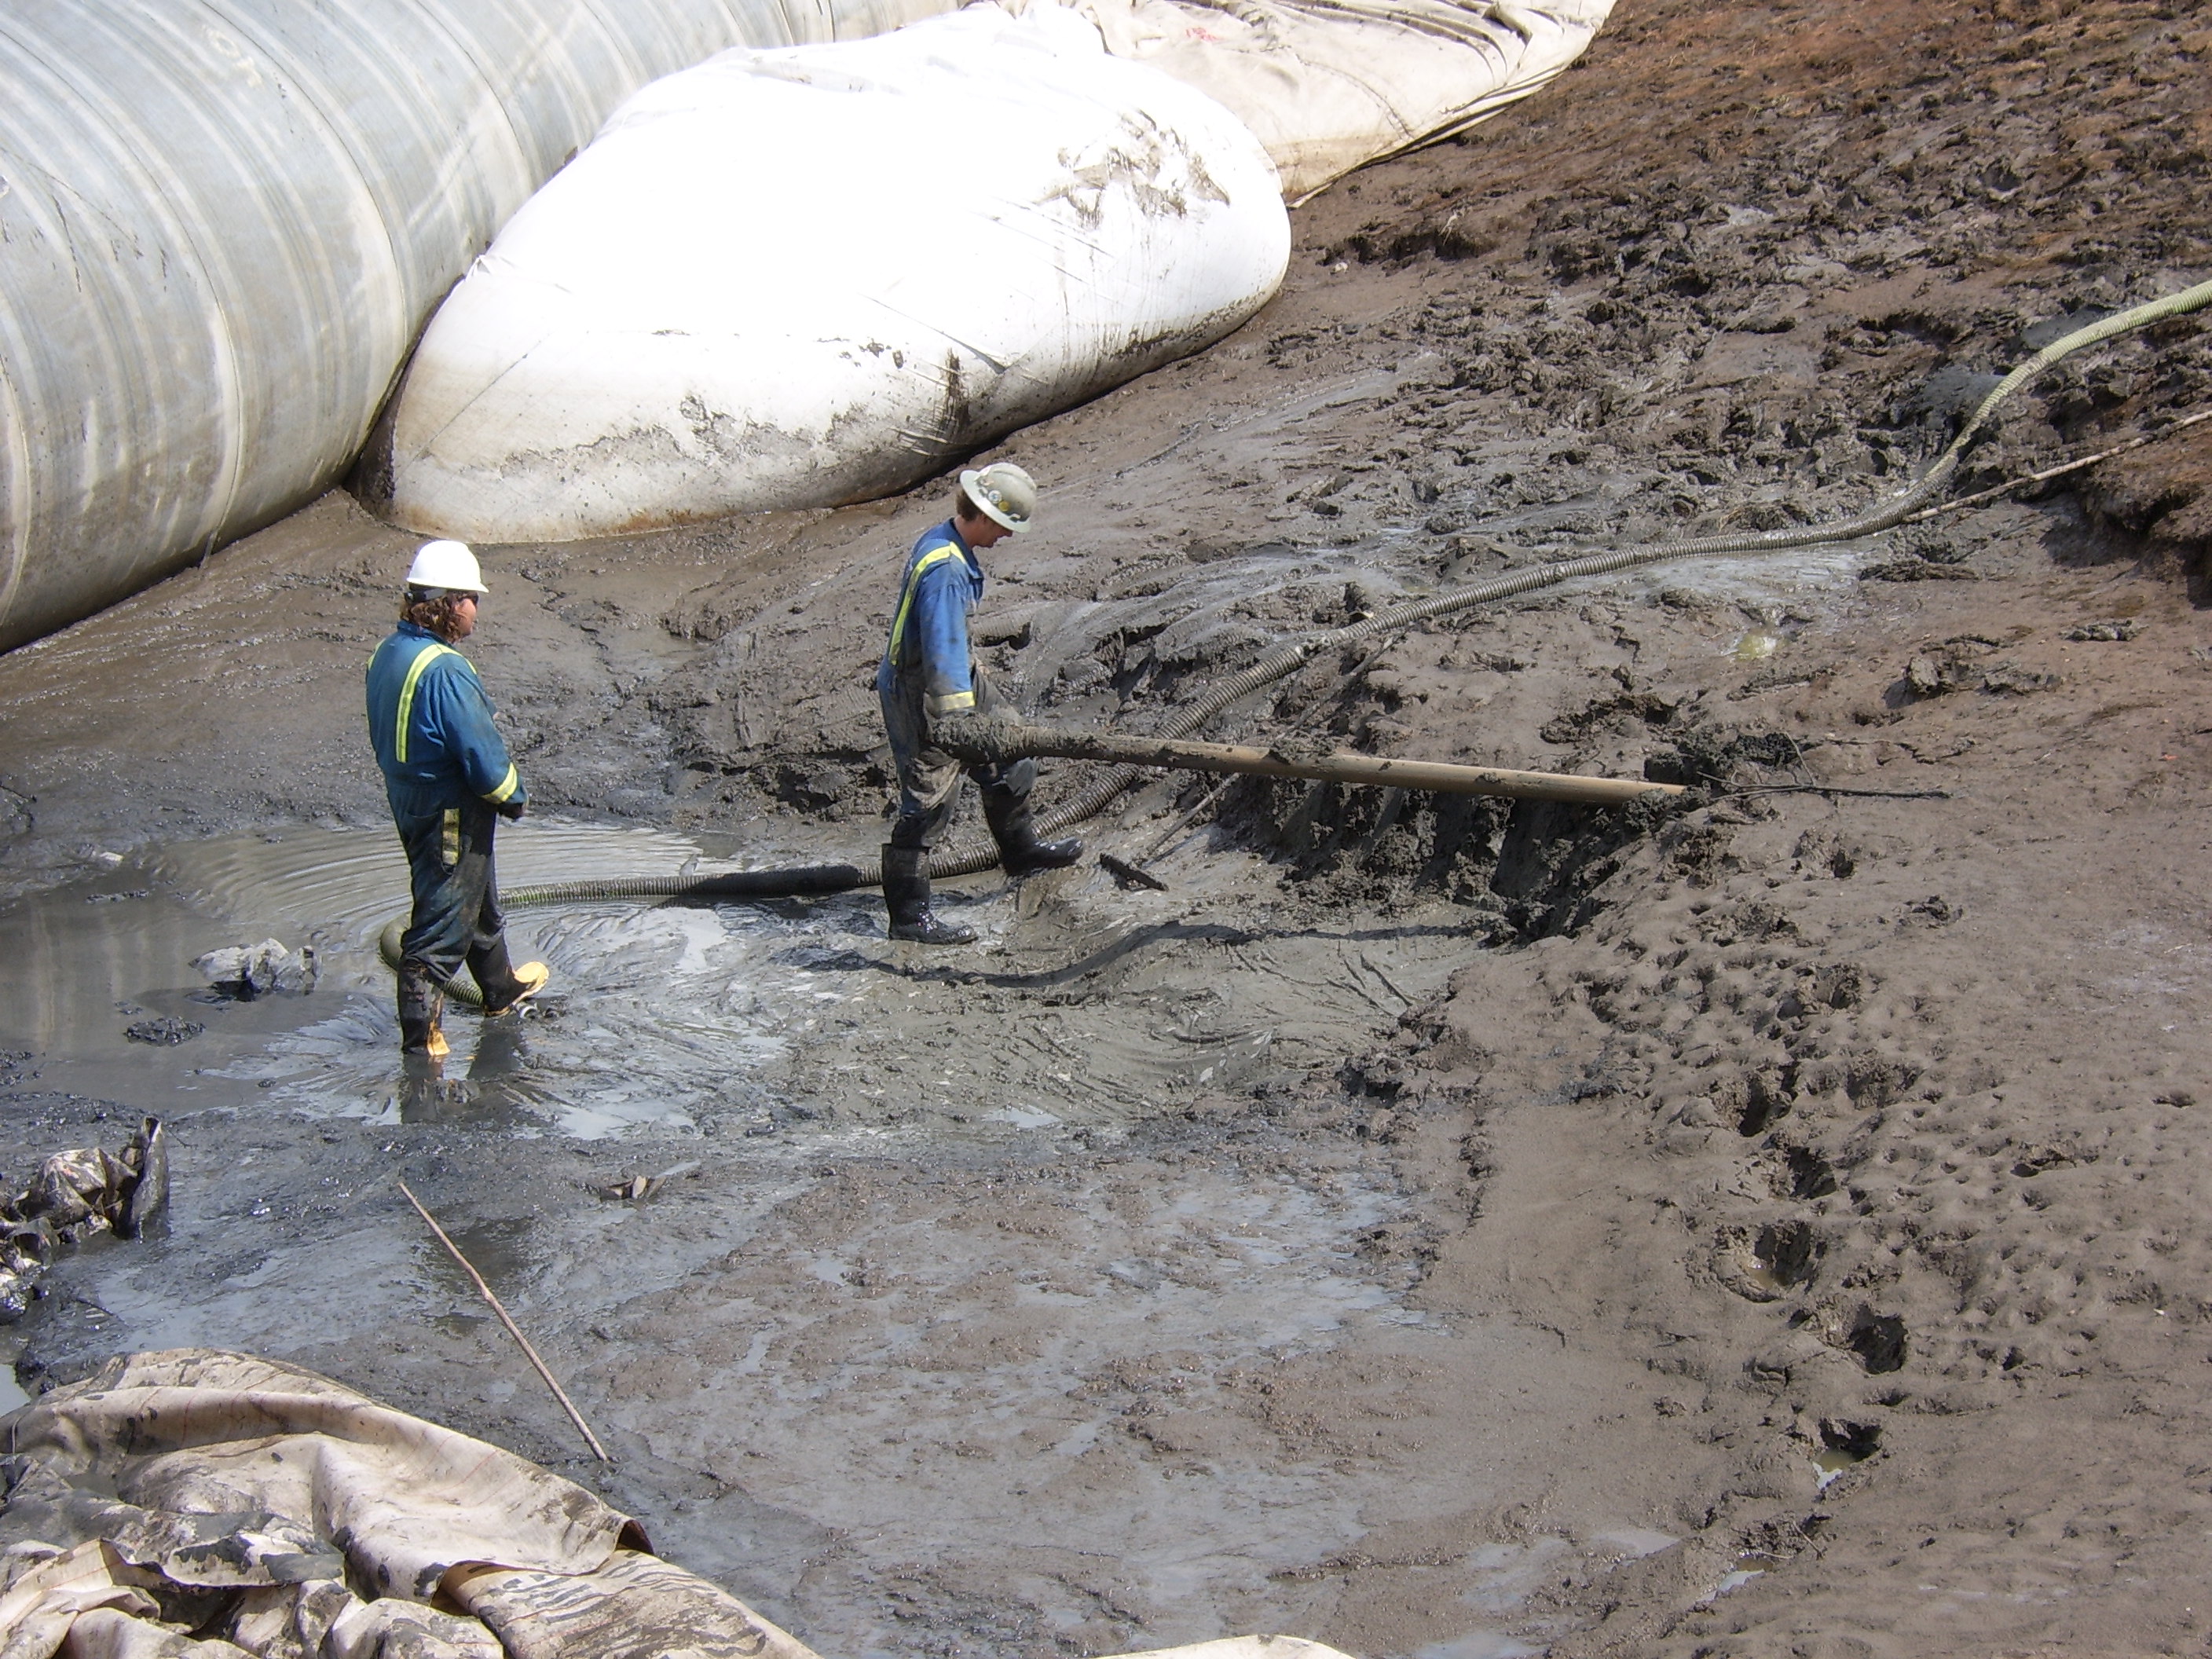
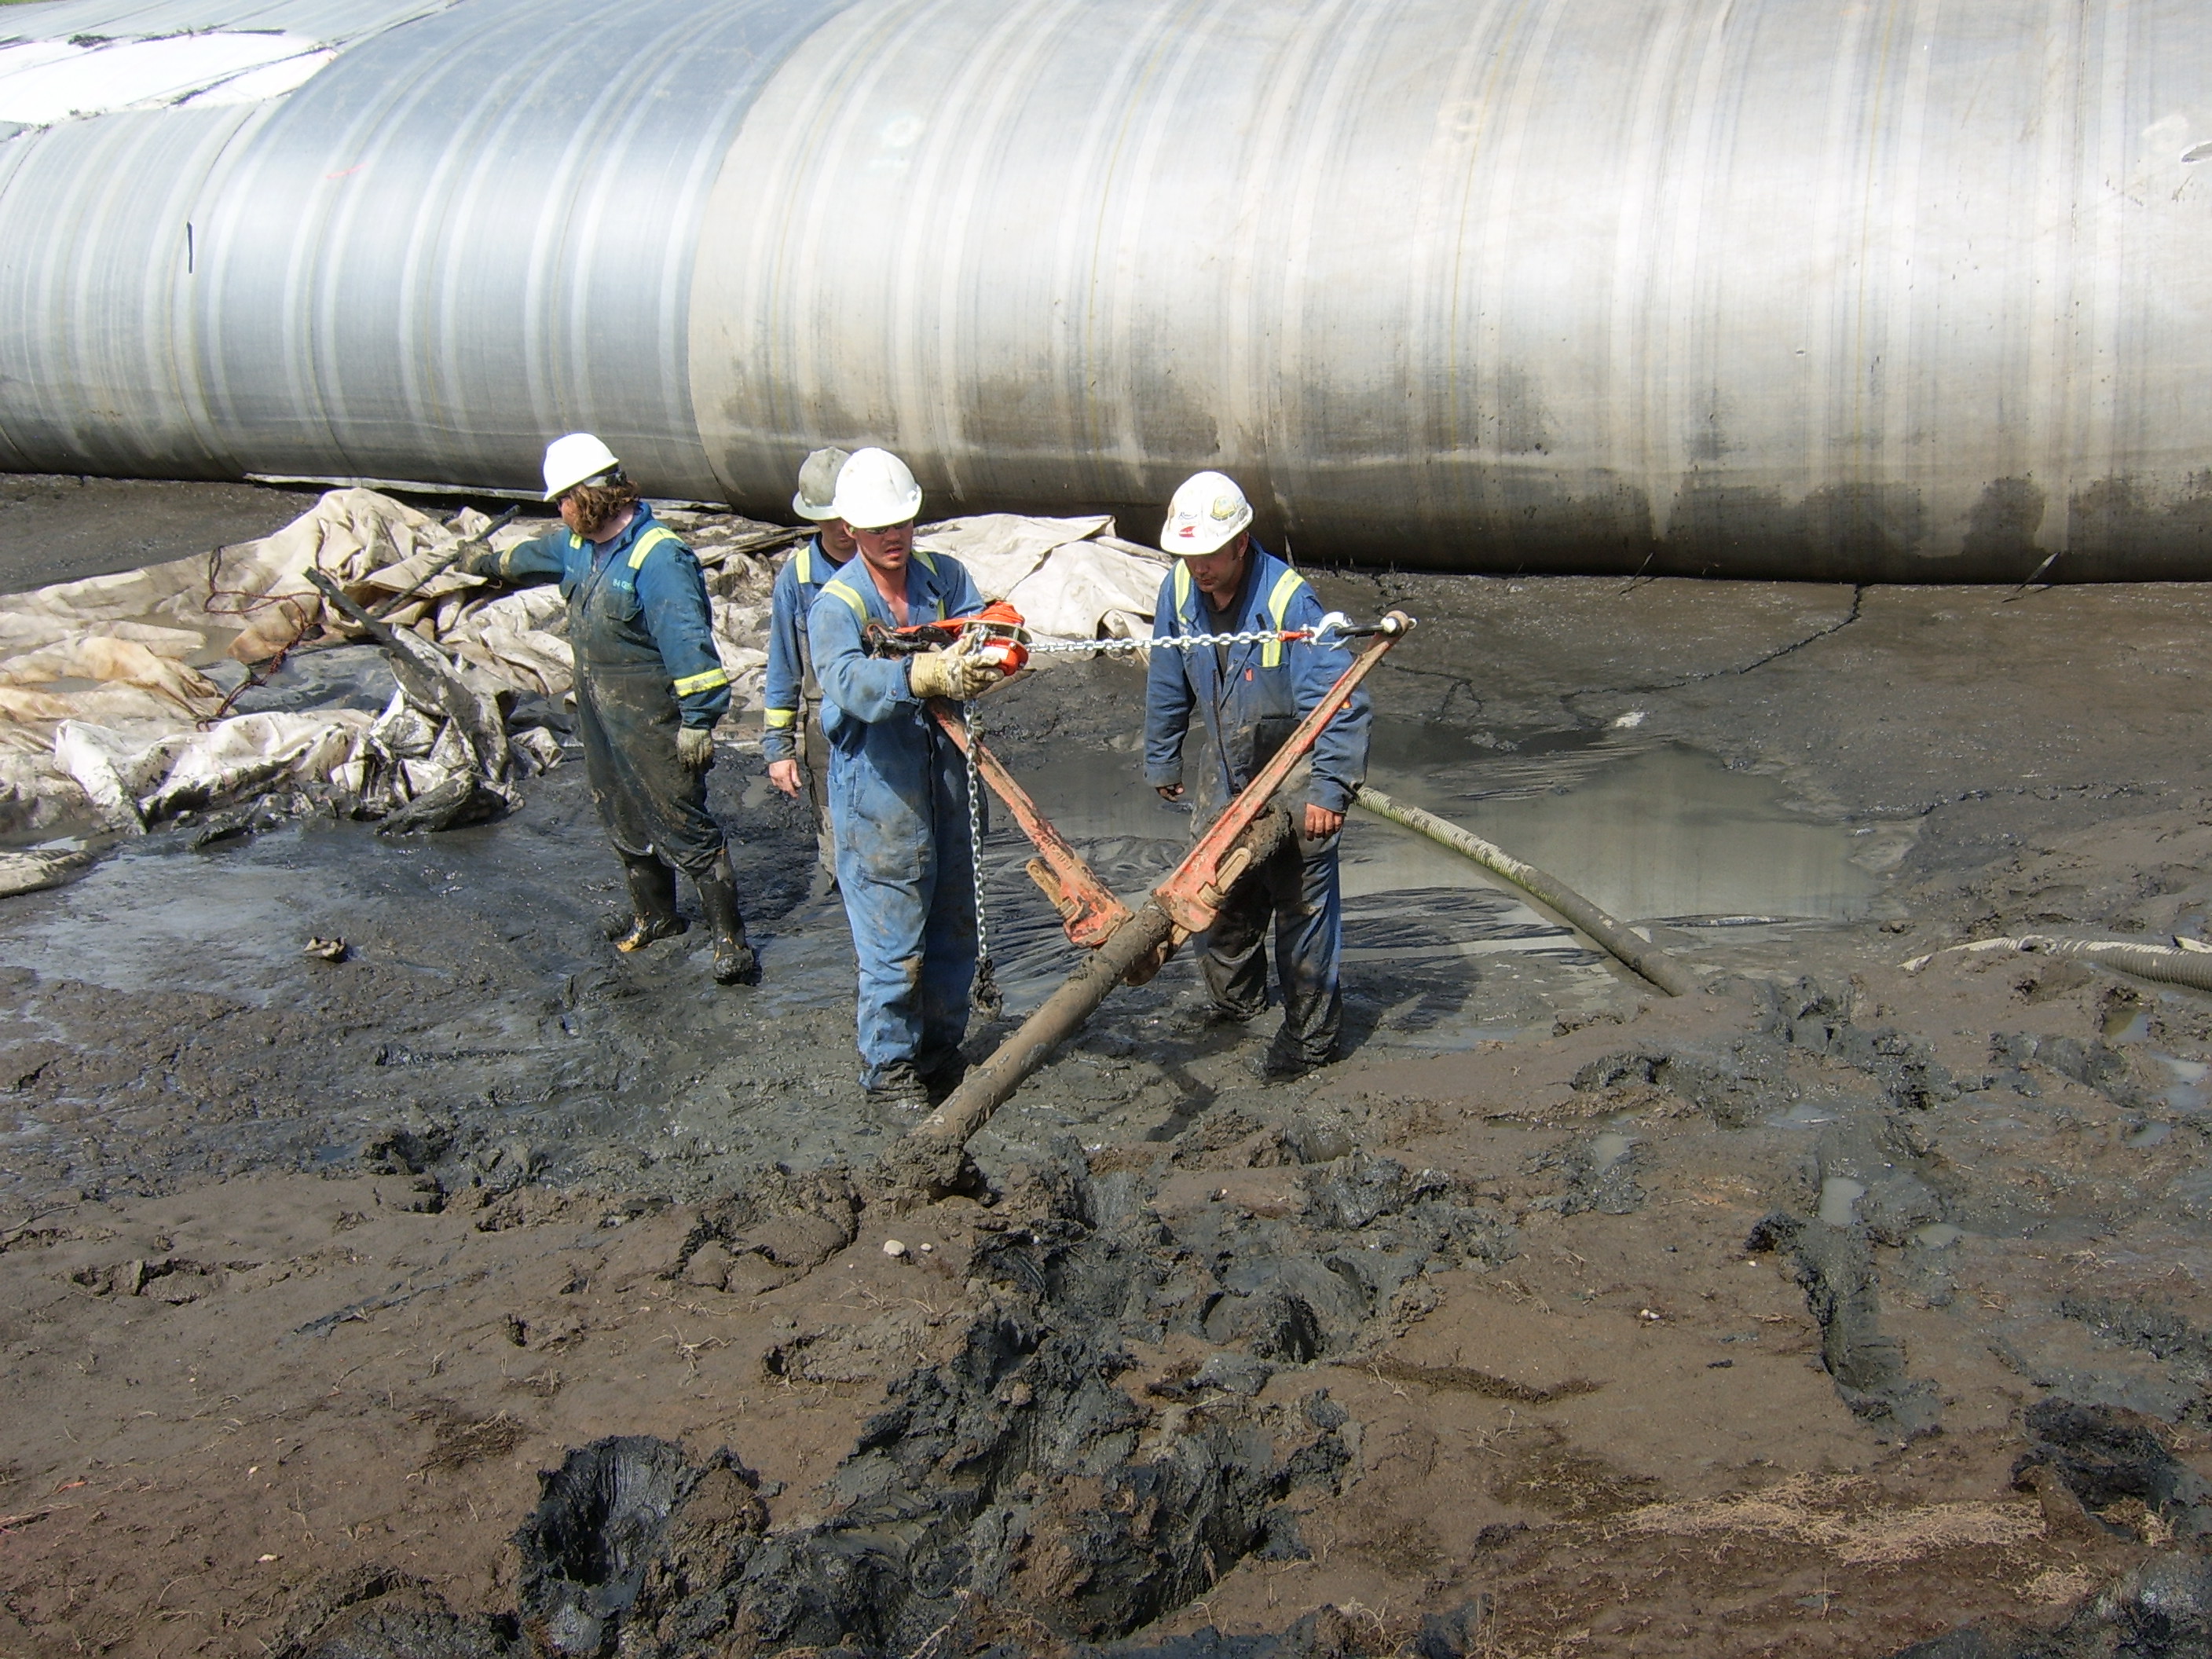
29.) Workers continue to pull on the rope attached to the wooden beam to pull that end around.
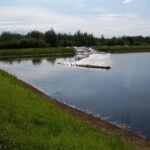
39.) Workers on the bank opposite the AquaDam. There is at least 3ft of head on the AquaDam, above the pond water.
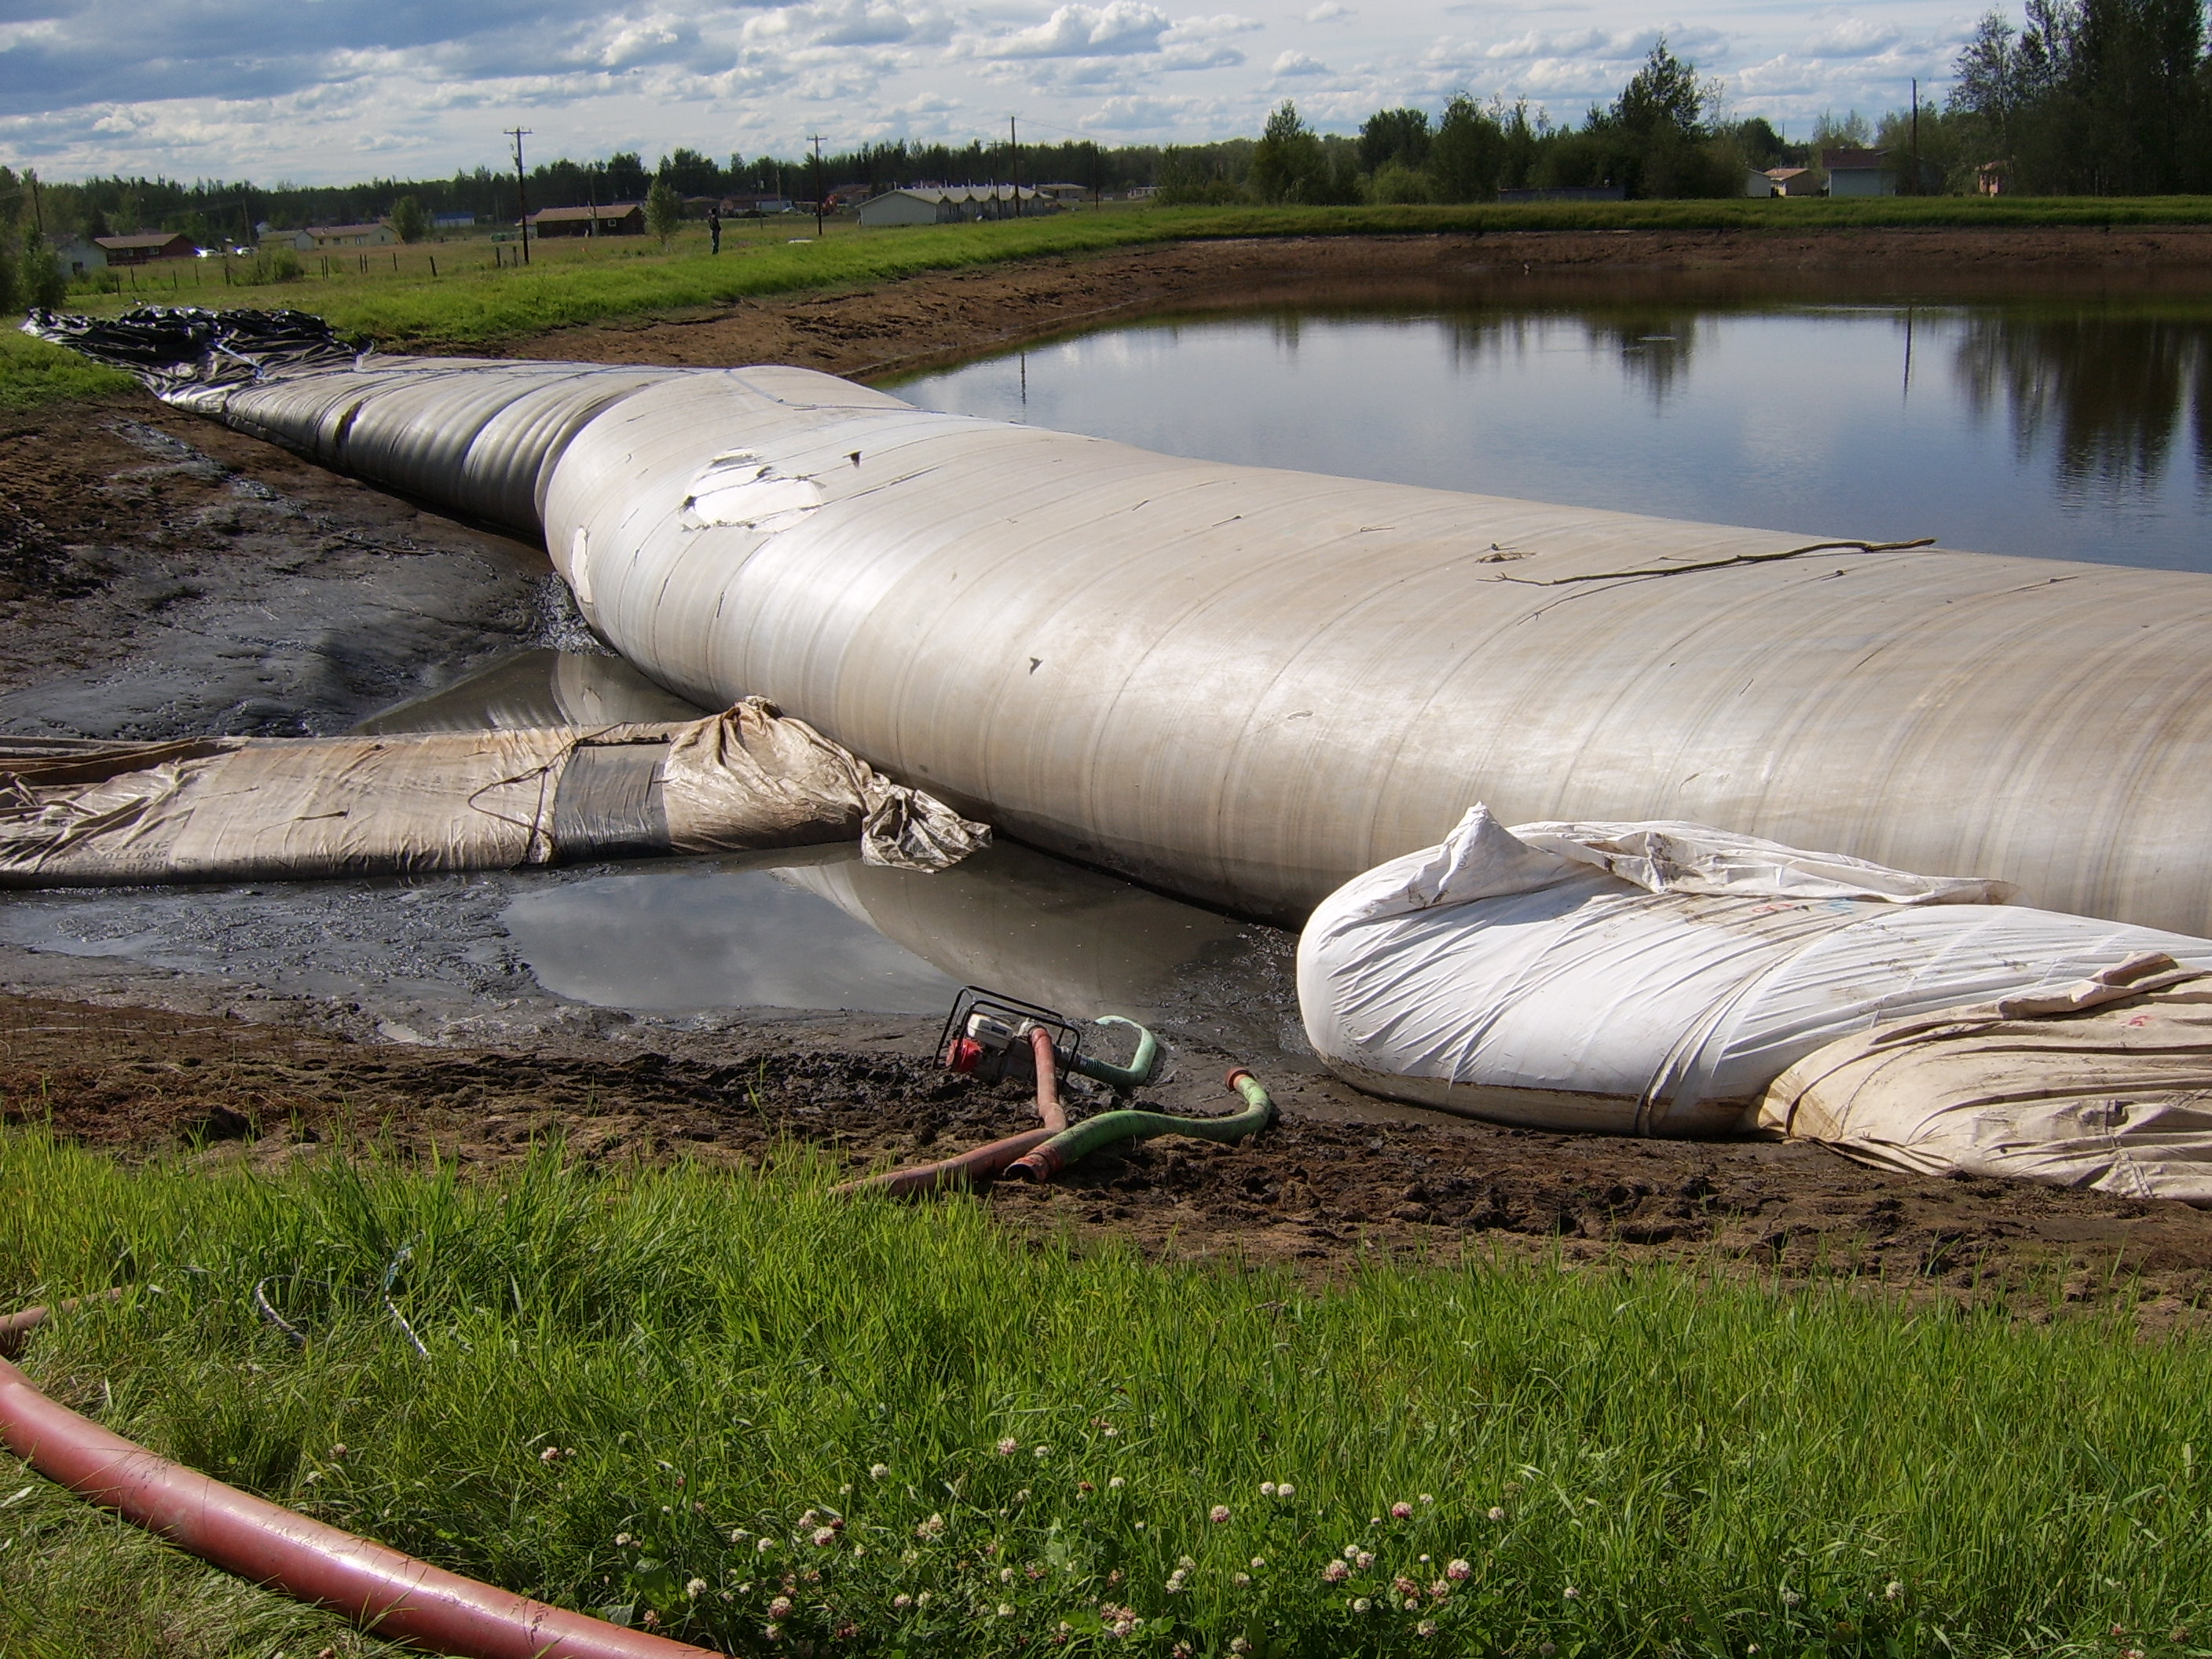
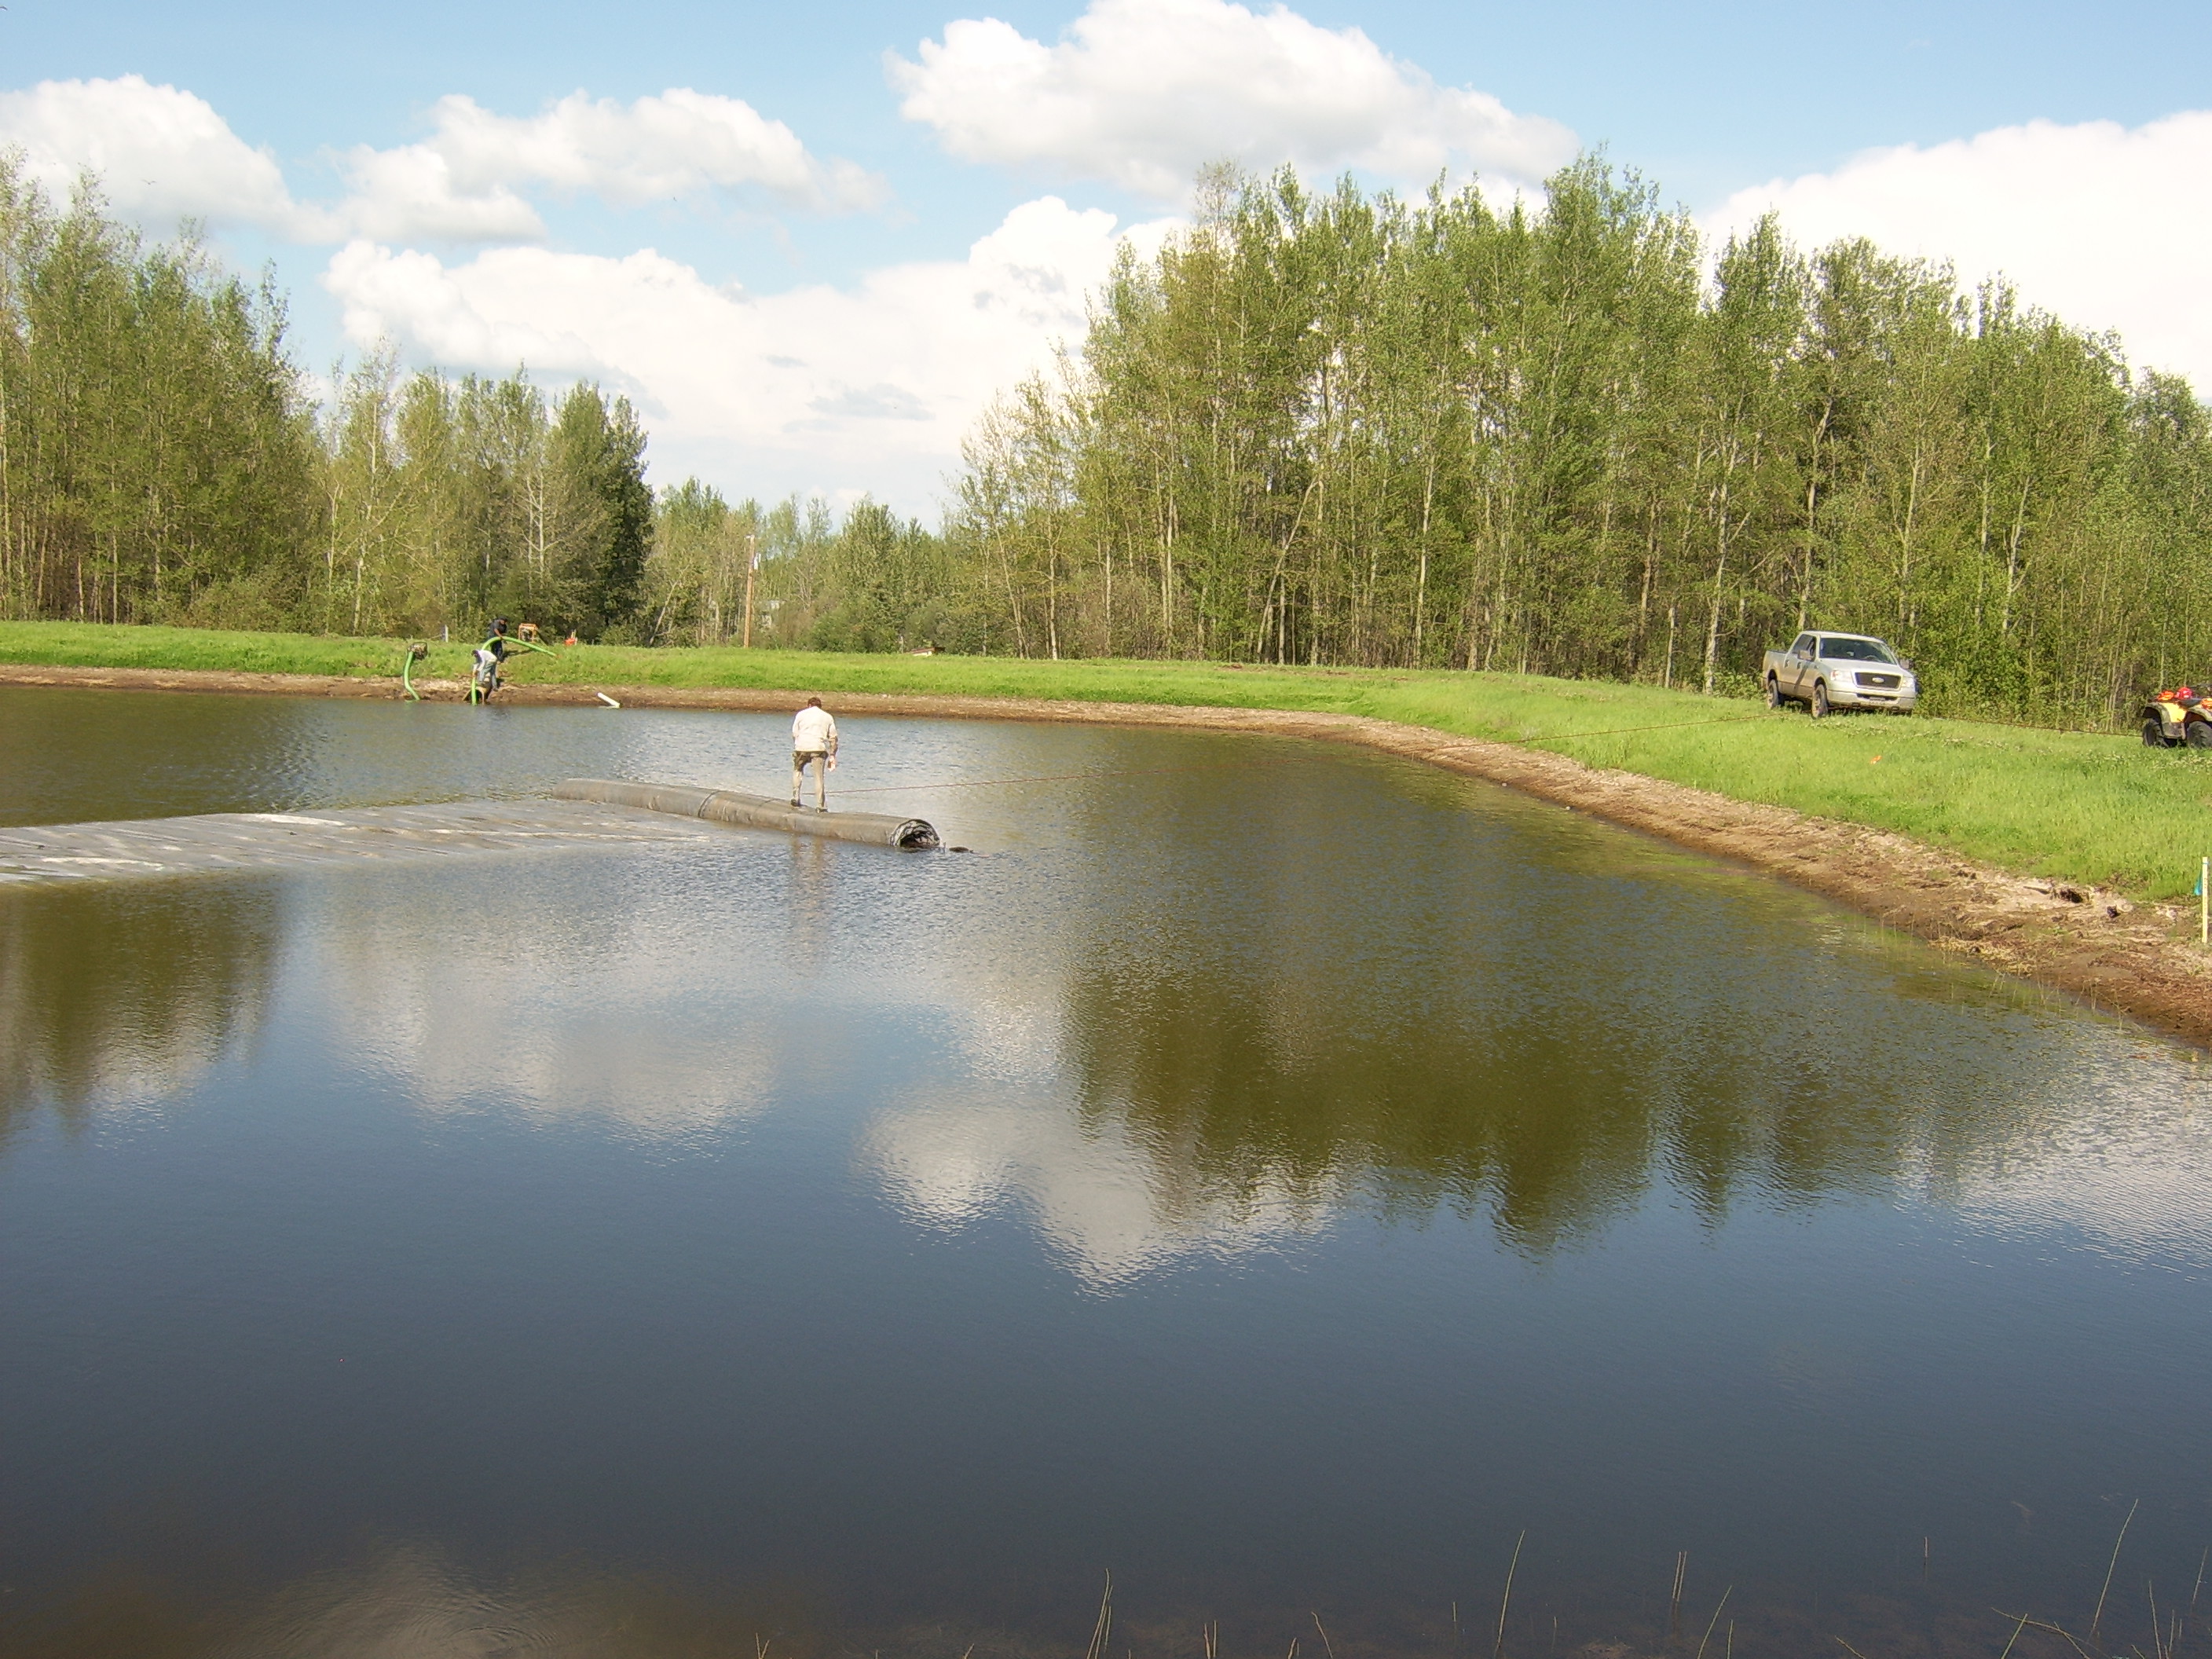
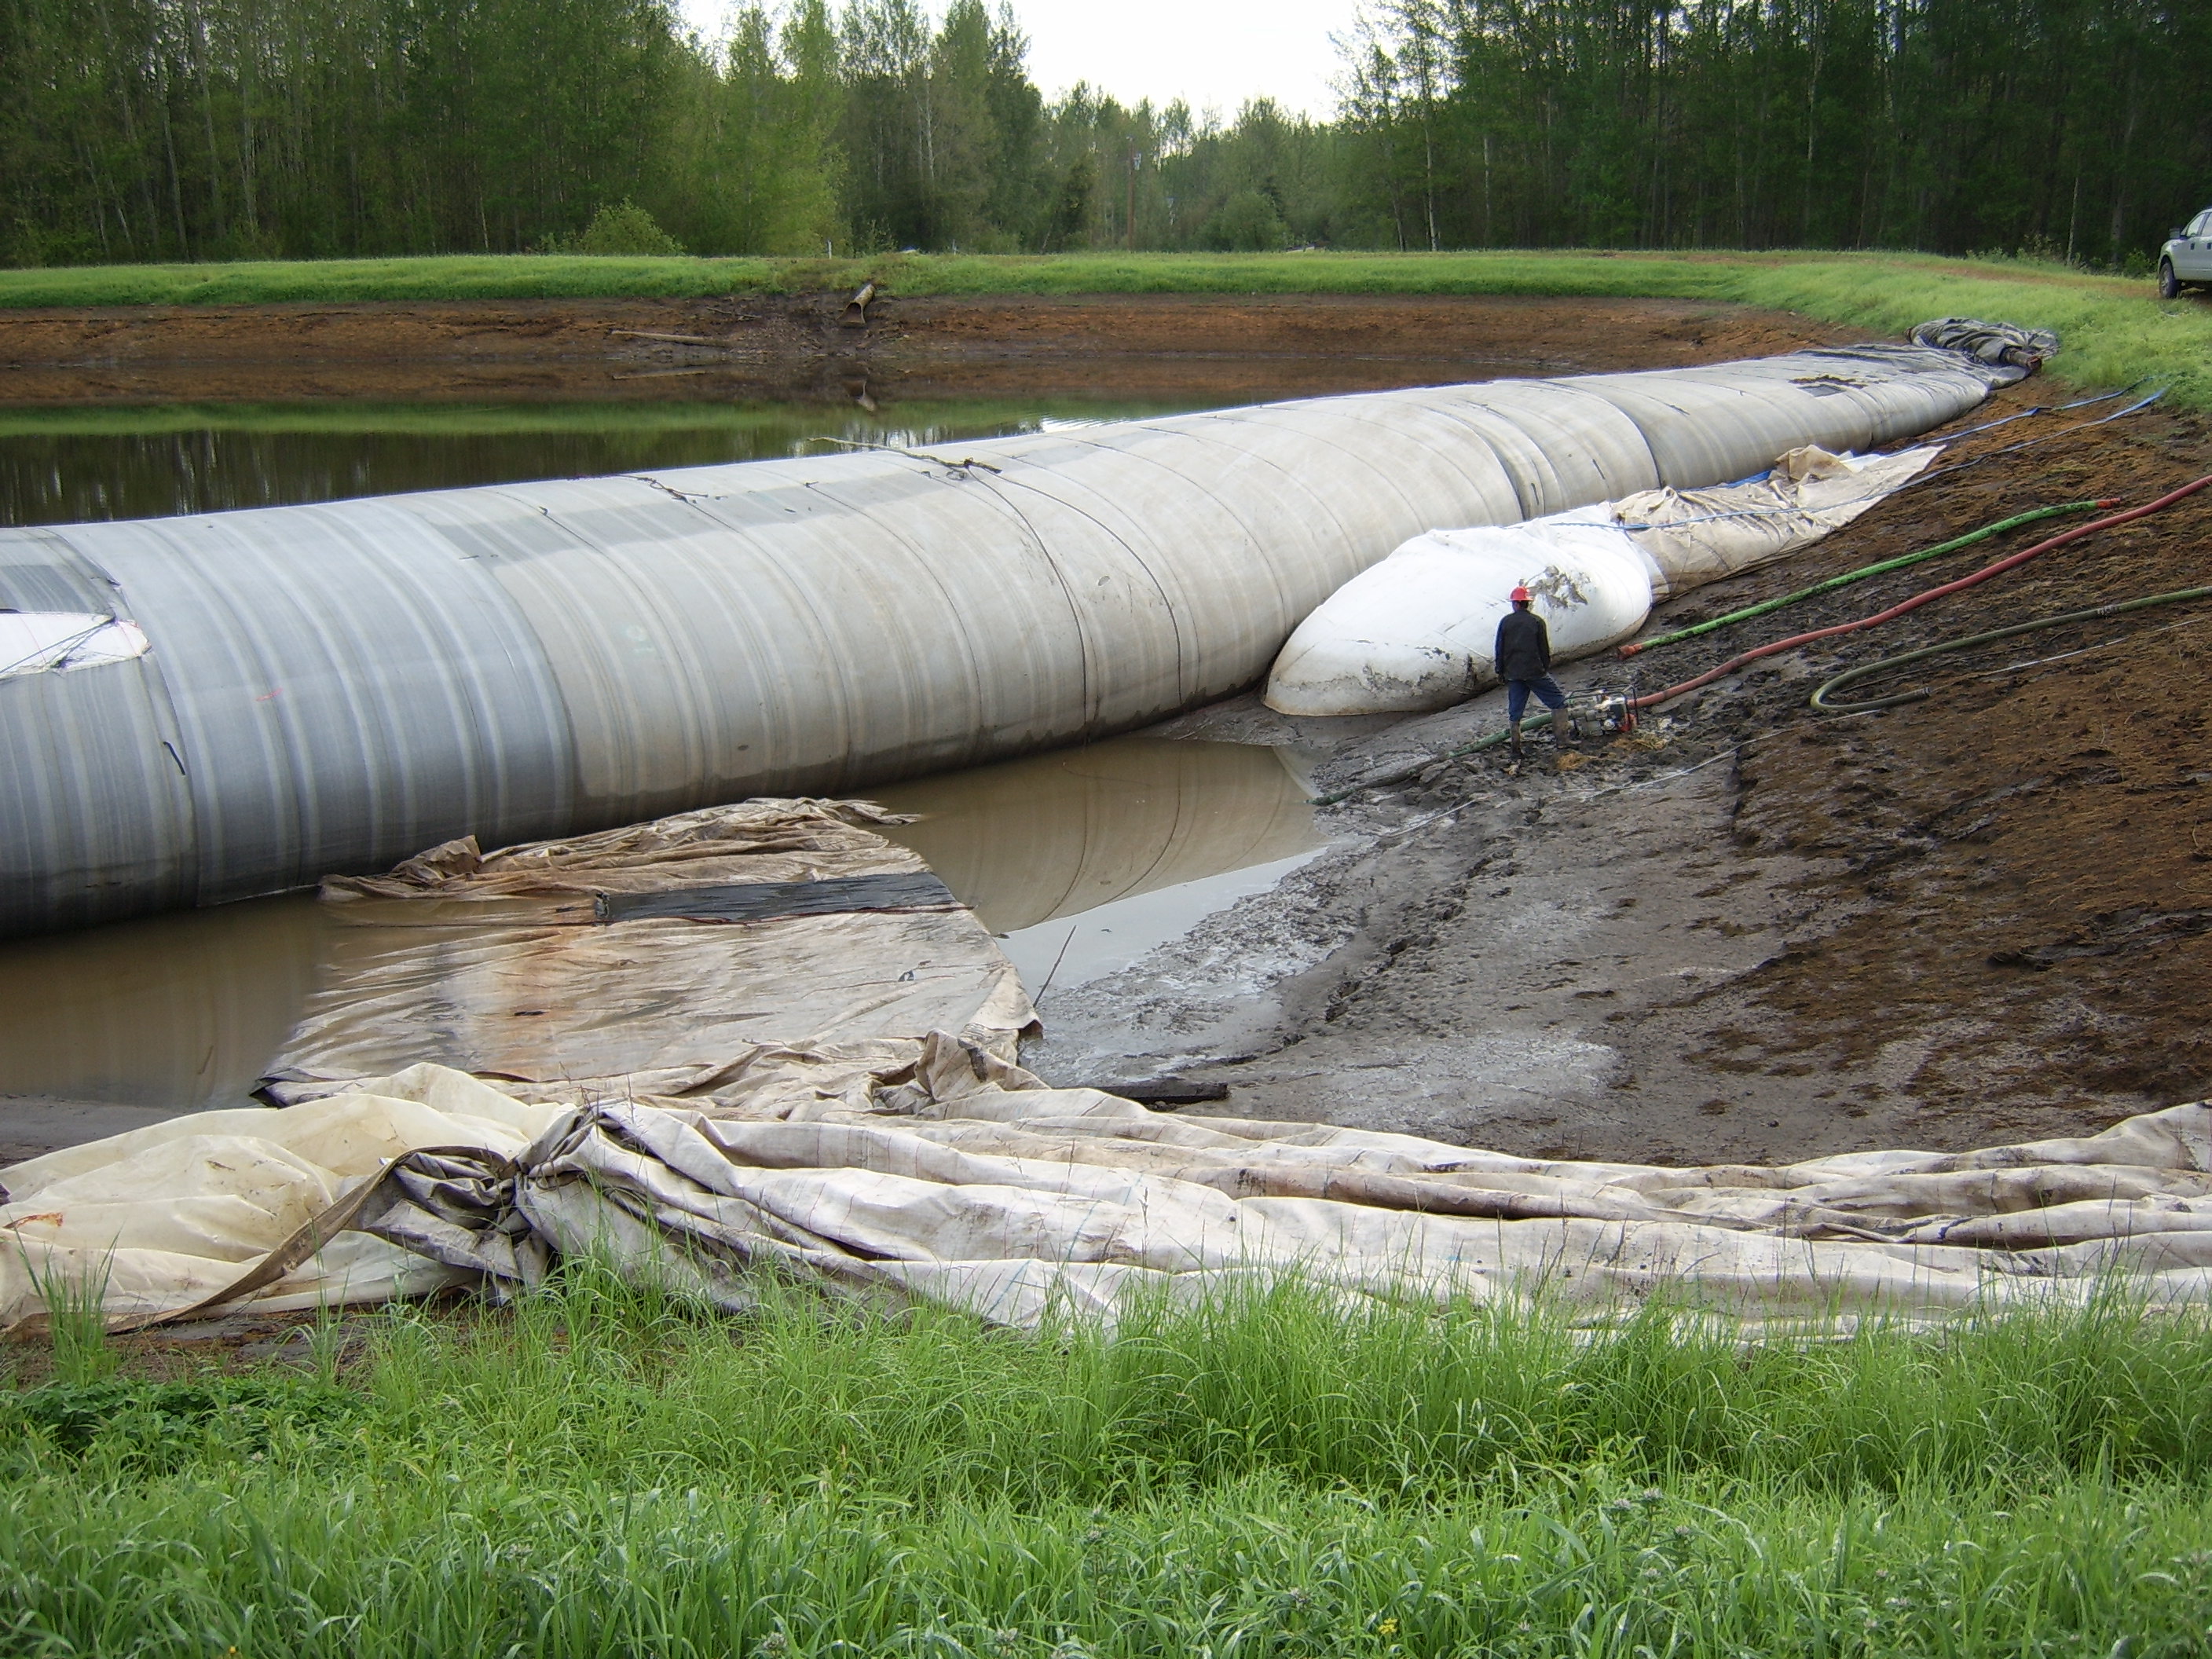
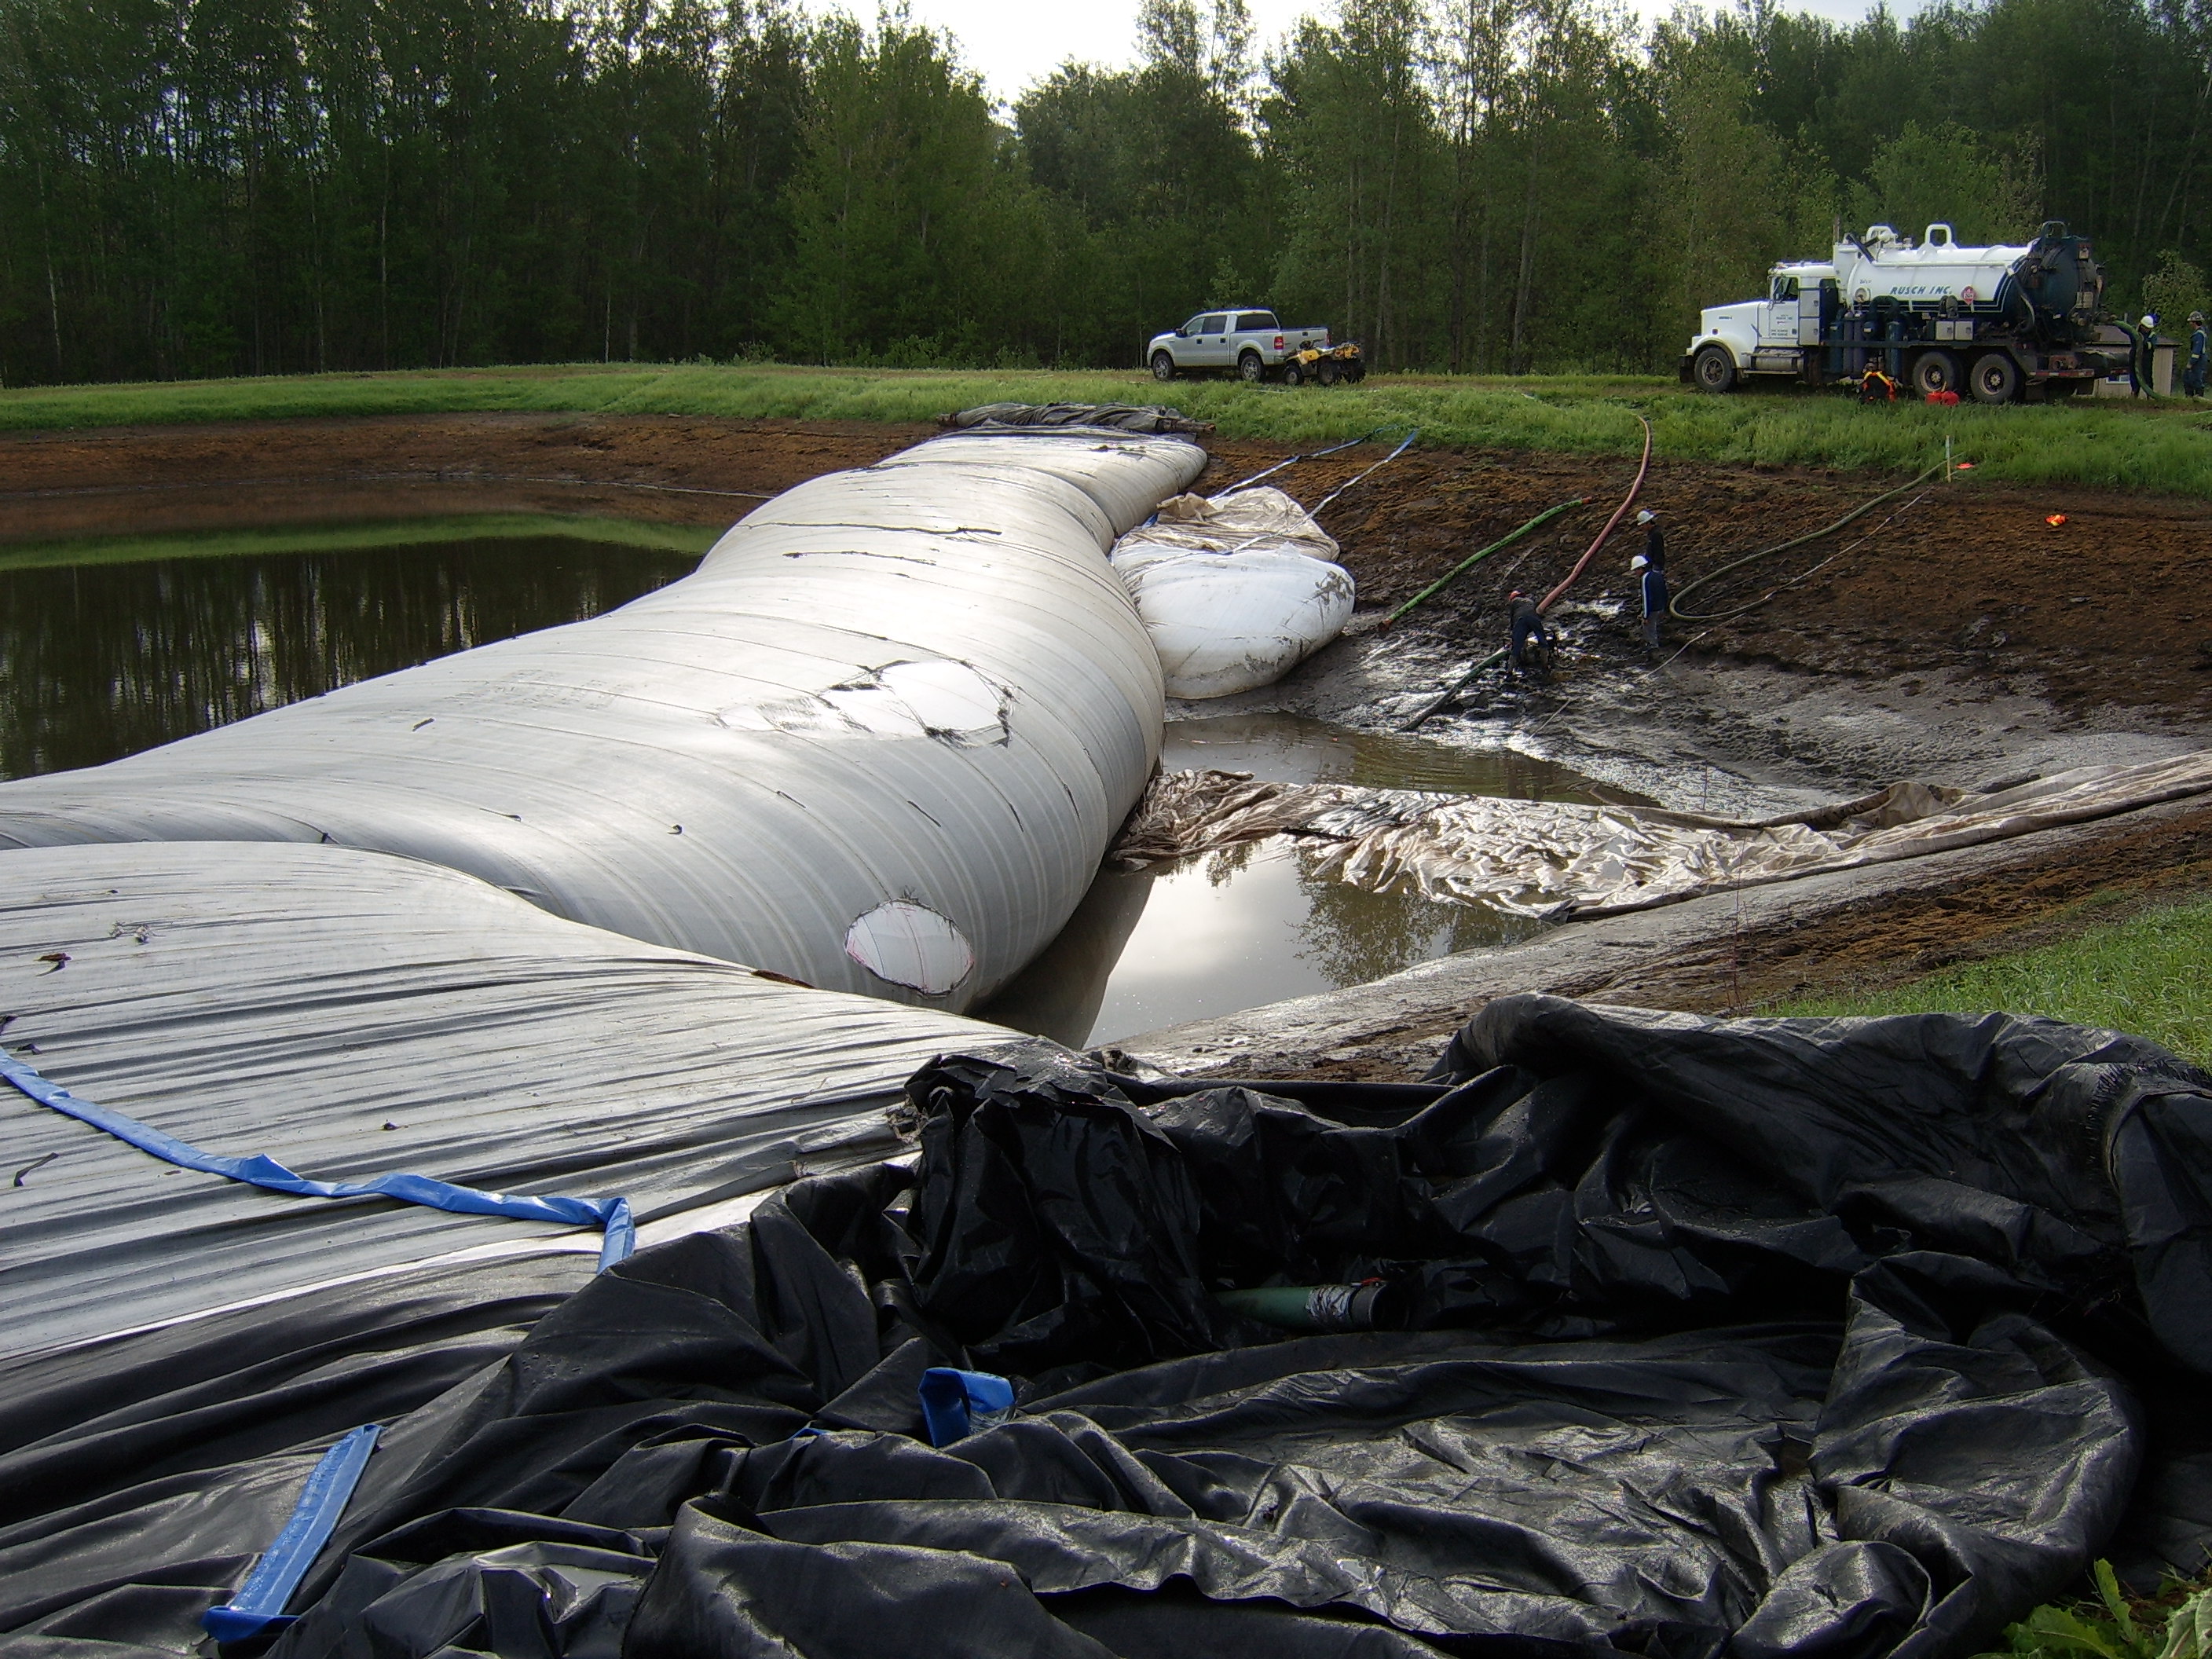
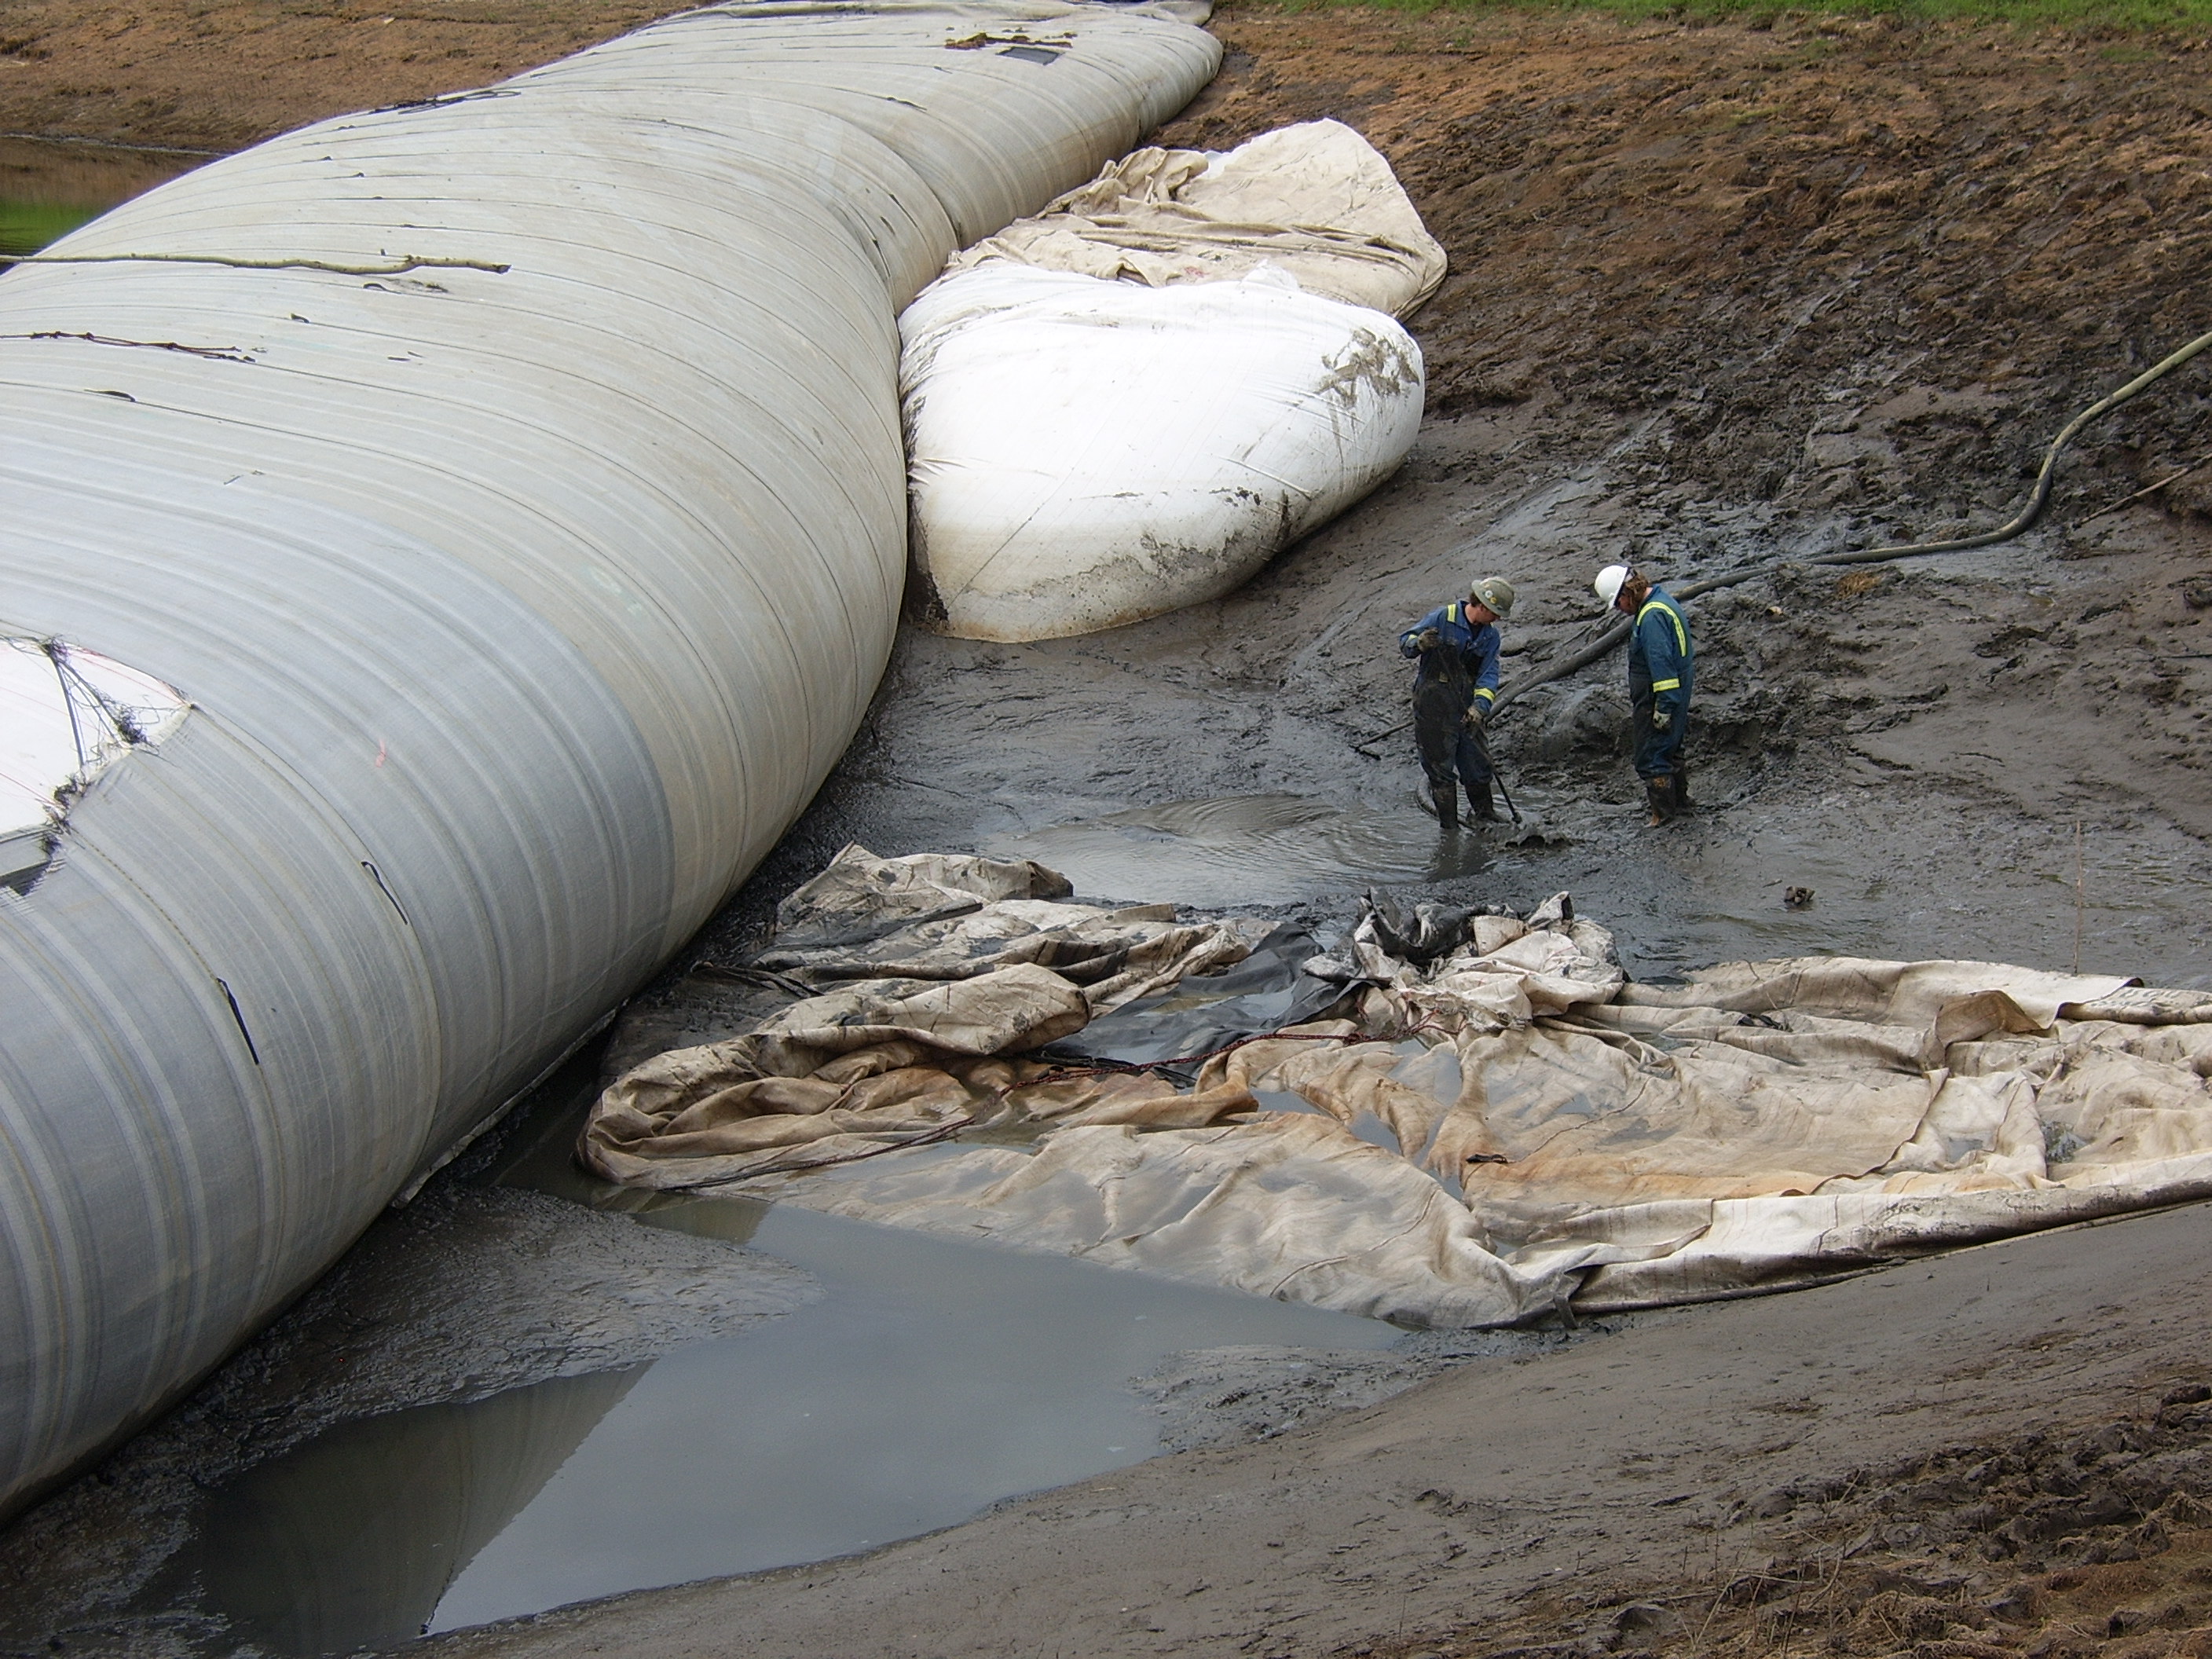
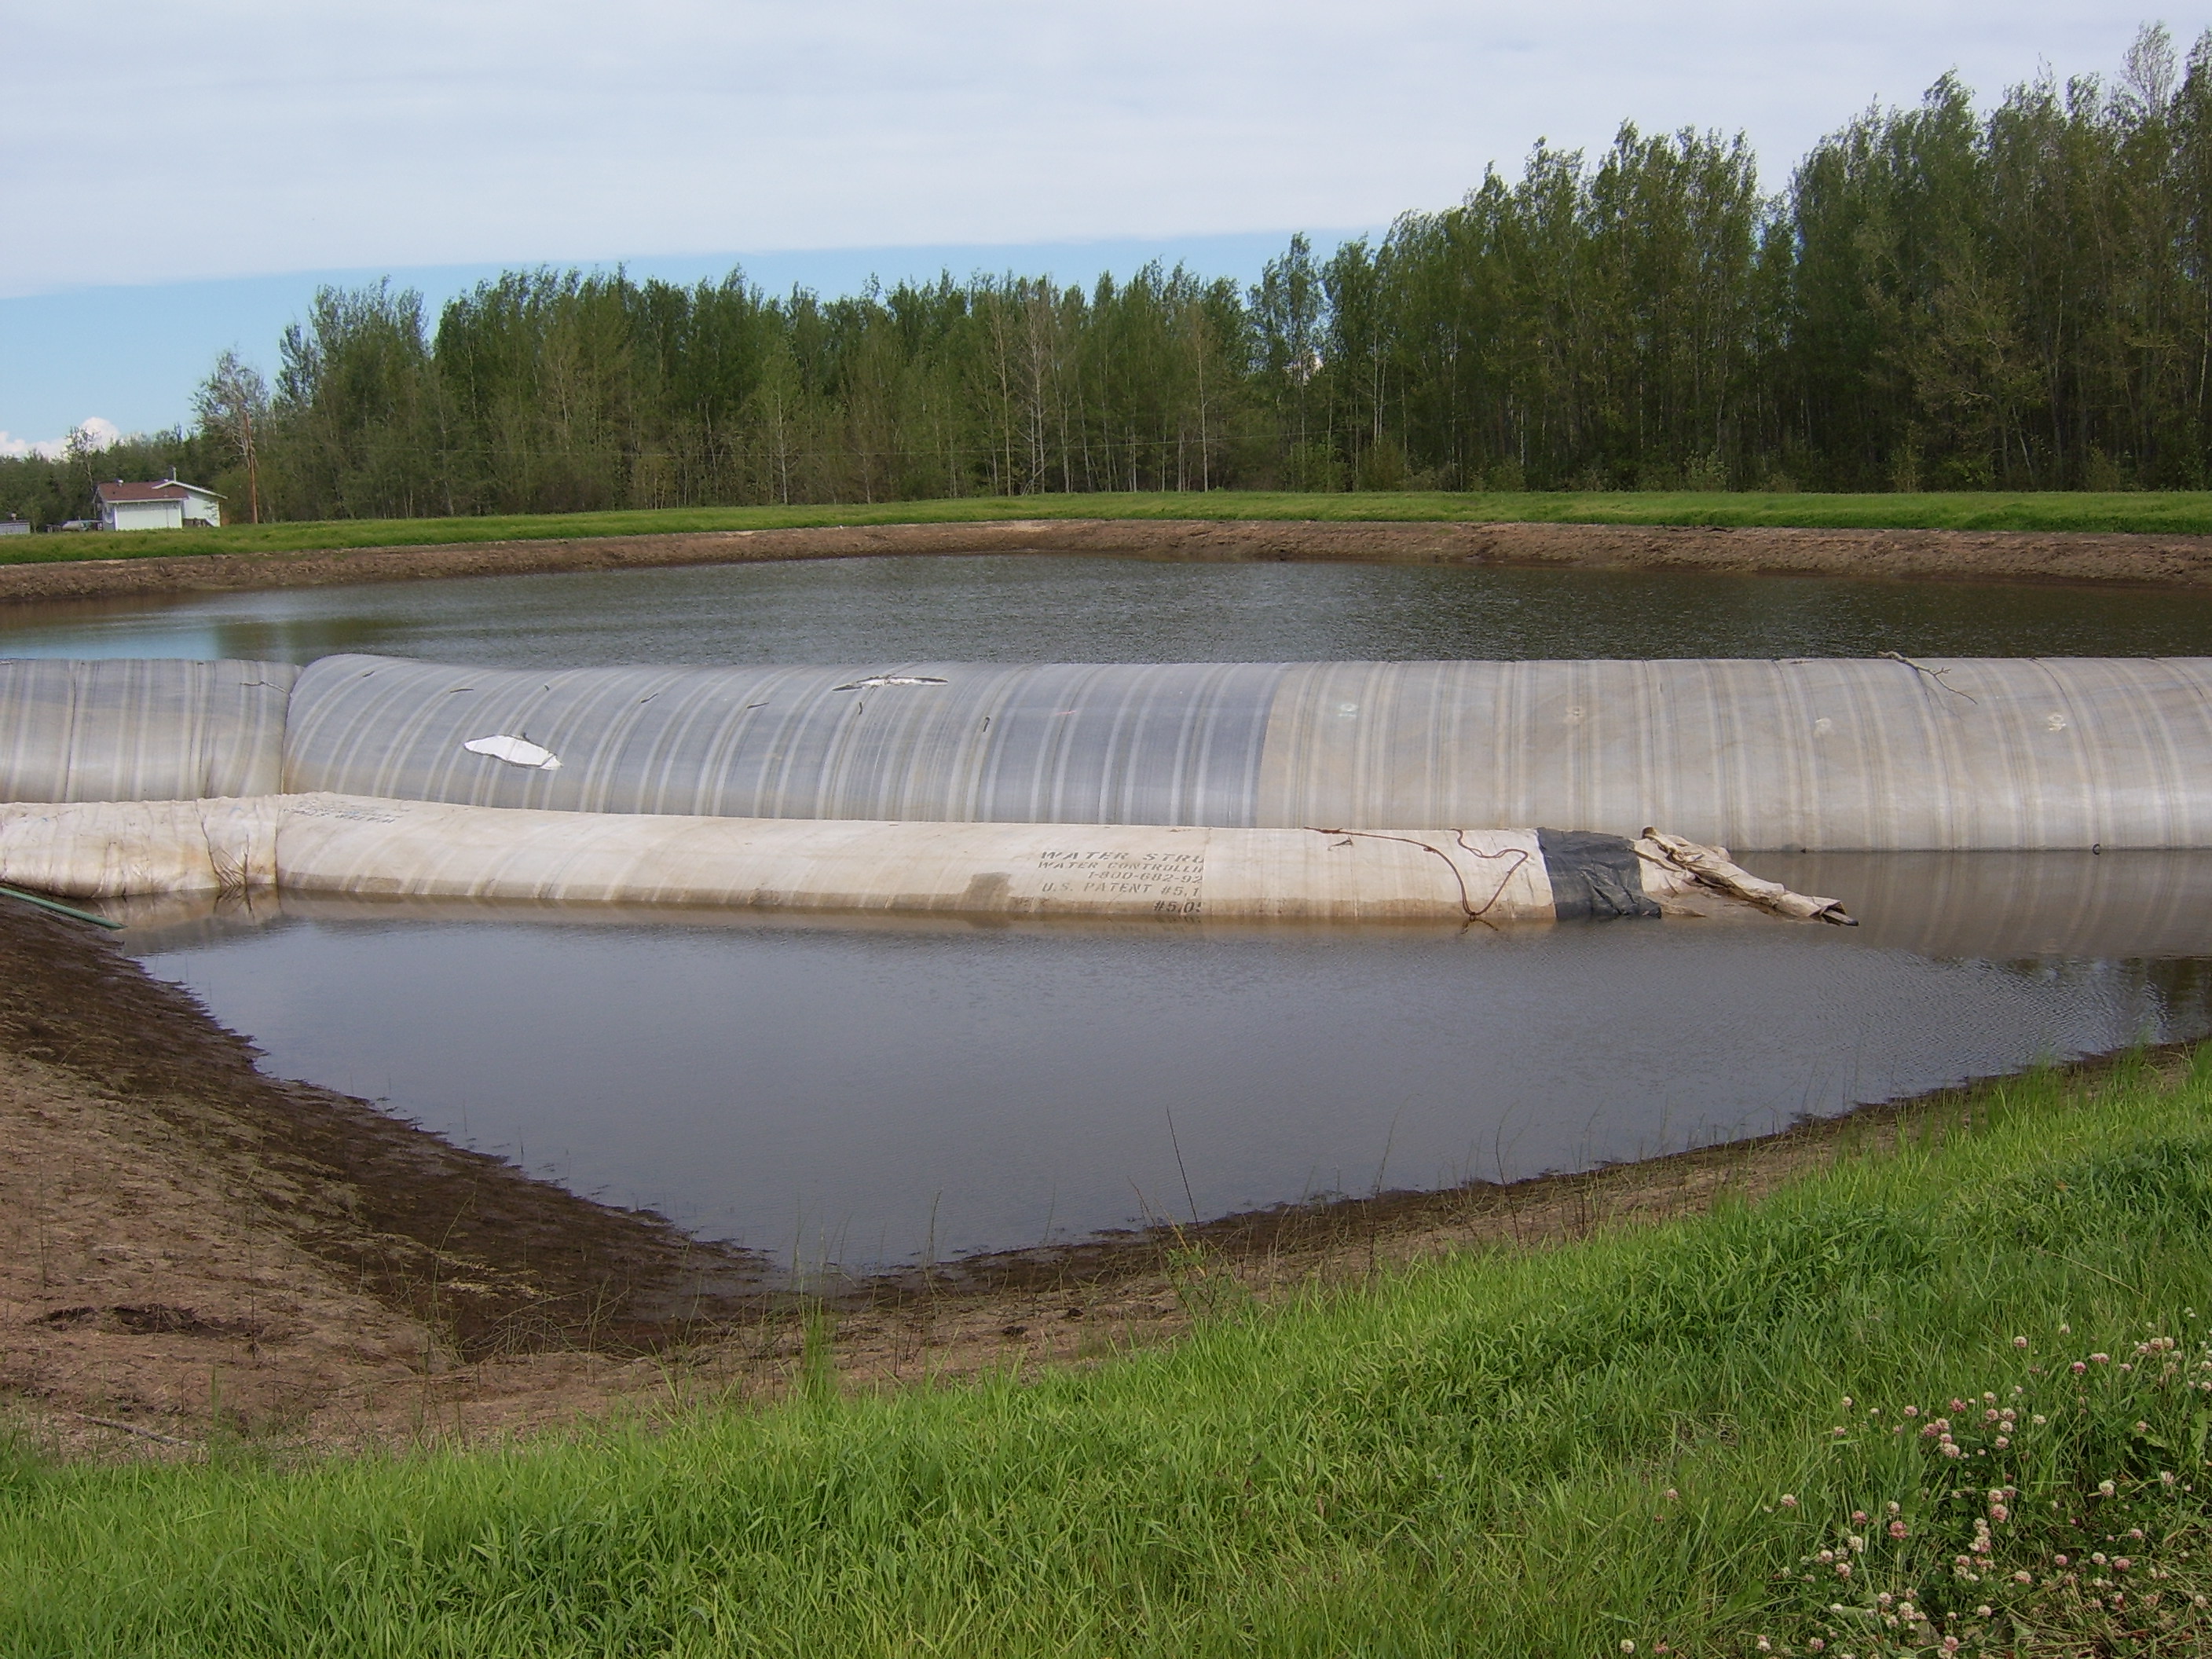
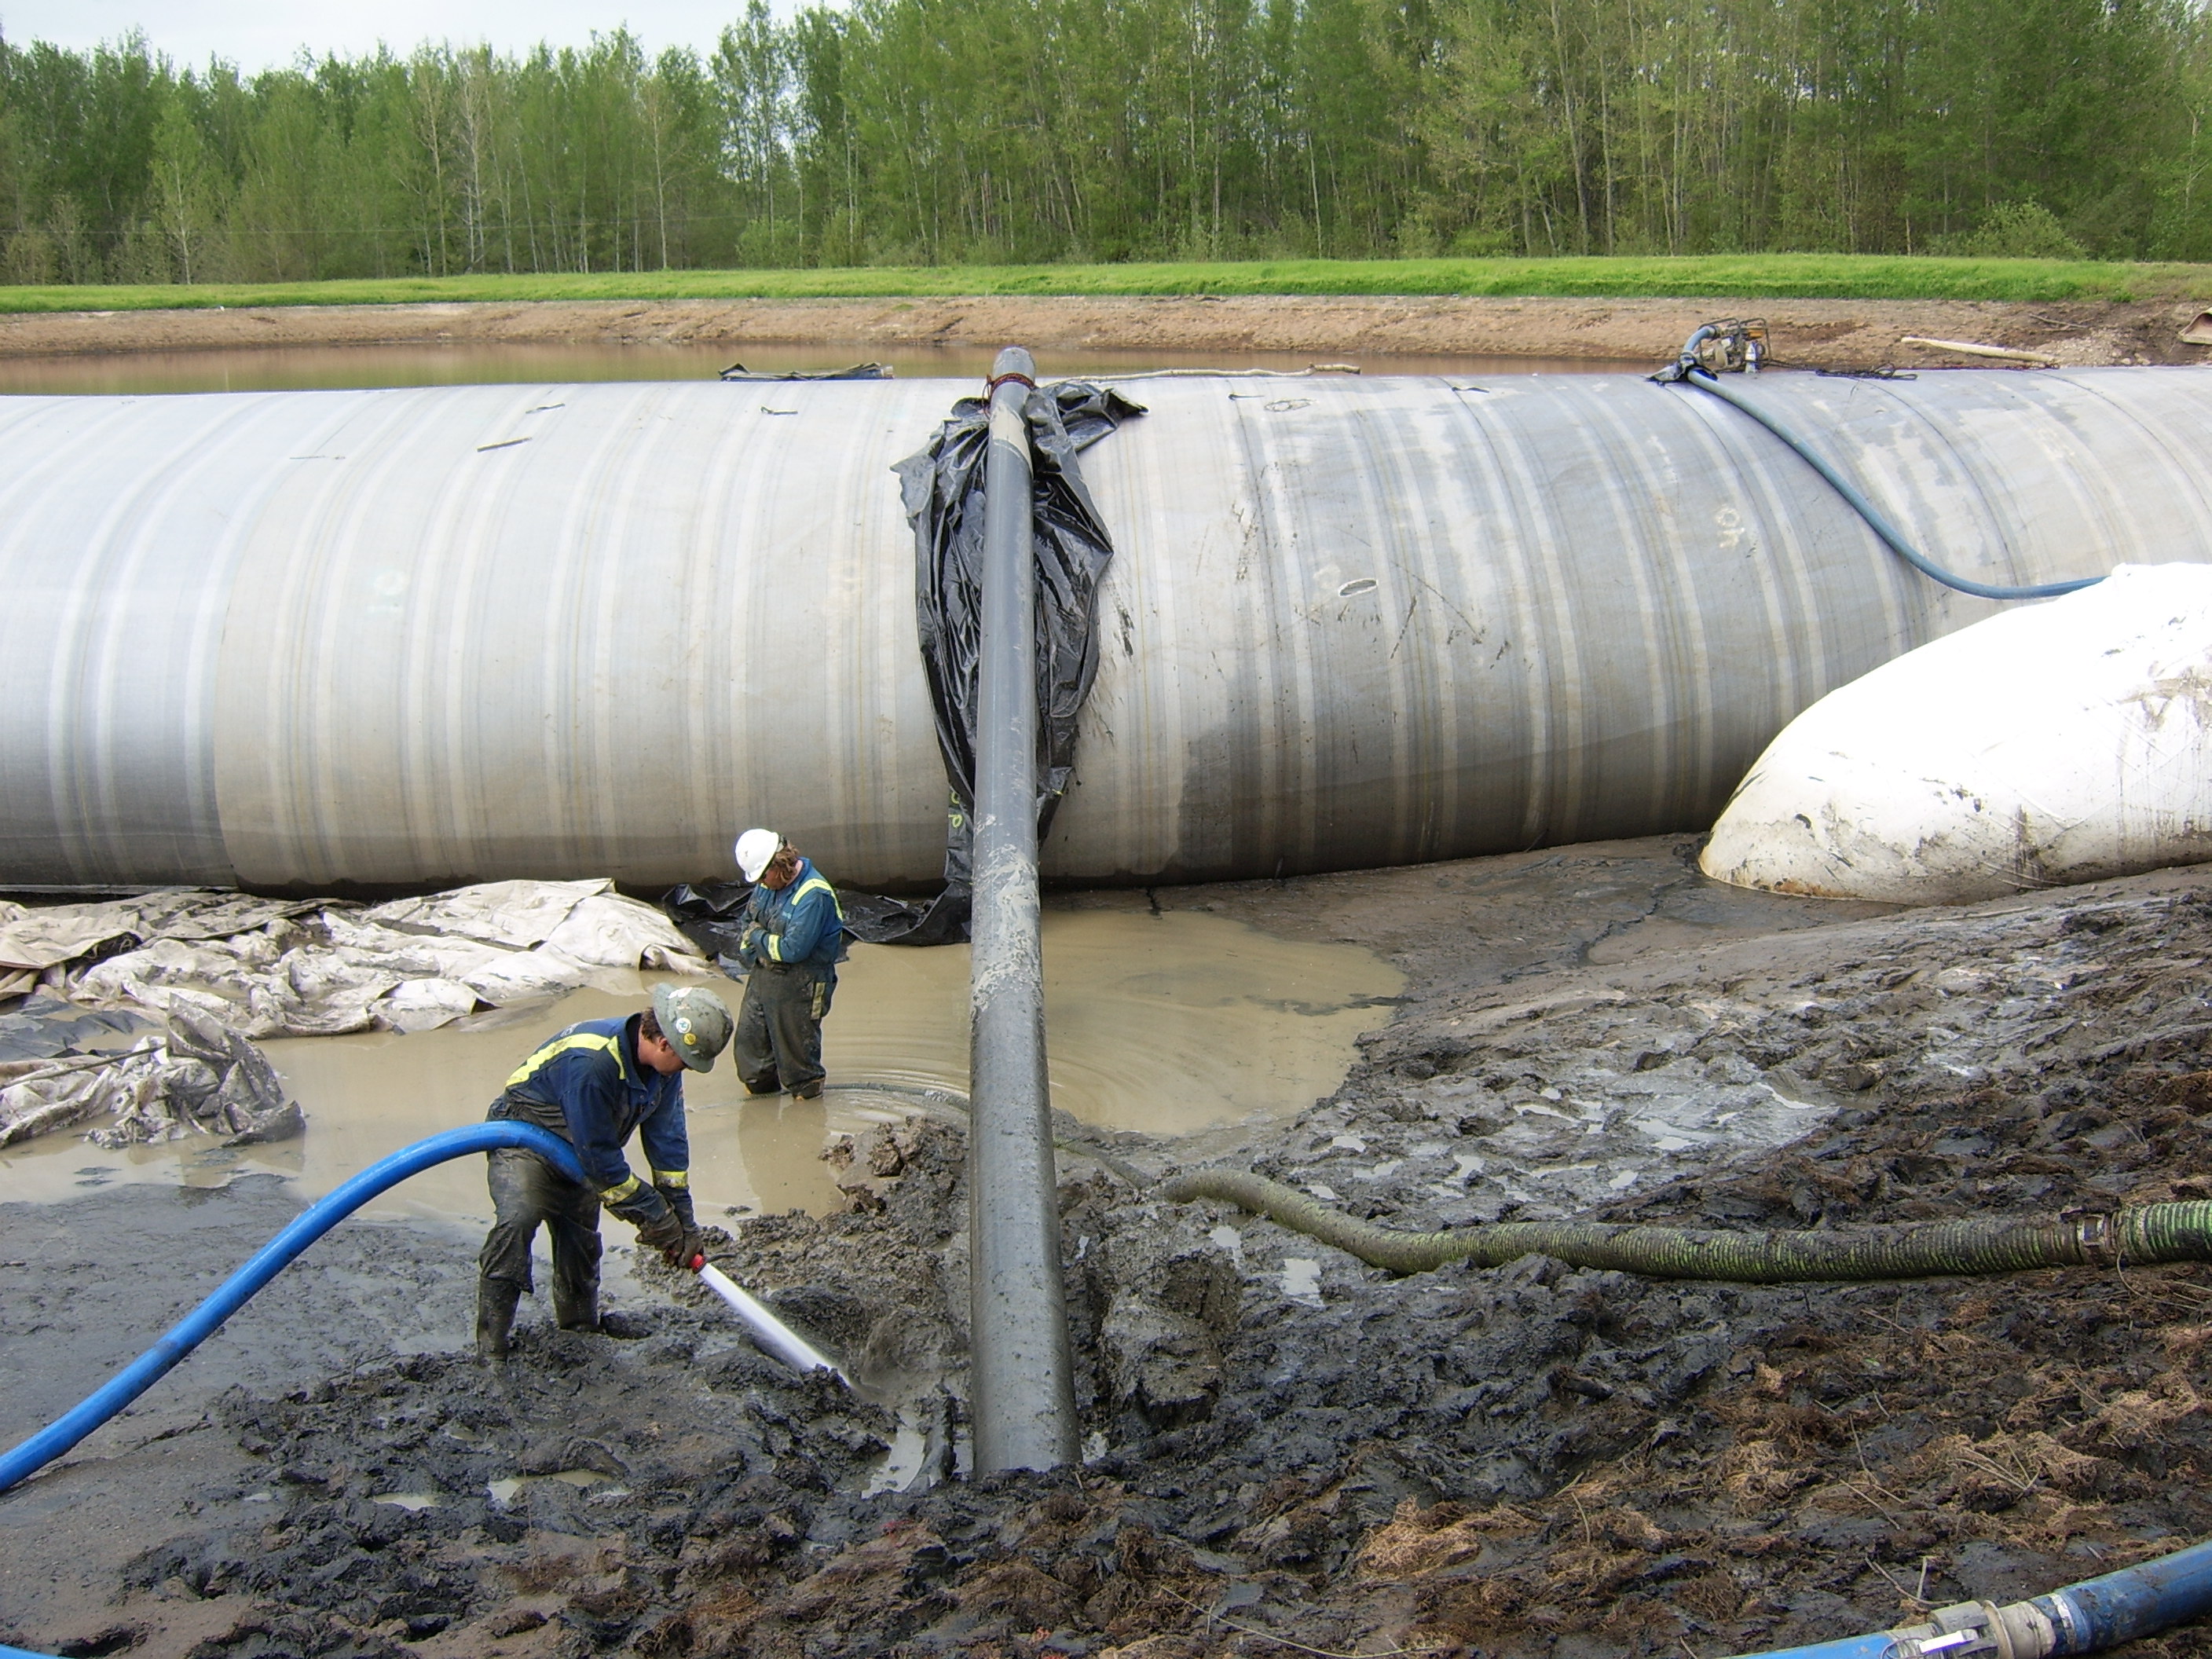
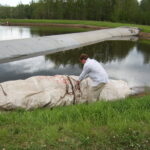
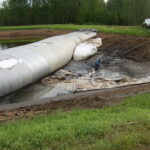
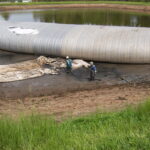
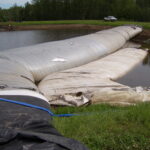
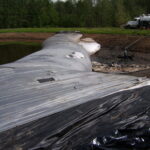
65.) The first 8ft tall AquaDam had a leak in it, so it couldn’t be filled properly. The second 8ft tall AquaDam has been partially installed alongside the 12ft tall AquaDam.
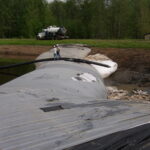
30.) The AquaDam should meet the shoreline at a perpendicular angle.
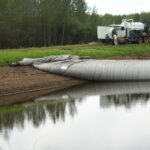
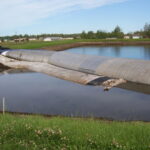
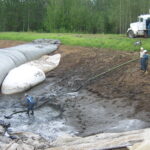
40.) Now, two 8ft tall AquaDams will be installed behind the 12ft tall AquaDam. These dams are to be used as backup, to help prevent the larger AquaDam from leaning into the work area.
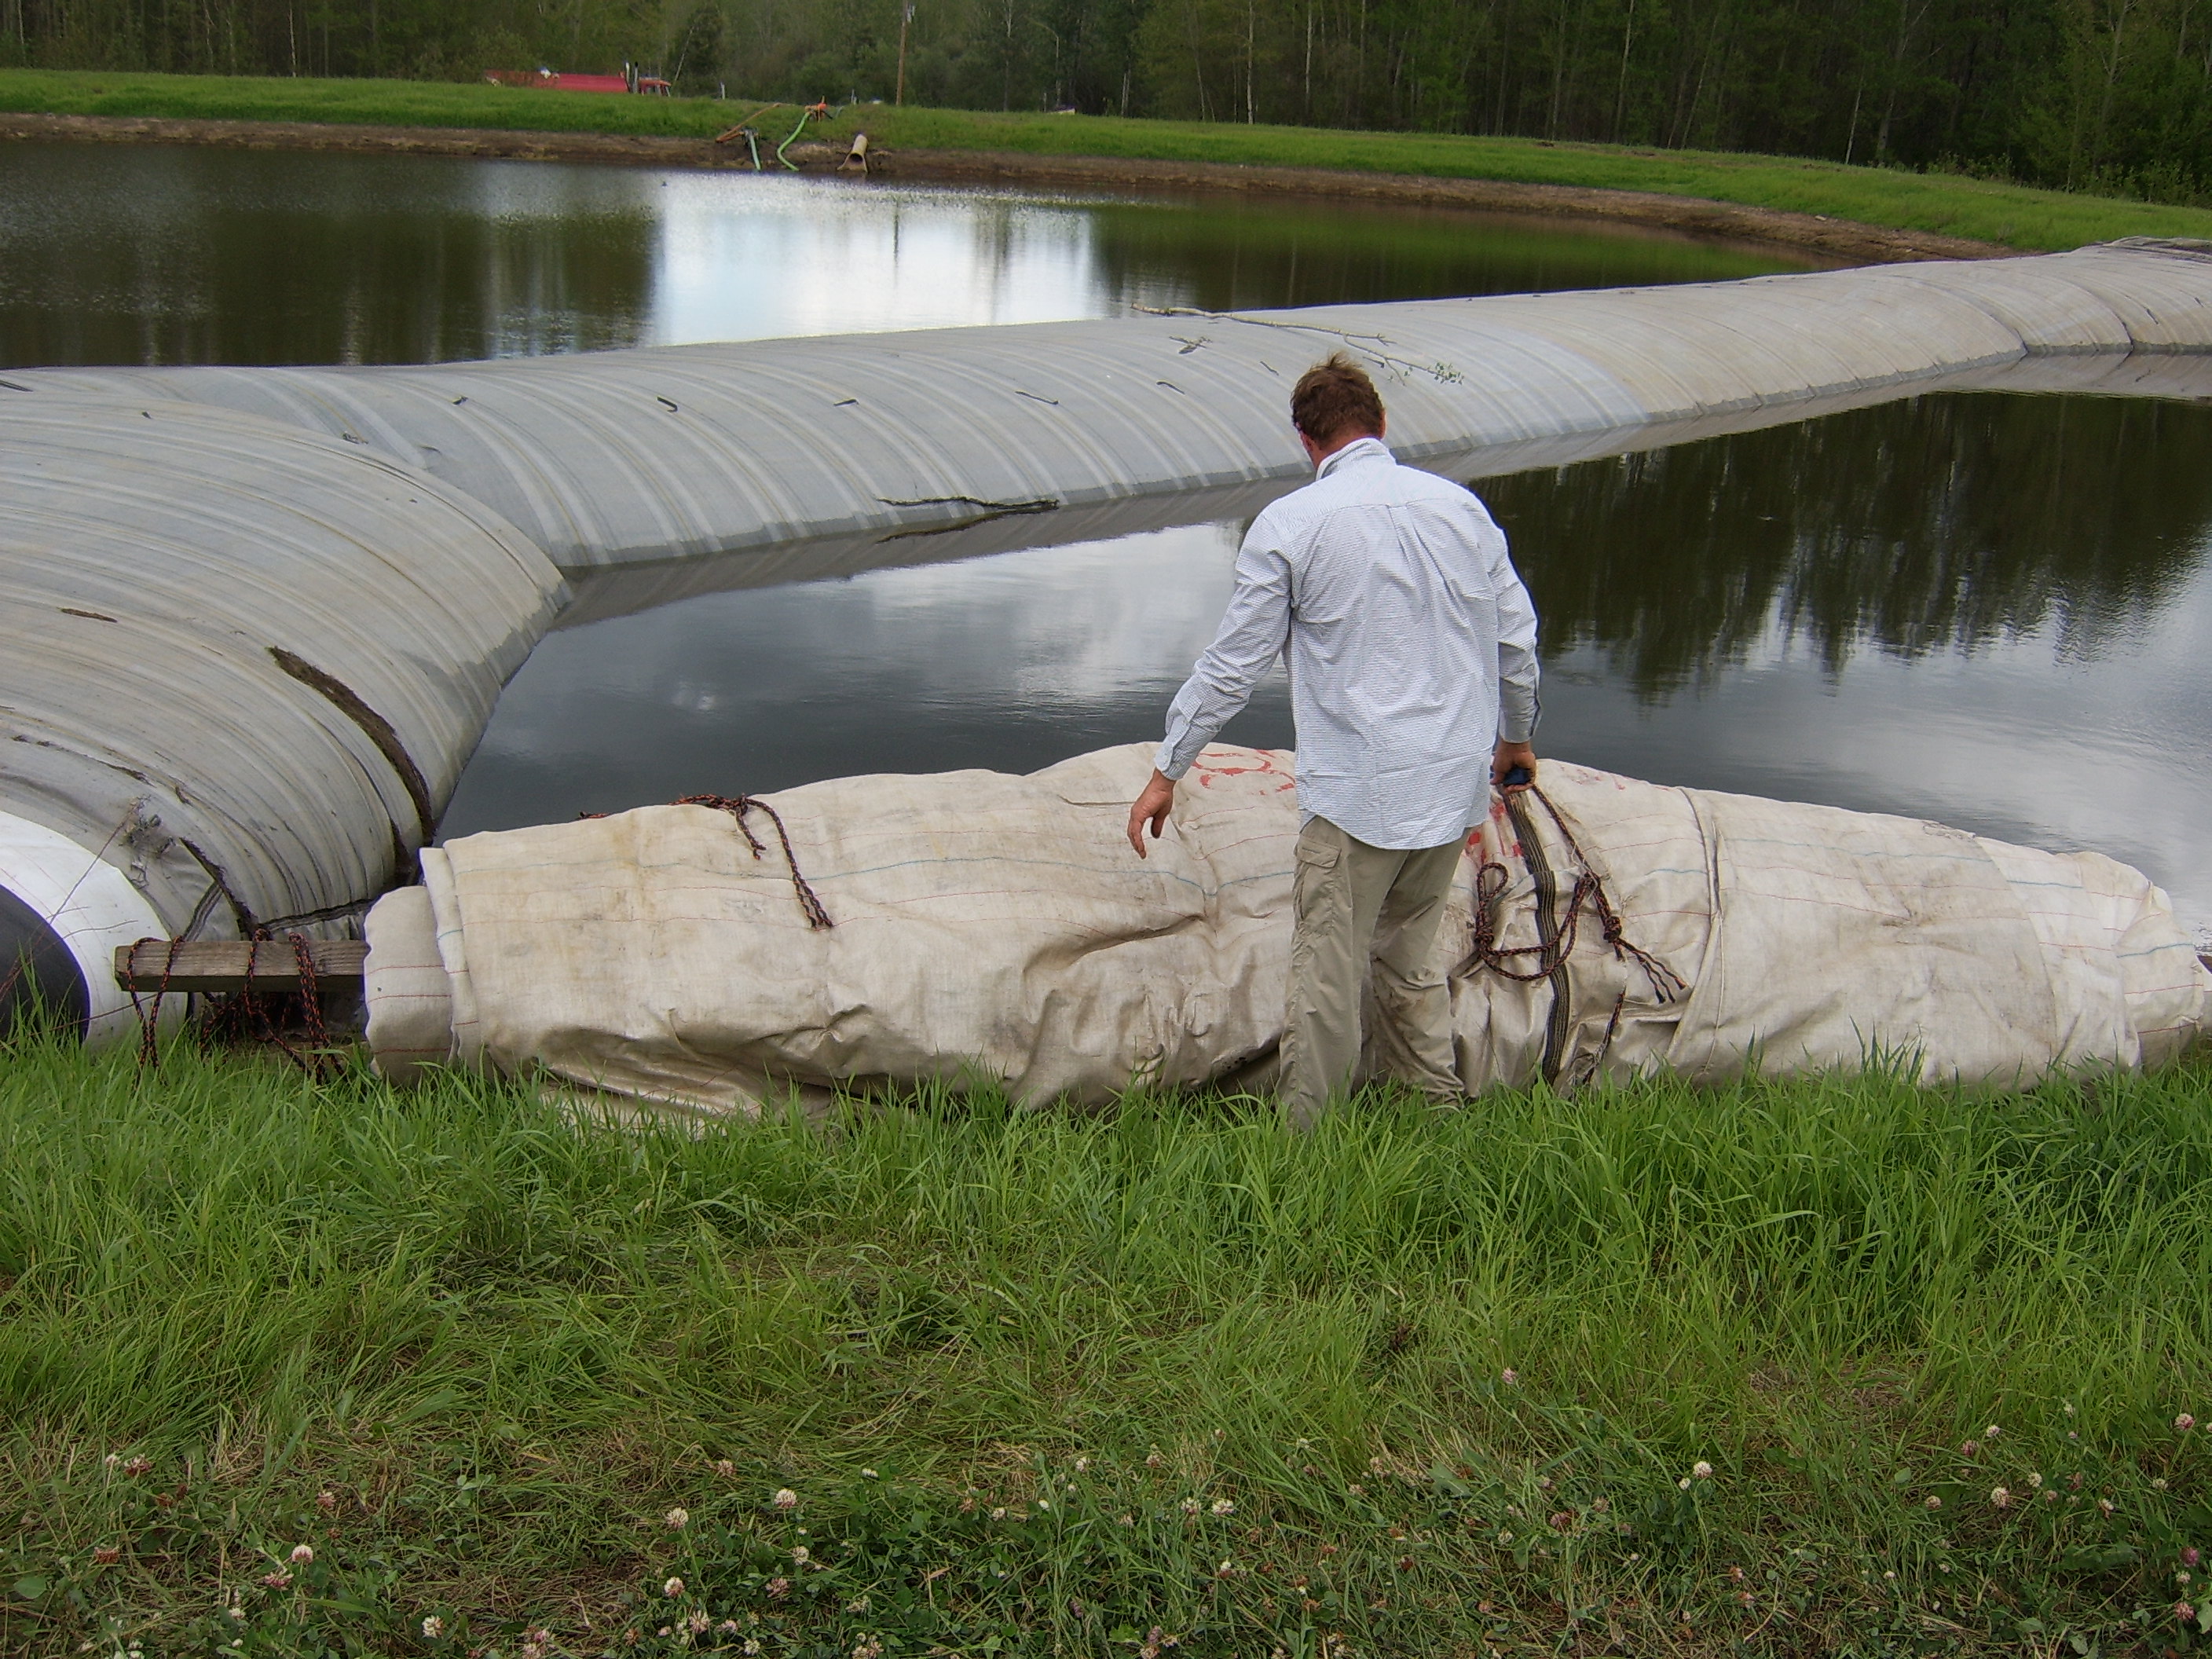
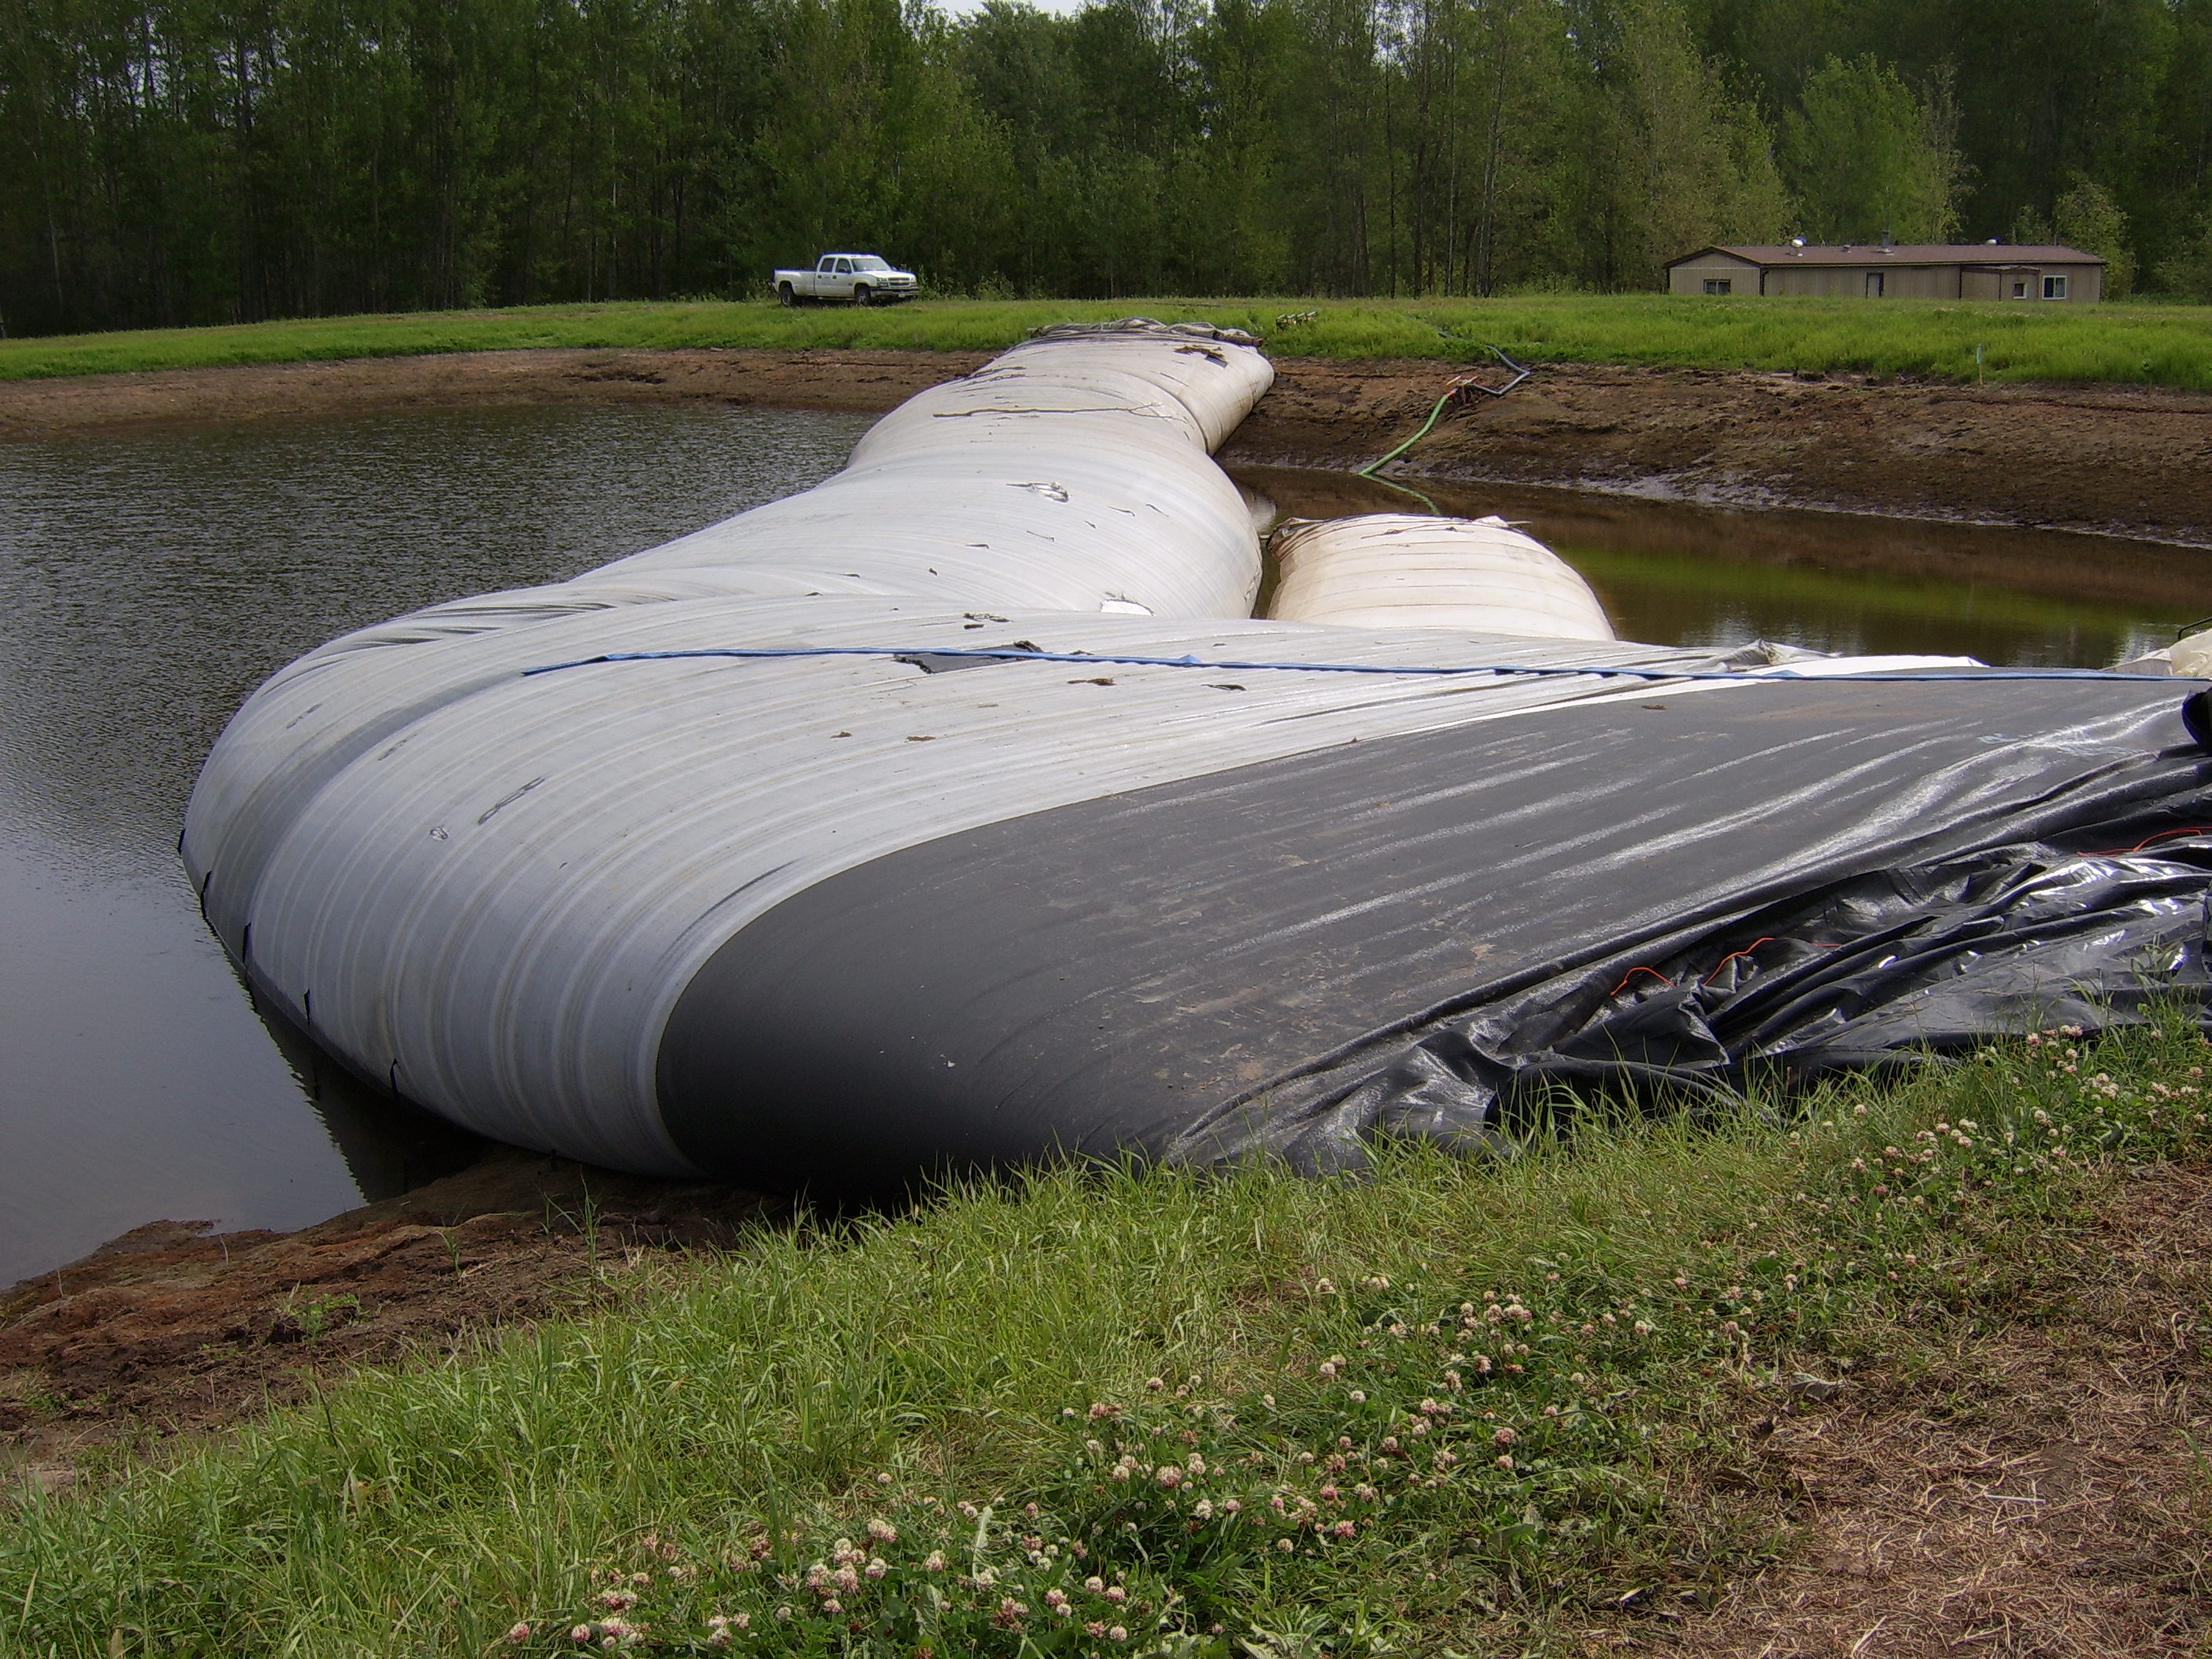
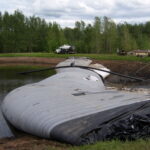
41.) This job was one of the first to use a 12ft tall AquaDam, and it was thought that it would need additional dams behind it. This was later shown to be unnecessary, the 12ft tall AquaDam did just fine by itself.
66.) The 12ft tall AquaDam is leaning a little bit into the work area, but not enough to be alarming. It will hold without backup dams.
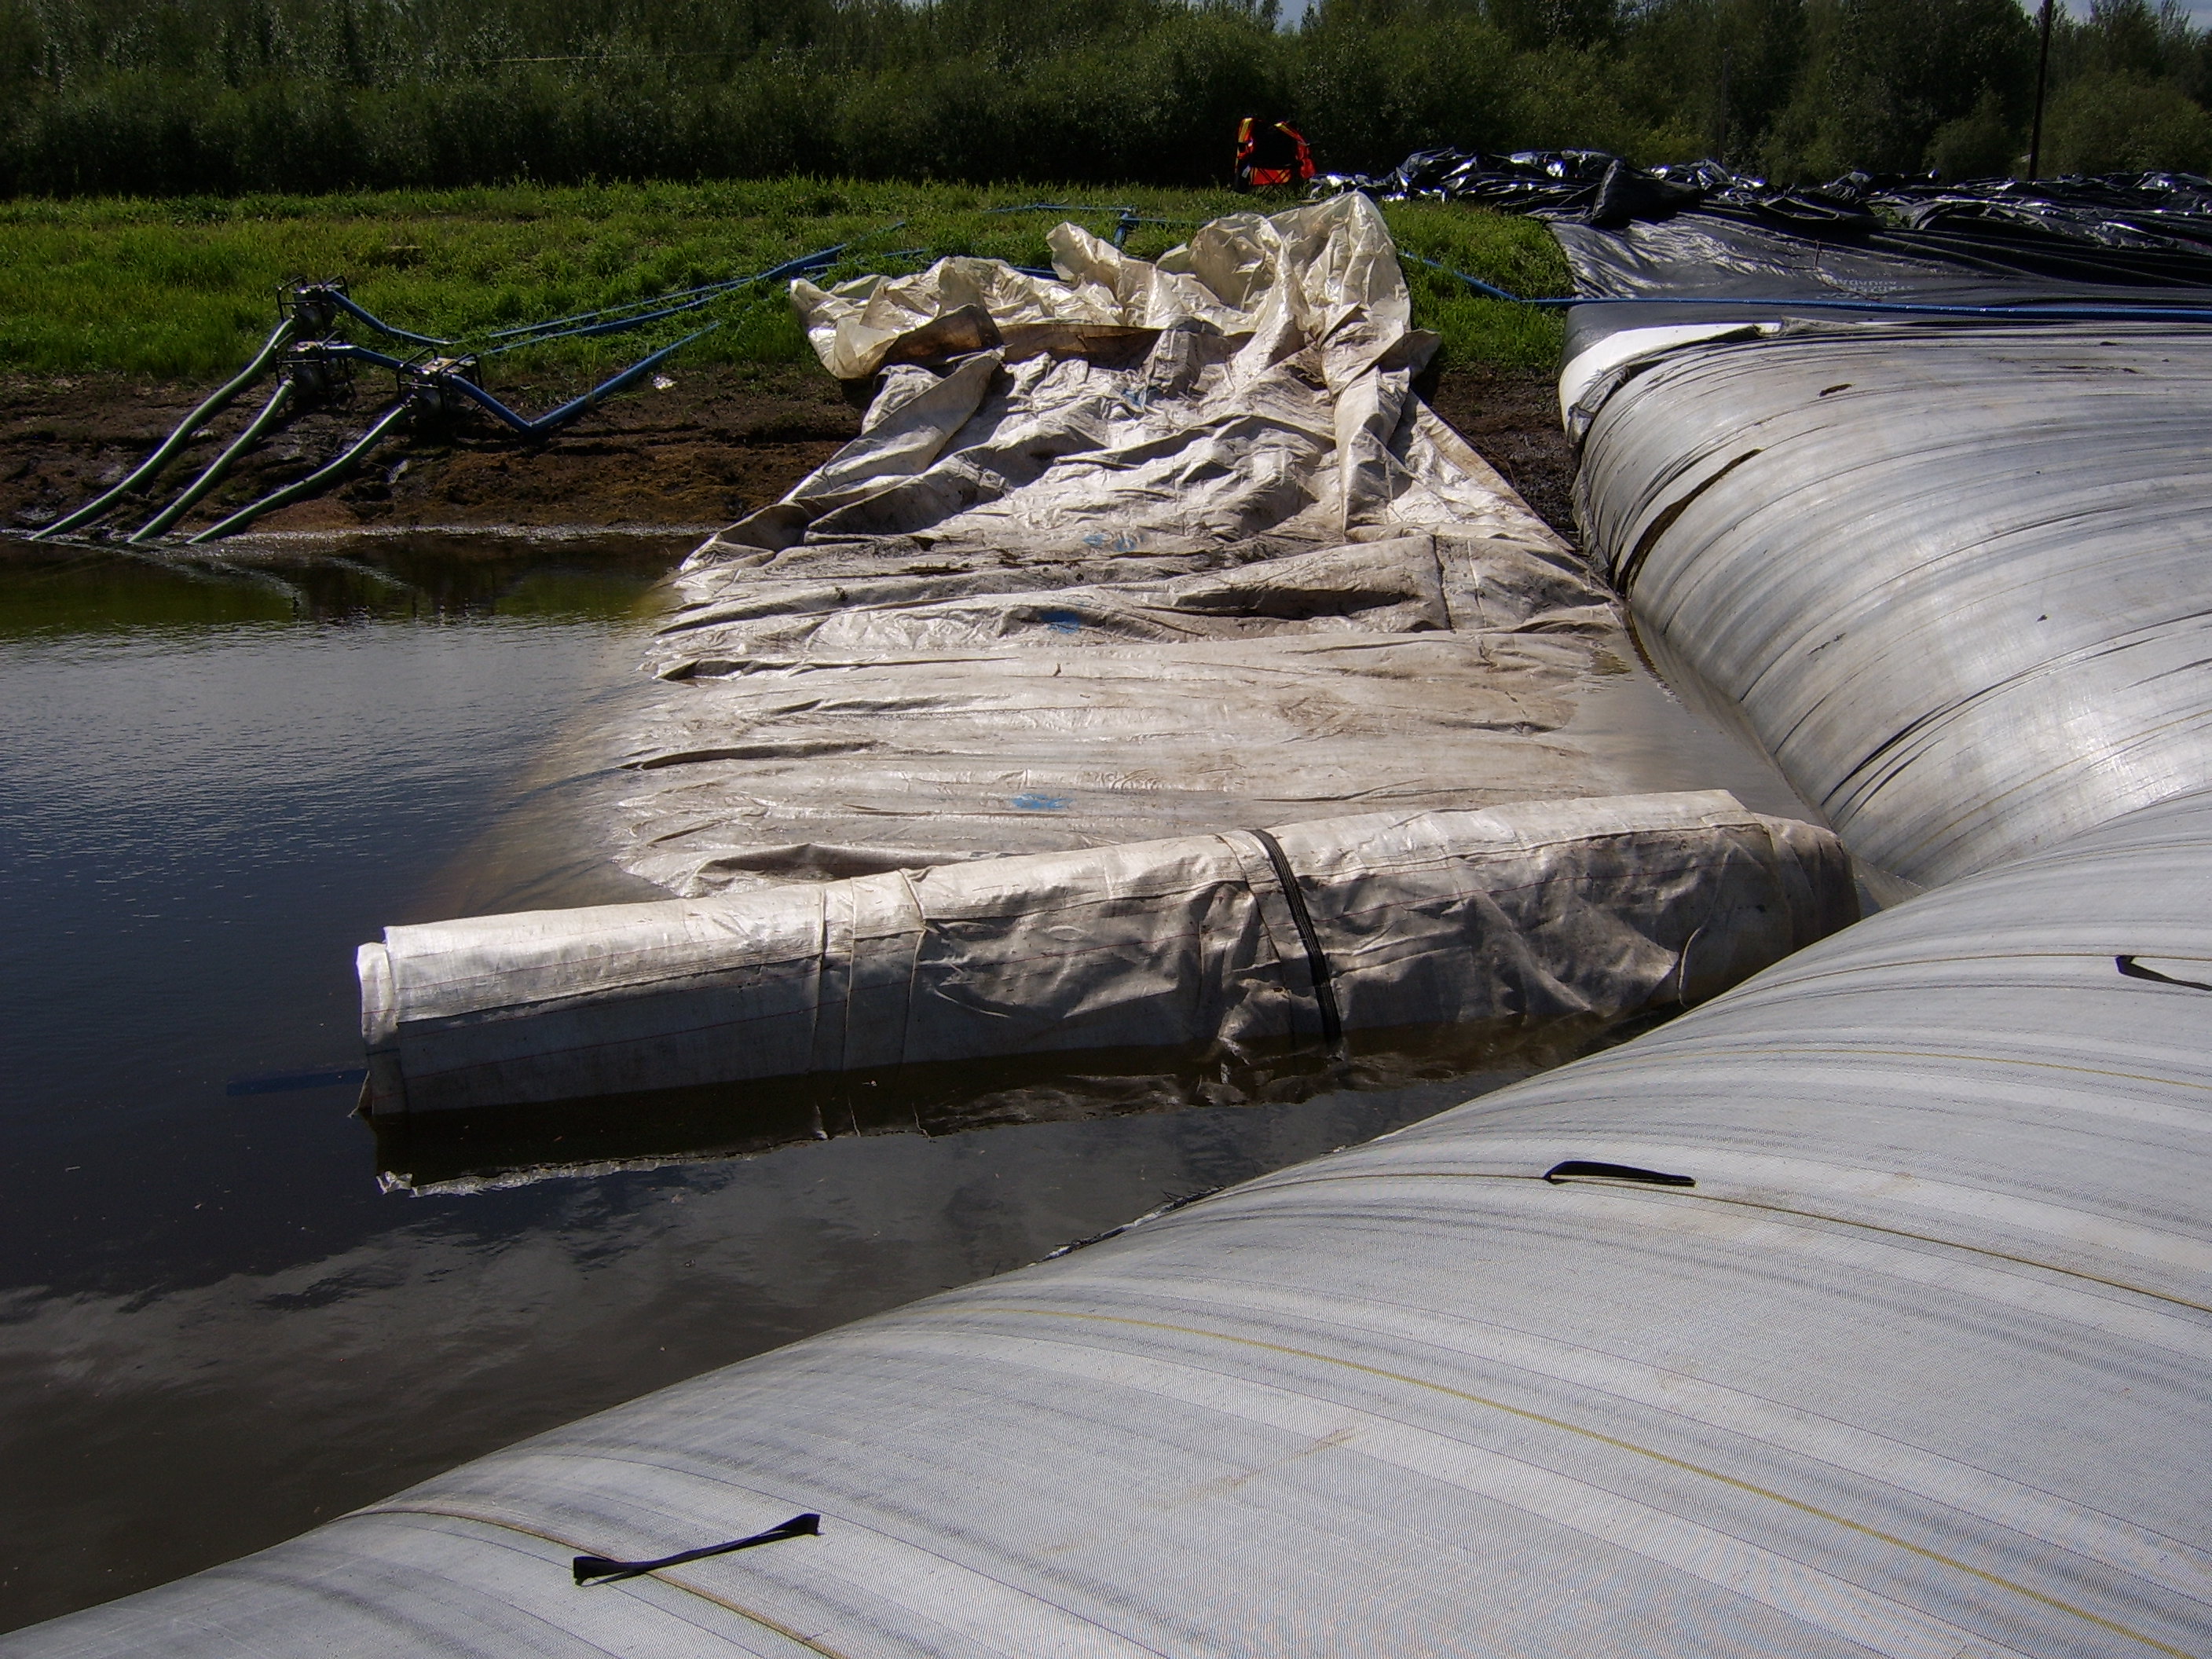
67.) A worker monitors the closed end of the first 8ft tall support AquaDam to access the leak.
68.) The first 8ft tall support AquaDam was determined to be not needed.
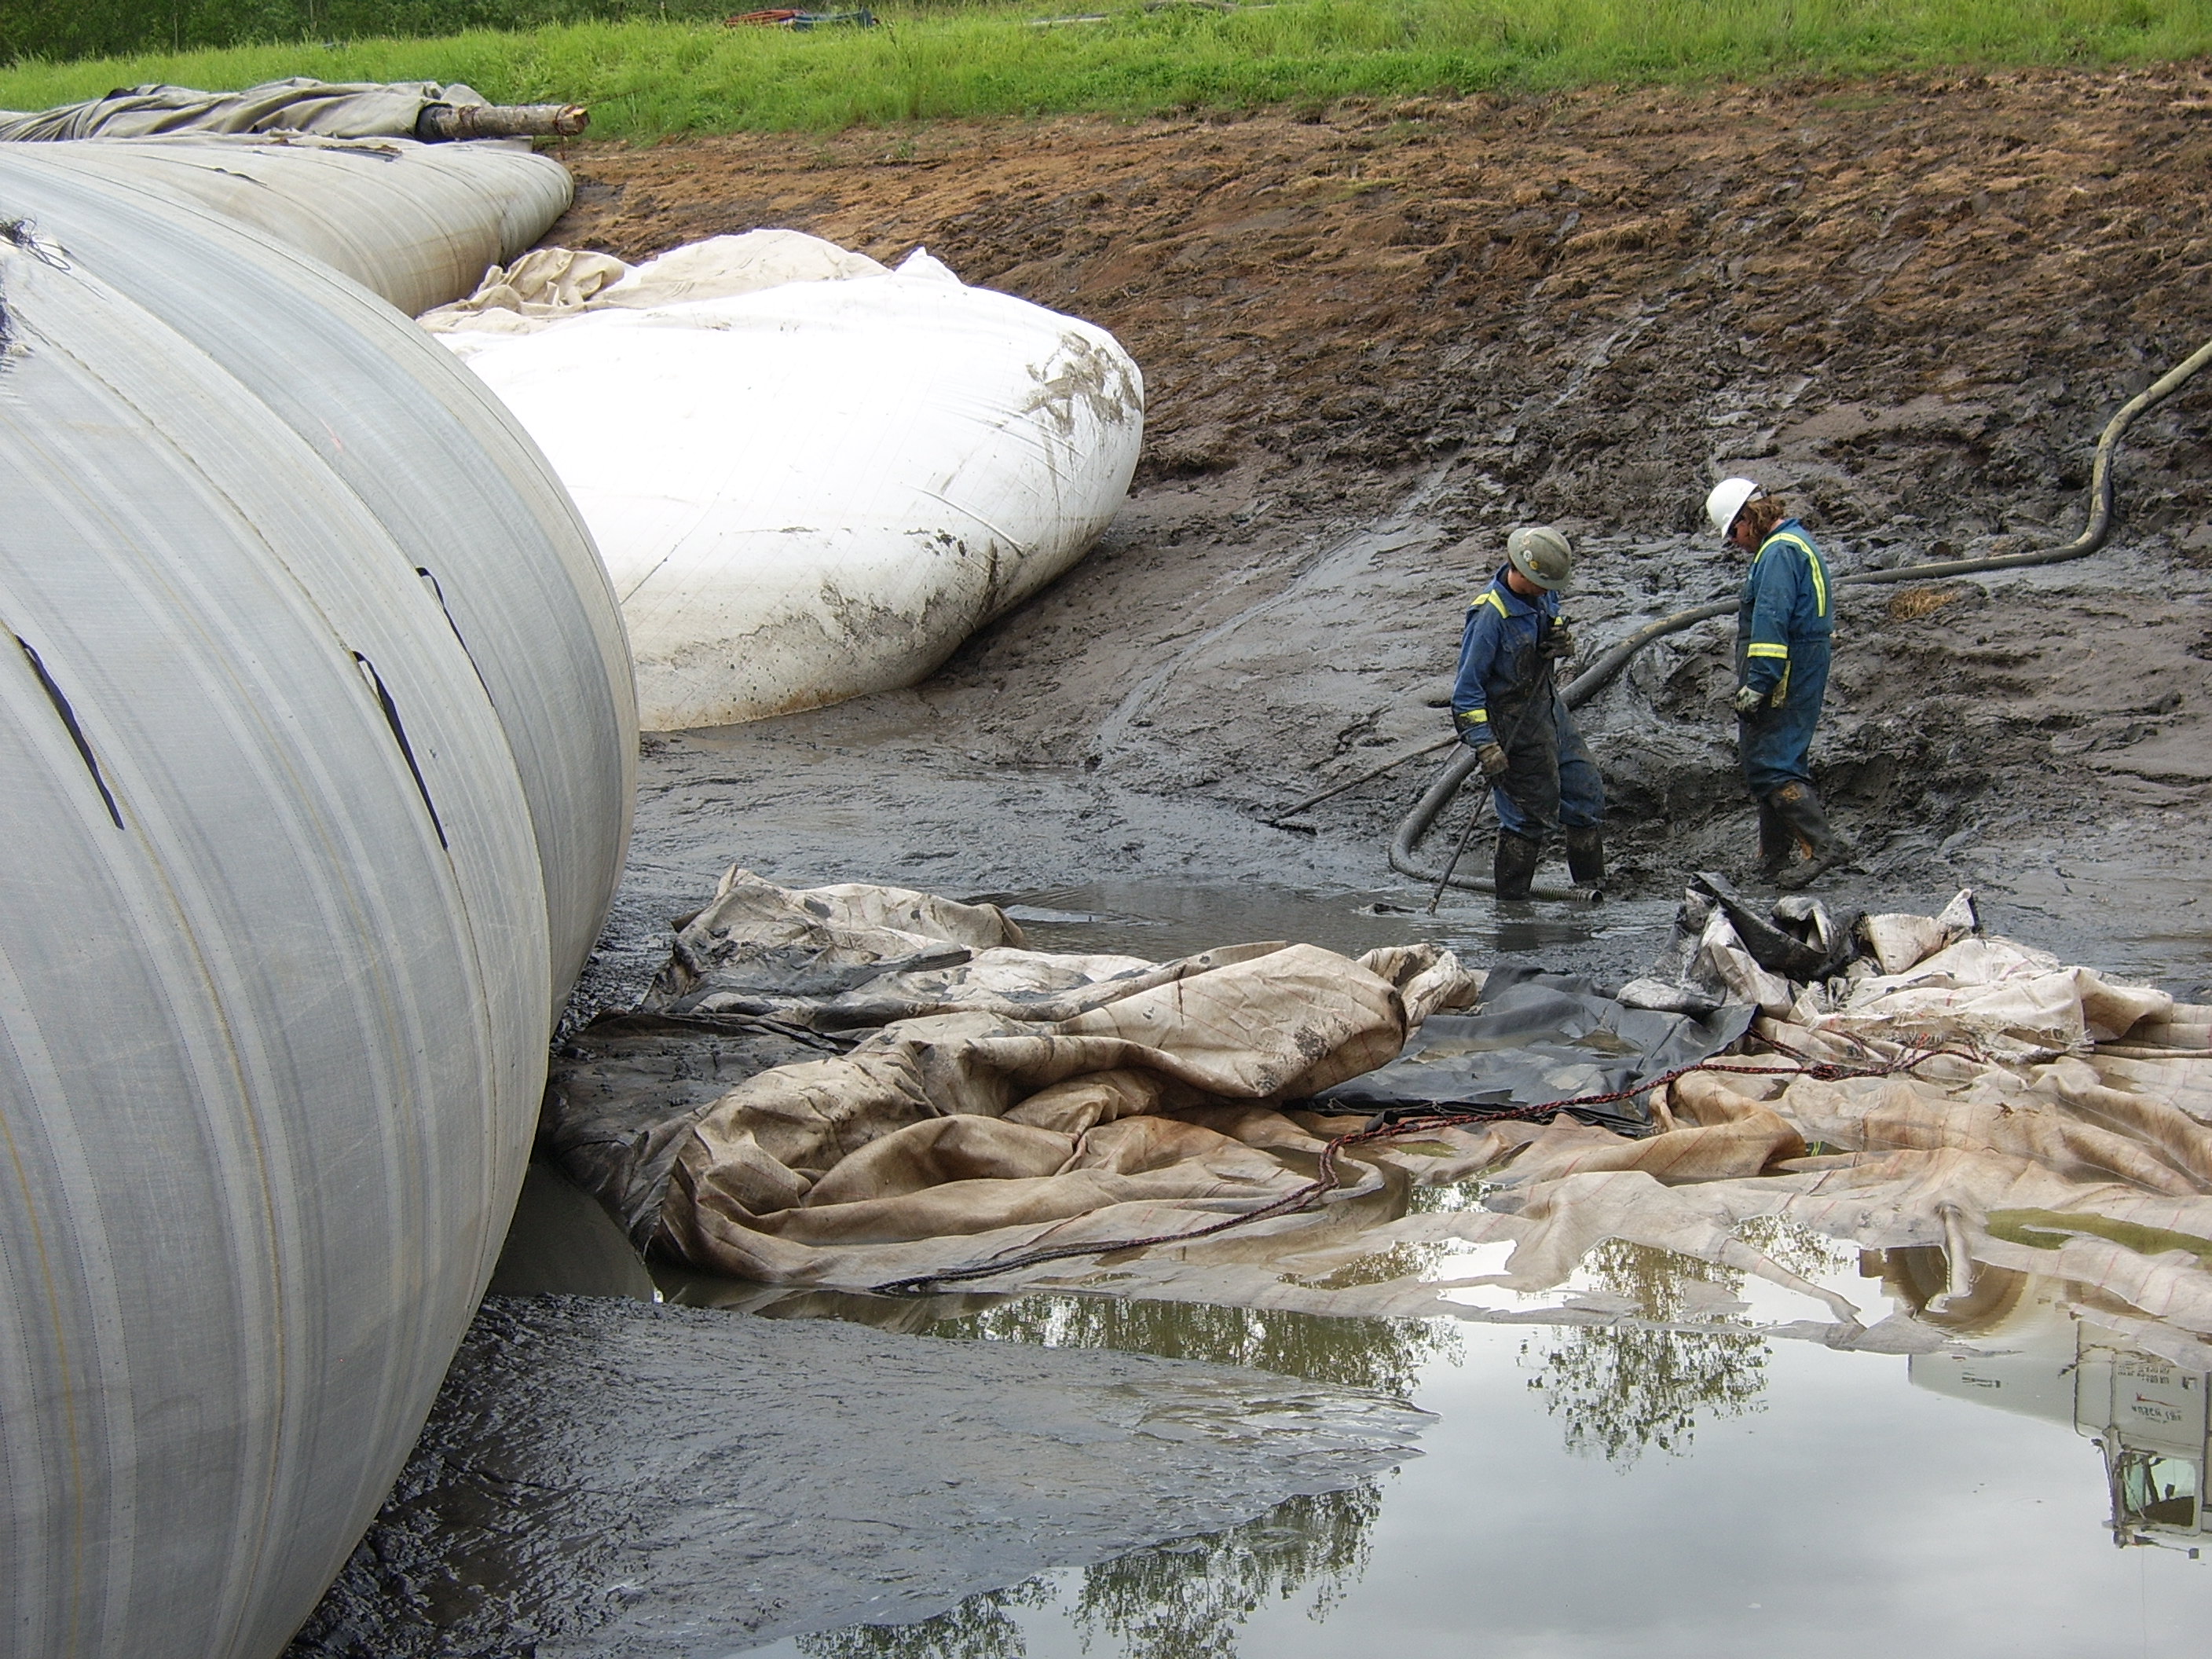
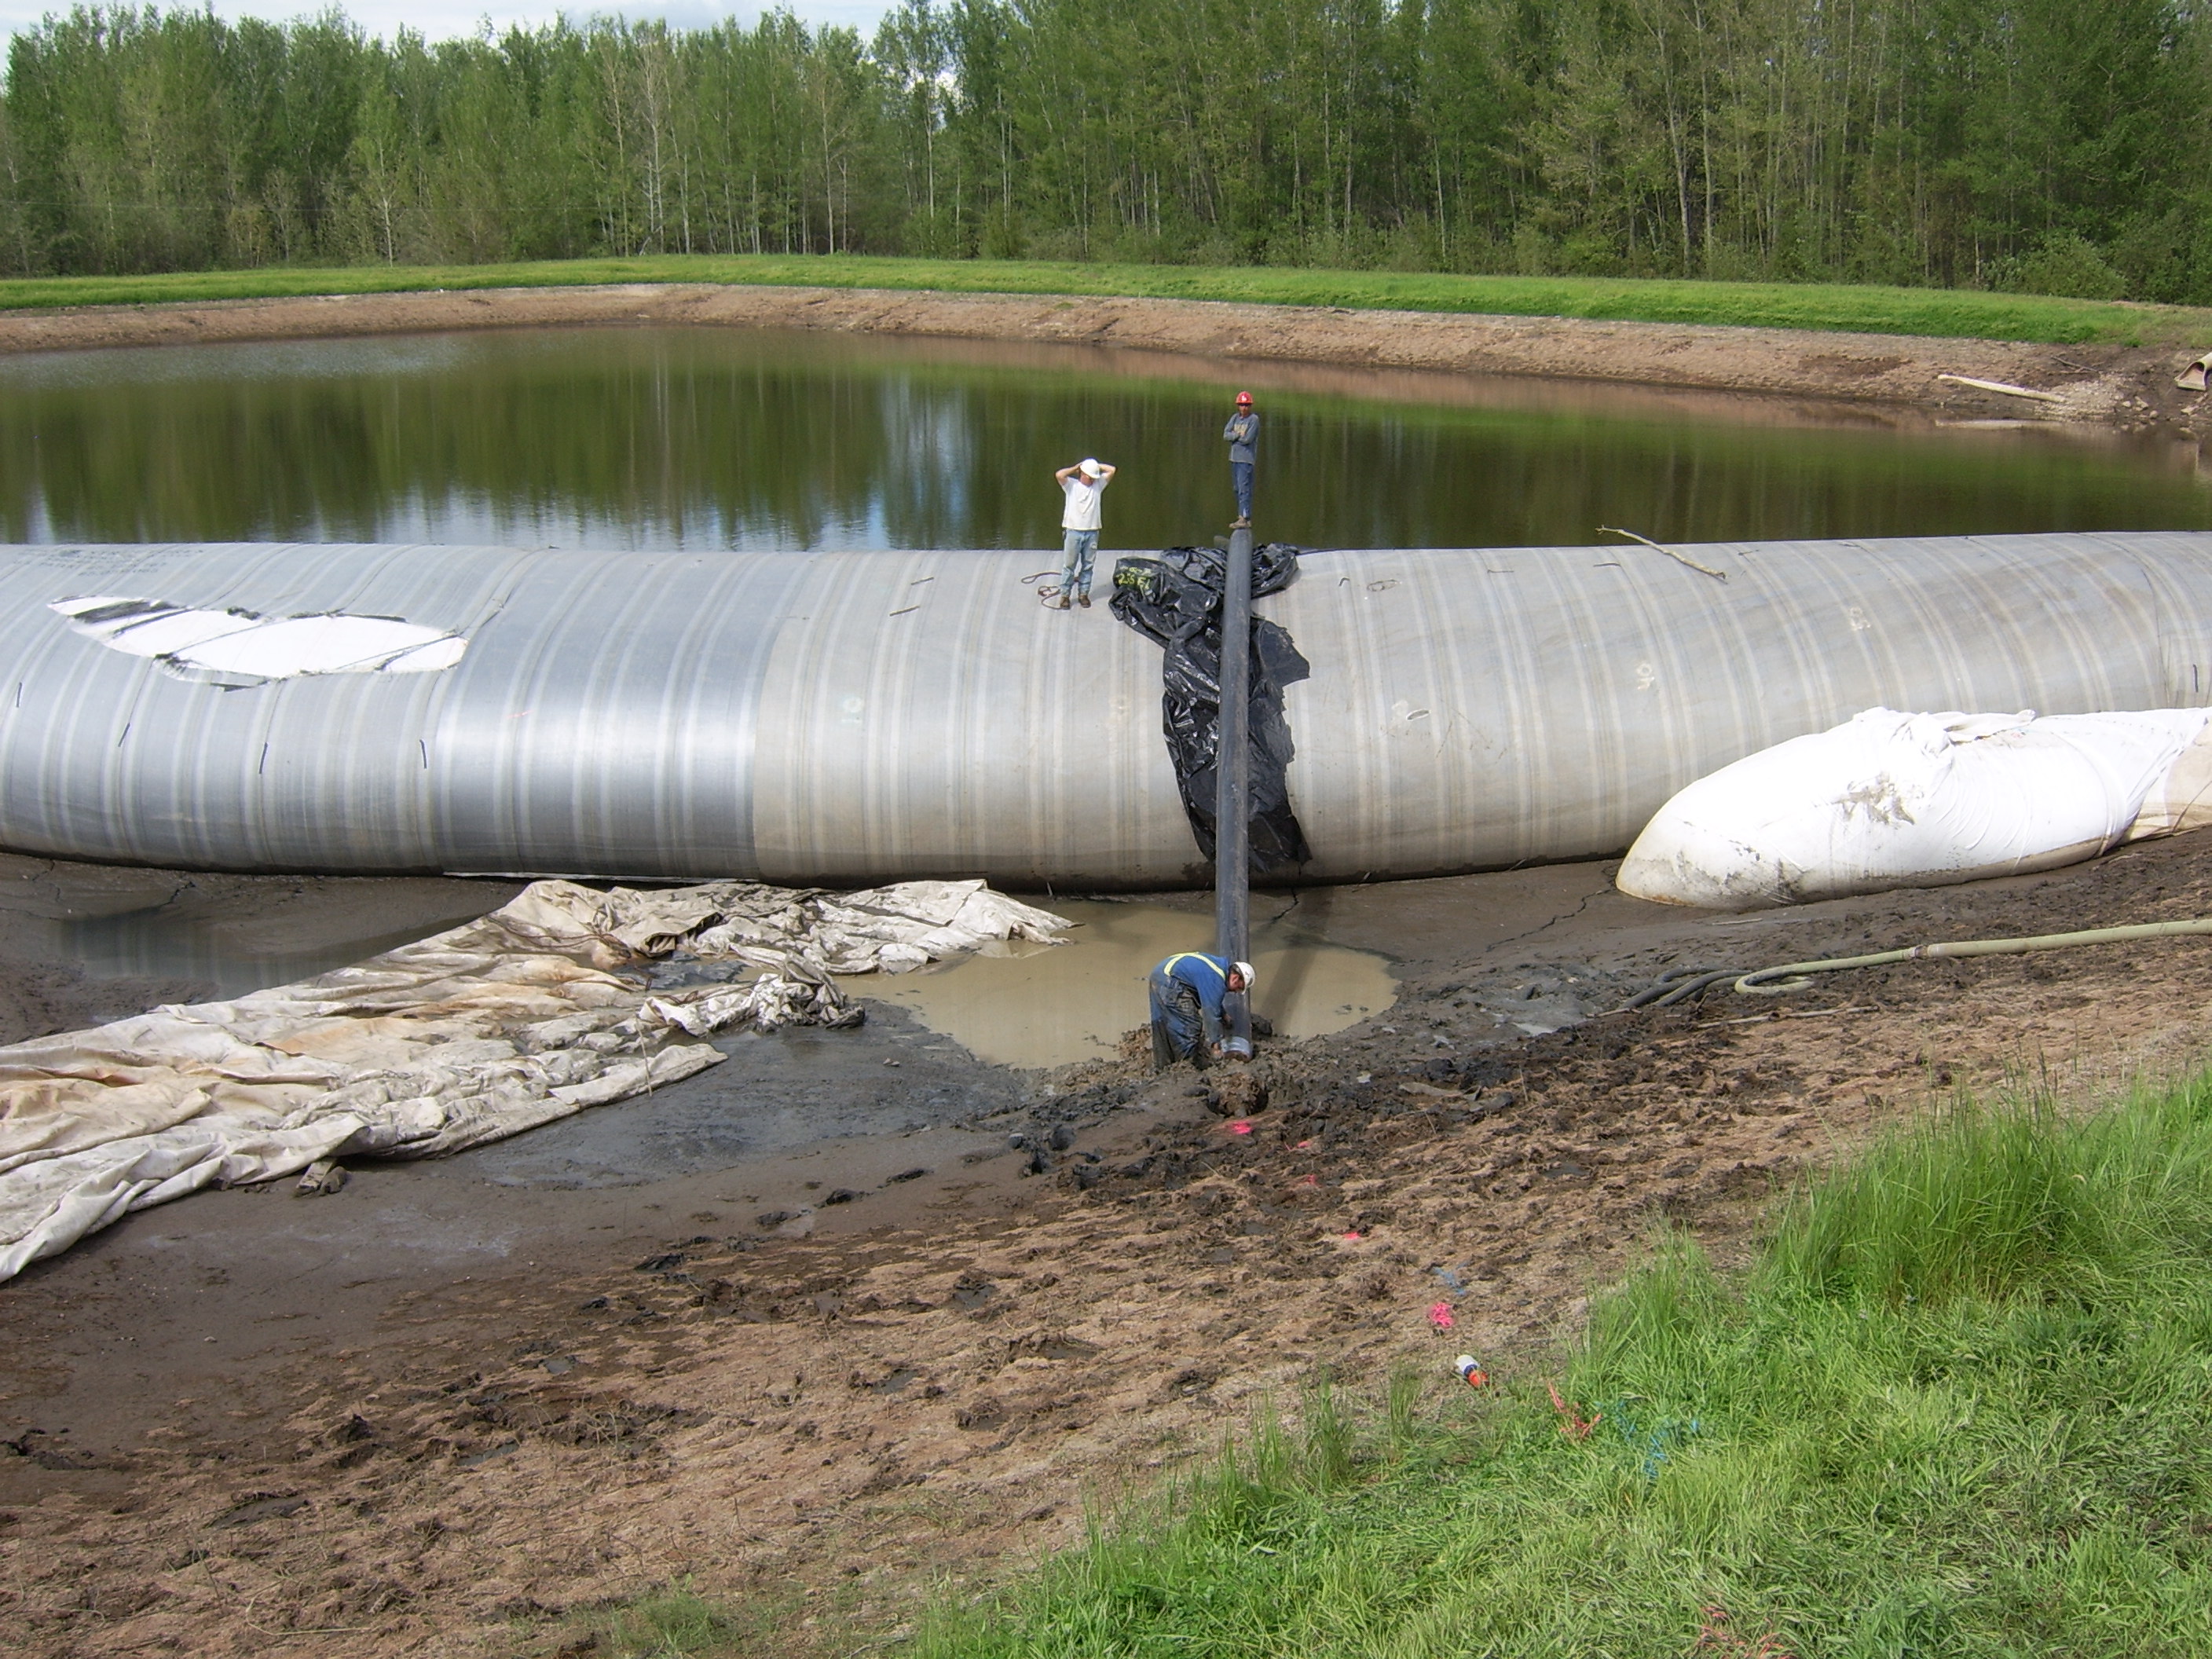
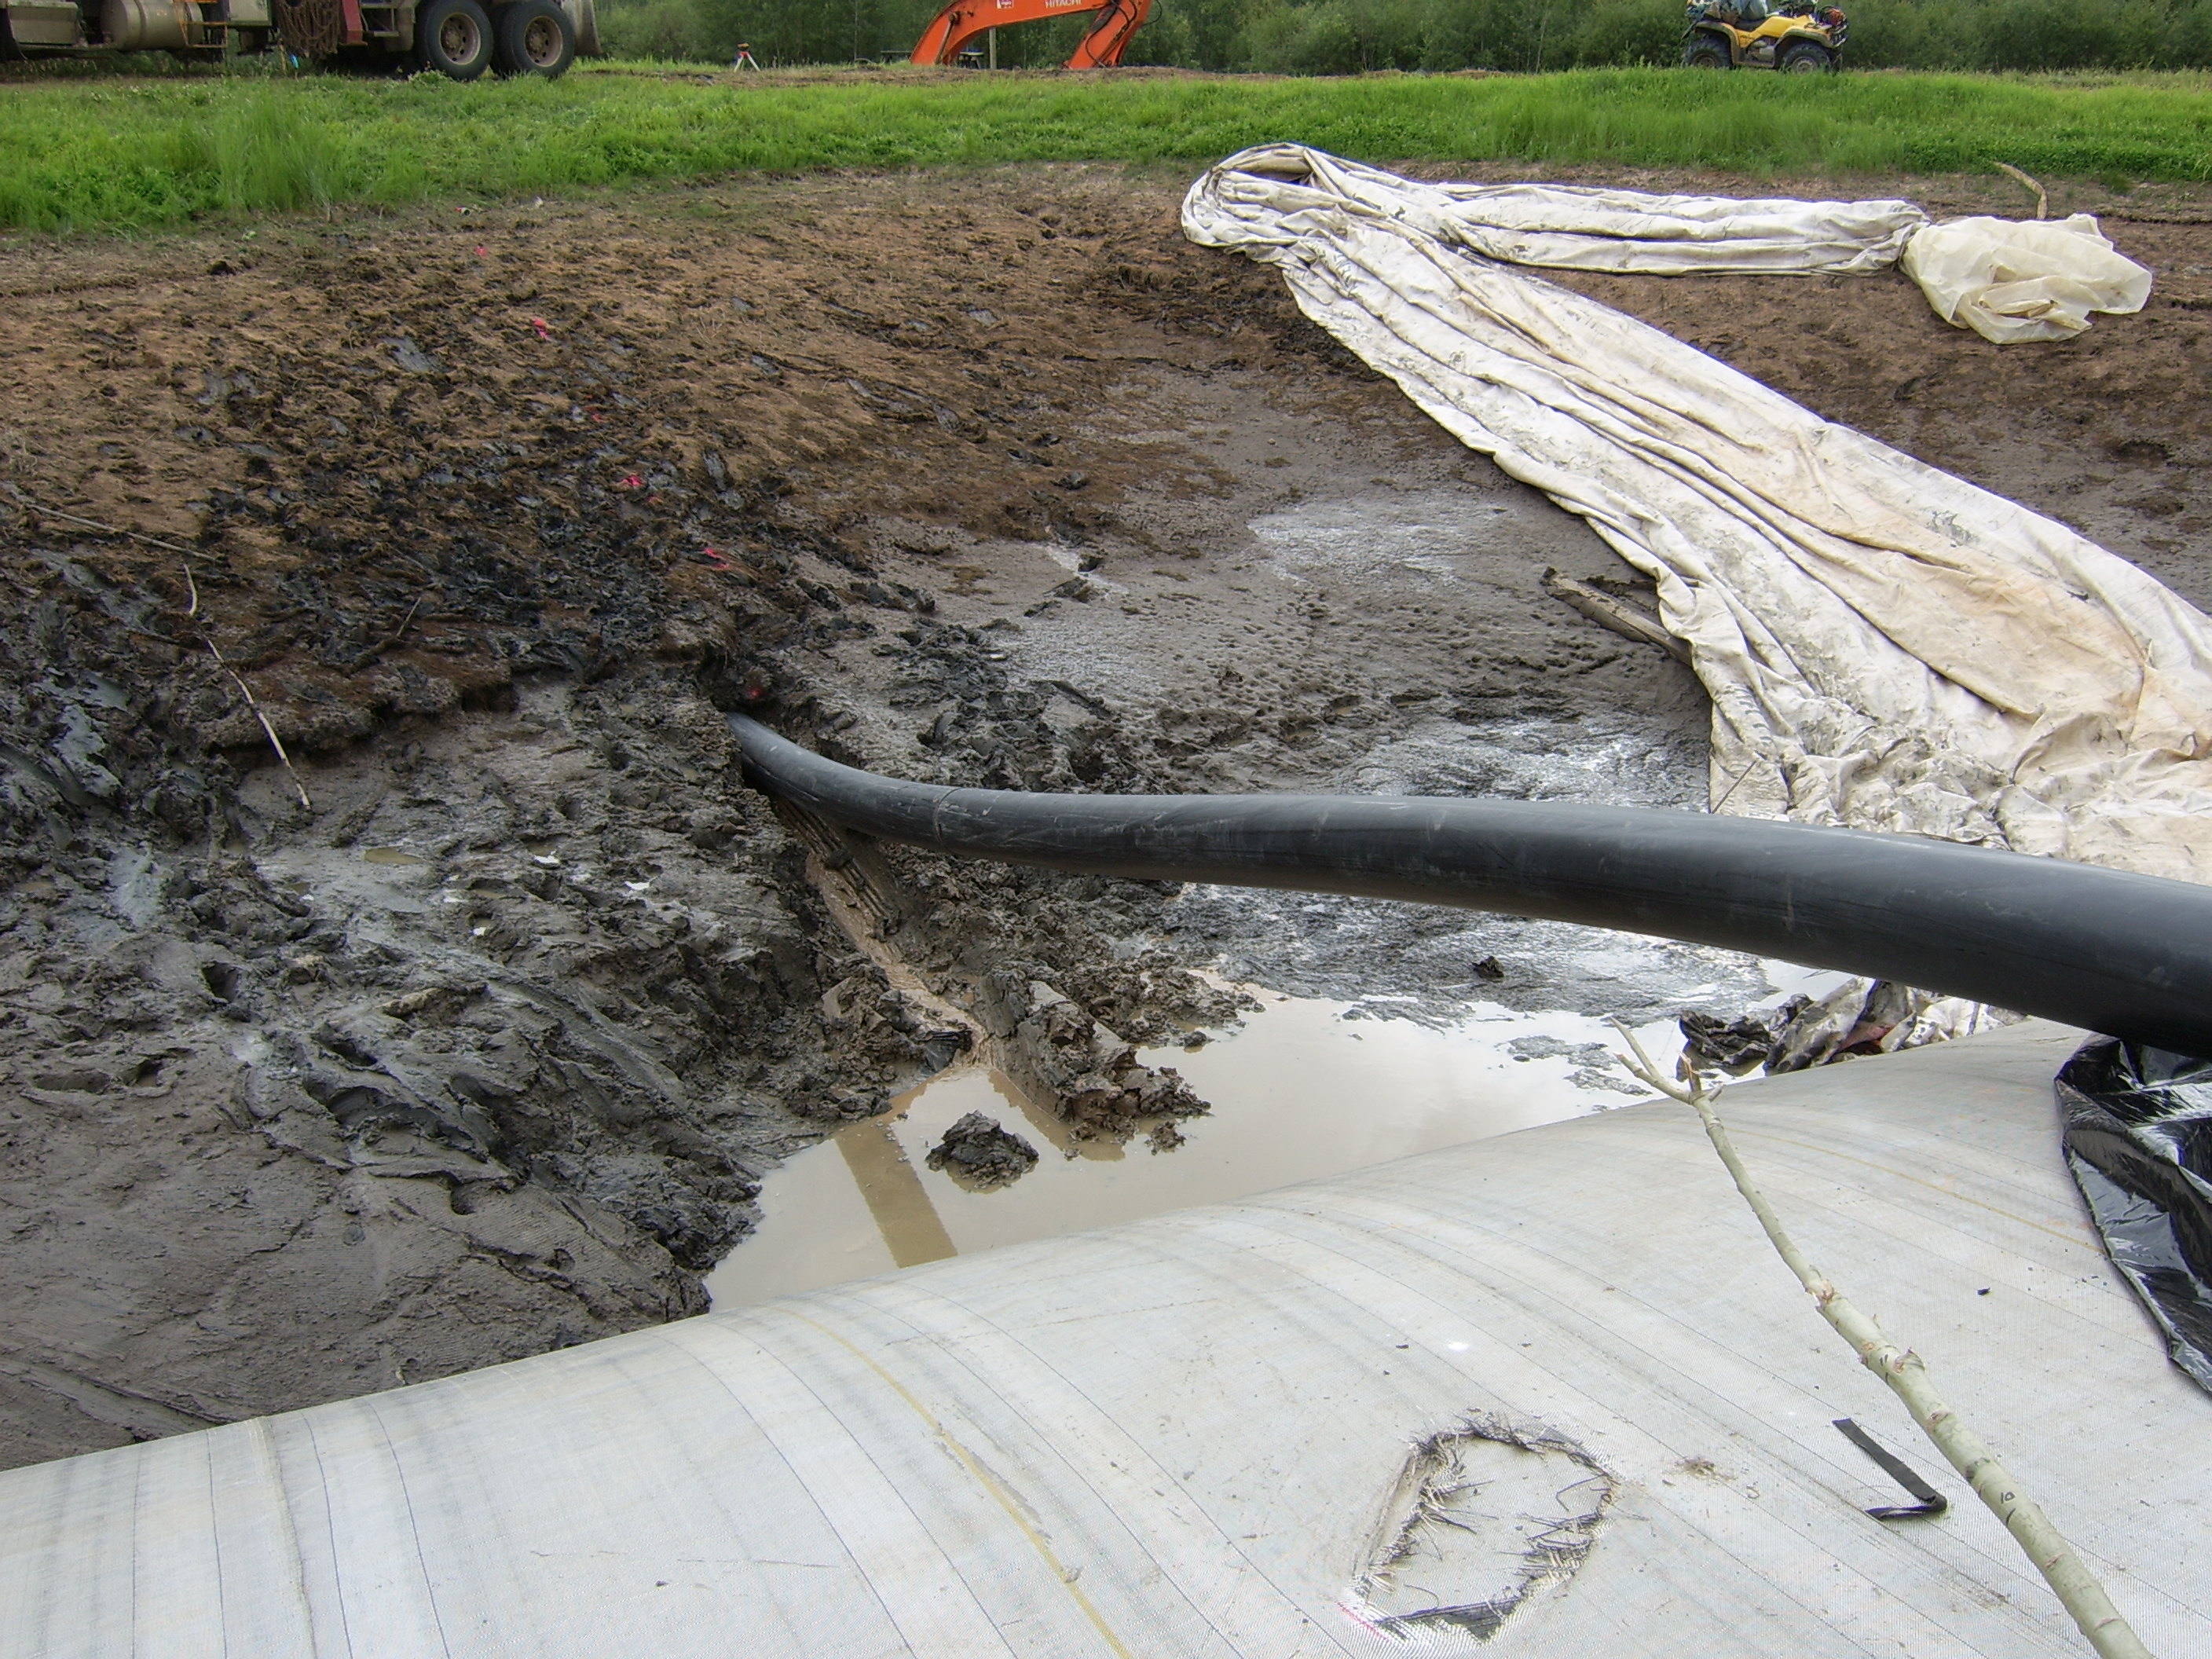
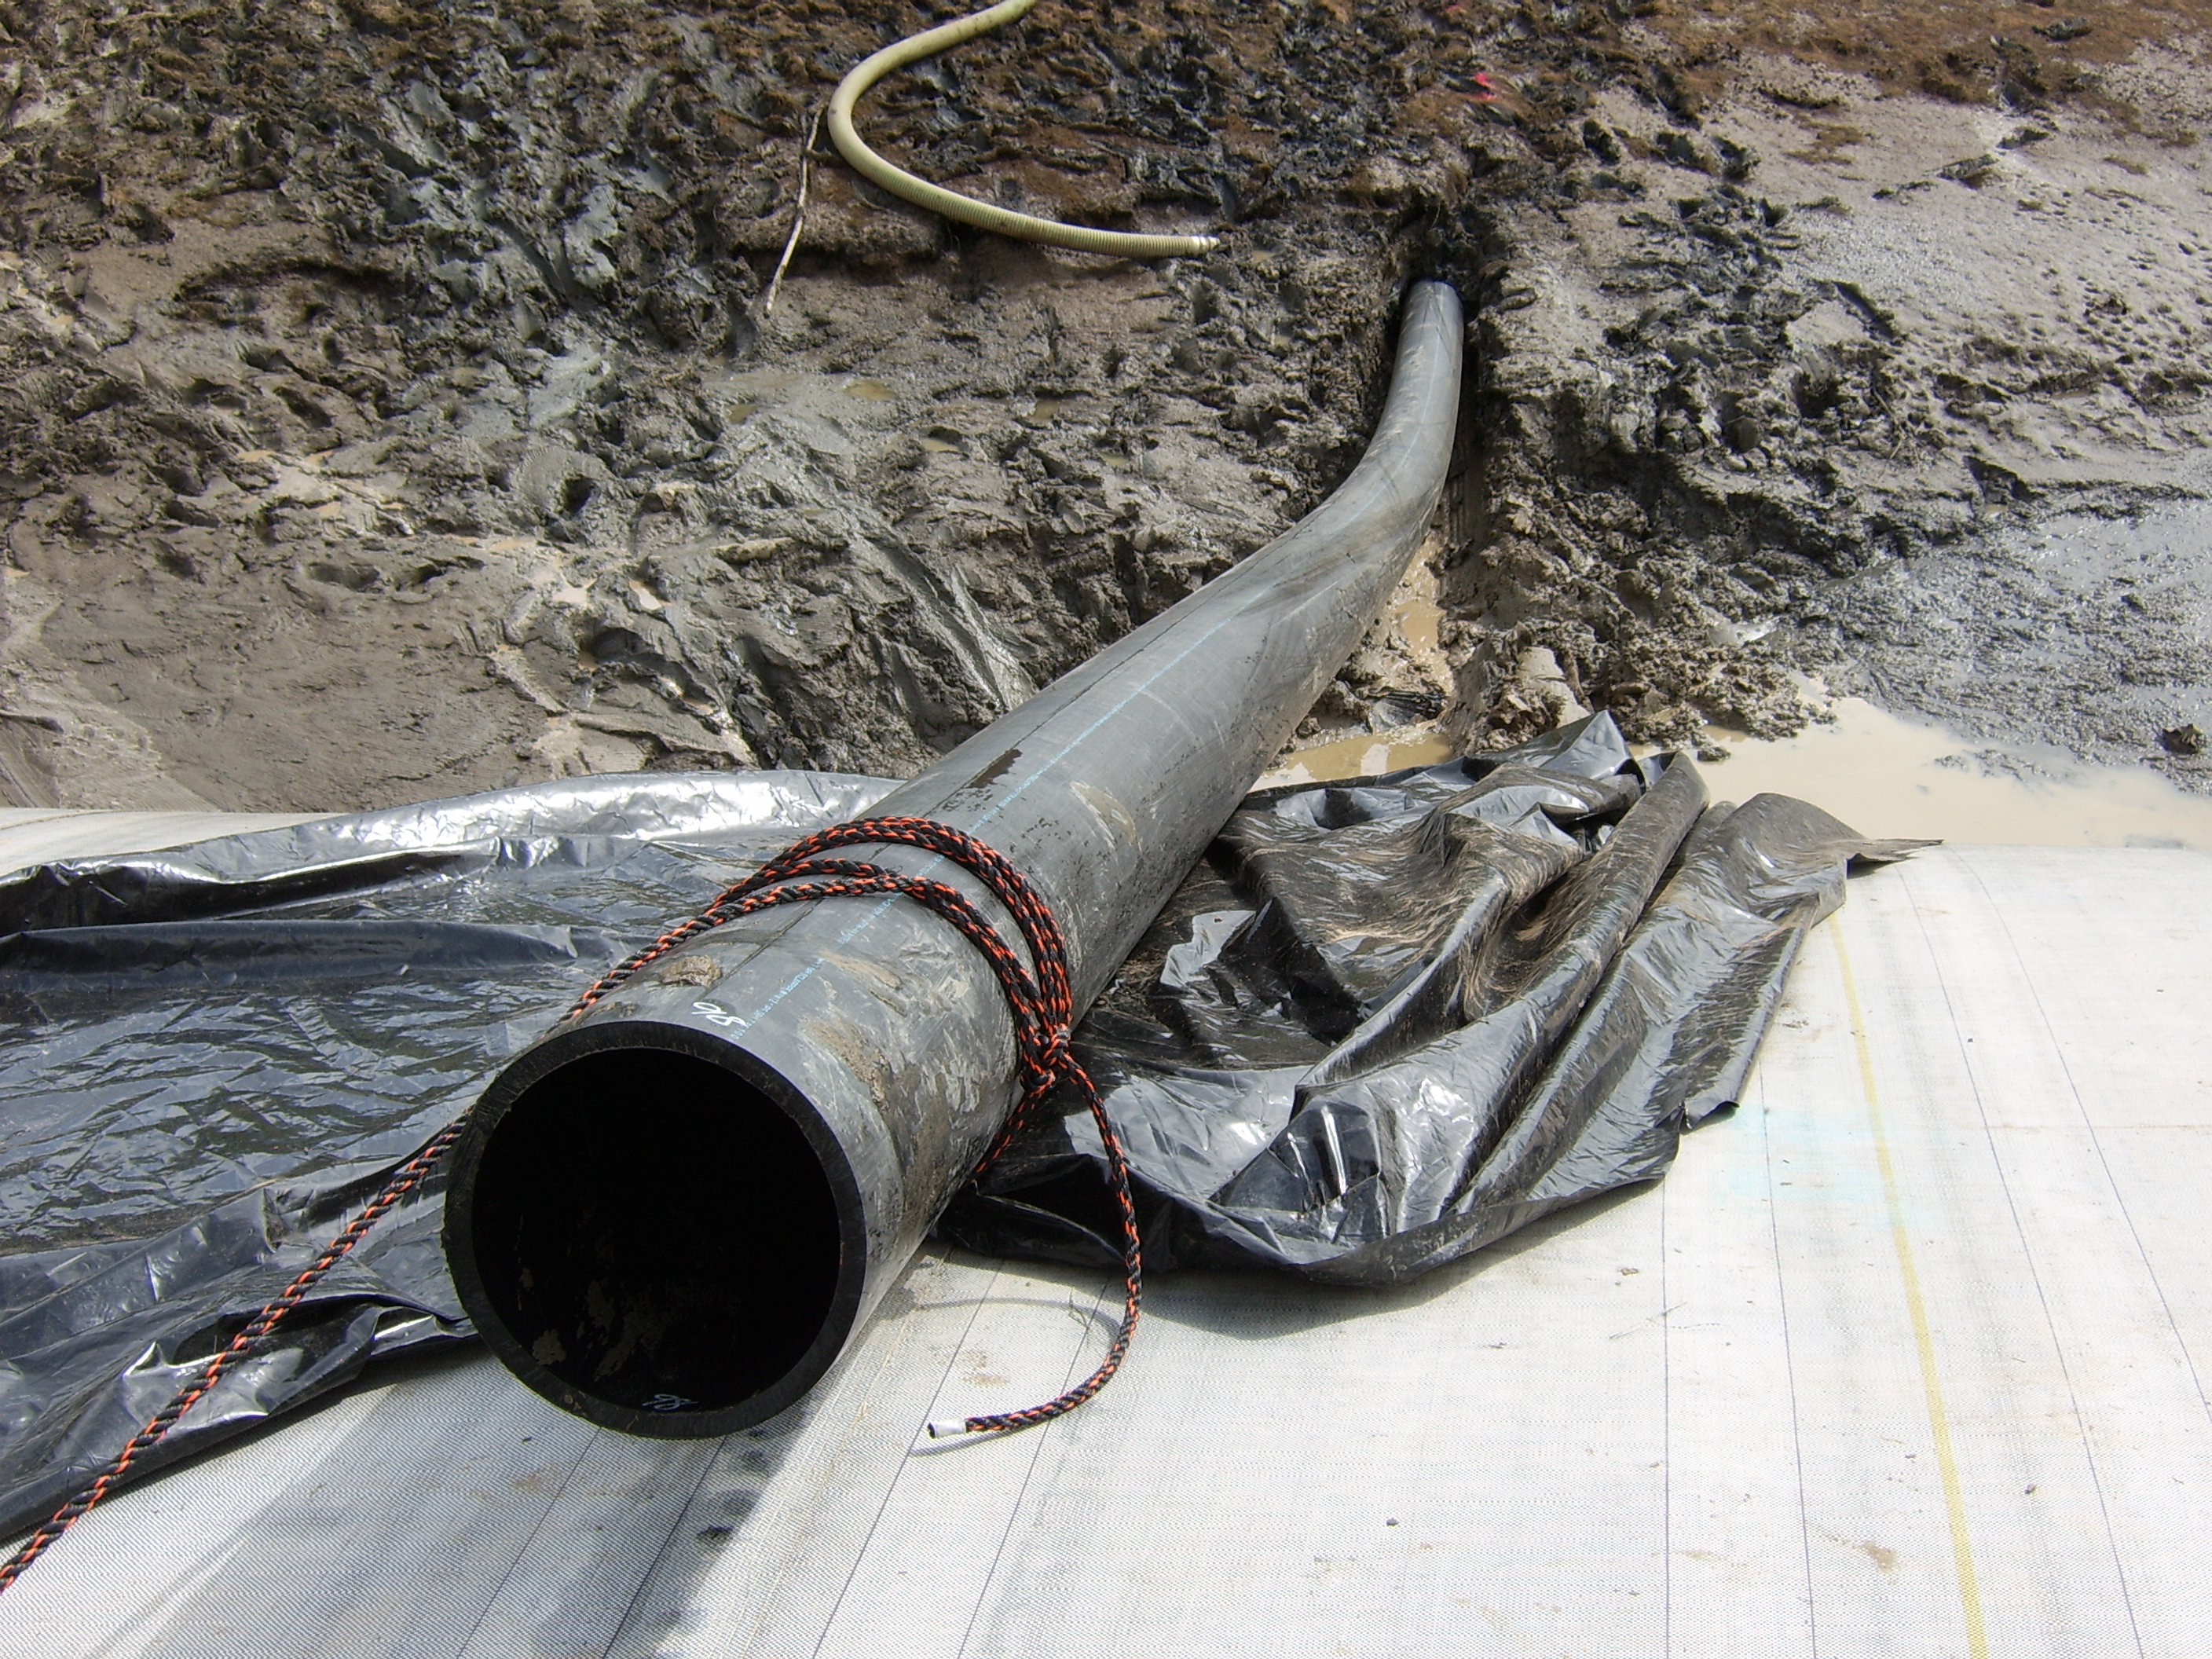
31.) Pumps will discharge air along with water sometimes into an AquaDam. The air can easily be walked out, starting at the closed end, and walking the air bubble out towards the fill-tubes.
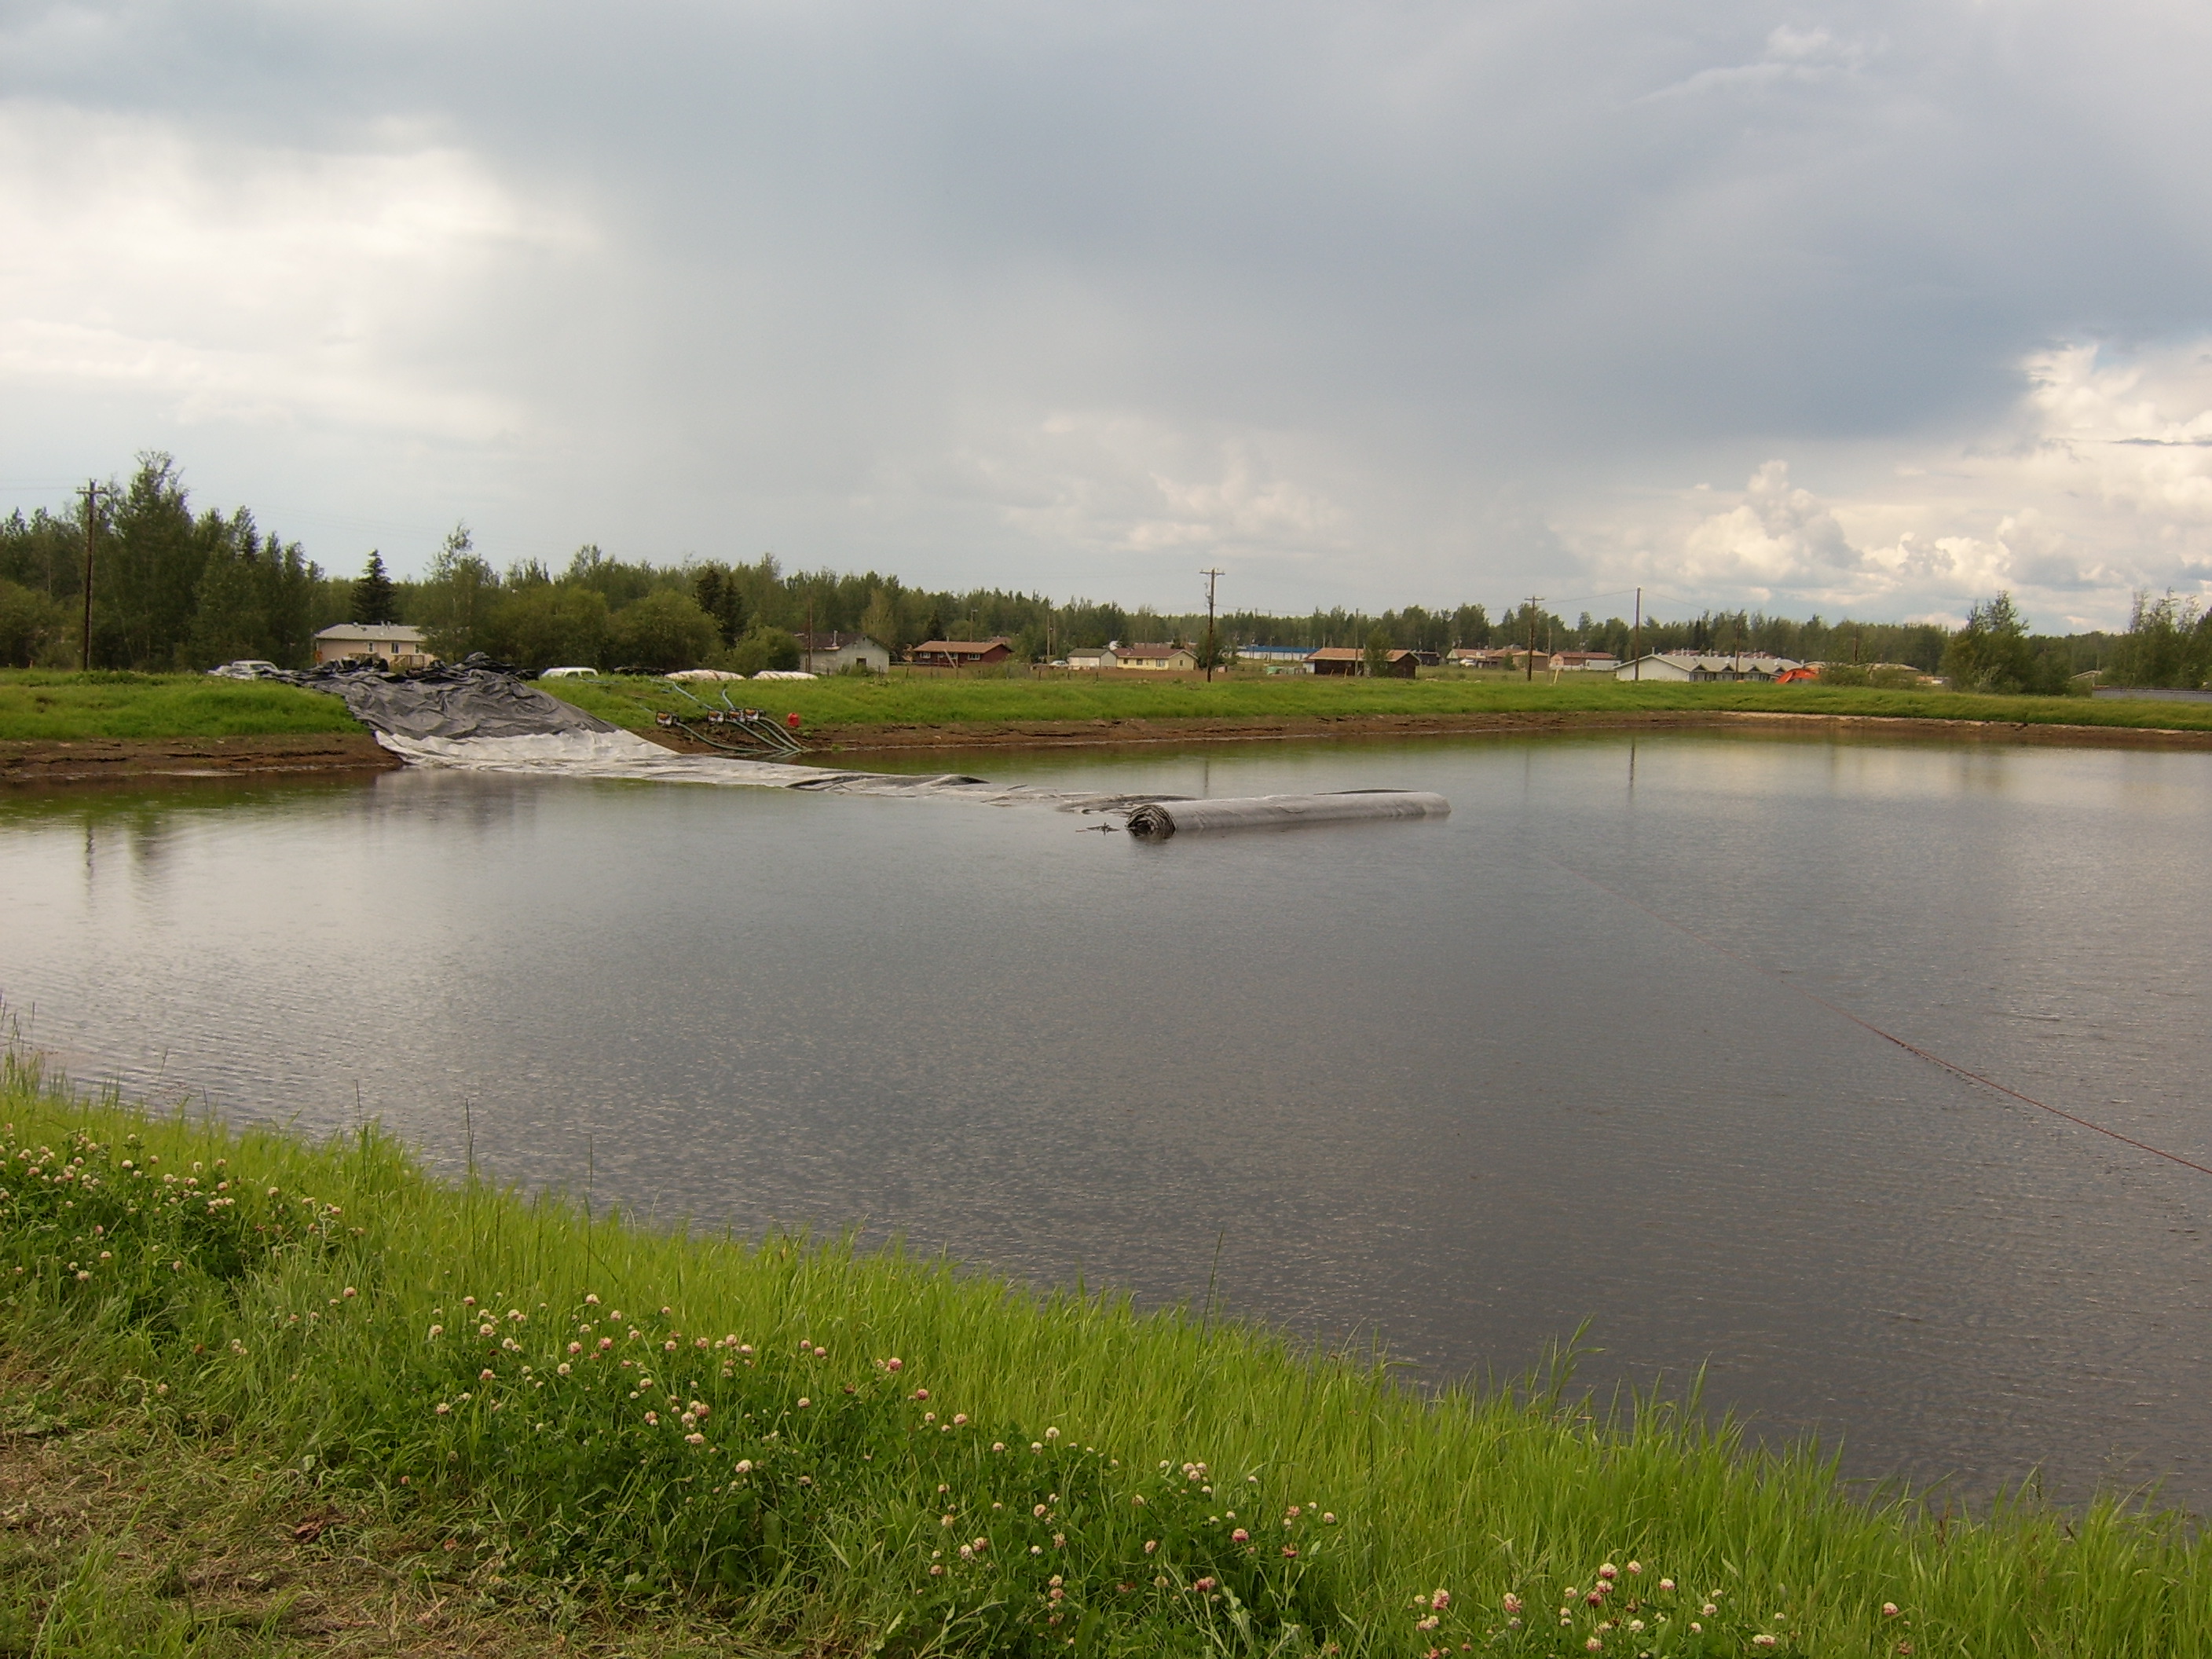
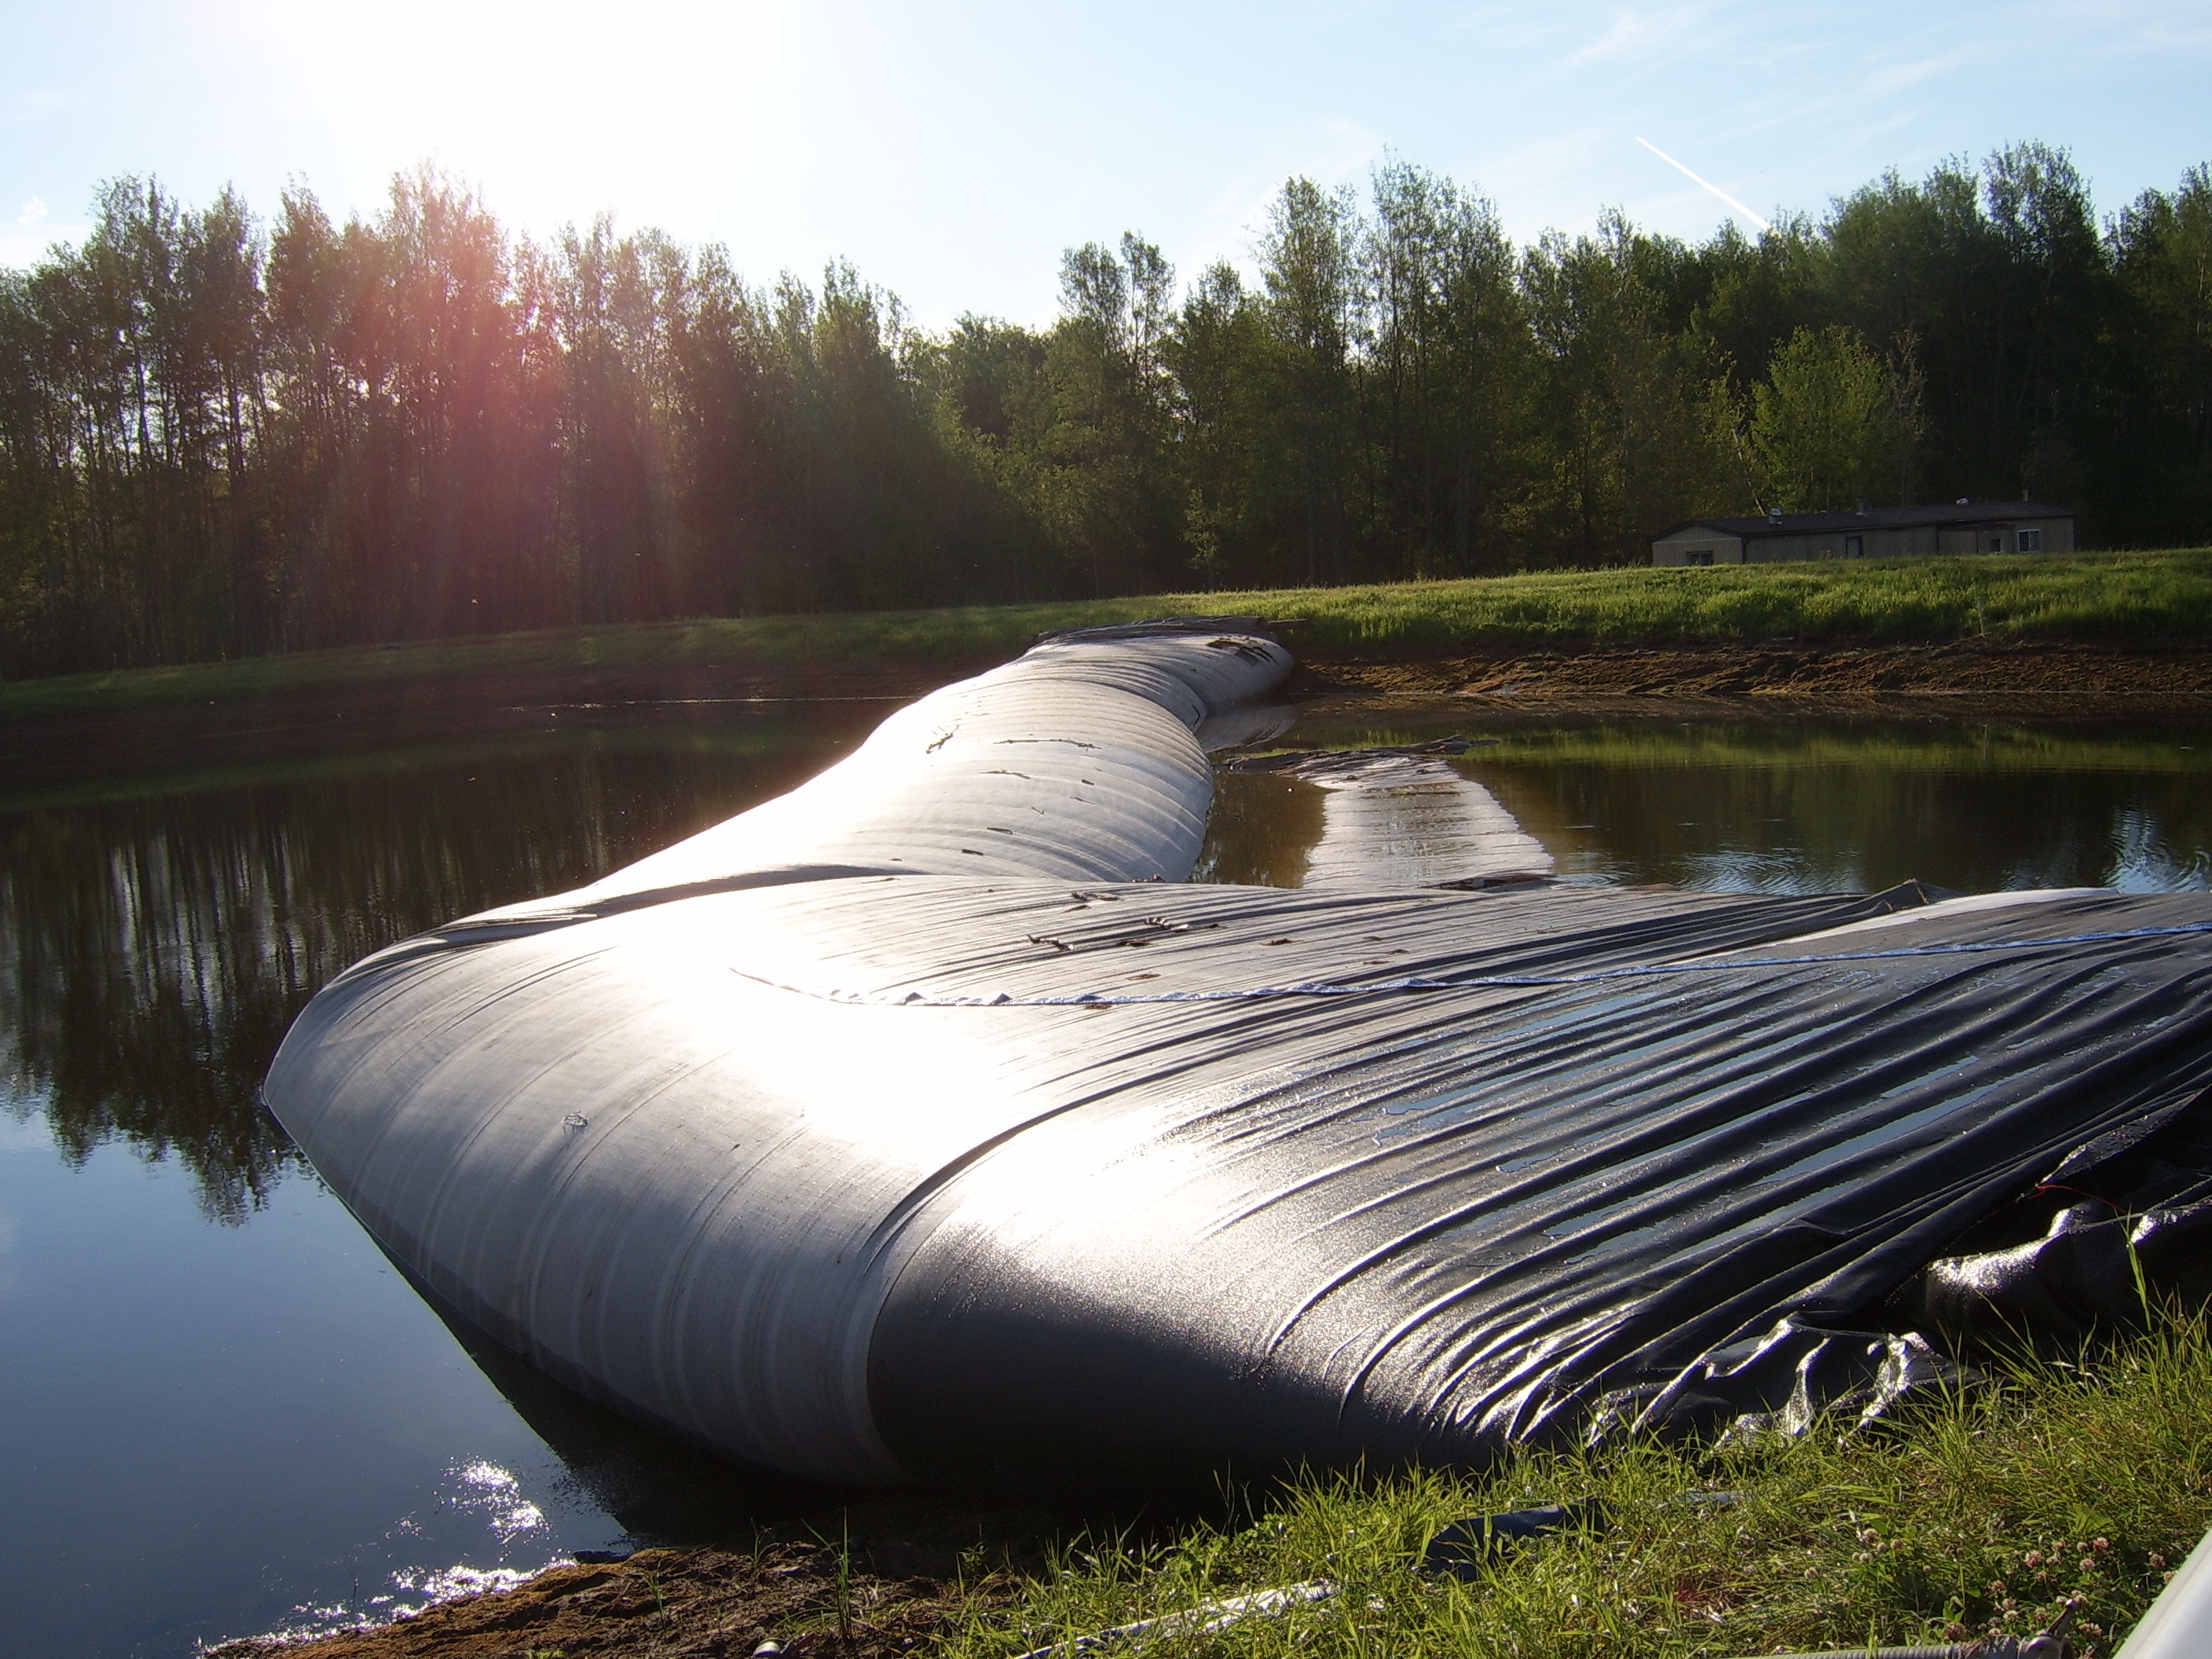
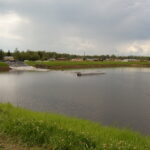
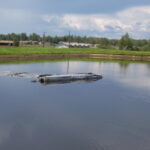
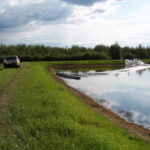
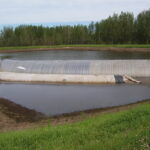
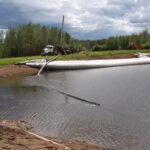
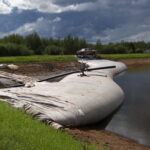
32.) The 12ft tall AquaDam has begun to isolate the corner of the pond that it has surrounded. The AquaDam will make a horseshoe or “U” shape configuration.
69.) As noted before, the 12ft tall AquaDam was pushed by water pressure causing the unit to lean a few feet into the work area. Nothing to be alarmed about. Our newer AquaDams come with an internal baffle system, which greatly reduces the amount of lean an AquaDam is capable of.
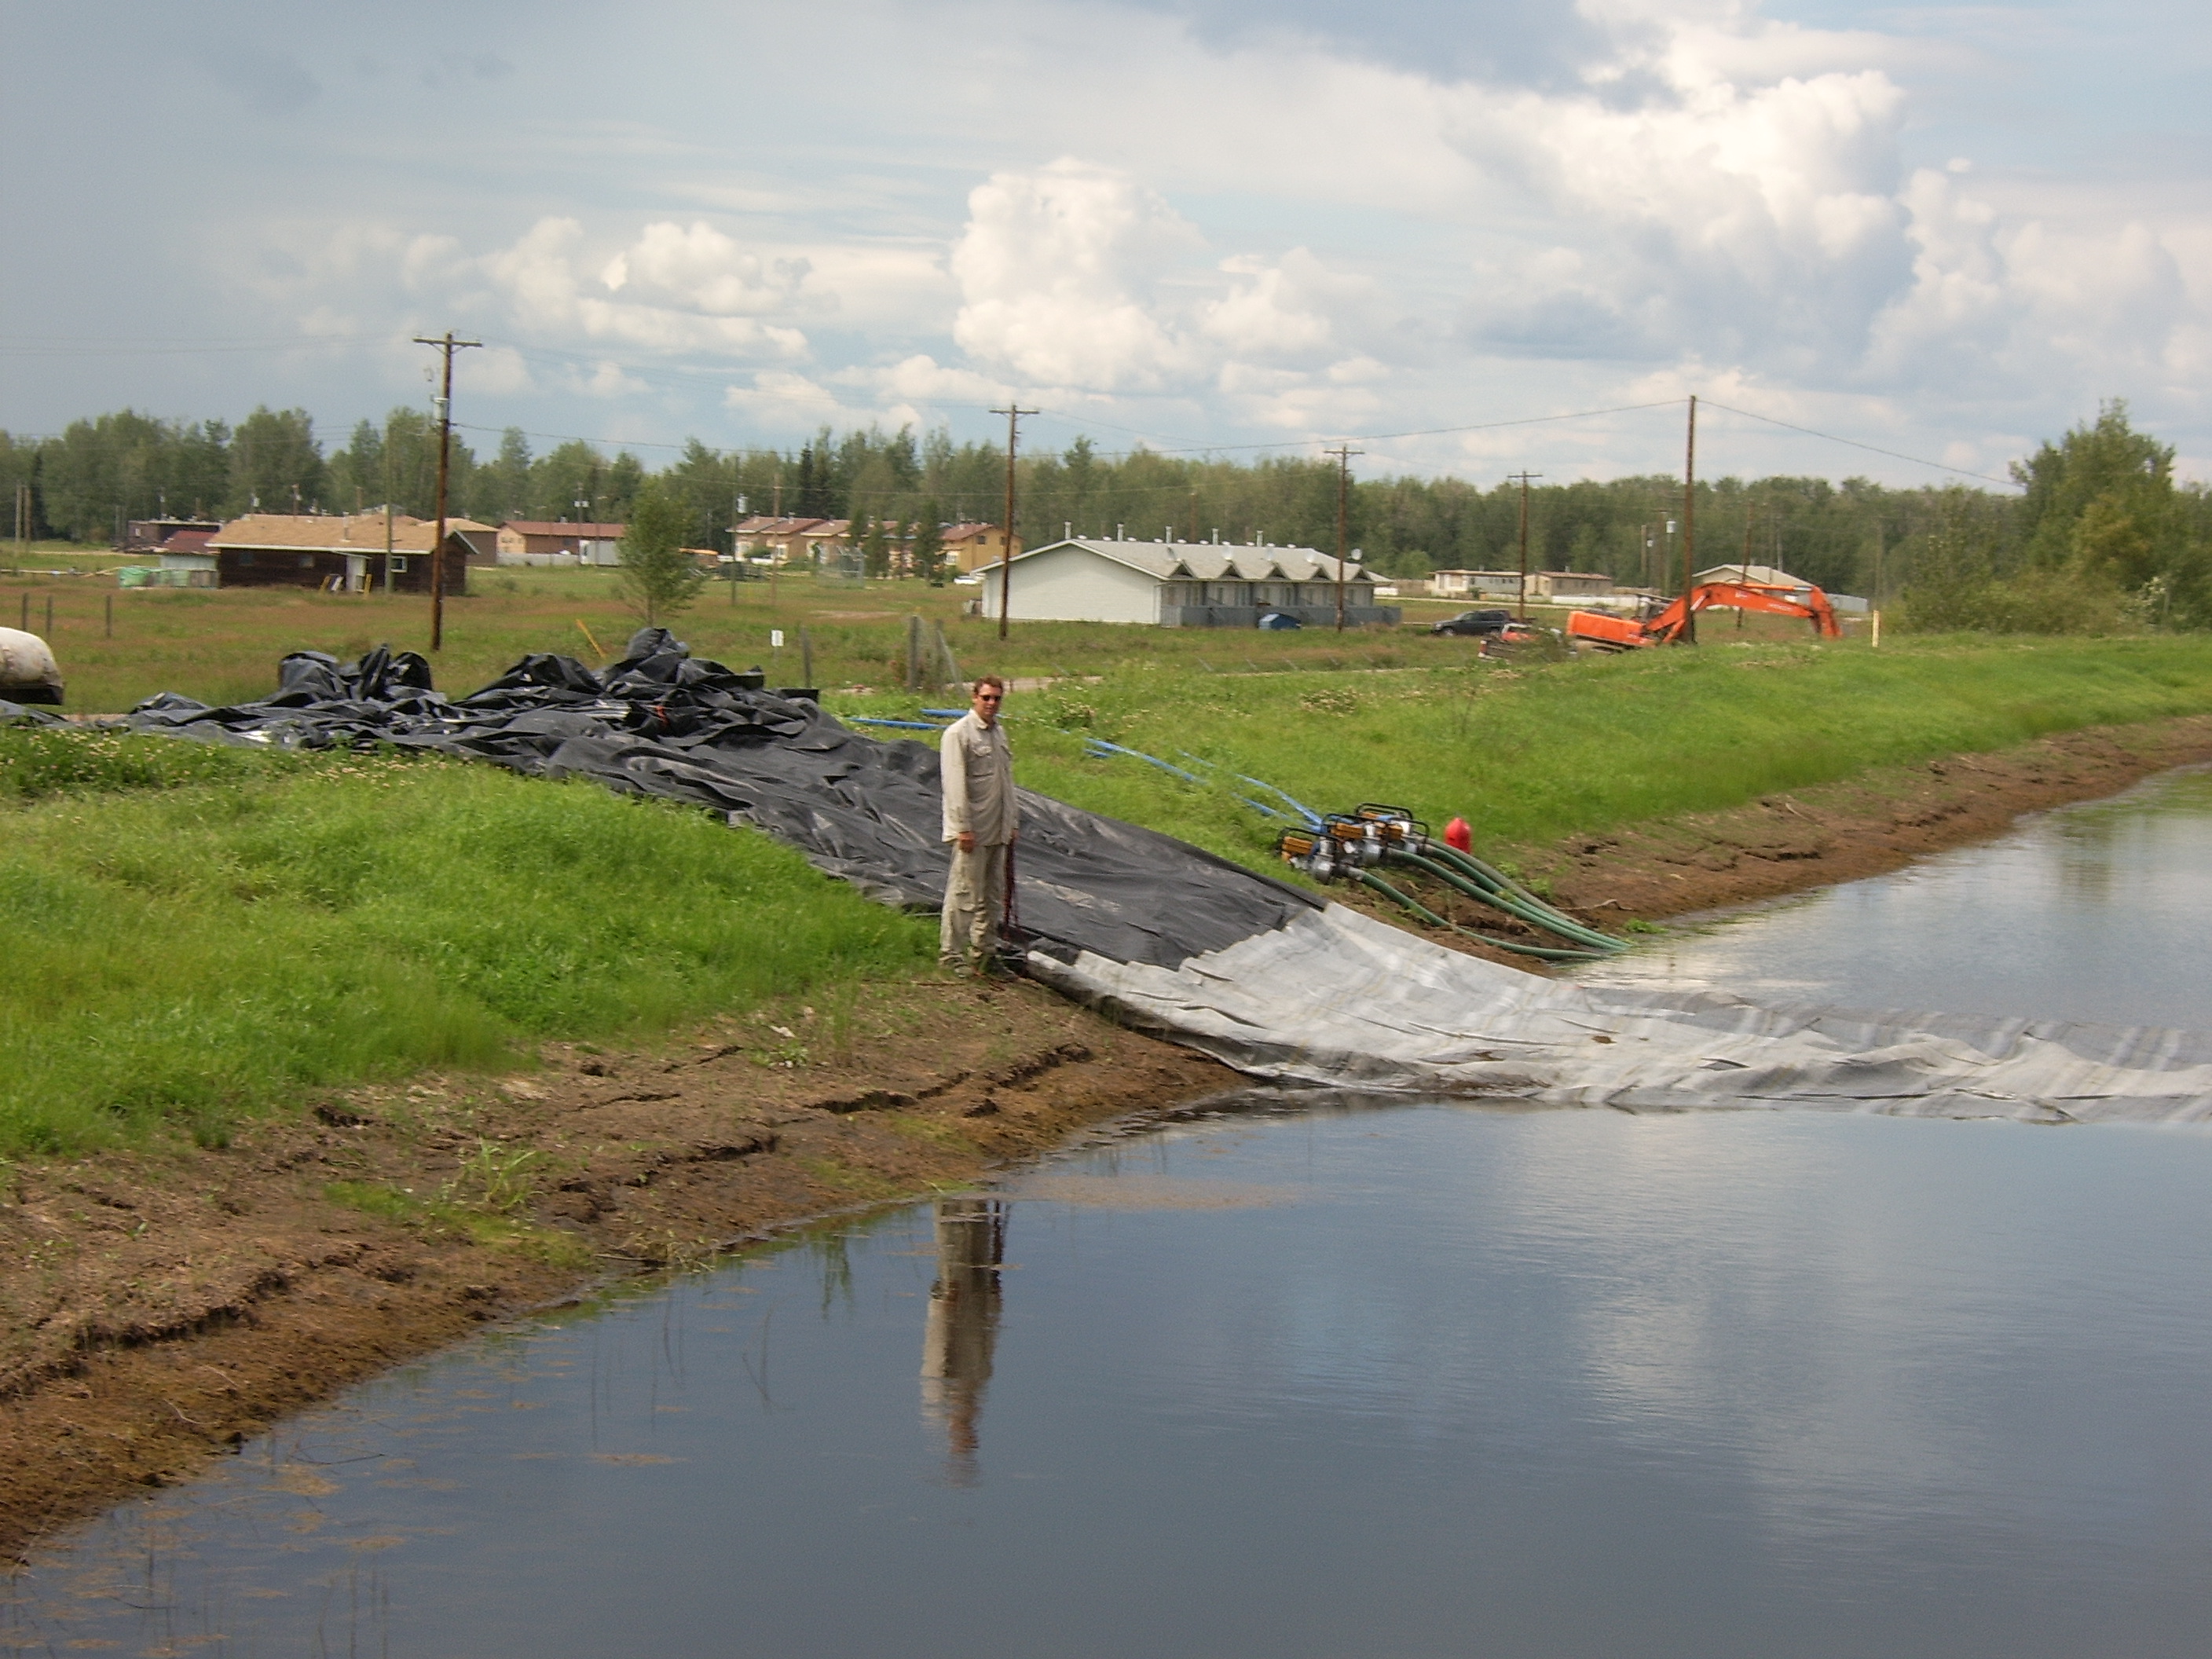
42.) Now the 8ft AquaDam is being unrolled and installed alongside the 12ft tall AquaDam.
33.) Well, close enough to a perpendicular landing, anyway.
70.) Work area is declared “Good Enough”, and finally de-watering can finish taking place. Soon, a large diameter drill will make a hole in the bank of the pond, for the installation of the pipeline.
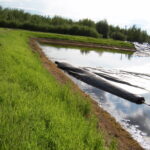
34.) The 200ft long 12ft tall SCE AquaDam has made it to its ending bank.
35.) AquaDam has been completely installed along its path, now it must fill to its maximum height of 12 feet.
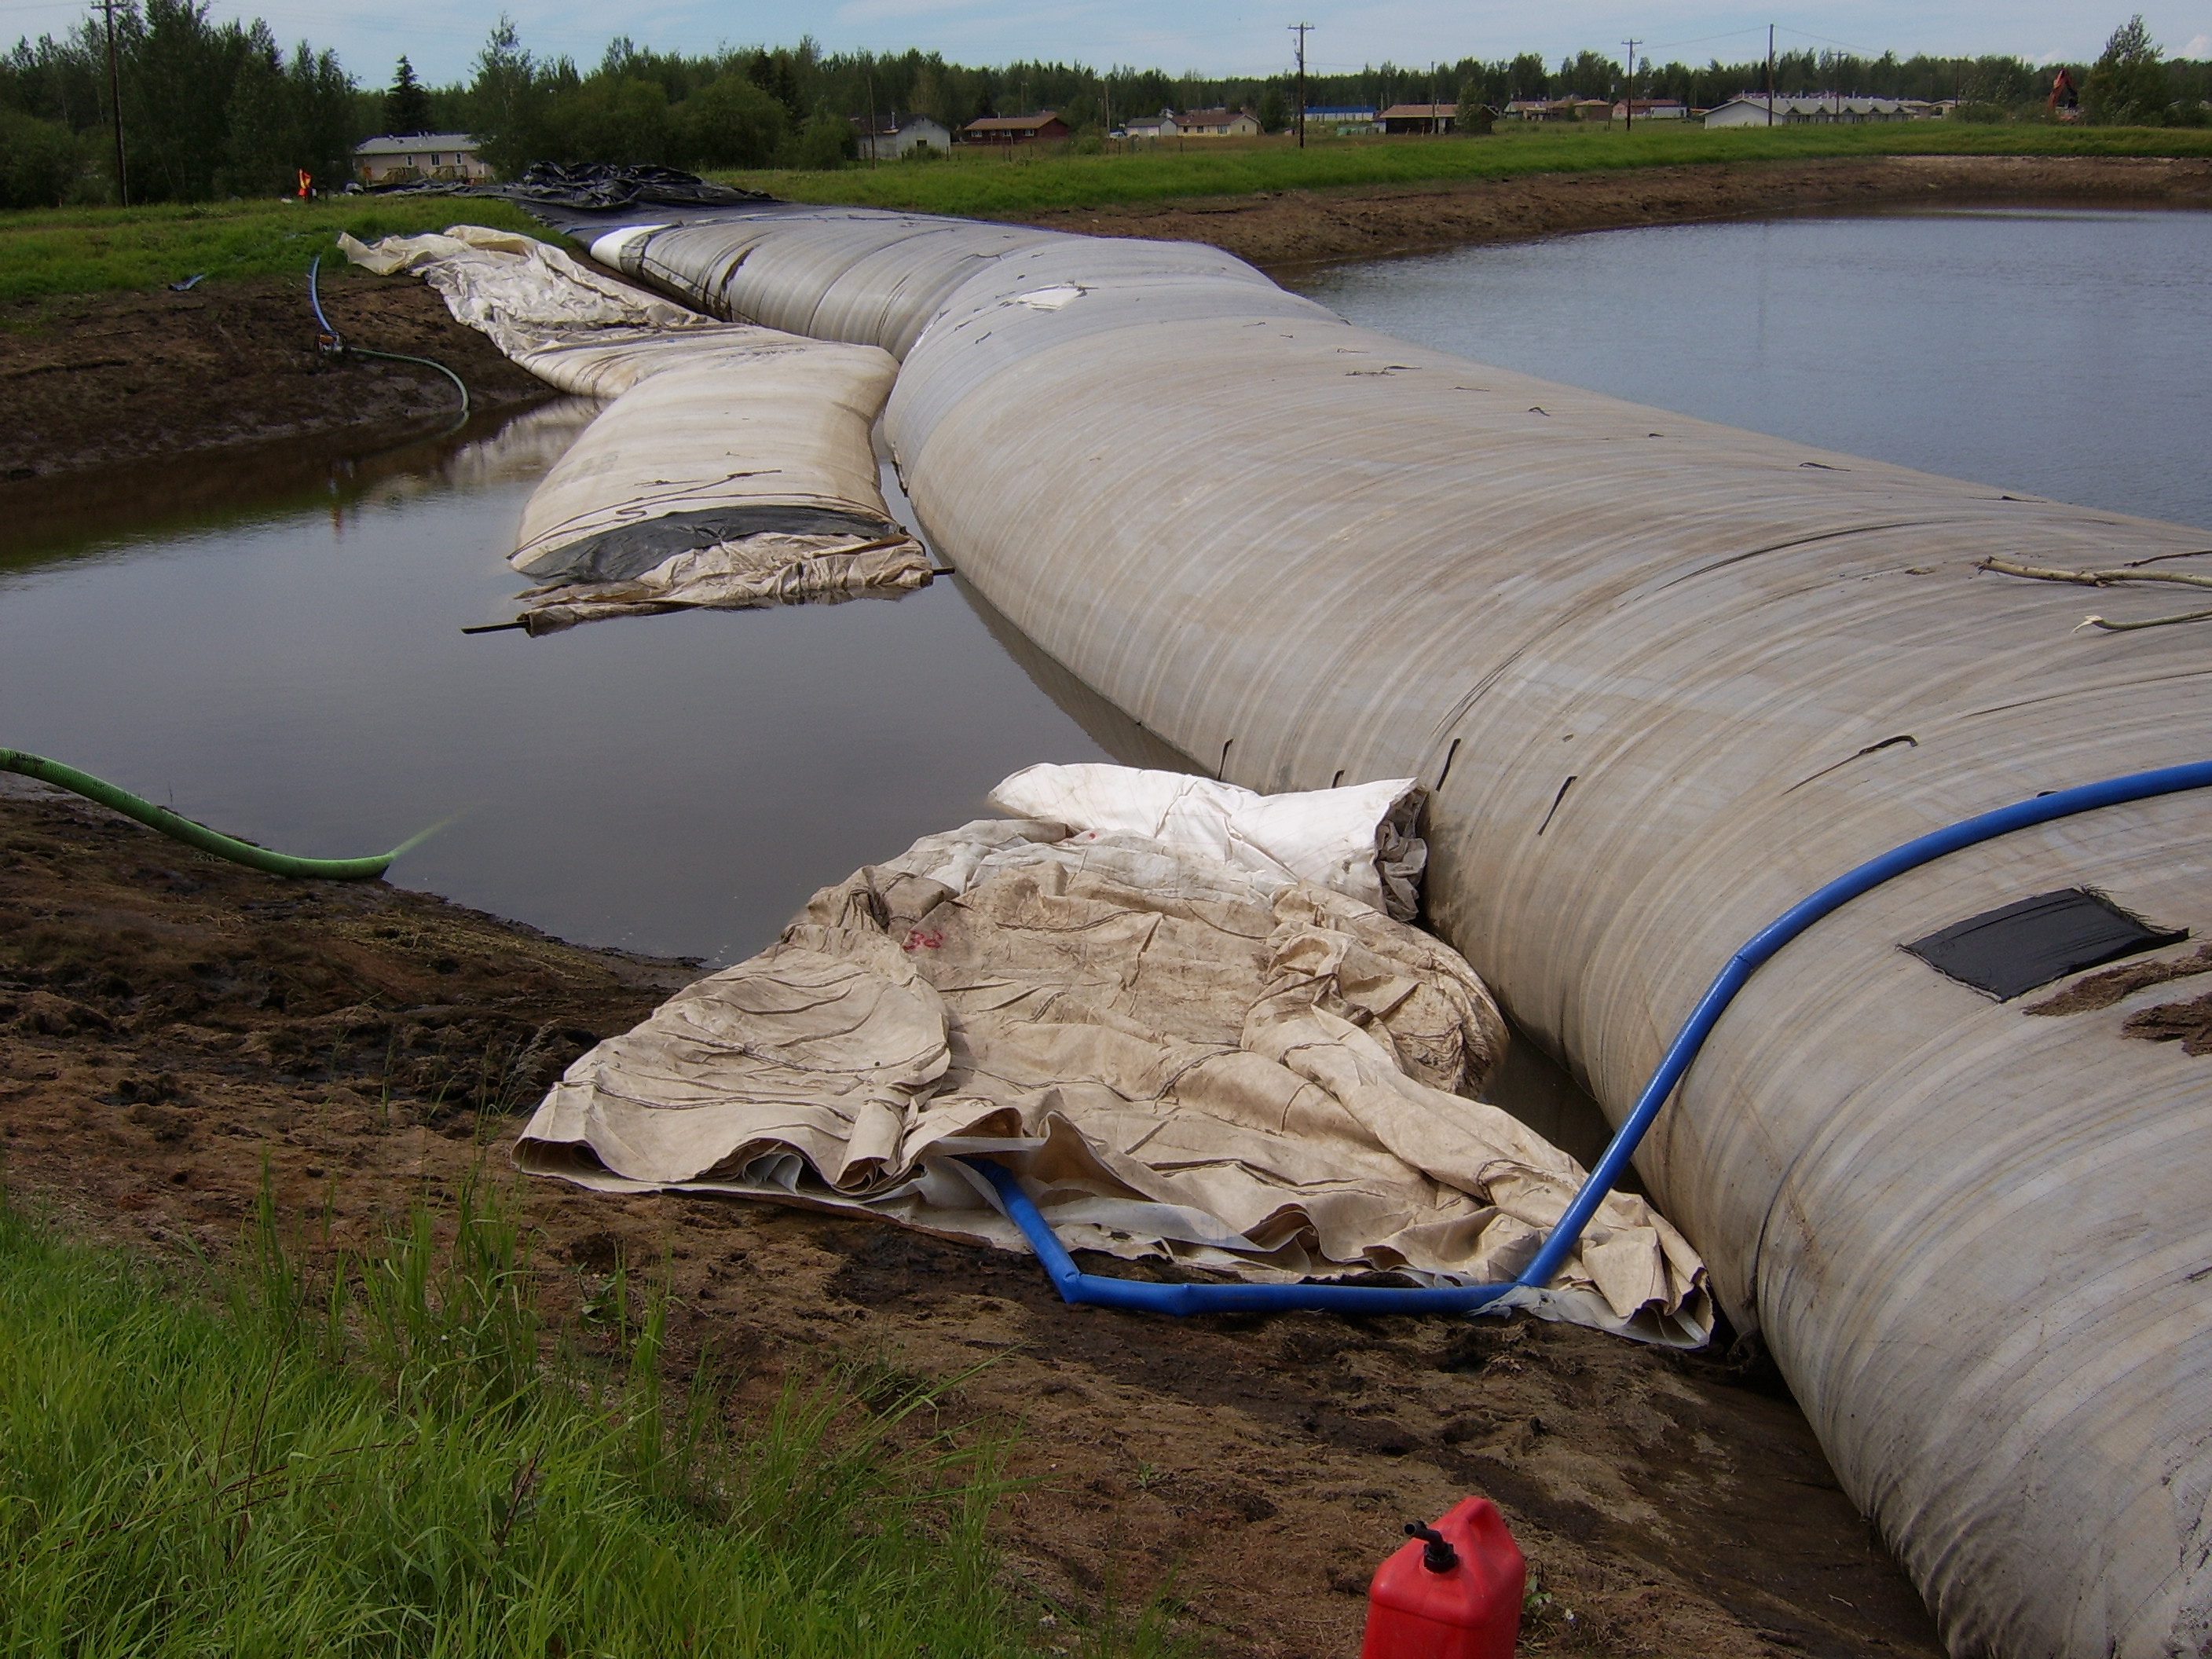
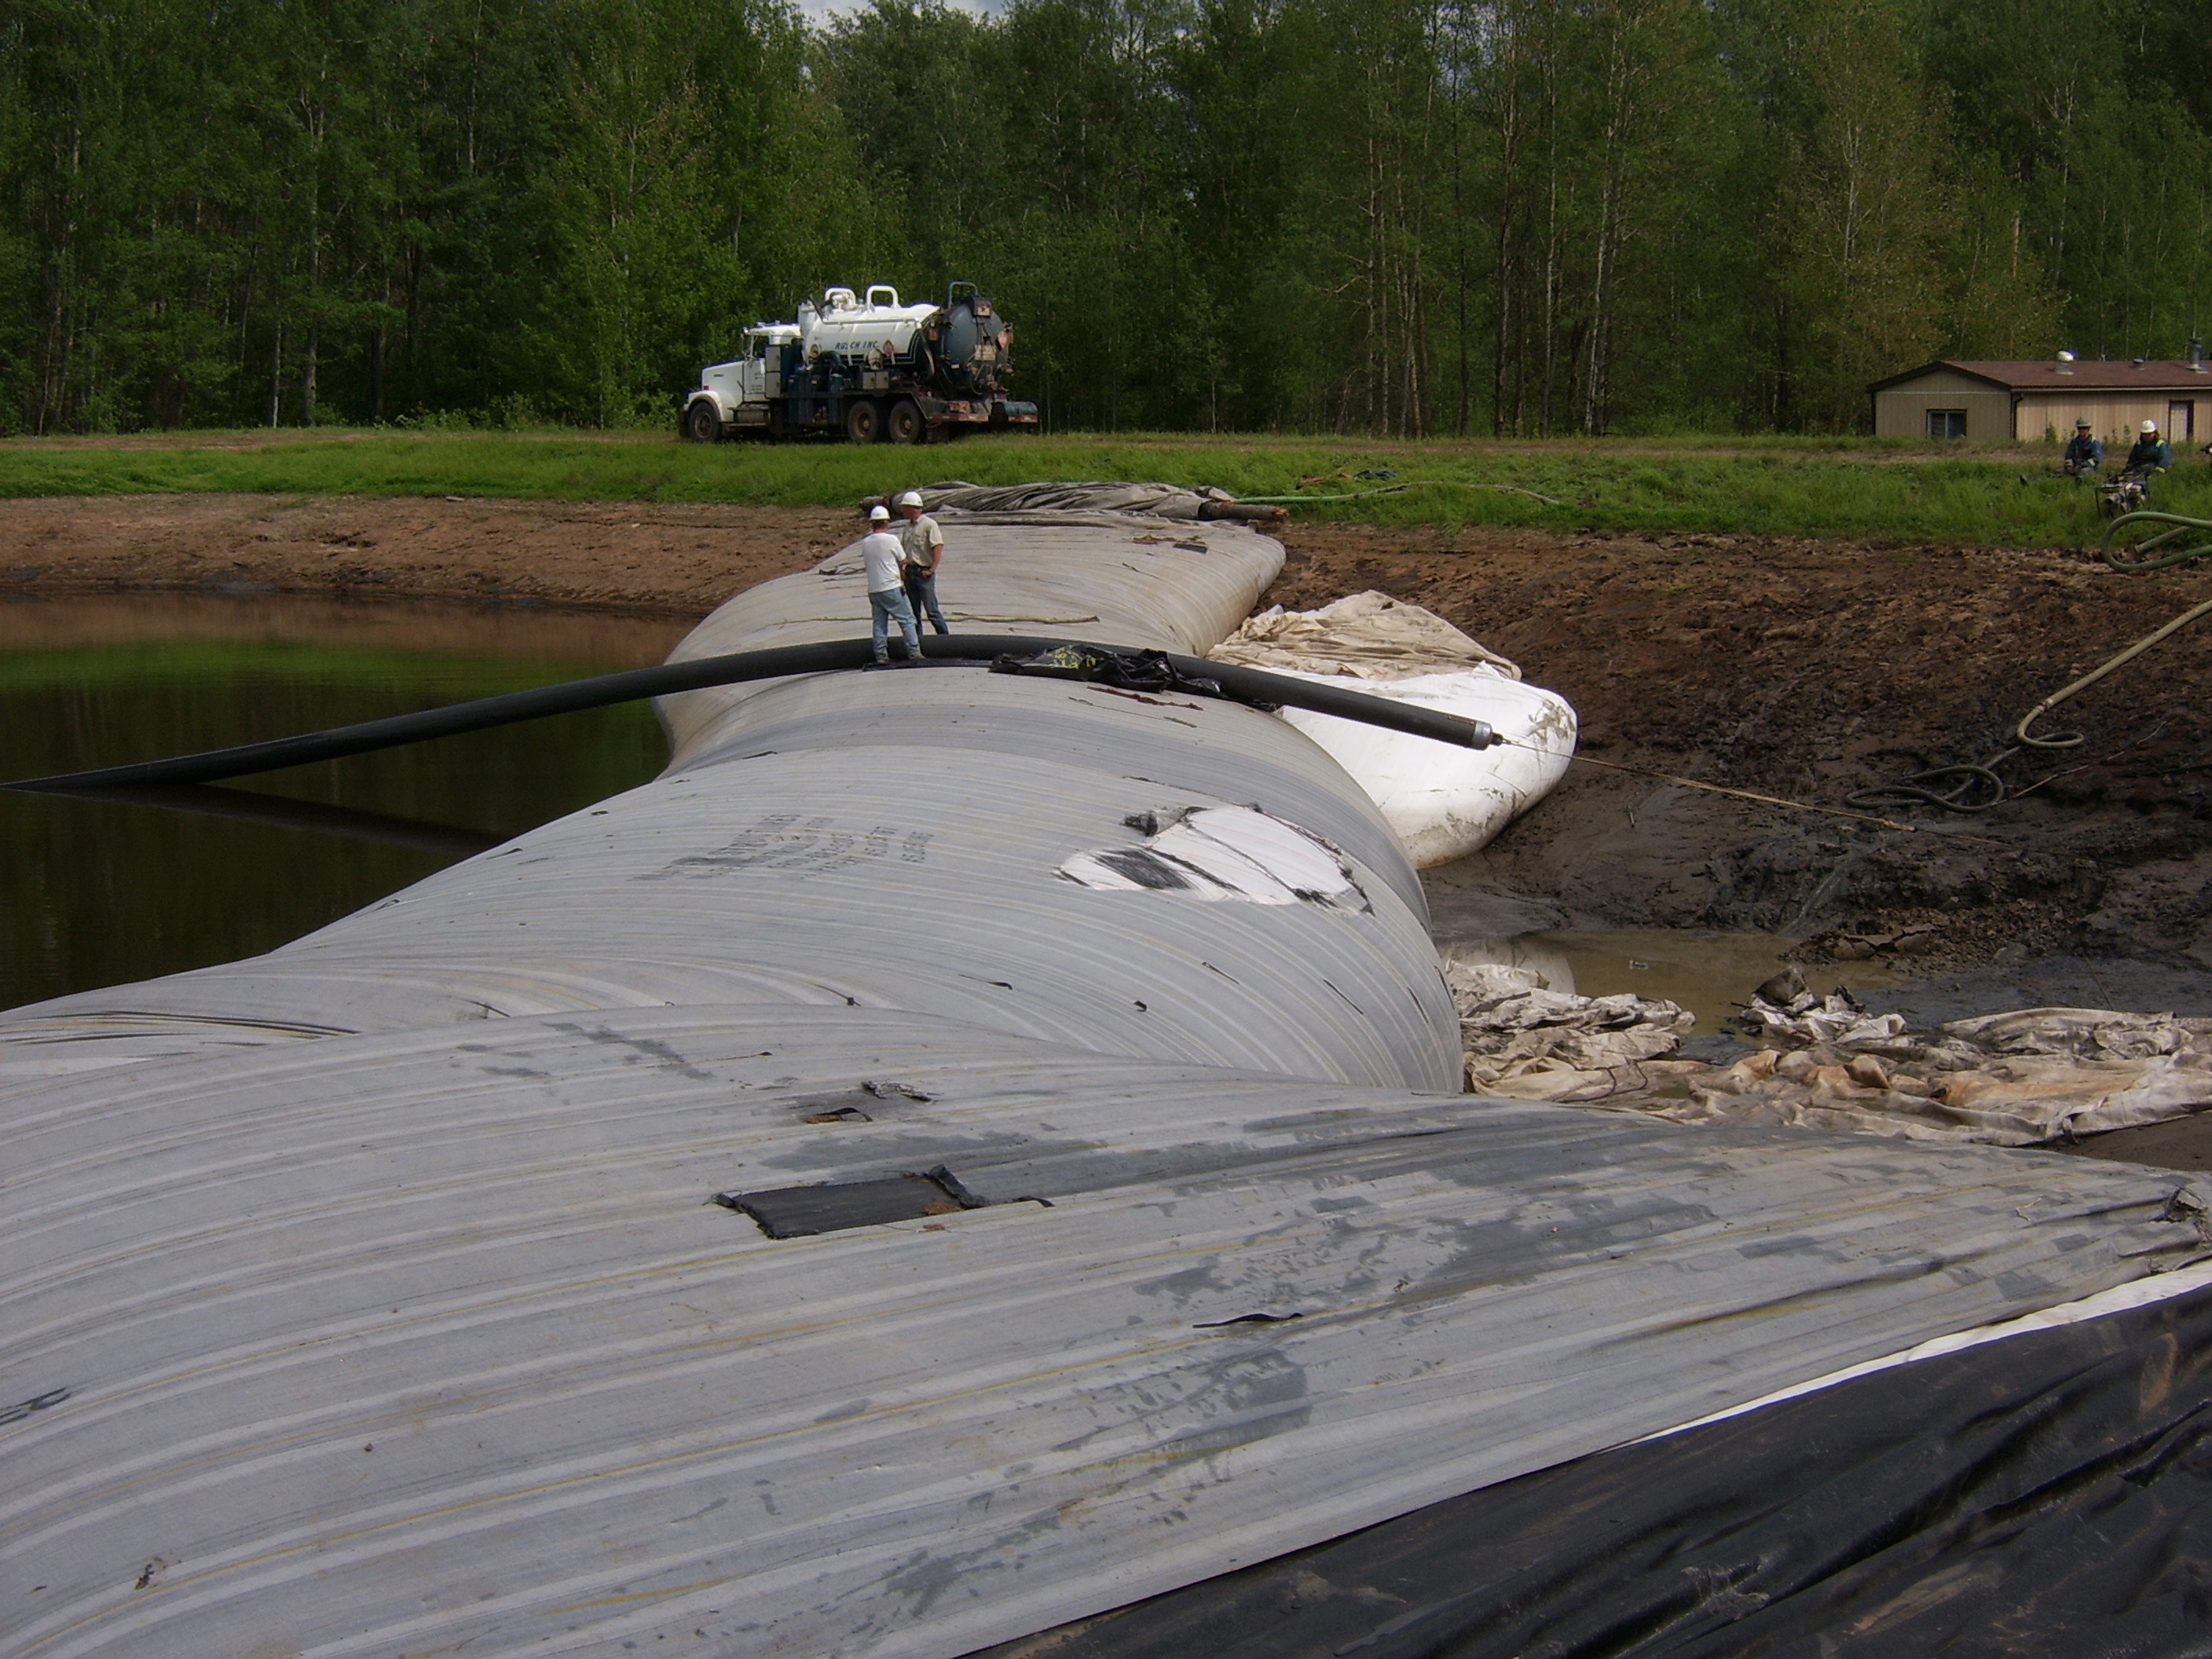
71.) The outer material continues to tear on the 12ft tall AquaDam. Only one layer is tearing, so there was no cause for alarm.
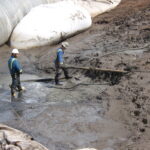
43.) The water was left in the work area for this phase, because it prevented any kind of water pressure difference on either side of the 12ft tall AquaDam.
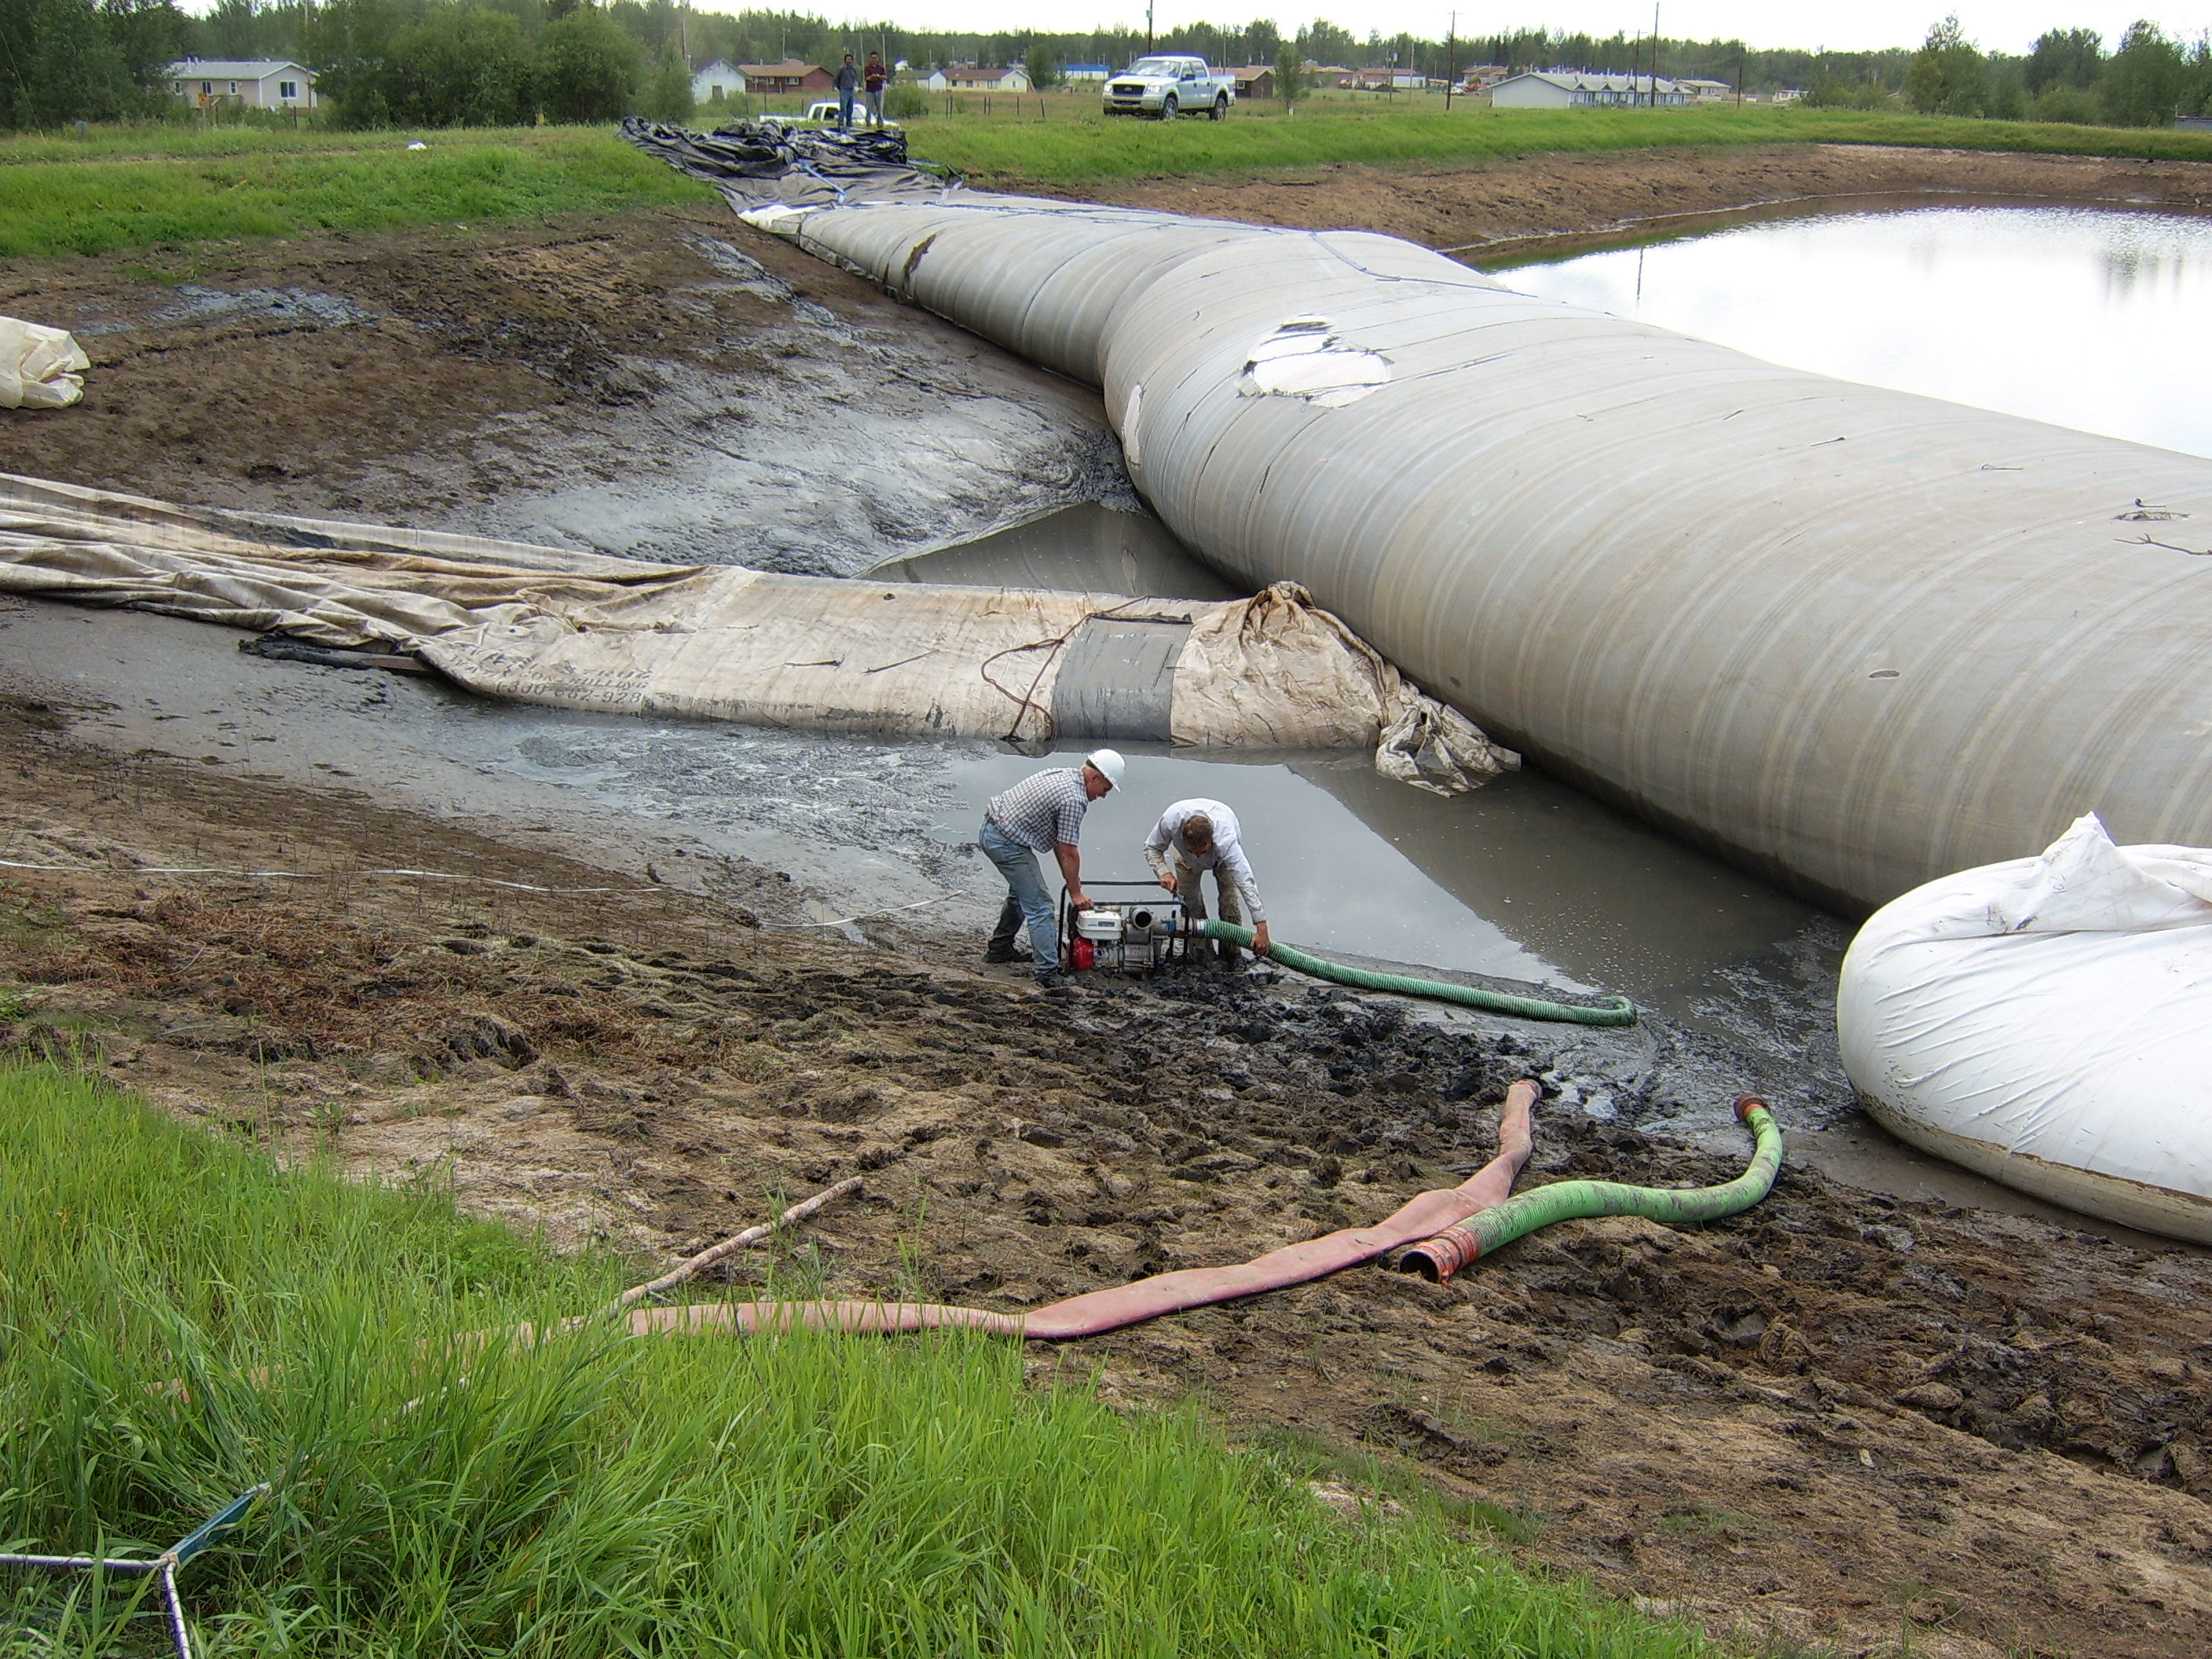
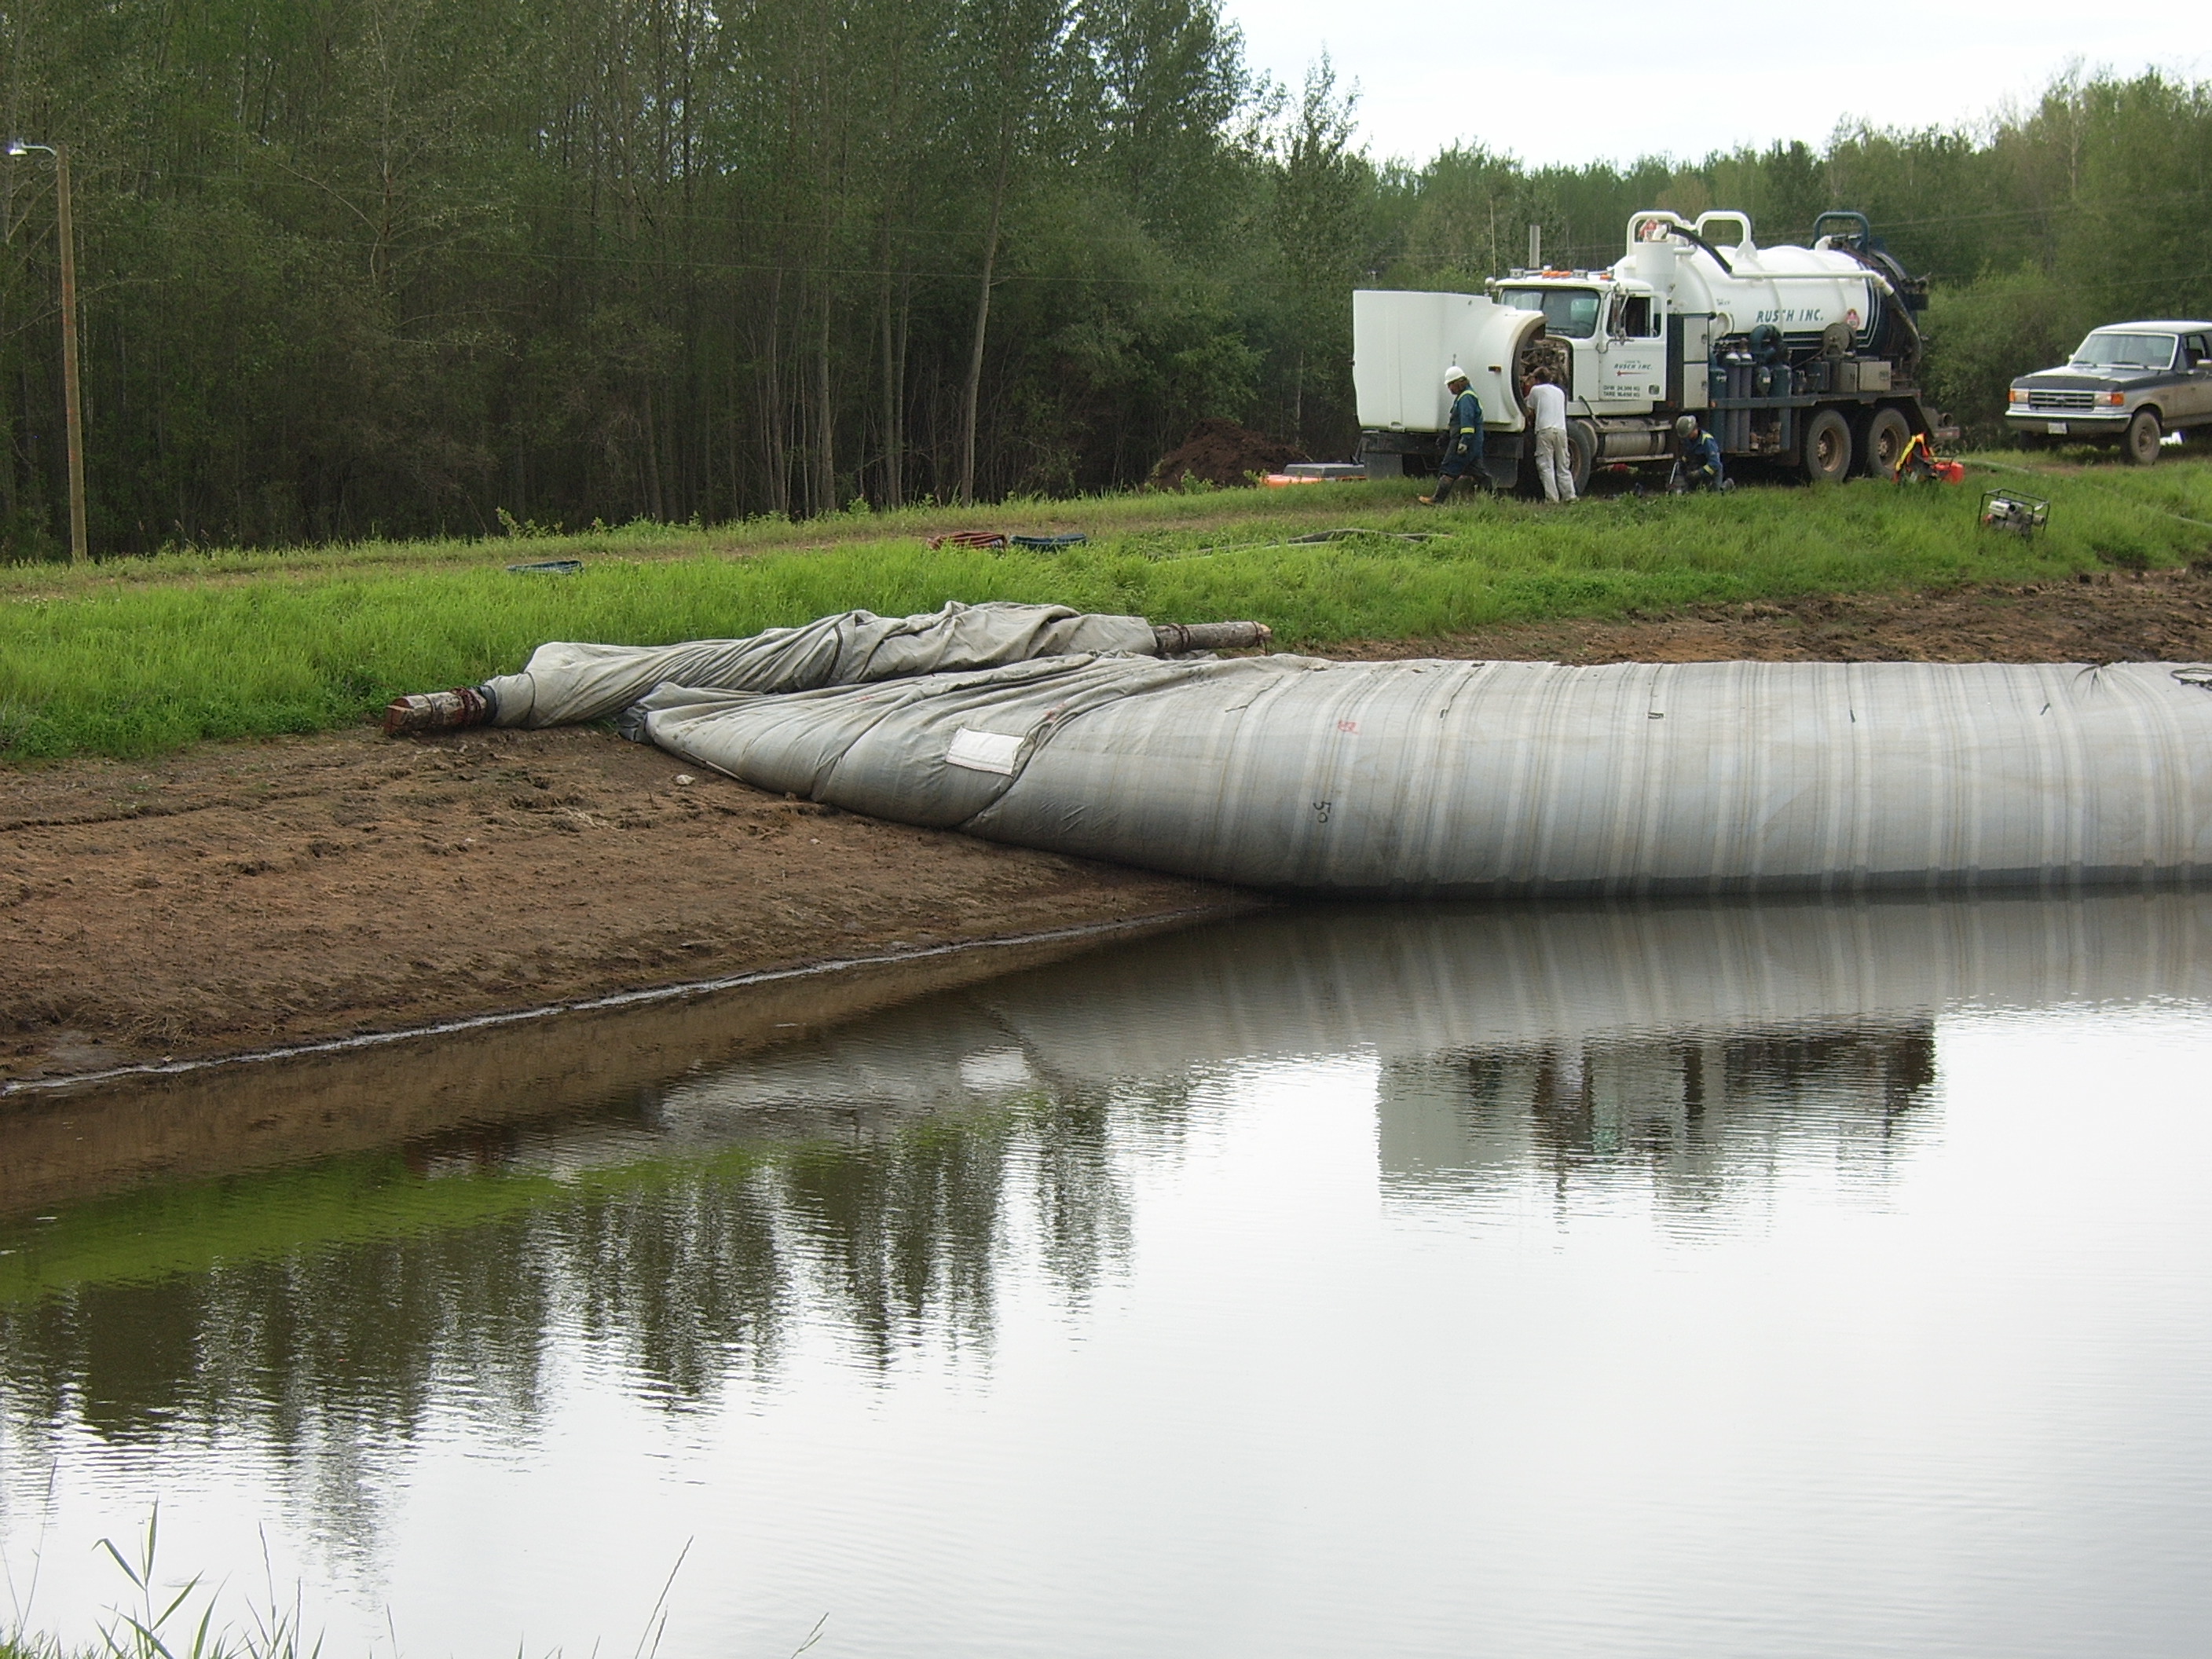
44.) Unrolling further.
45.) The 8ft tall support SCE AquaDam continues to fill.
72.) The work area continues to be prepped for the pipeline installation.
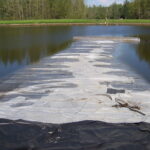
73.) The work area is pretty much completely de-watered.
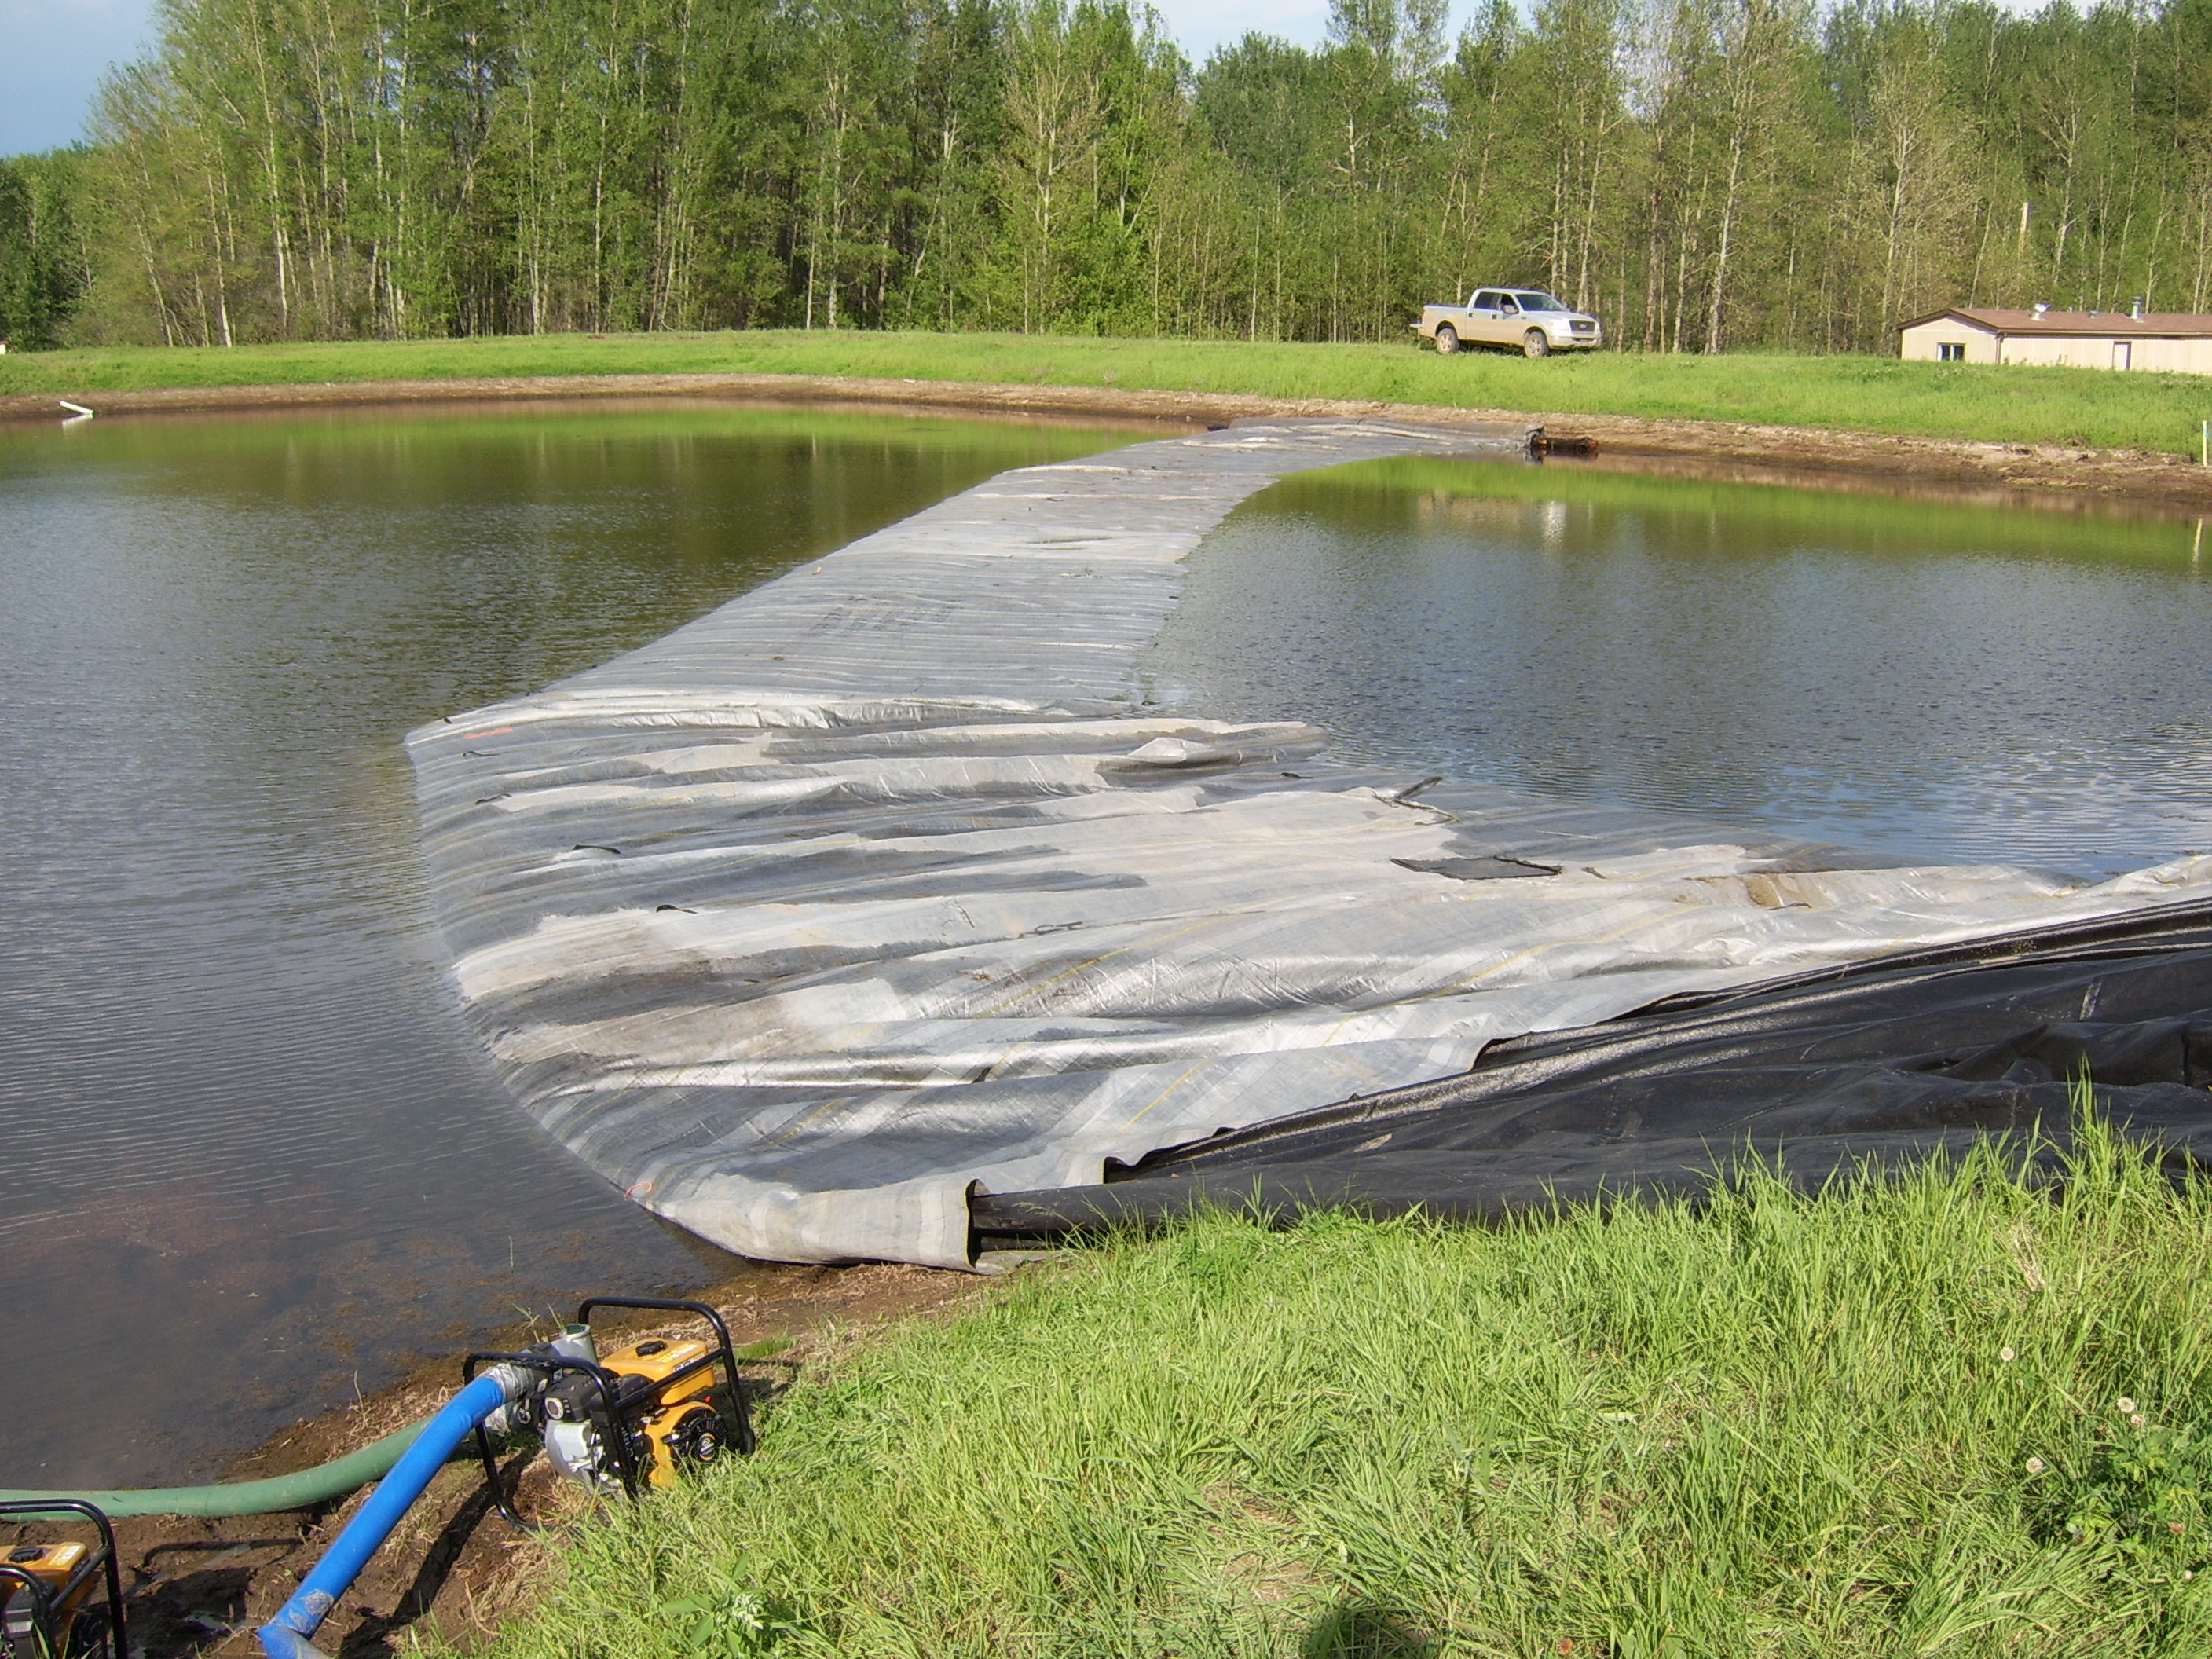
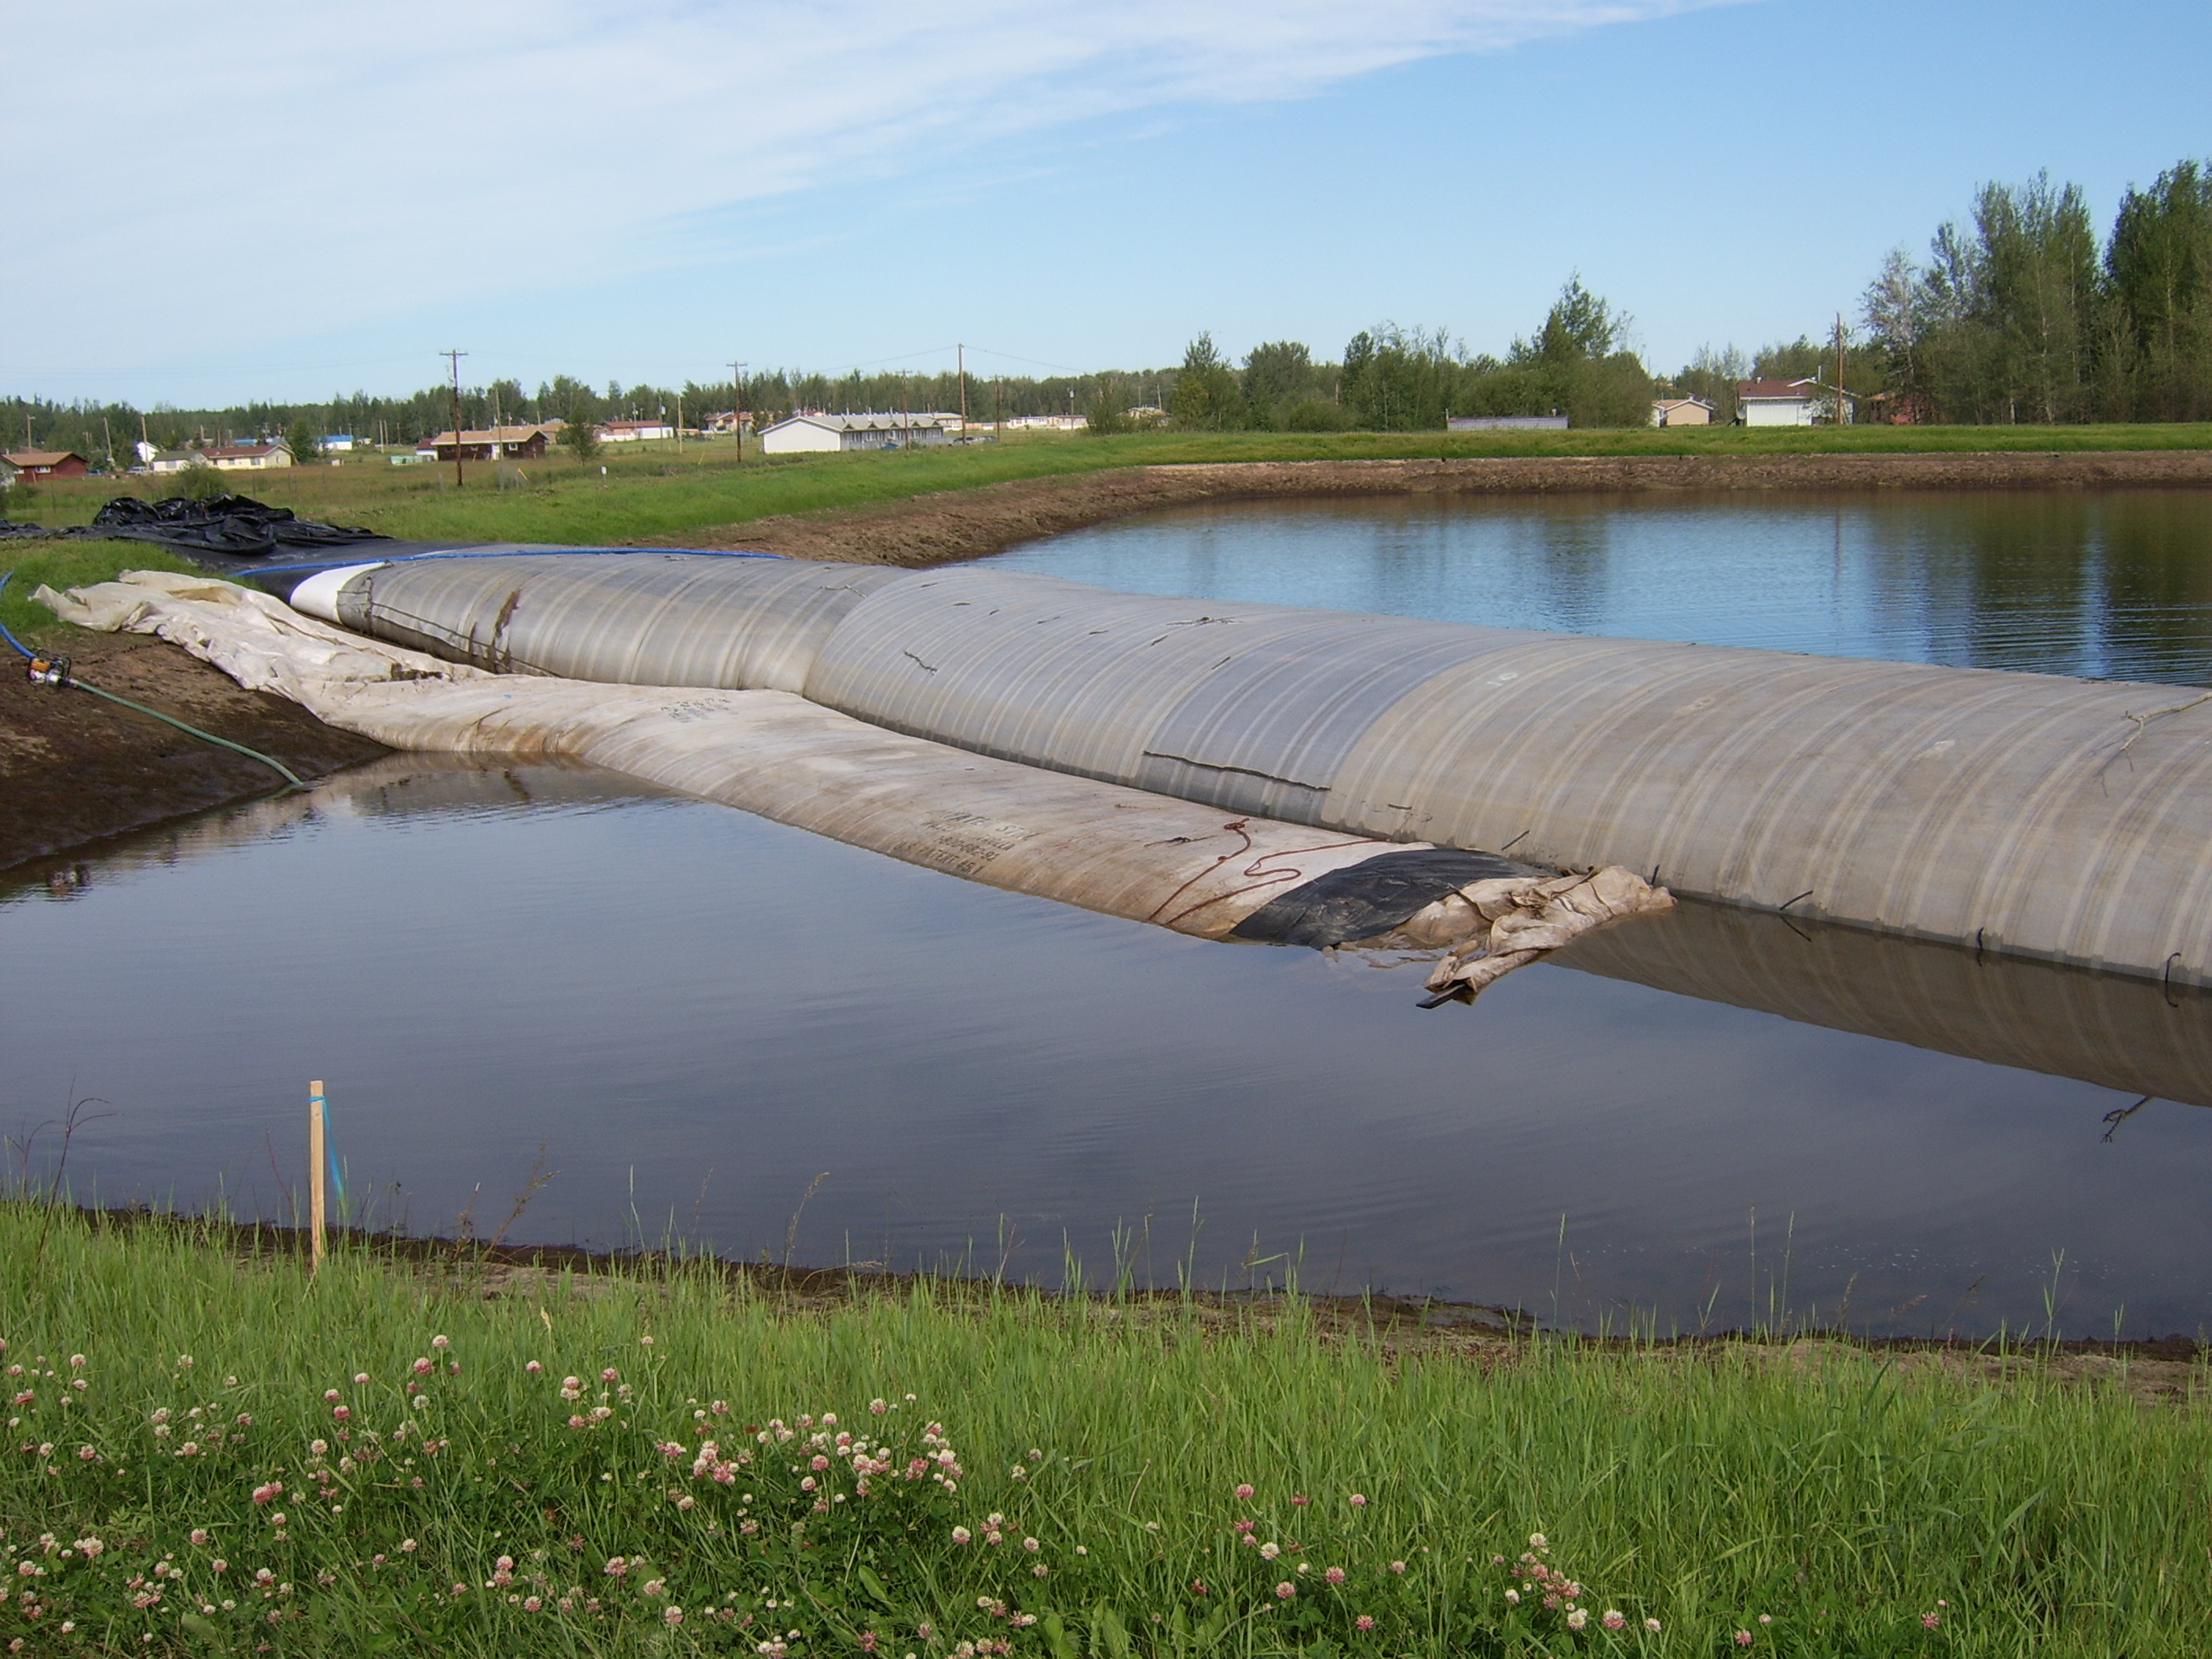
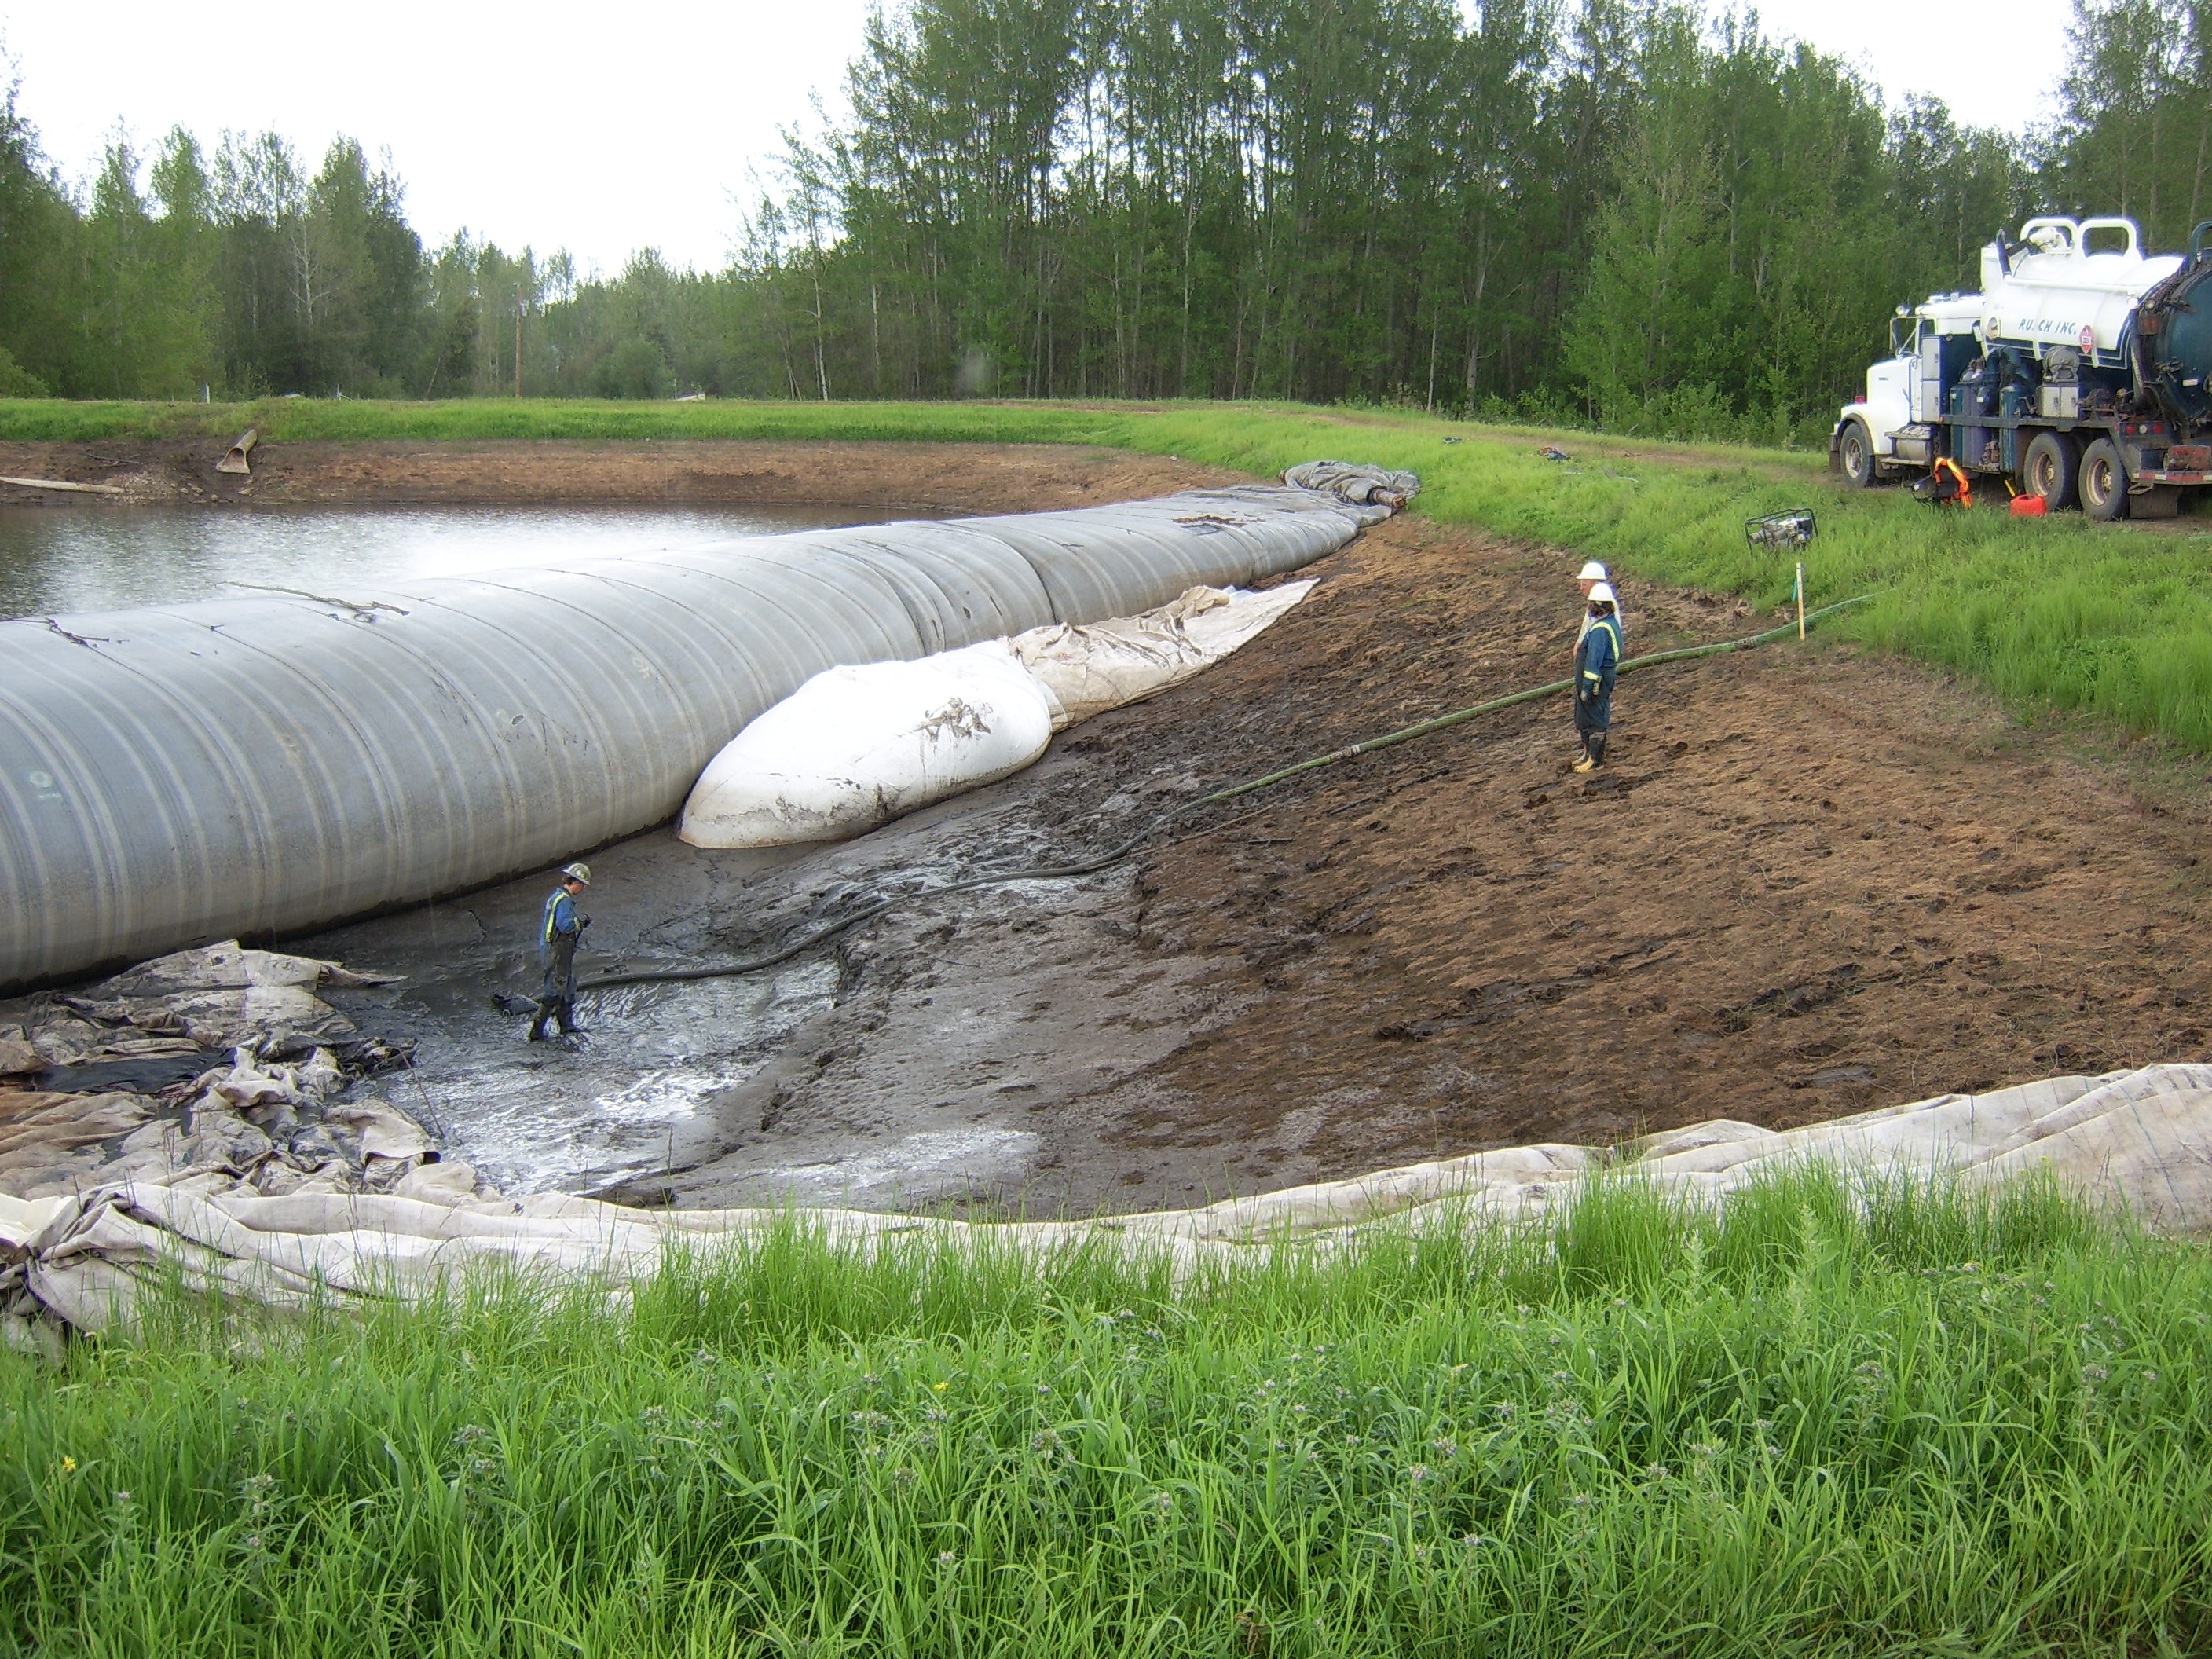
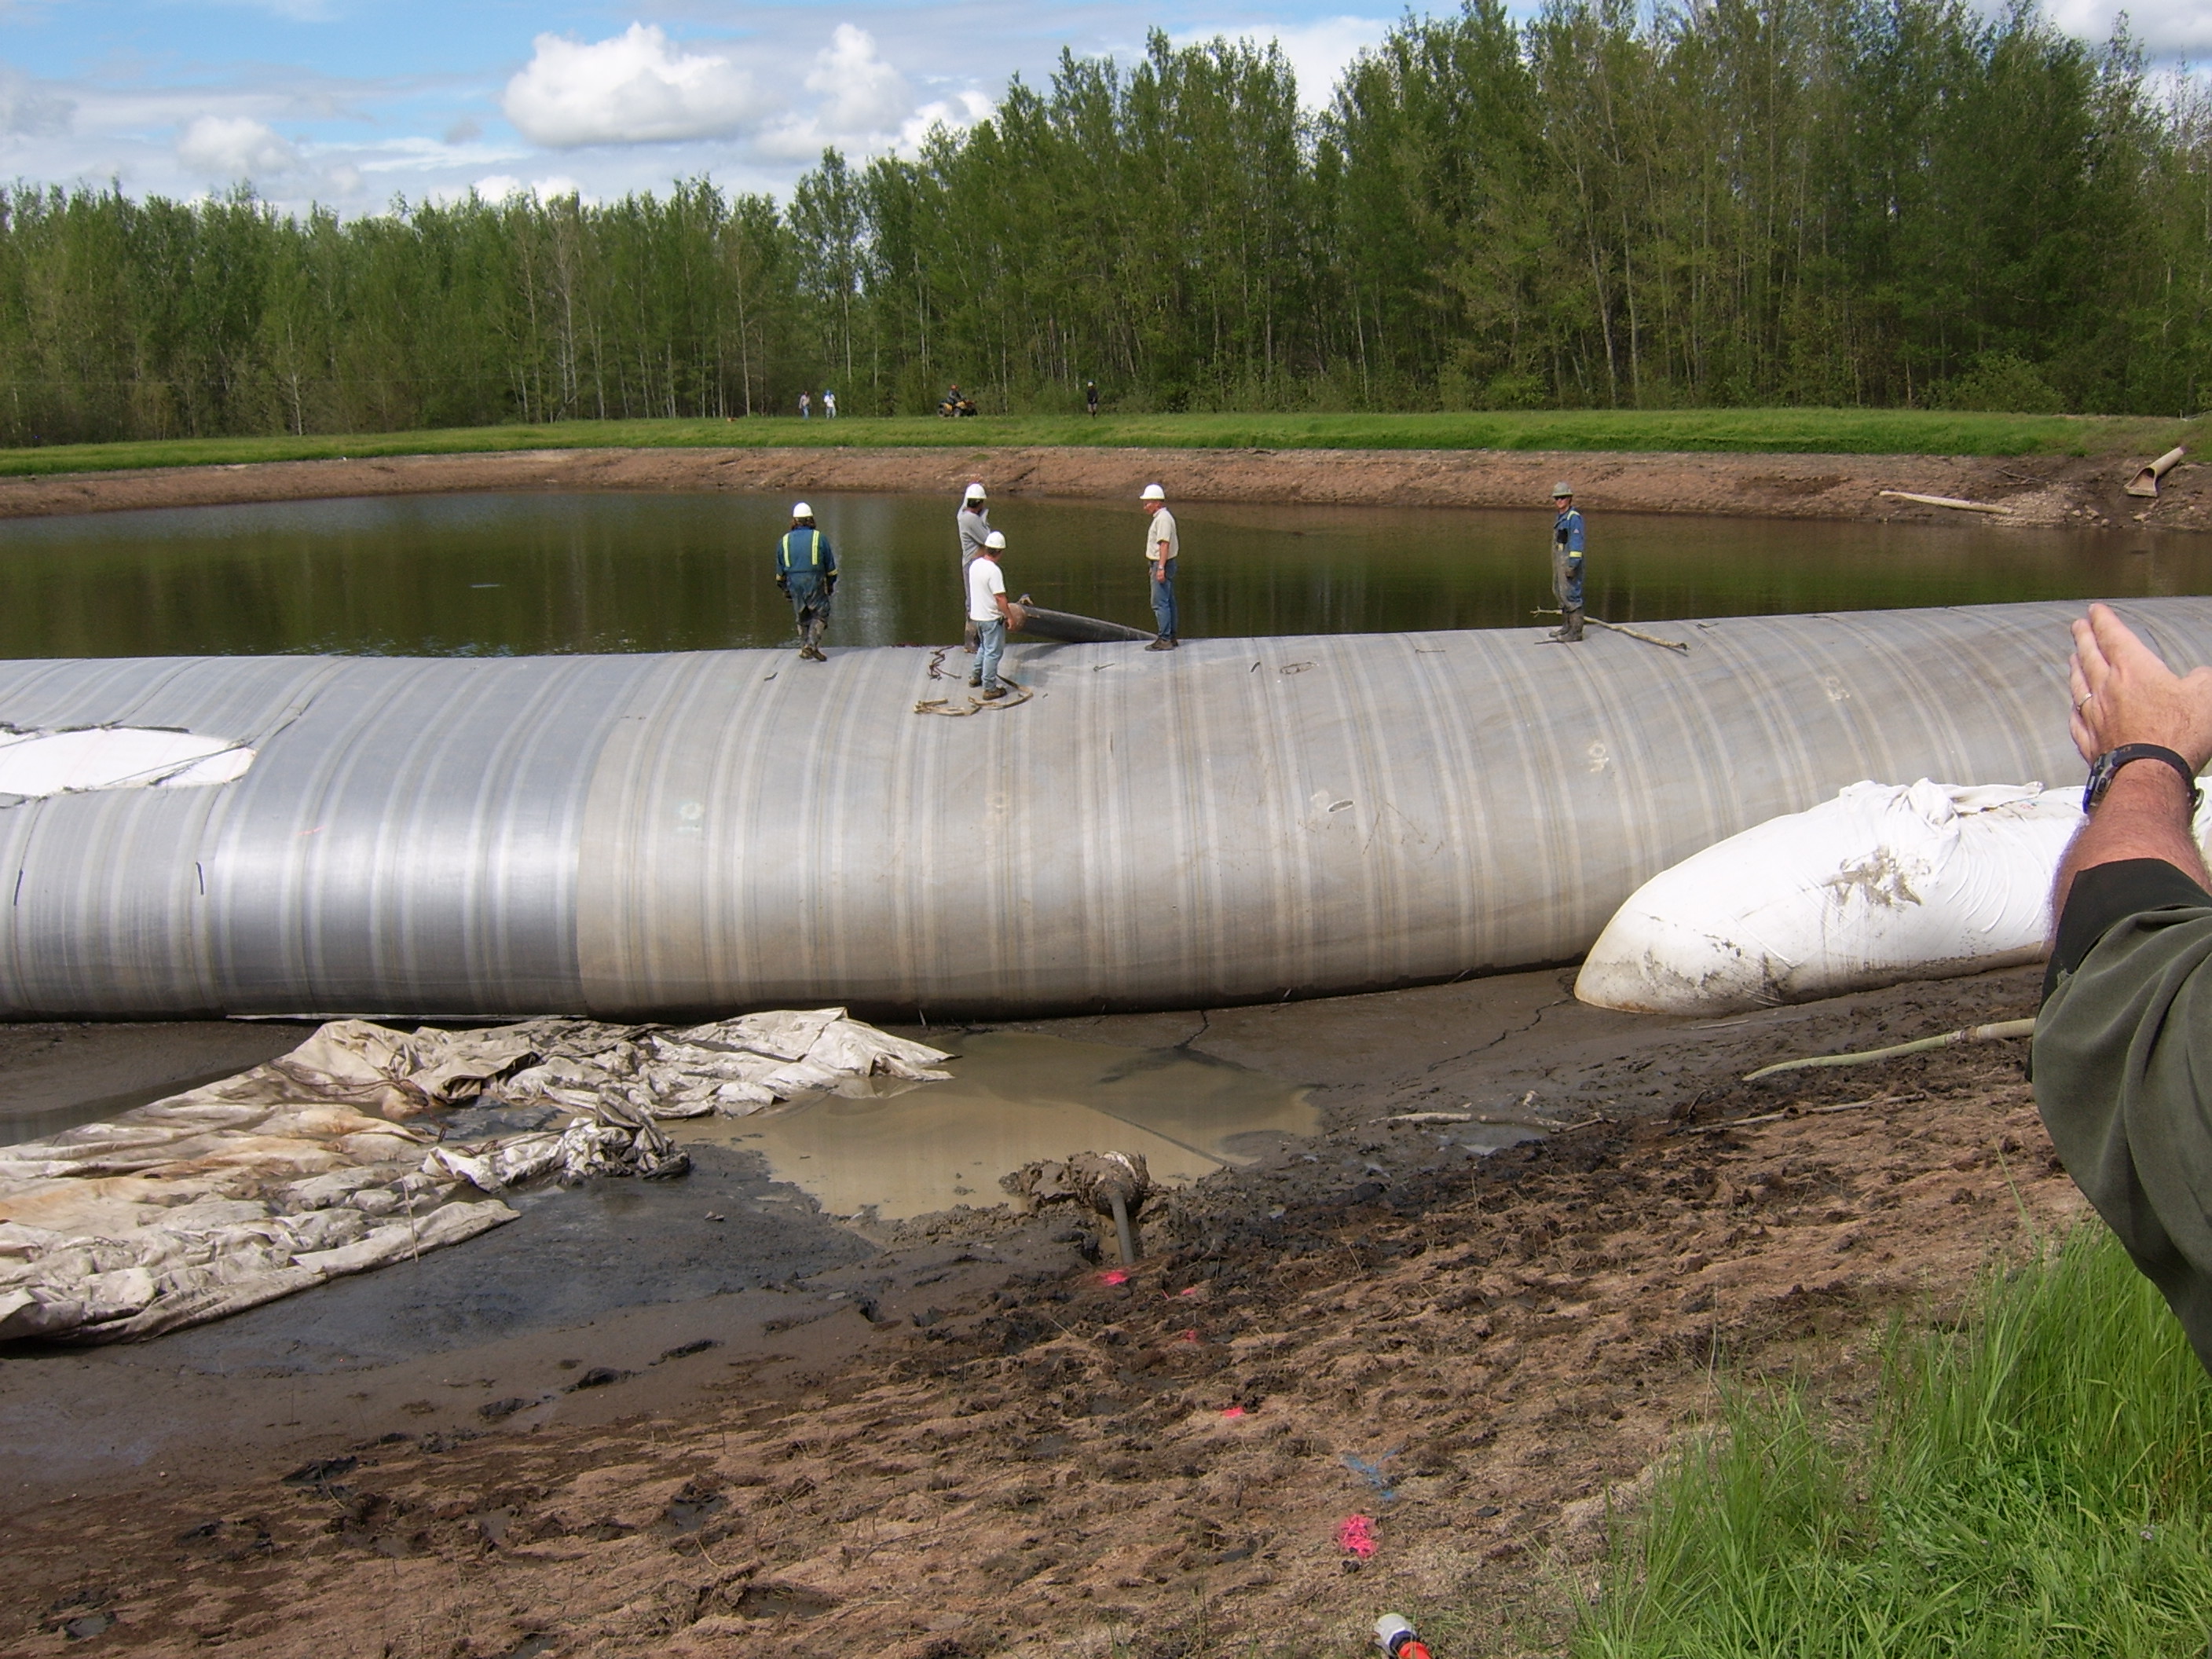
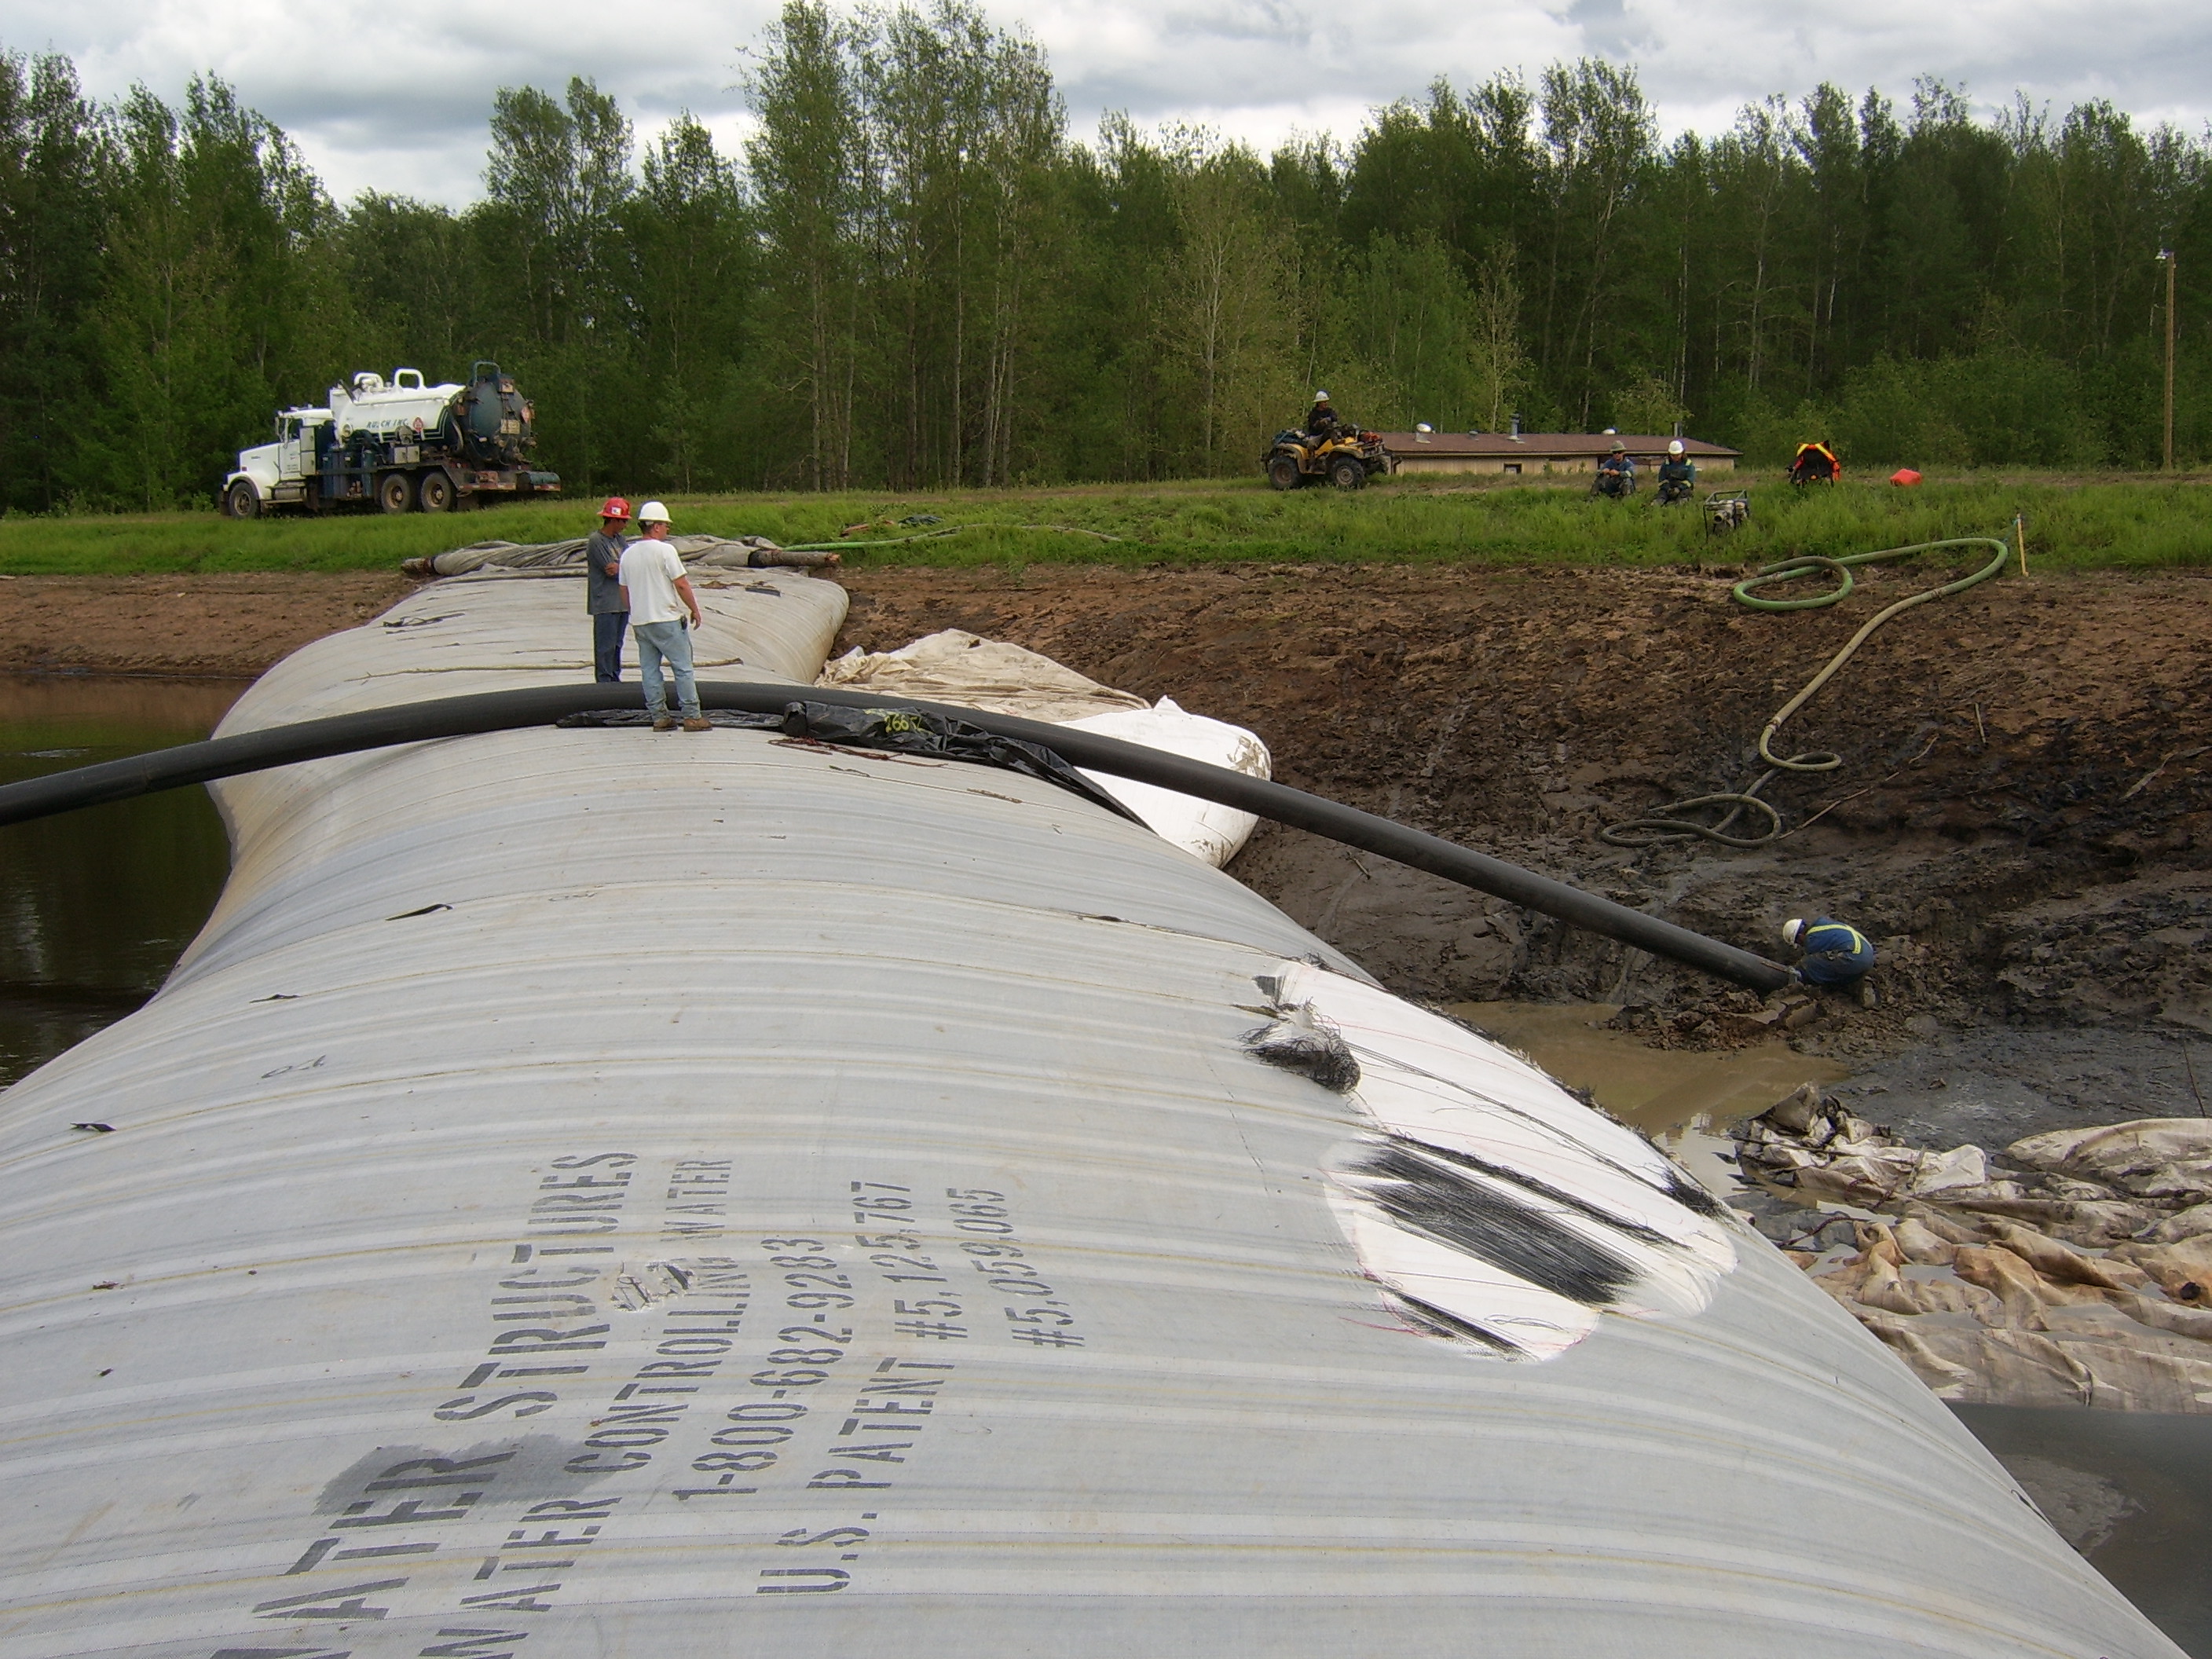
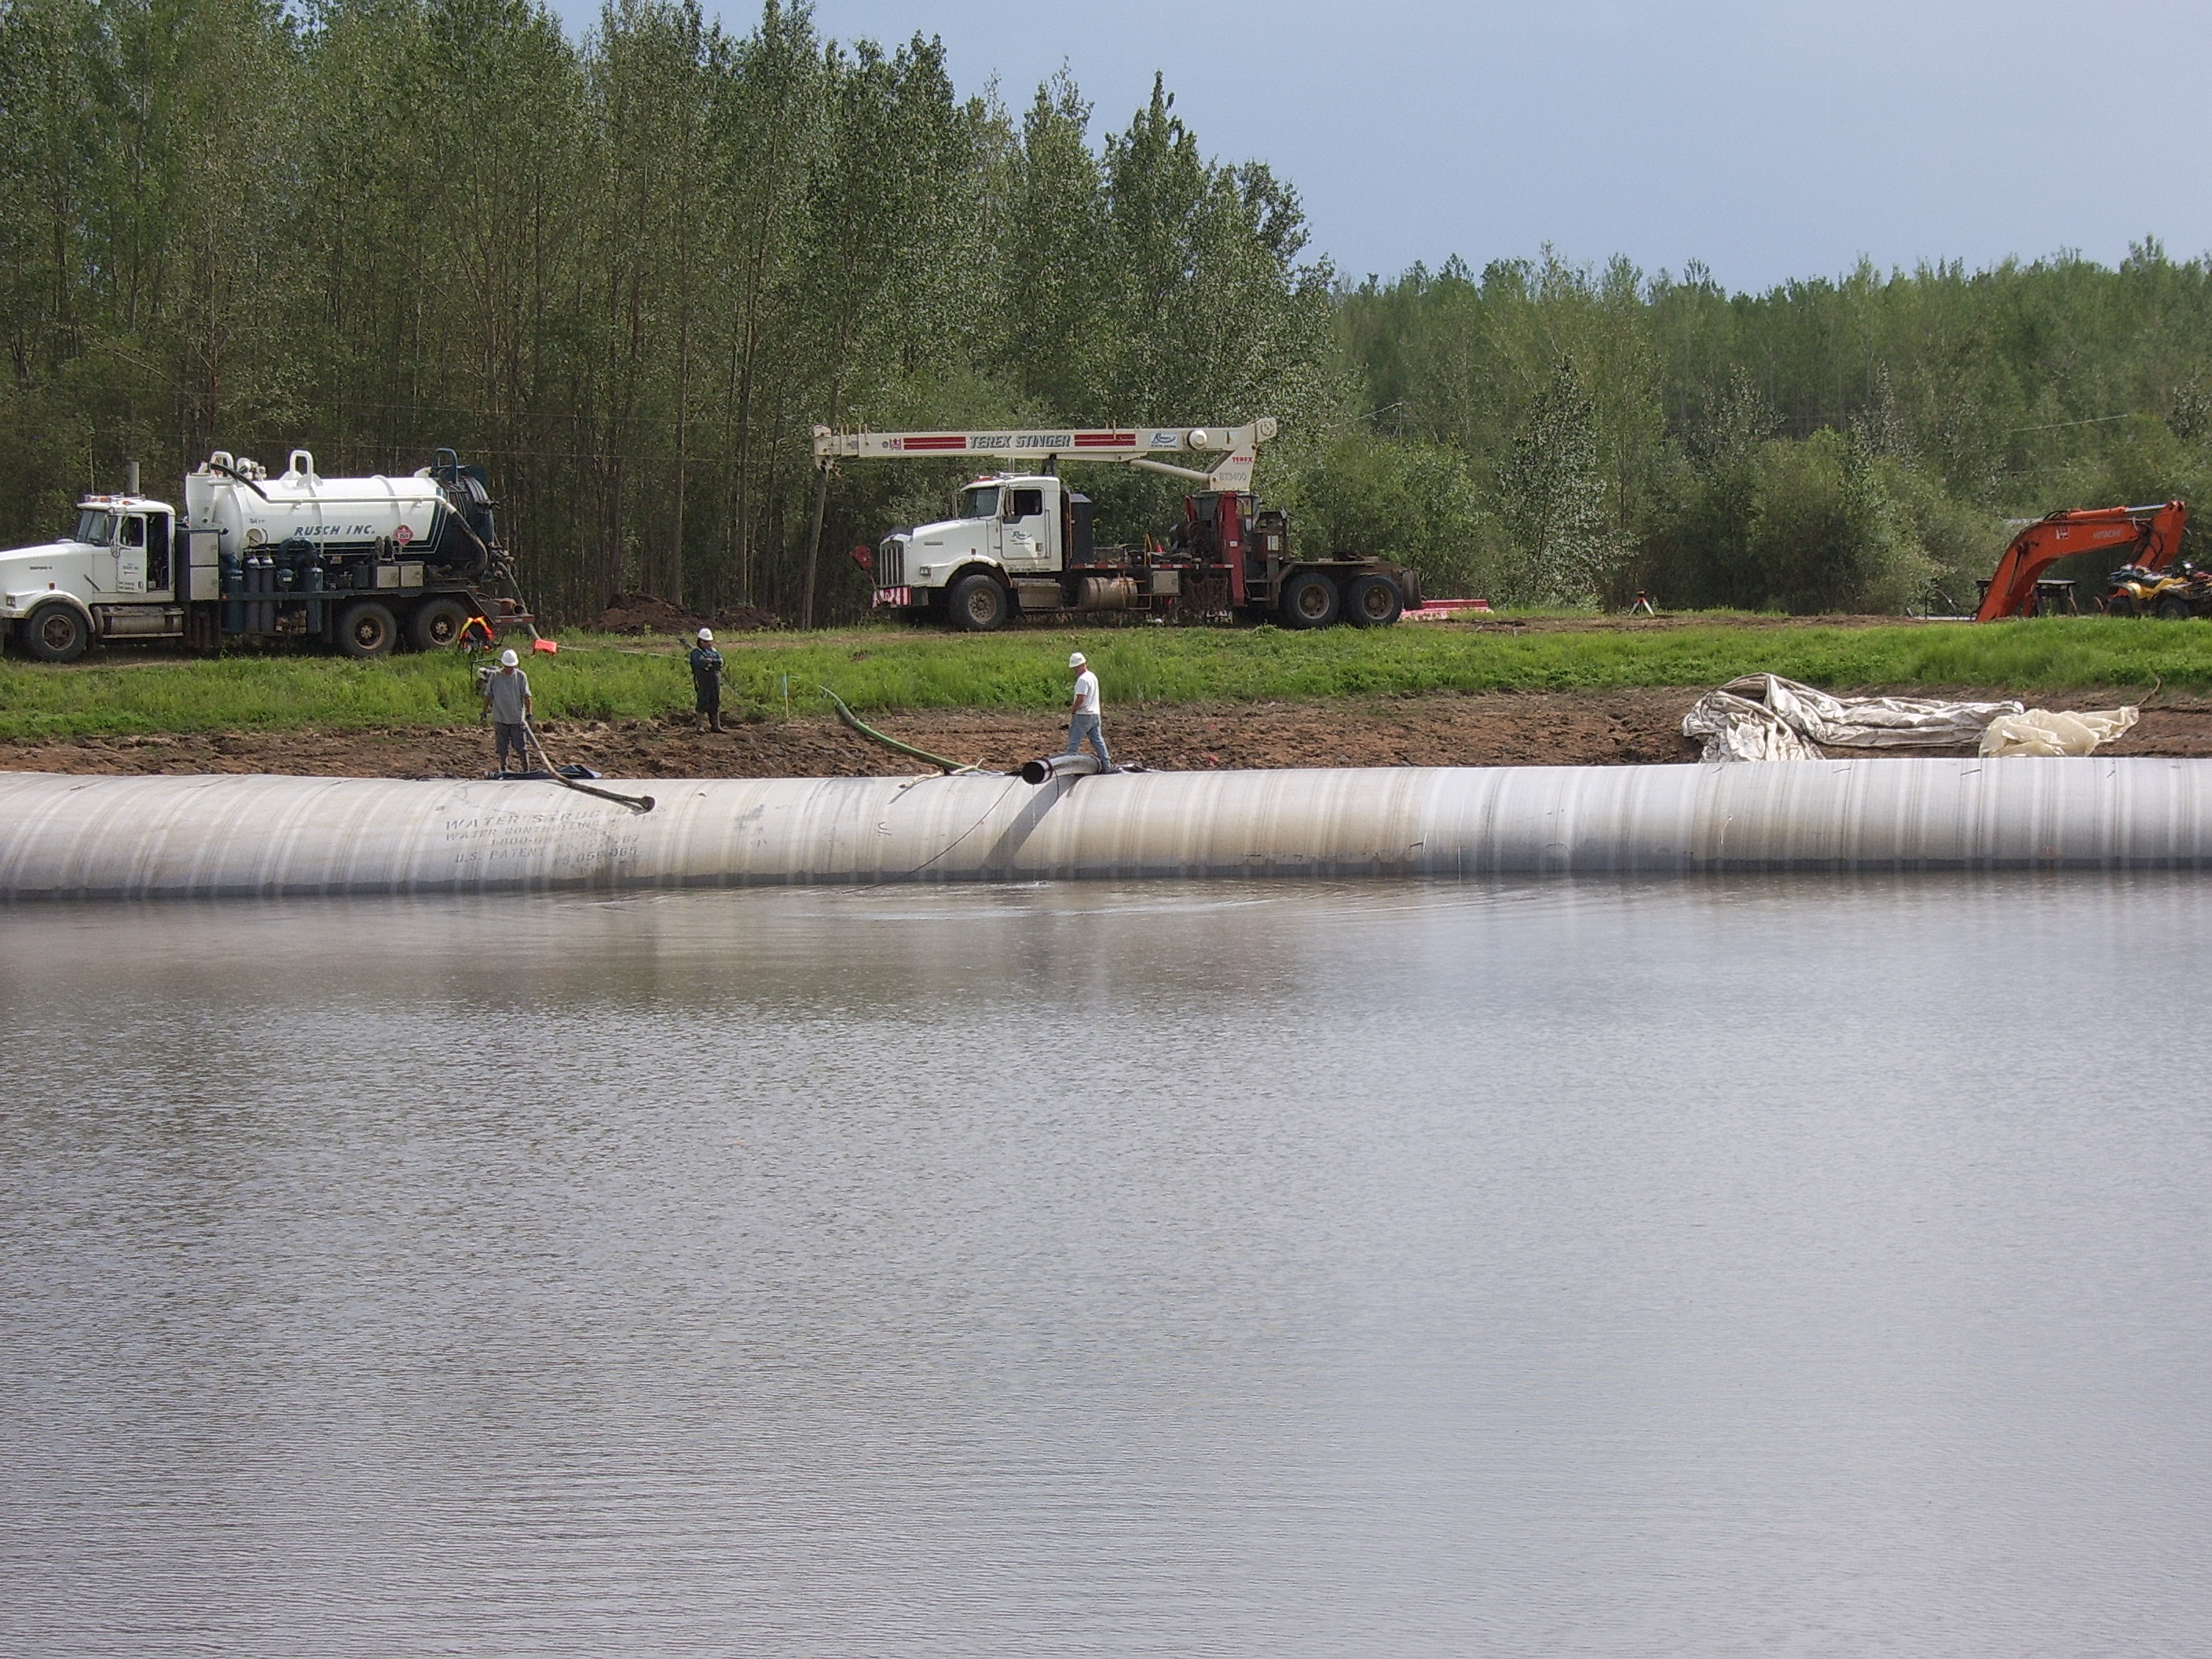
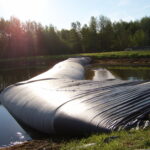
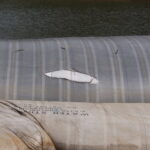
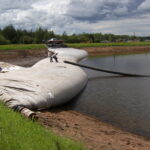
74.) 200ft long, 12ft tall AquaDam. Doing a great job, looks great!
75.) The ending bank of the 12ft tall SCE AquaDam.
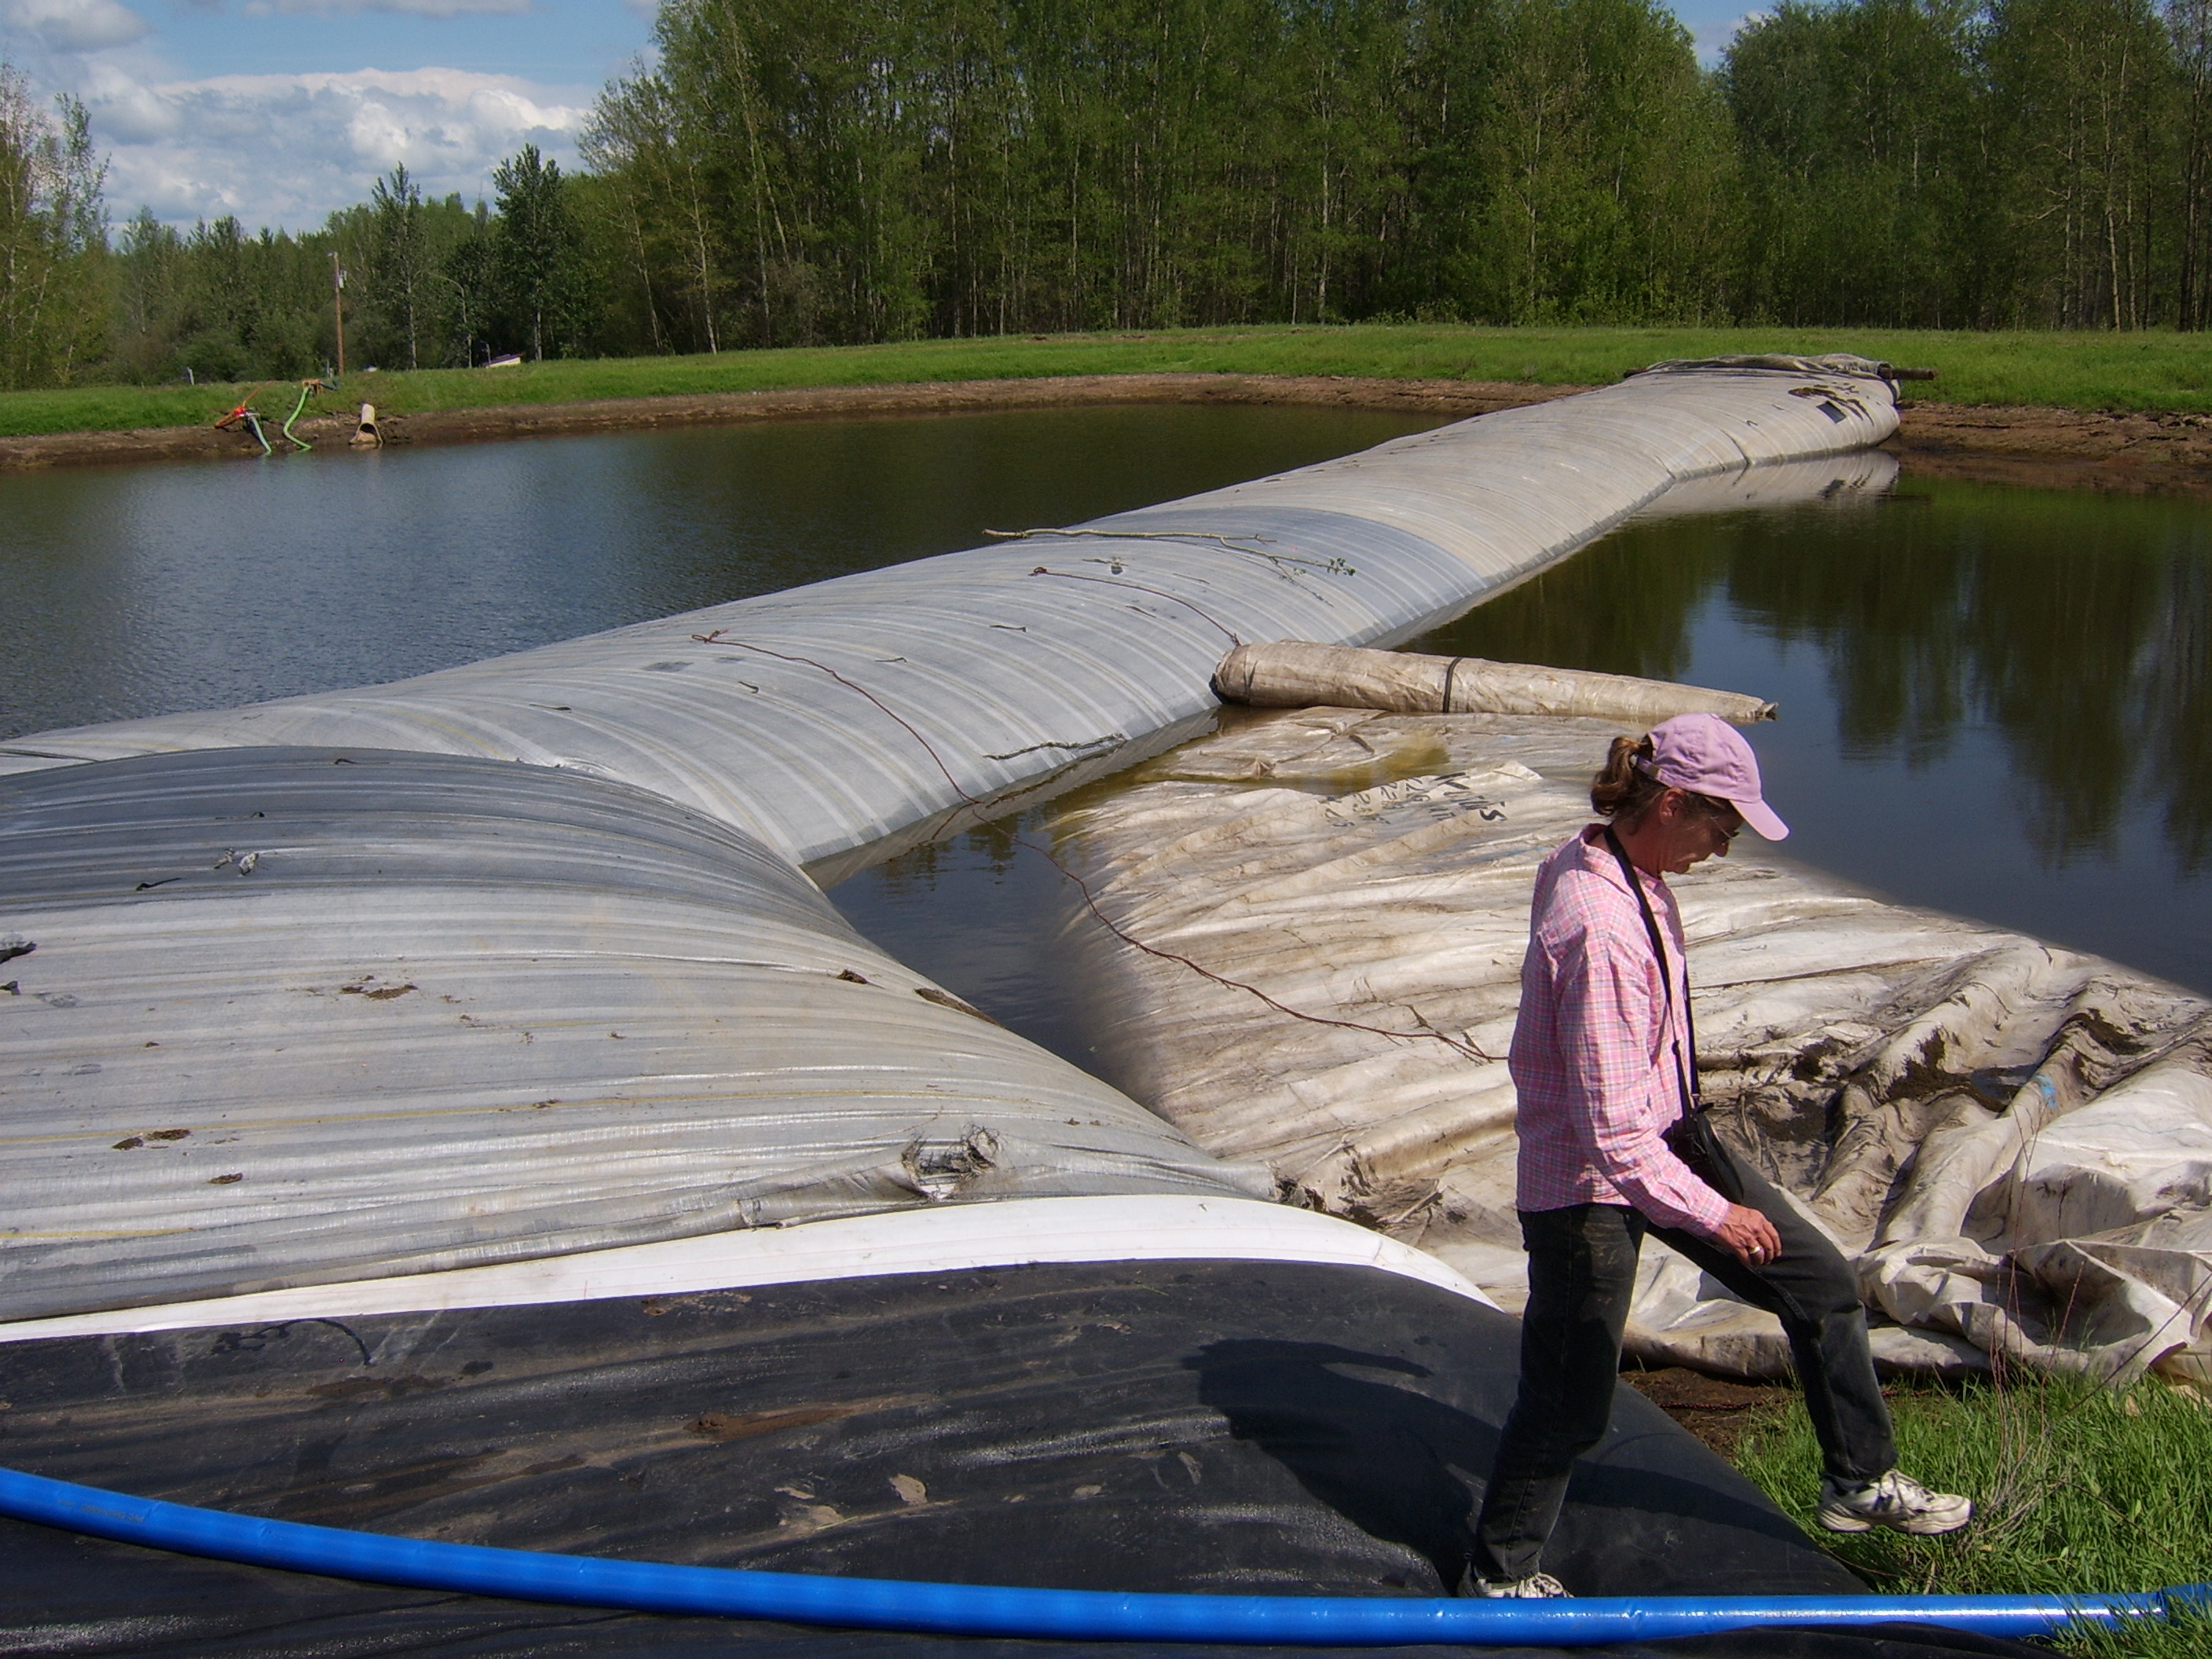
76.) From this angle the lean in the 12ft tall AquaDam can really be seen.
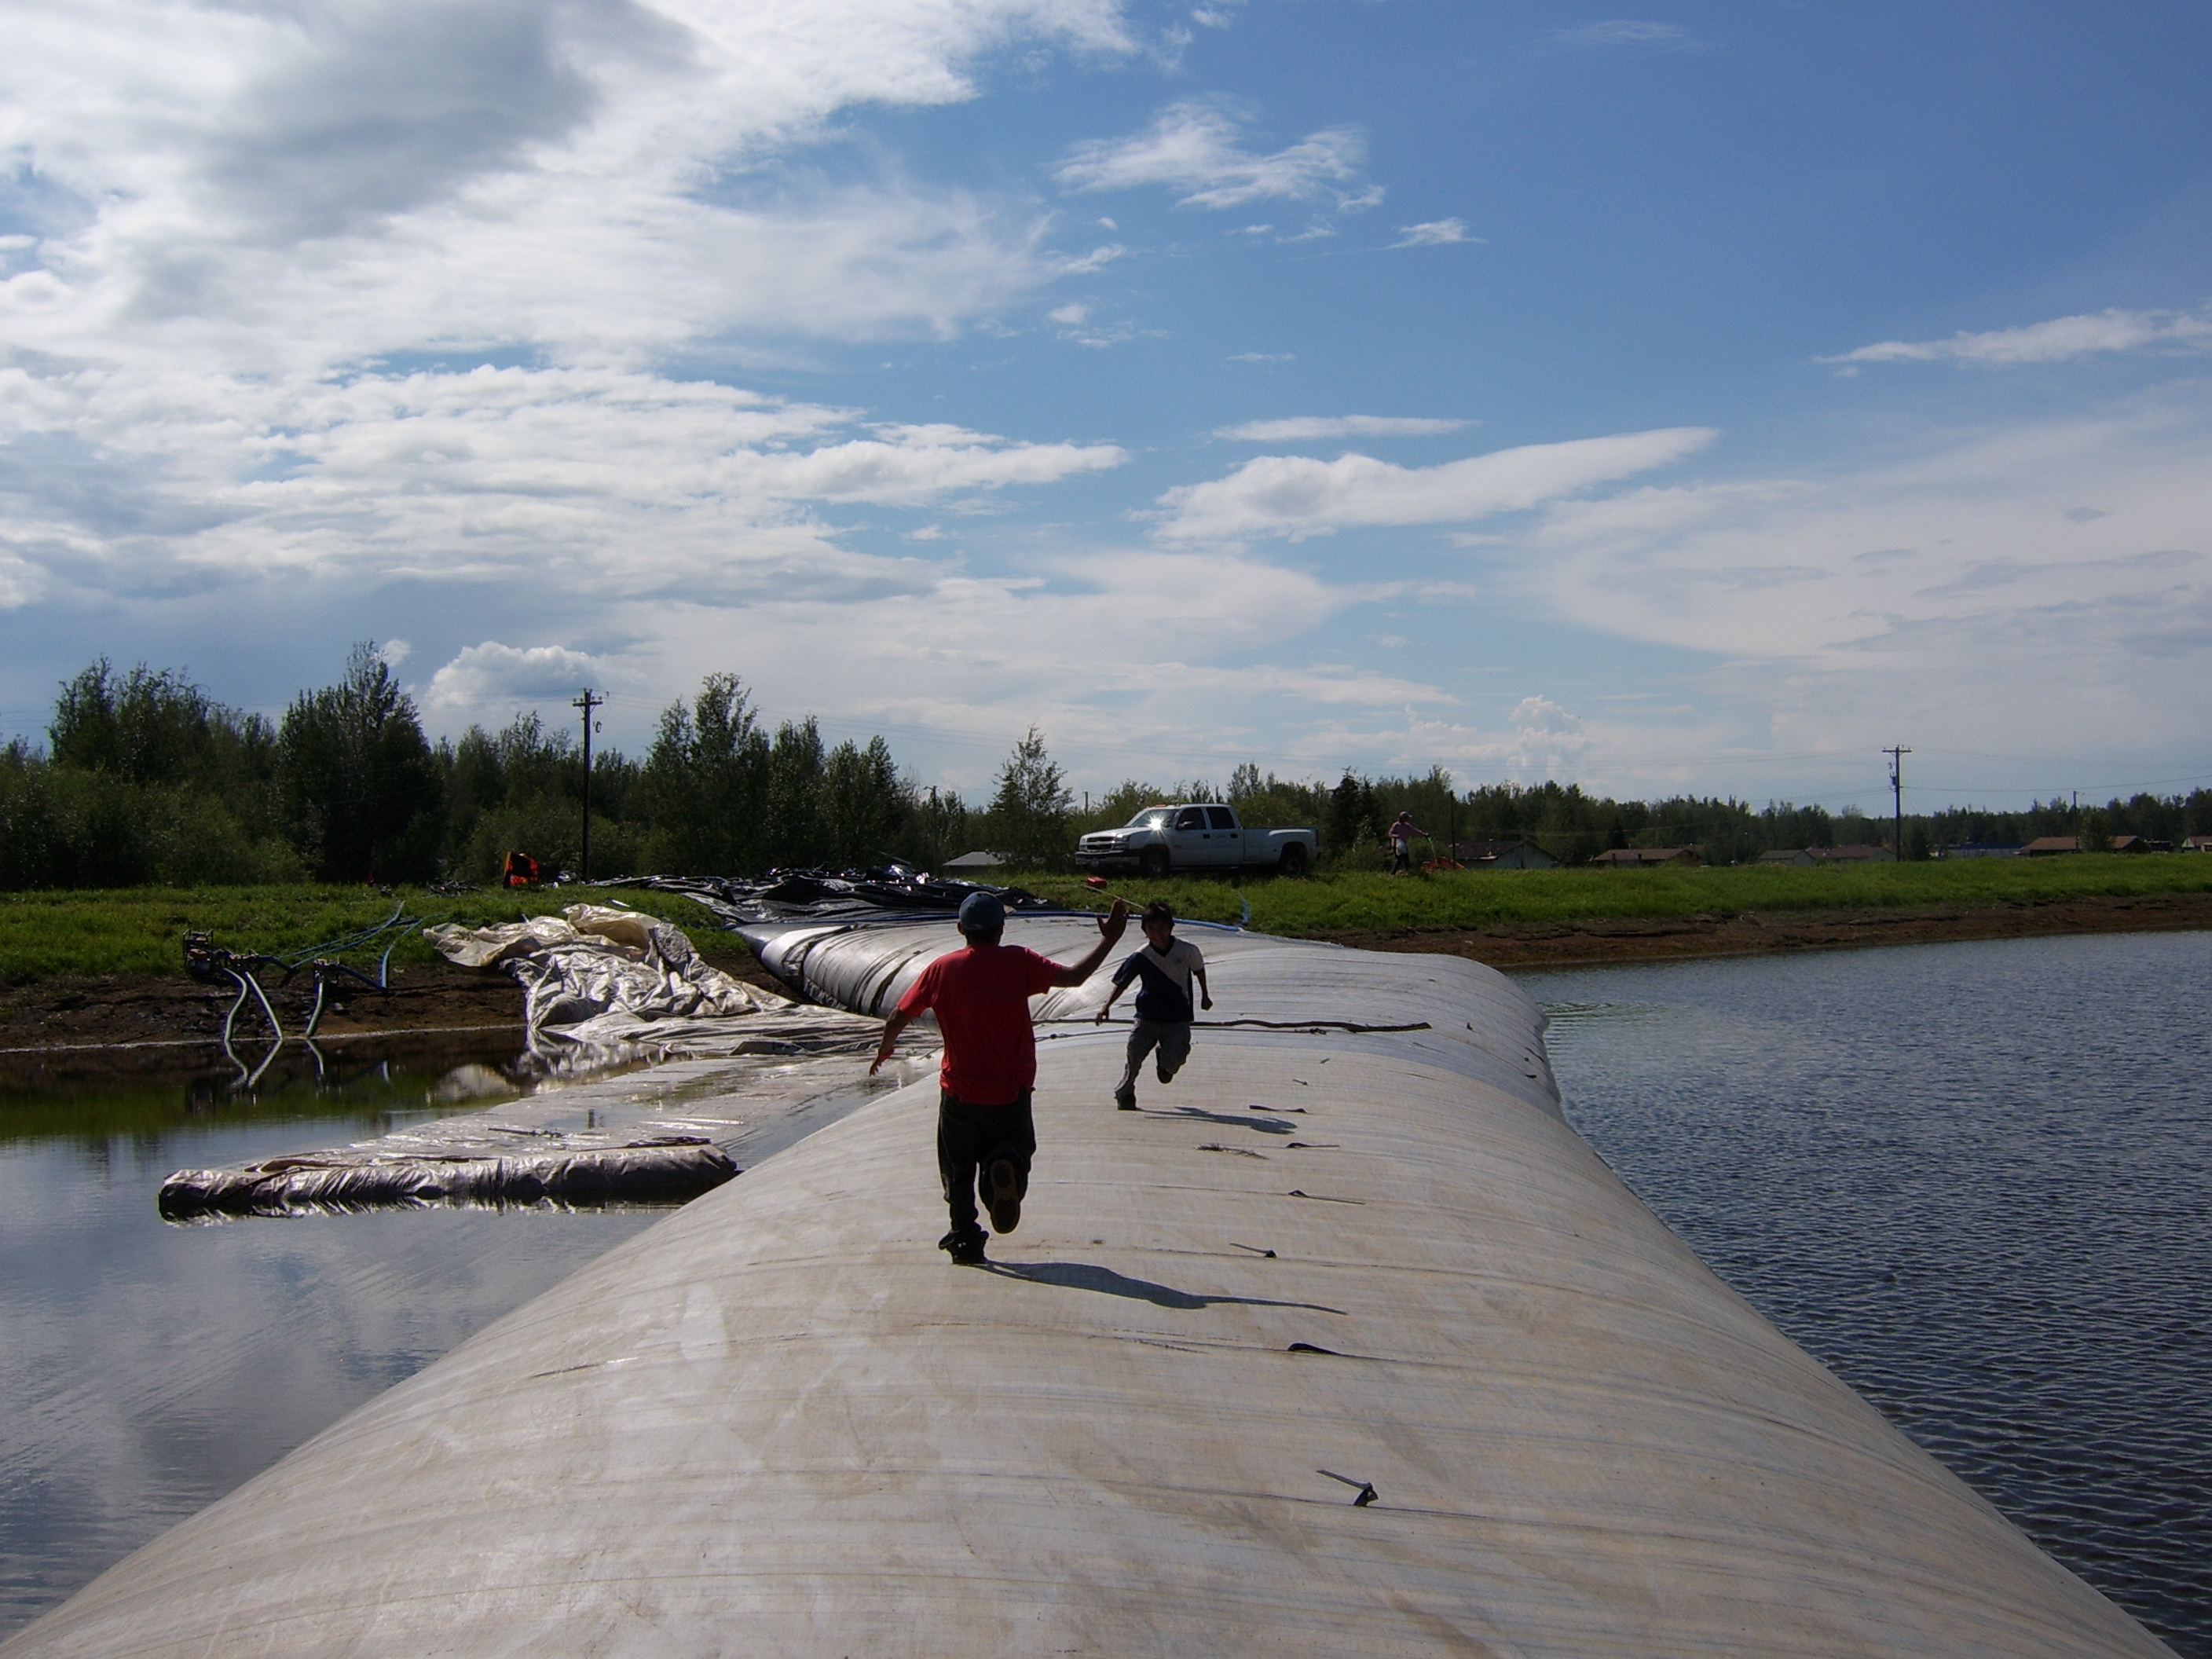
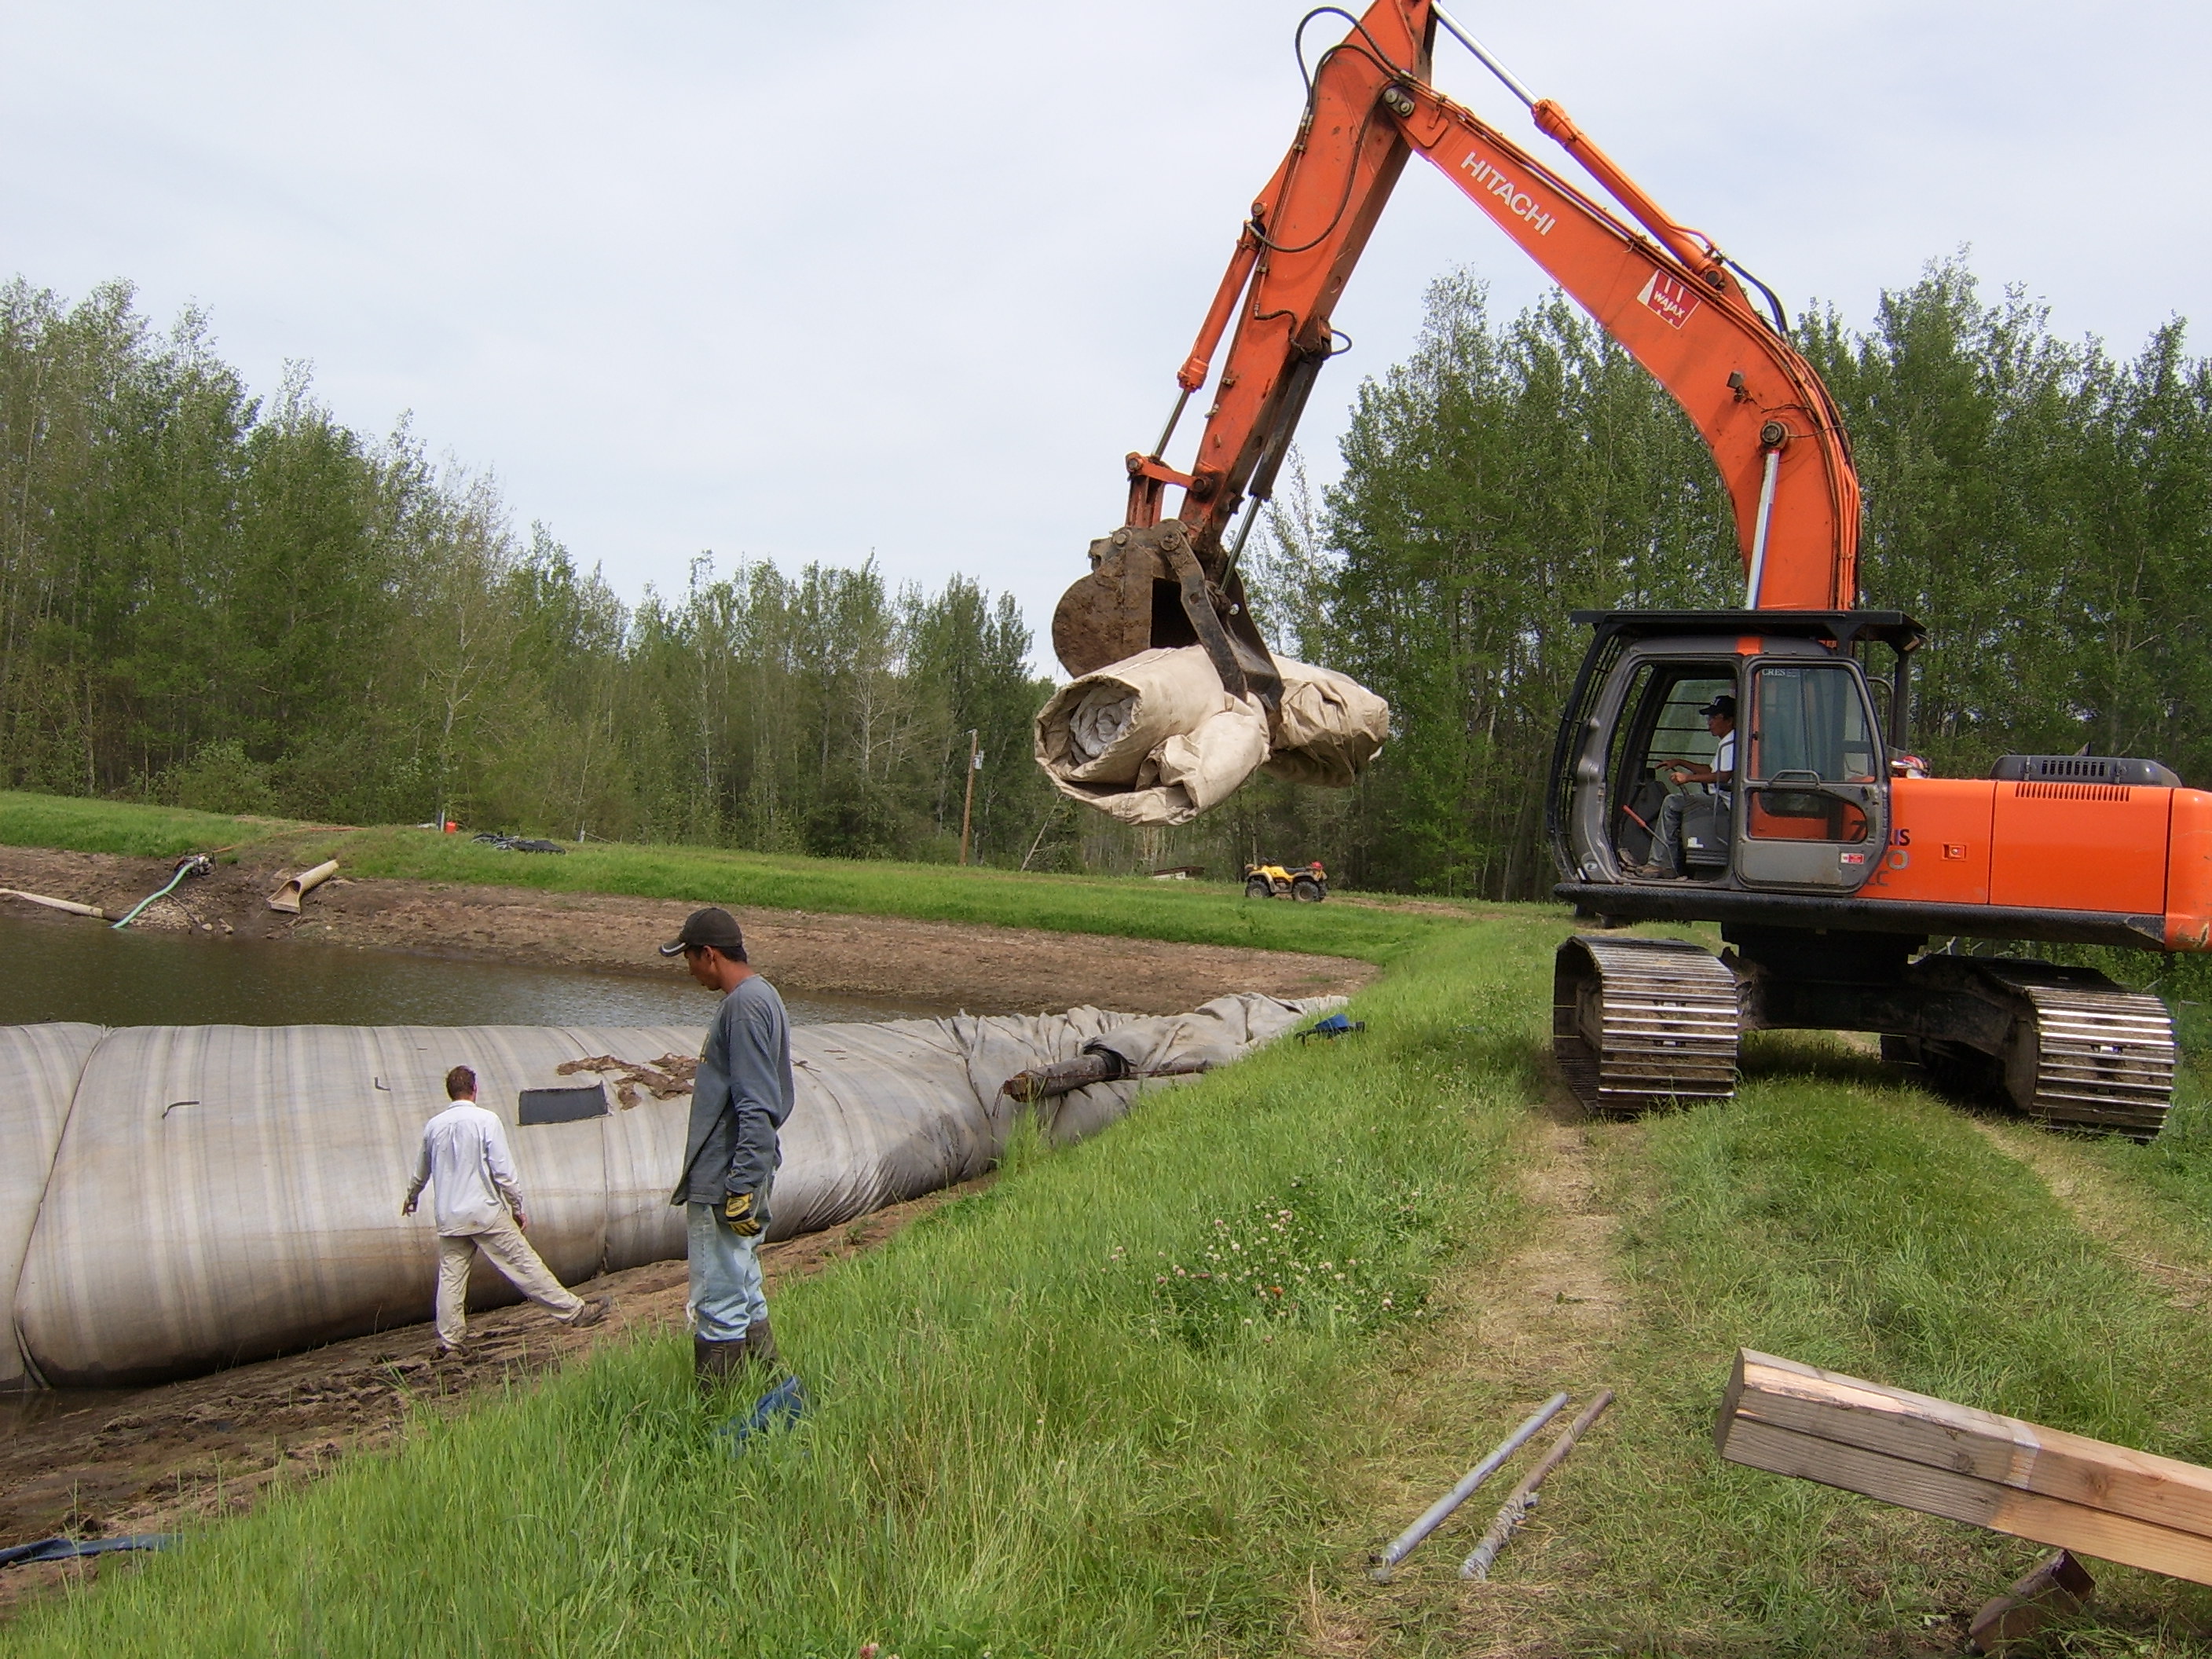
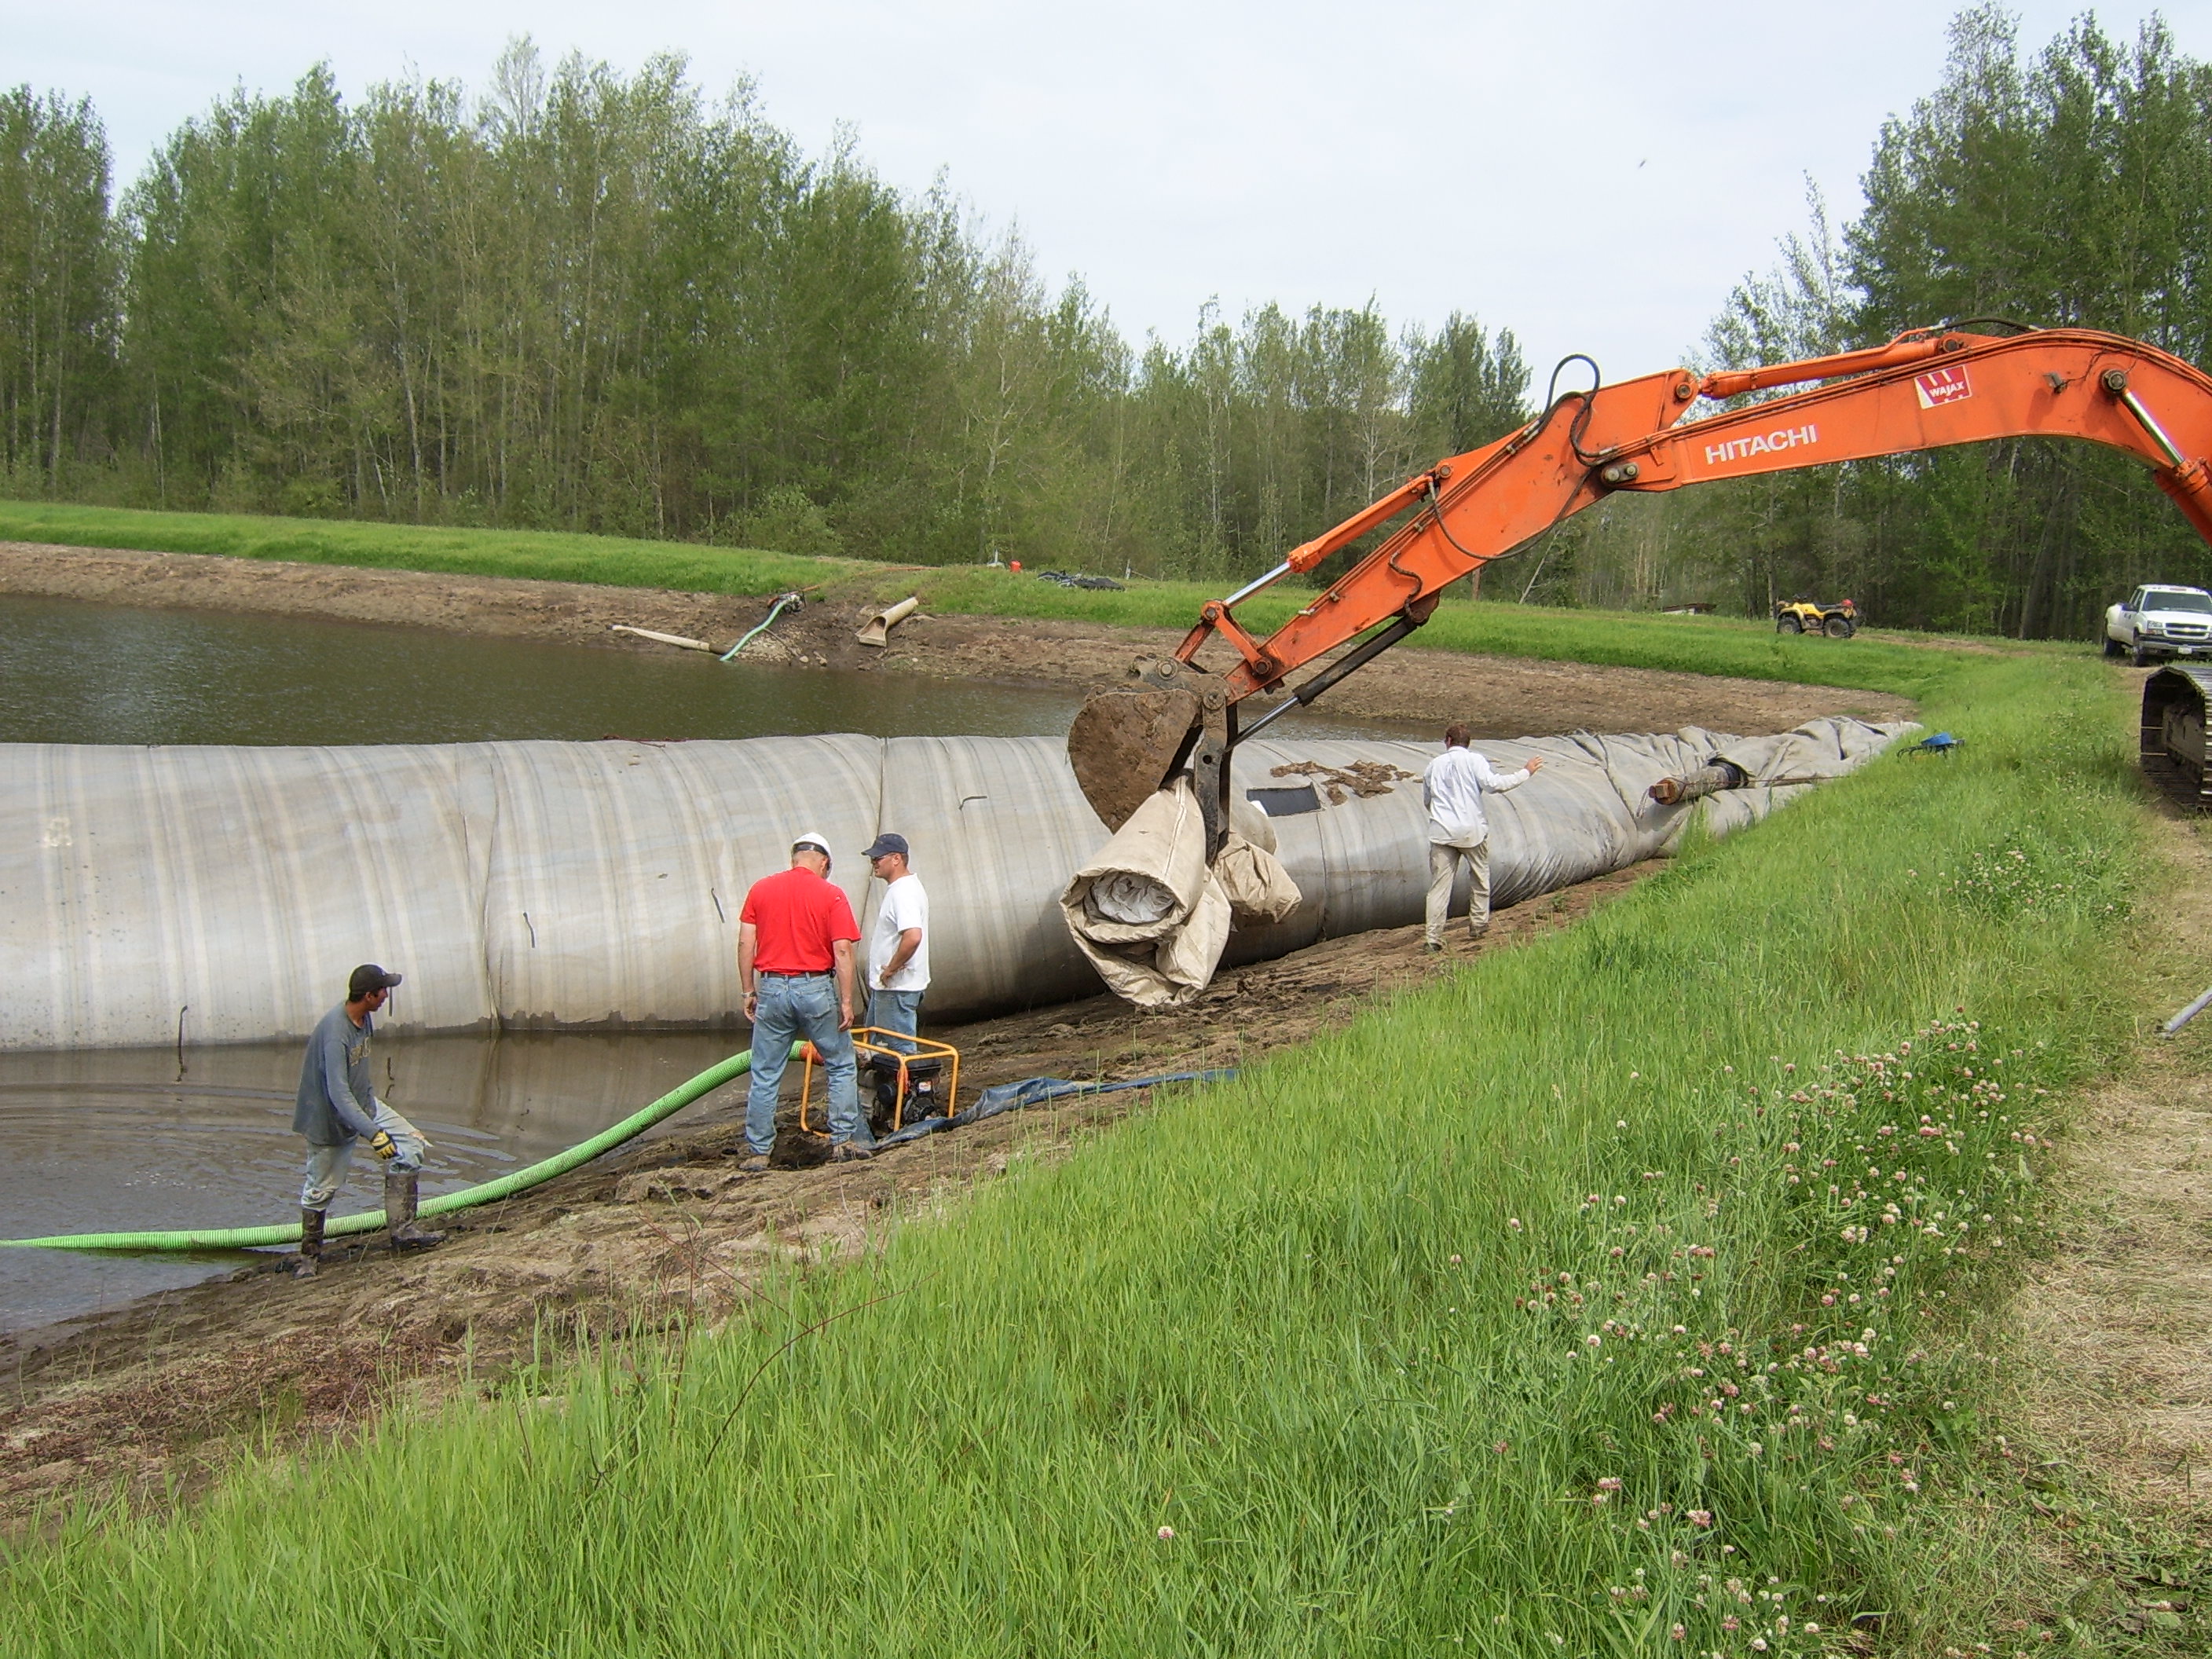
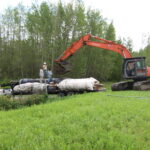
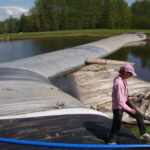
46.) Some local children thought the AquaDam made a pretty good running platform, and it did!
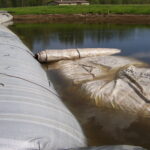
47.) In this photo the 8ft tall AquaDam has practically no head. This is just fine, because any currents in the water will push it up against the 12ft AquaDam, which is what we want.
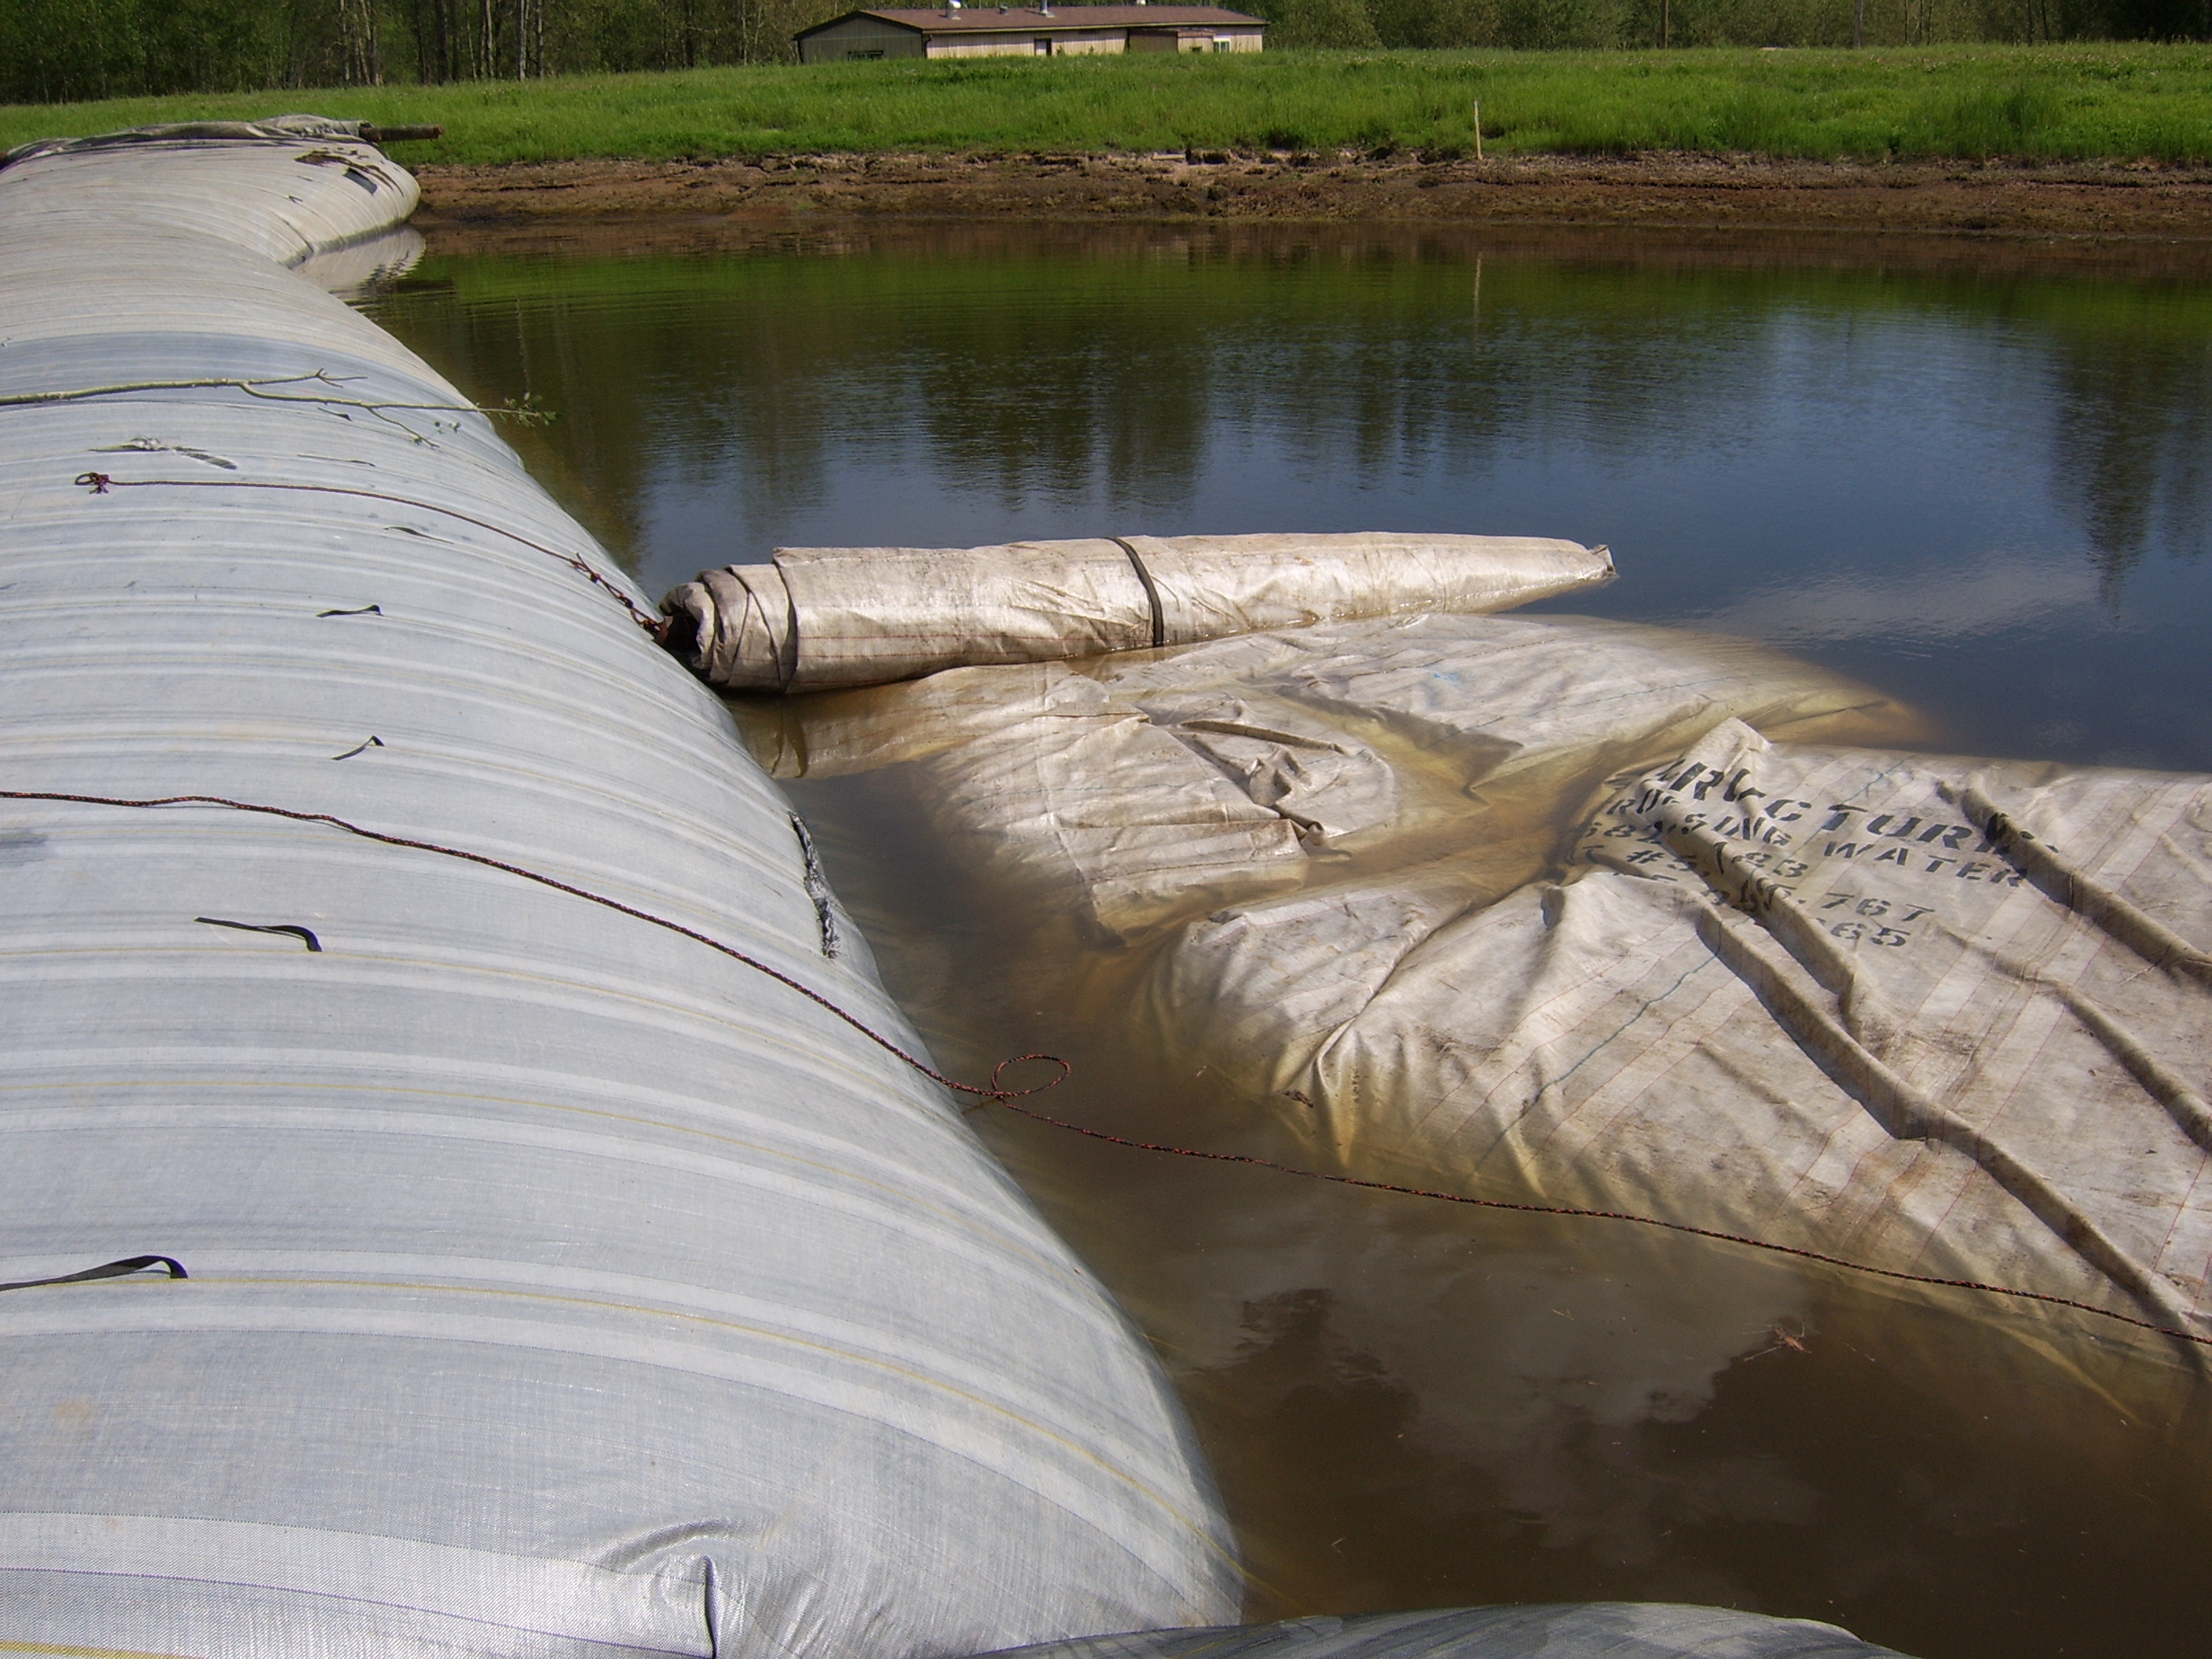
48.) The 8ft tall support AquaDam was not long enough, an additional 8ft tall support AquaDam will be installed alongside the 12ft AquaDam at its ending bank.
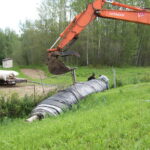
49.) The first 8ft tall AquaDam has been almost fully unrolled and continues to fill.
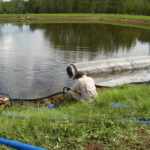
50.) There are a few pumps shown here. One pump is filling the 8ft tall support AquaDam with water from the work area. The other two pumps are de-watering the work area, pumping water out of the work area and back into the greater body of water.
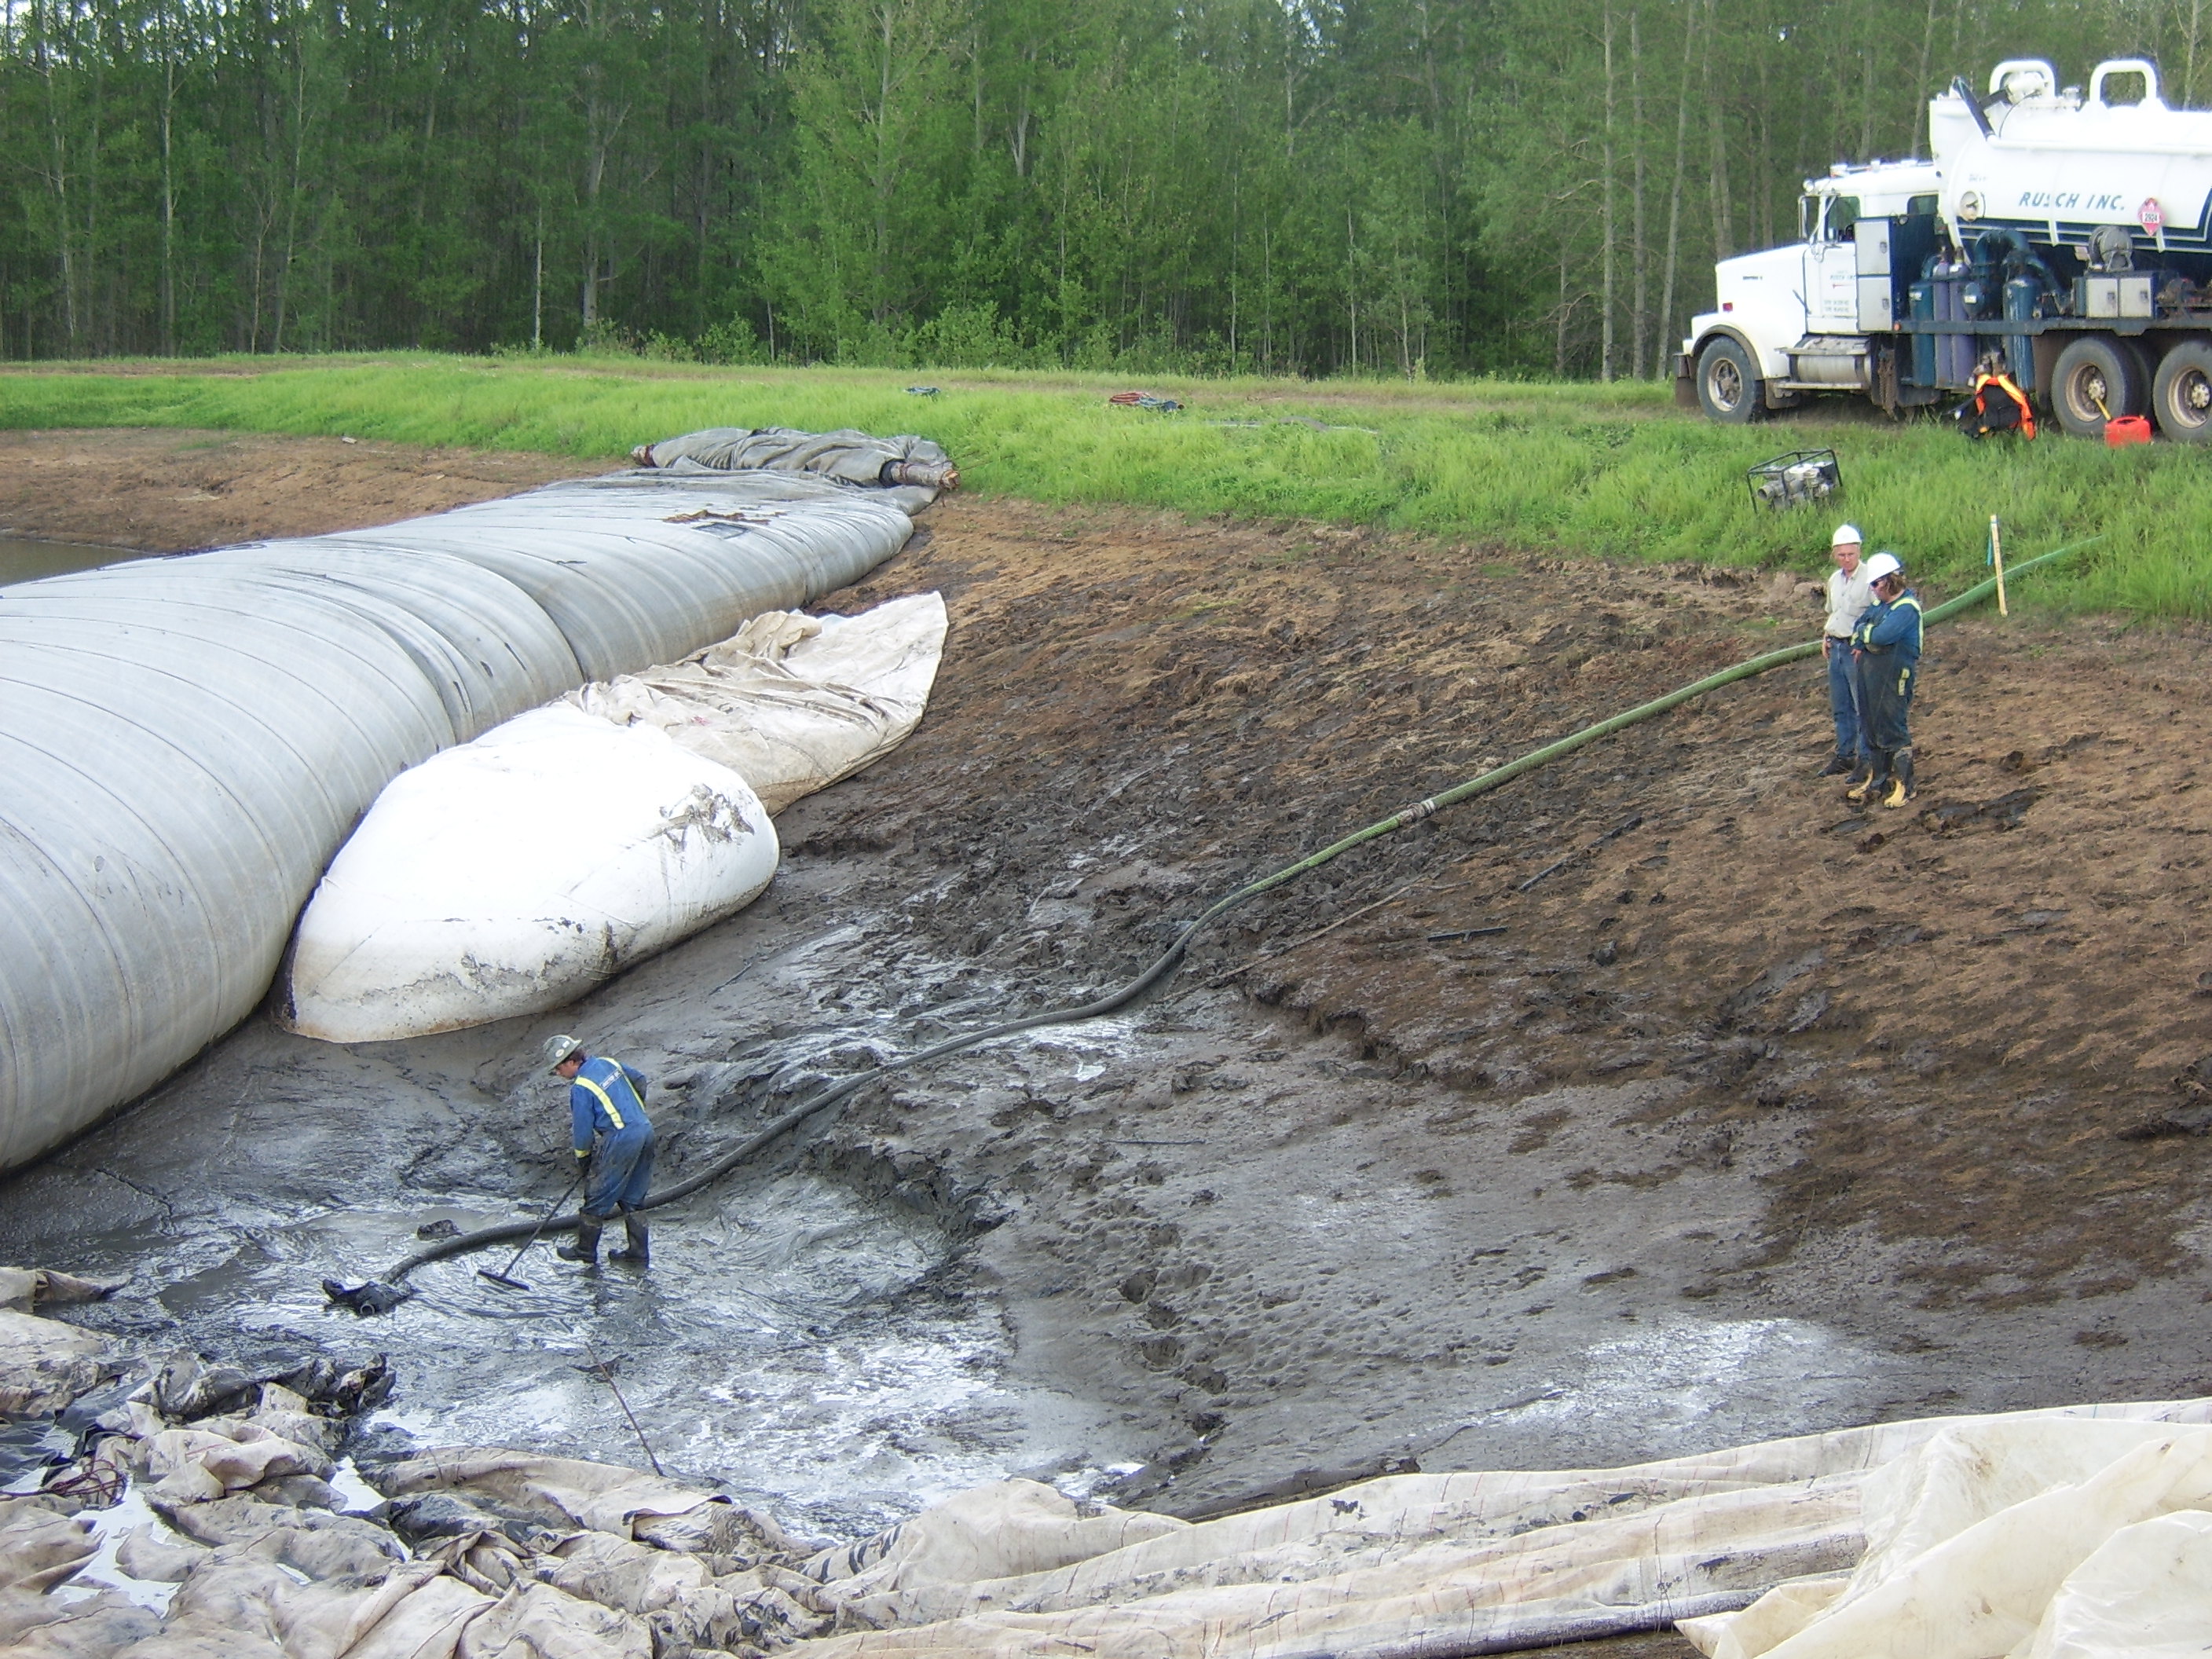
77.) The deflated 8ft tall AquaDam has been left in place, because it is outside the main working area (near the man with the pole).
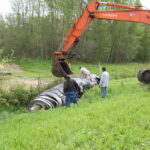
51.) The 8ft tall support AquaDam continues to fill.
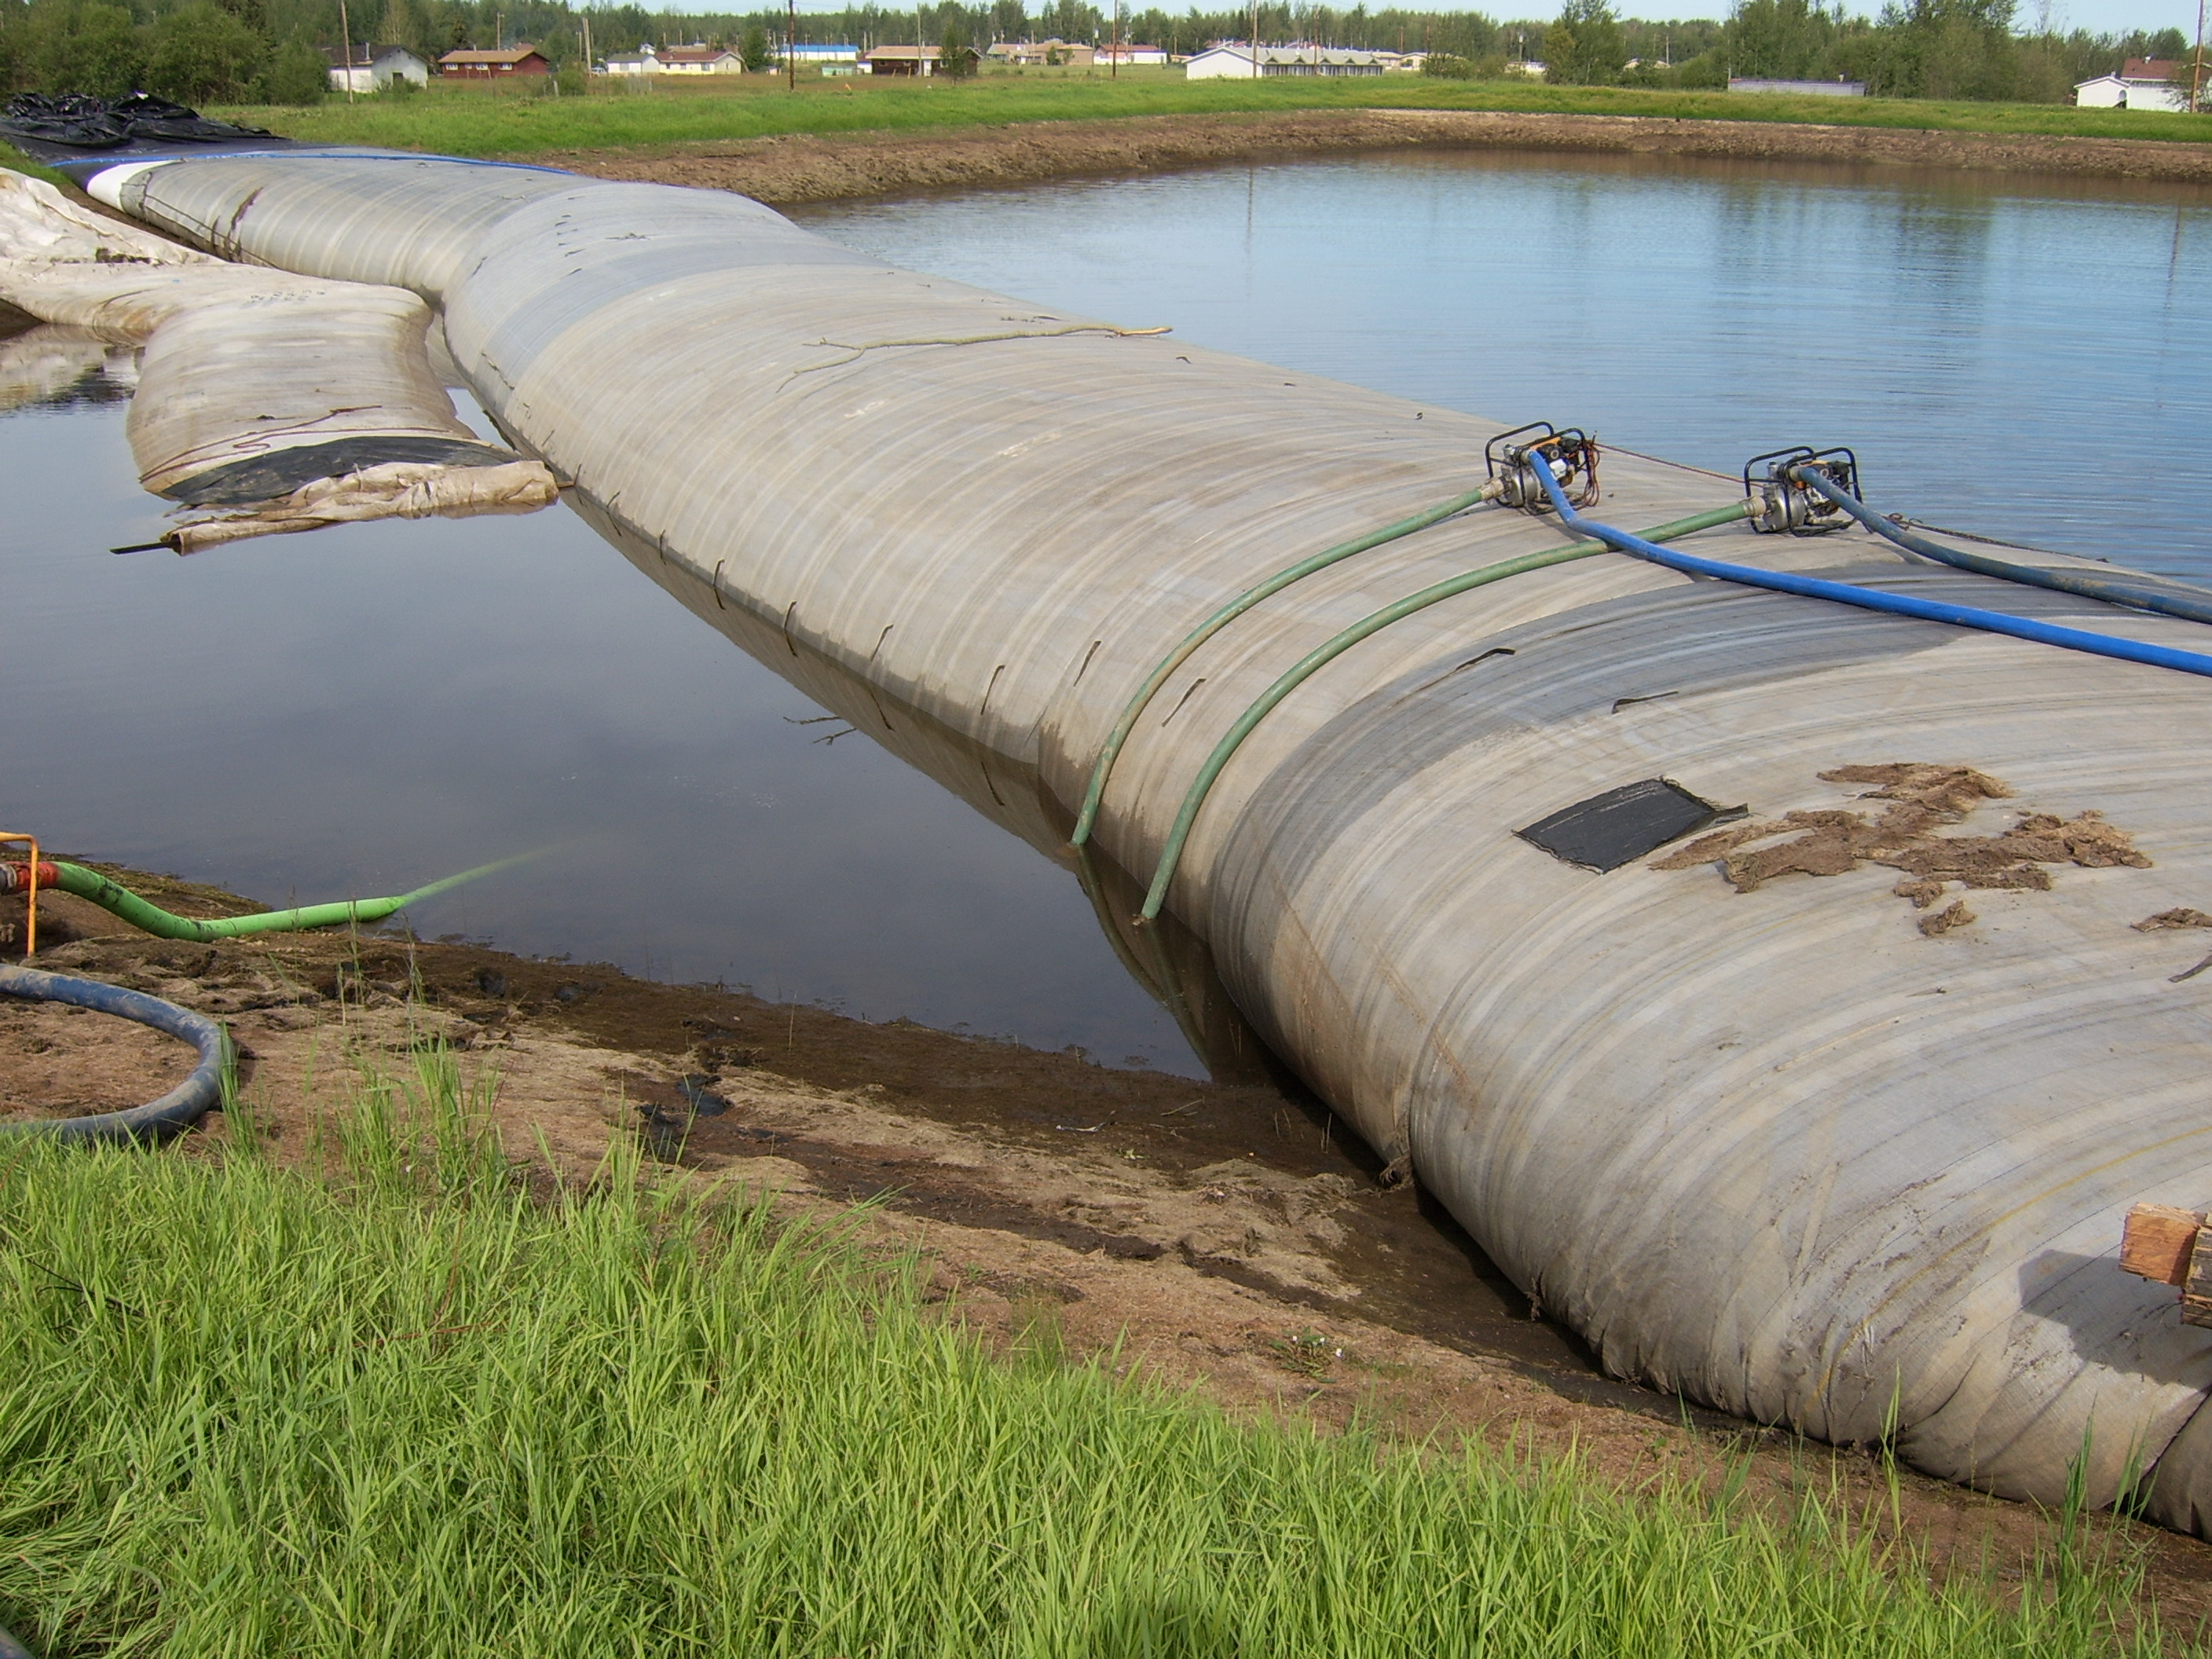
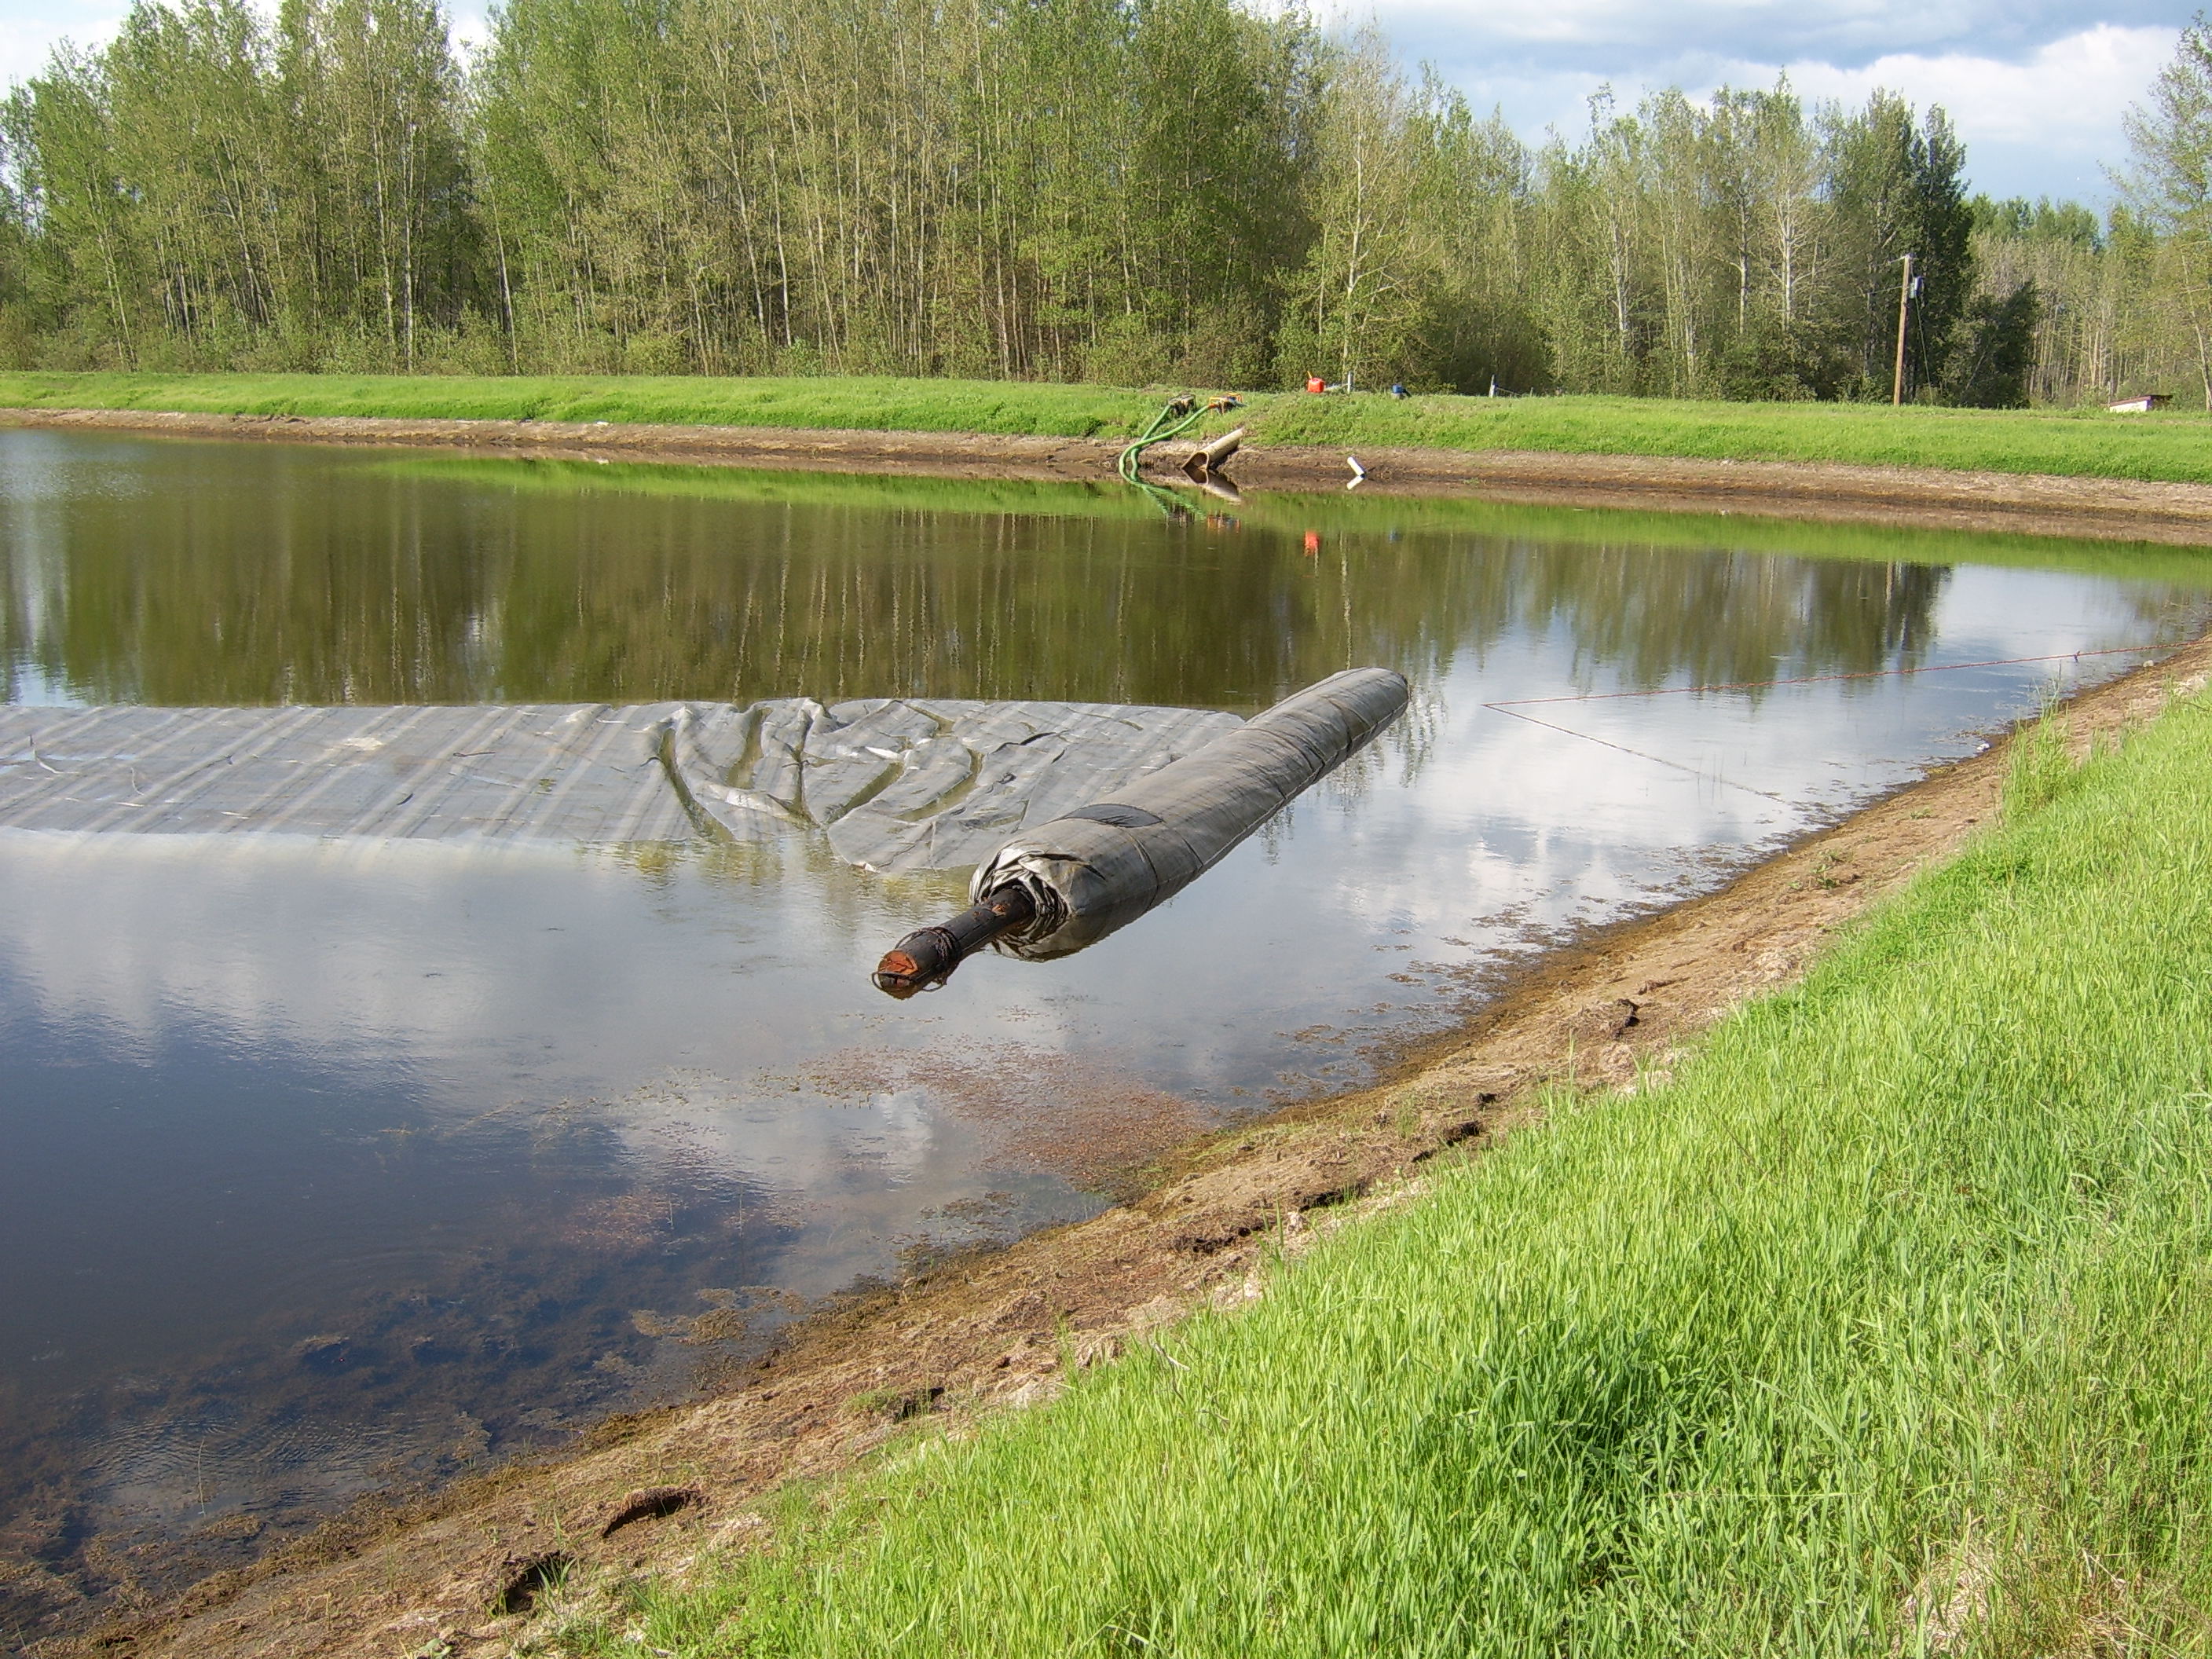
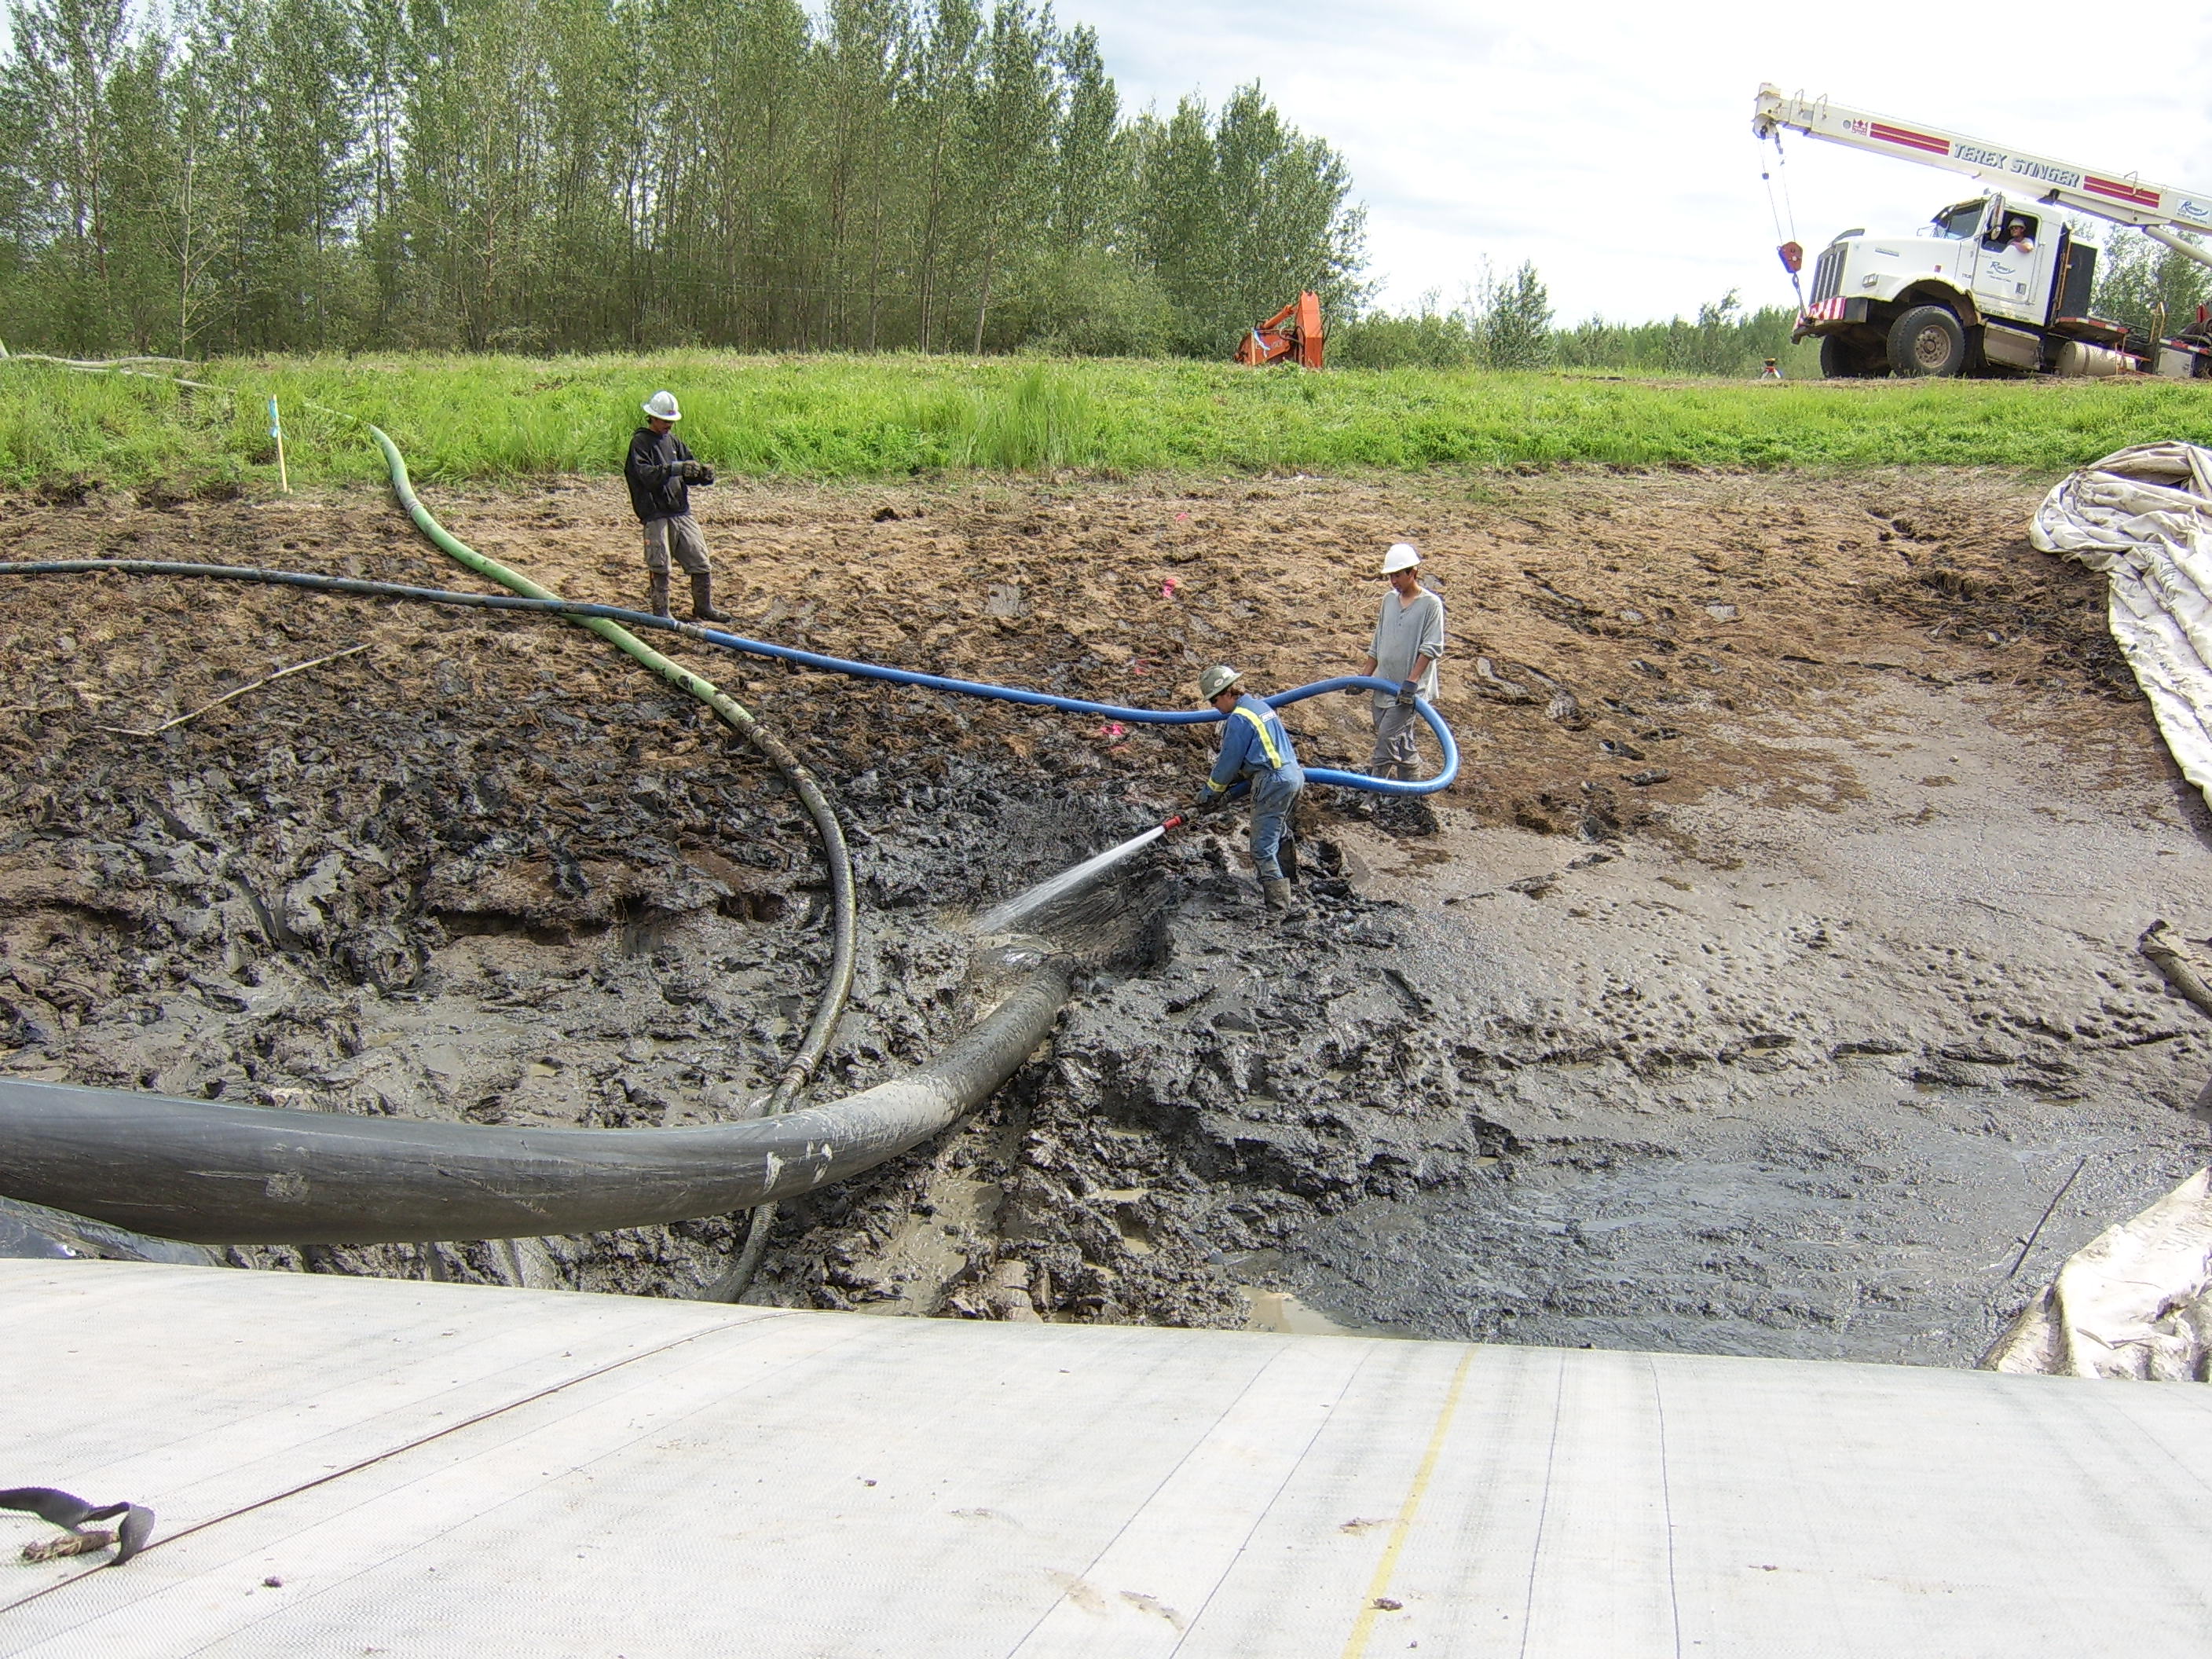
52.) When pumping water from the work area to the greater pond side, it is critical to understand that the water depth on the greater pond side will rise.
53.) 8ft tall AquaDam is almost full of water.
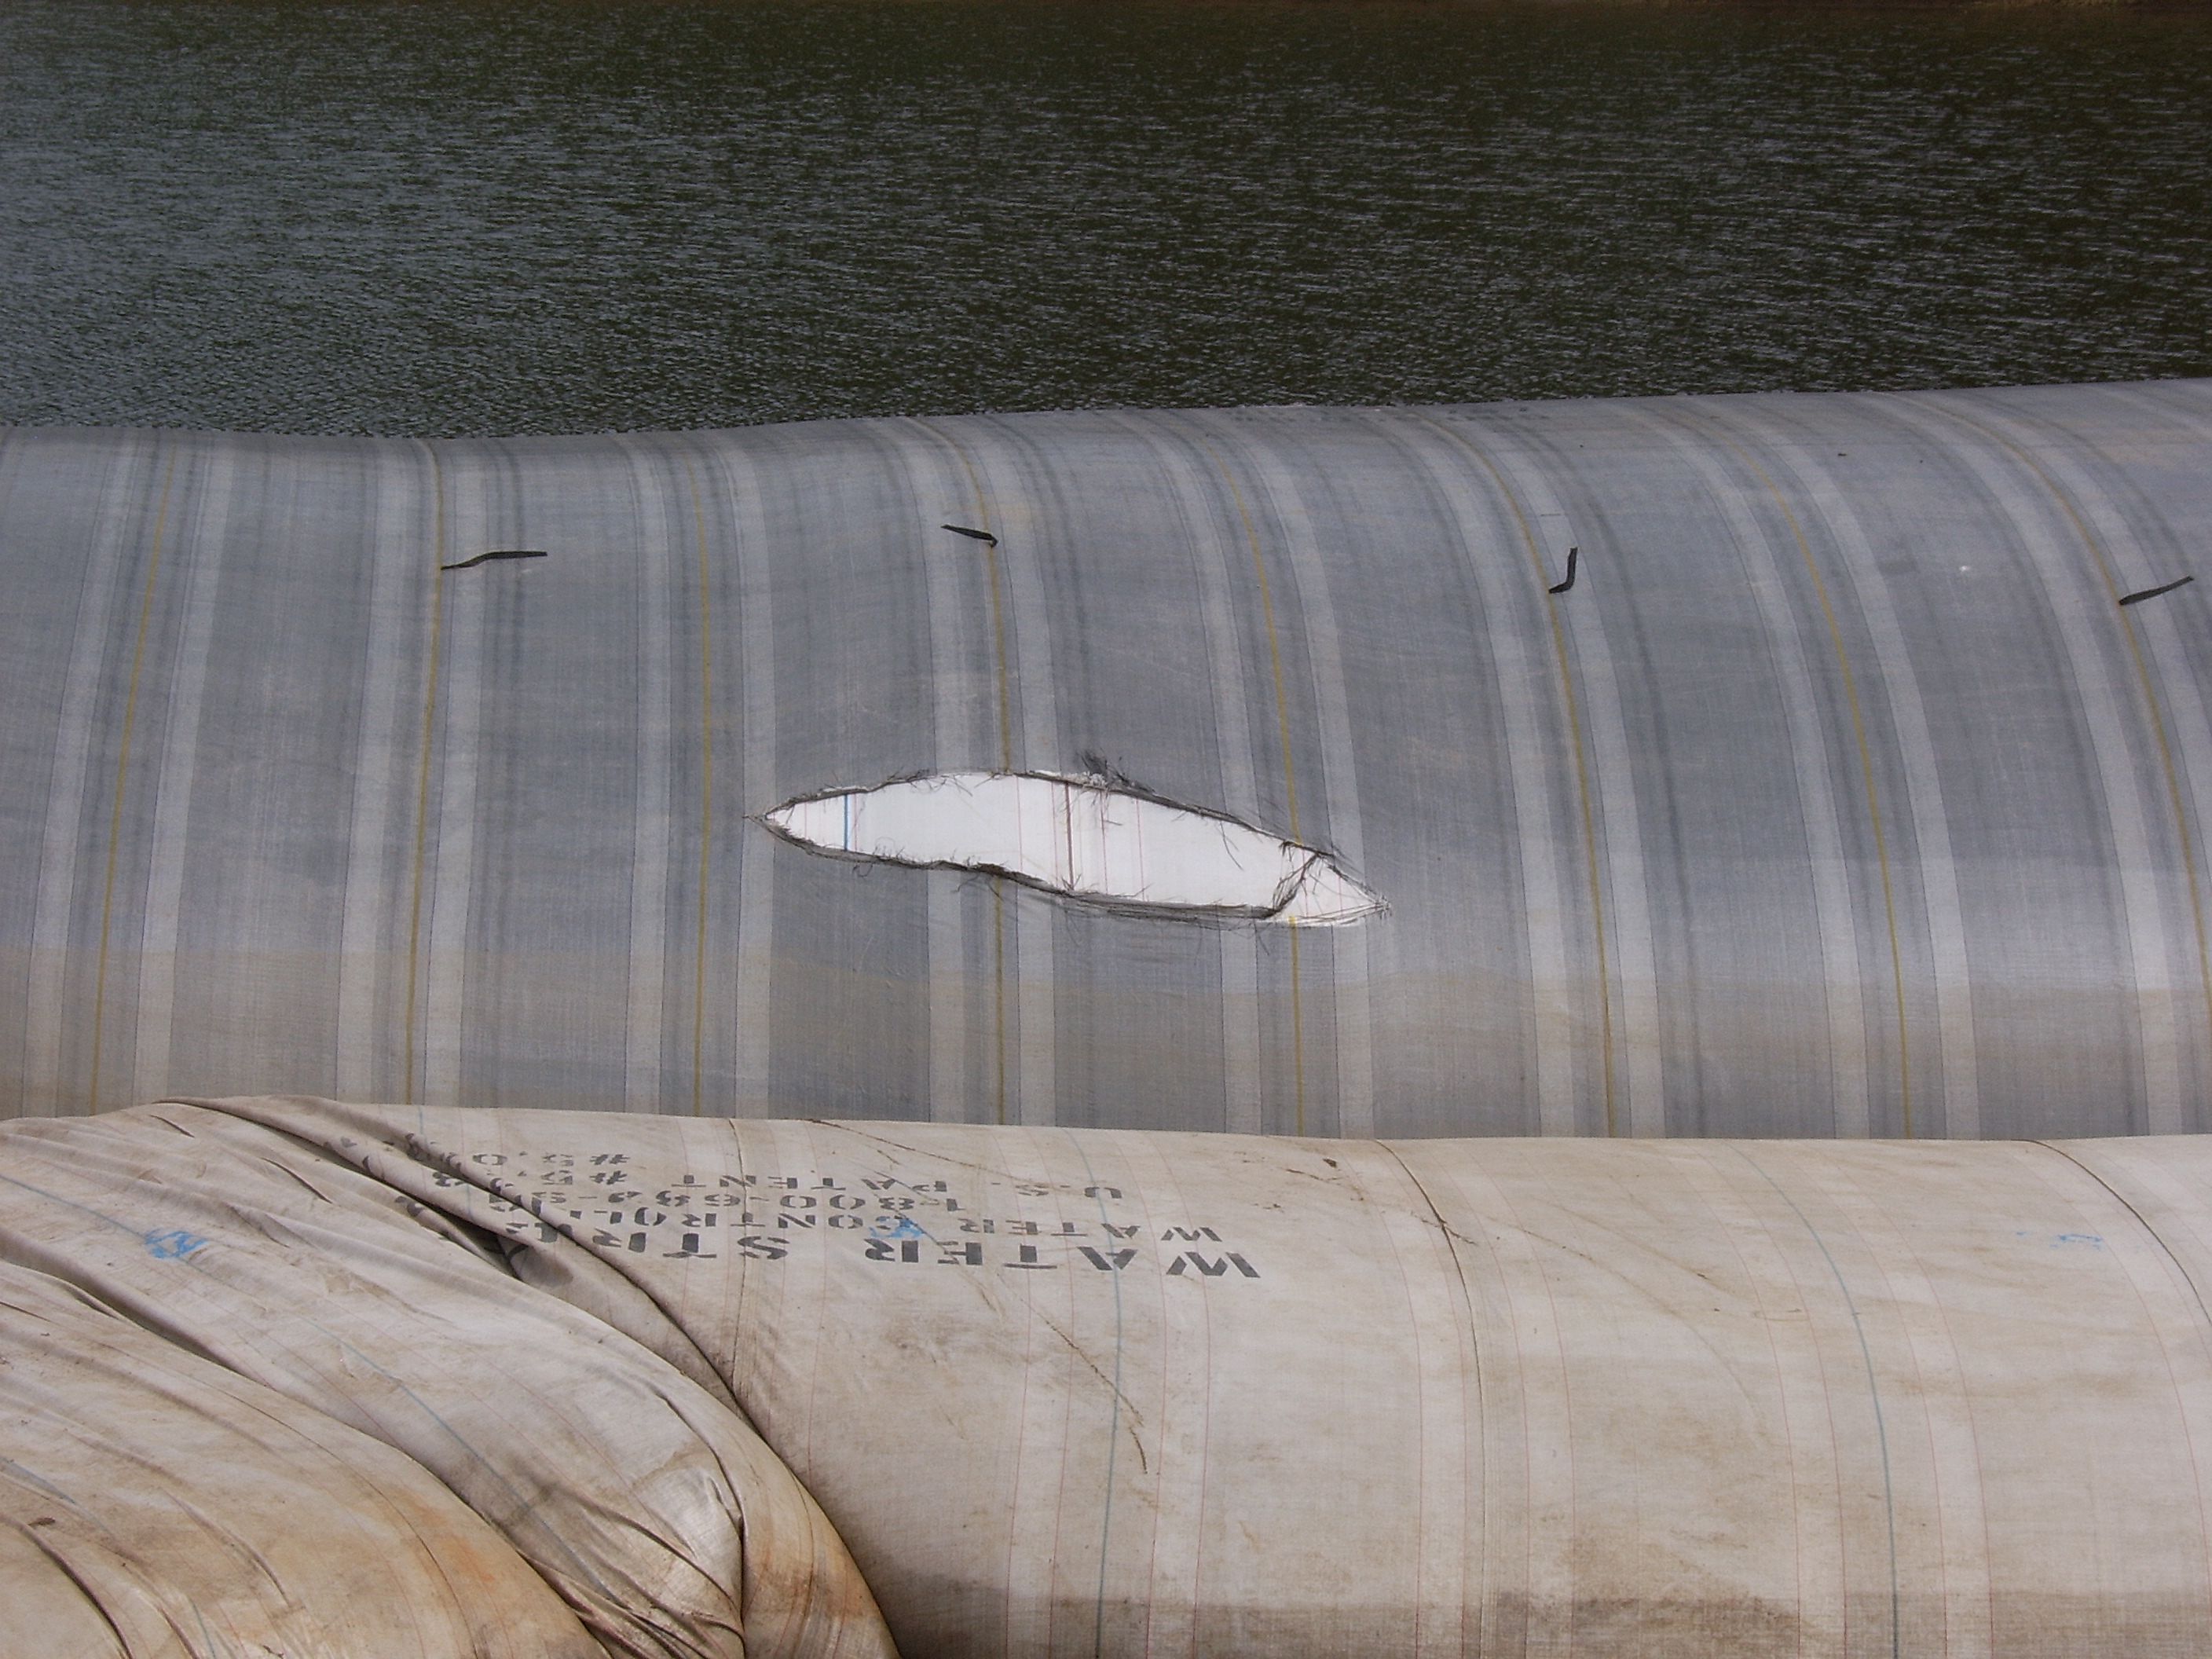
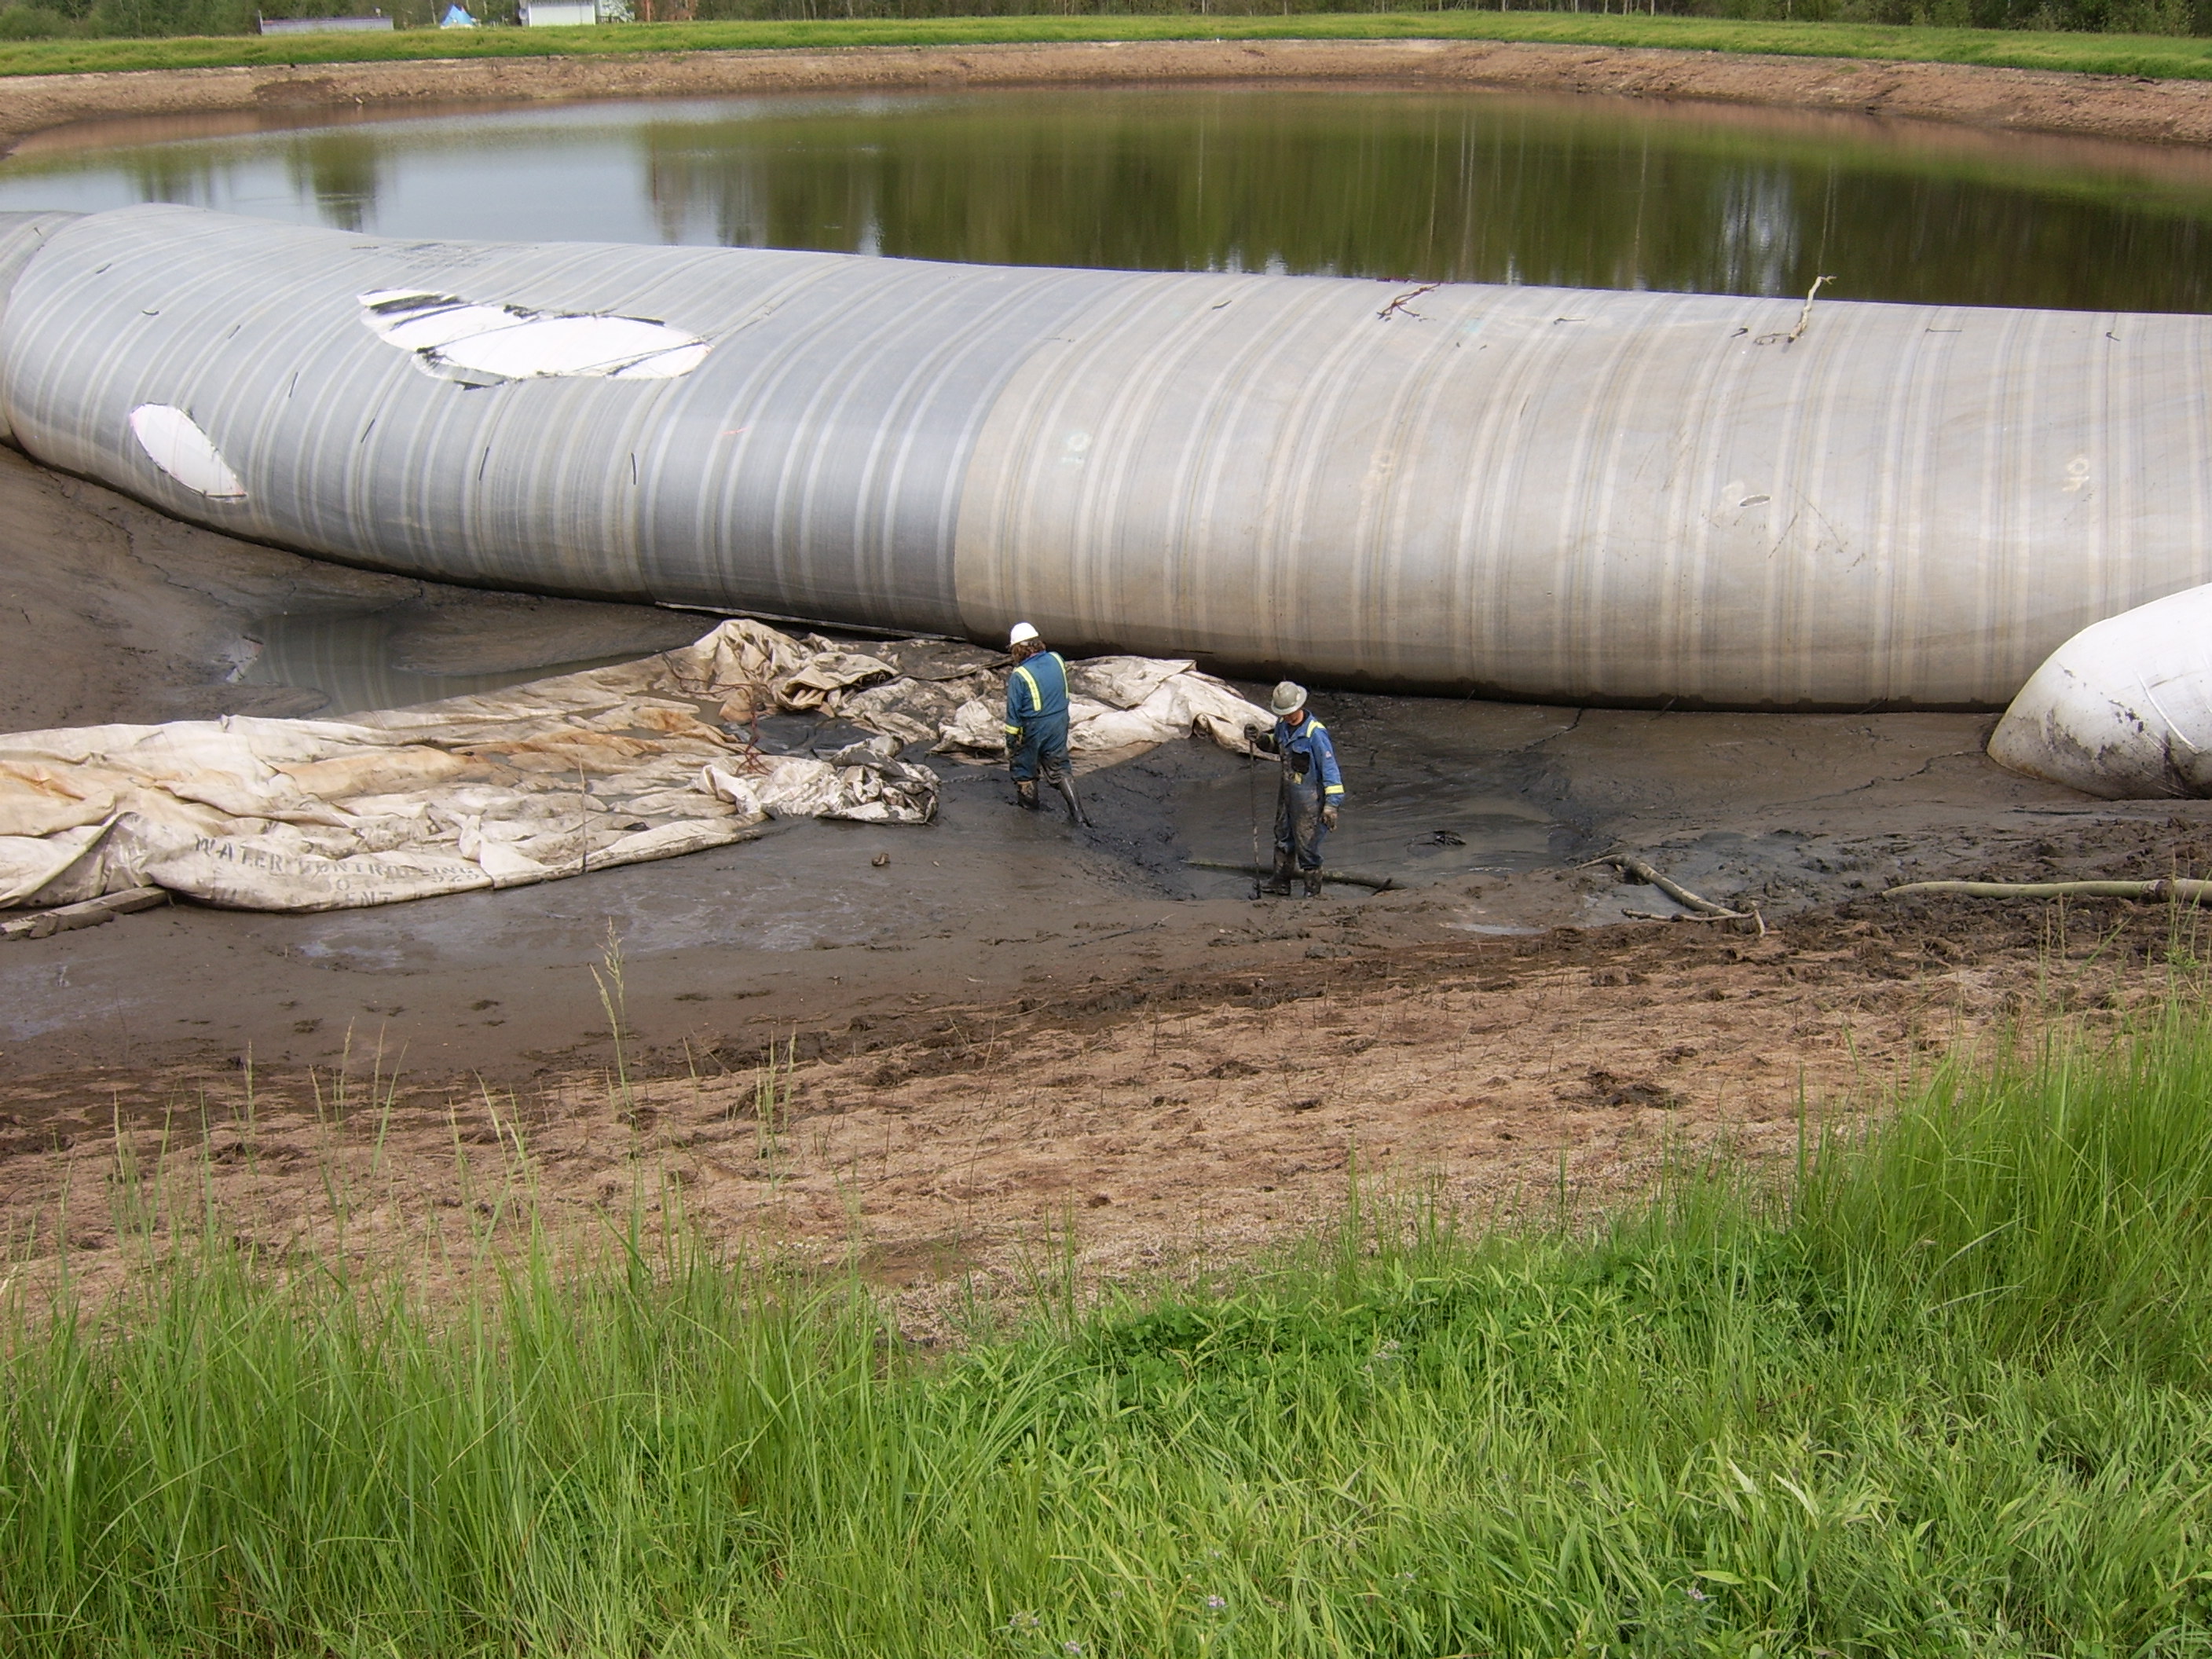
54.) The 12ft tall AquaDam was a used dam and had been deployed on a previous job. During that previous job, a tear appeared in one of the outer layers of material. This tear grew, but there is nothing worrisome about it. There are multiple layers of material used in the construction of this size AquaDam.

55.) The first 8ftt tall support AquaDam is full.
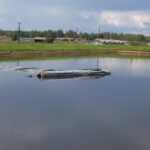
56.) Notice the water depth difference on the left and right of the 12ft tall AquaDam?
78.) Where the workers are standing is where the pipeline is planned to be installed.
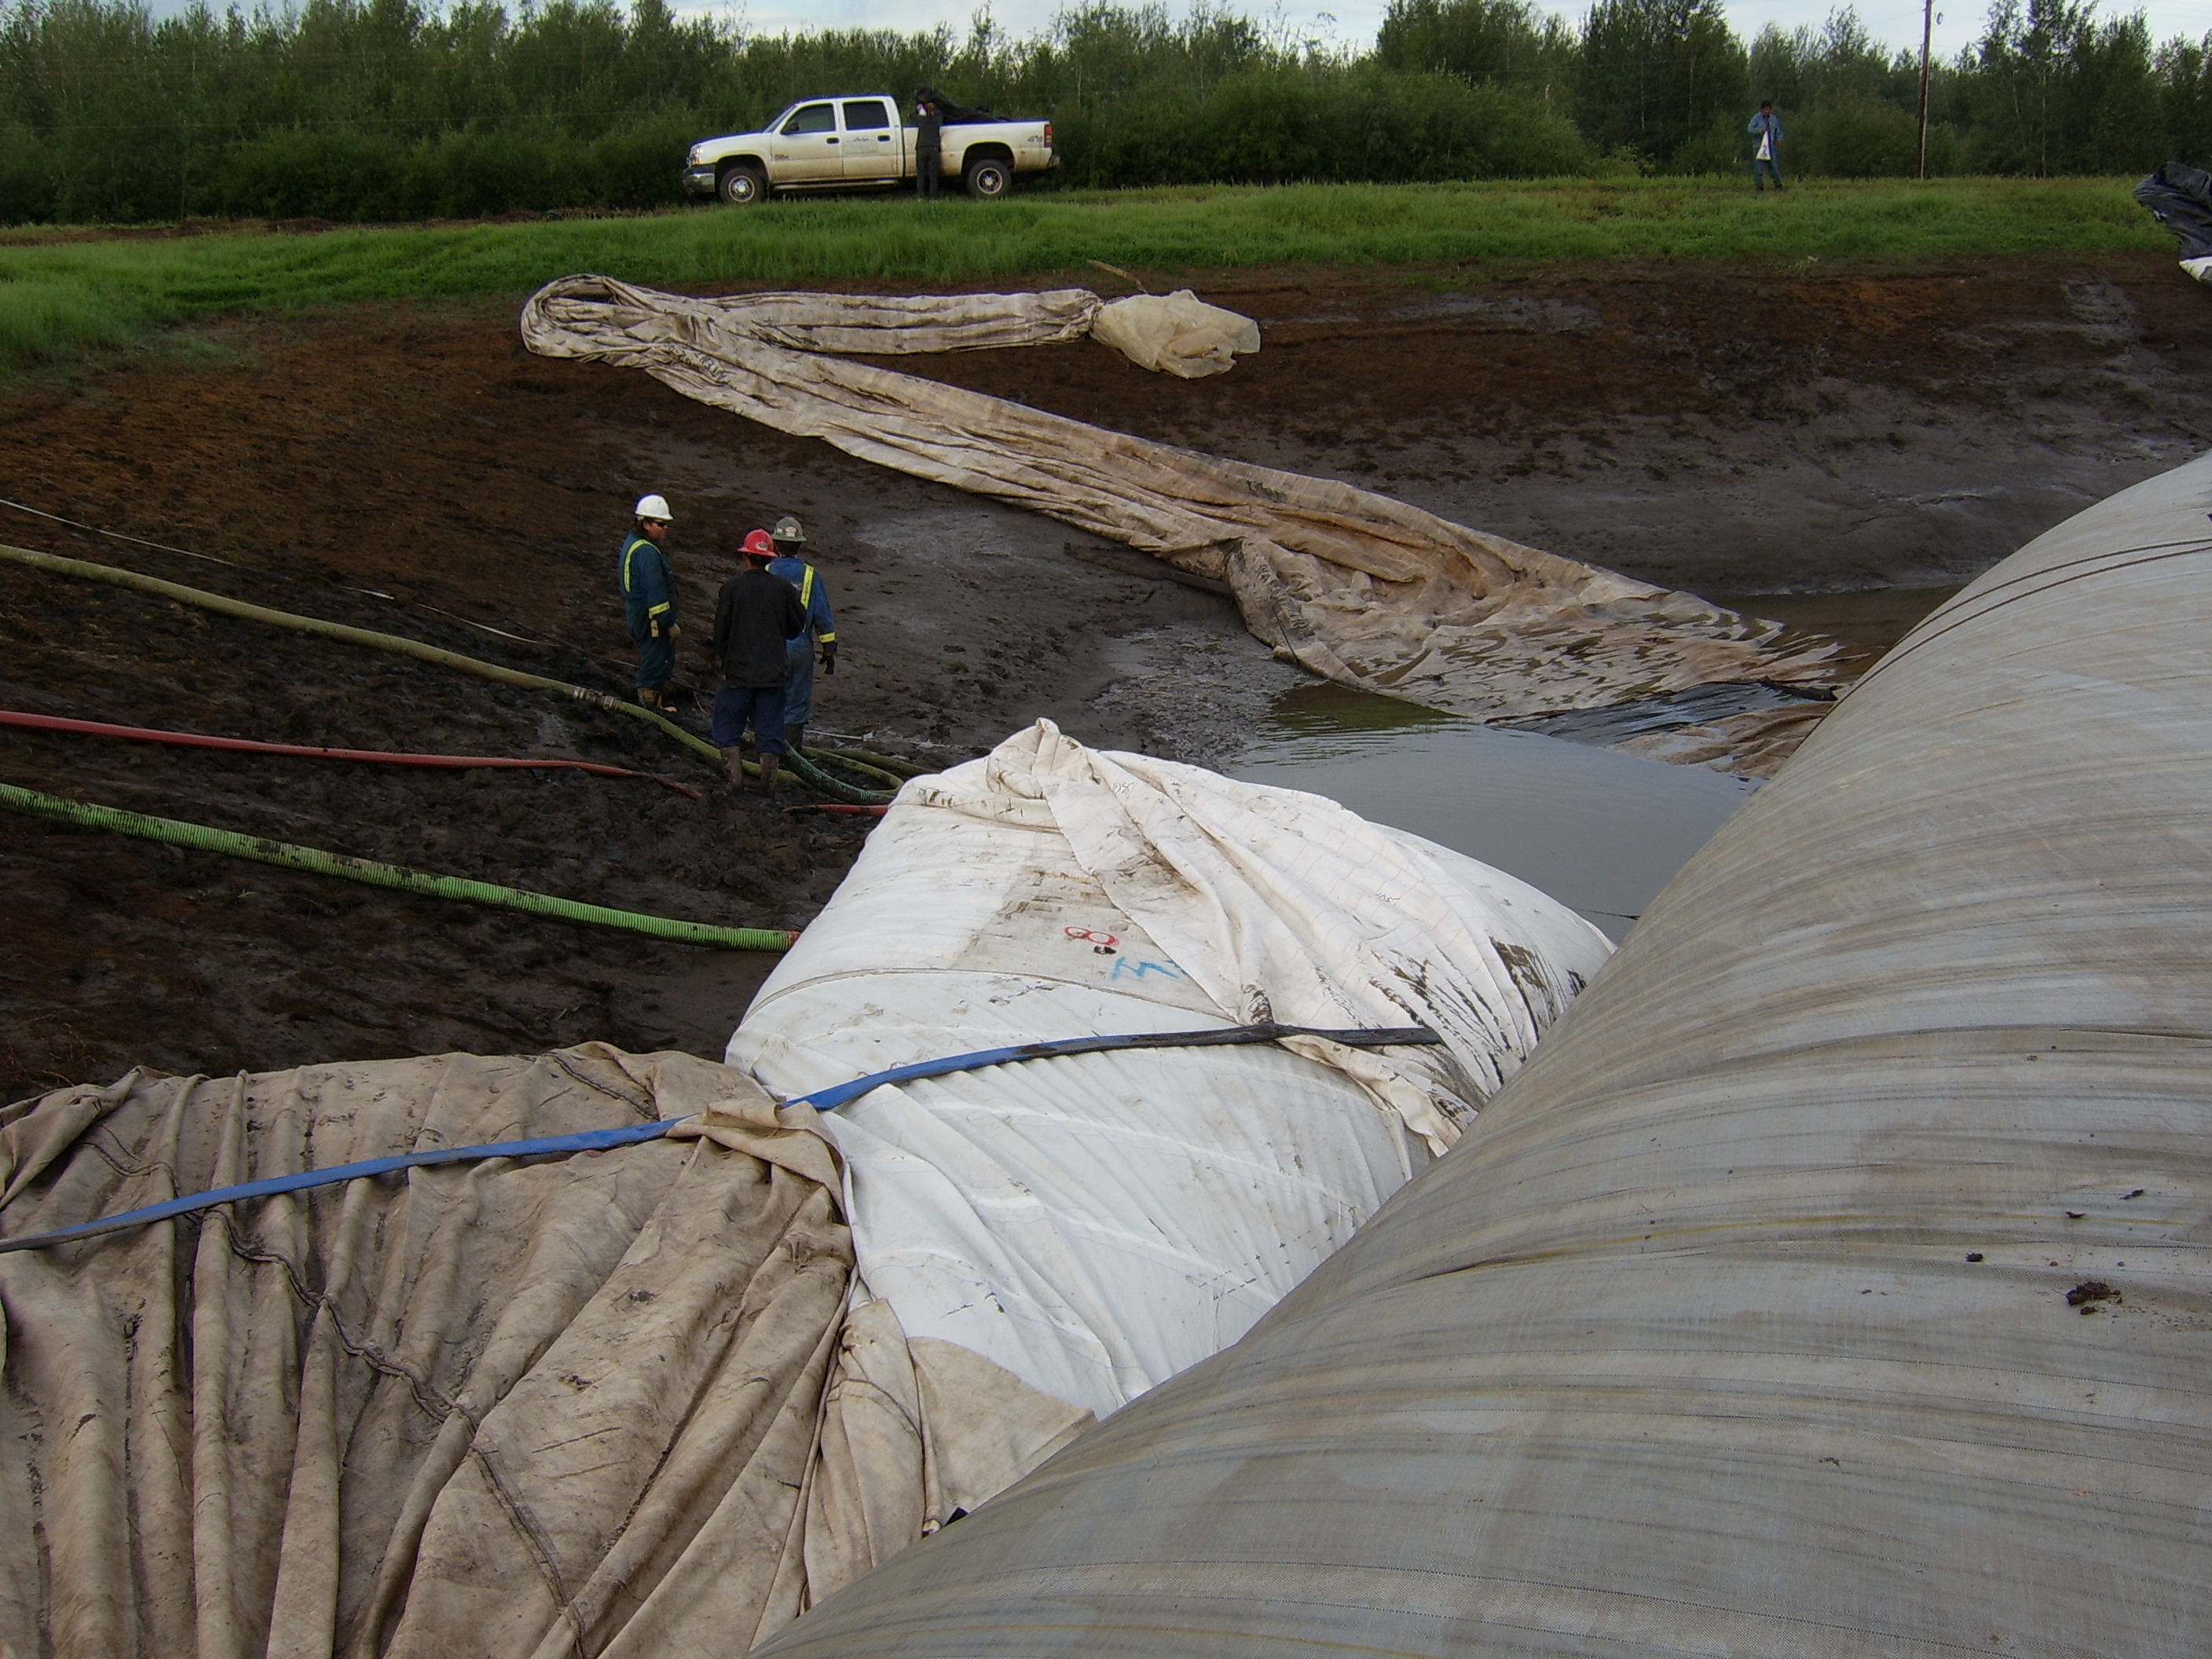
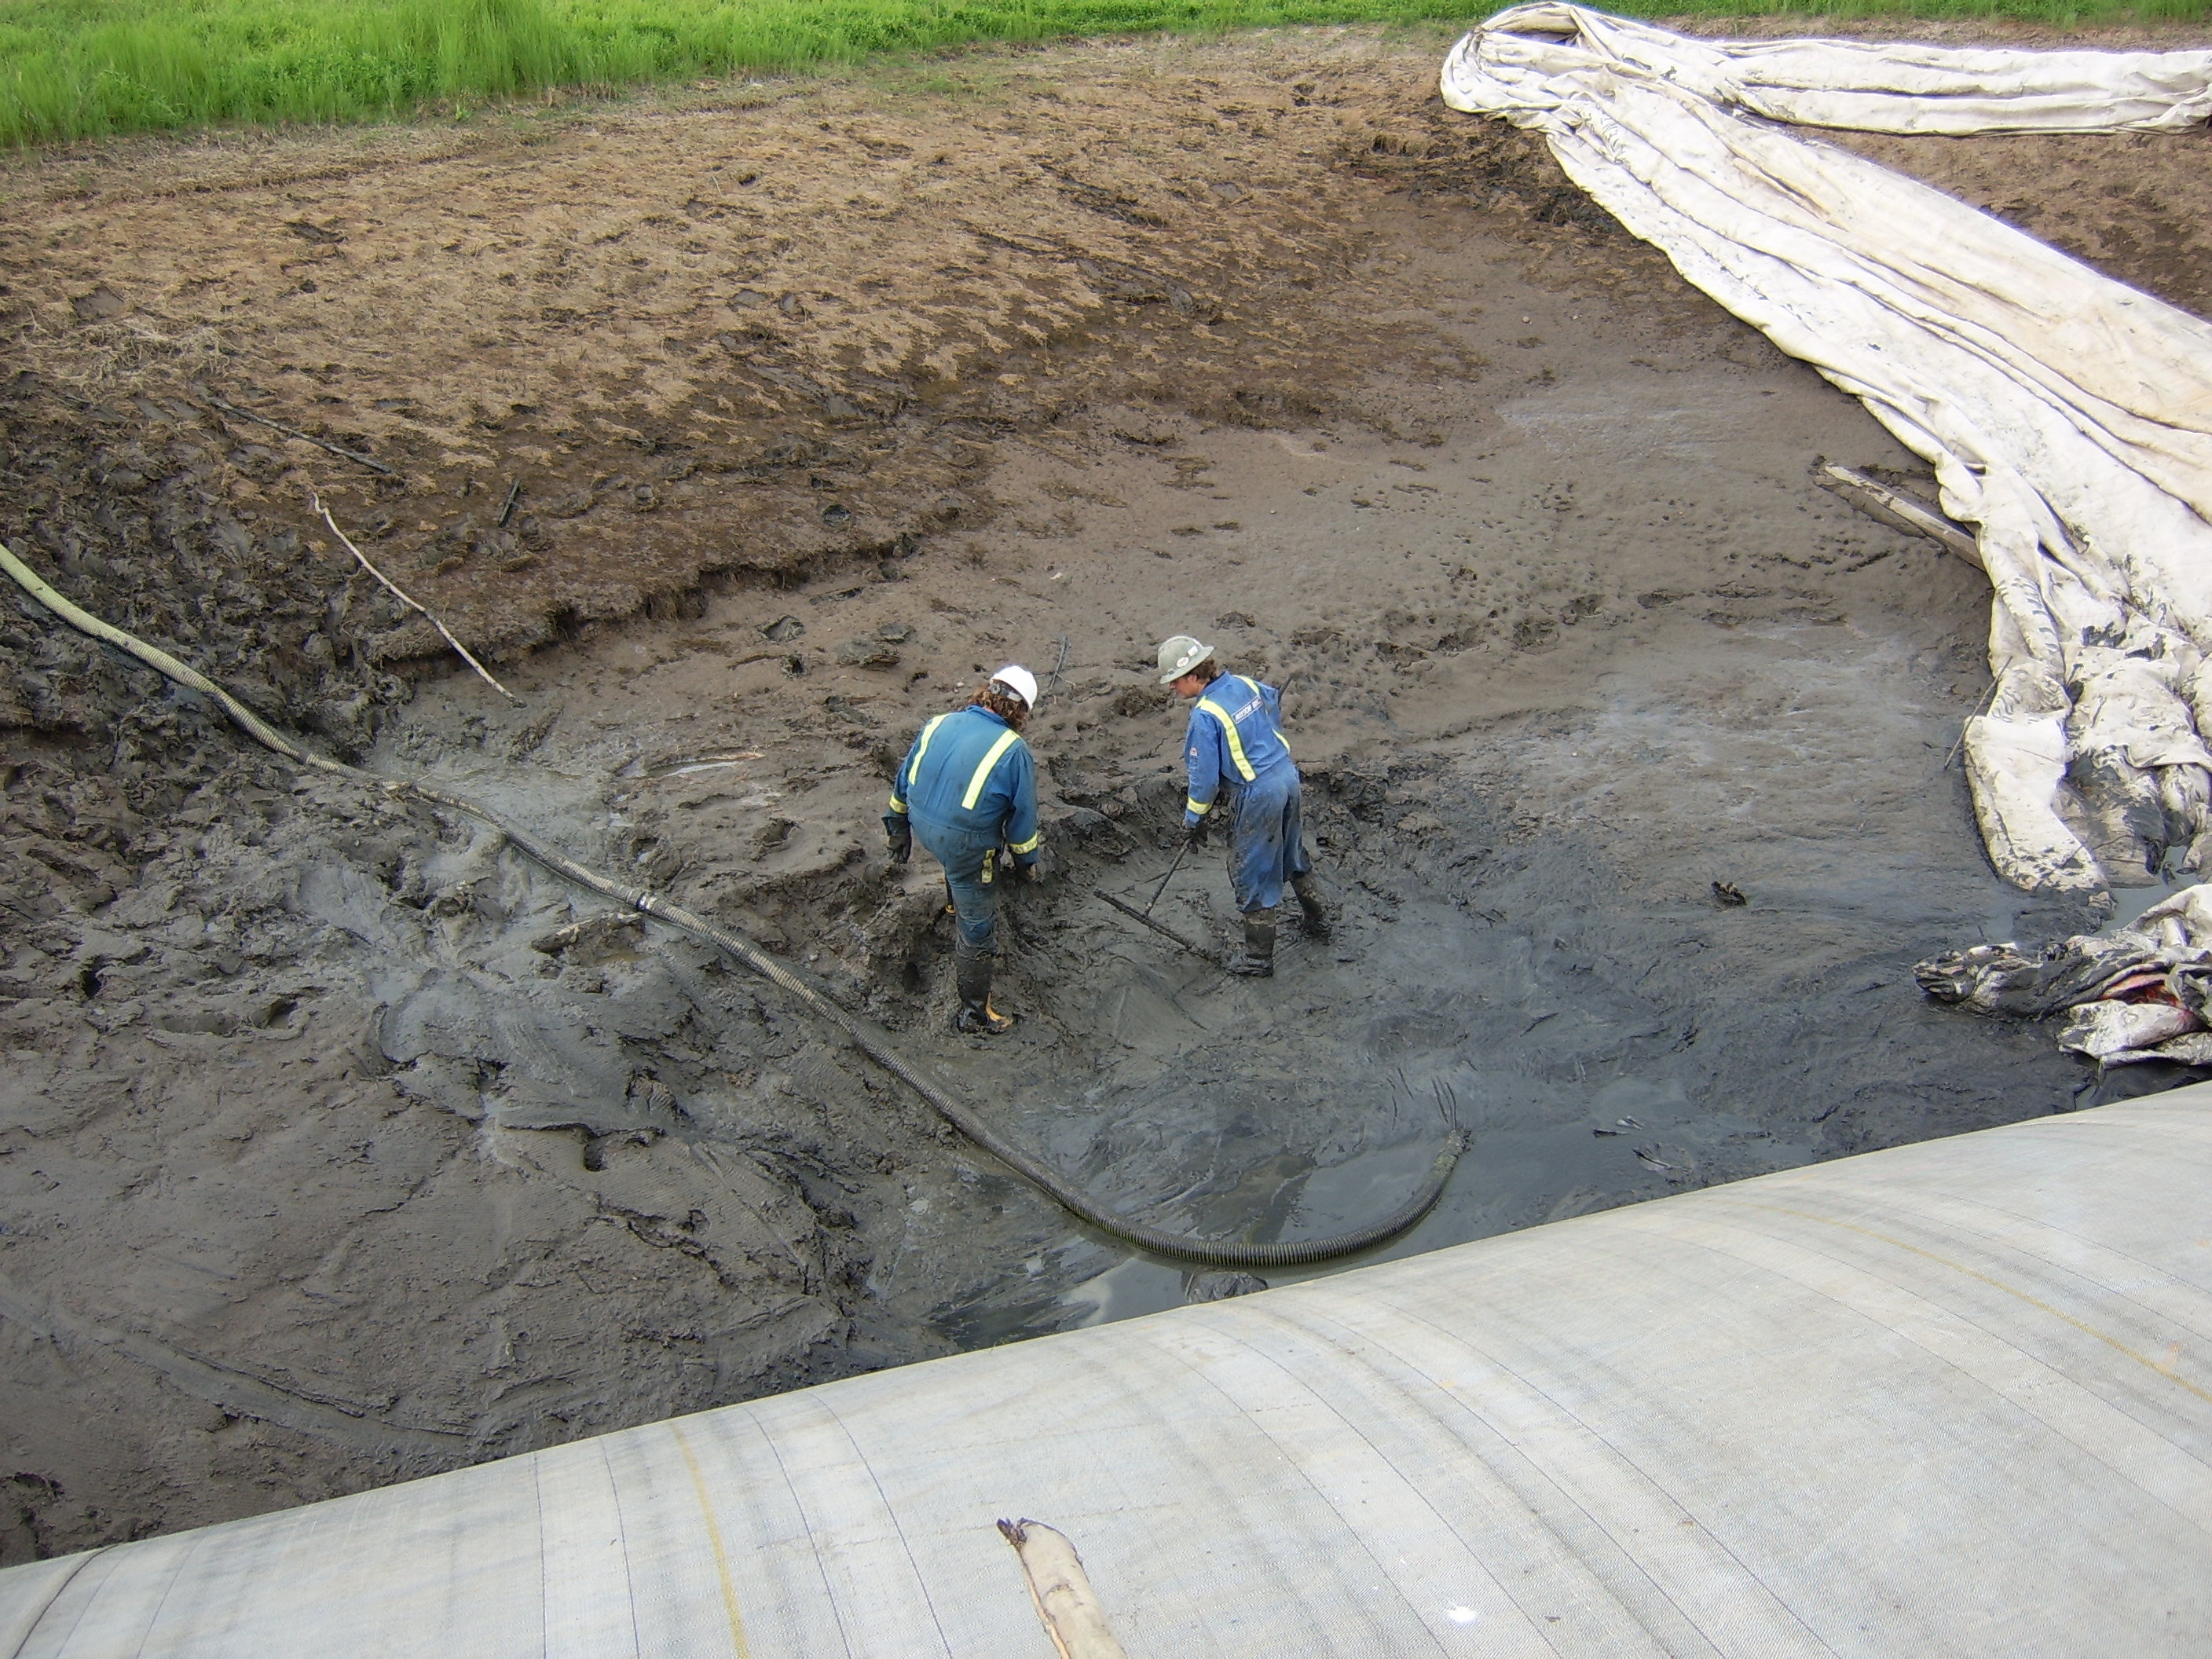
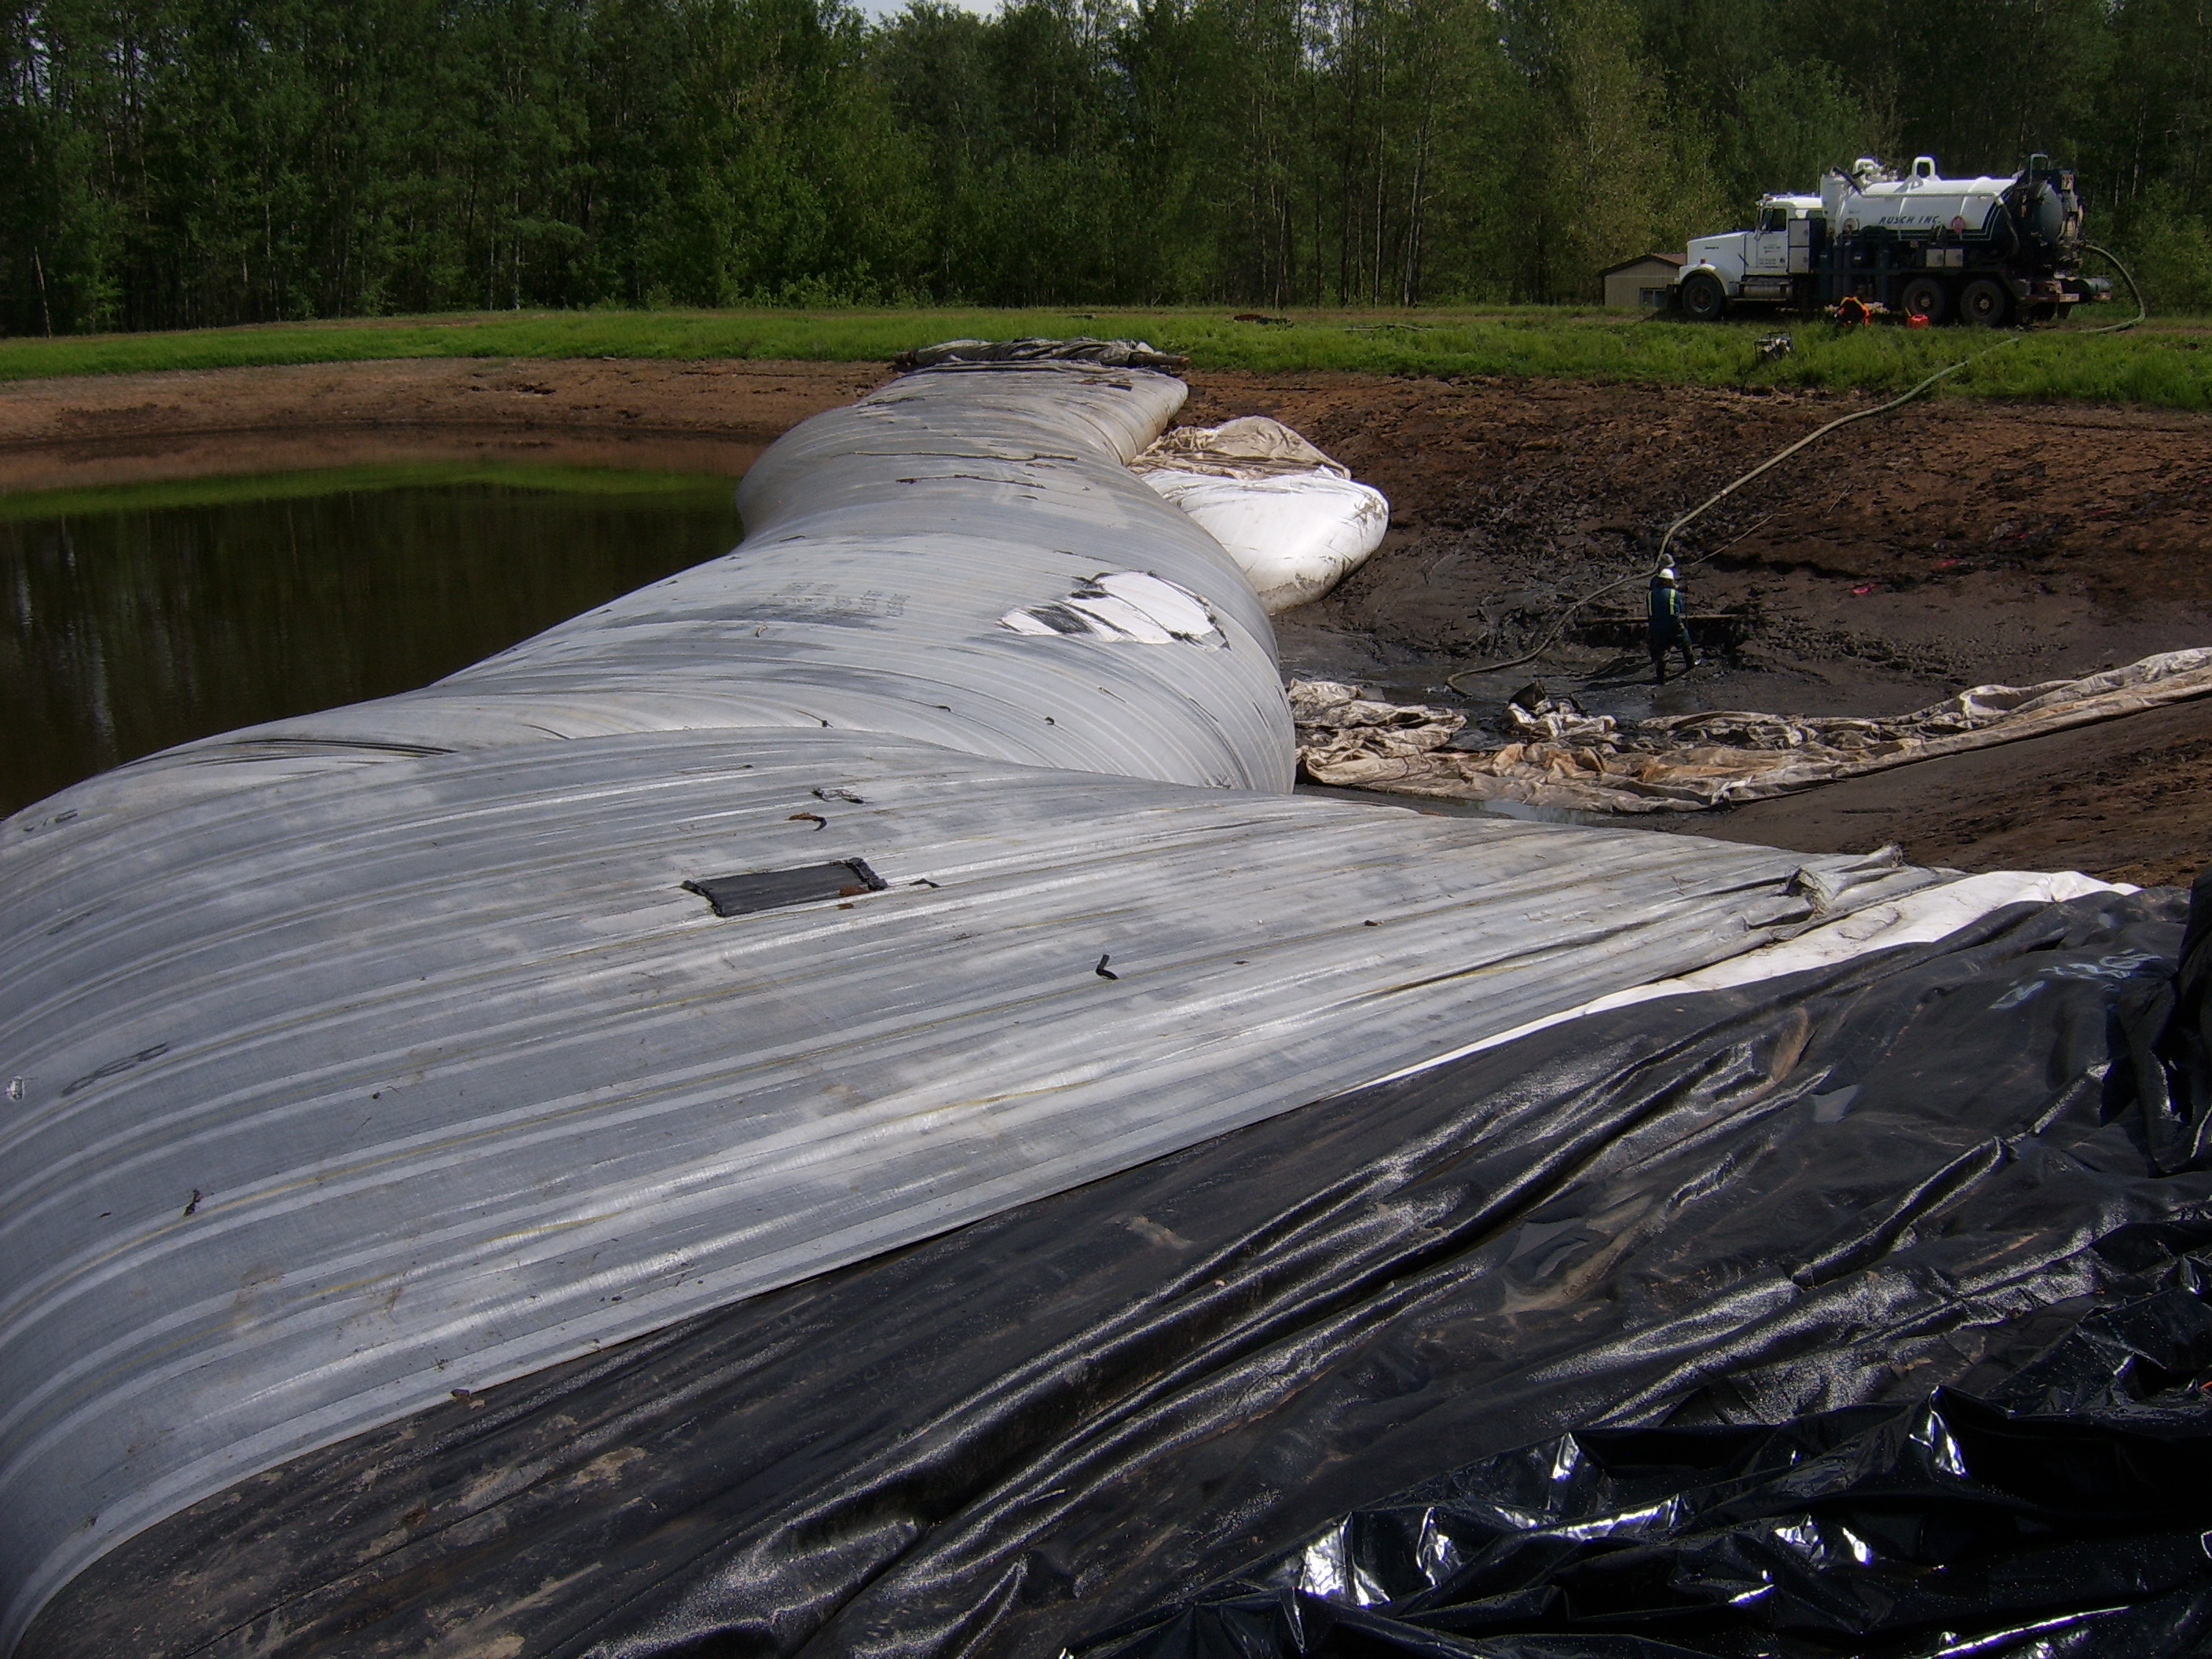
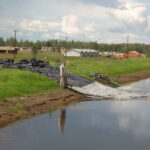
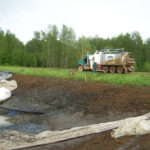
79.) Work area almost totally dewatered, AquaDam is doing great.
57.) The second 8ft tall support AquaDam is being moved into place by an excavator.
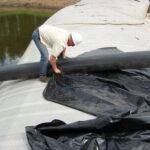
58.) Workers removed the outer protective wrapping.

59.) Several feet of the SCE AquaDam are unrolled.
60.) Workers cut the roll end off, after they have enough length rolled out to fill in the gap left from the first 8ft tall support AquaDam.
61.) Excavator moving 8ft AquaDam roll into place. The unrolled length was re-rolled and closed off.
62.) The excavator operator was cautious not to cut or tear the material as it was positioned.

63.) The AquaDam roll has been placed and its fill-tubes are being dragged up the bank.
64.) The second 8ft tall AquaDam is being filled through the blue discharge hose. It will continue to unroll until it meets the first 8ft tall AquaDam.
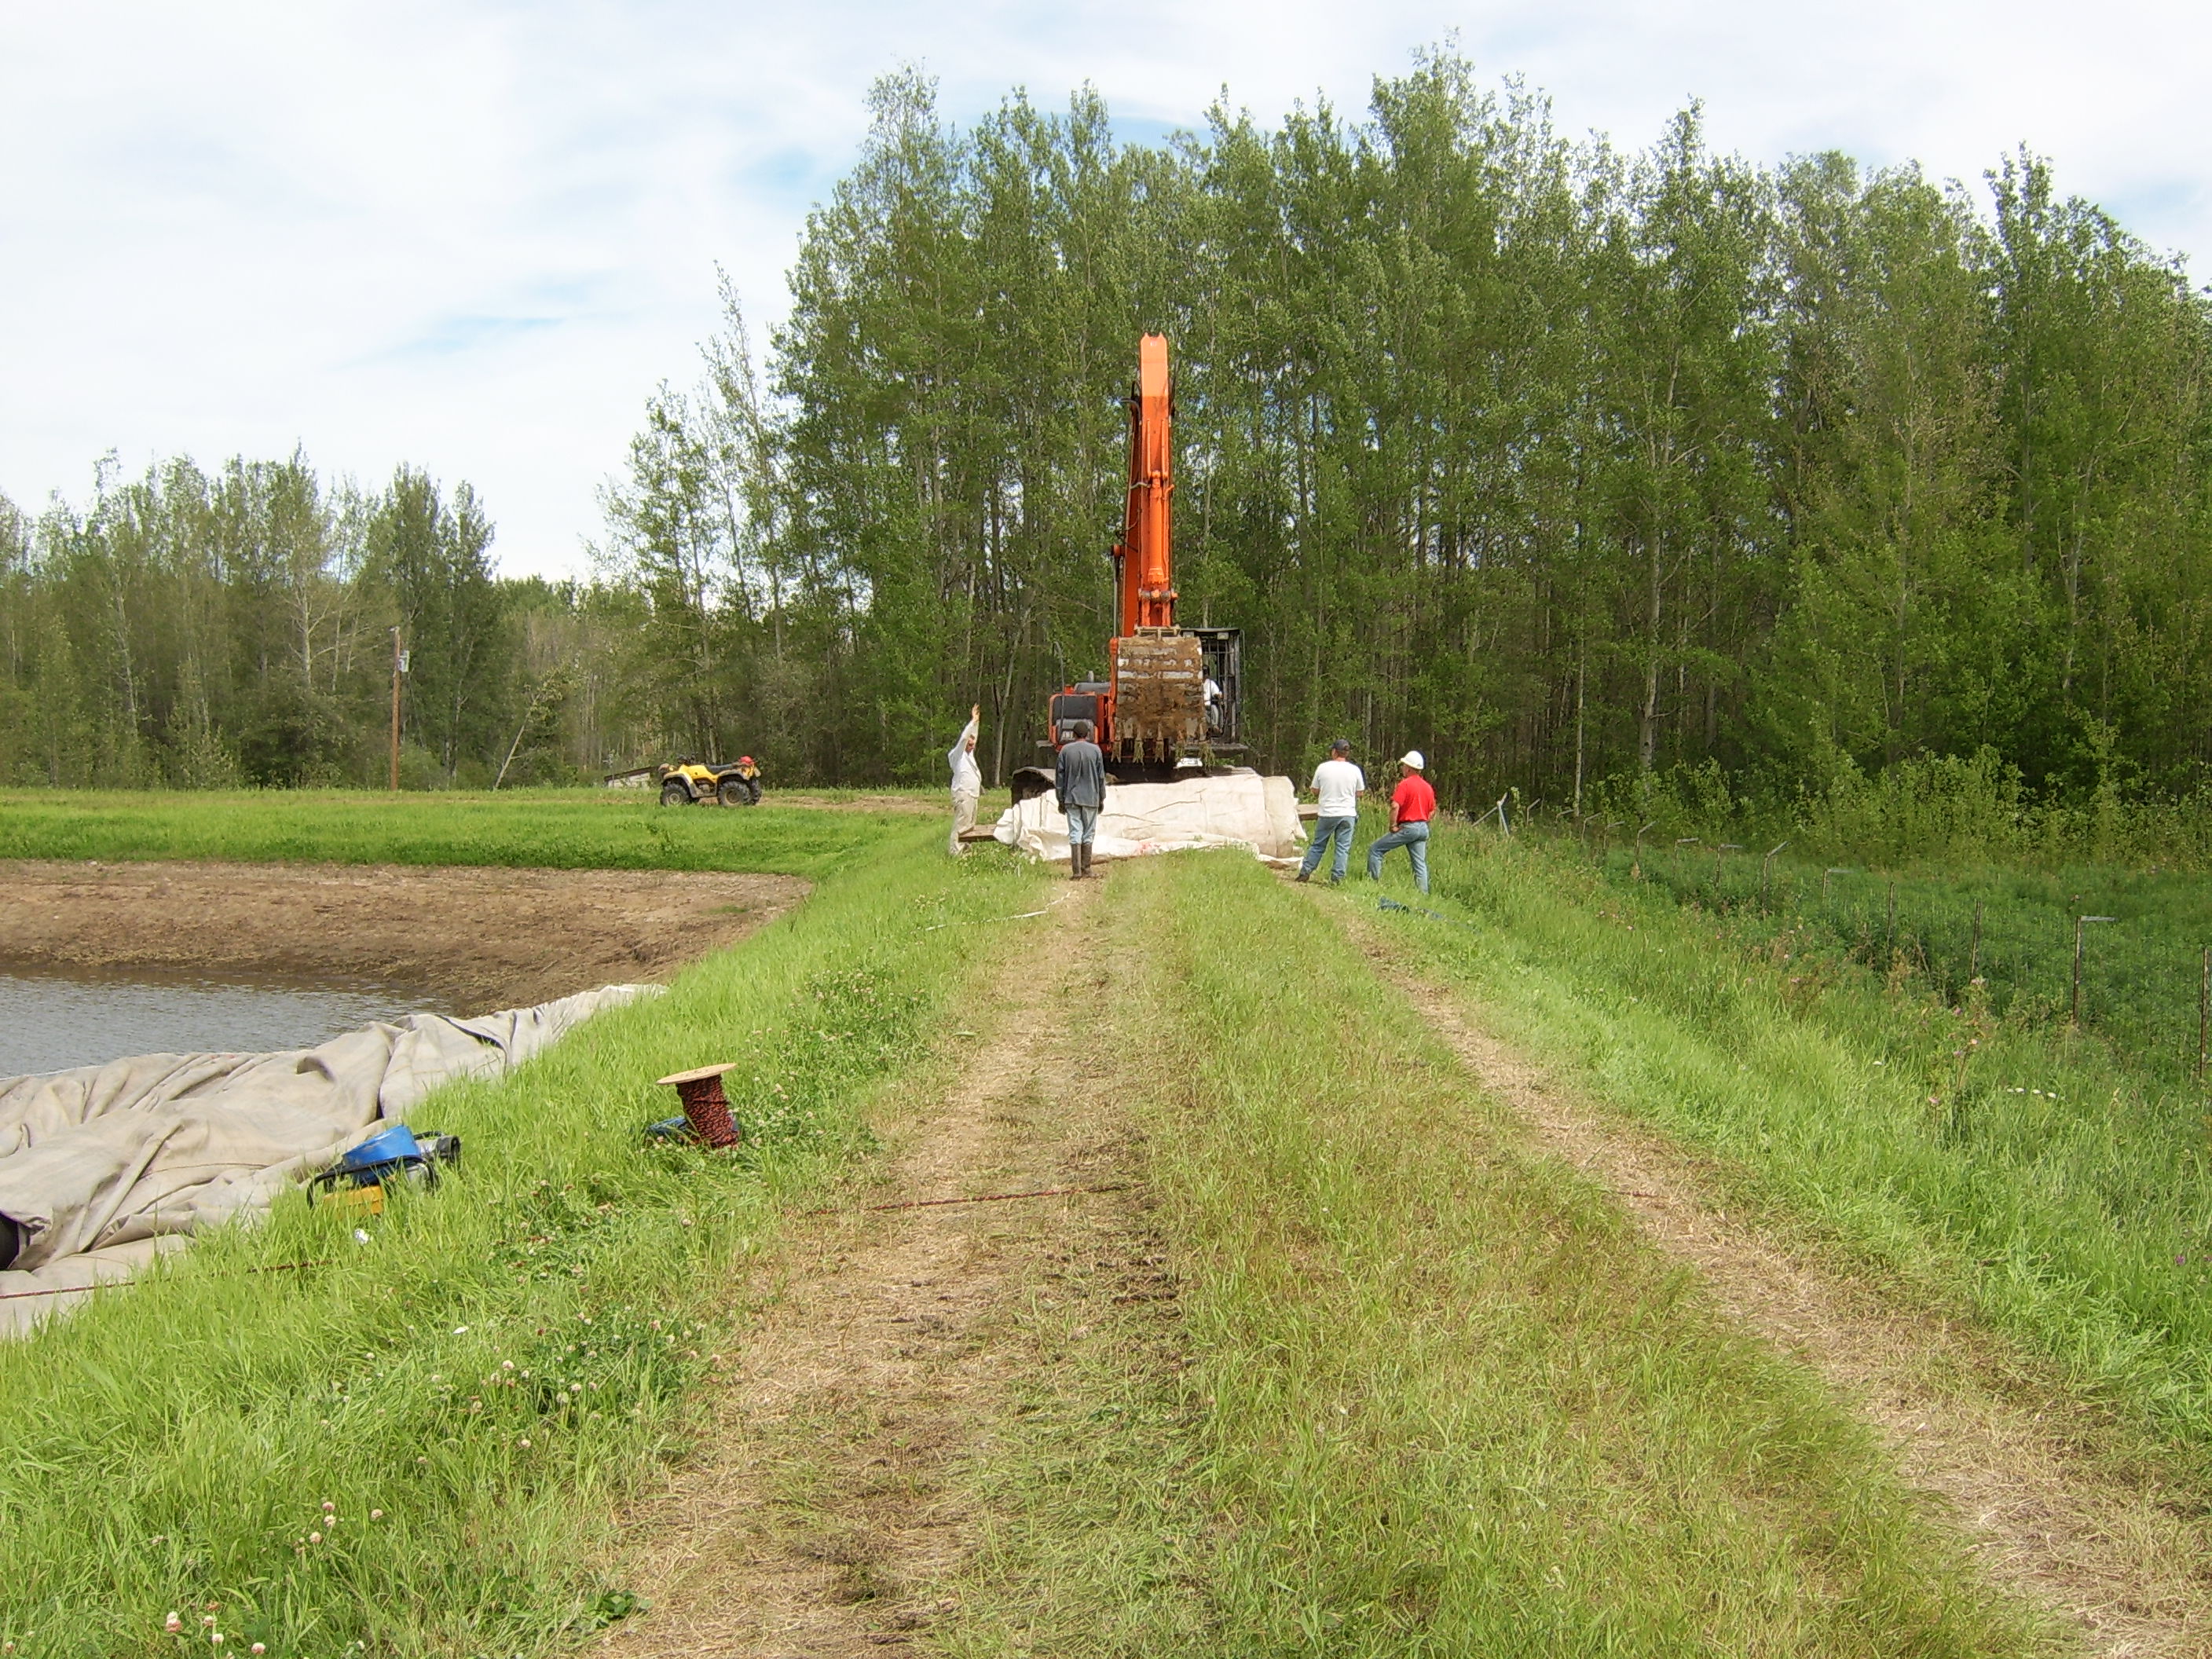
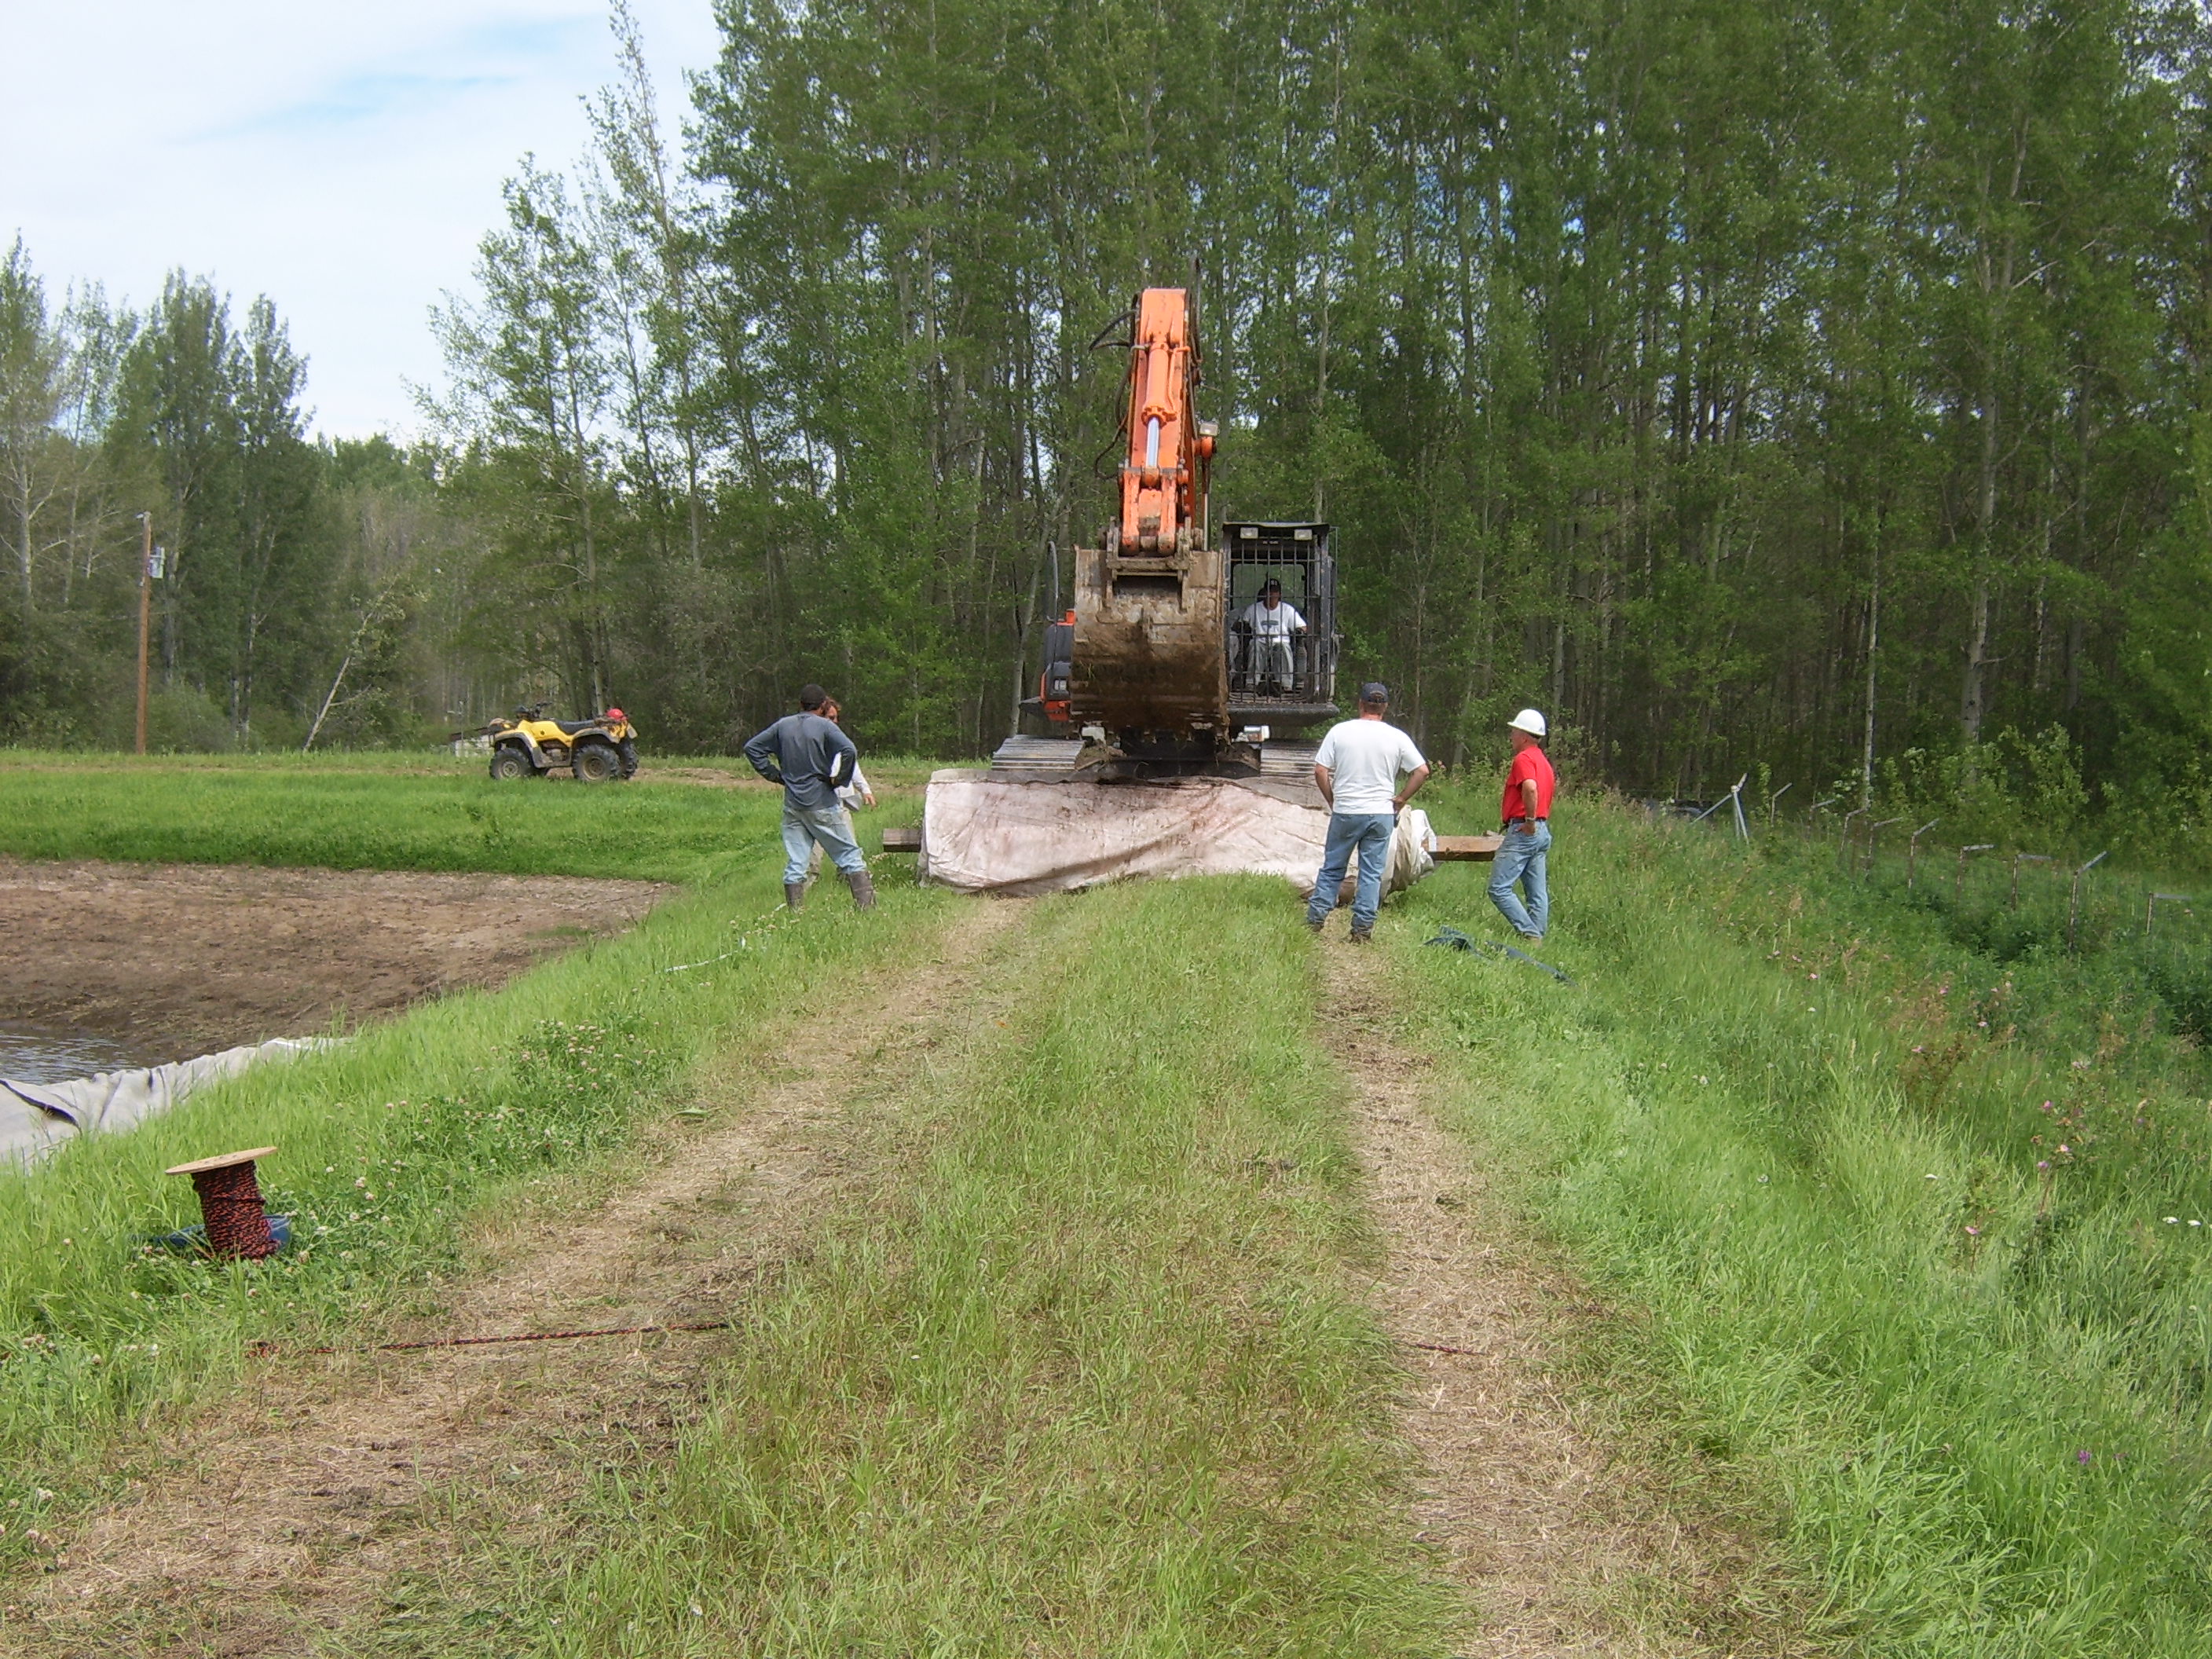
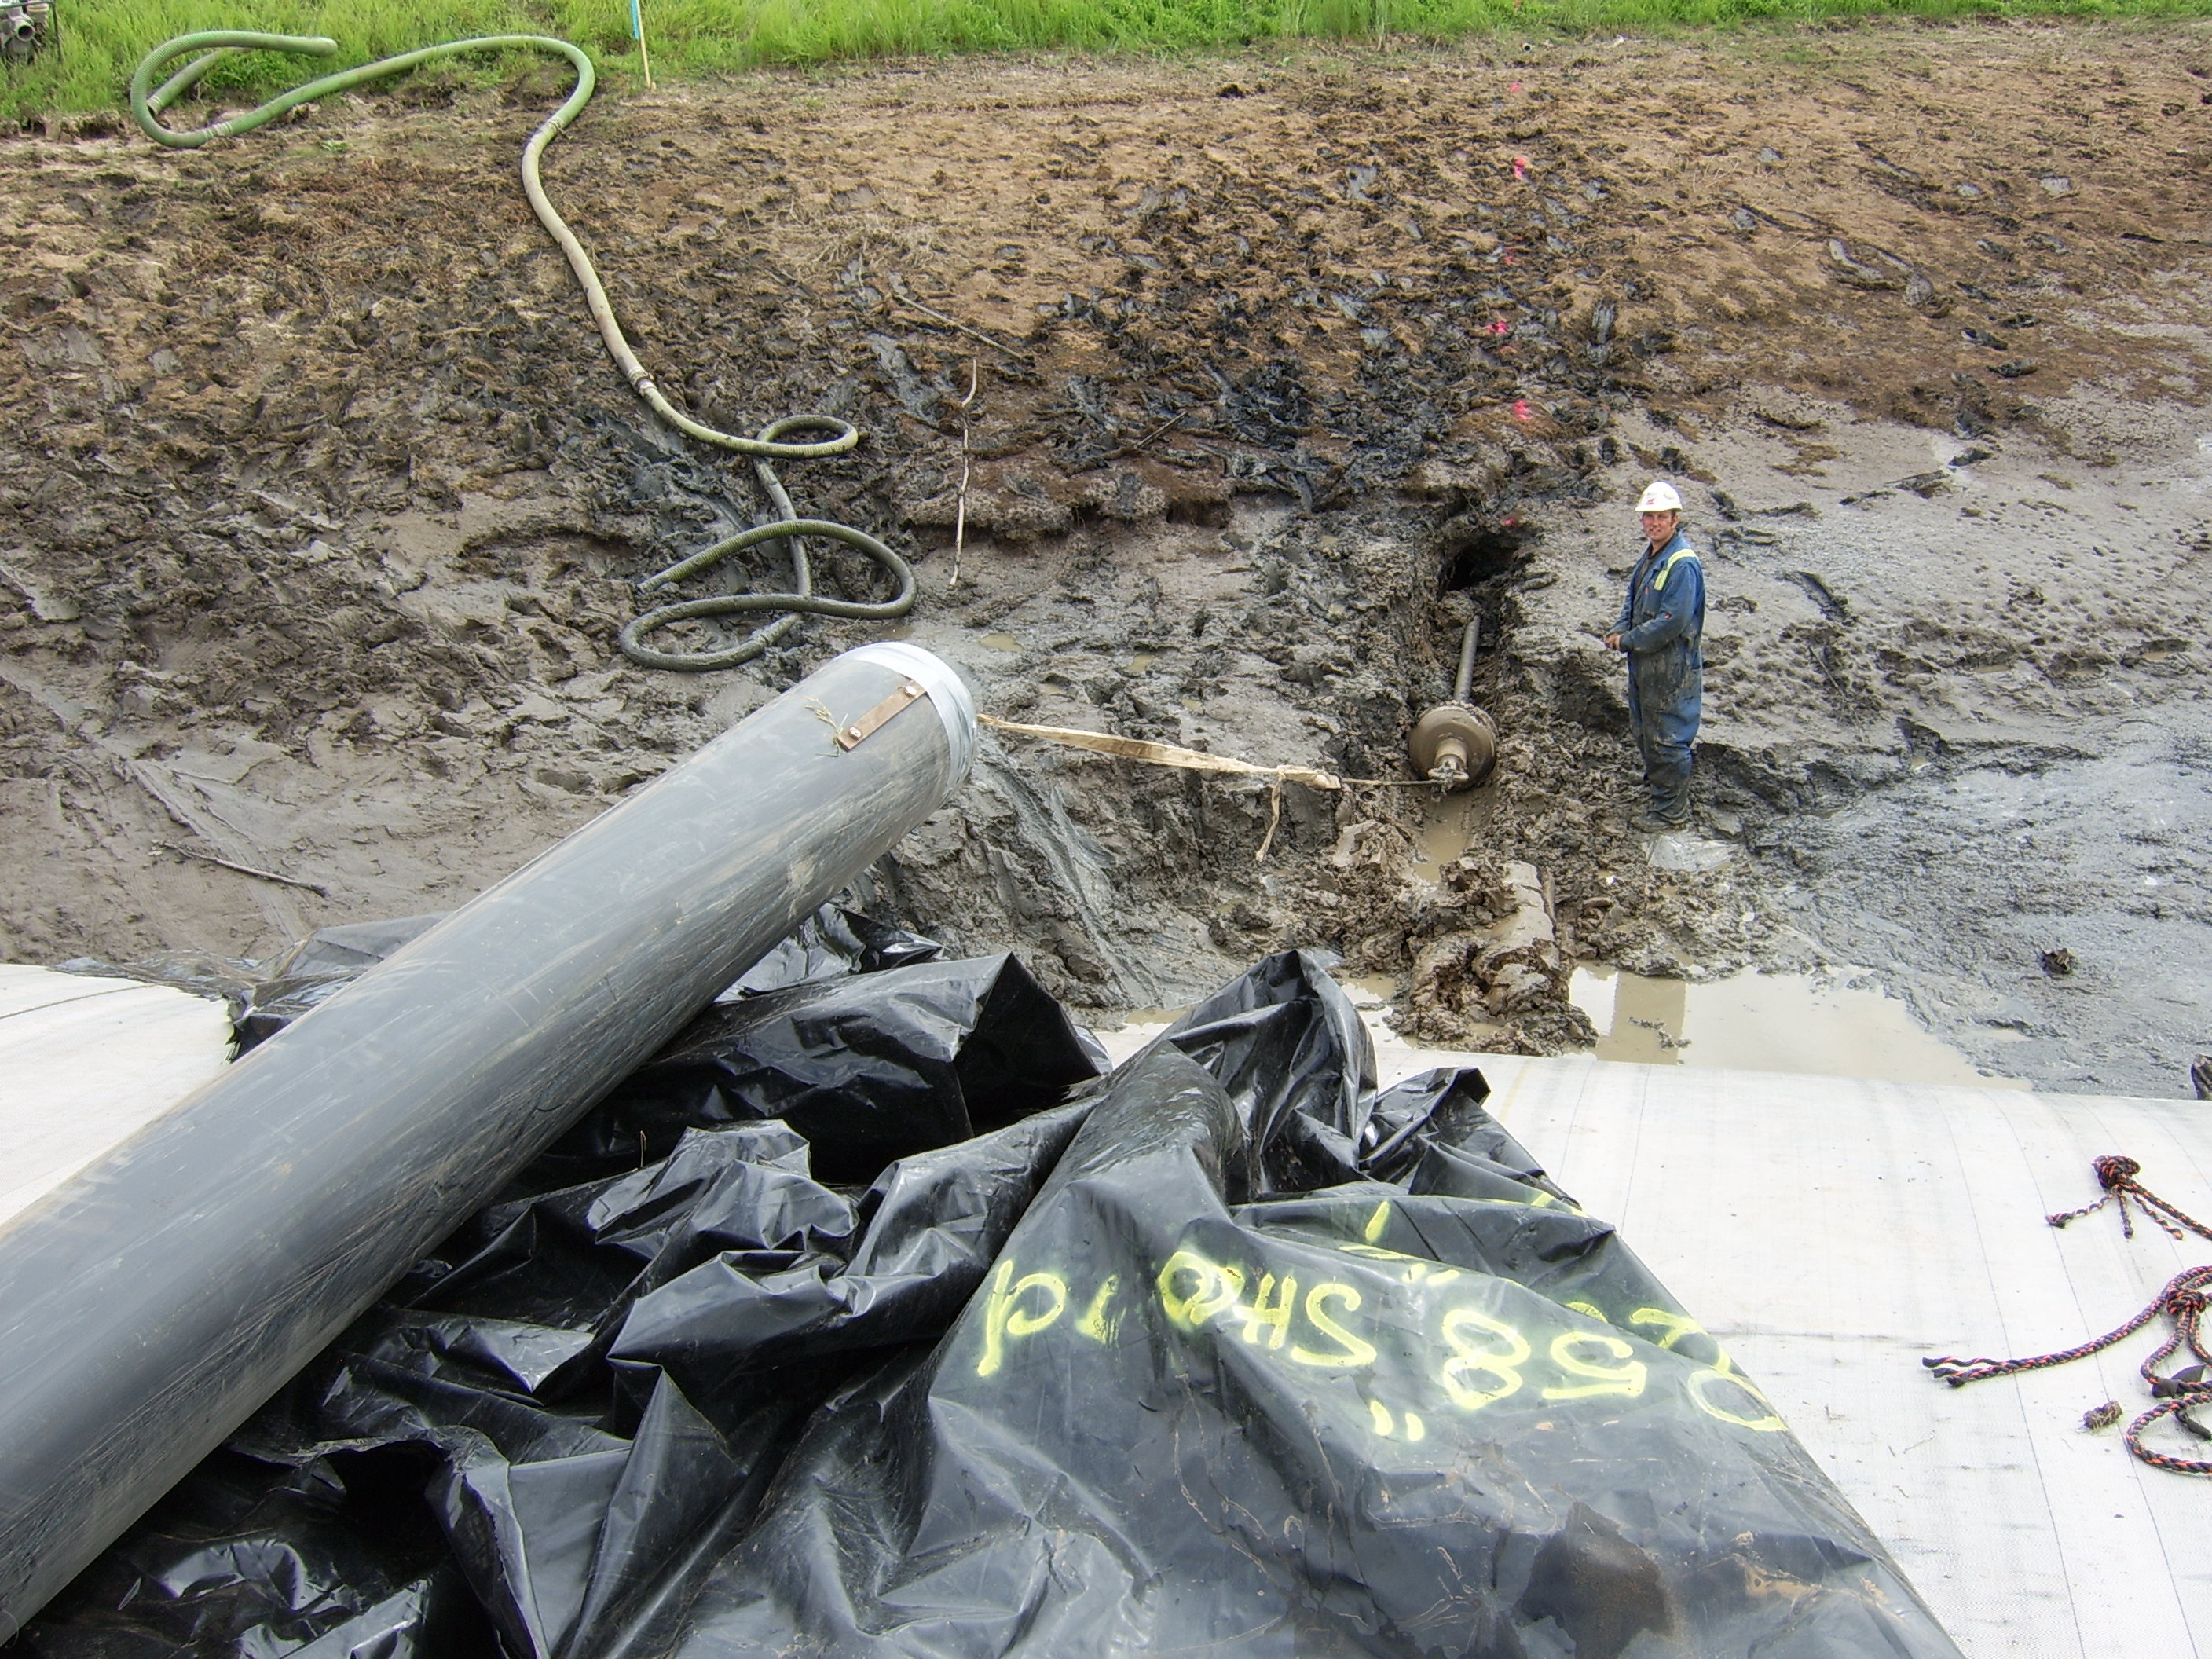
80.) Workers prepare for the drill to come through the bank of the pond.
81.) The drill has punched through the ponds bank.
82.) Now look at the water depth difference from the right to the left side of the 12ft tall AquaDam.
83.) After the drill pushed through the pond bank, workers needed to switch the tip so that the pipeline could be pulled back through the drilled hole.
84.) Workers prepare to bring in the pipeline to be installed.

85.) The 12ft tall AquaDam is deviating from a straight line, away from the water and towards the work area. Nothing to worry about though.
86.) The pipeline was pulled past the AquaDam. It will be pulled over the AquaDam and into the hole that was drilled in the bank.
87.) Workers get into position.
88.) It’s not easy moving this pipe!
89.) The crane makes the job much easier, as it lifts the pipe up and over the AquaDam.
90.) The crane is moving one end, and a rope tied to the other end is being pulled by workers, to move the pipe to where it needs to be.
91.) Workers drag the pipe into the needed location.
92.) Workers continue to position the pipeline, prior to pulling it through the previously drilled hole.
93.) The pipeline was connected to the drill.
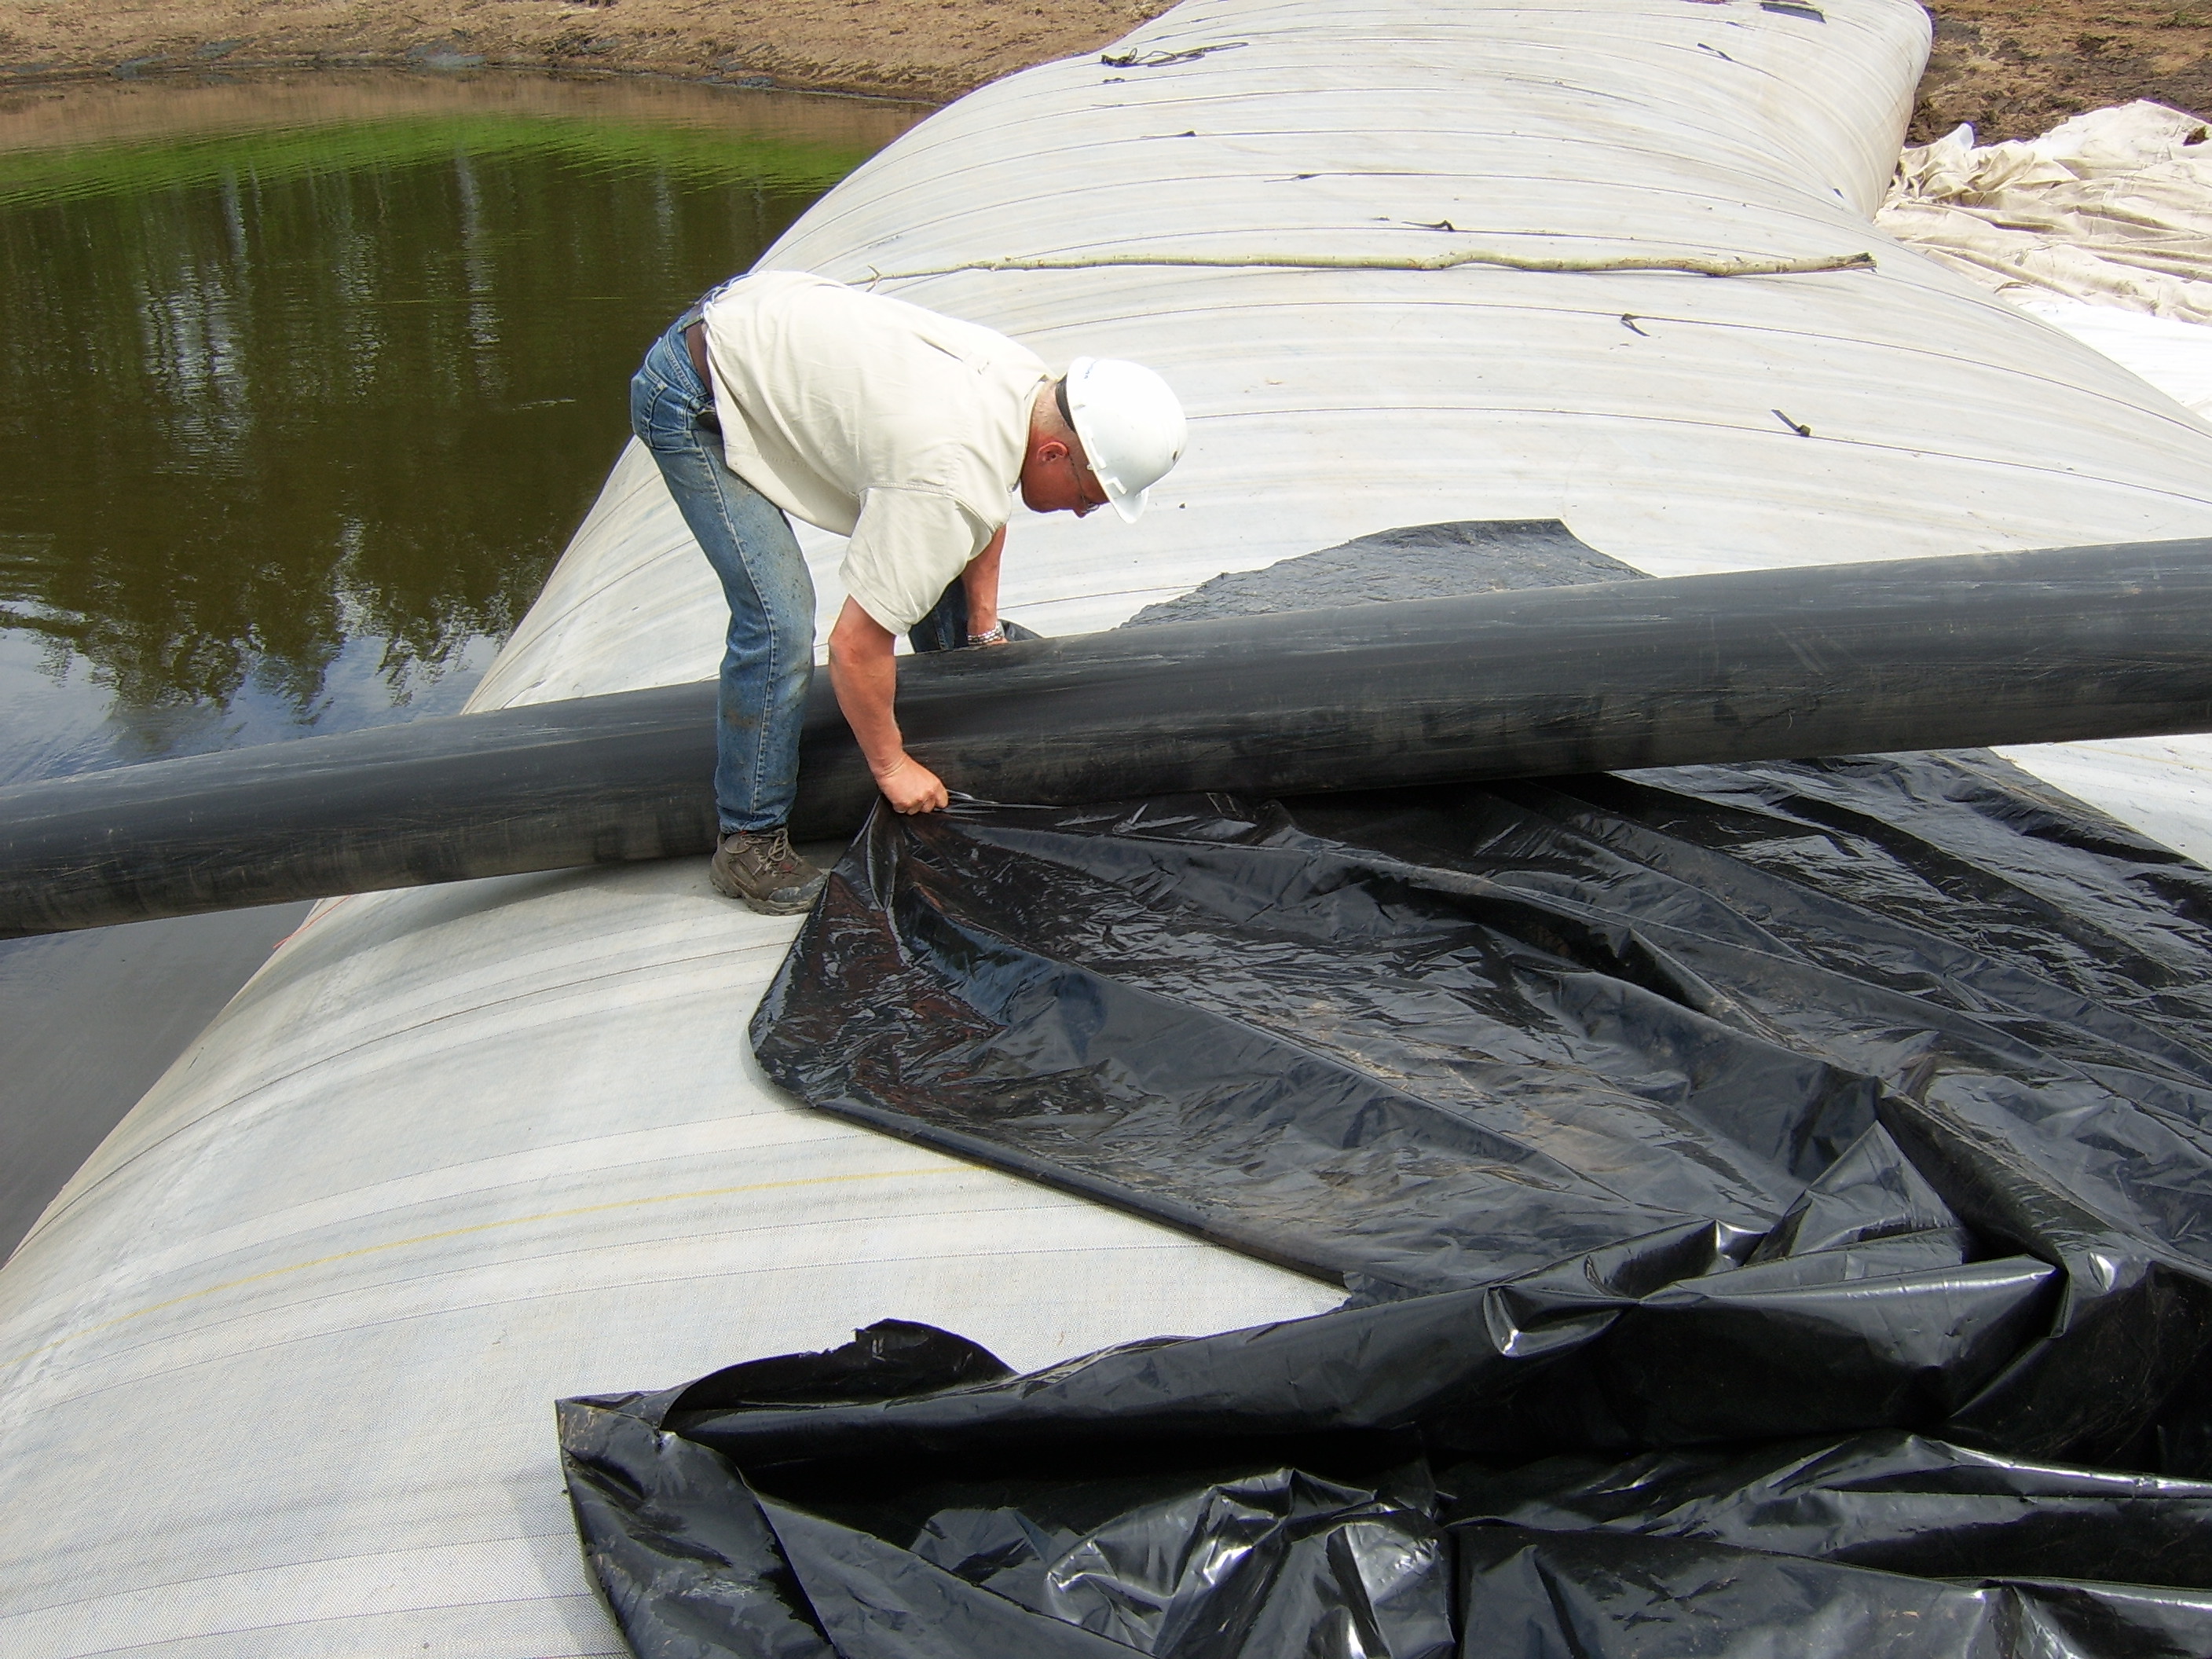
94.) Plastic is laid beneath the pipe. This was to protect the AquaDam from the friction of the dragging pipe.
95.) The pipeline is finally ready to be pulled through the hole.
96.) Up, over, down, and into the bank.
97.) Workers monitor the pipeline as it is being pulled into the bank.
98.) The pipeline is being pulled into the hole in the bank.
99.) The pipeline is pulled into the hole inch by inch as workers watch and make sure the process goes smoothly.
100.) The pipeline has been pulled down to the toe of the pond bank.
101.) Workers continue to pull the pipeline into the hole.
102.) The pipe continues to be pulled into the hole.
103.) Most of the pipeline has been pulled through.
104.) The pipe has been almost completely pulled through the hole.
105.) The pipeline rests on the AquaDam while it is being pulled through the hole.
106.) A close photo of the end of the pipe remaining out of the drilled hole.
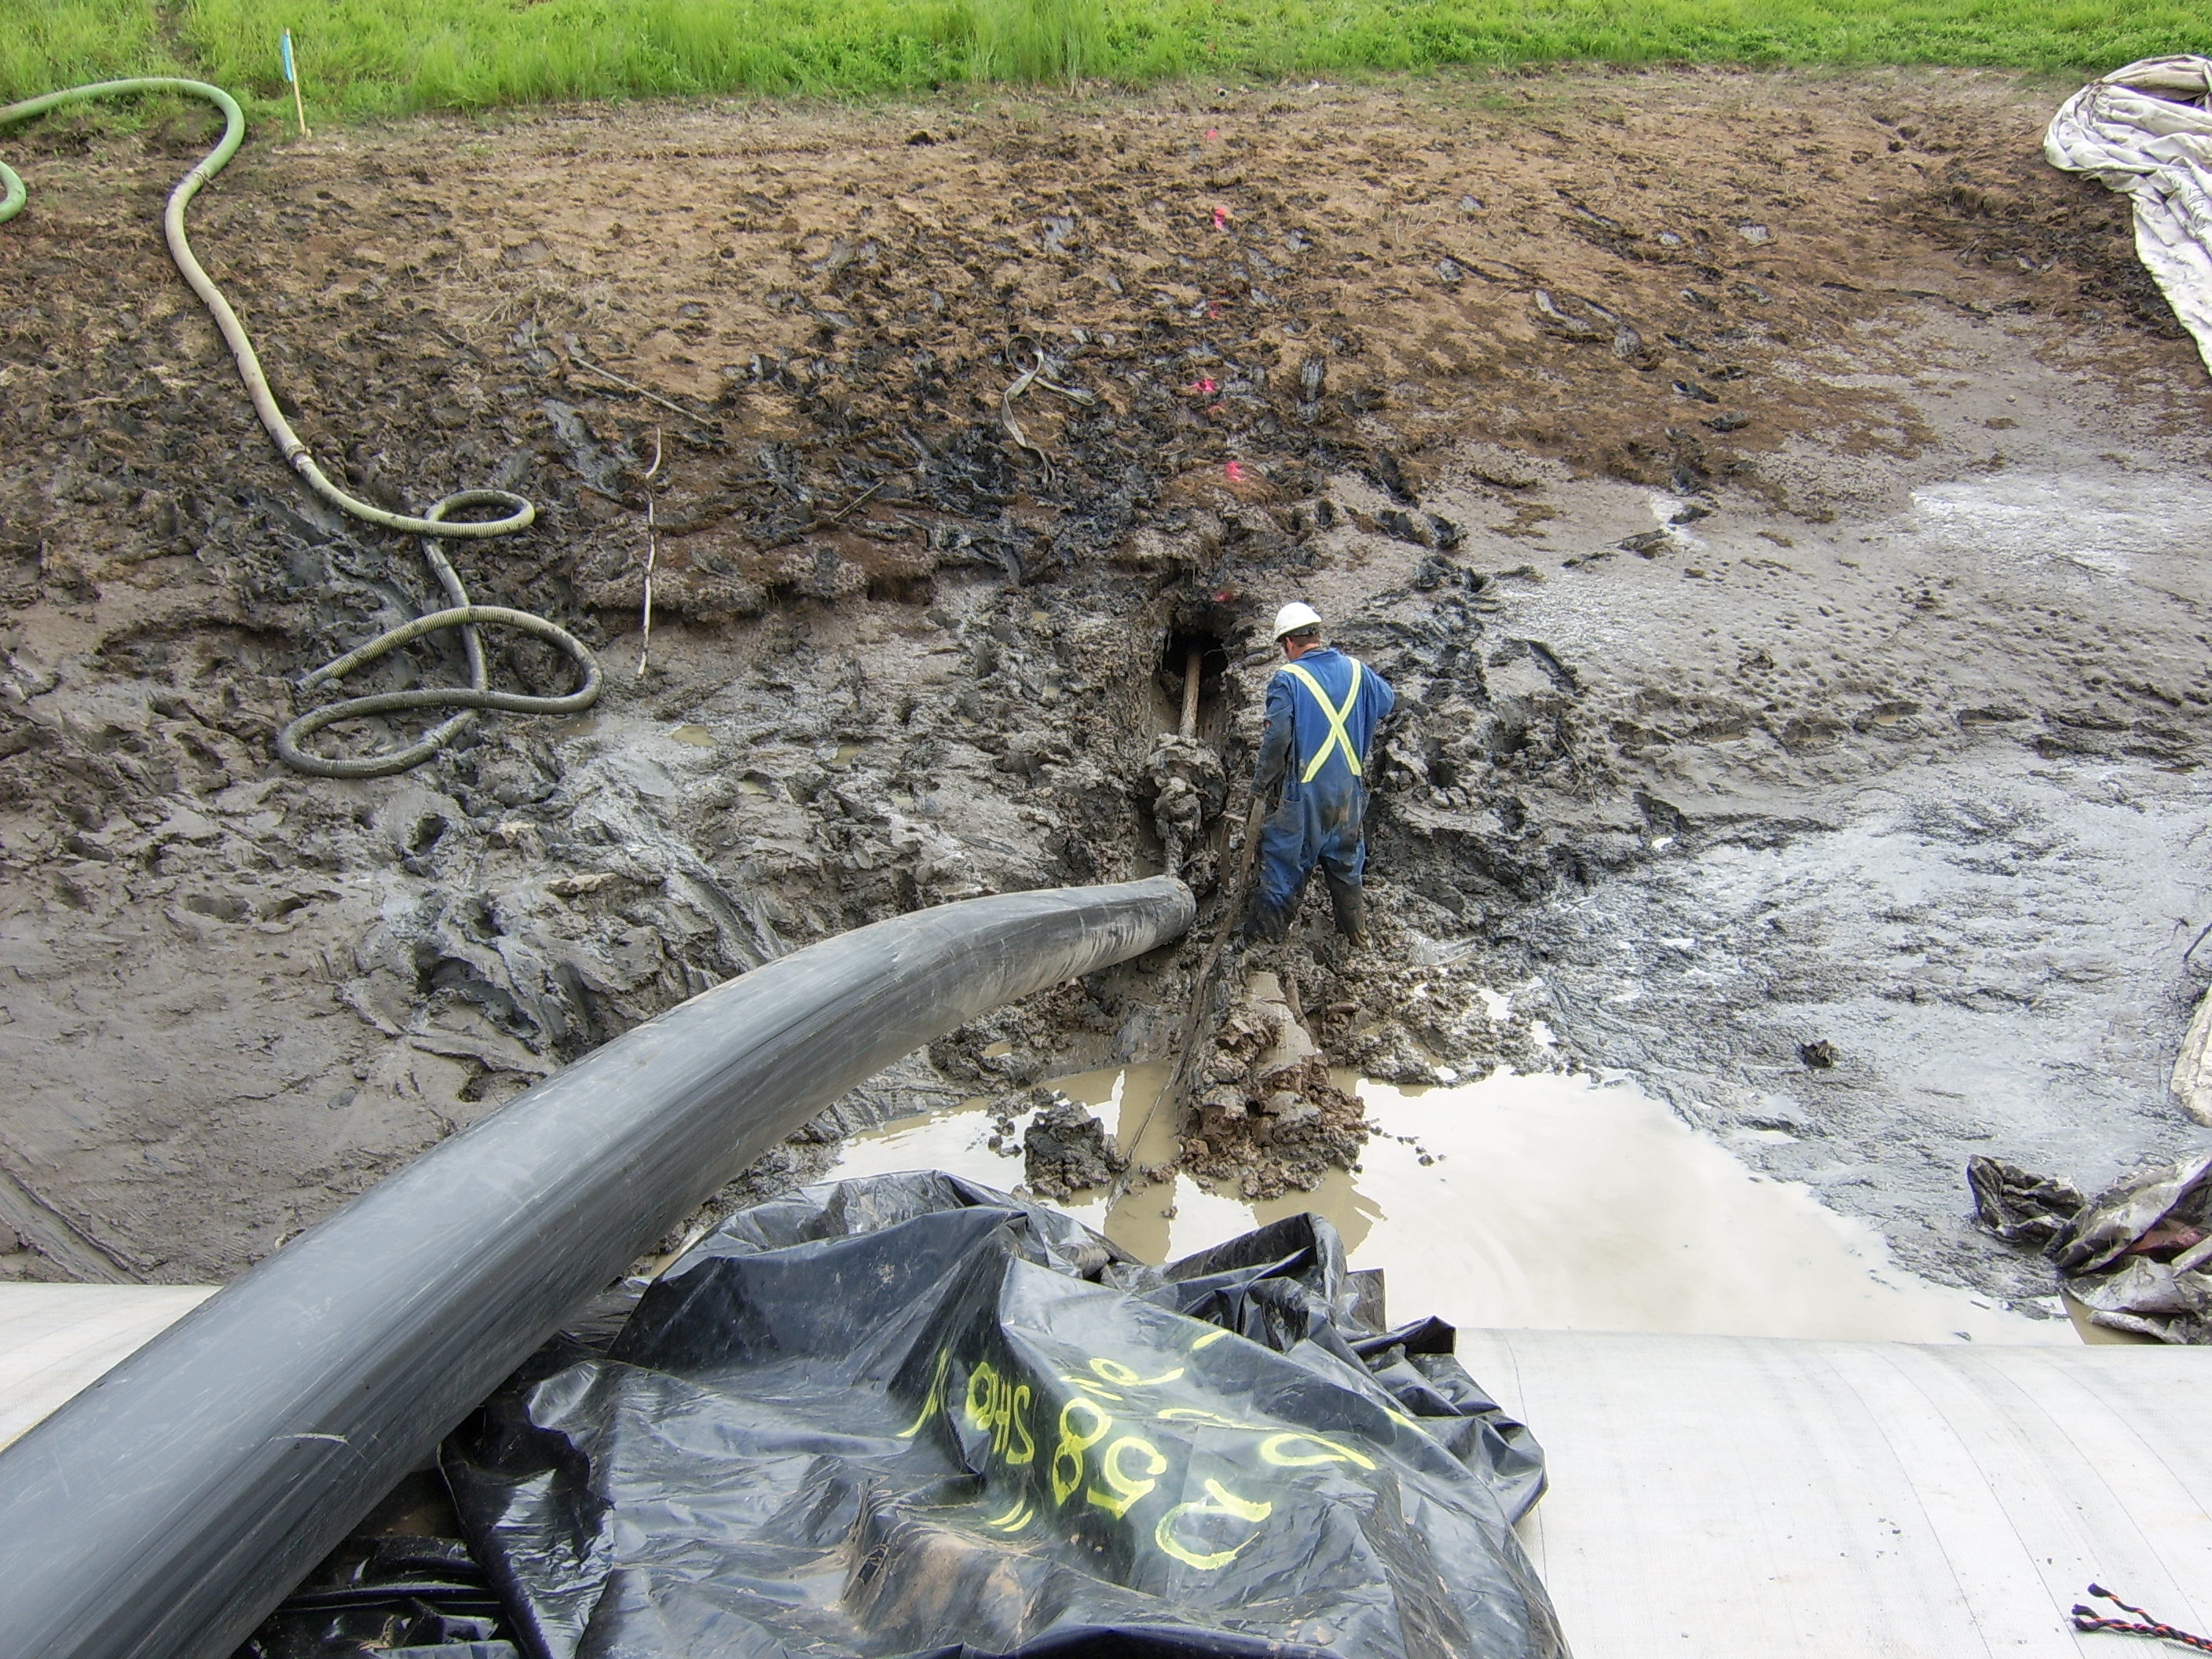
107.) Workers spray water into the hole to help seal the dirt around the pipe.
108.) Workers continue to prepare the pond end of the pipeline, after it was pulled through the drilled hole.

109.) The other end of the pipe was pulled into this pit that was dug near the ponds shore.
110.) Great job AquaDam!


12ft Tall 25ft Wide (full) 200ft Long Single Closed End (SCE) AquaDam, Two 8ft Tall 17ft Wide SCE AquaDams – Support Dams, Pond Construction, De-watering for Pipeline Installation, Horseshoe/”U” Shape Configuration