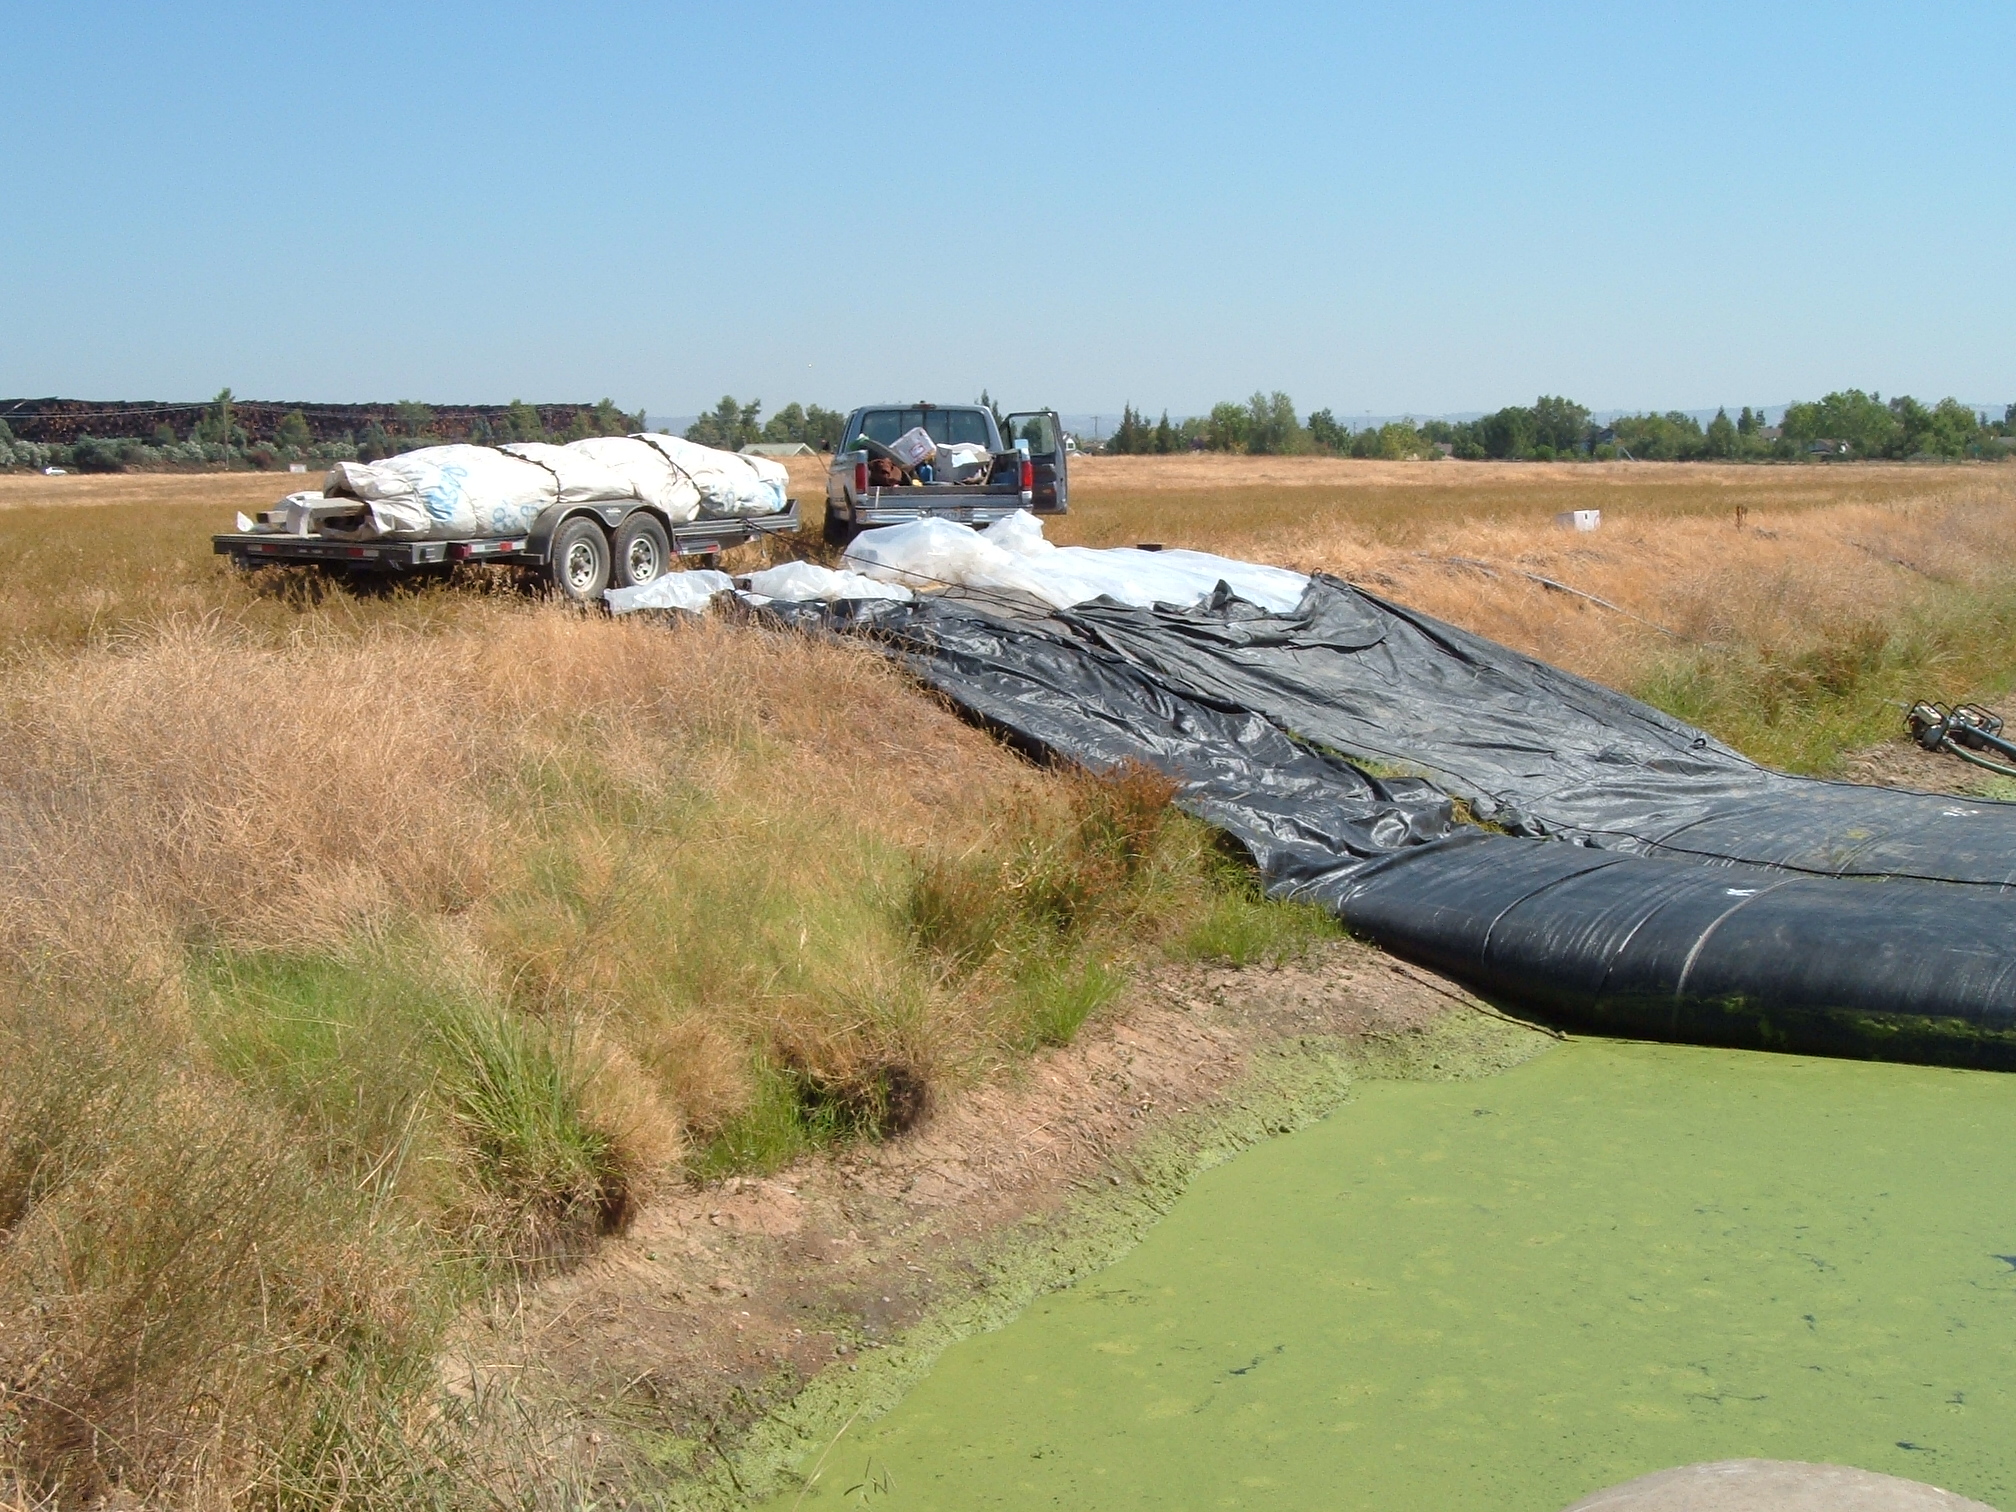
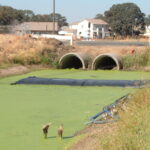
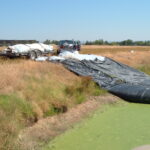
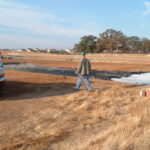
1.) The first single closed end (SCE) AquaDam has been launched from its starting bank and is being filled with water. This dam will be a support dam for a larger AquaDam that will go just upstream of the one filling in this photo. The larger (main) AquaDam can be seen rolled up on a beam on the right side of this photo. AquaDams are shipped rolled-up like a carpet roll on a wooden beam and have lifting ropes/straps.
2.) The first SCE AquaDam continues to fill. Ropes have been anchored at shore, run under the AquaDam, over top of the roll, and back to workers who control the roll while the dam is being filled with water. The ropes are used to hold back the roll, while the unrolled length fills and gains head above the surrounding water.
3.) The first SCE AquaDam has almost unrolled across the canal to its ending bank. Notice that the unrolled length is taller than the surrounding water, this head gives the AquaDam the mass needed to keep it in place.
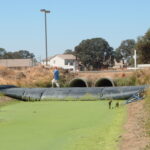
4.) The main SCE AquaDam was launched and unrolled to its ending bank. A SCE AquaDam should launch and end perpendicular to its banks.
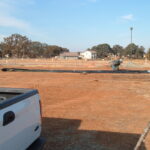
5.) The main SCE AquaDam continues to fill. An open body of water is the best option to draw from when filling an AquaDam. Workers placed the pumps upstream of the AquaDams, because flowing water increases in depth after it has been dammed.
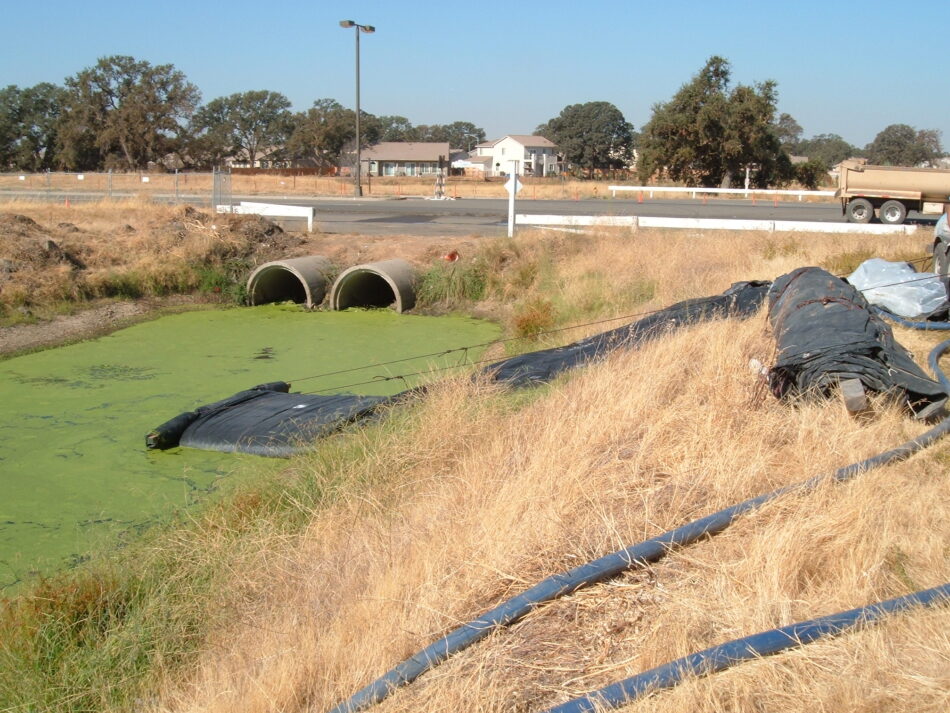
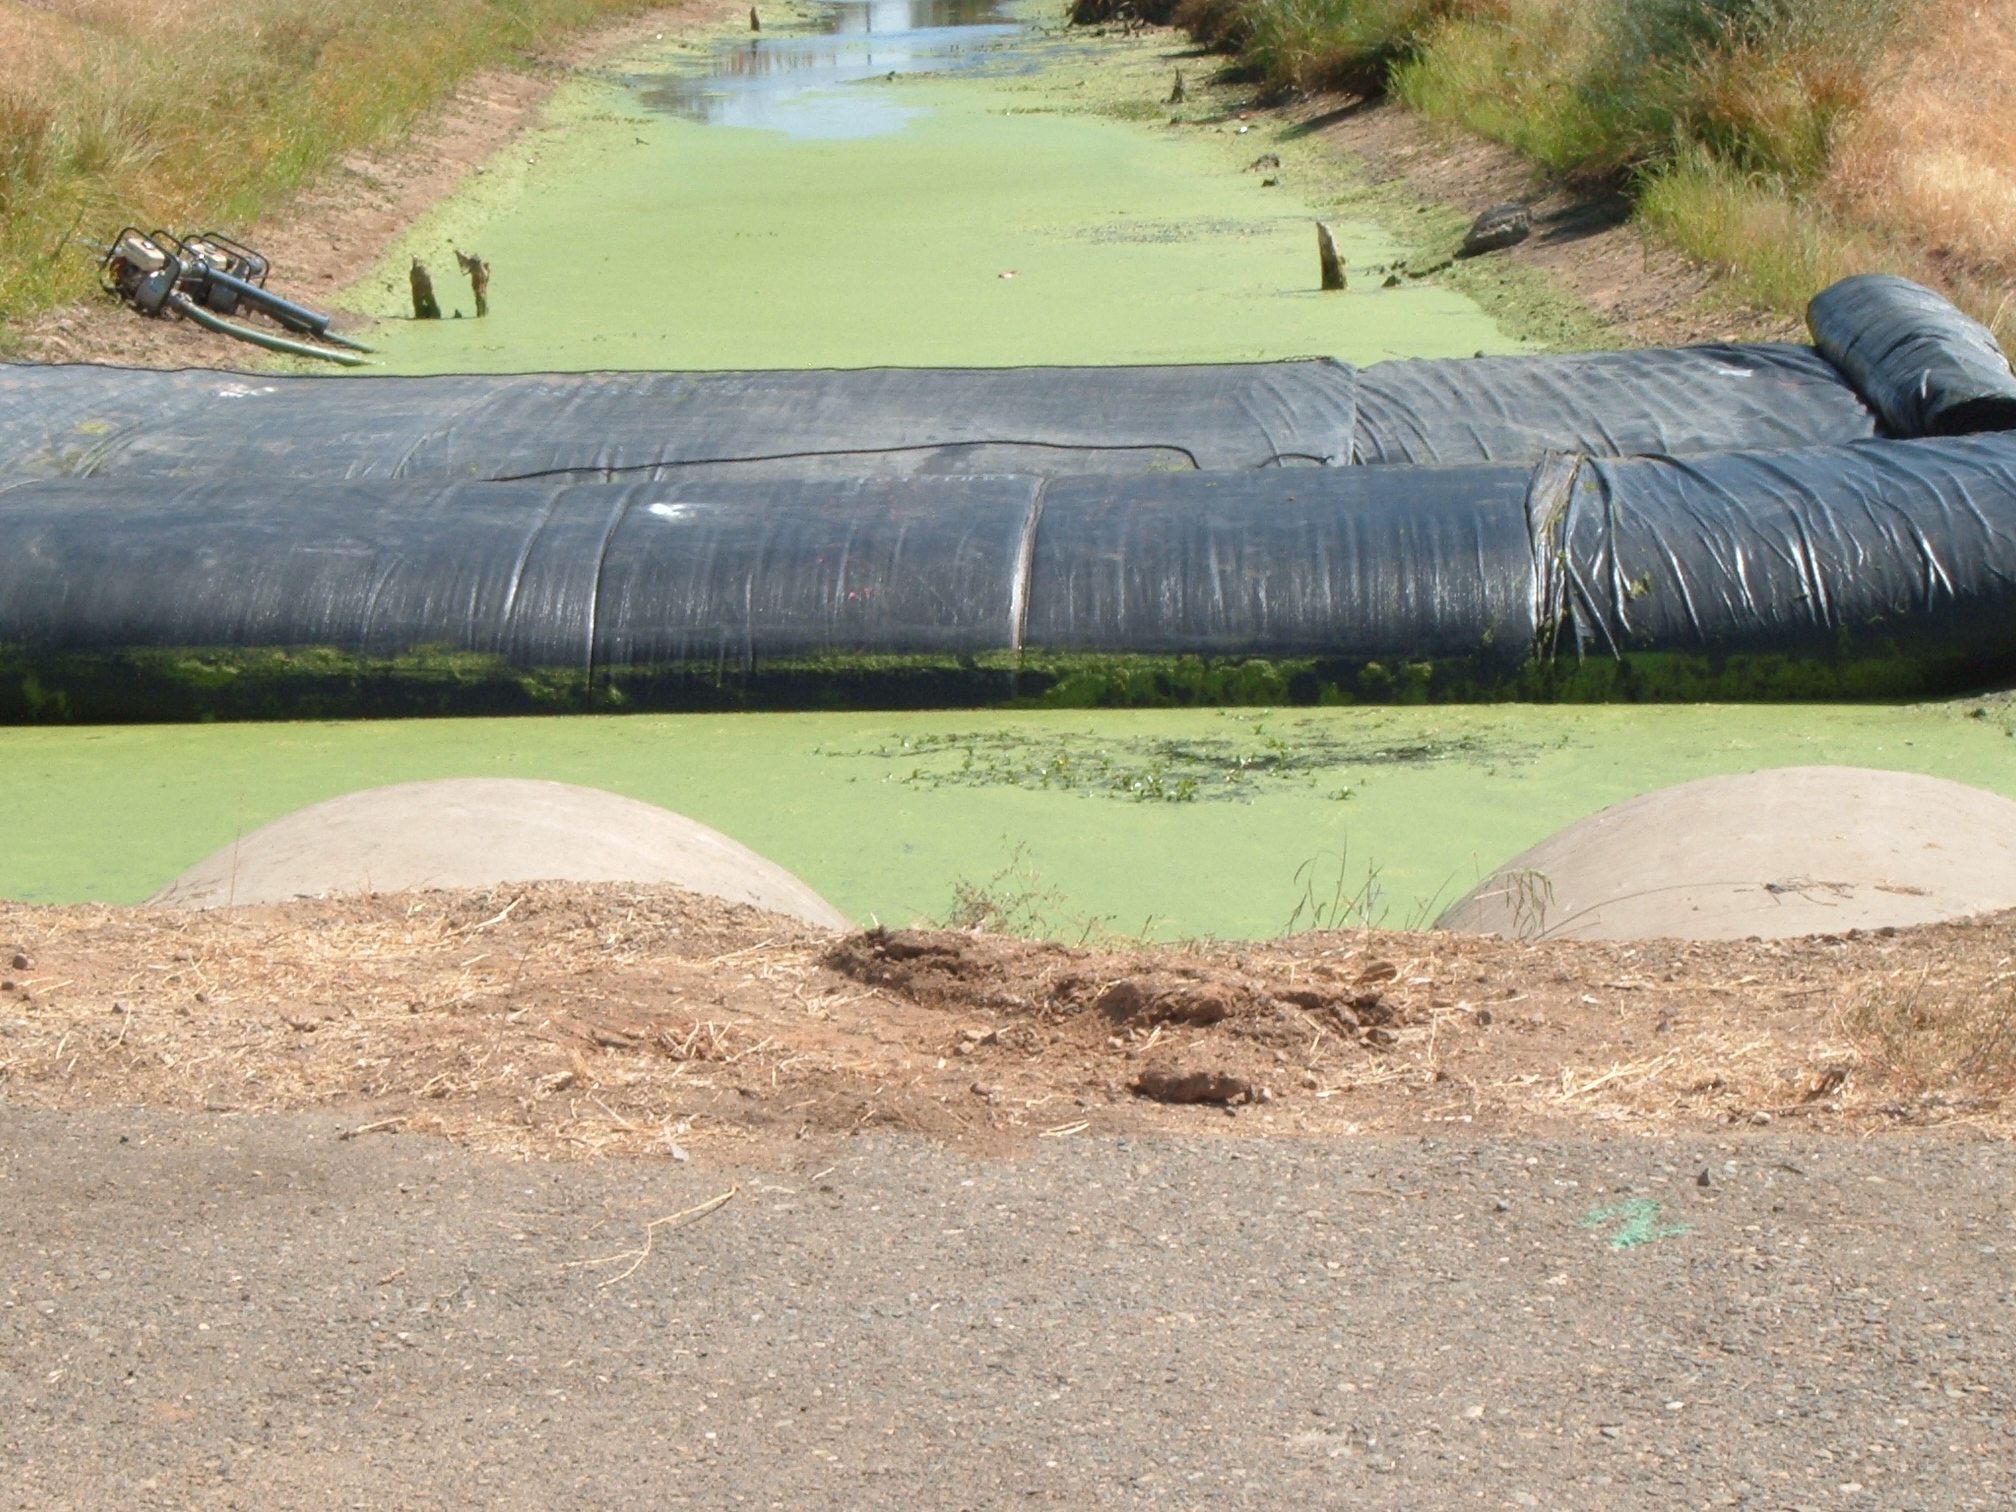
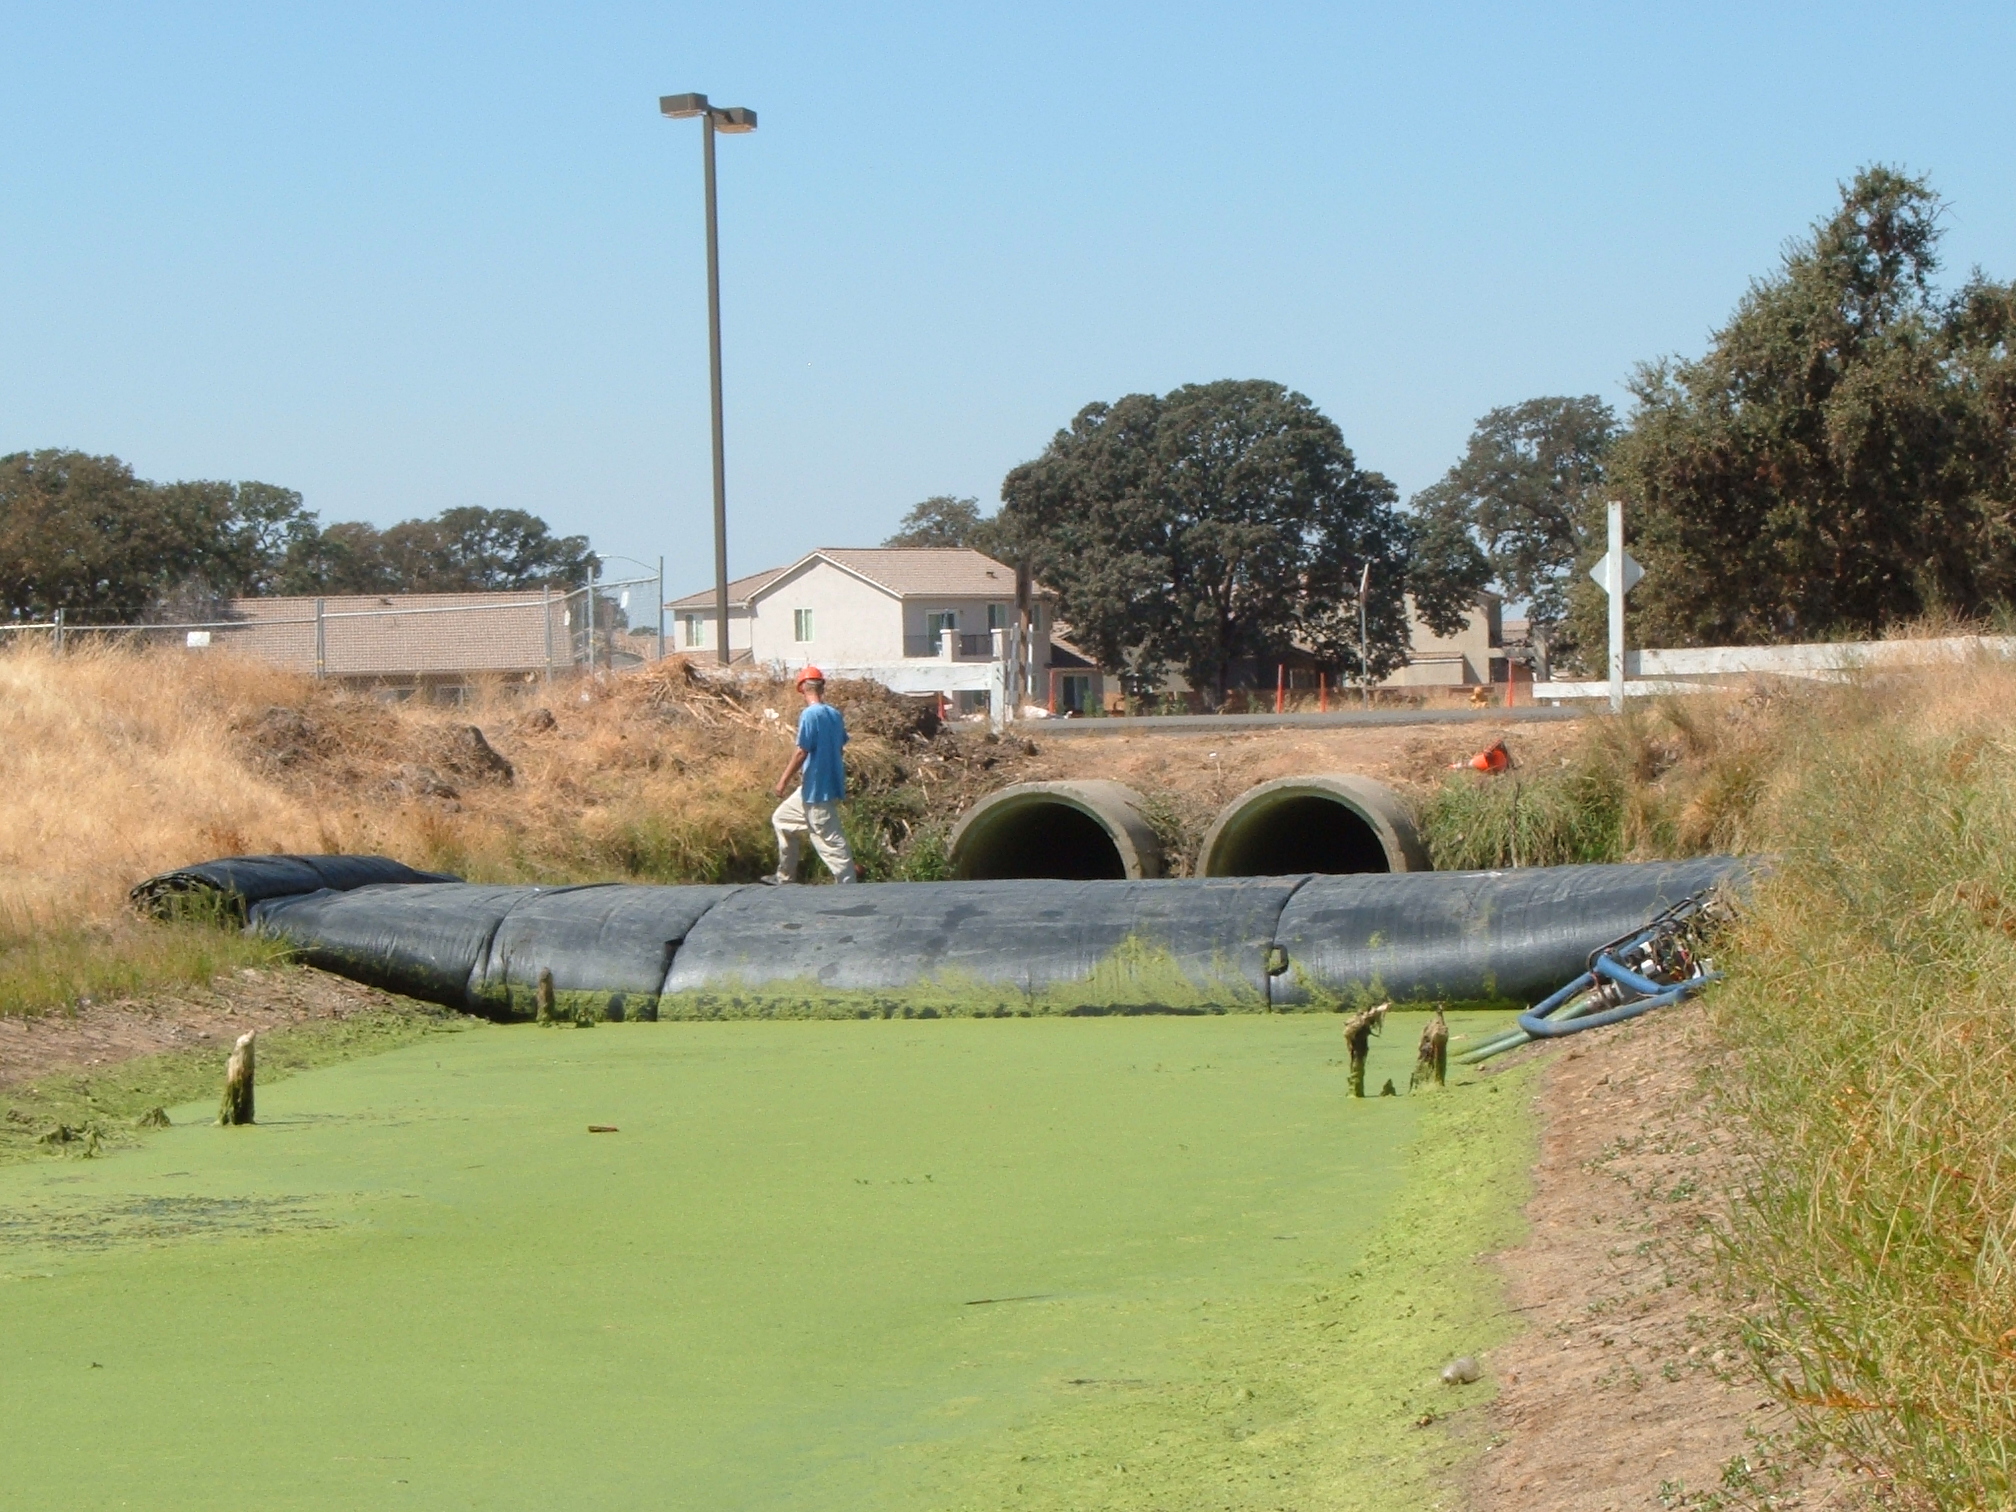
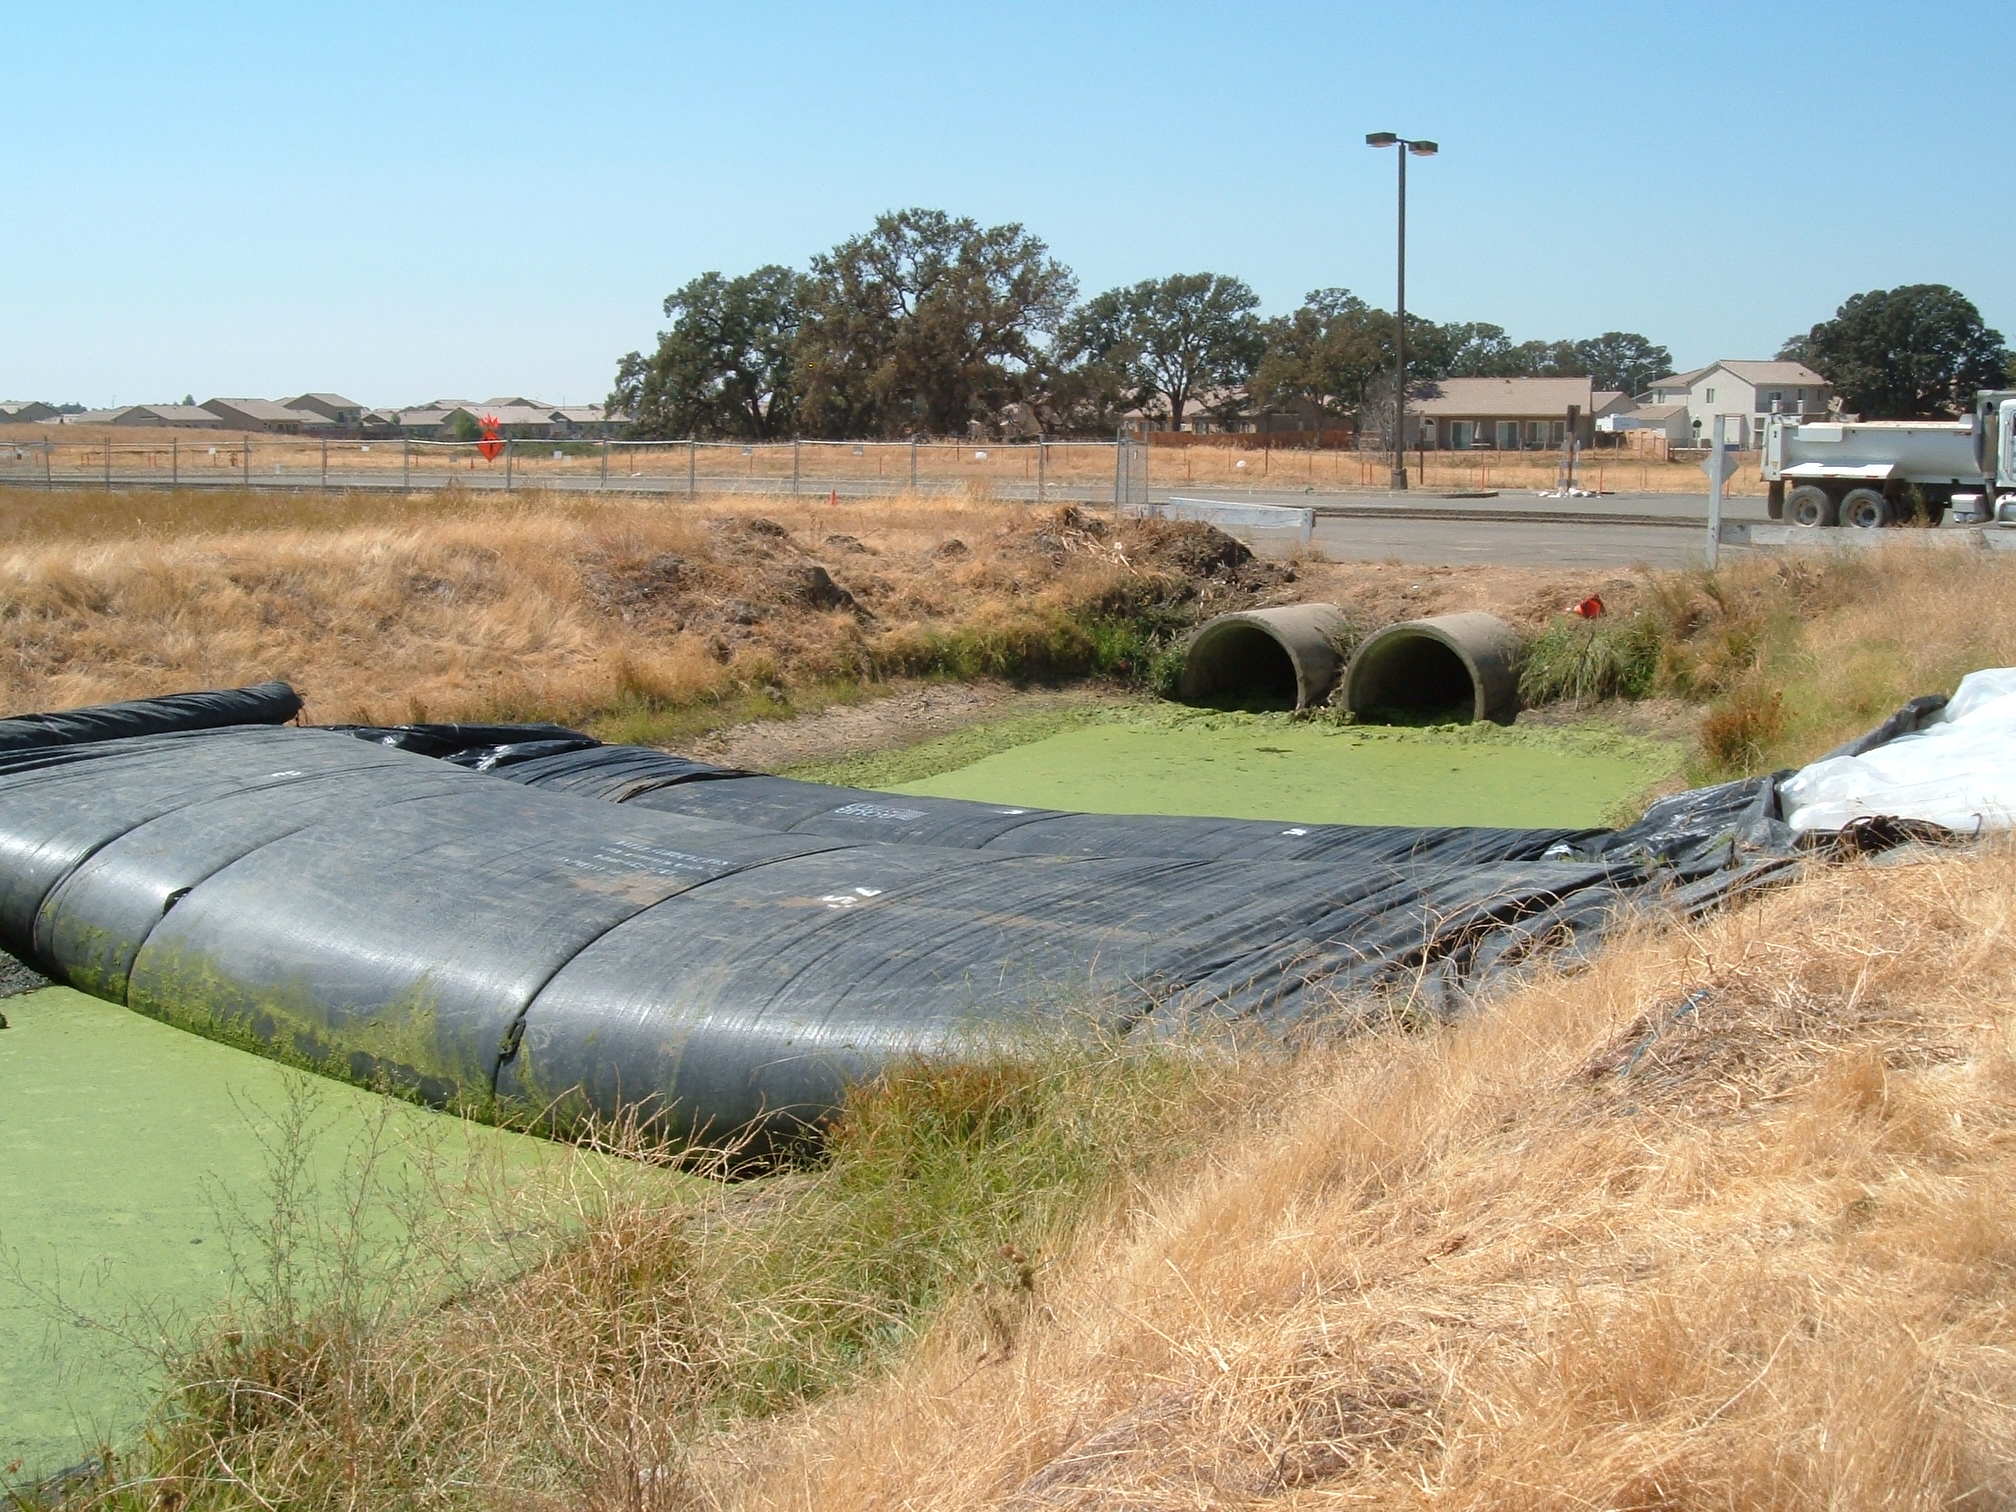
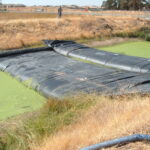
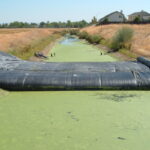
6.) Here we are looking at the ending bank for both SCE AquaDams. The main AquaDam still has length rolled up and the support dam has a connection collar. A connection collar is used to connect one AquaDam to another in a straight line. The collar was not used for this project.
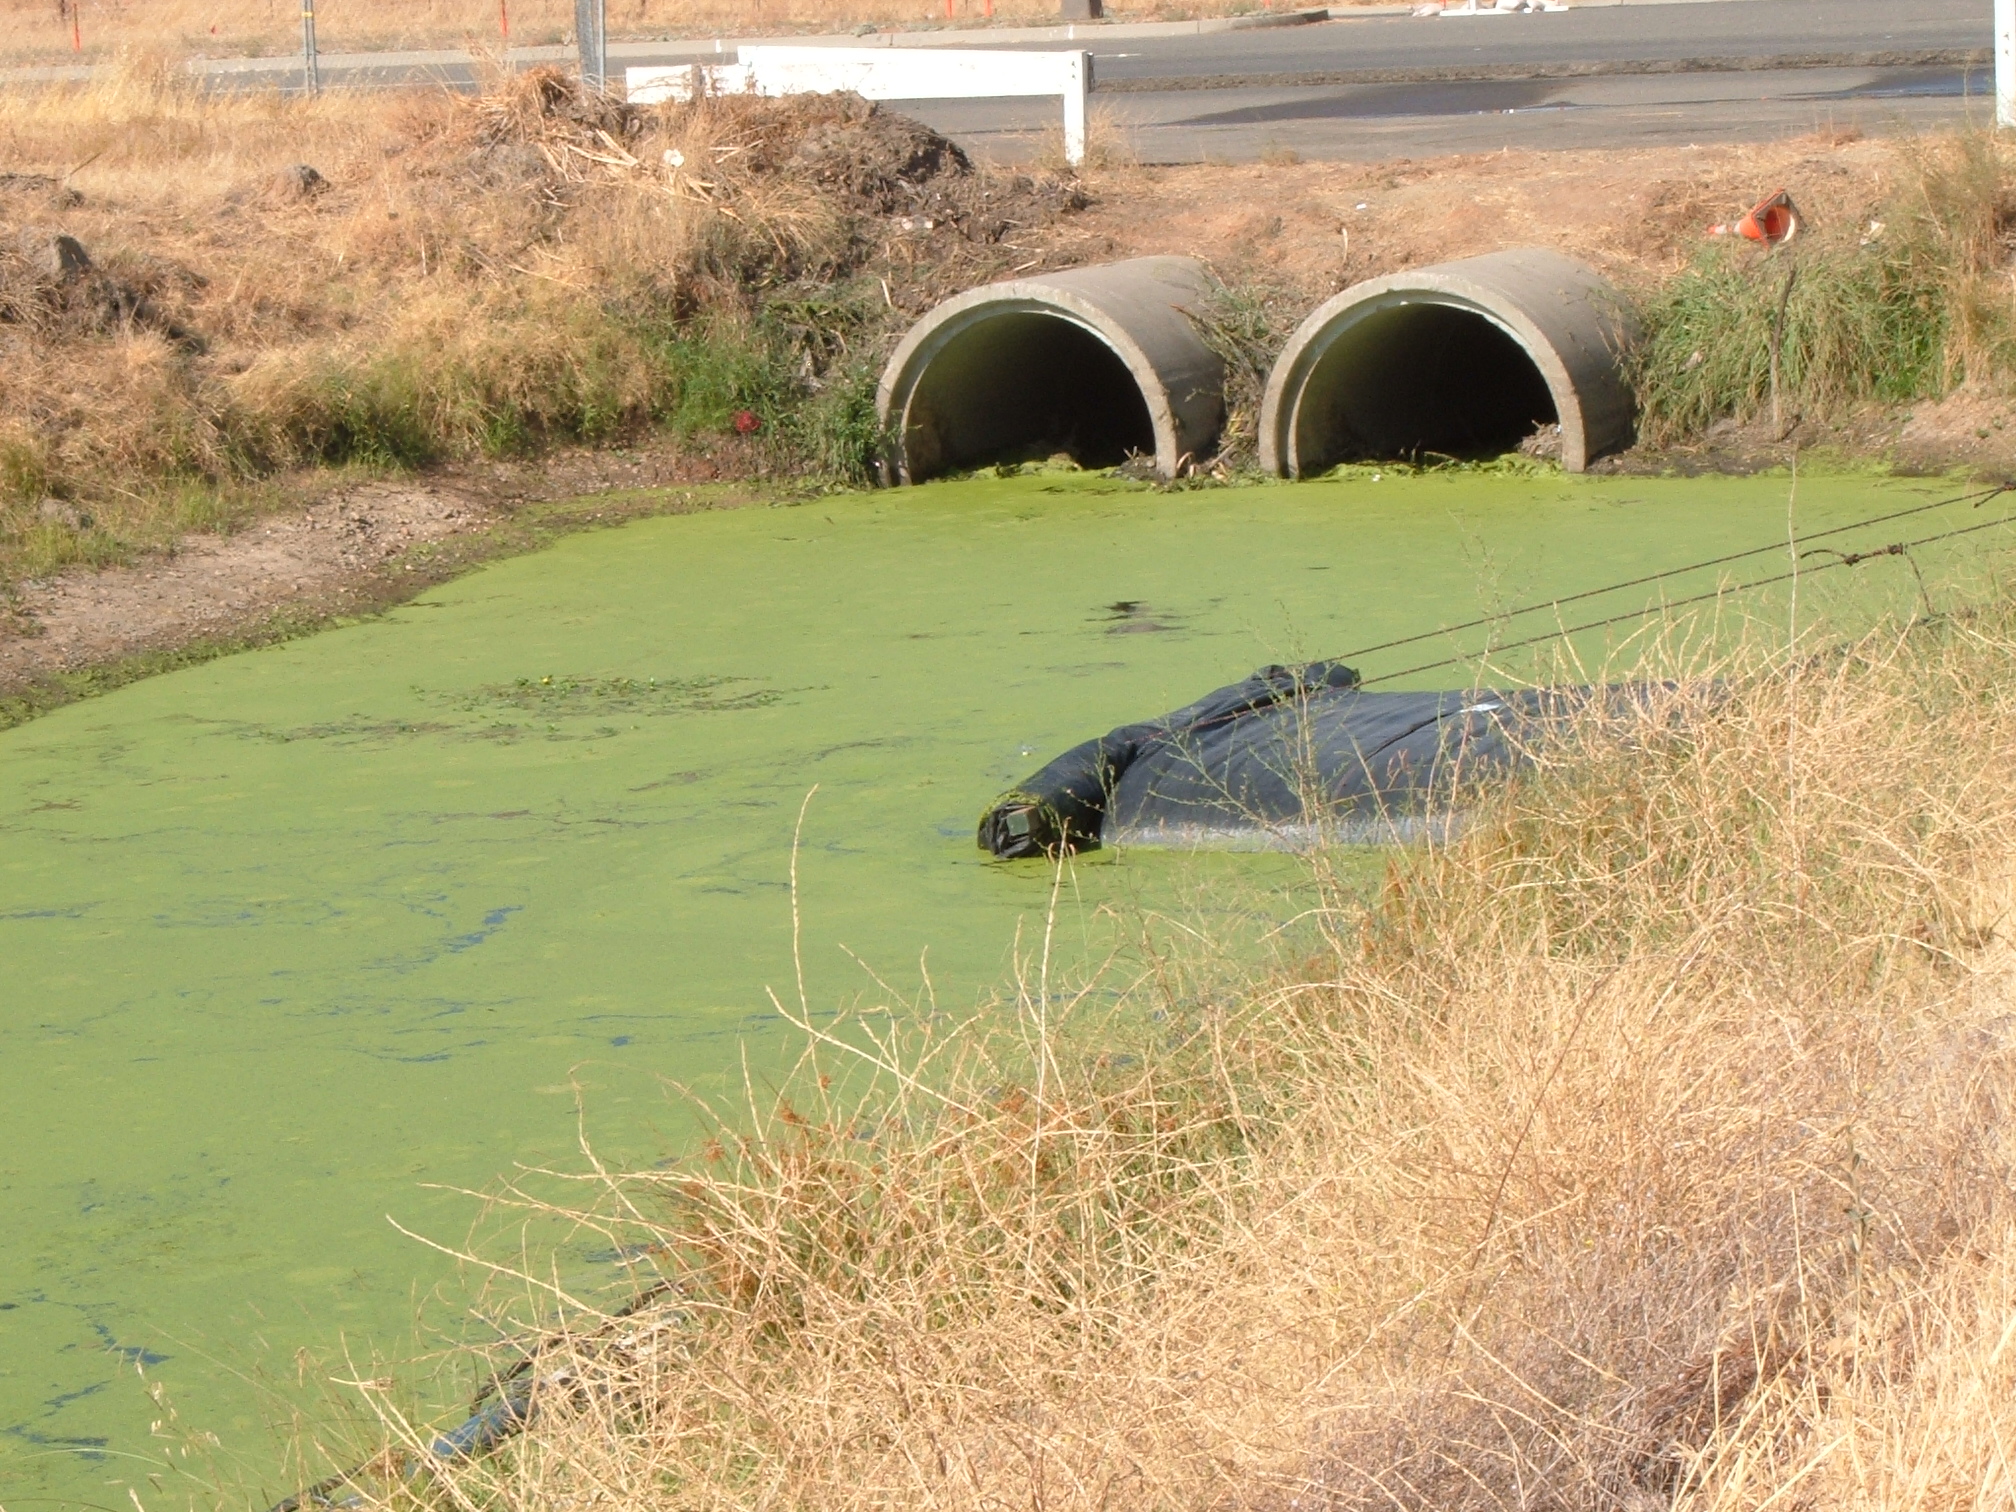
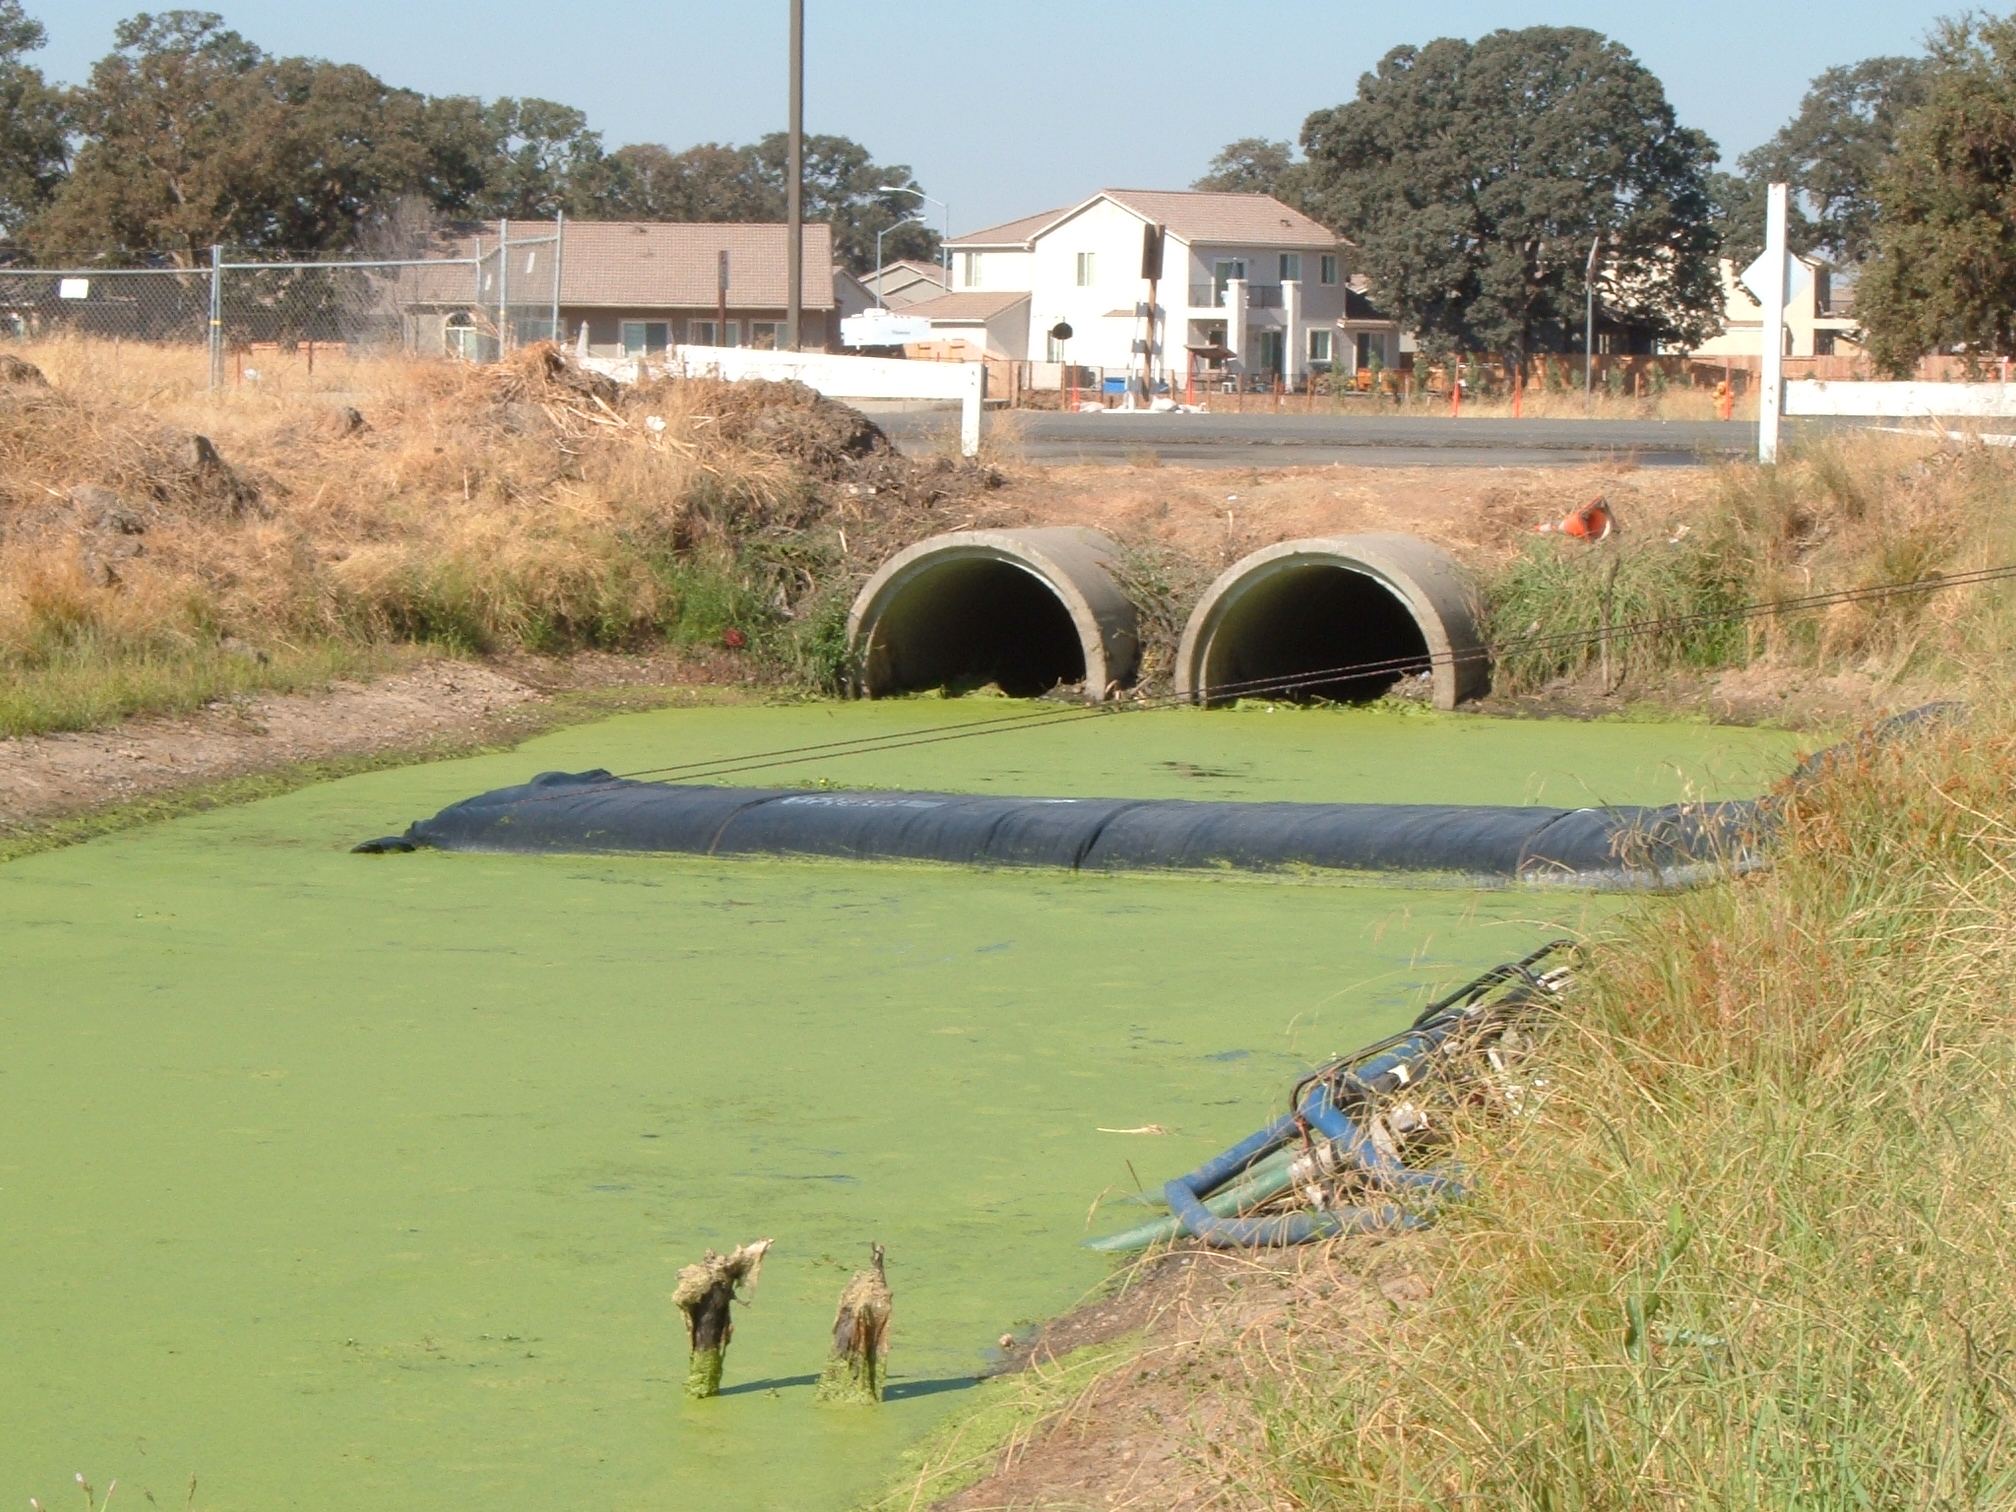
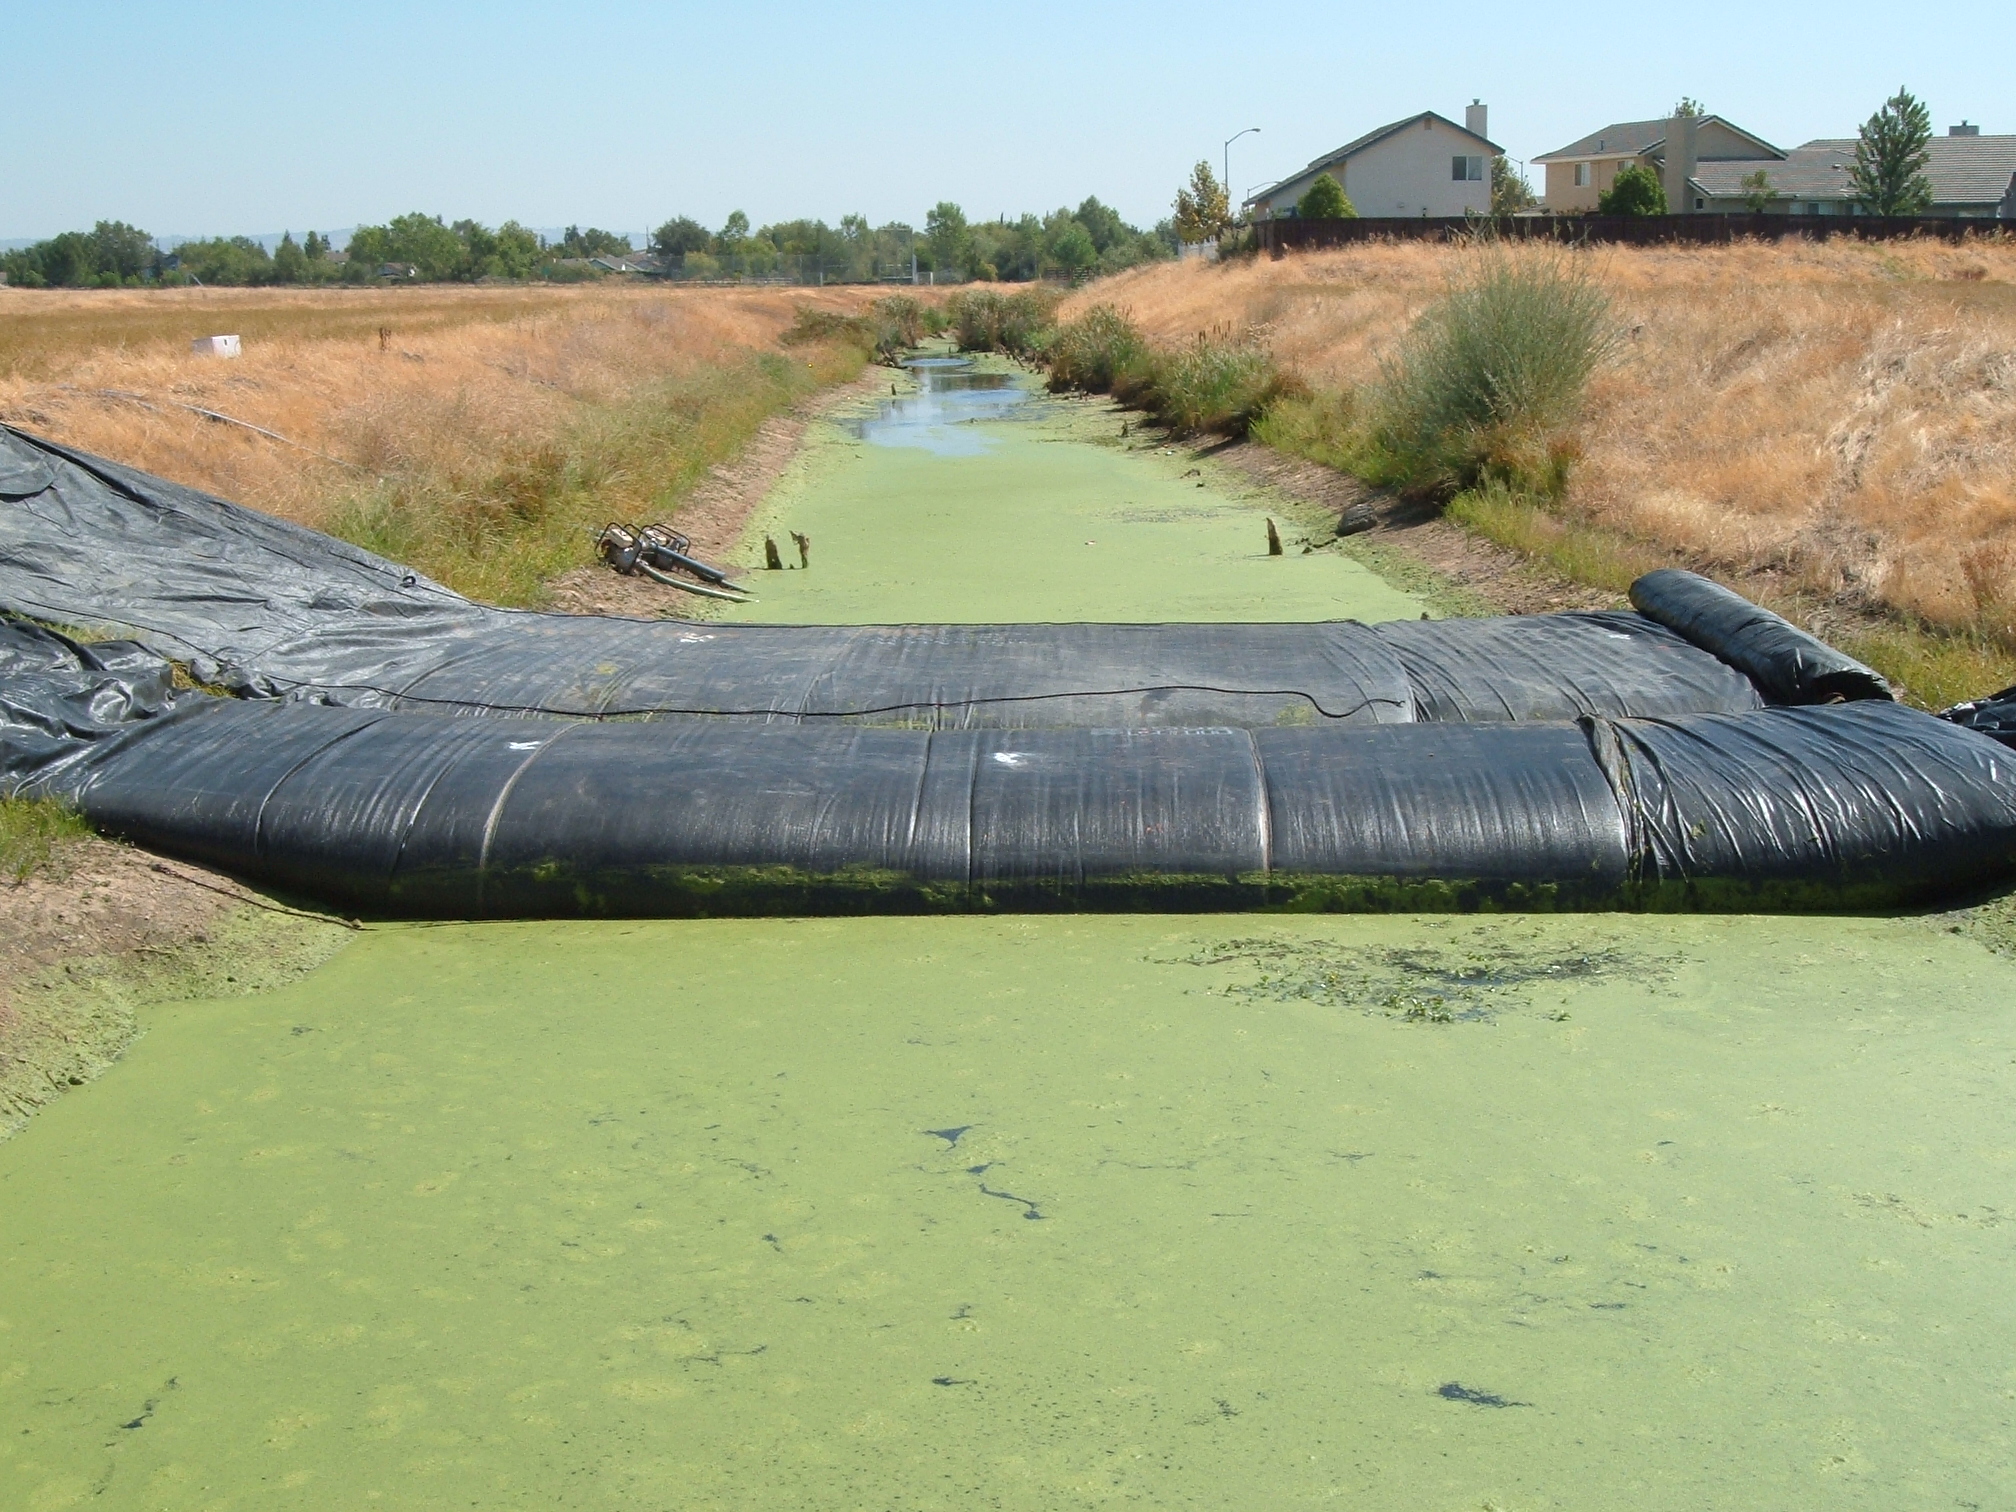
7.) Here we can see the starting bank for both AquaDams. The starting bank for a SCE AquaDam must be taller than the full height of the filled AquaDam. The open end and fill-tubes of a SCE AquaDam must be elevated higher than the full height of dam along its given path. An AquaDam will only reach its full height at the lowest elevation along its given path.
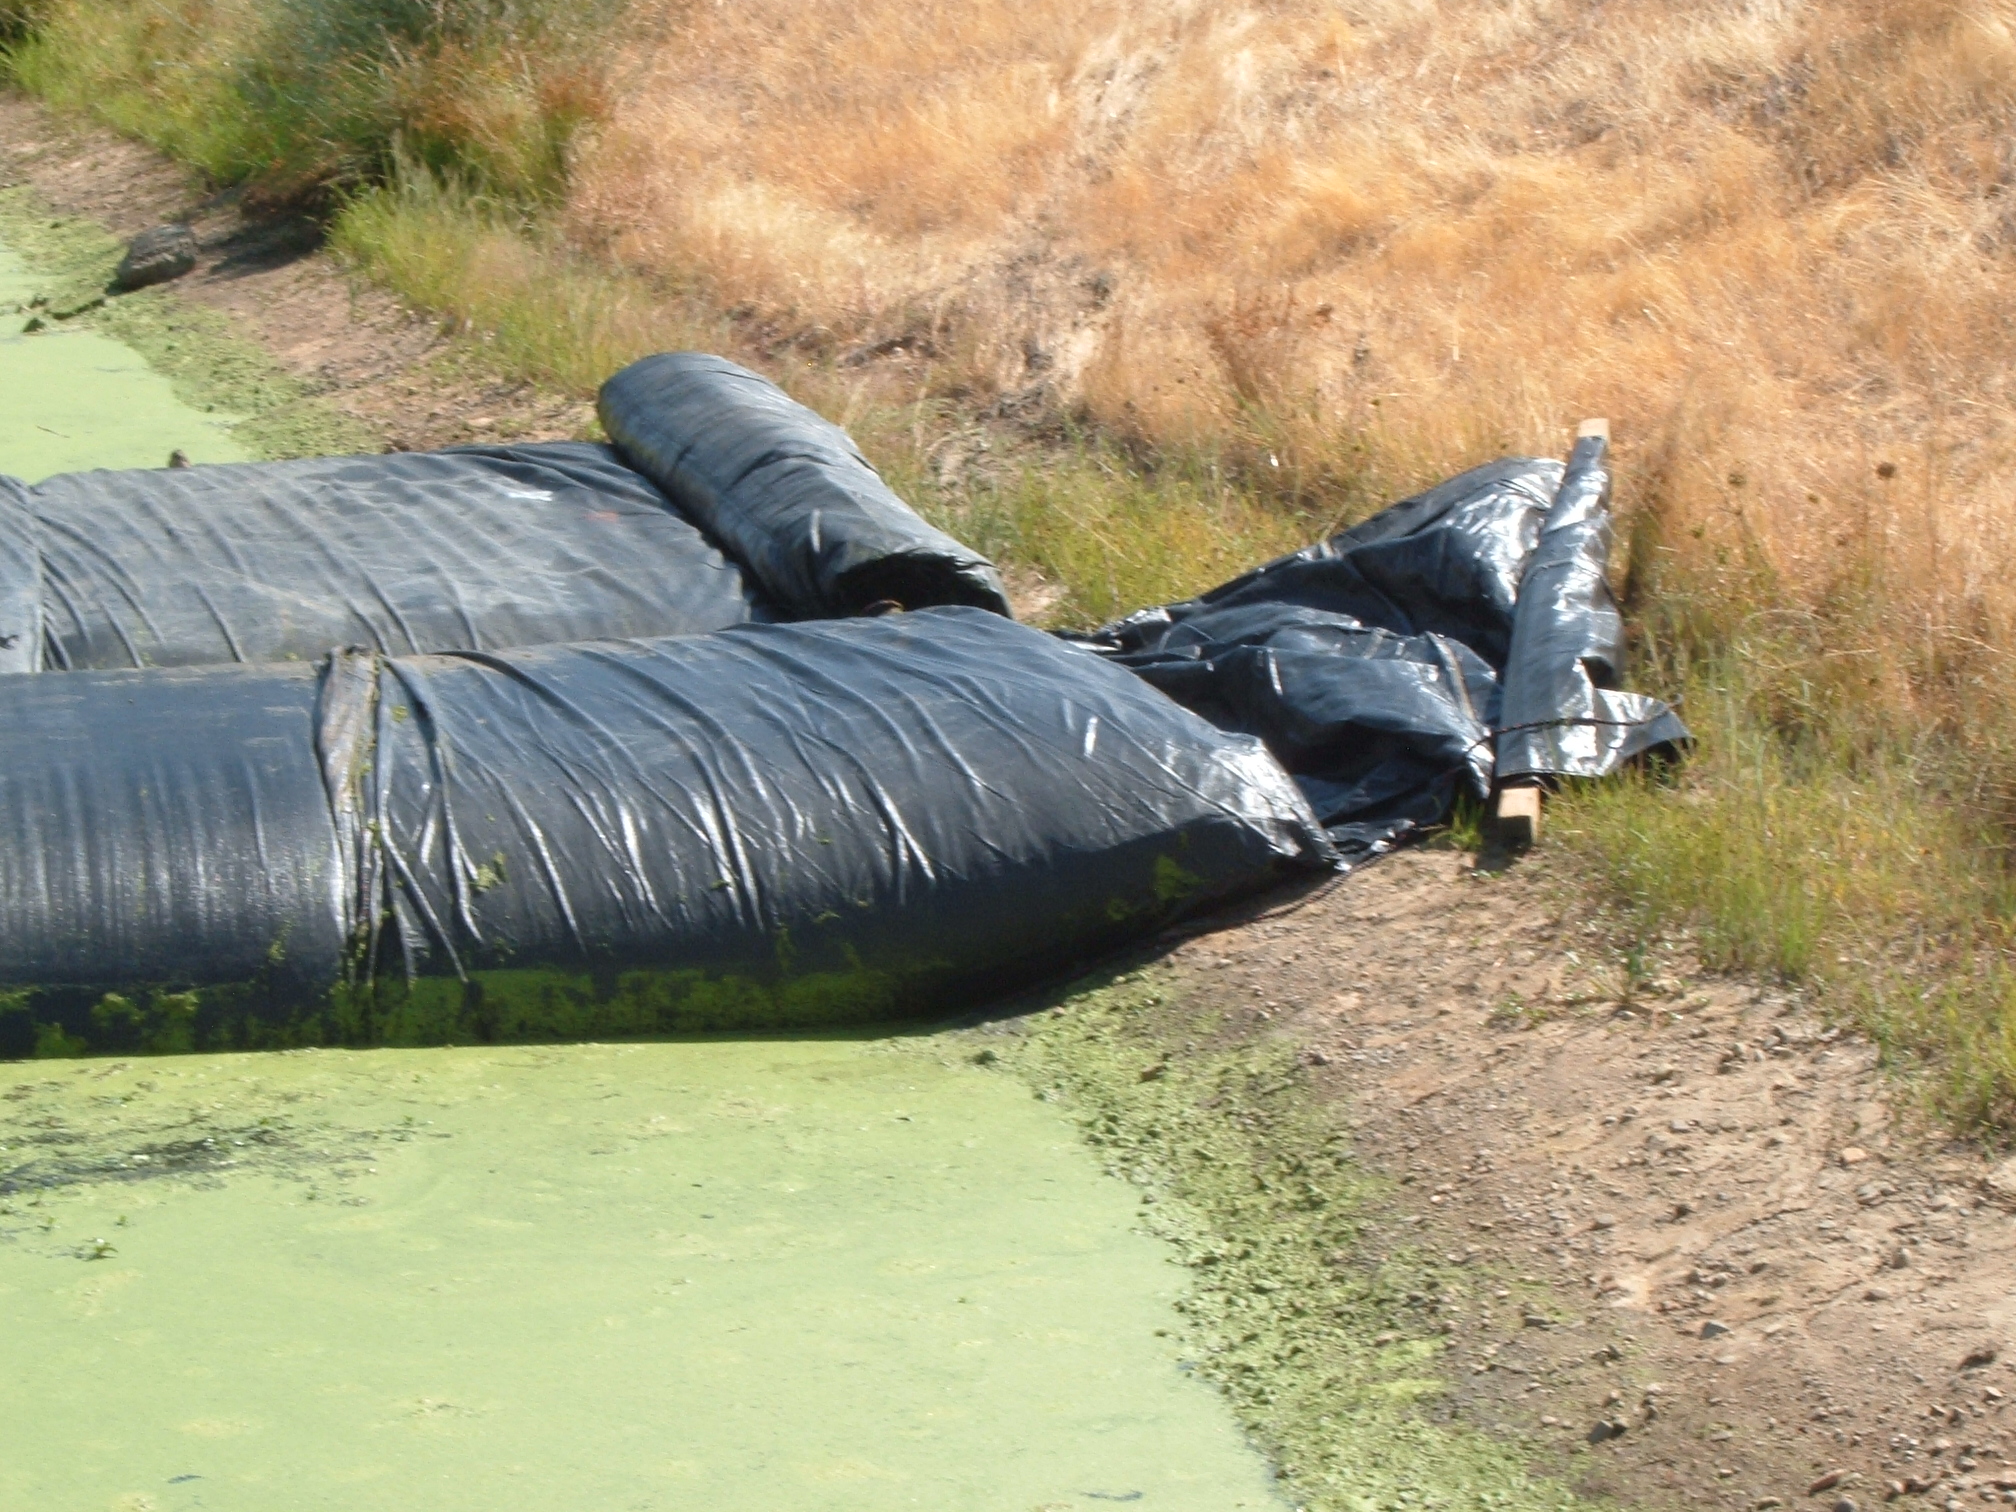
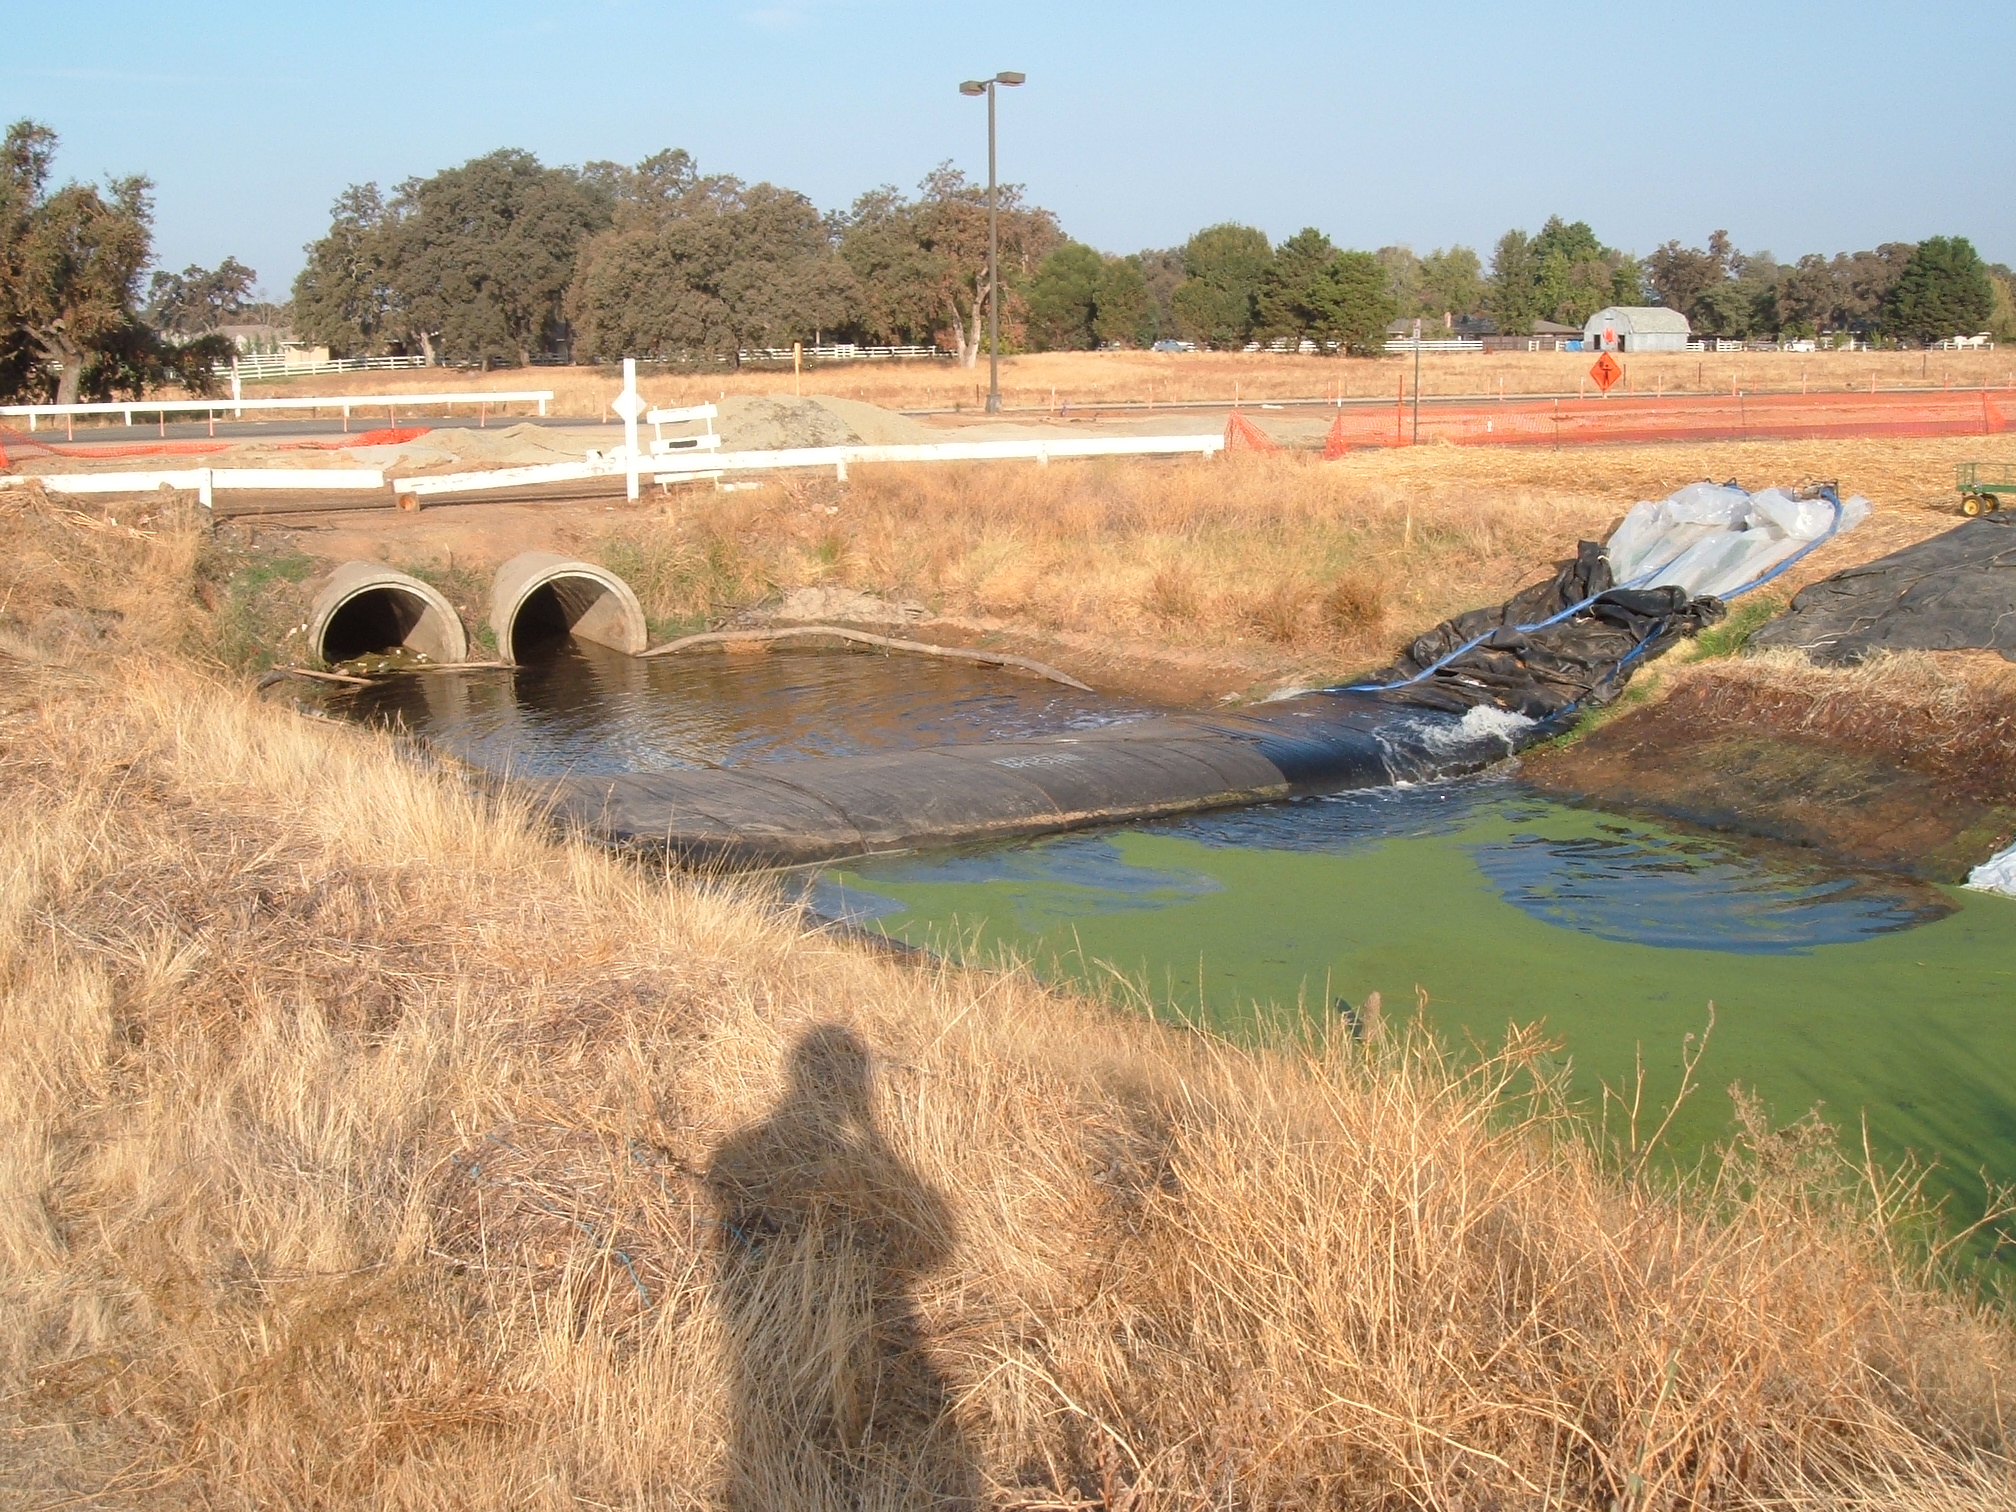
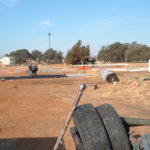
8.) The main SCE AquaDam is starting to gain head above the support dam. Notice where the water level used to be on this side of the support AquaDam?
9.) The main AquaDam is now closer to being full. A worker easily walks across the filling main AquaDam.
10.) Standing upstream looking back at the main SCE AquaDam, holding back this creeks water.
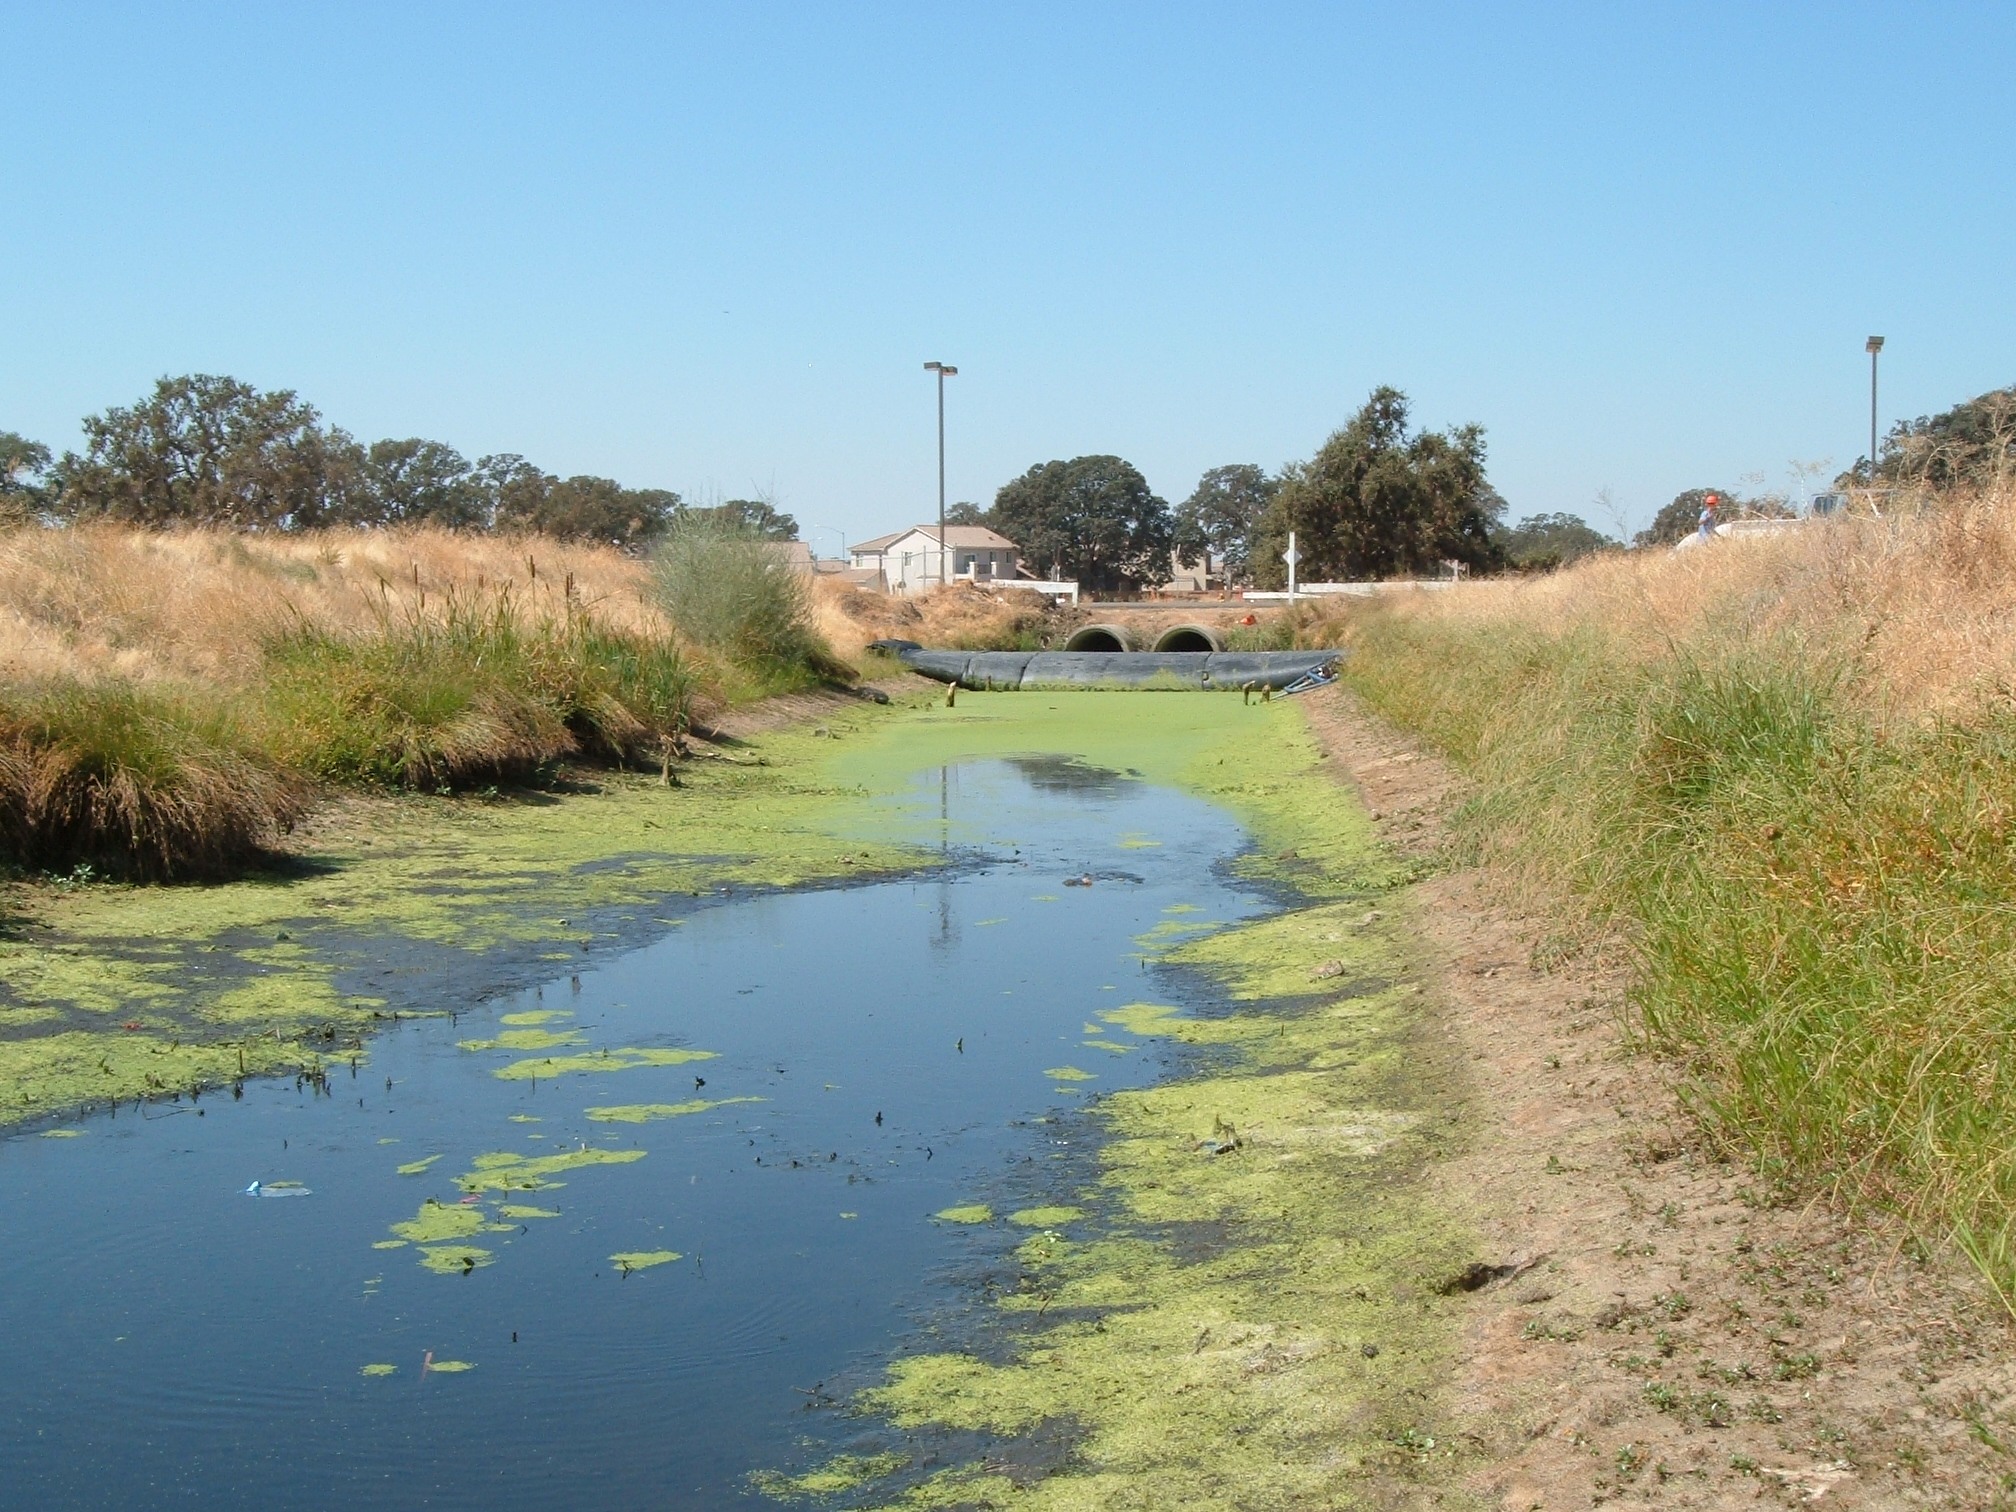
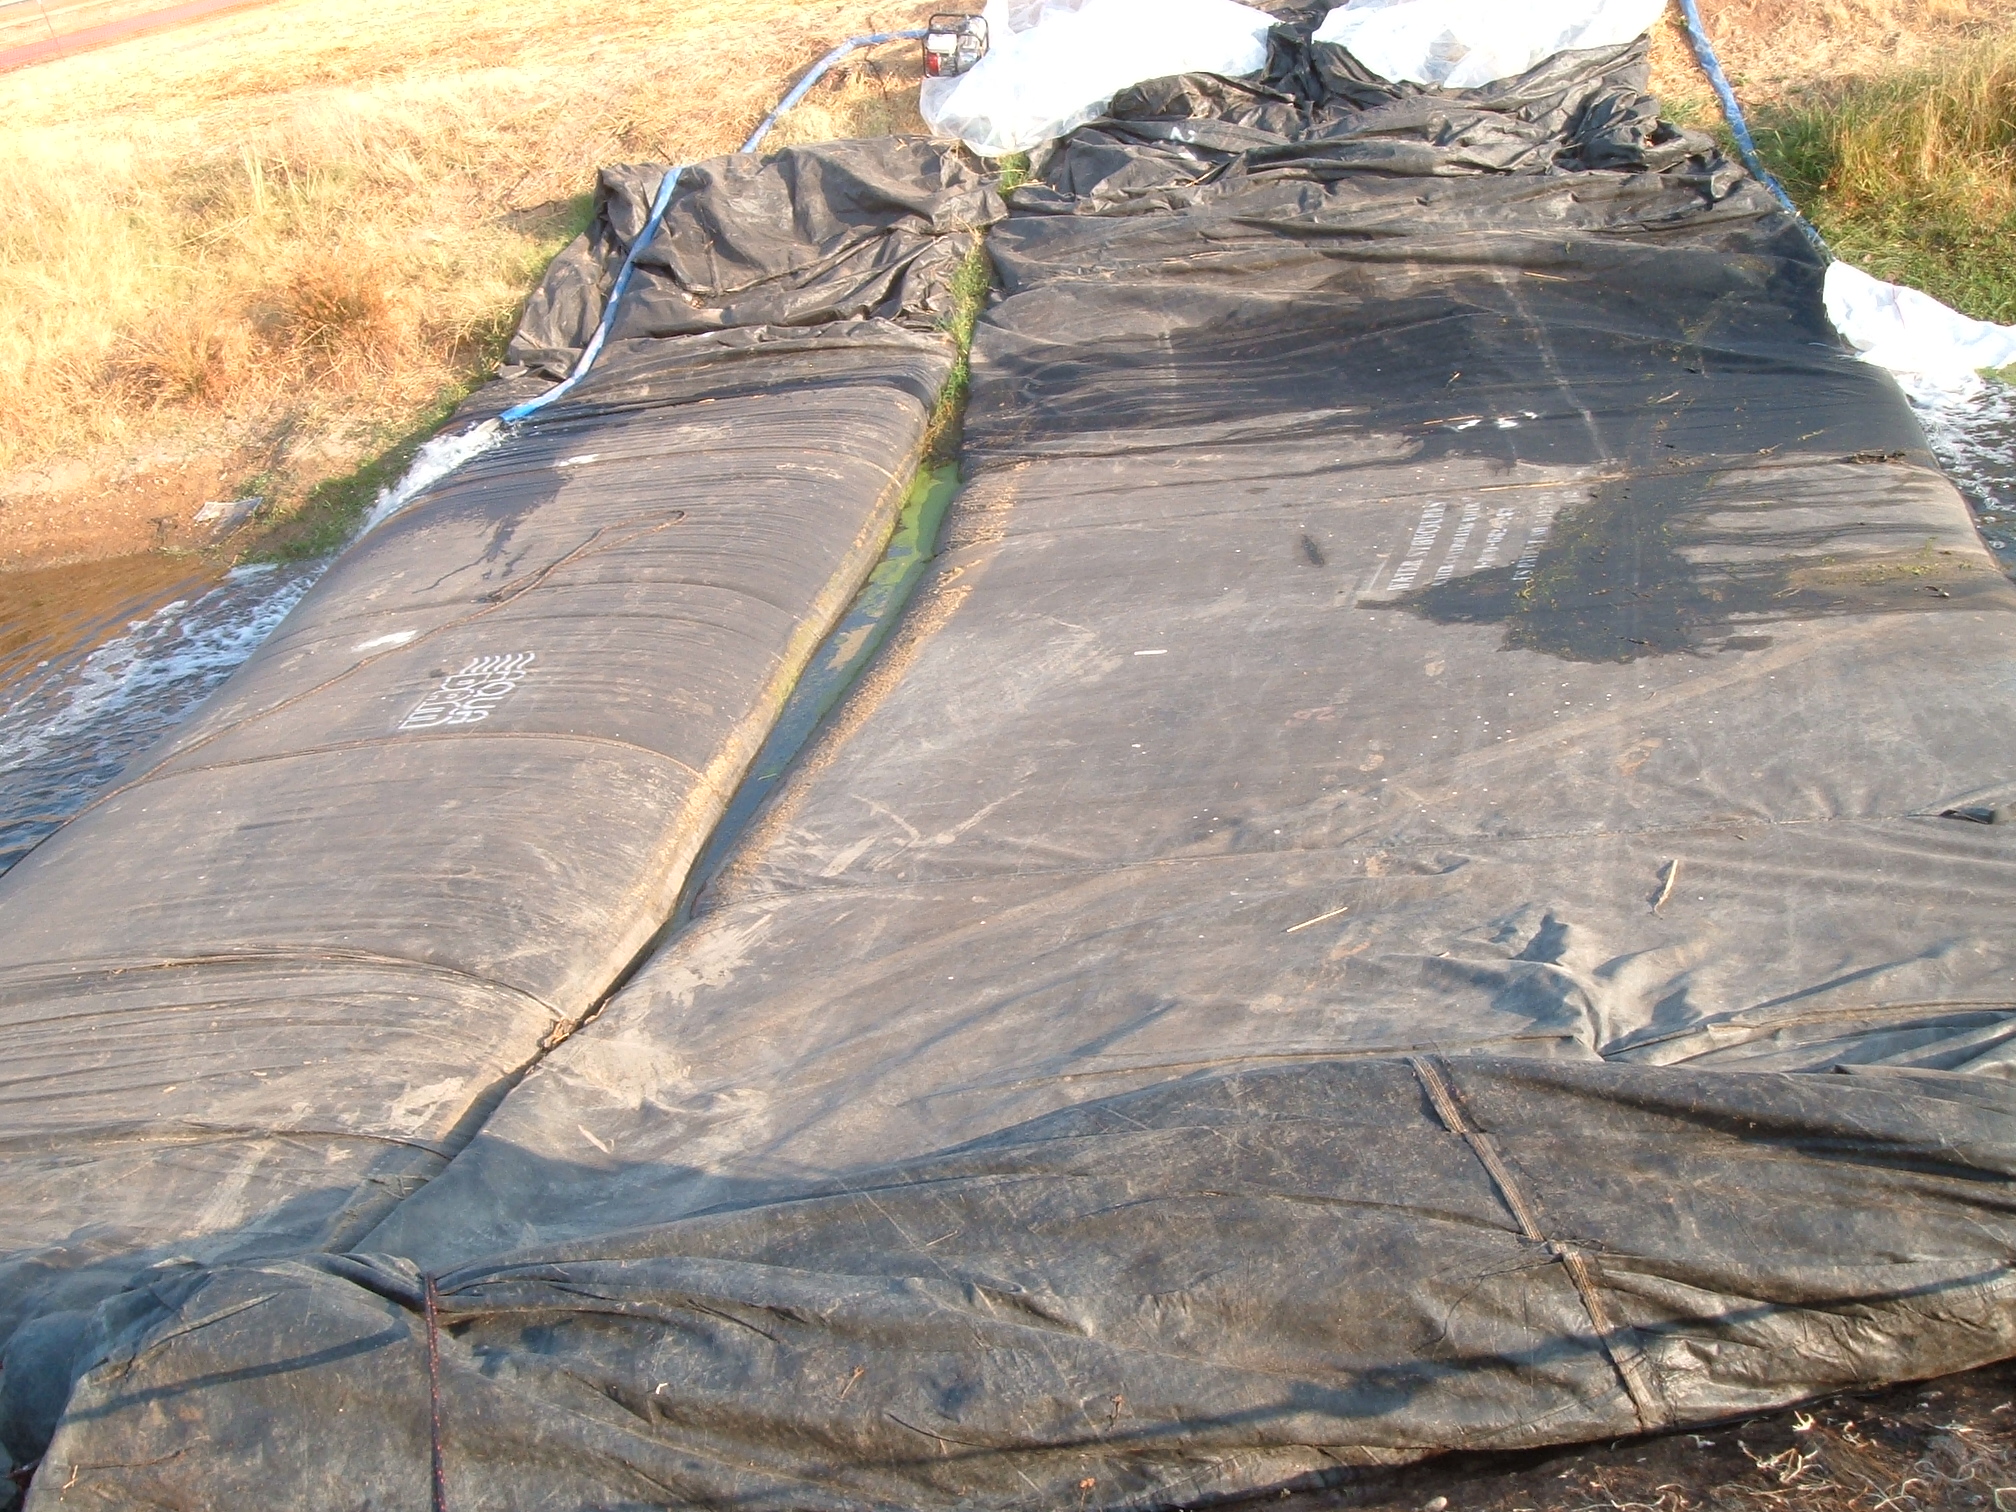
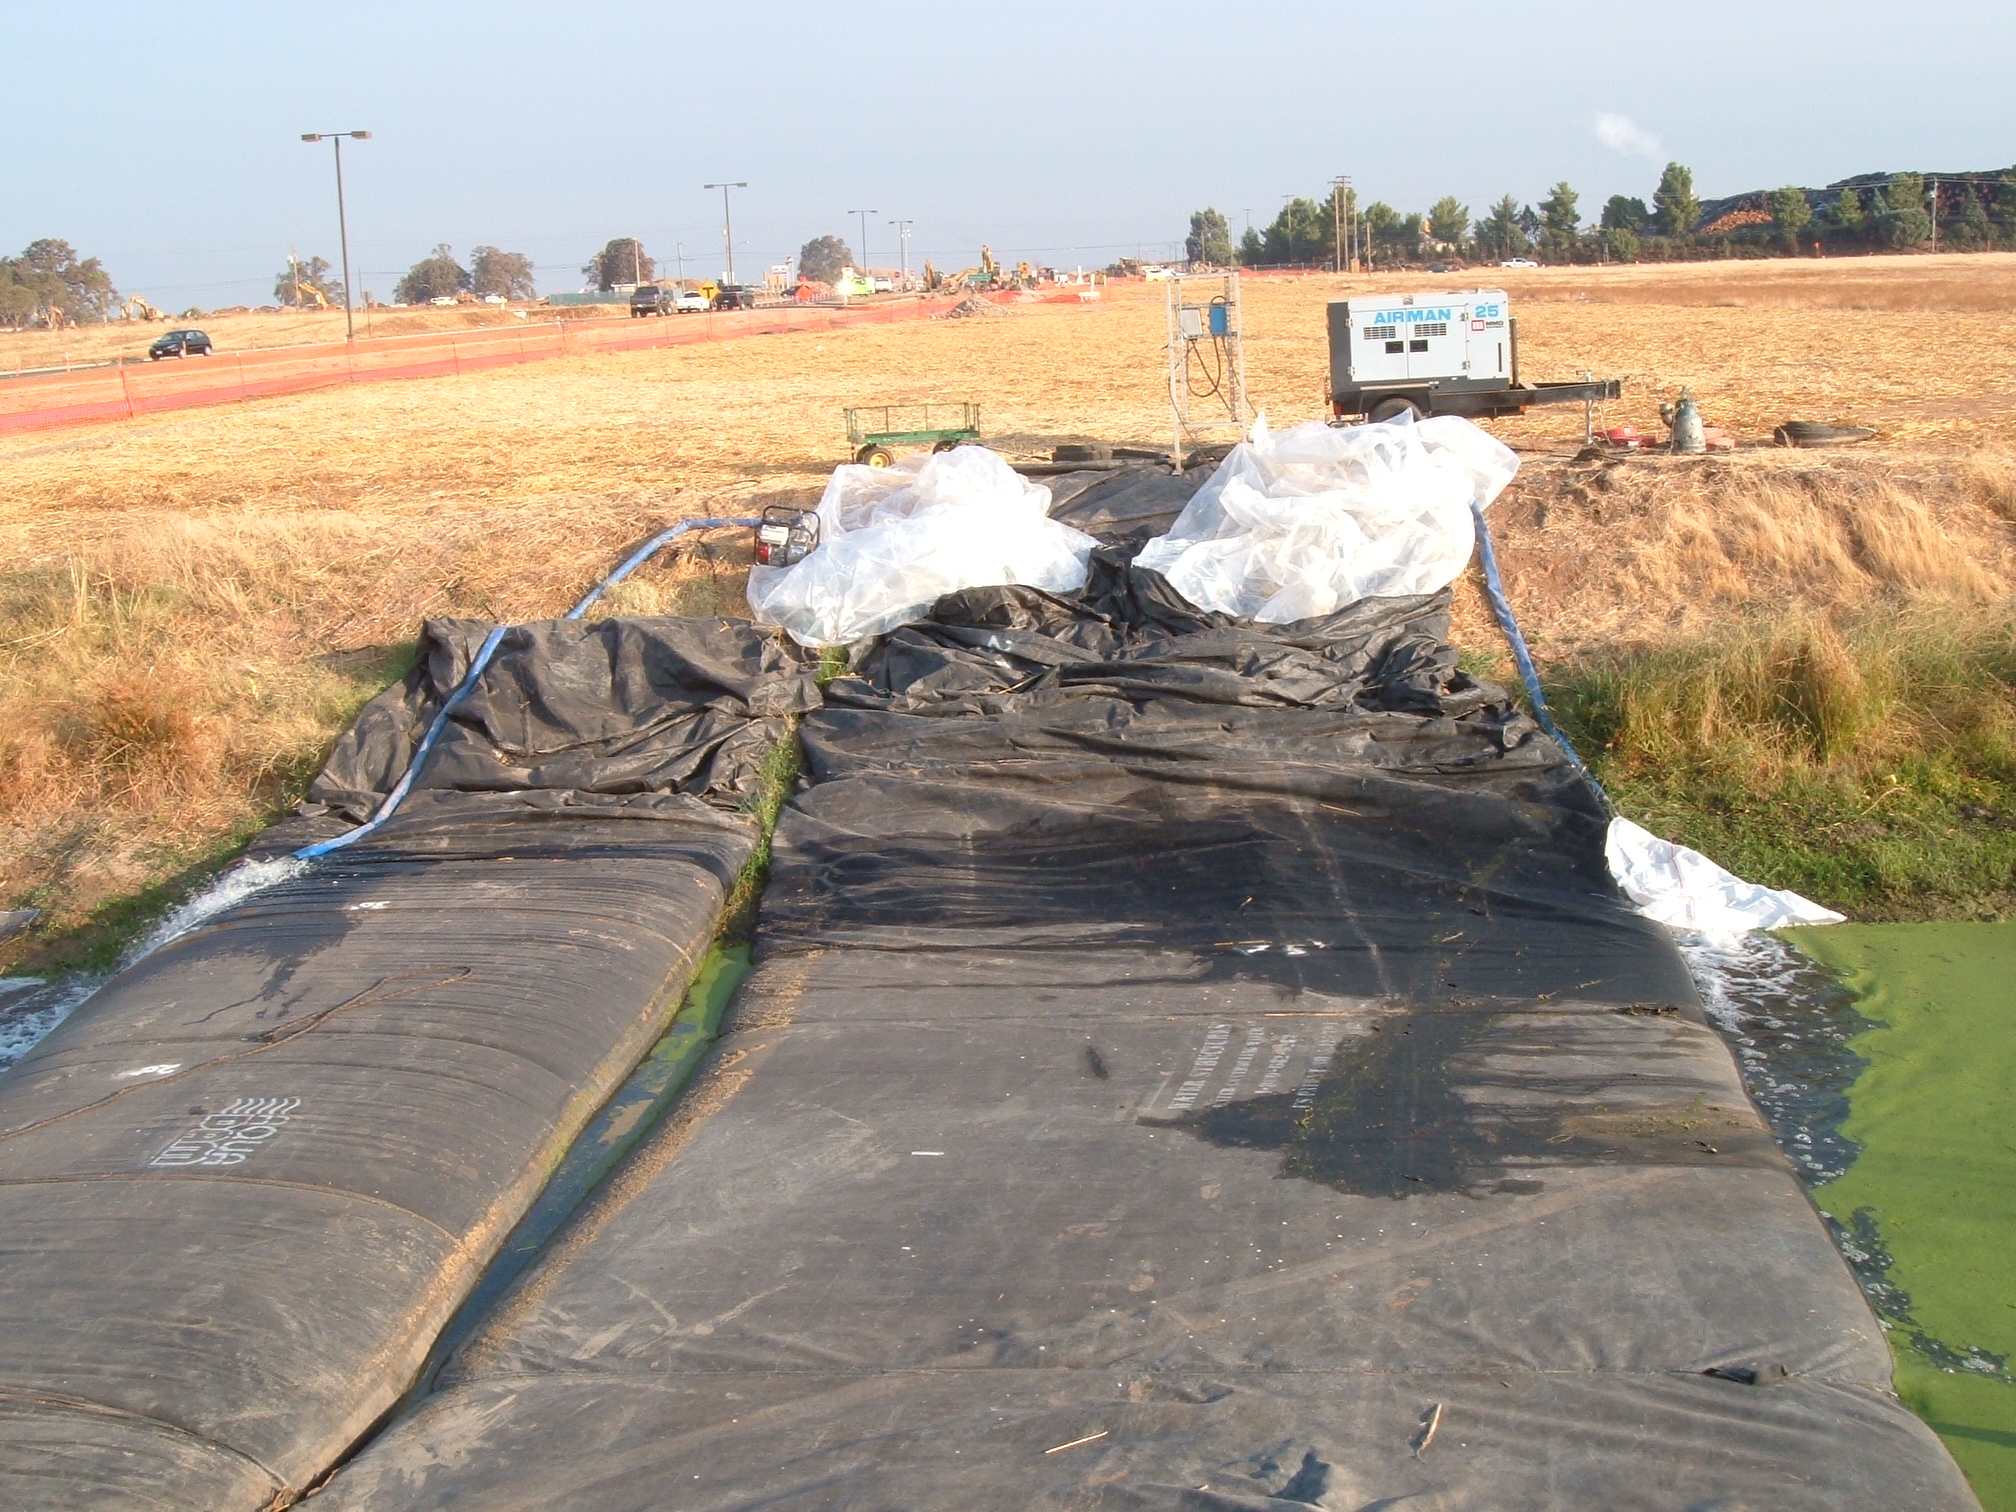
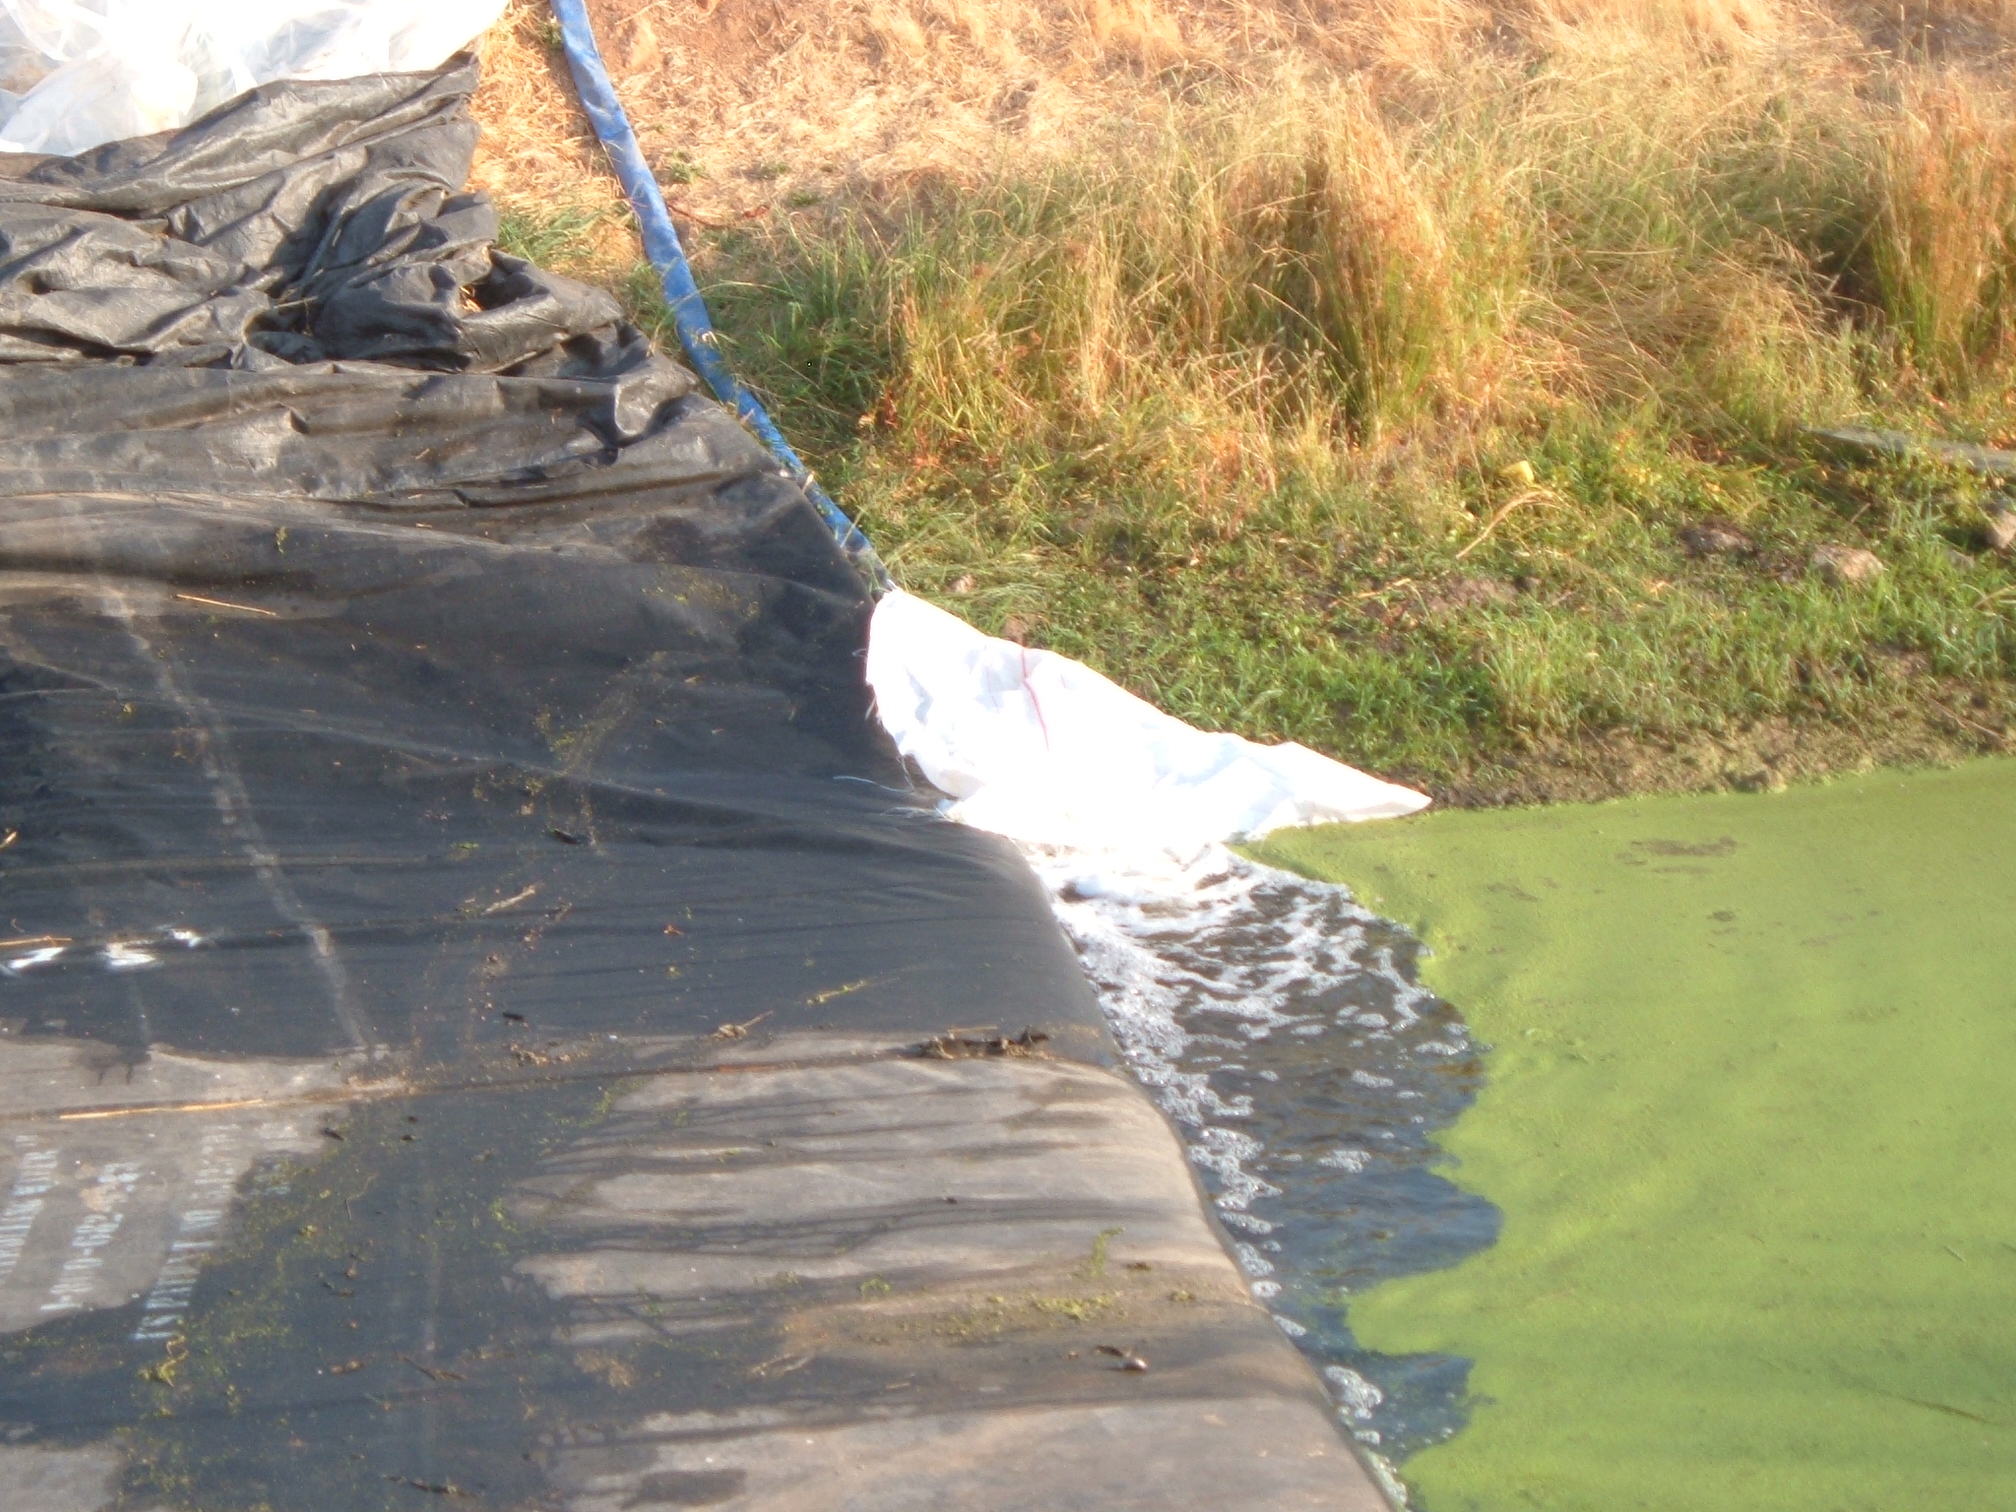
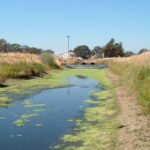
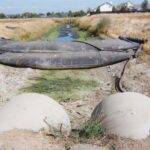
11.) Can you see the water depth difference between upstream (left) and downstream (right) the AquaDams?
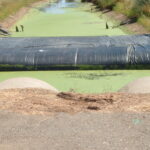
12.) The work area continues to drain, downstream, while the main SCE AquaDam finishes filling.
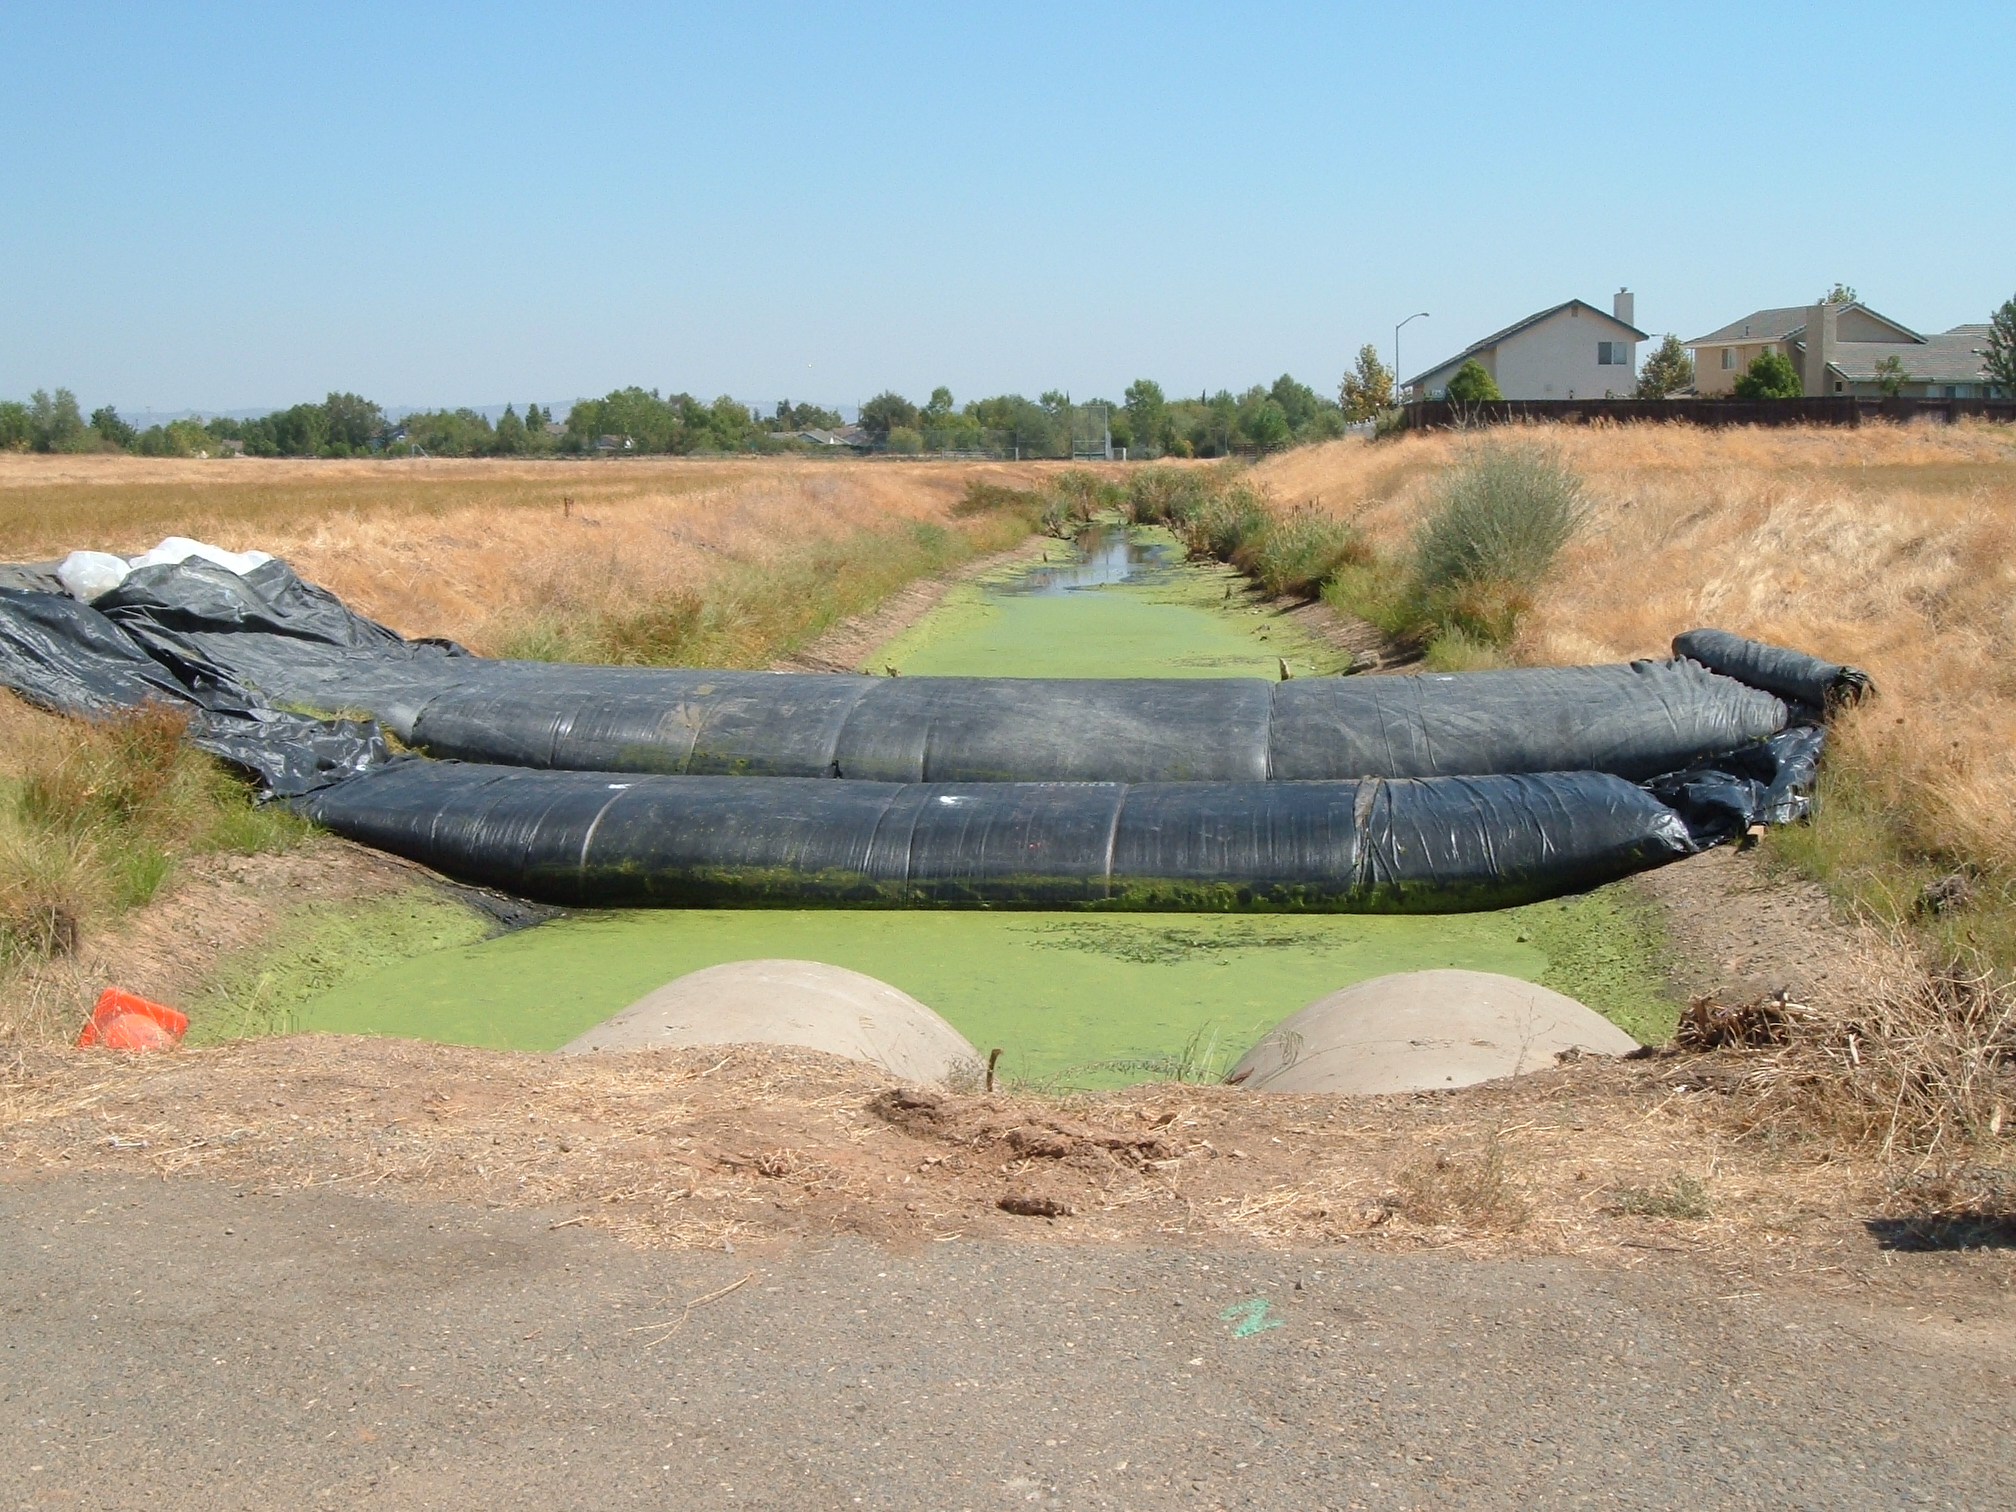
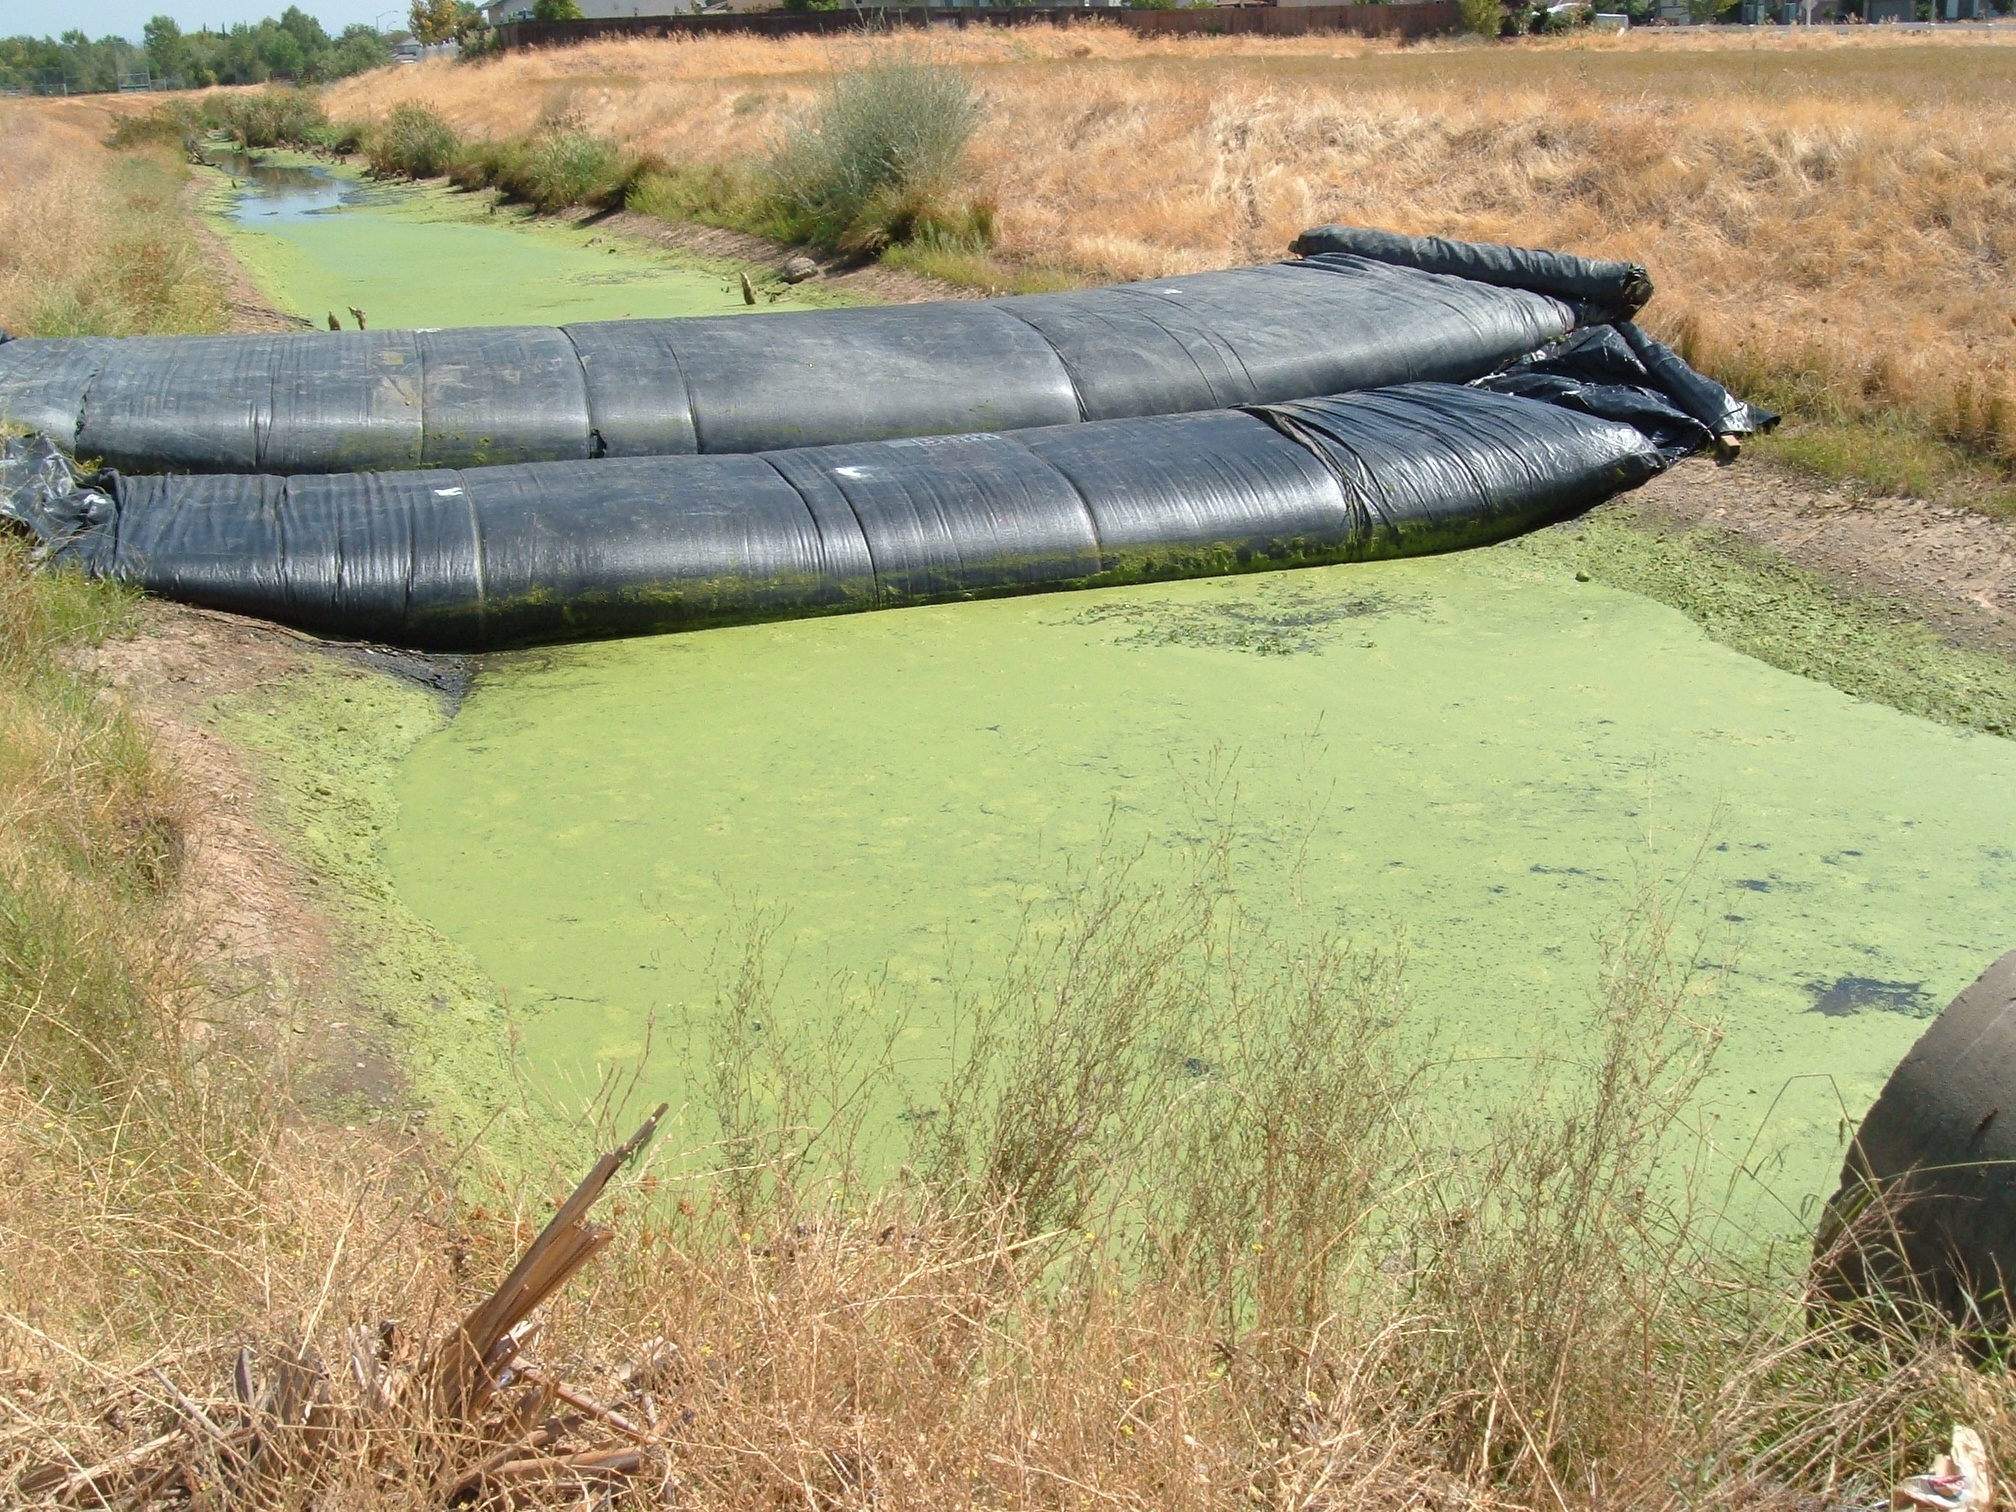
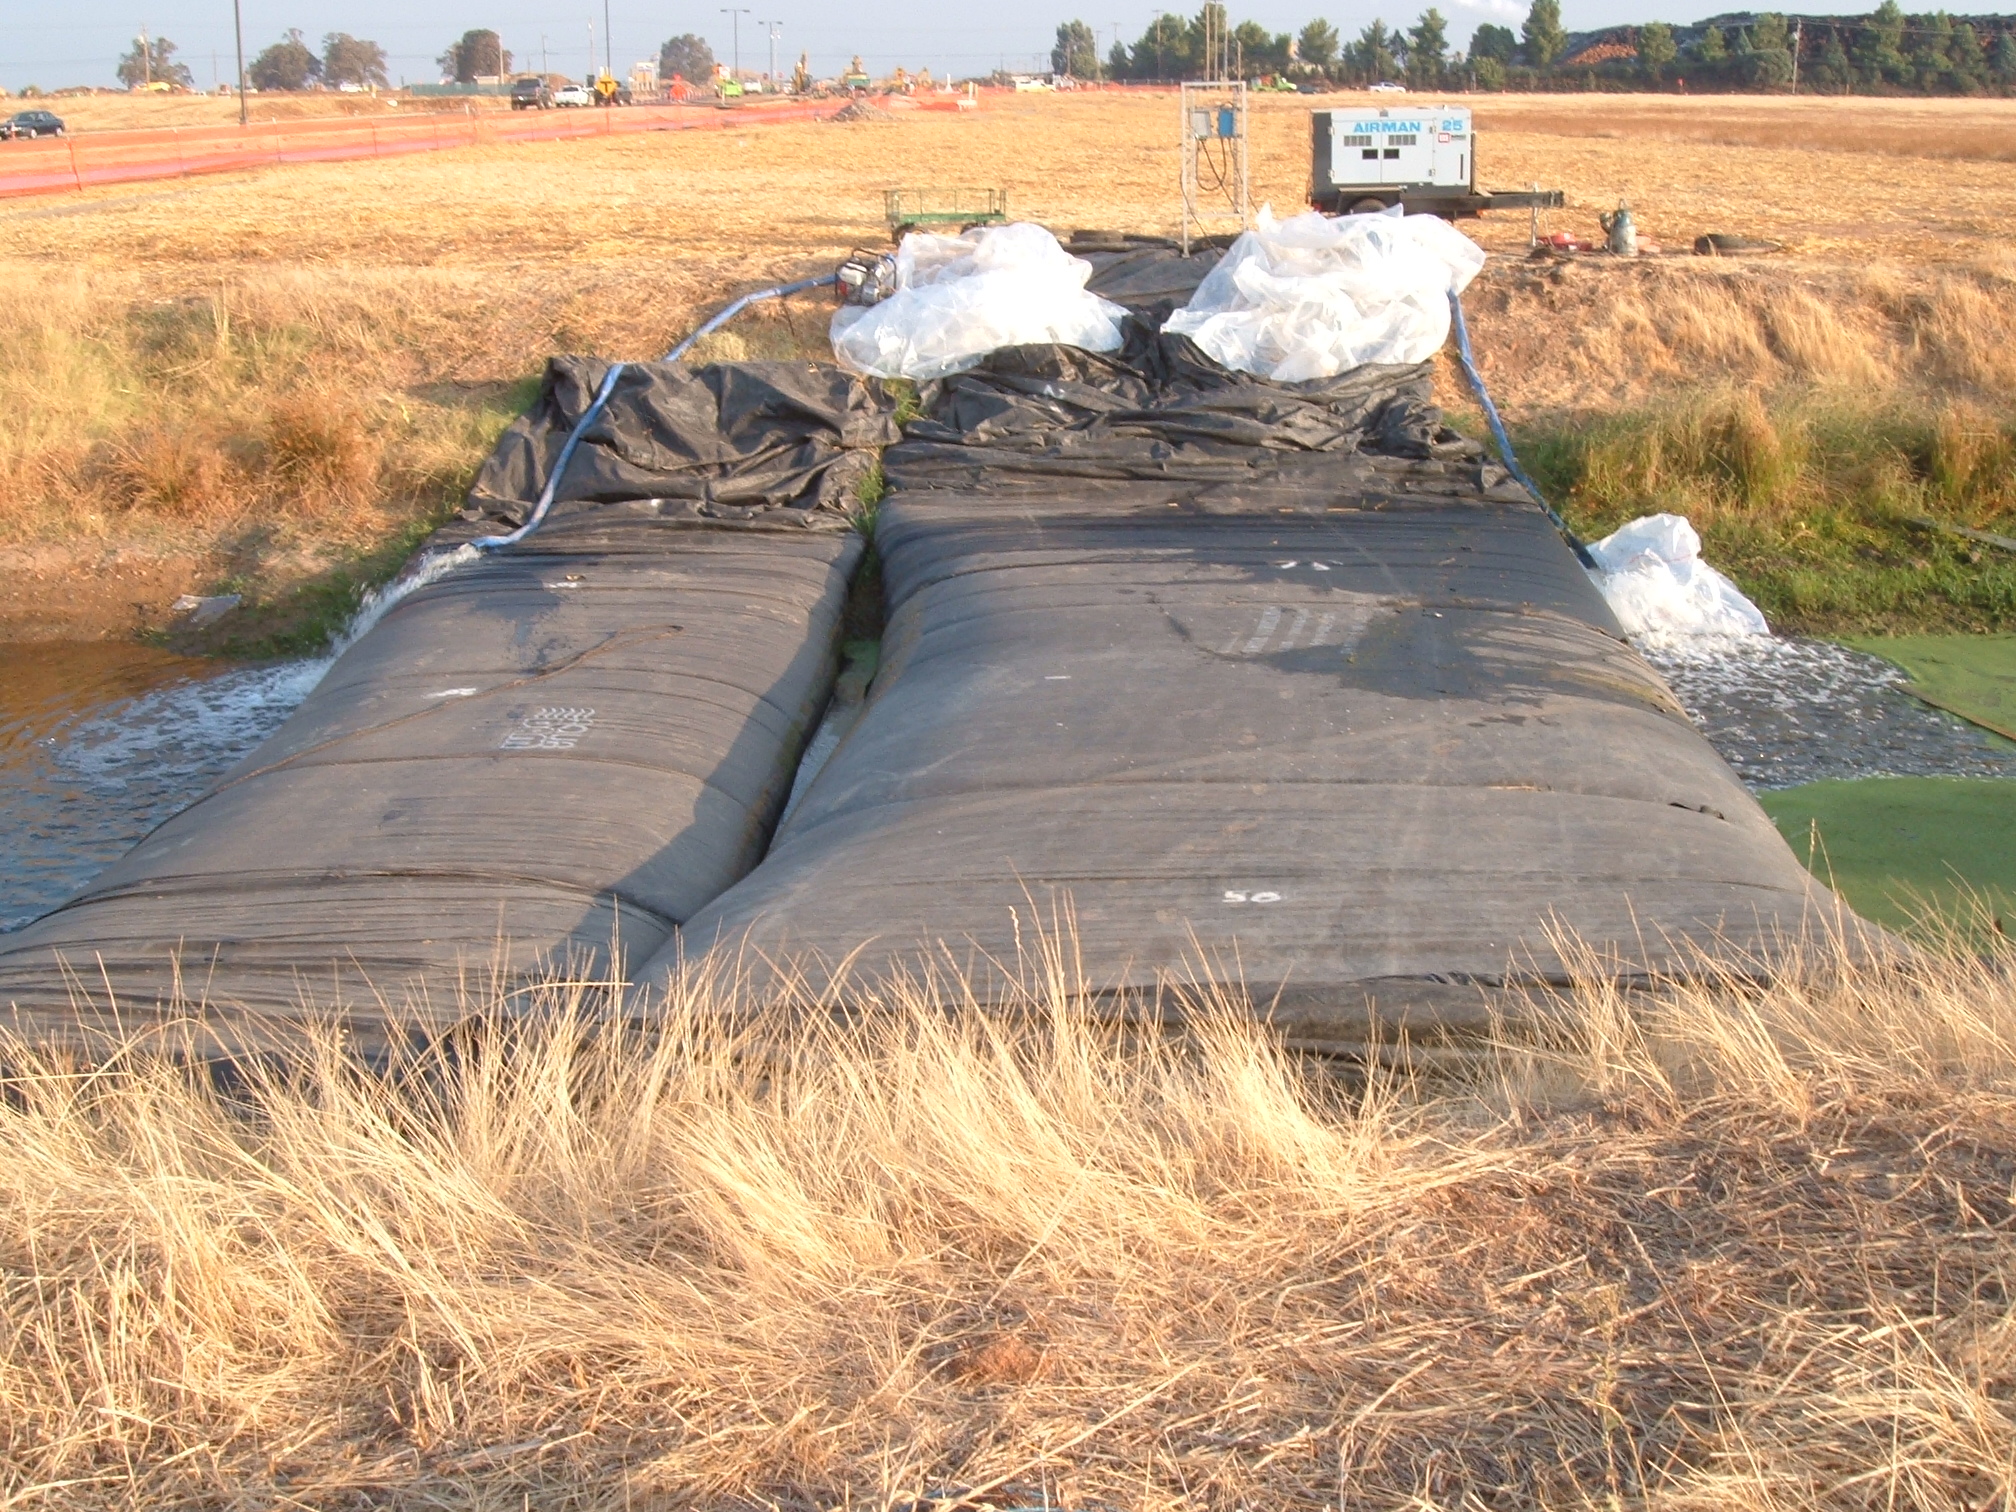
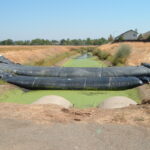
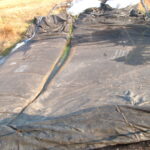
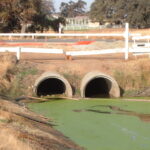
13.) Both SCE AquaDams are full and working great.
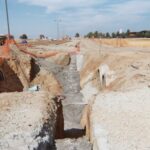
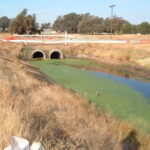
14.) The work area after it has been completely de-watered.
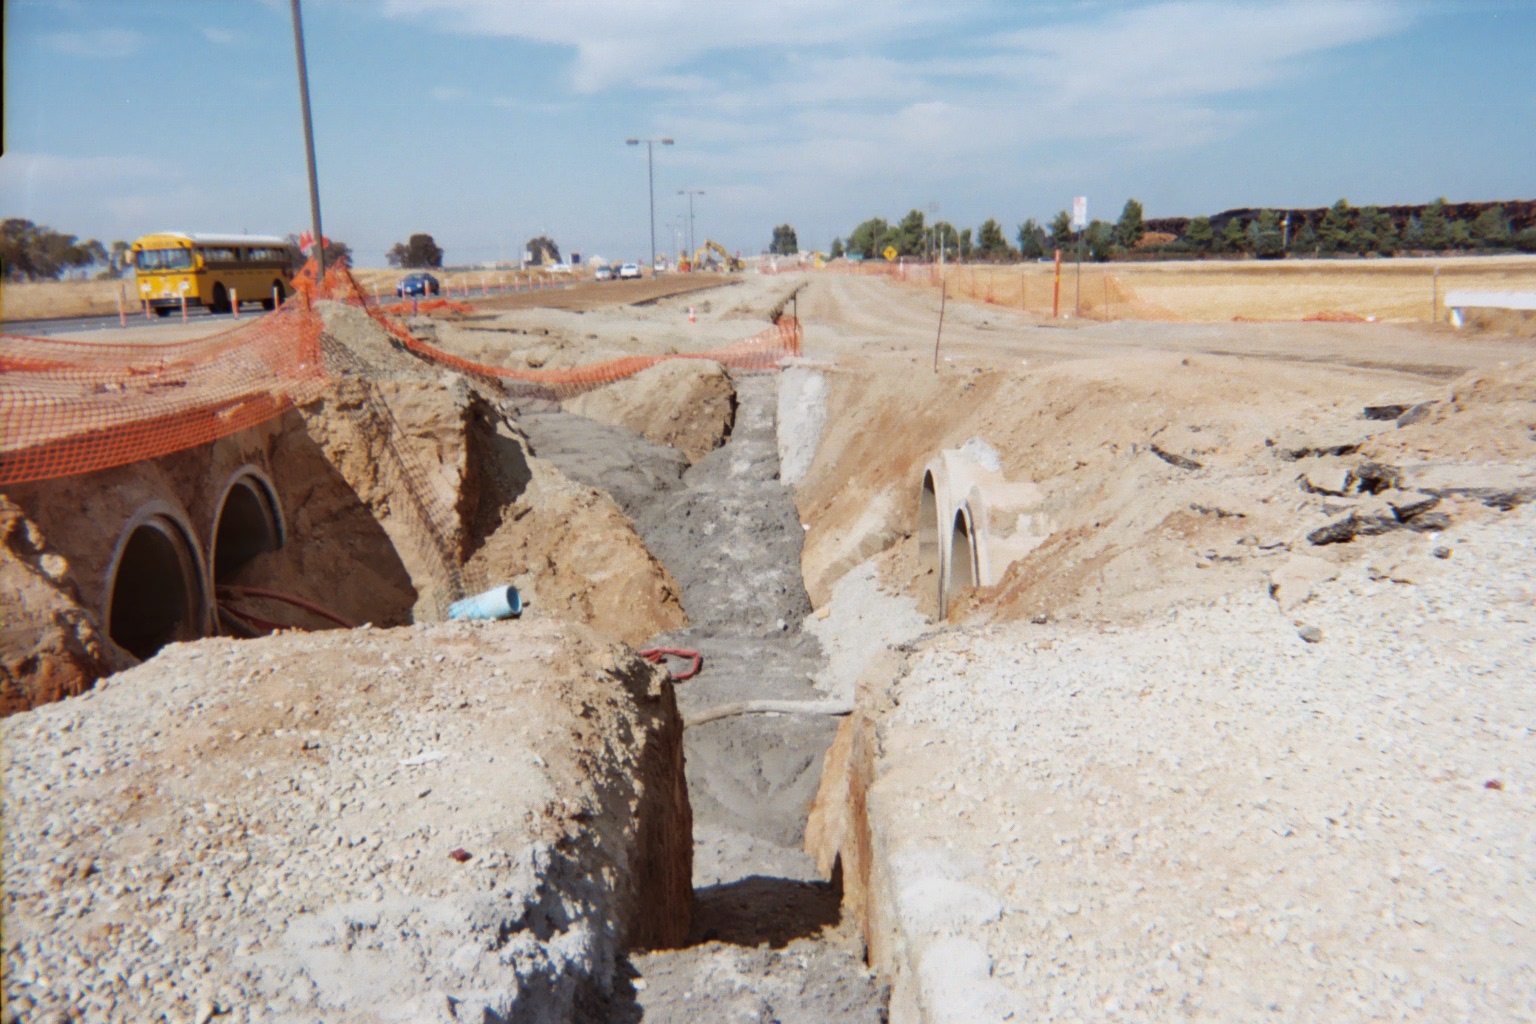
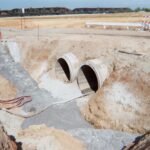
15.) Downstream of the AquaDams in the de-watered work area.
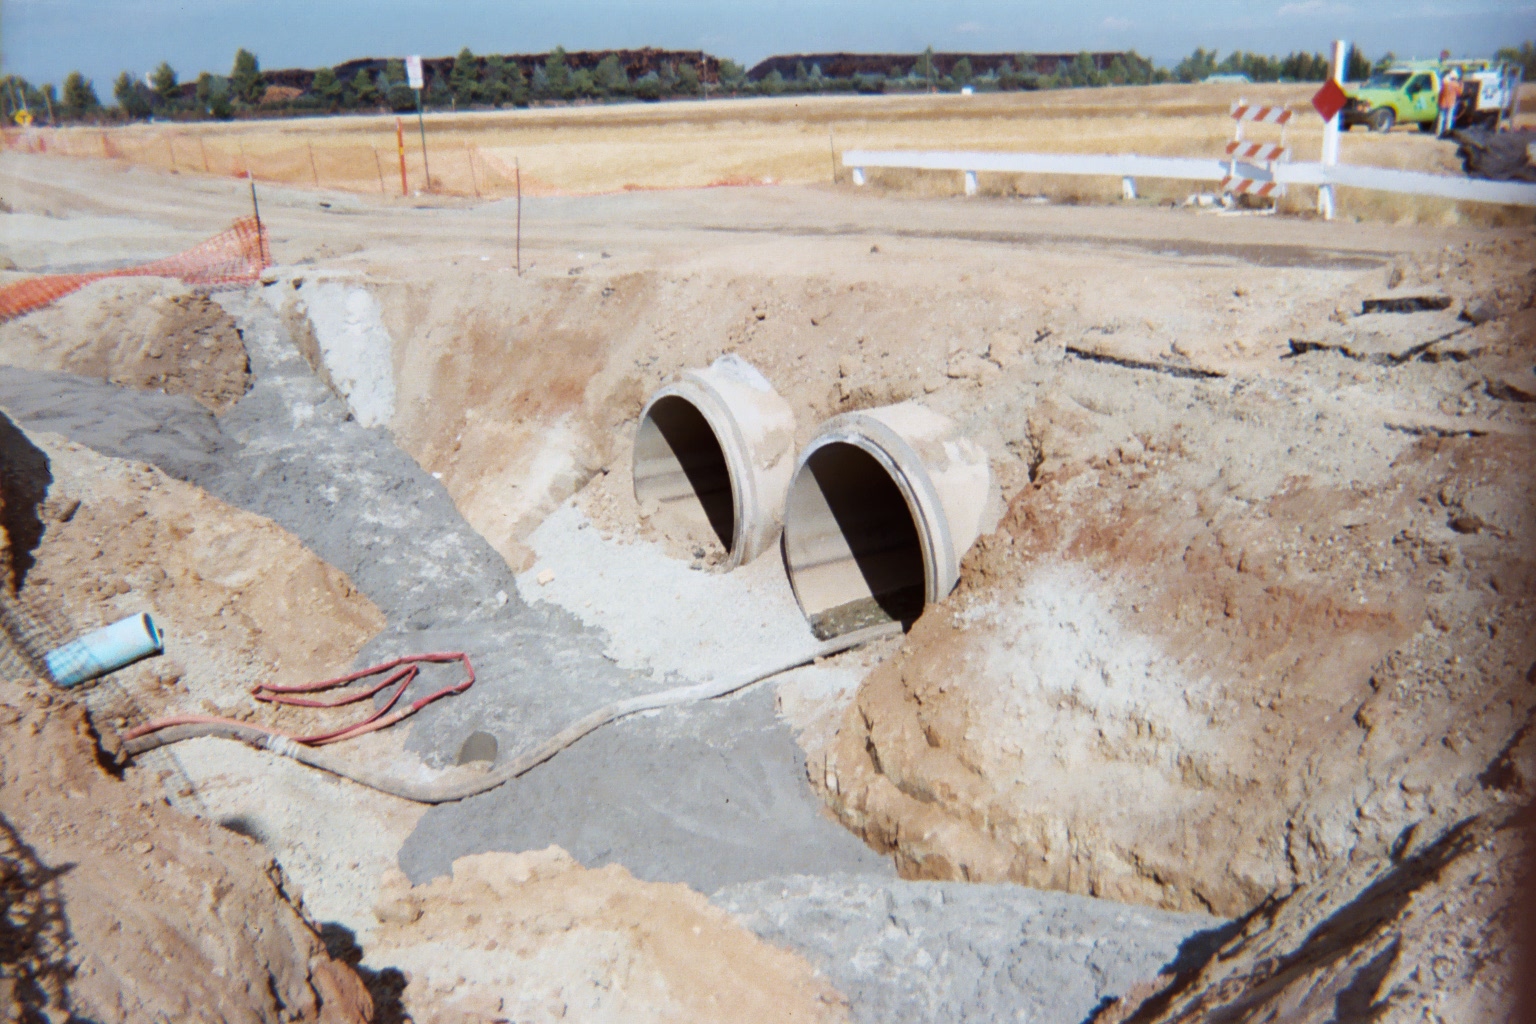
16.) Another photo of a dry work area.
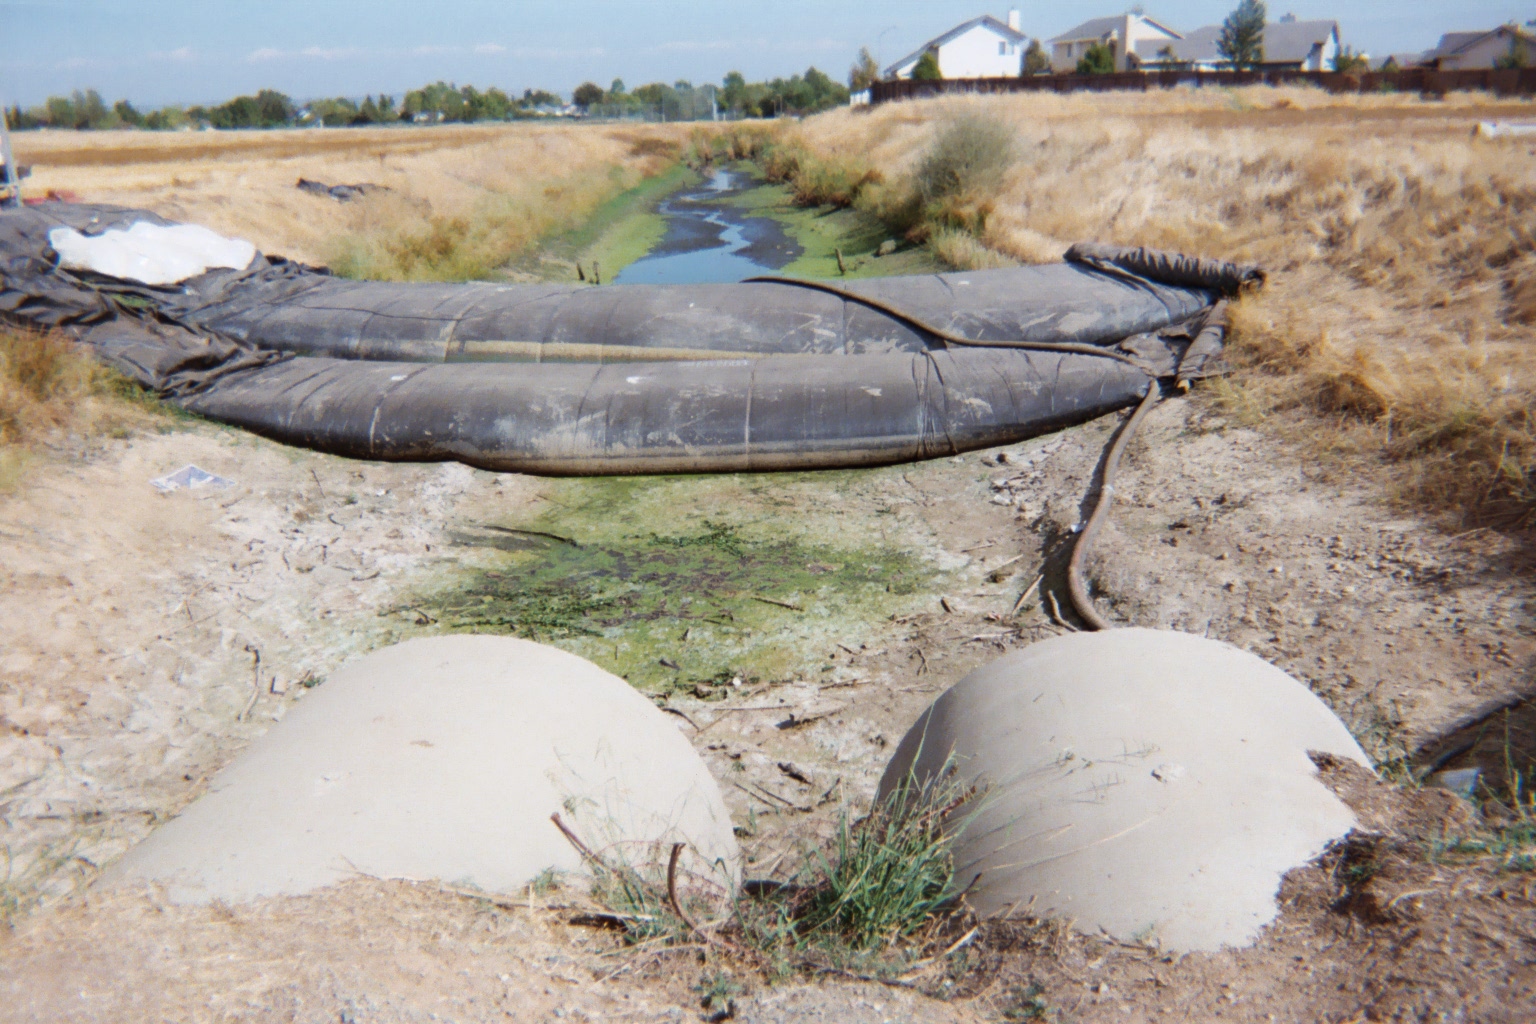
17.) Time to remove the two SCE AquaDams. Pumps sucked the water out of the fill-tubes first to reduce the head in the AquaDam. The ends of the suction hoses that are inserted into the fill-tubes should be free of sharp and/or abrasive edges.
18.) It is important to re-water the work area, prior to removing an AquaDam.
19.) The main SCE AquaDam is almost as tall as the surrounding water now.
20.) A piece of scrap material was used to help prevent the bank from being eroded from the discharge hose of one of the pumps.

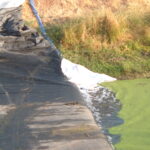
21.) A close-up of the fill-tubes bloused open with pumps sucking the water out of them.
22.) The main SCE AquaDam has been removed from the canal and now the support dam is being de-watered.
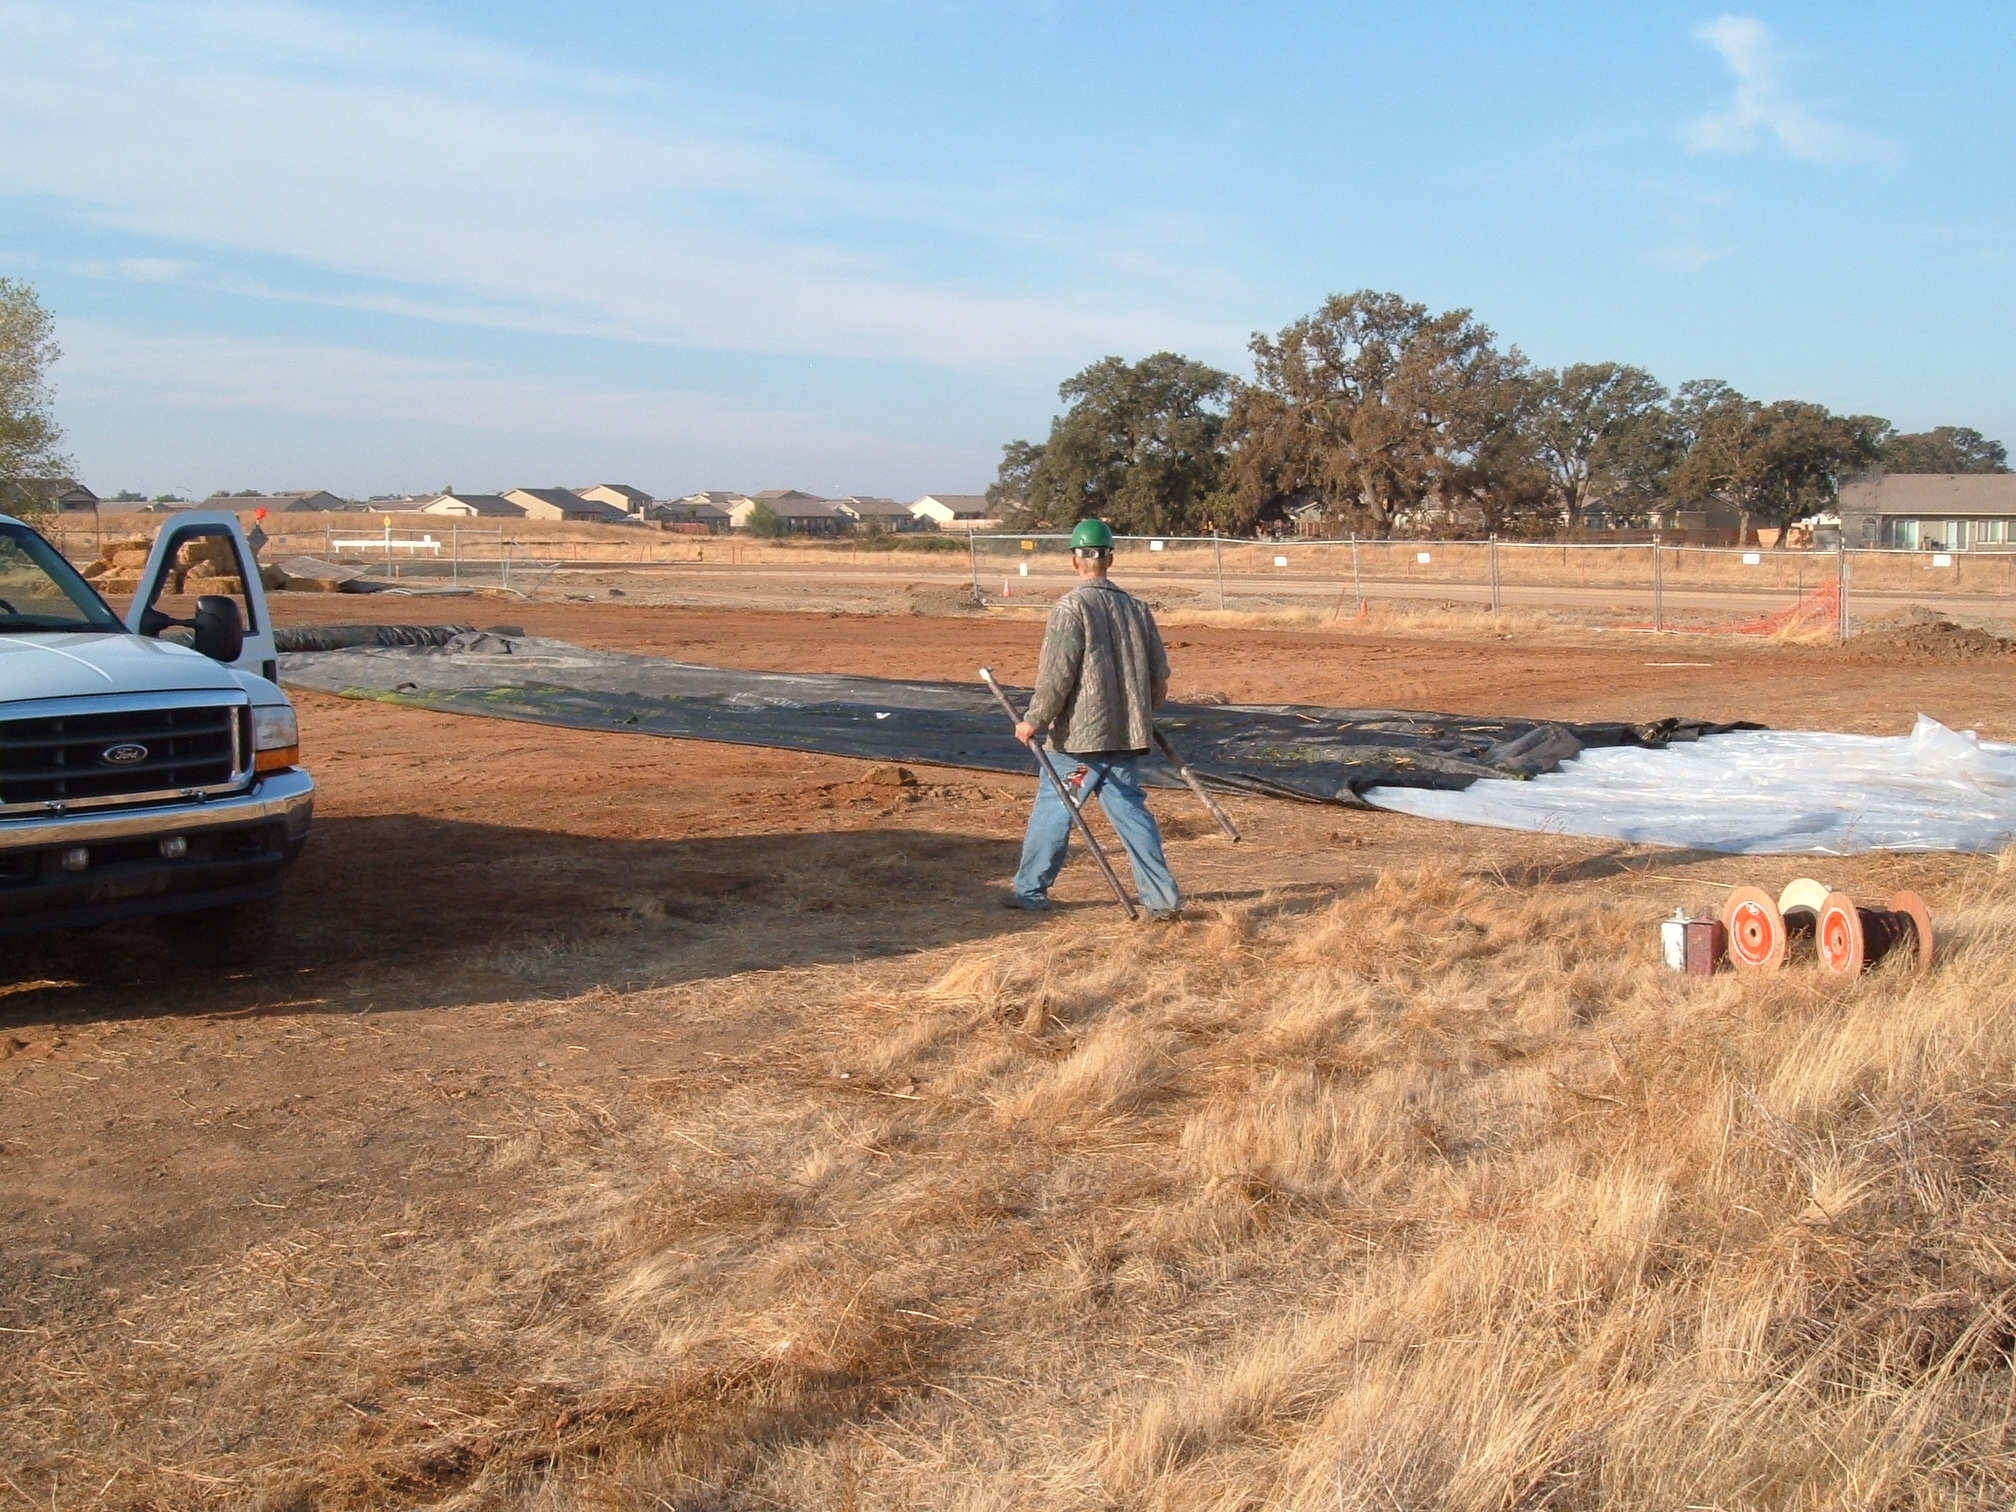
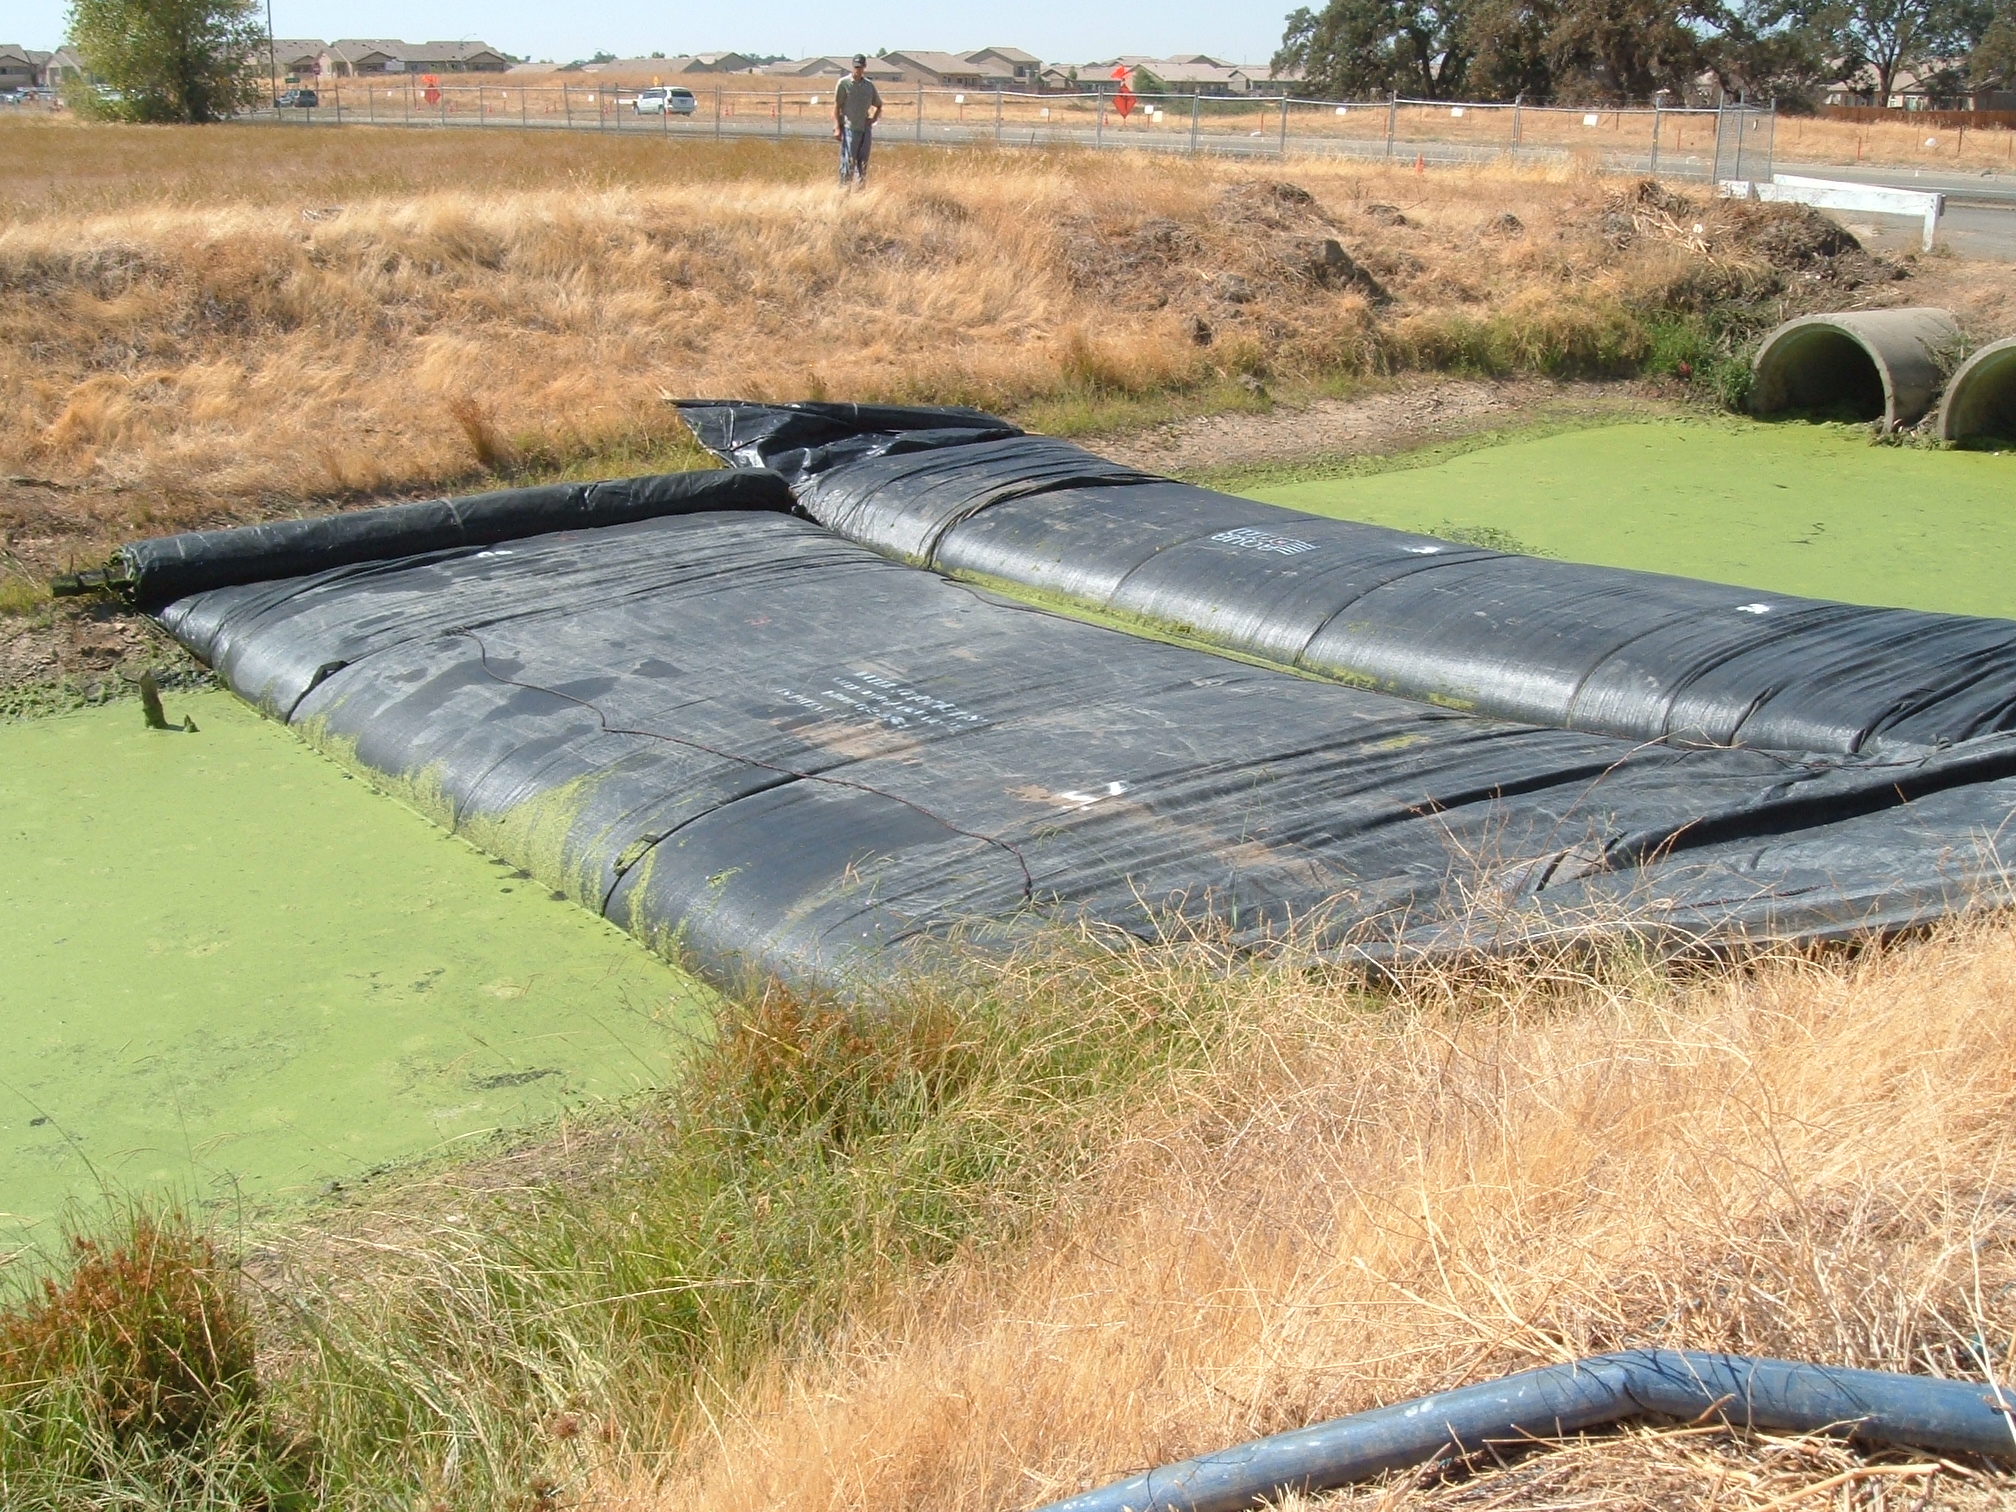
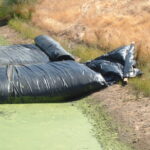
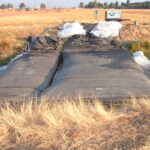
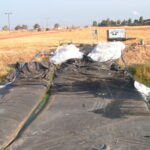
23.) The main SCE AquaDam was pulled up to and laid out on a flat area to be re-rolled. Most of the water was allowed to drain out of the fill-tubes while the AquaDam was pulled out of the canal, by lifting and pulling on the closed end.
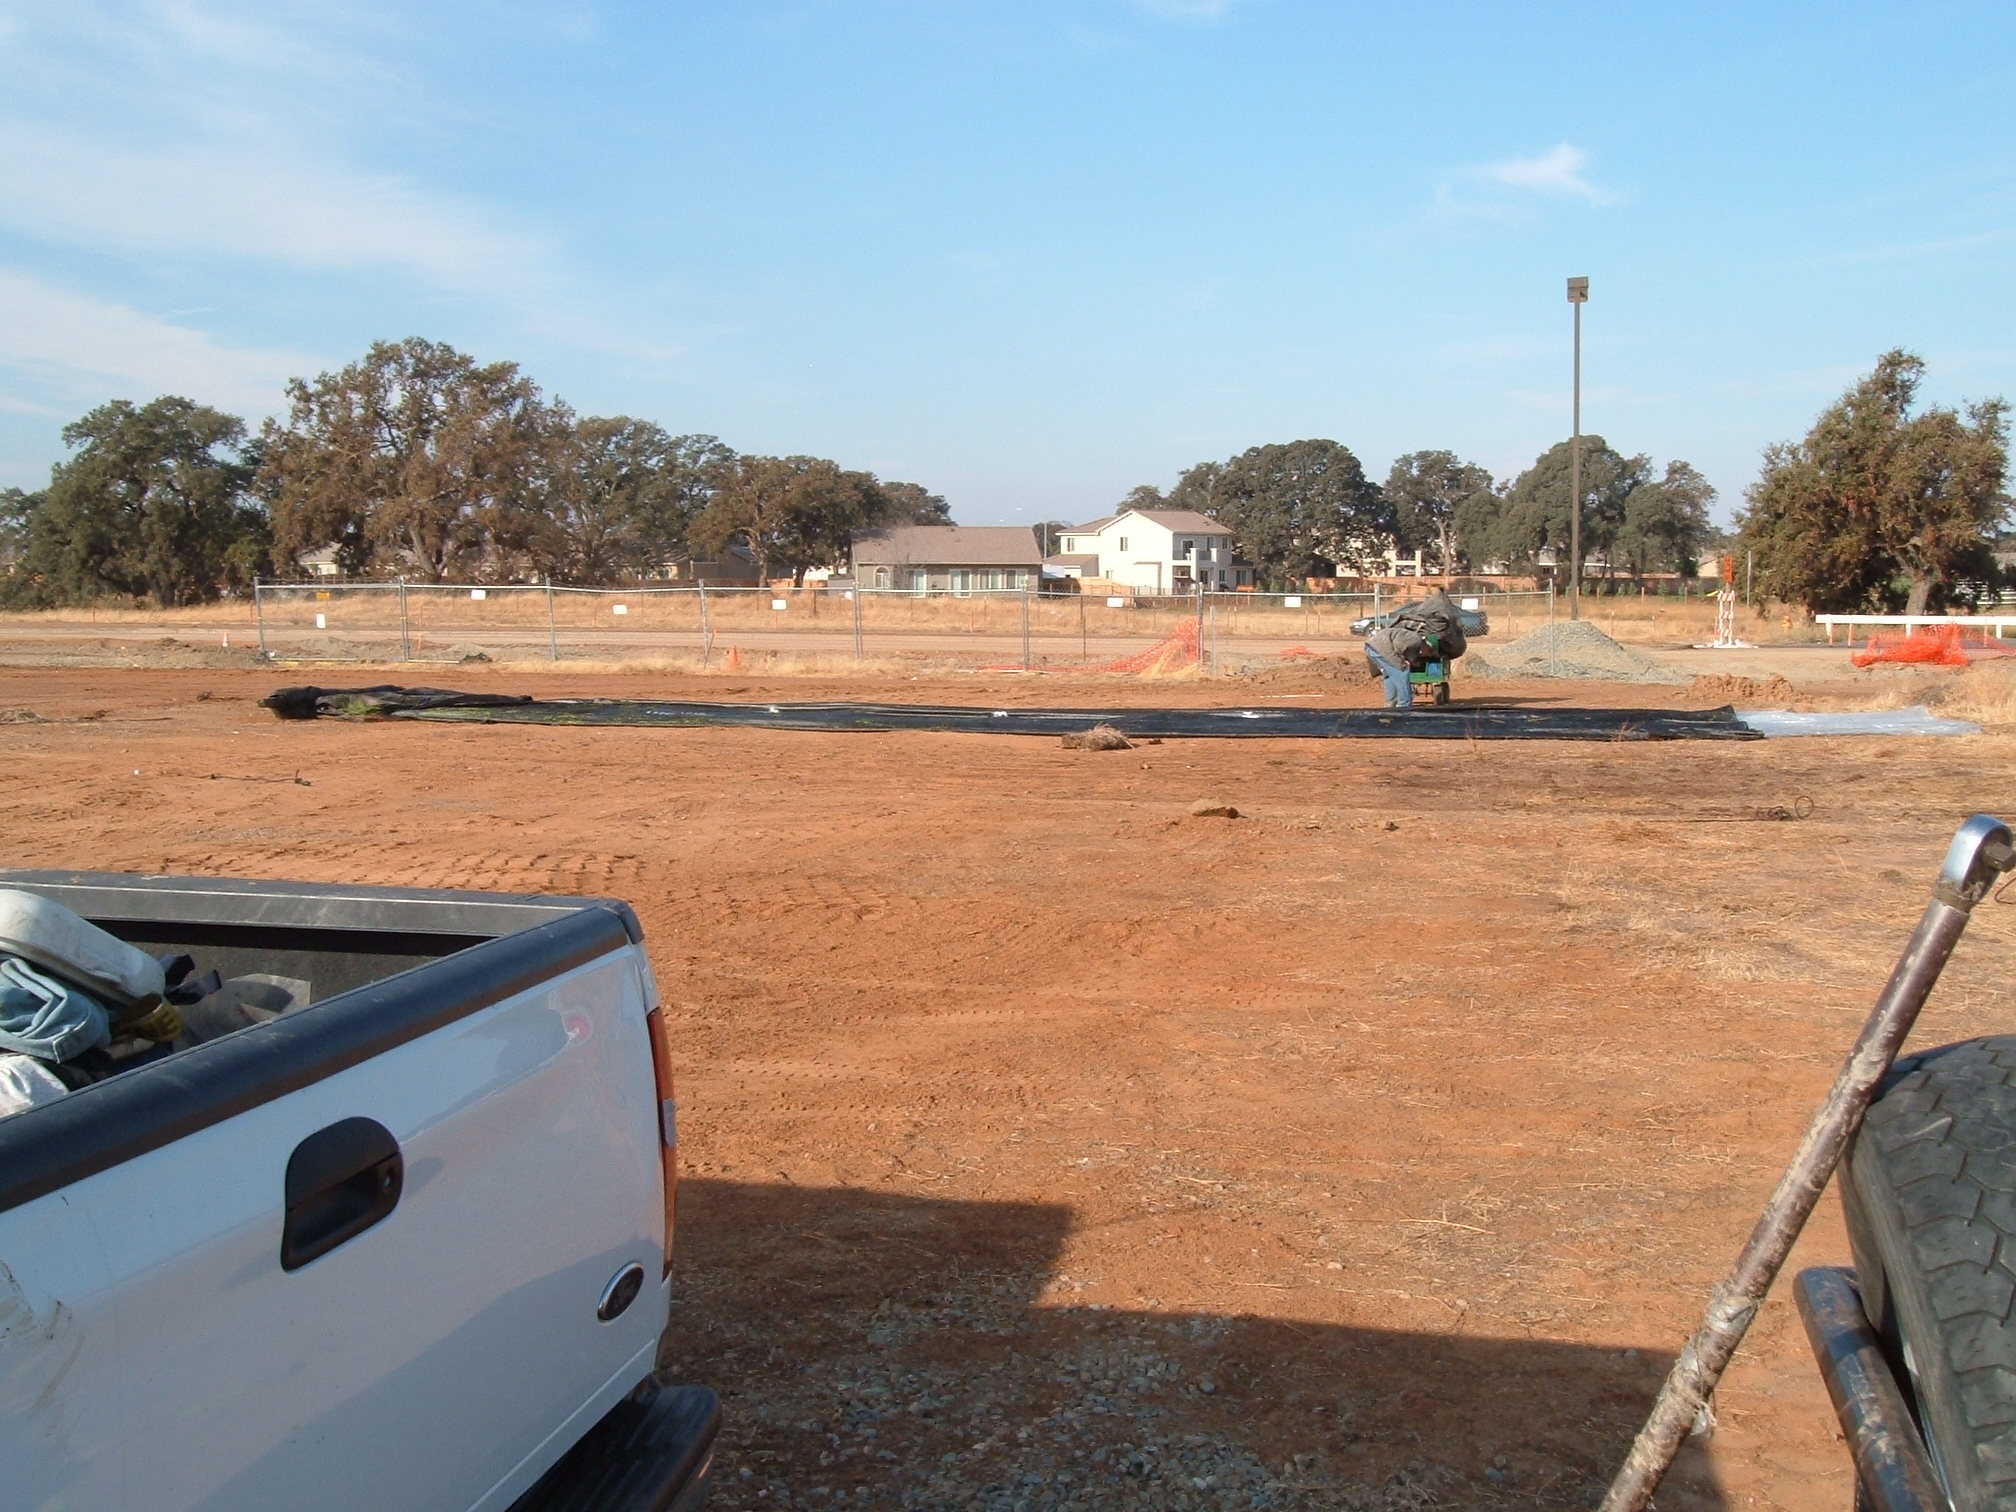
24.) Workers laid out the support SCE AquaDam to let any additional water exit its fill-tubes.
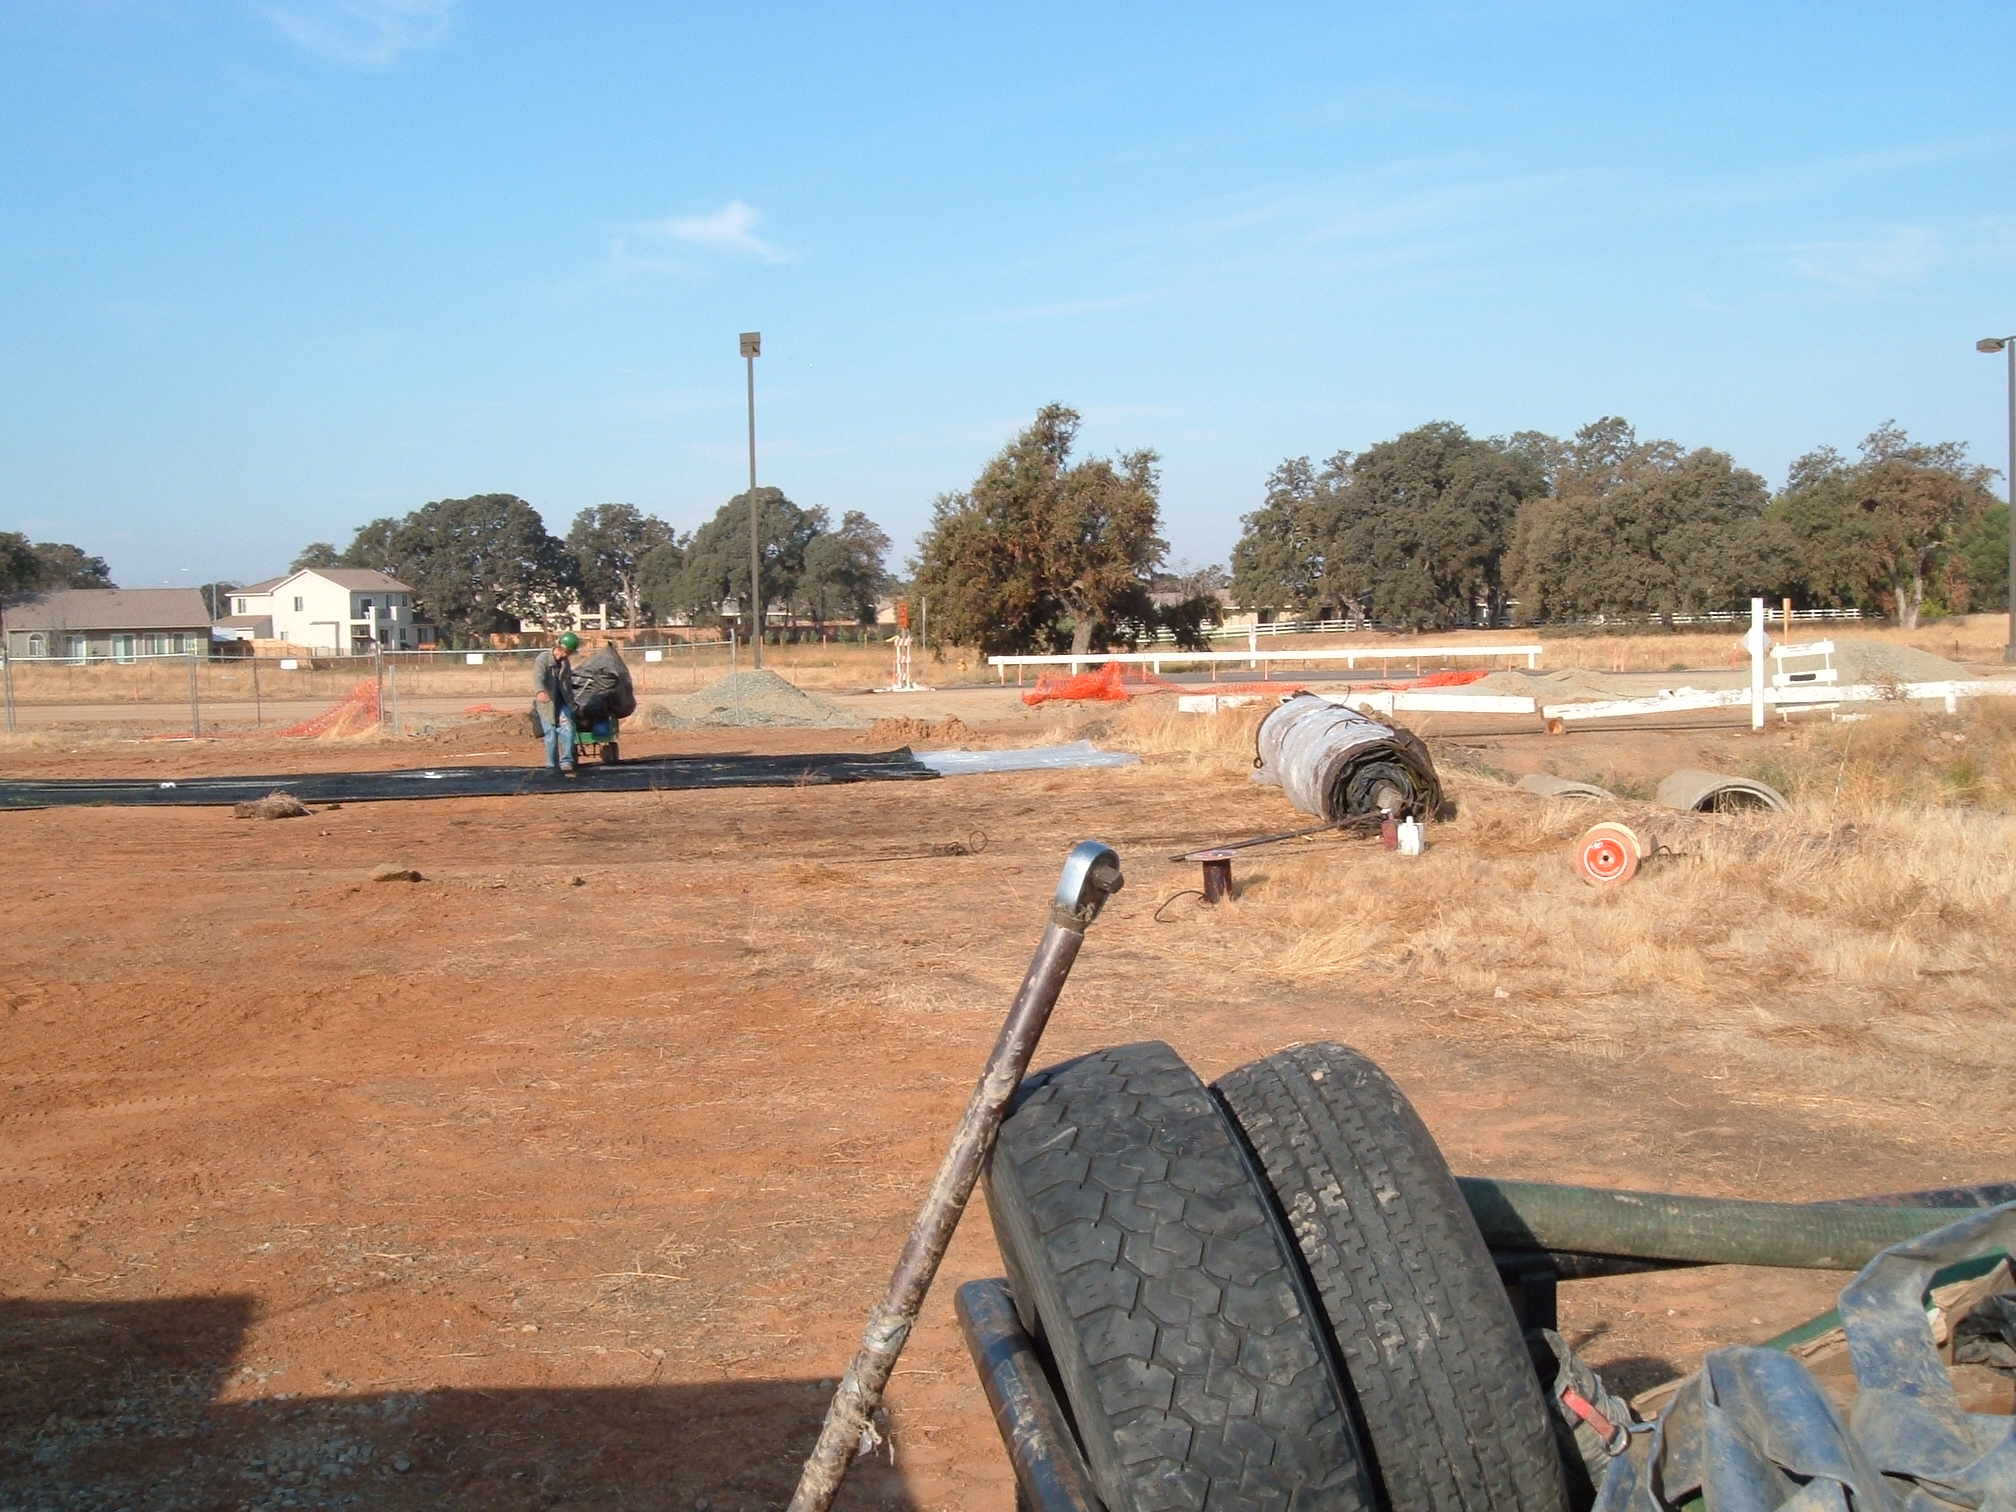
25.) The main SCE AquaDam can be seen re-rolled onto a beam on the right of this photo.
26.) The work area has been re-watered, and the job is done.
27.) Great job AquaDam!


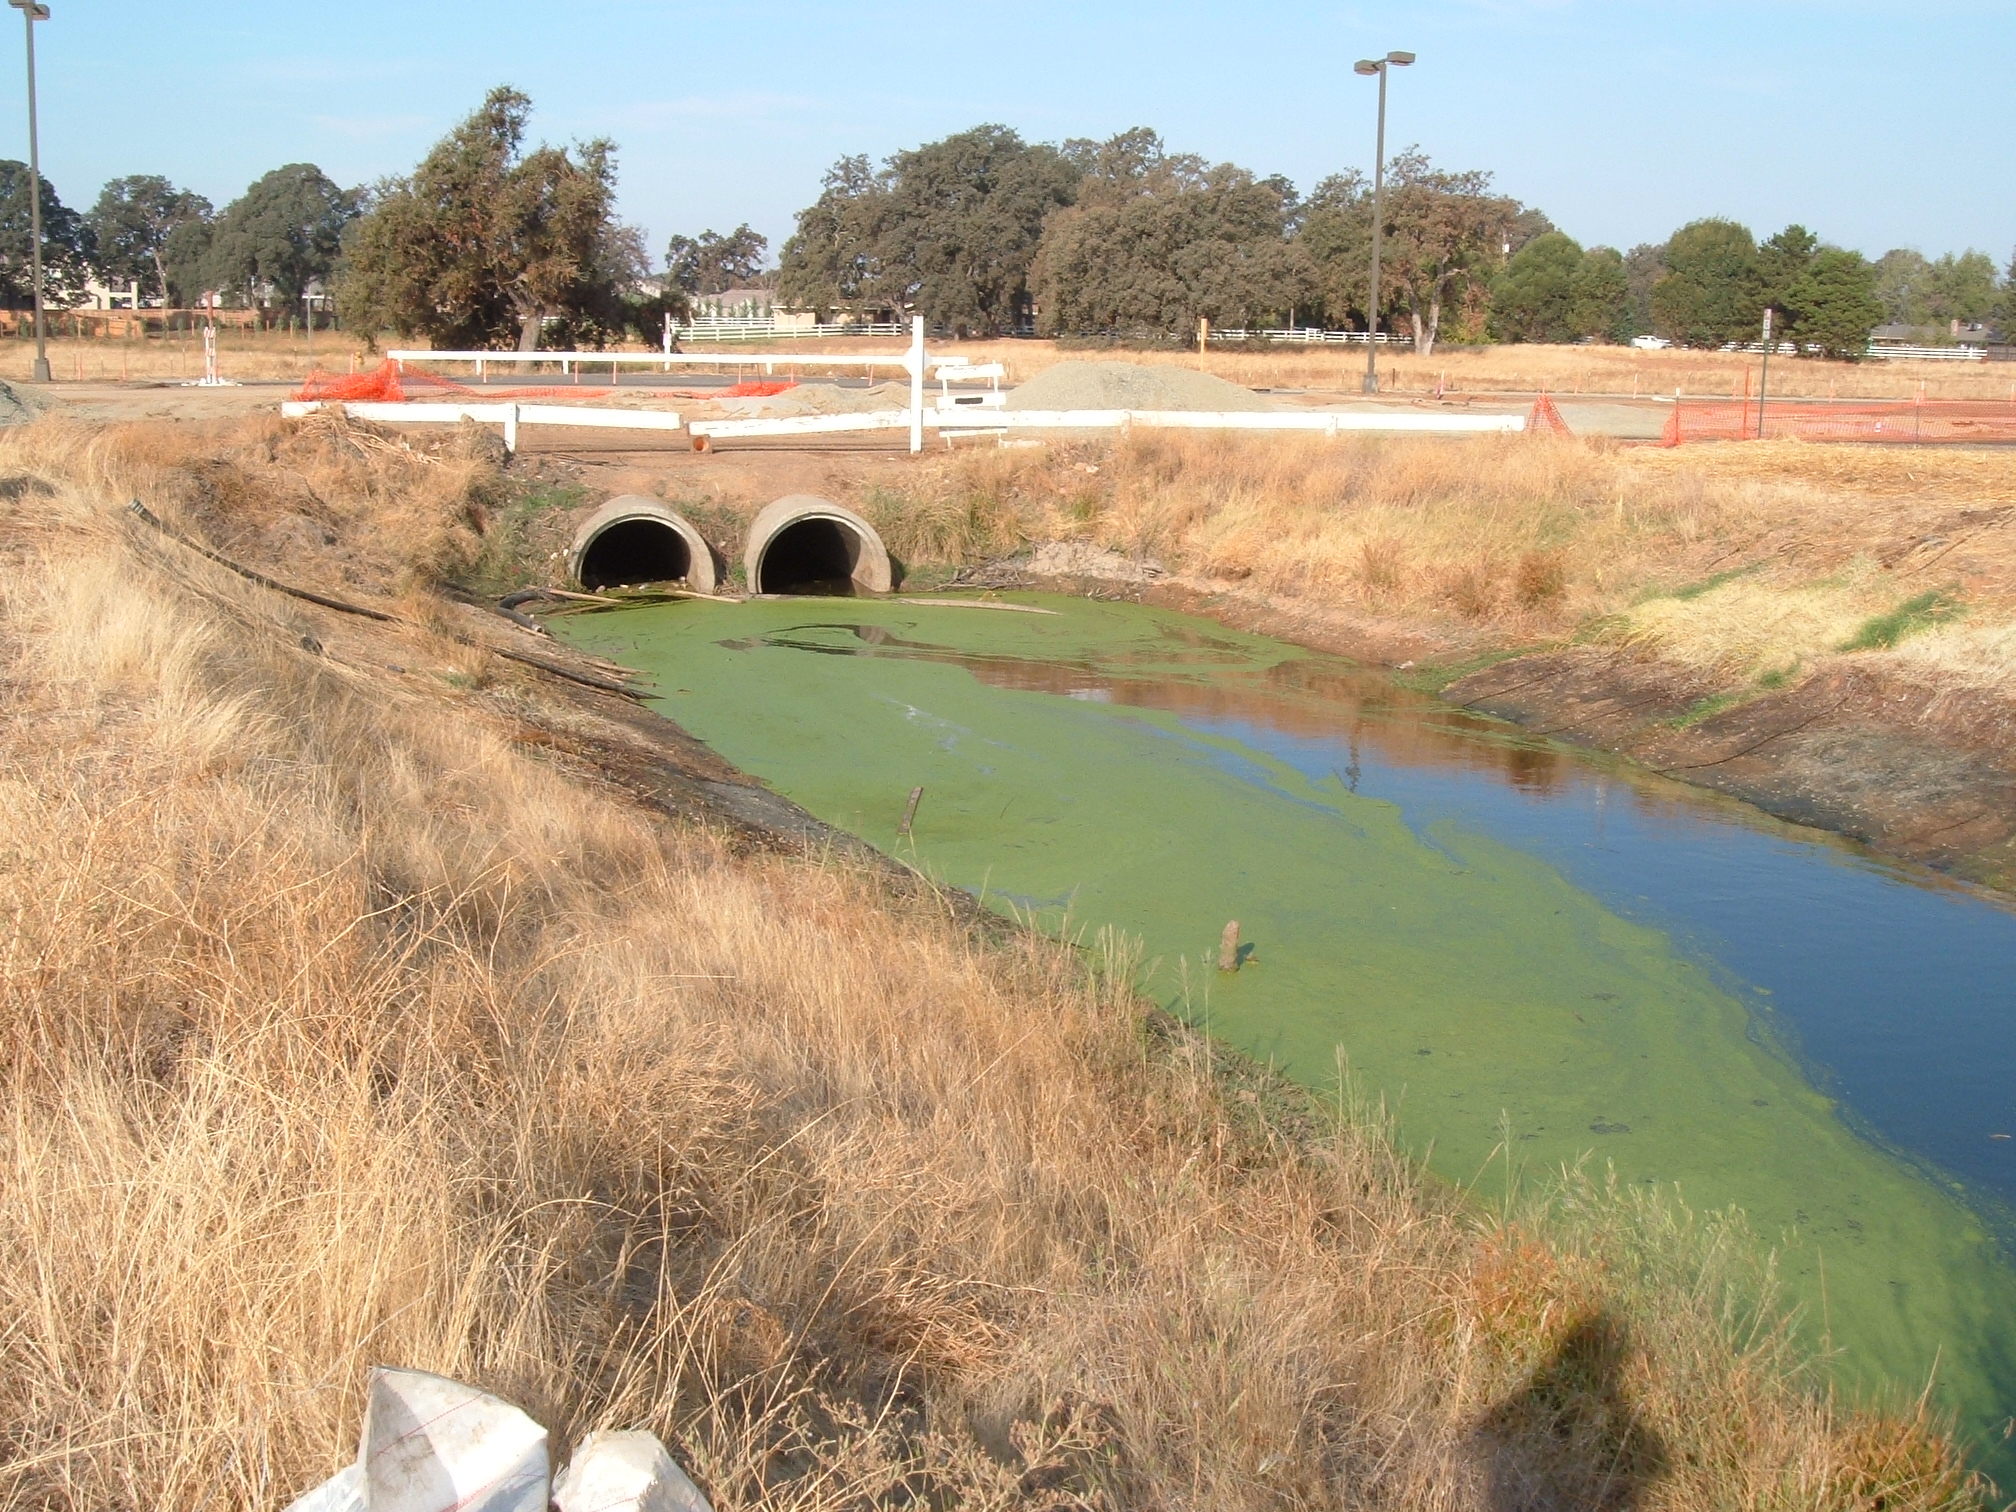
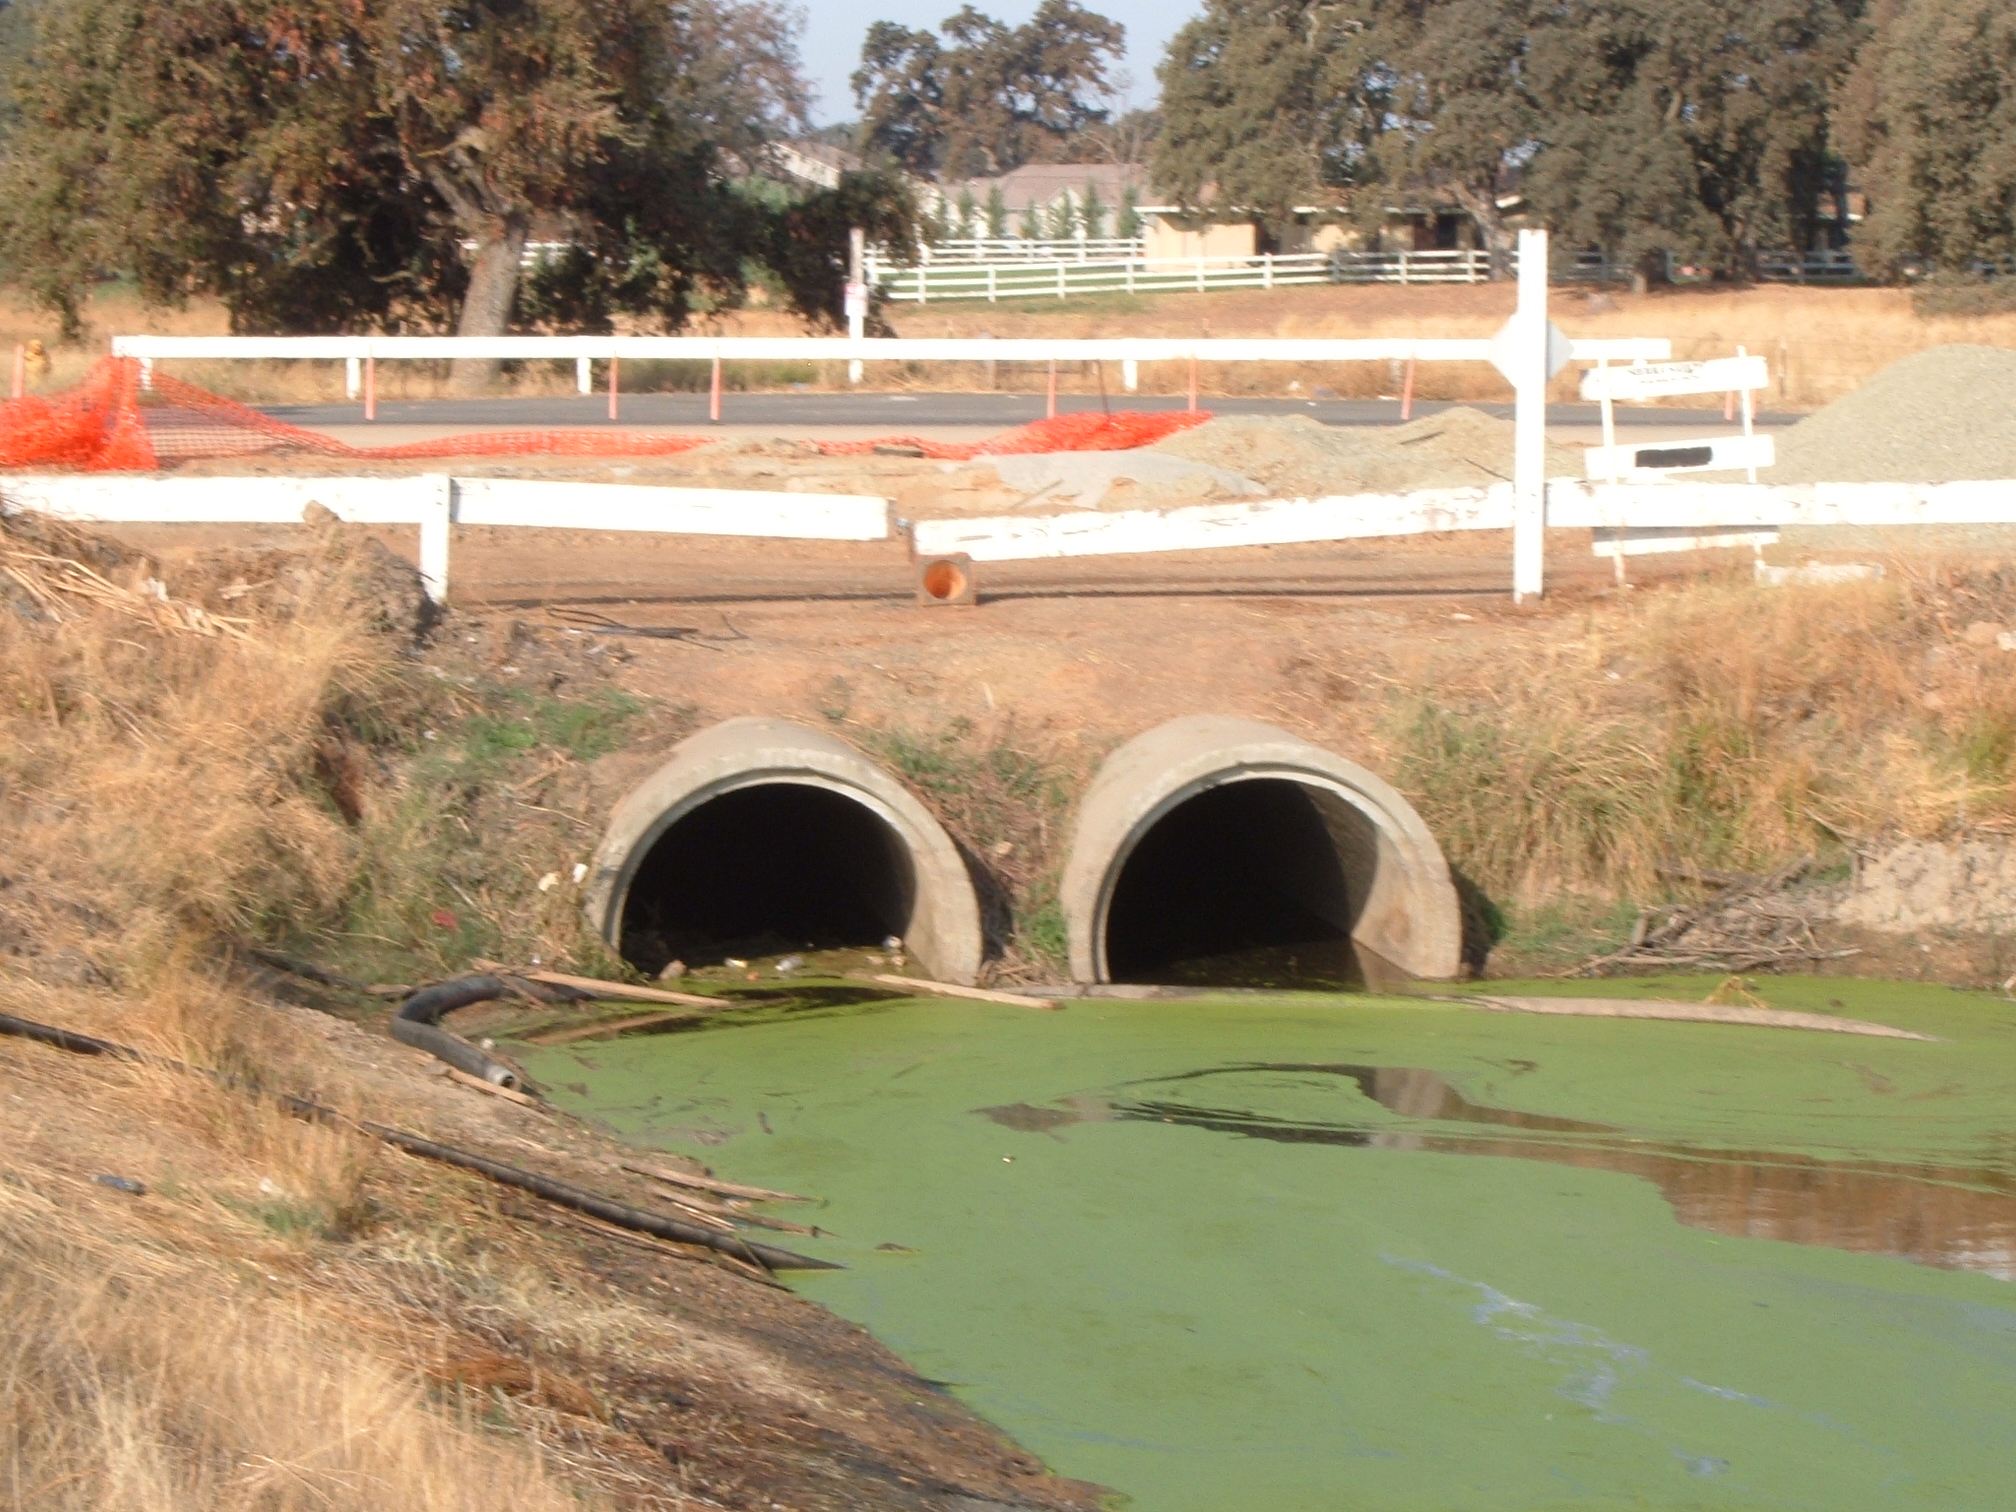
Two Single Closed End (SCE) AquaDams, Culvert Isolation, Line Configuration, Installation and Removal