
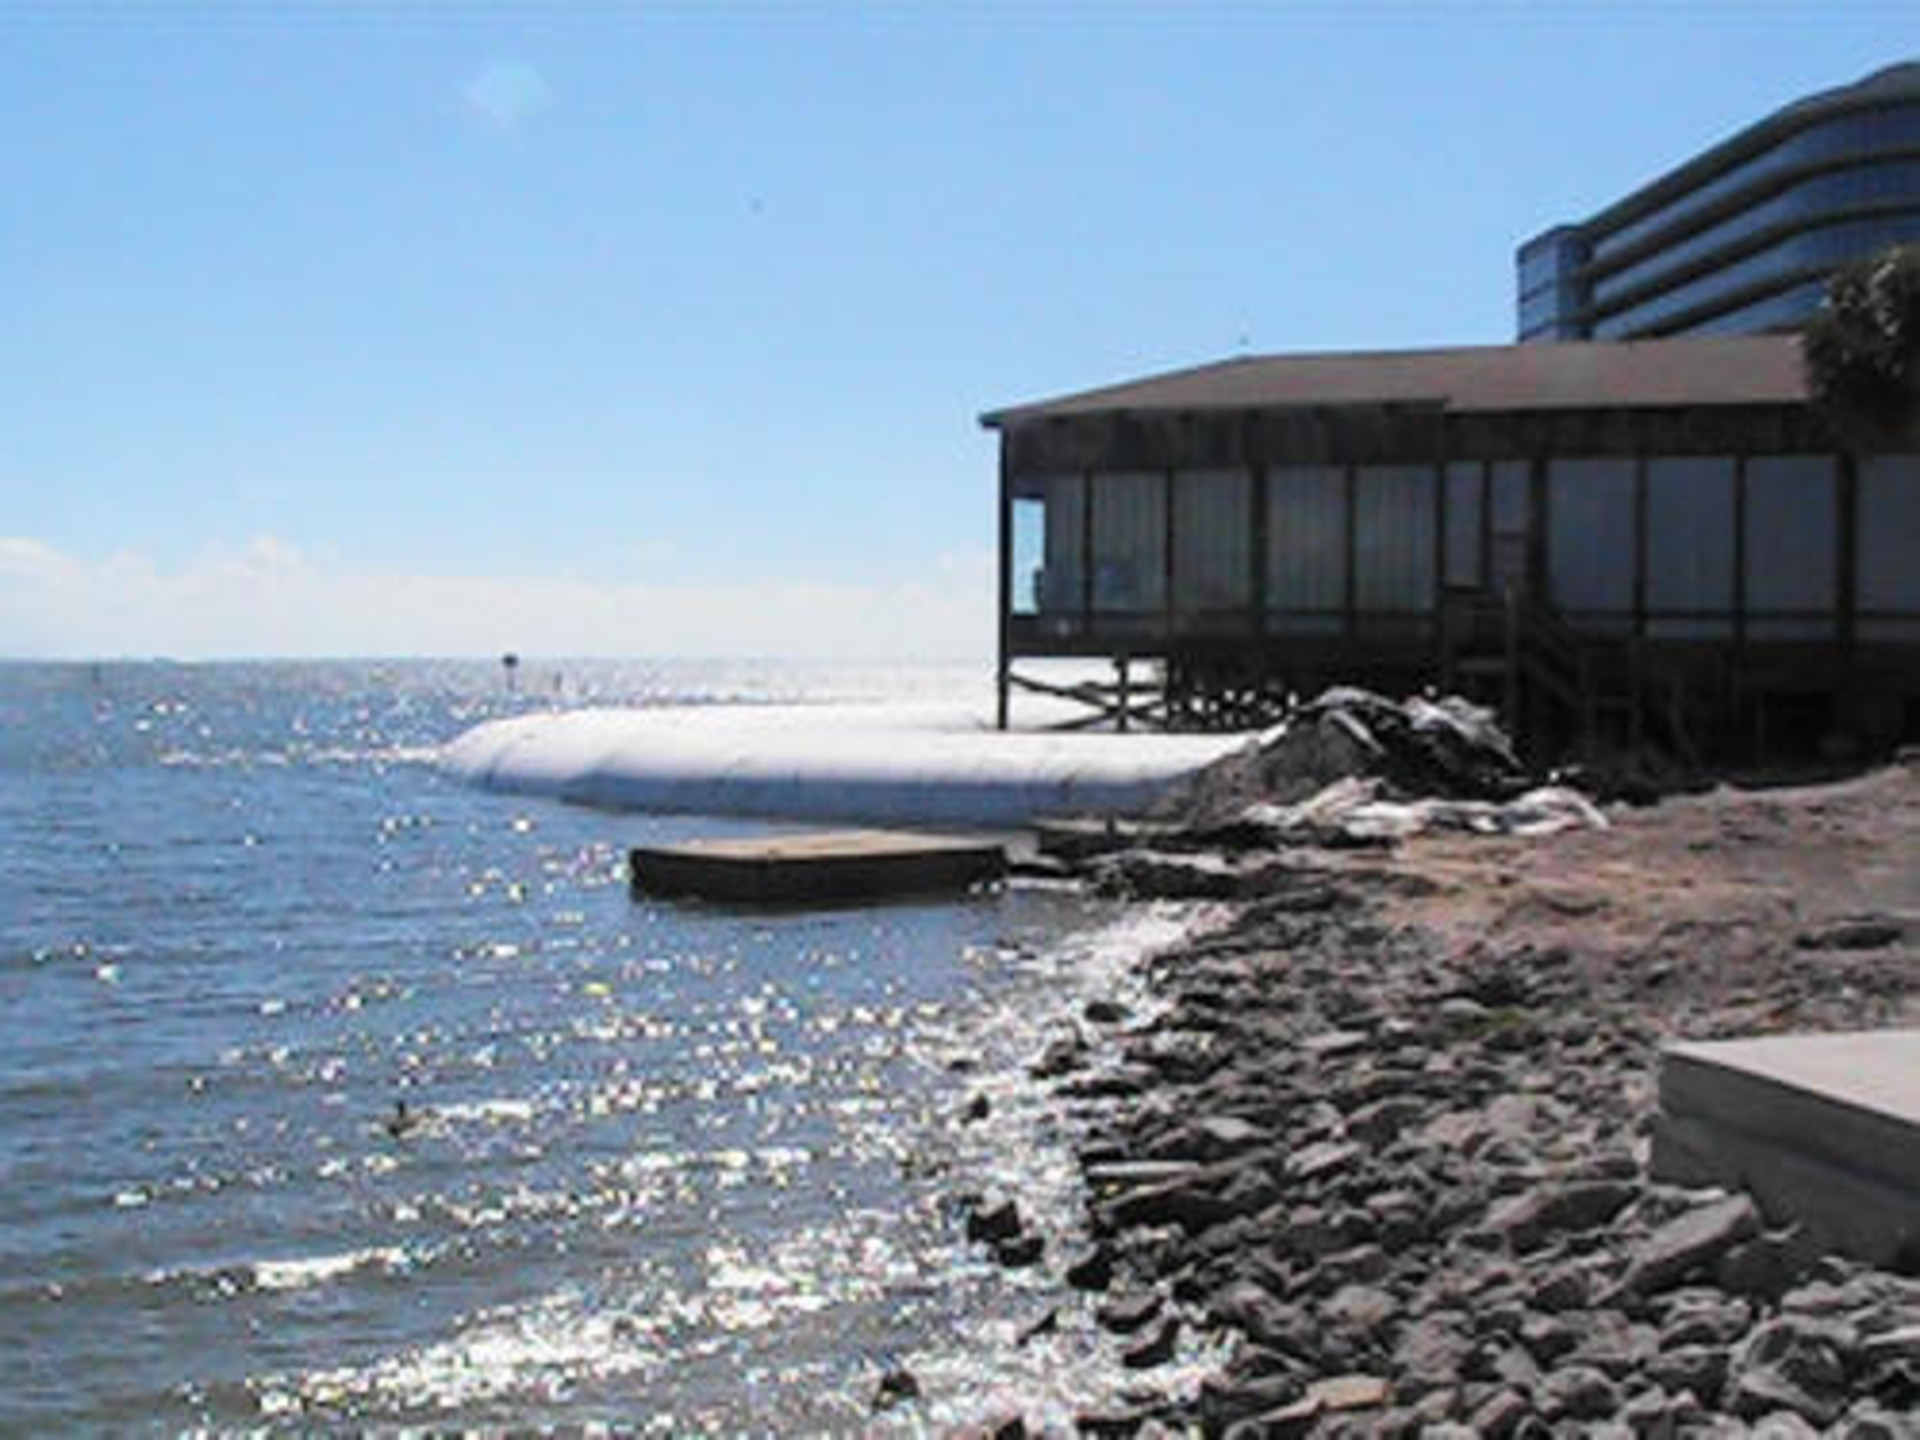
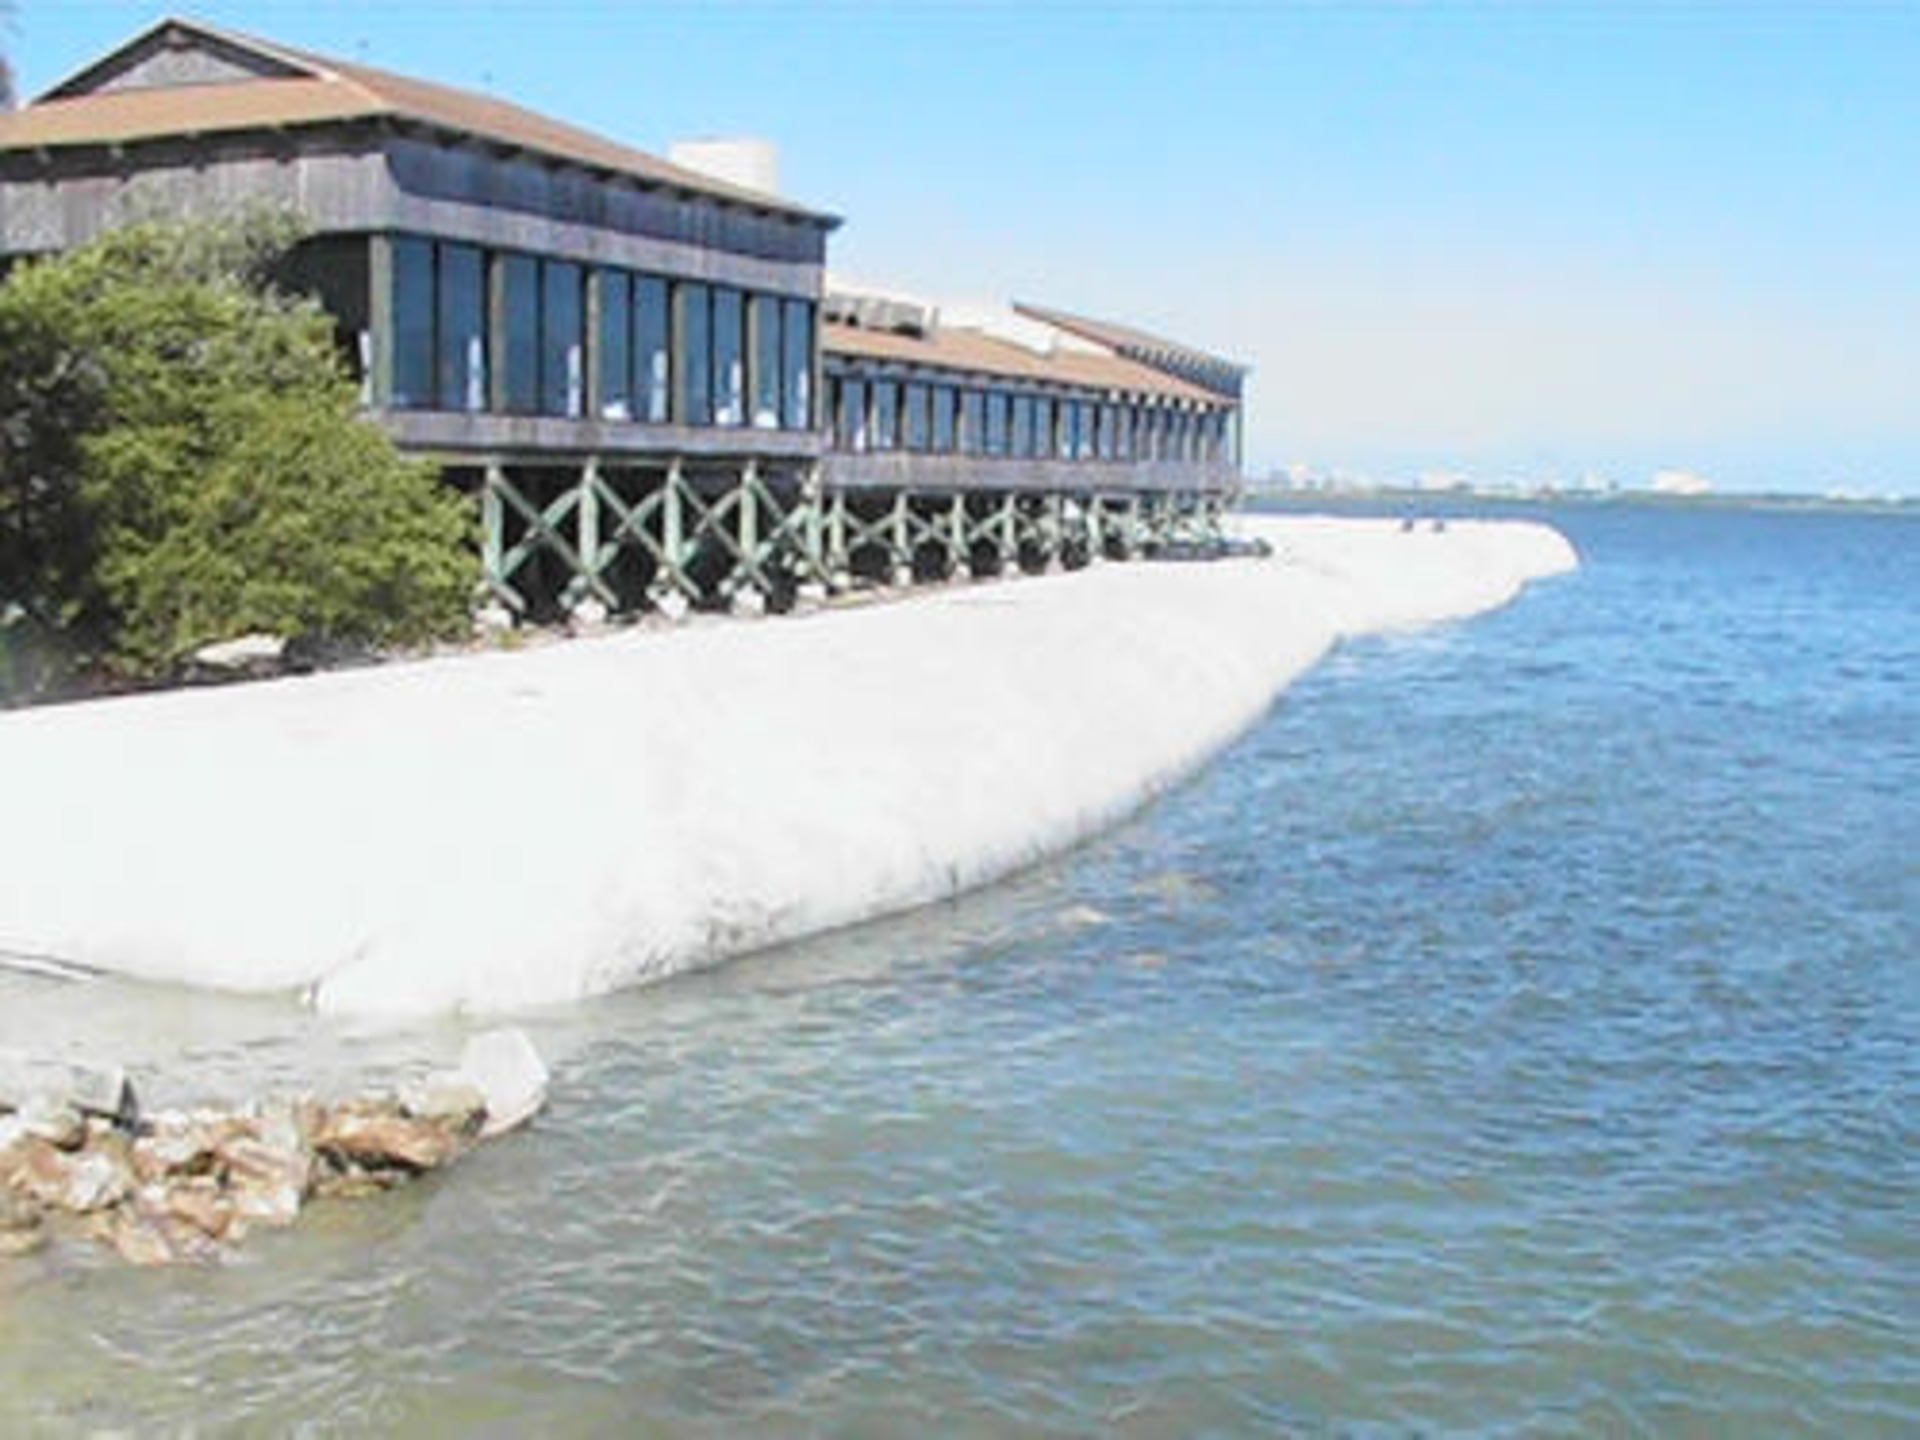
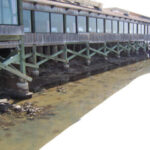
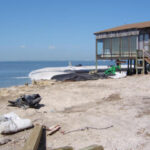
1.) Multiple AquaDams were purchased to be installed around the Old Tampa Bay side of the Rusty Pelican in Tampa Bay, Florida.
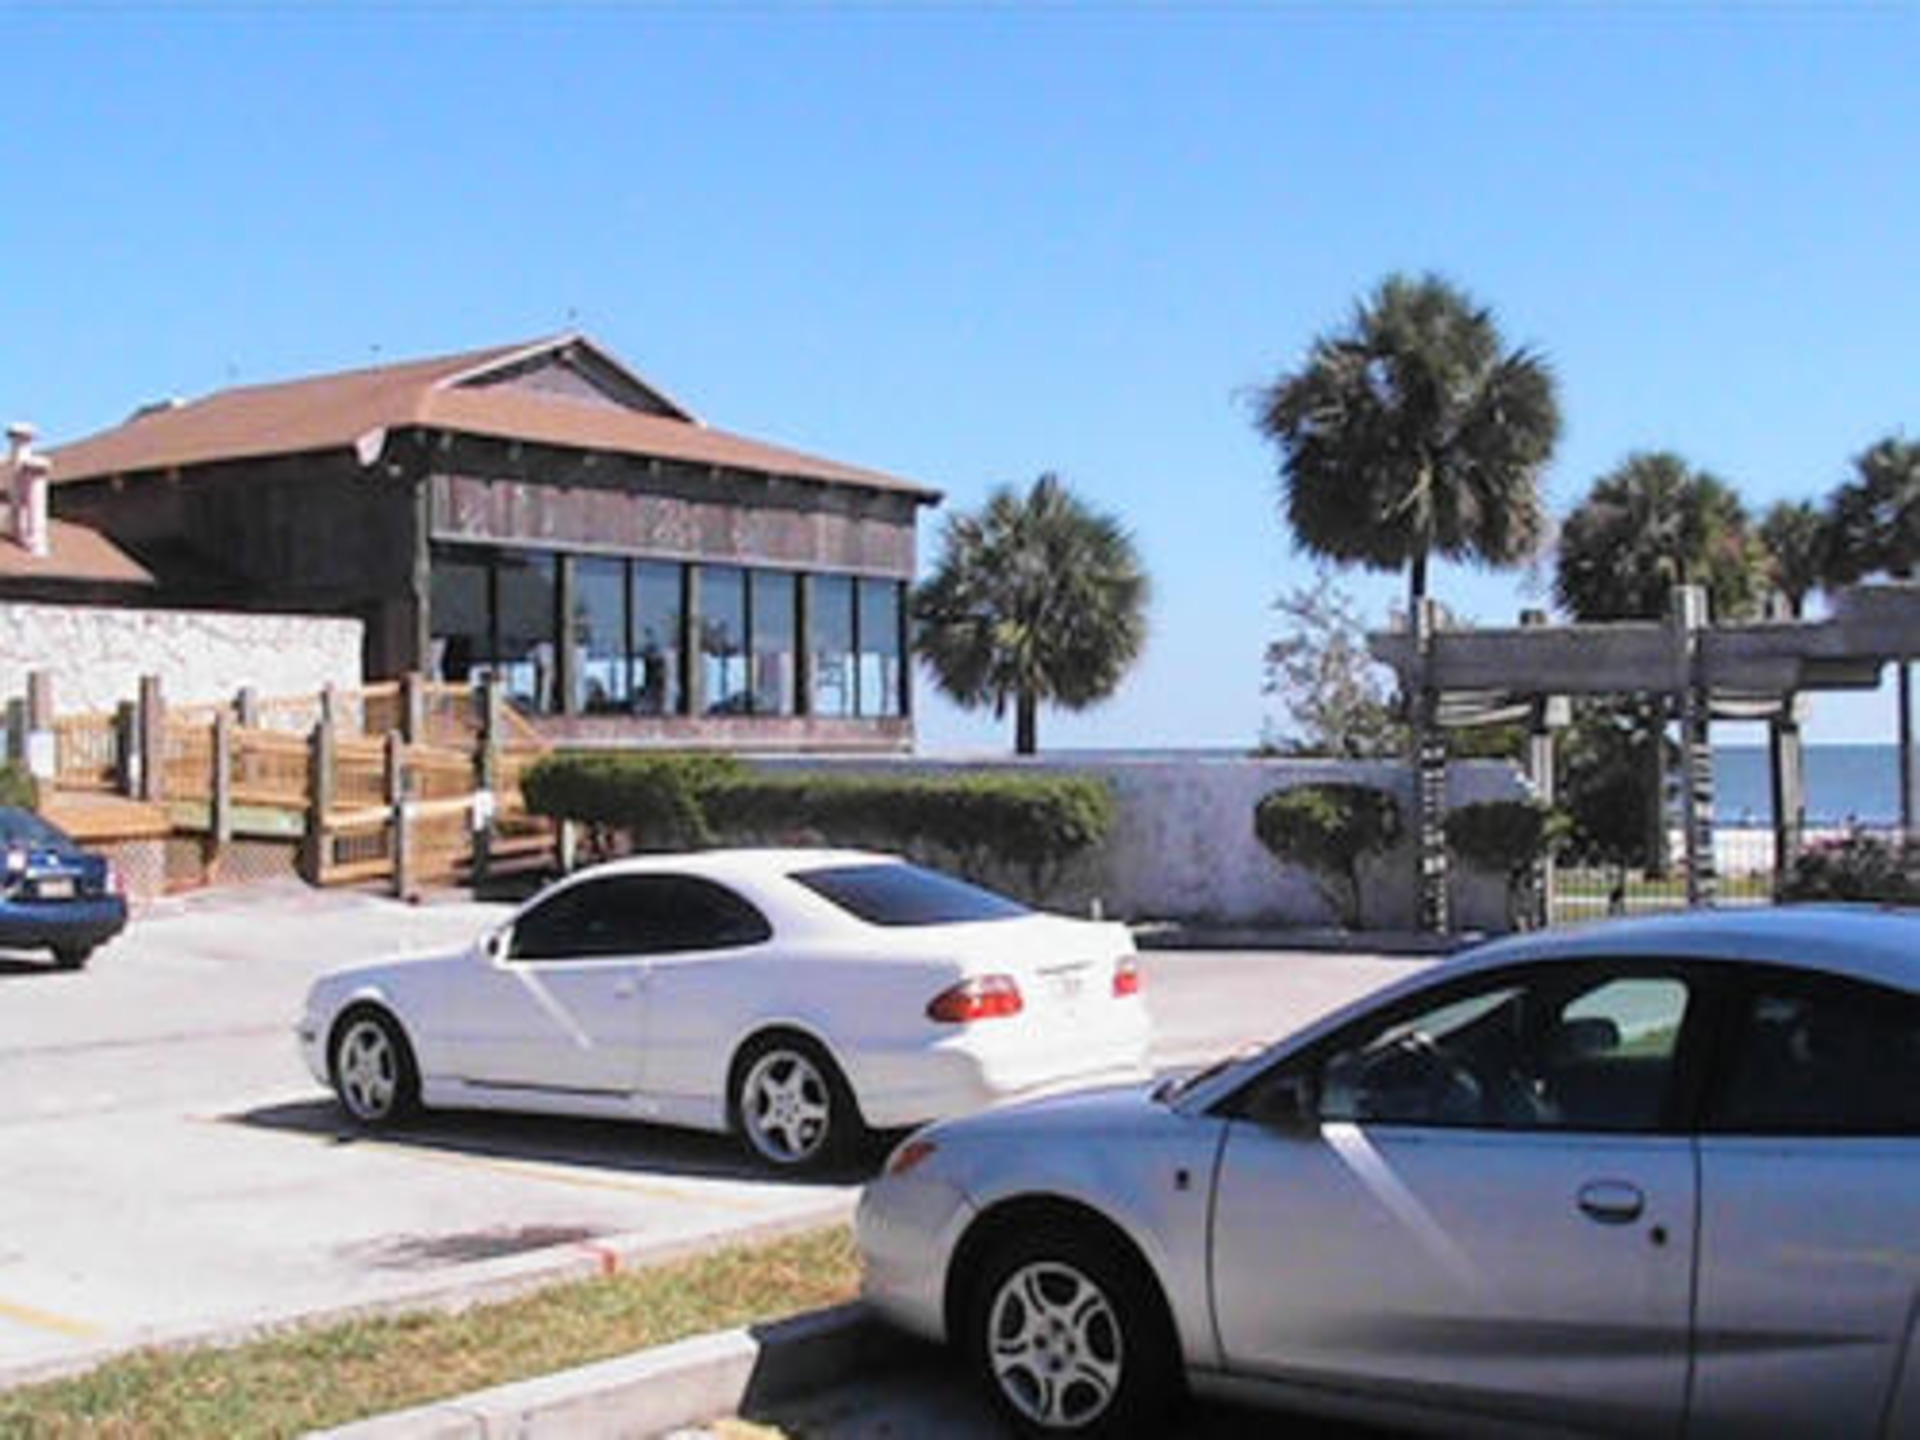
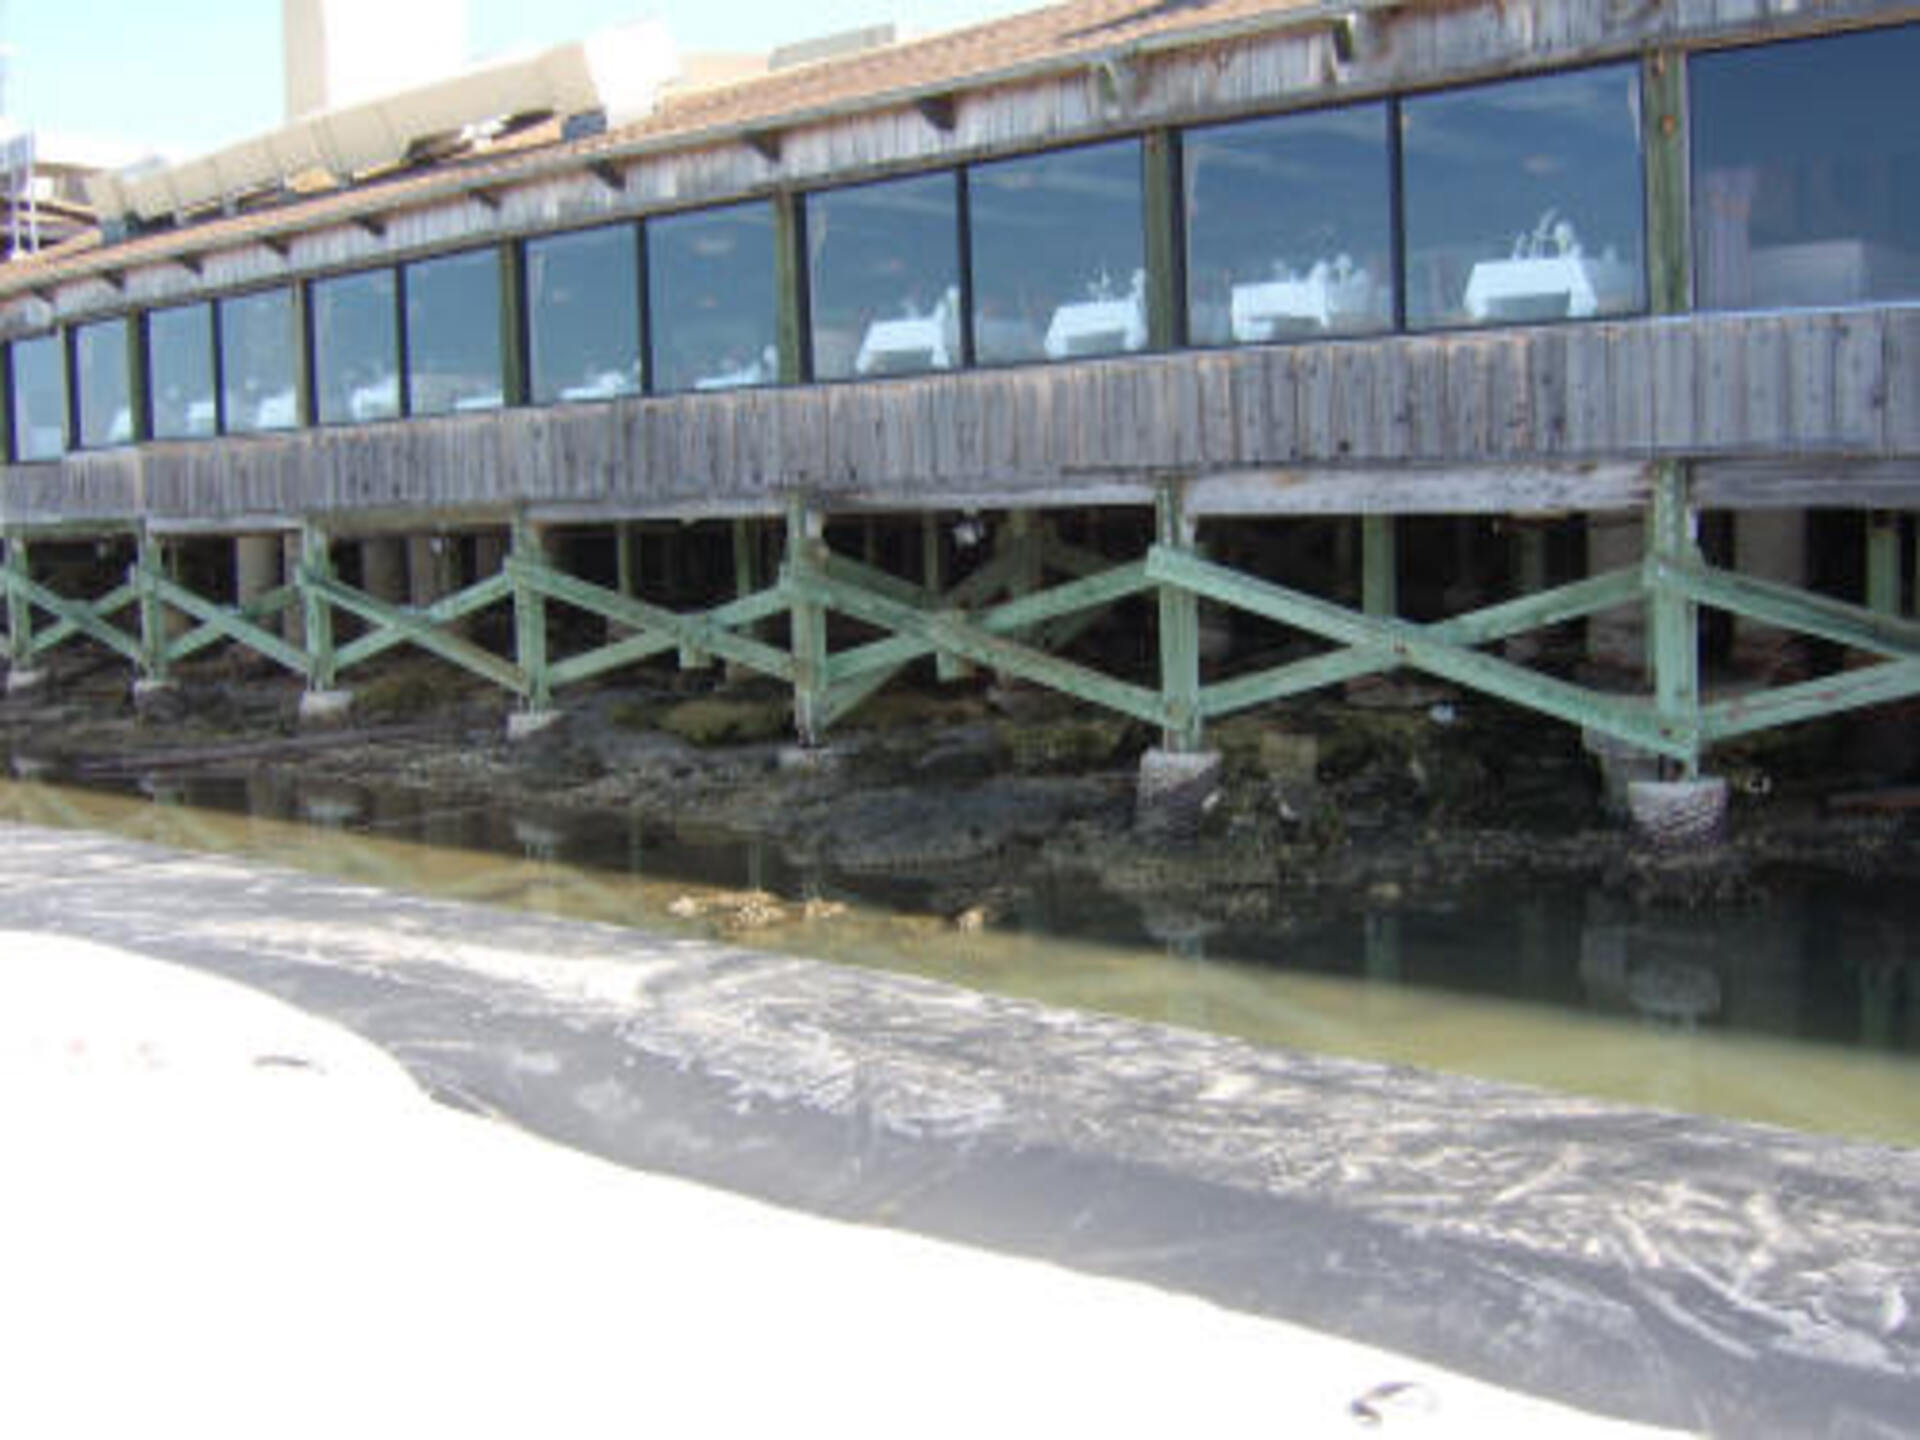
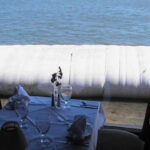
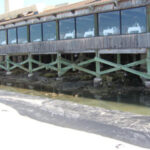
2.) A view of the bay front windows of the Rusty Pelican’s restaurant, from the parking lot.
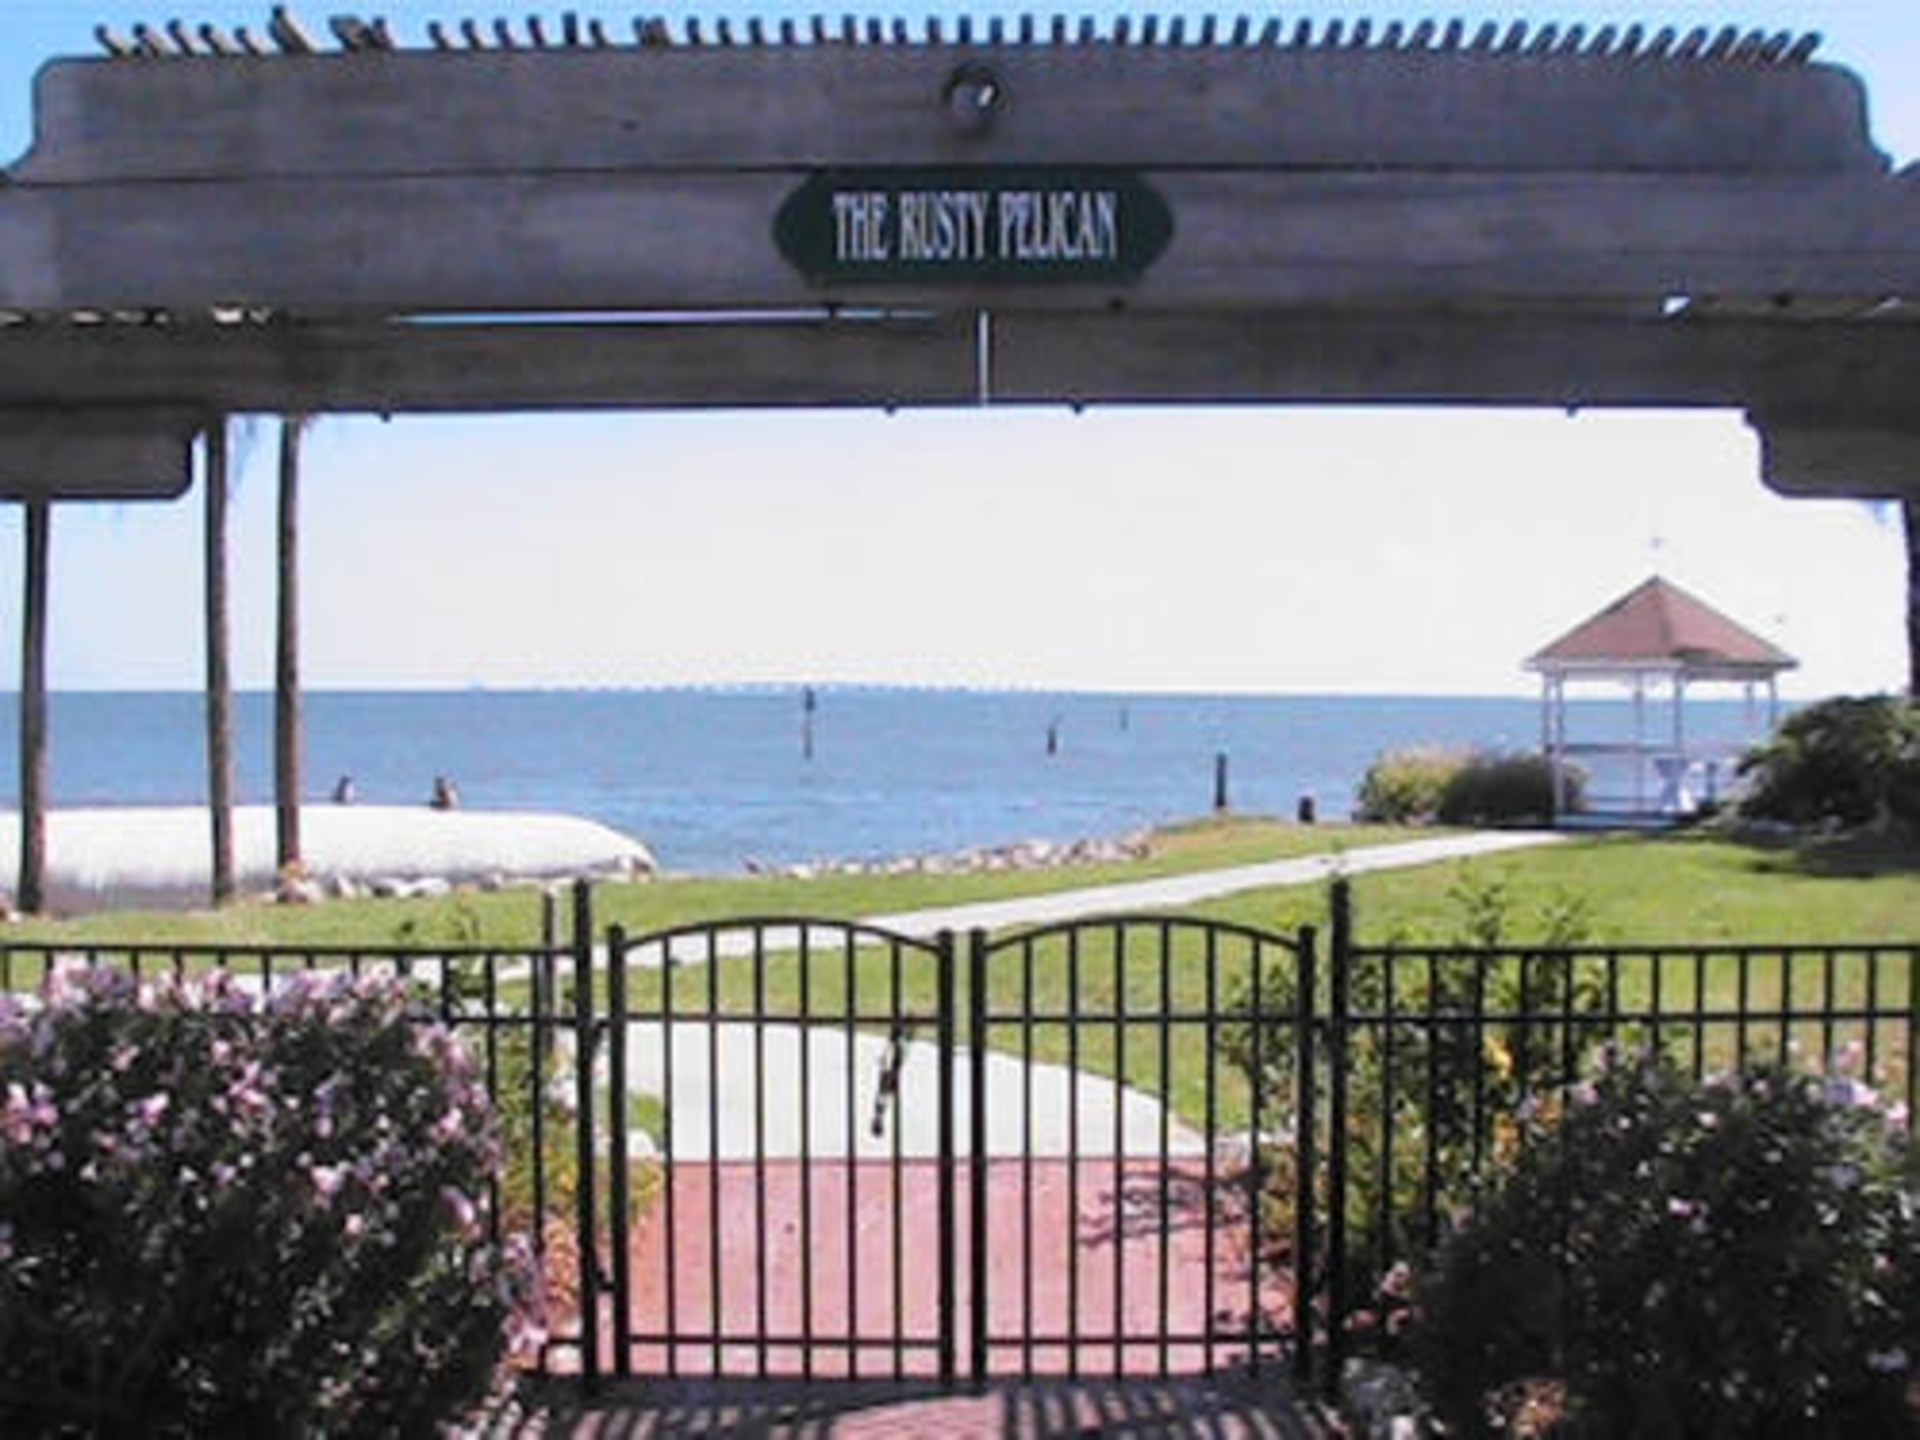
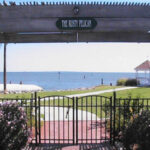
3.) Looking South at the beach access to Old Tampa Bay at the Rusty Pelican. Can you see the AquaDam® in the background?
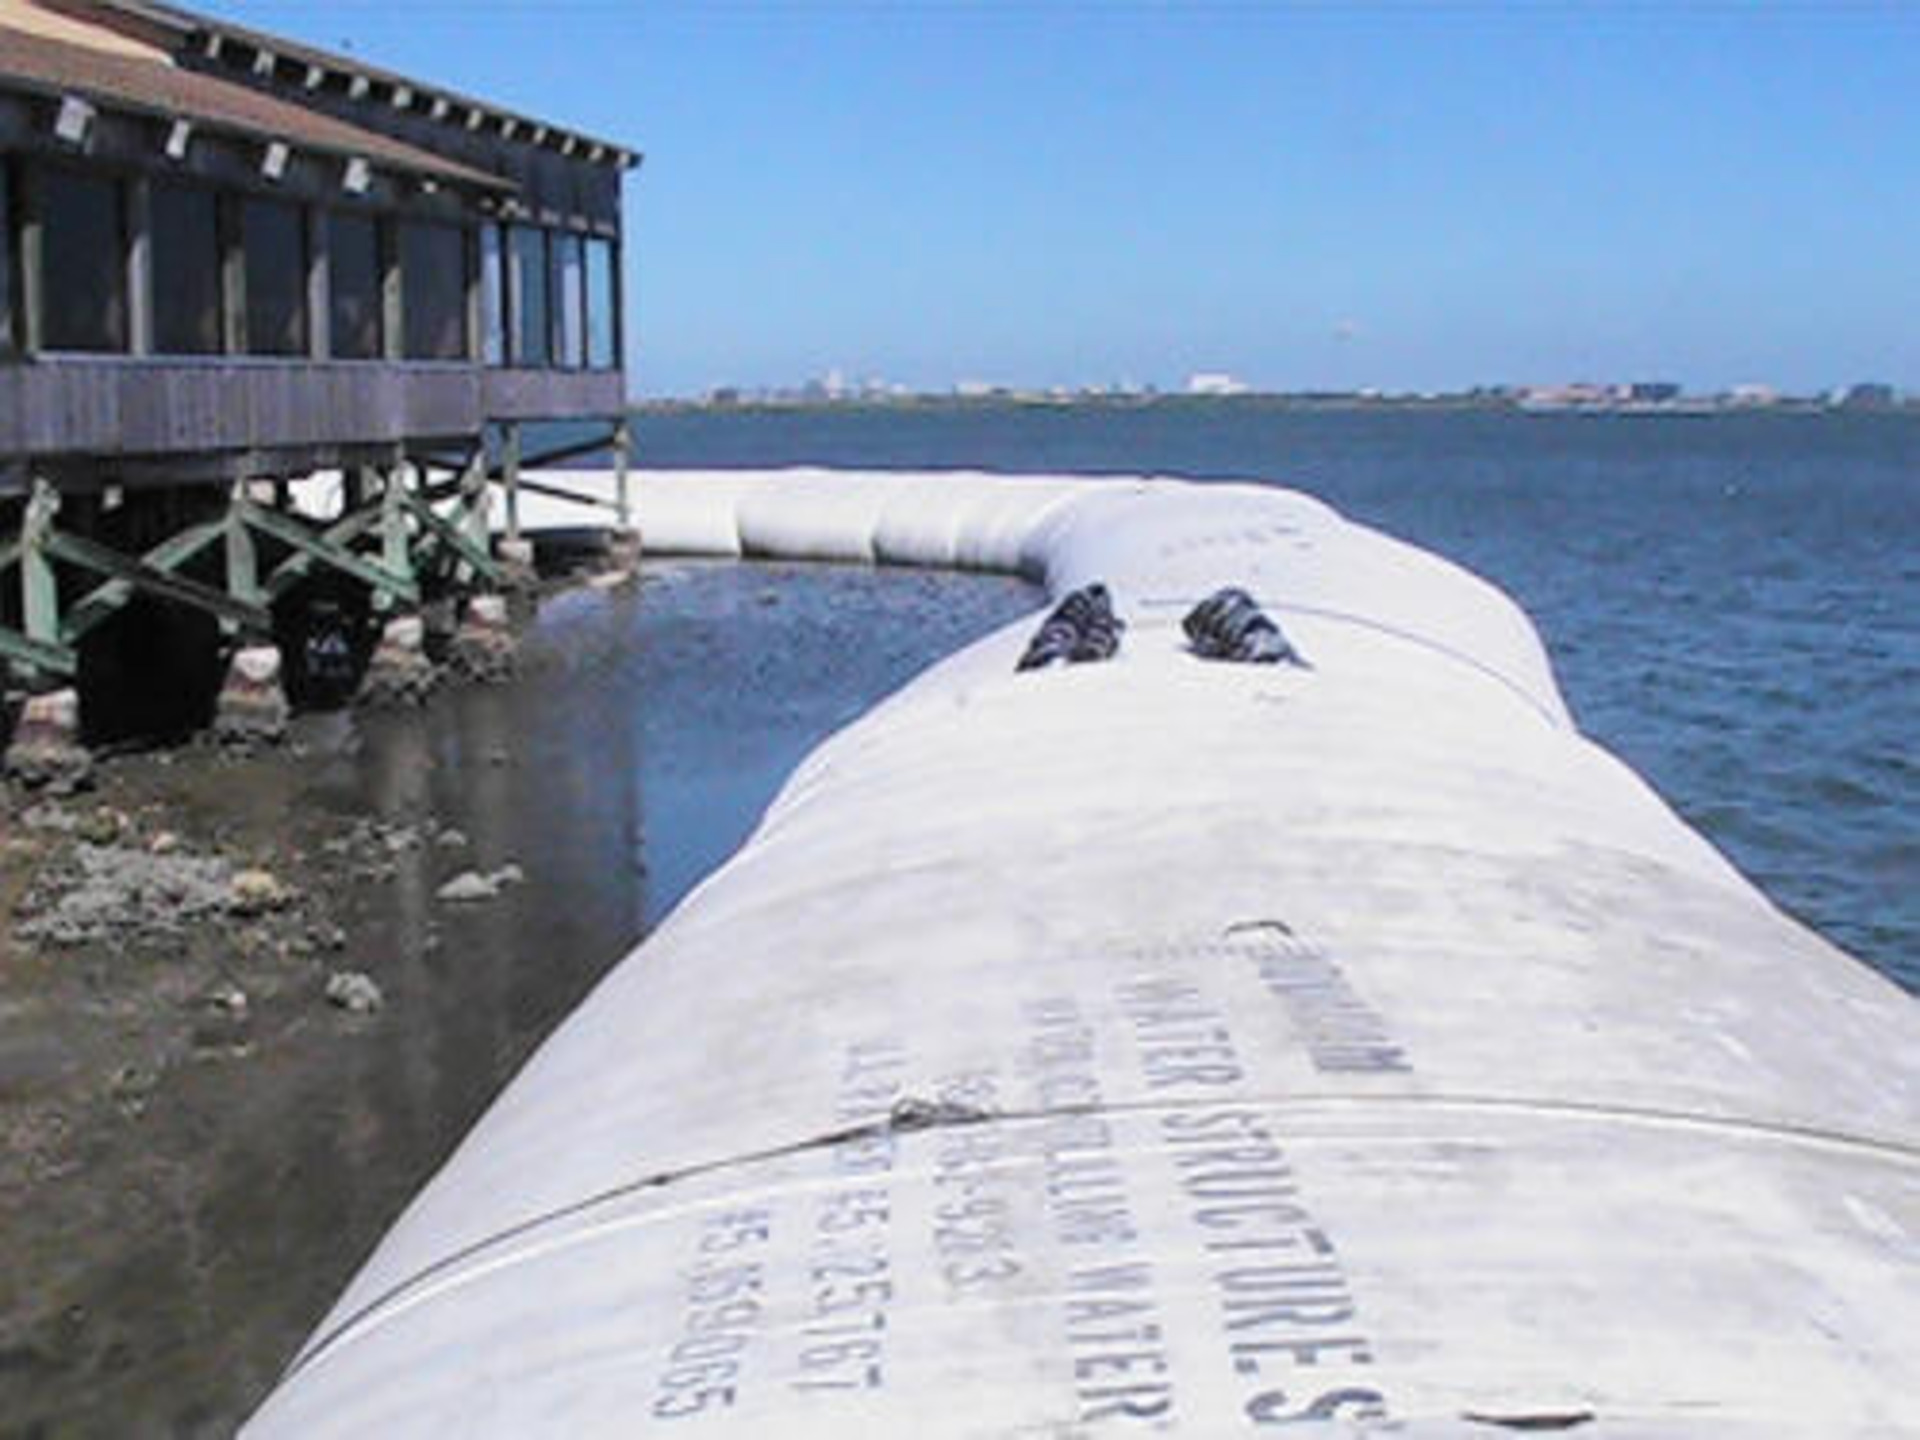
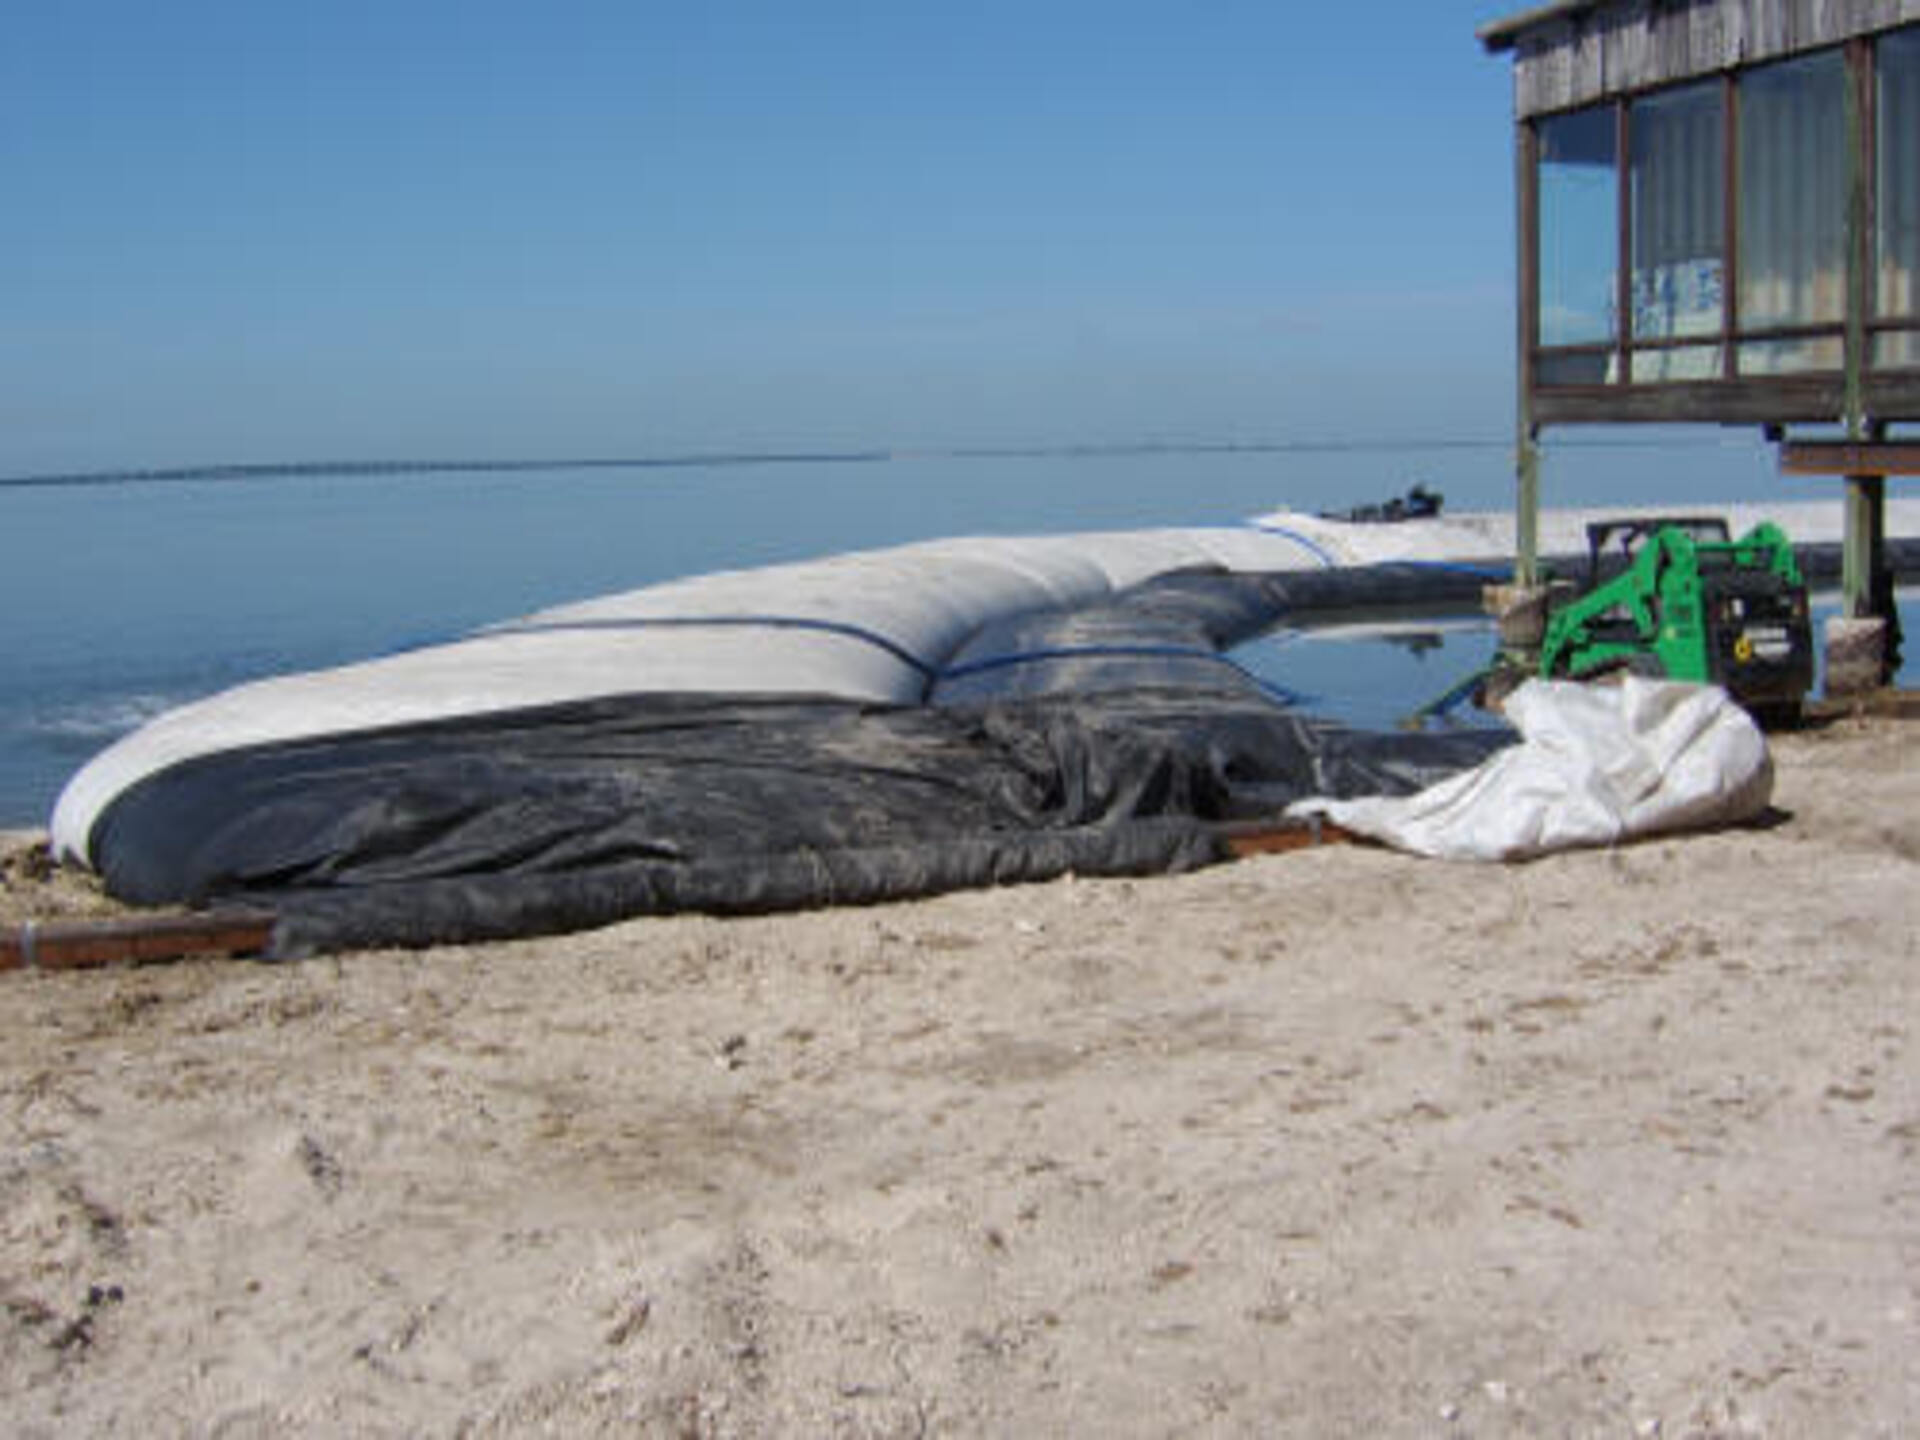
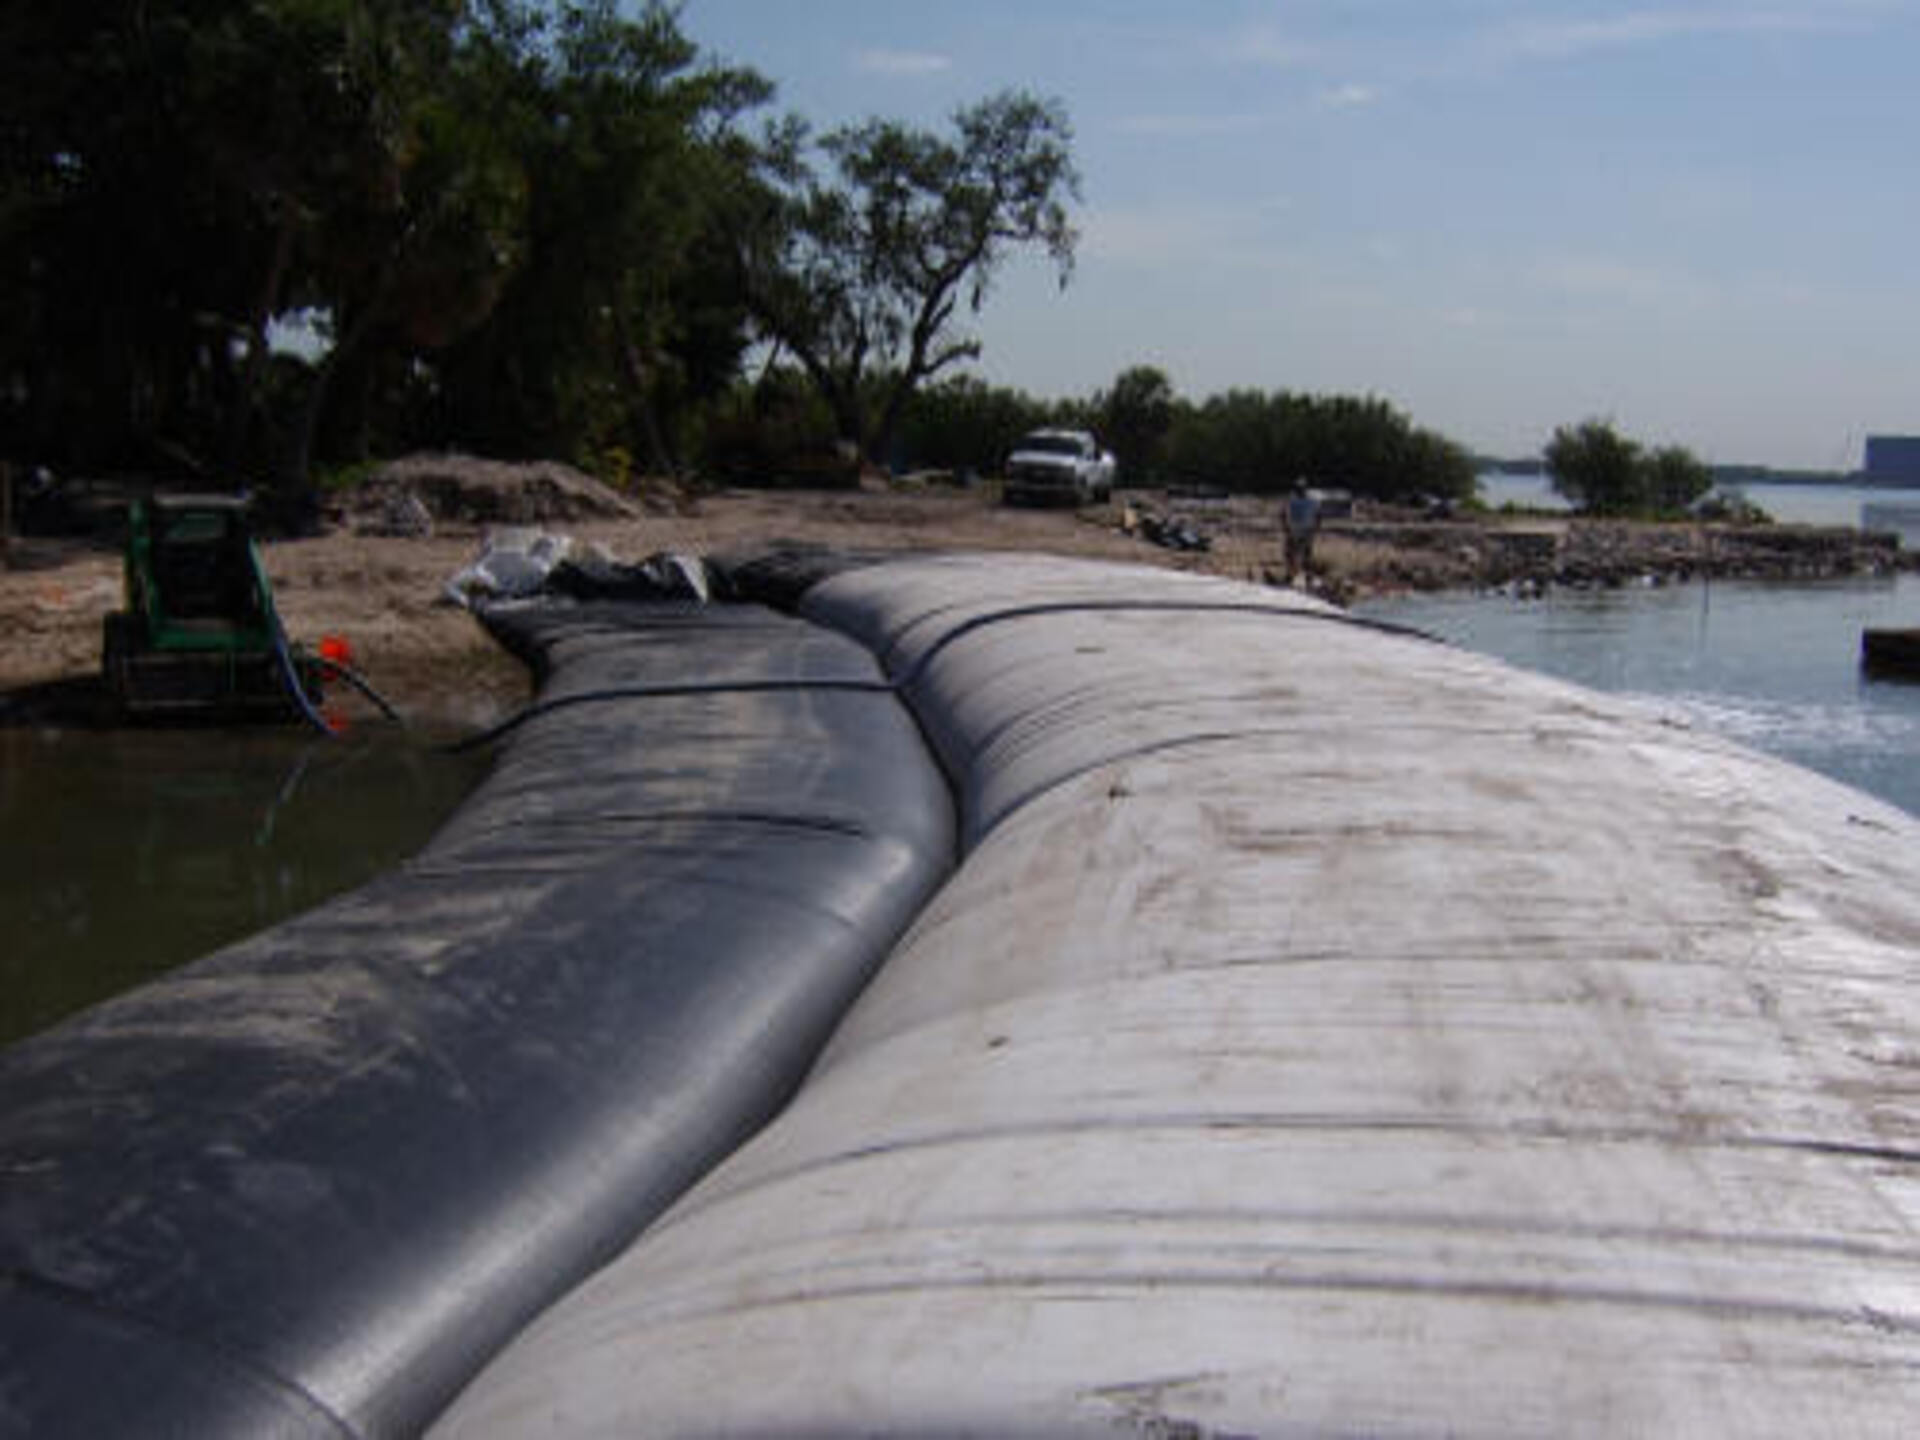
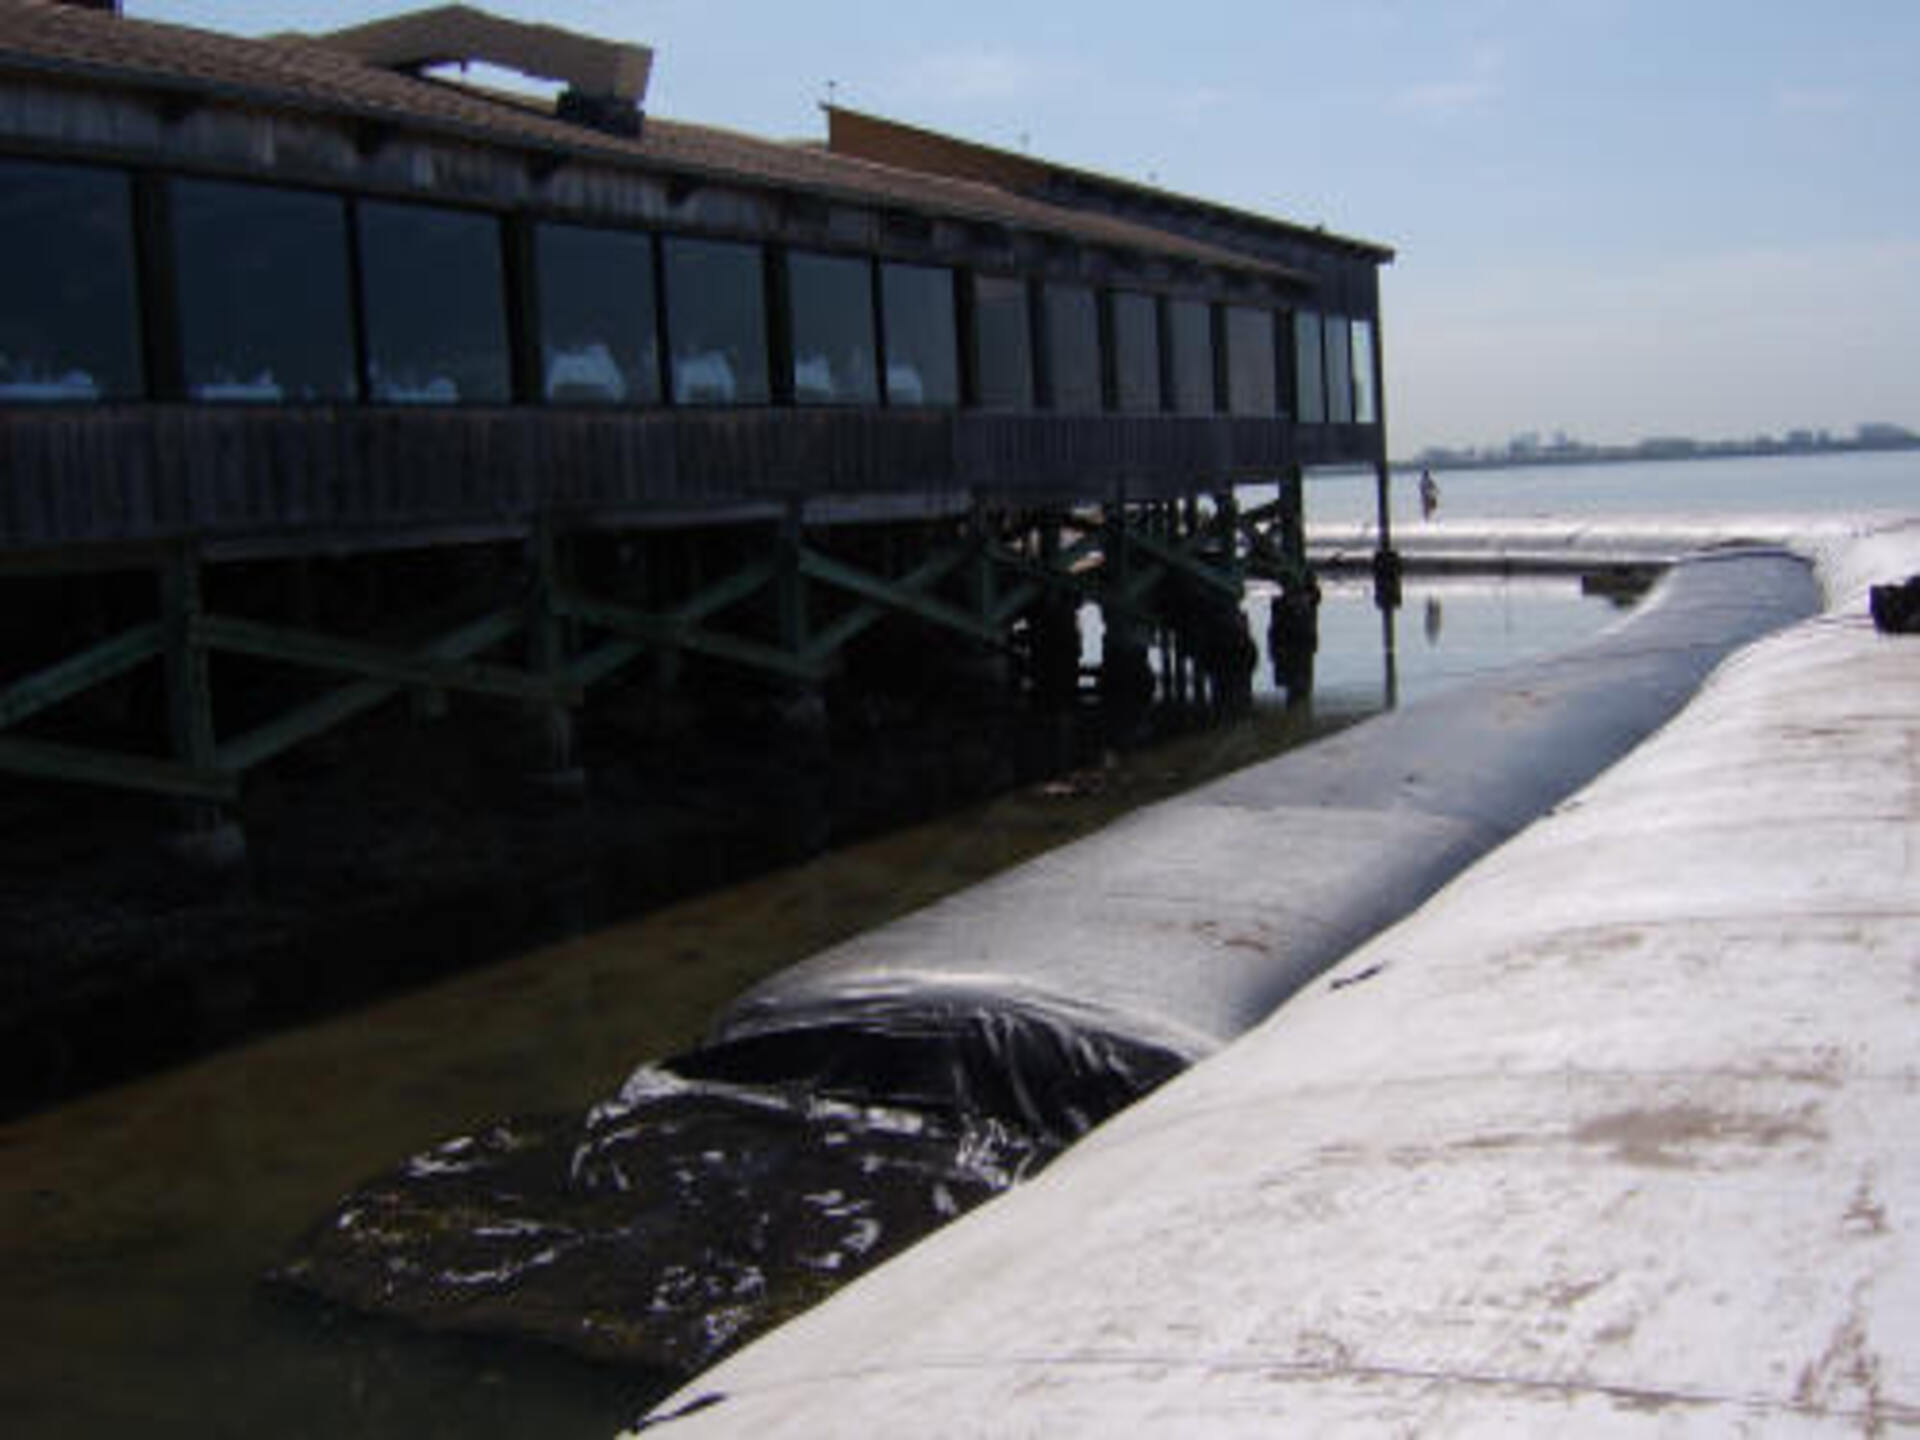
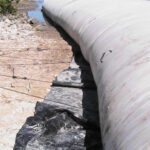
4.) Here we can see the starting bank for the AquaDam® cofferdam system.
5.) This is the area that needed to be isolated from the bay.

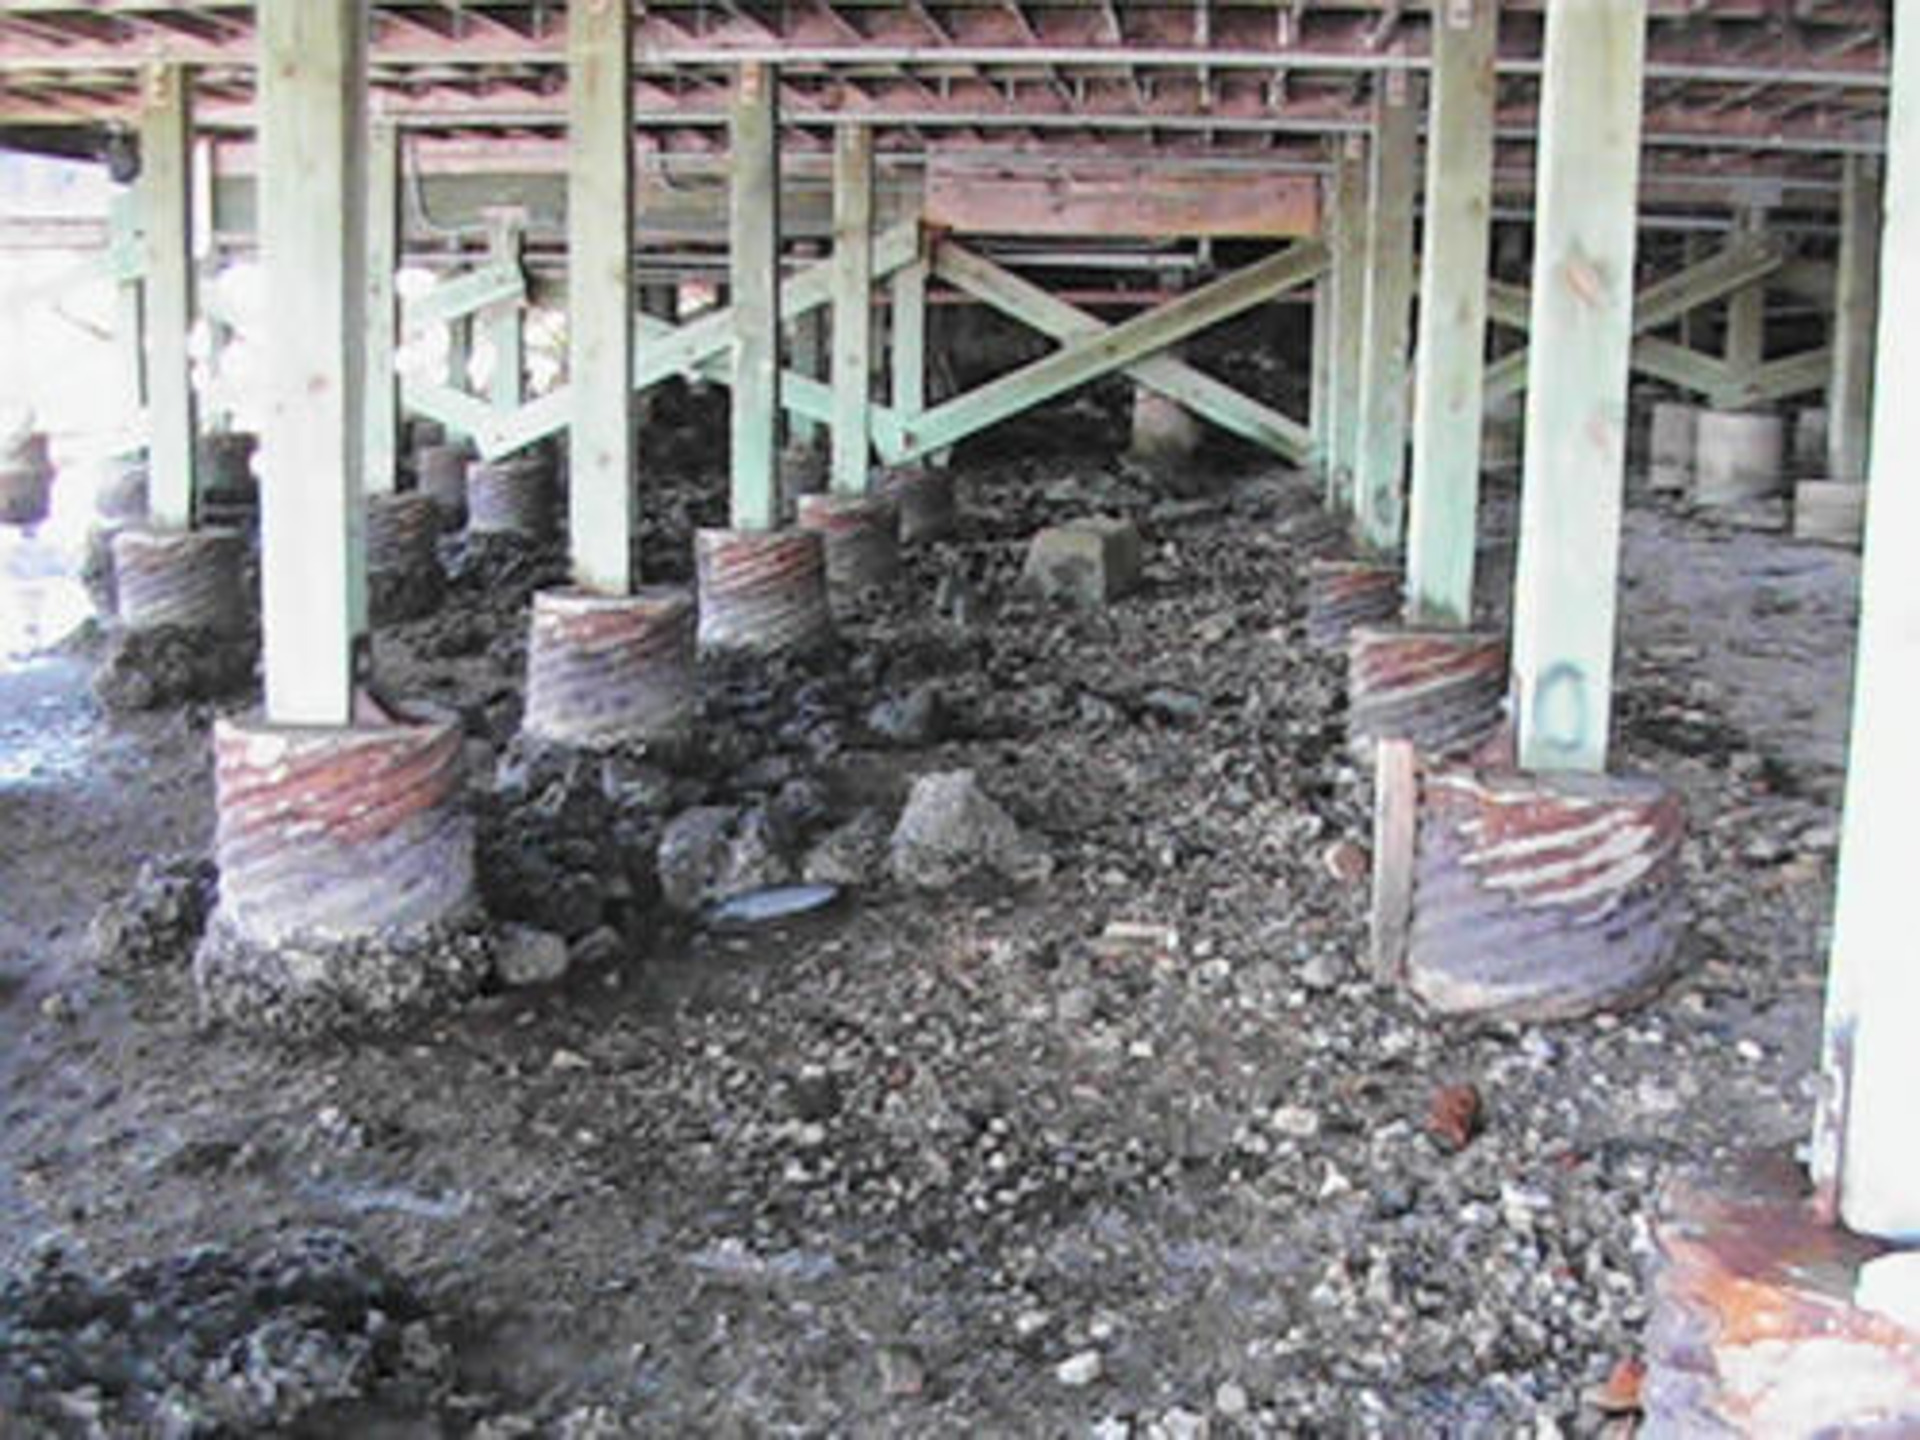
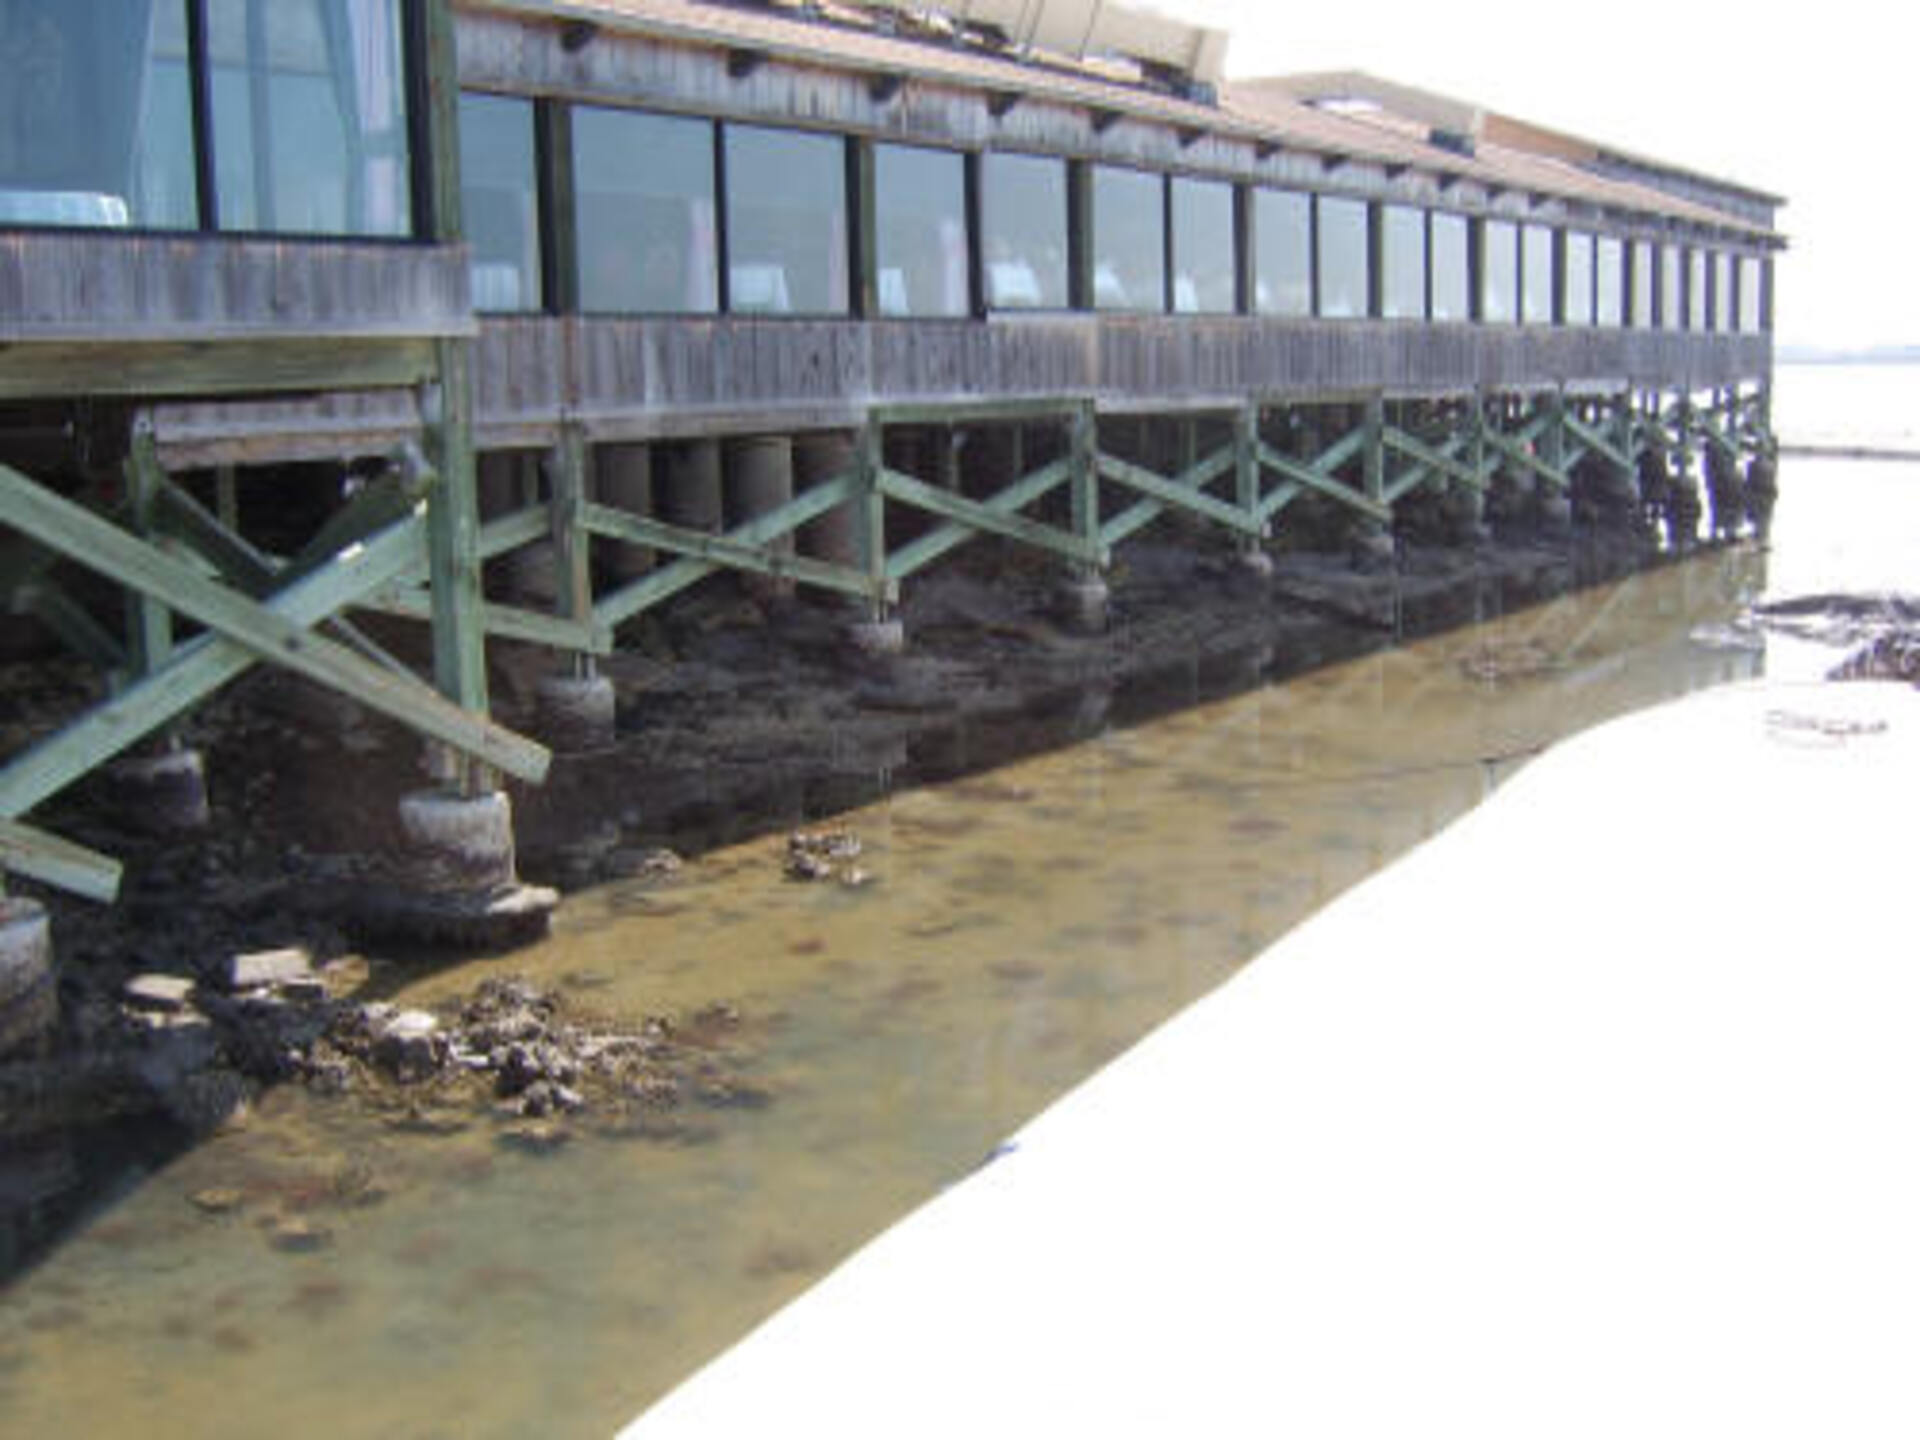
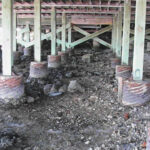
6.) A piece of conduit sticking out of the ground by one of the piers.
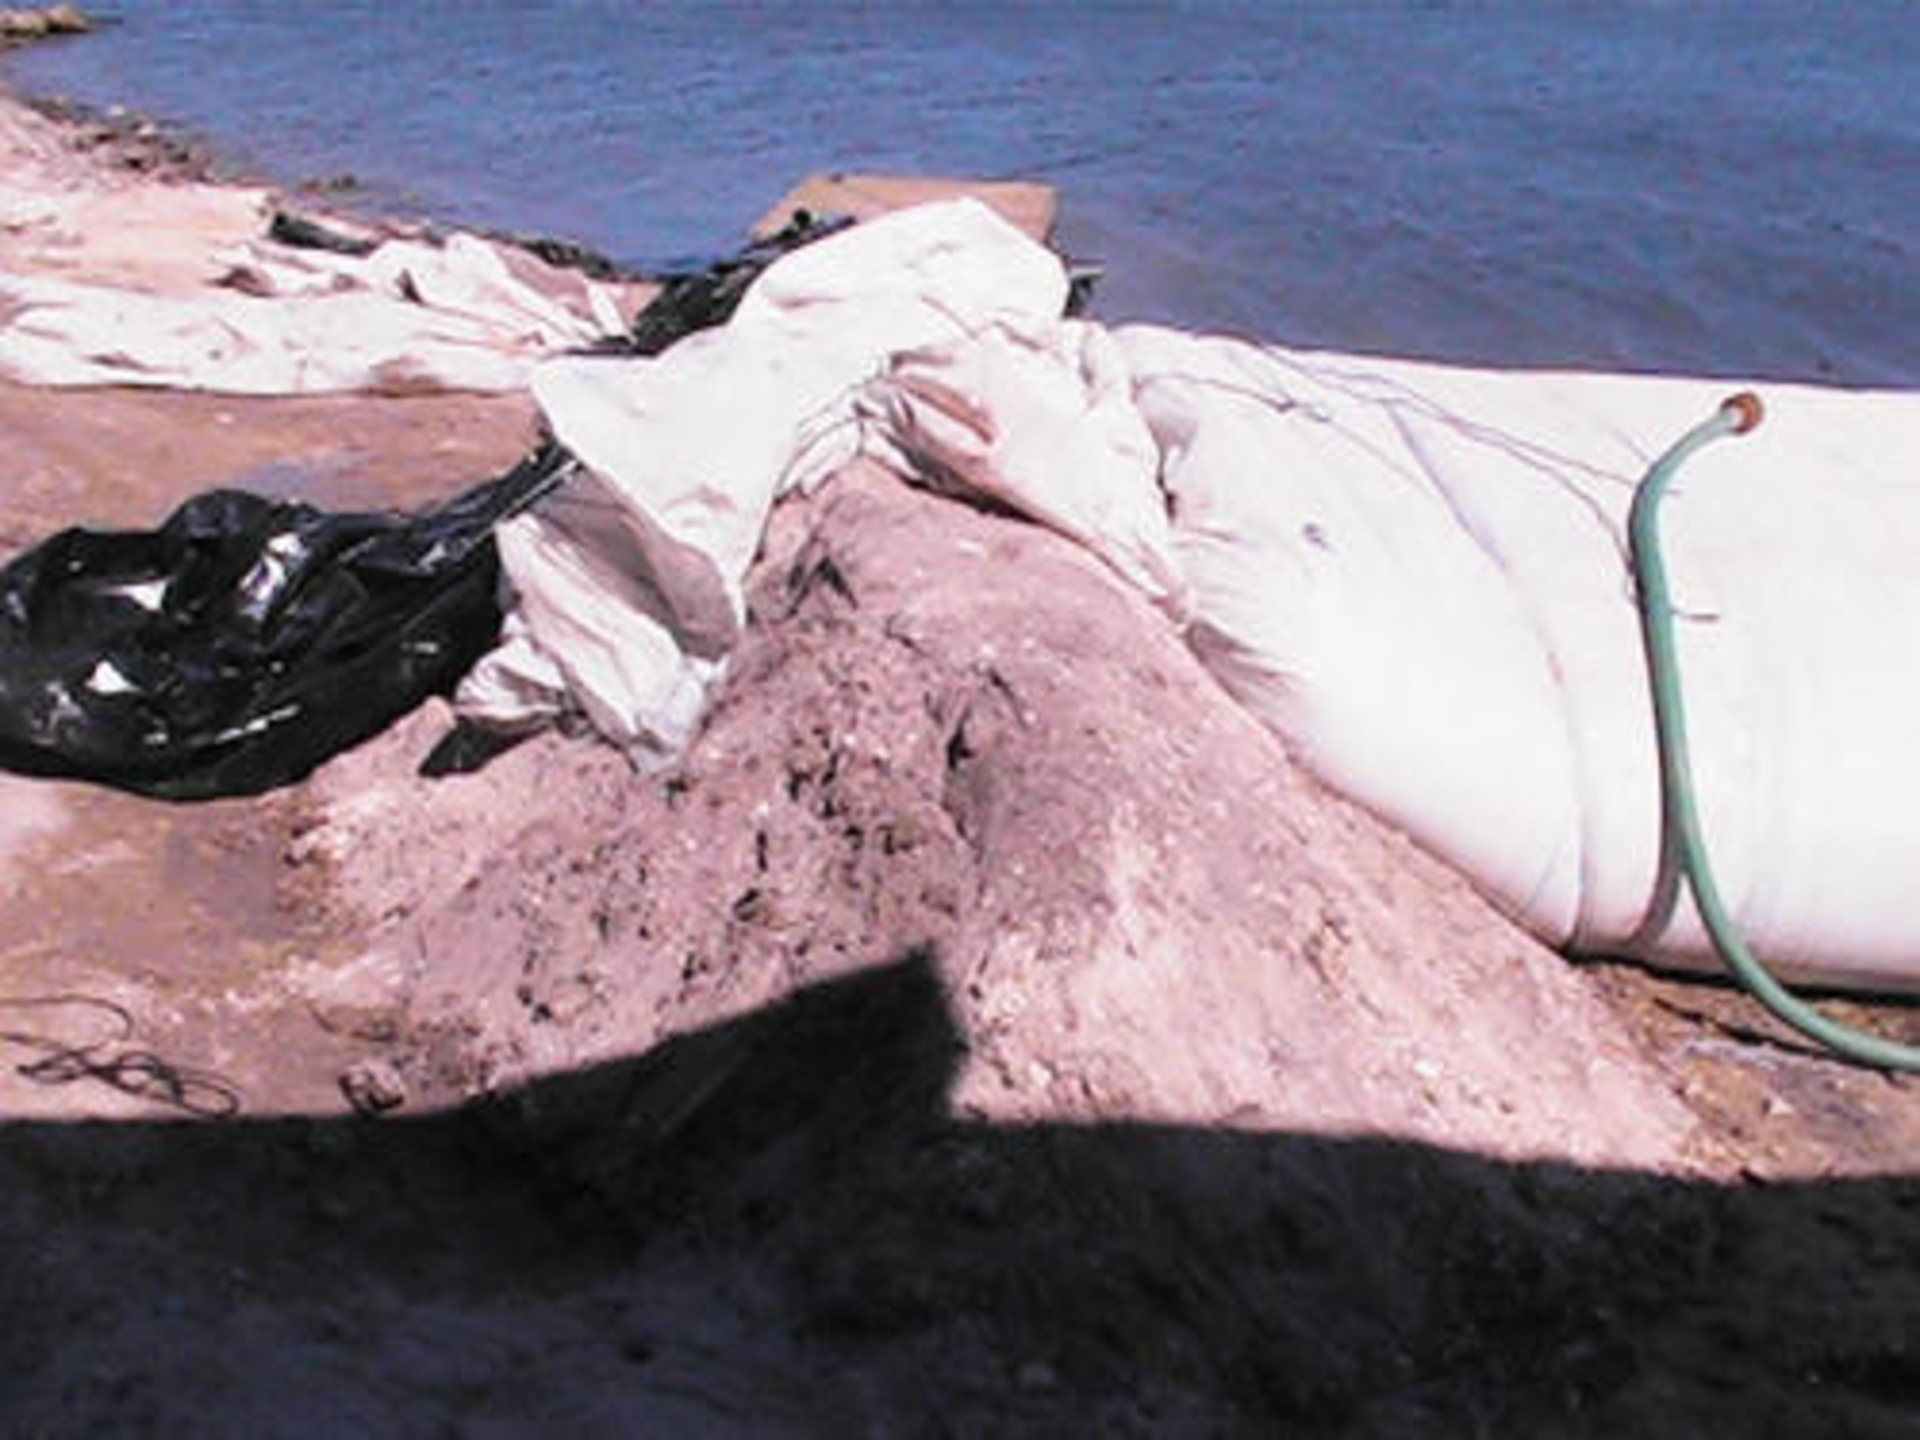
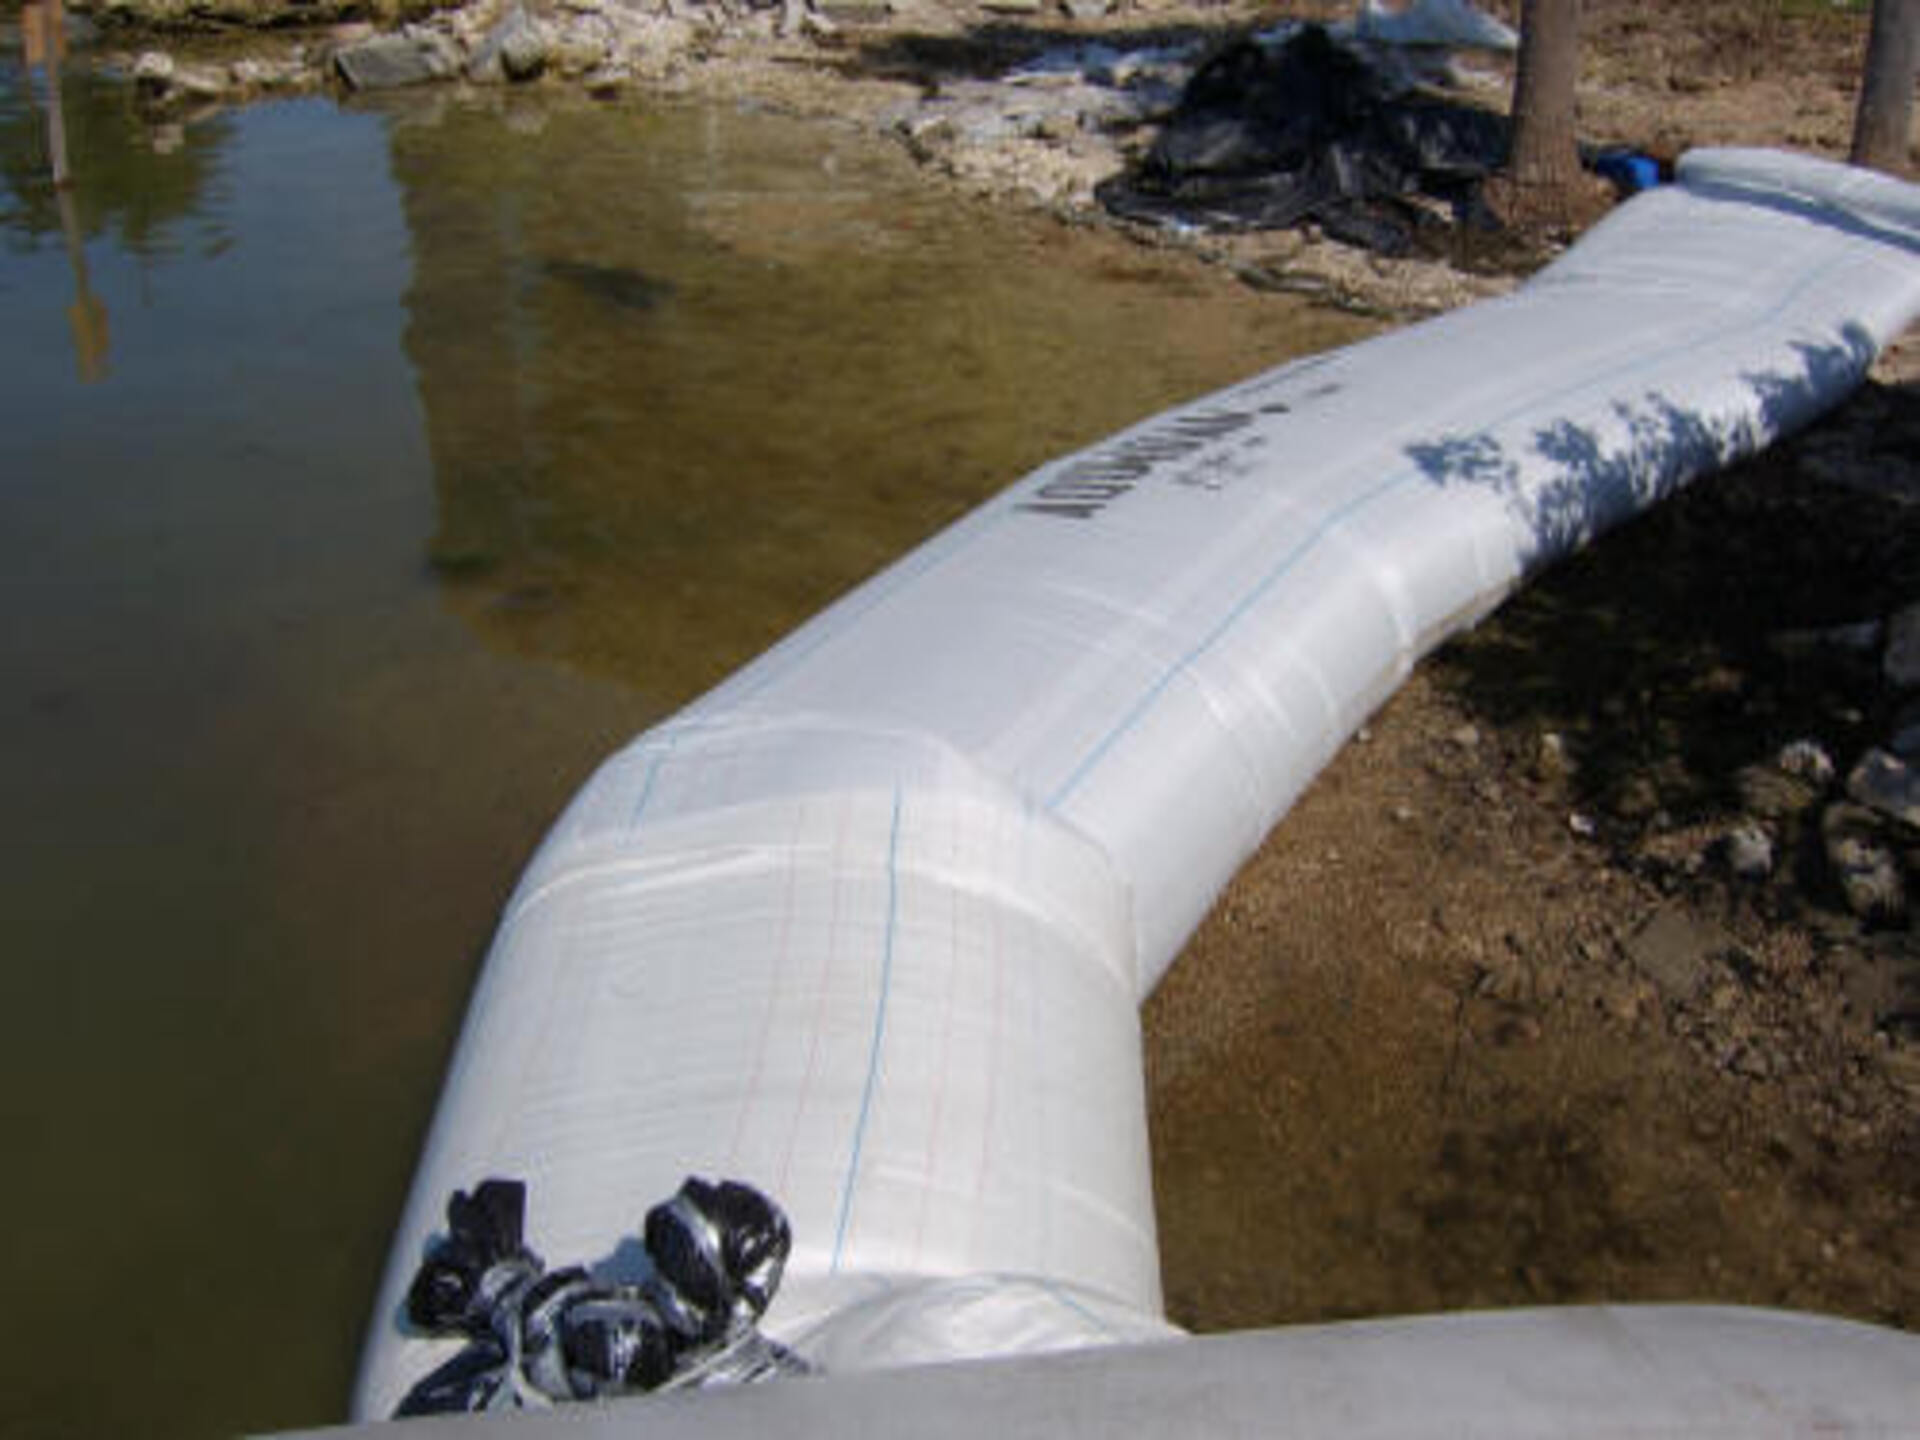
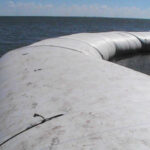
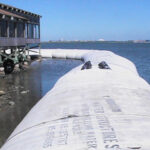
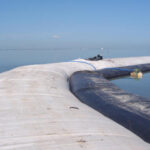
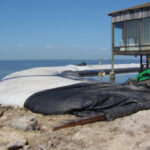
7.) Another view of the starting bank for the first single closed end (SCE) AquaDam. Workers used a pile of sand to build the bank. To ensure proper installation and functionality of a SCE AquaDam, it is essential to have a starting bank that maintains a higher elevation than the body of the AquaDam. The open end and fill-tubes of the SCE AquaDam® must remain elevated above the full height of the dam along its designated path. It is important to note that an AquaDam® will only reach its maximum height at the lowest elevation point along its designated path.
8.) The open end and fill-tubes have been brought up and over the starting bank here.
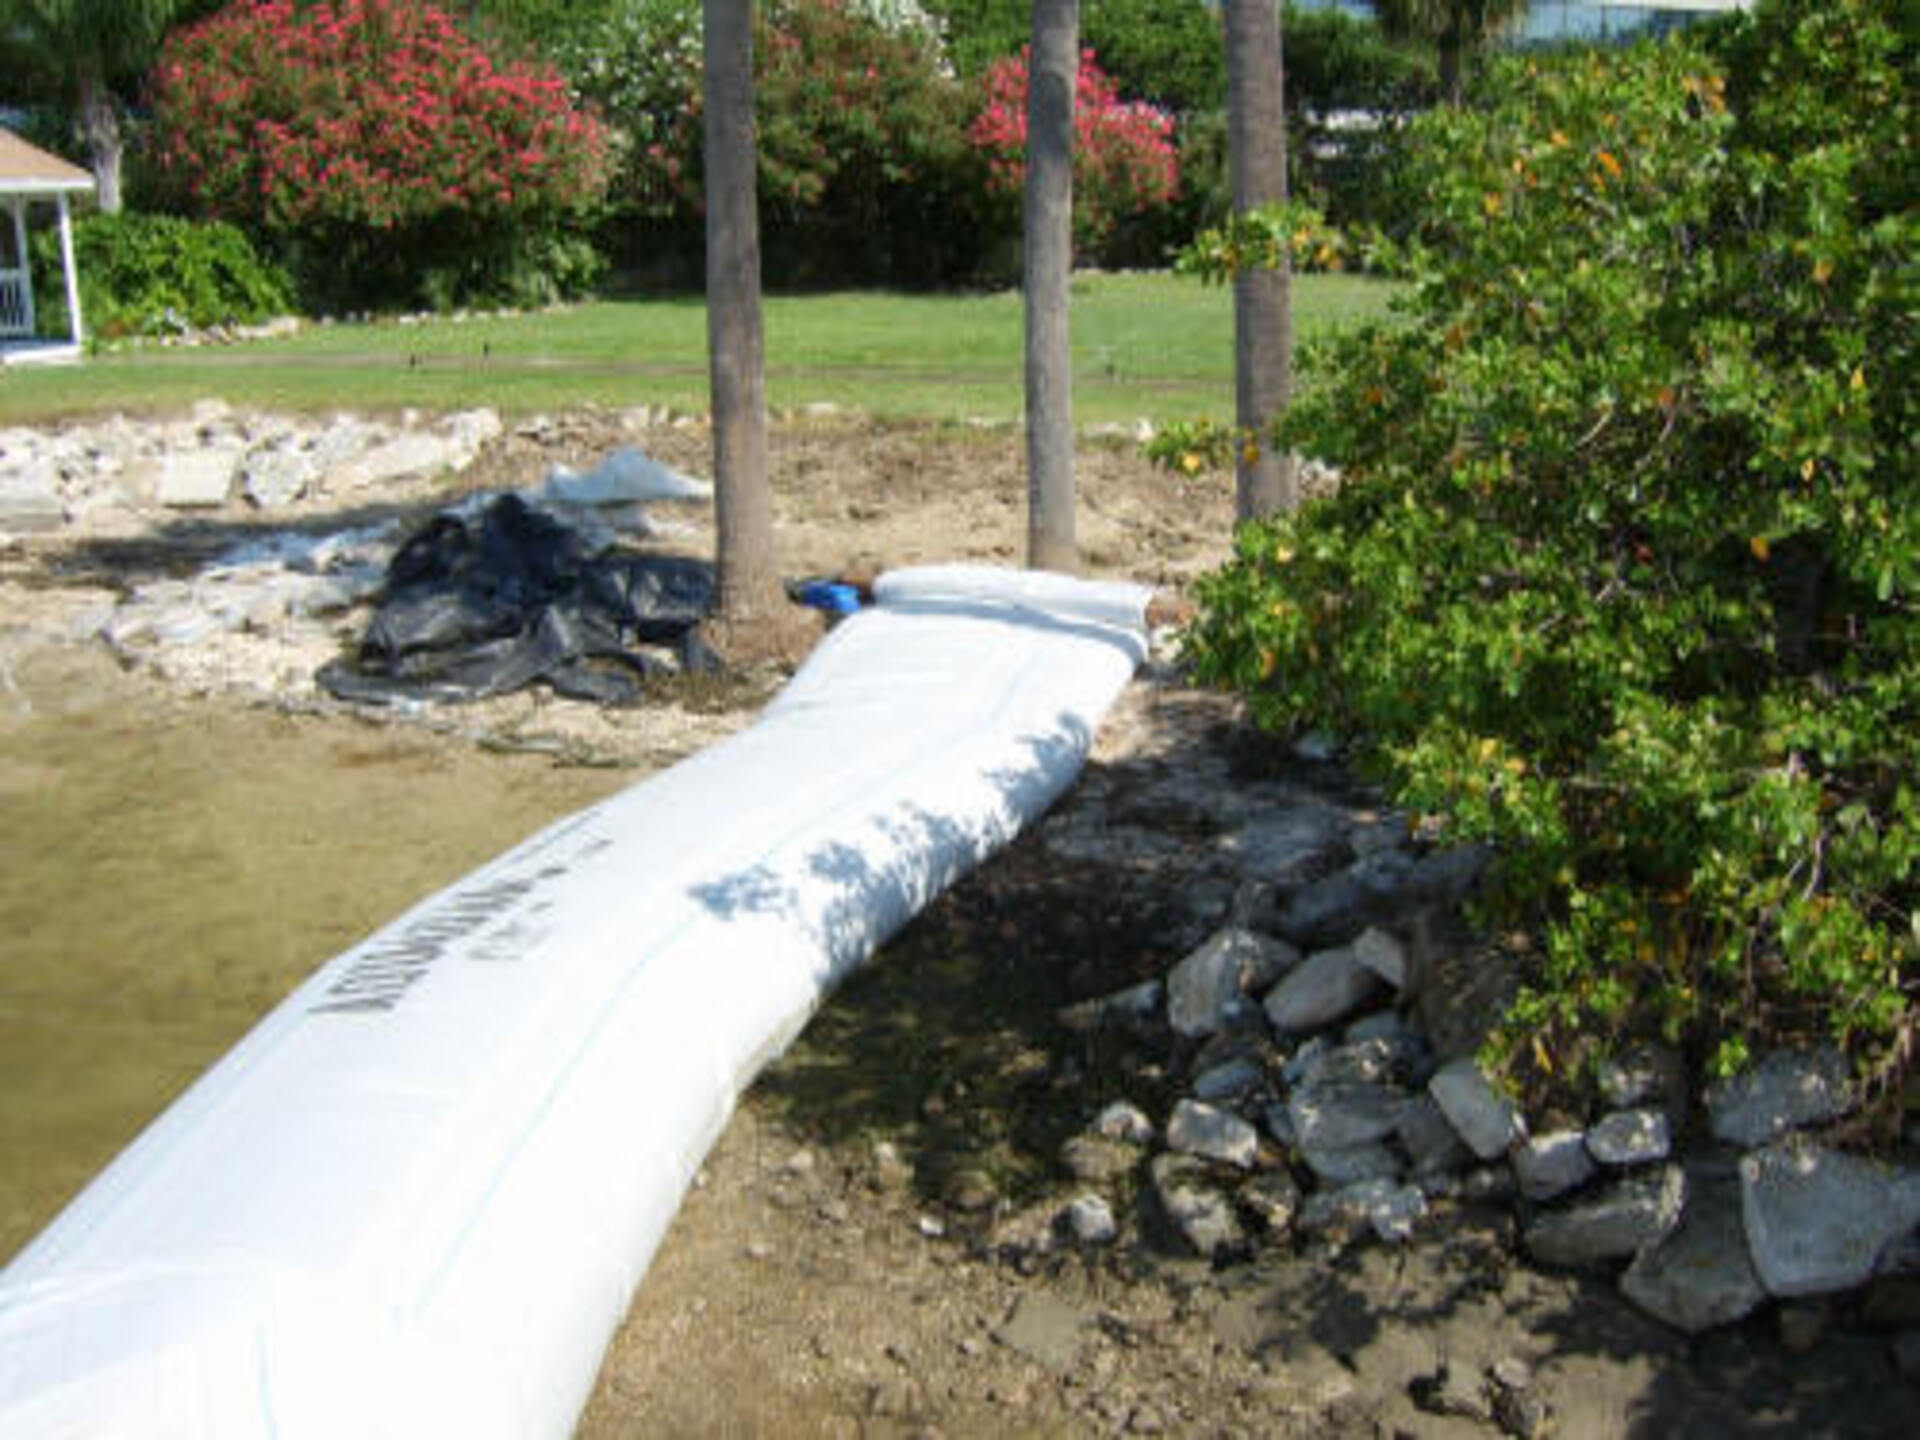
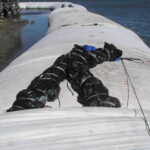
9.) Ropes were used to secure the material in place to prevent it from blowing in the wind or sliding down, during installation.
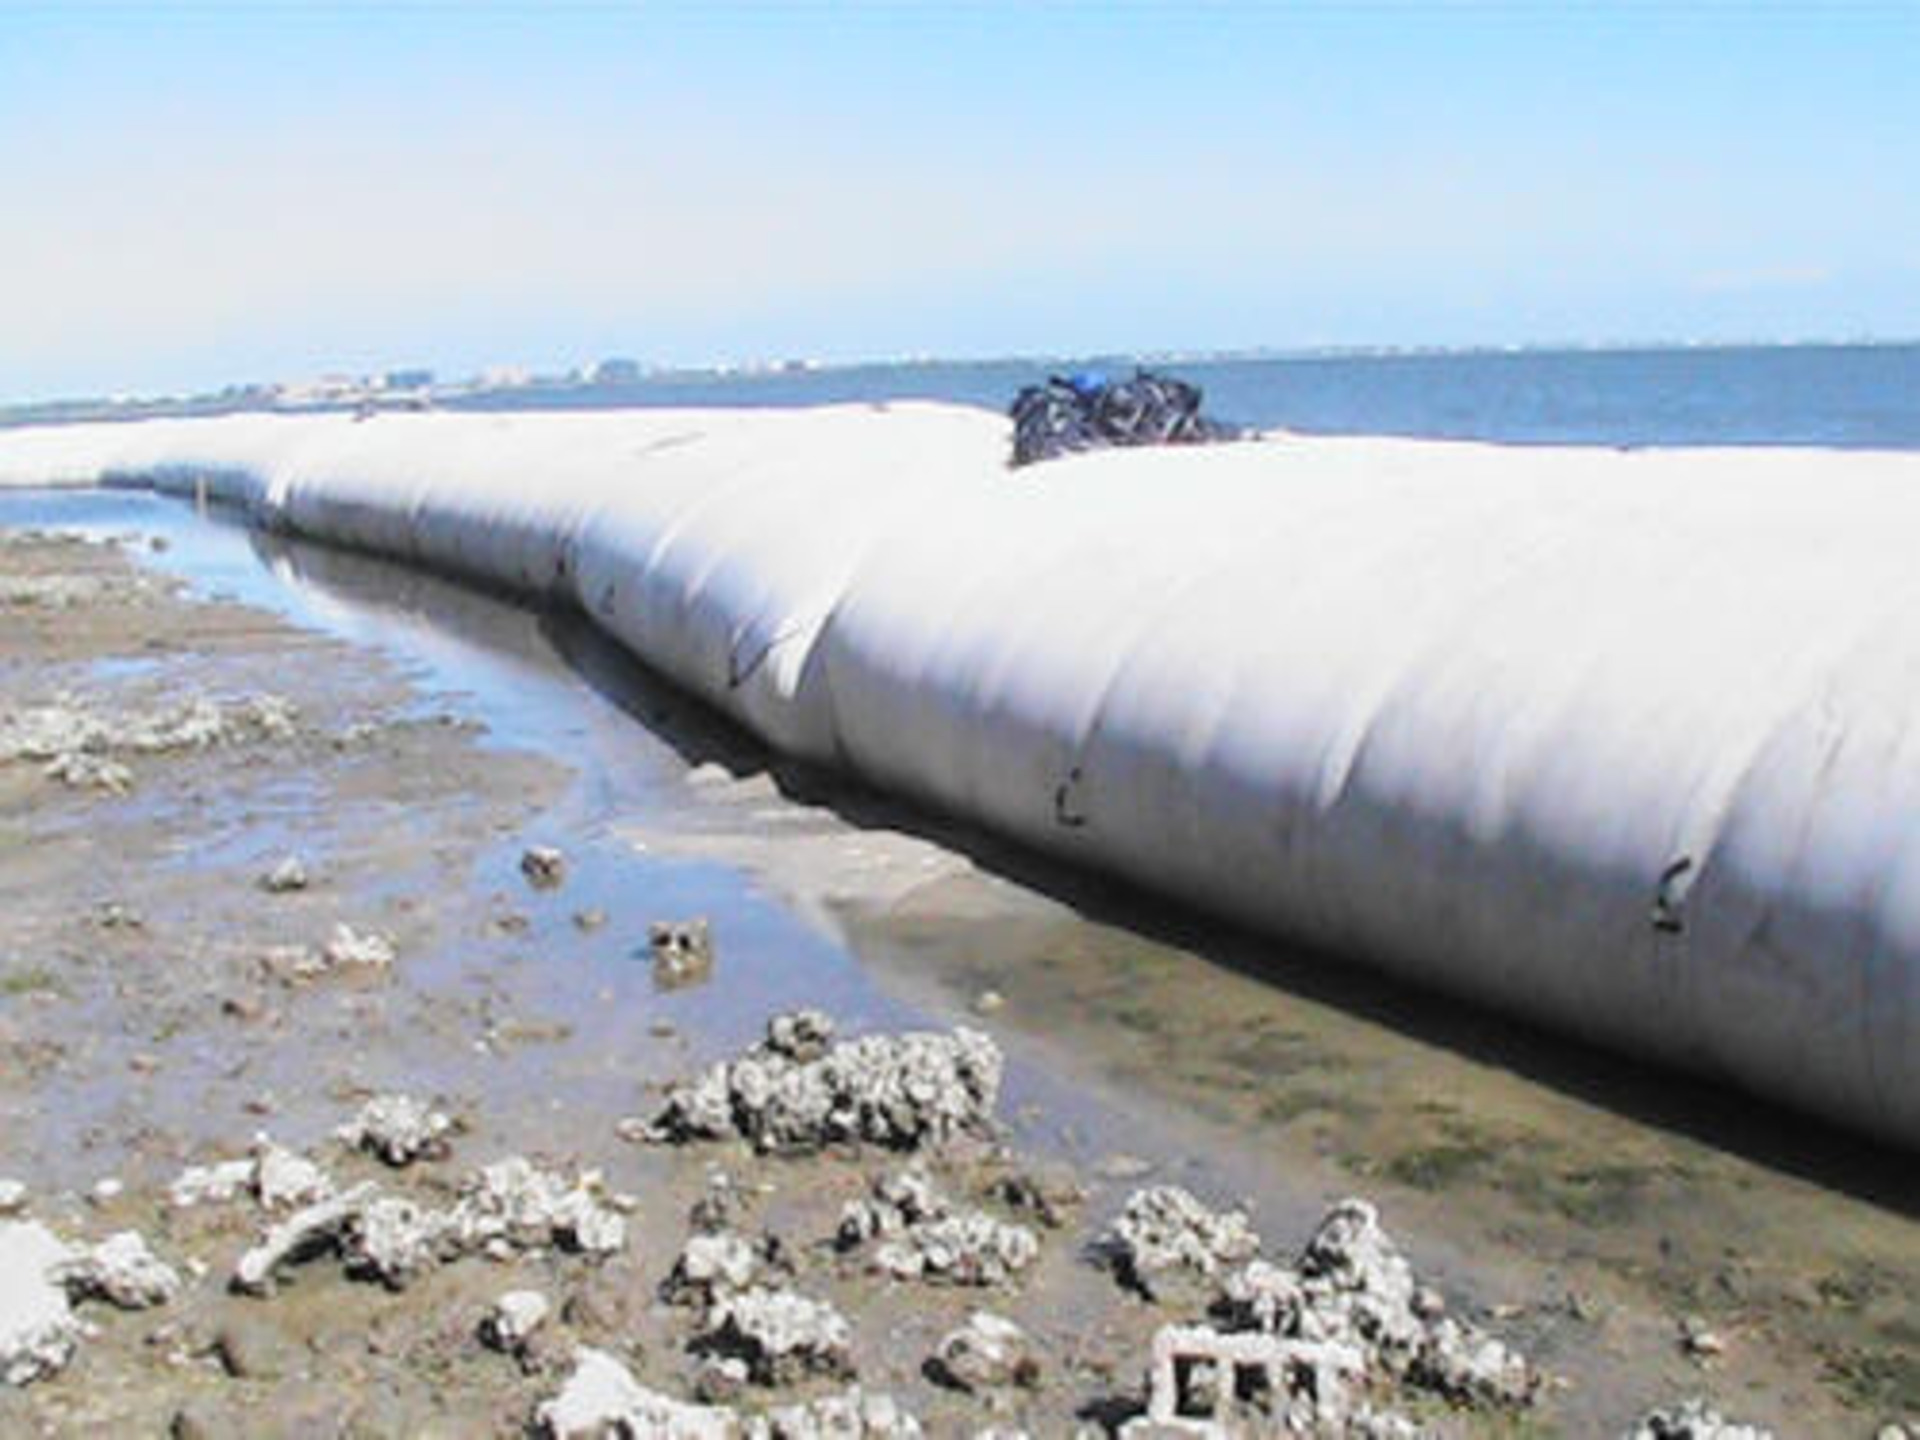
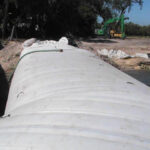
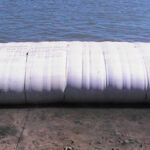
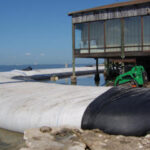
10.) AquaDams are constructed using lightweight and flexible materials, allowing them to easily make turns and be shaped into many forms.
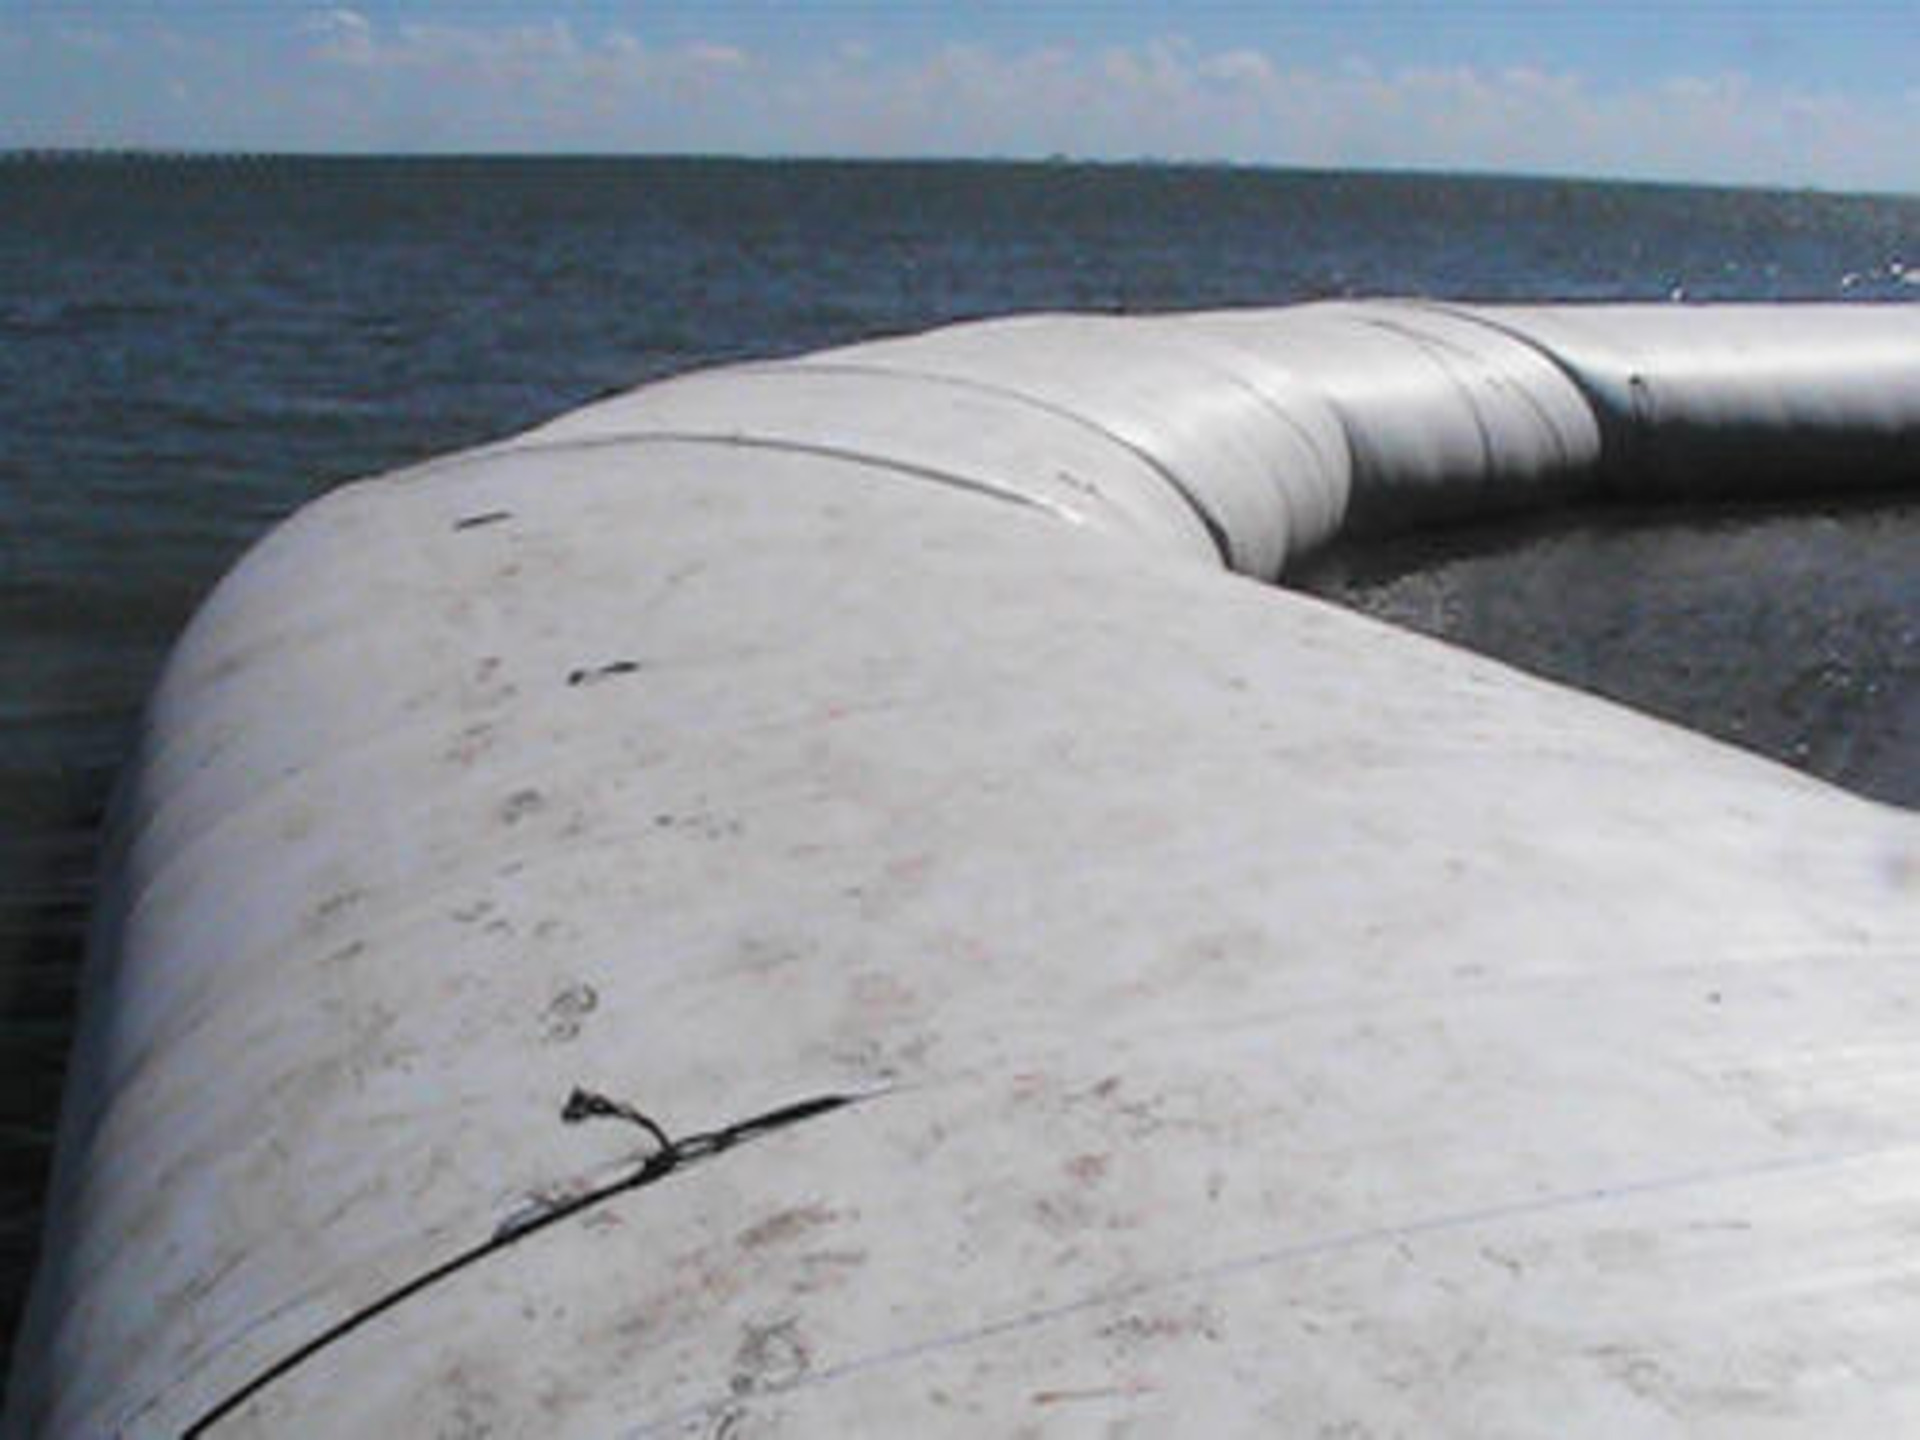
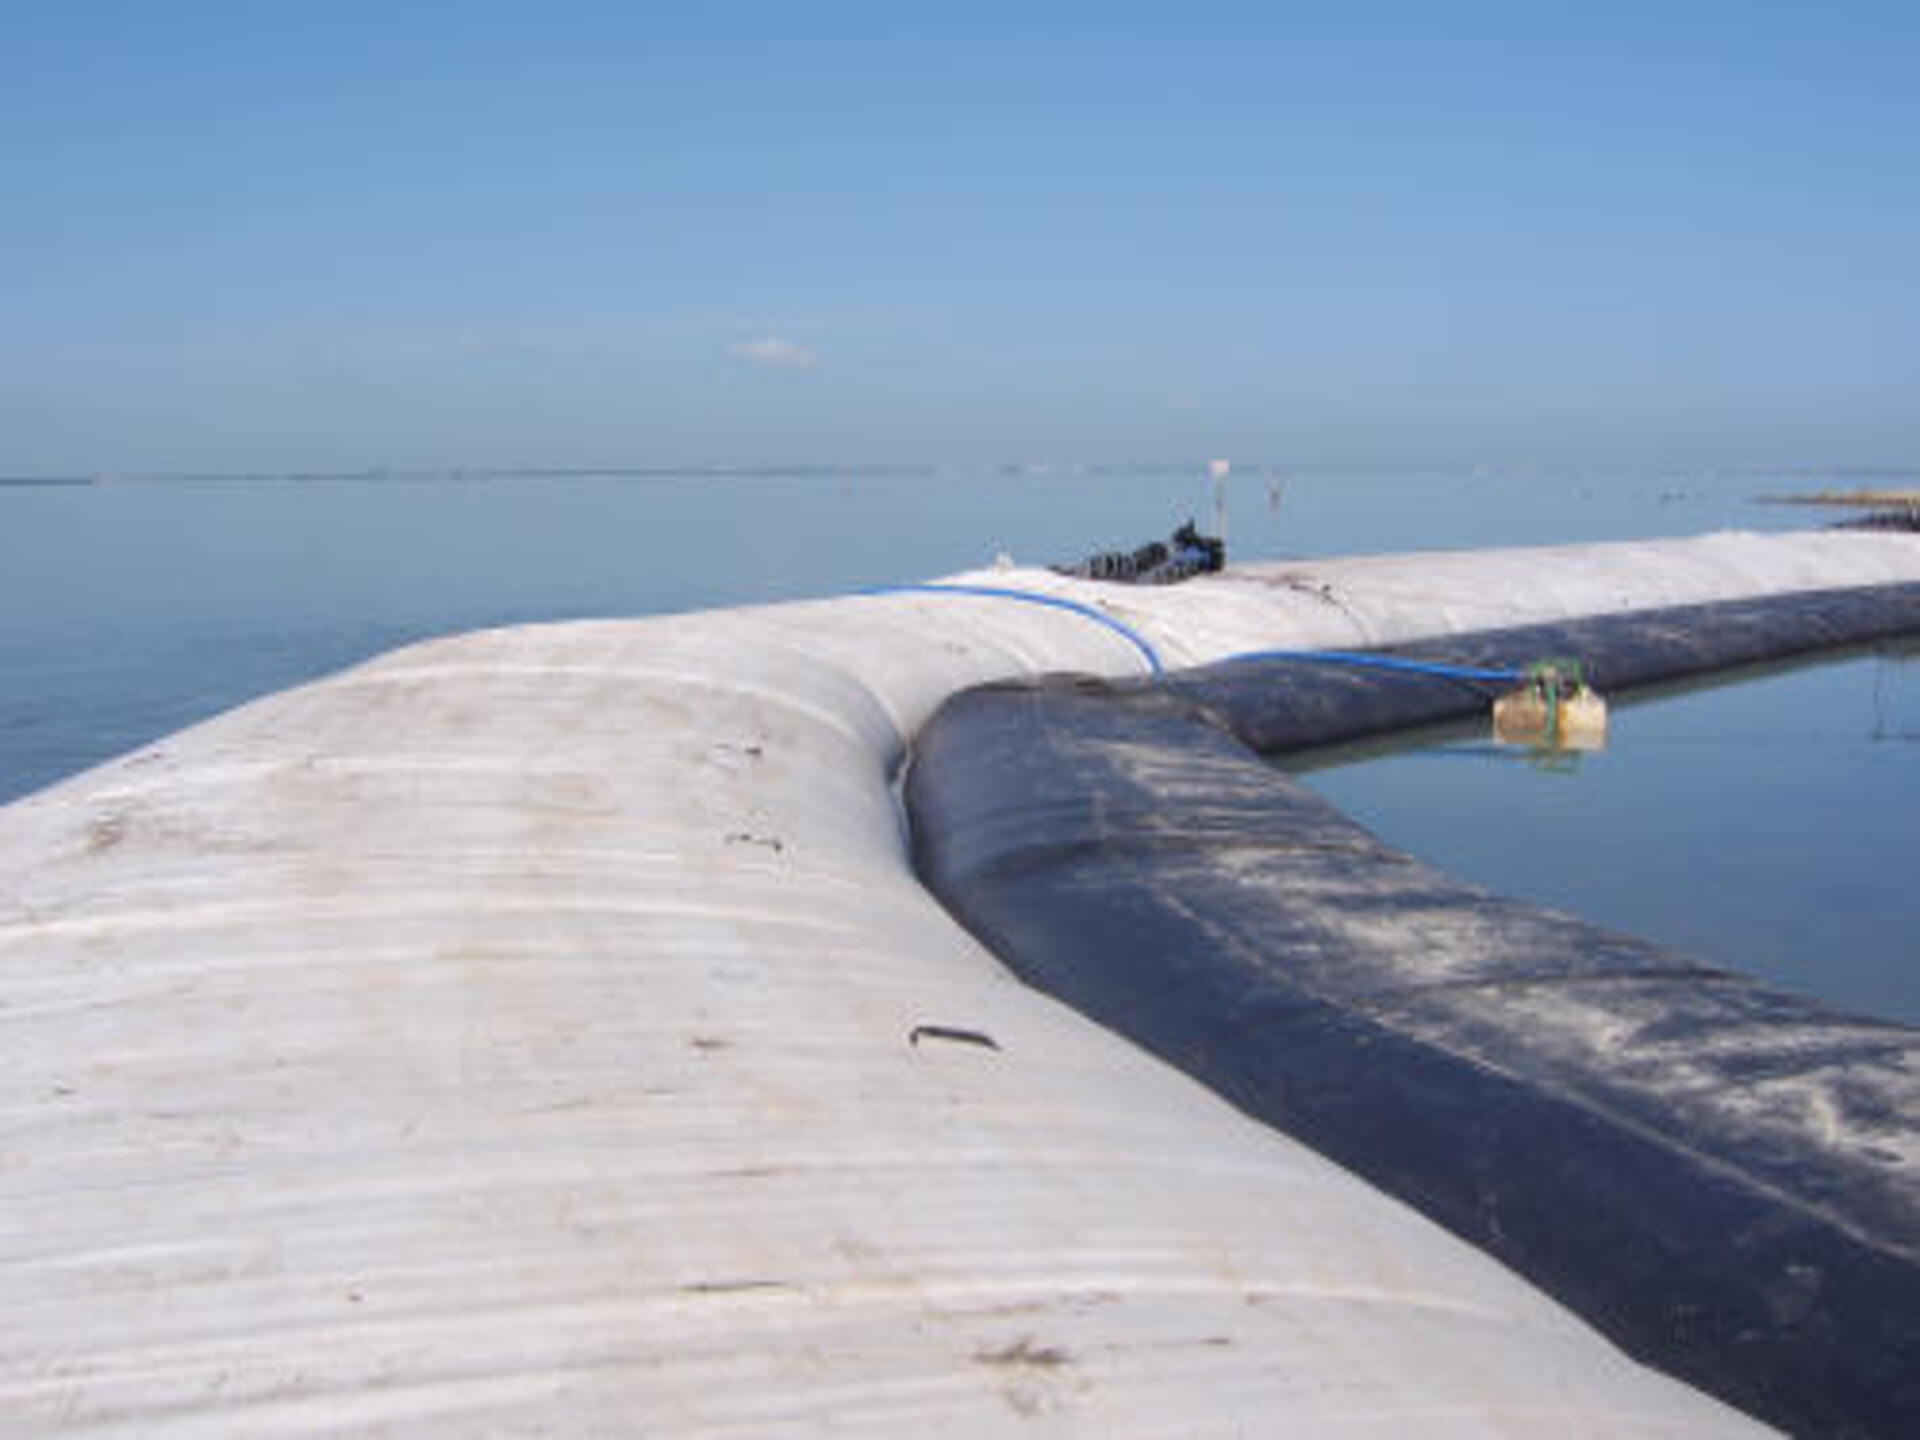
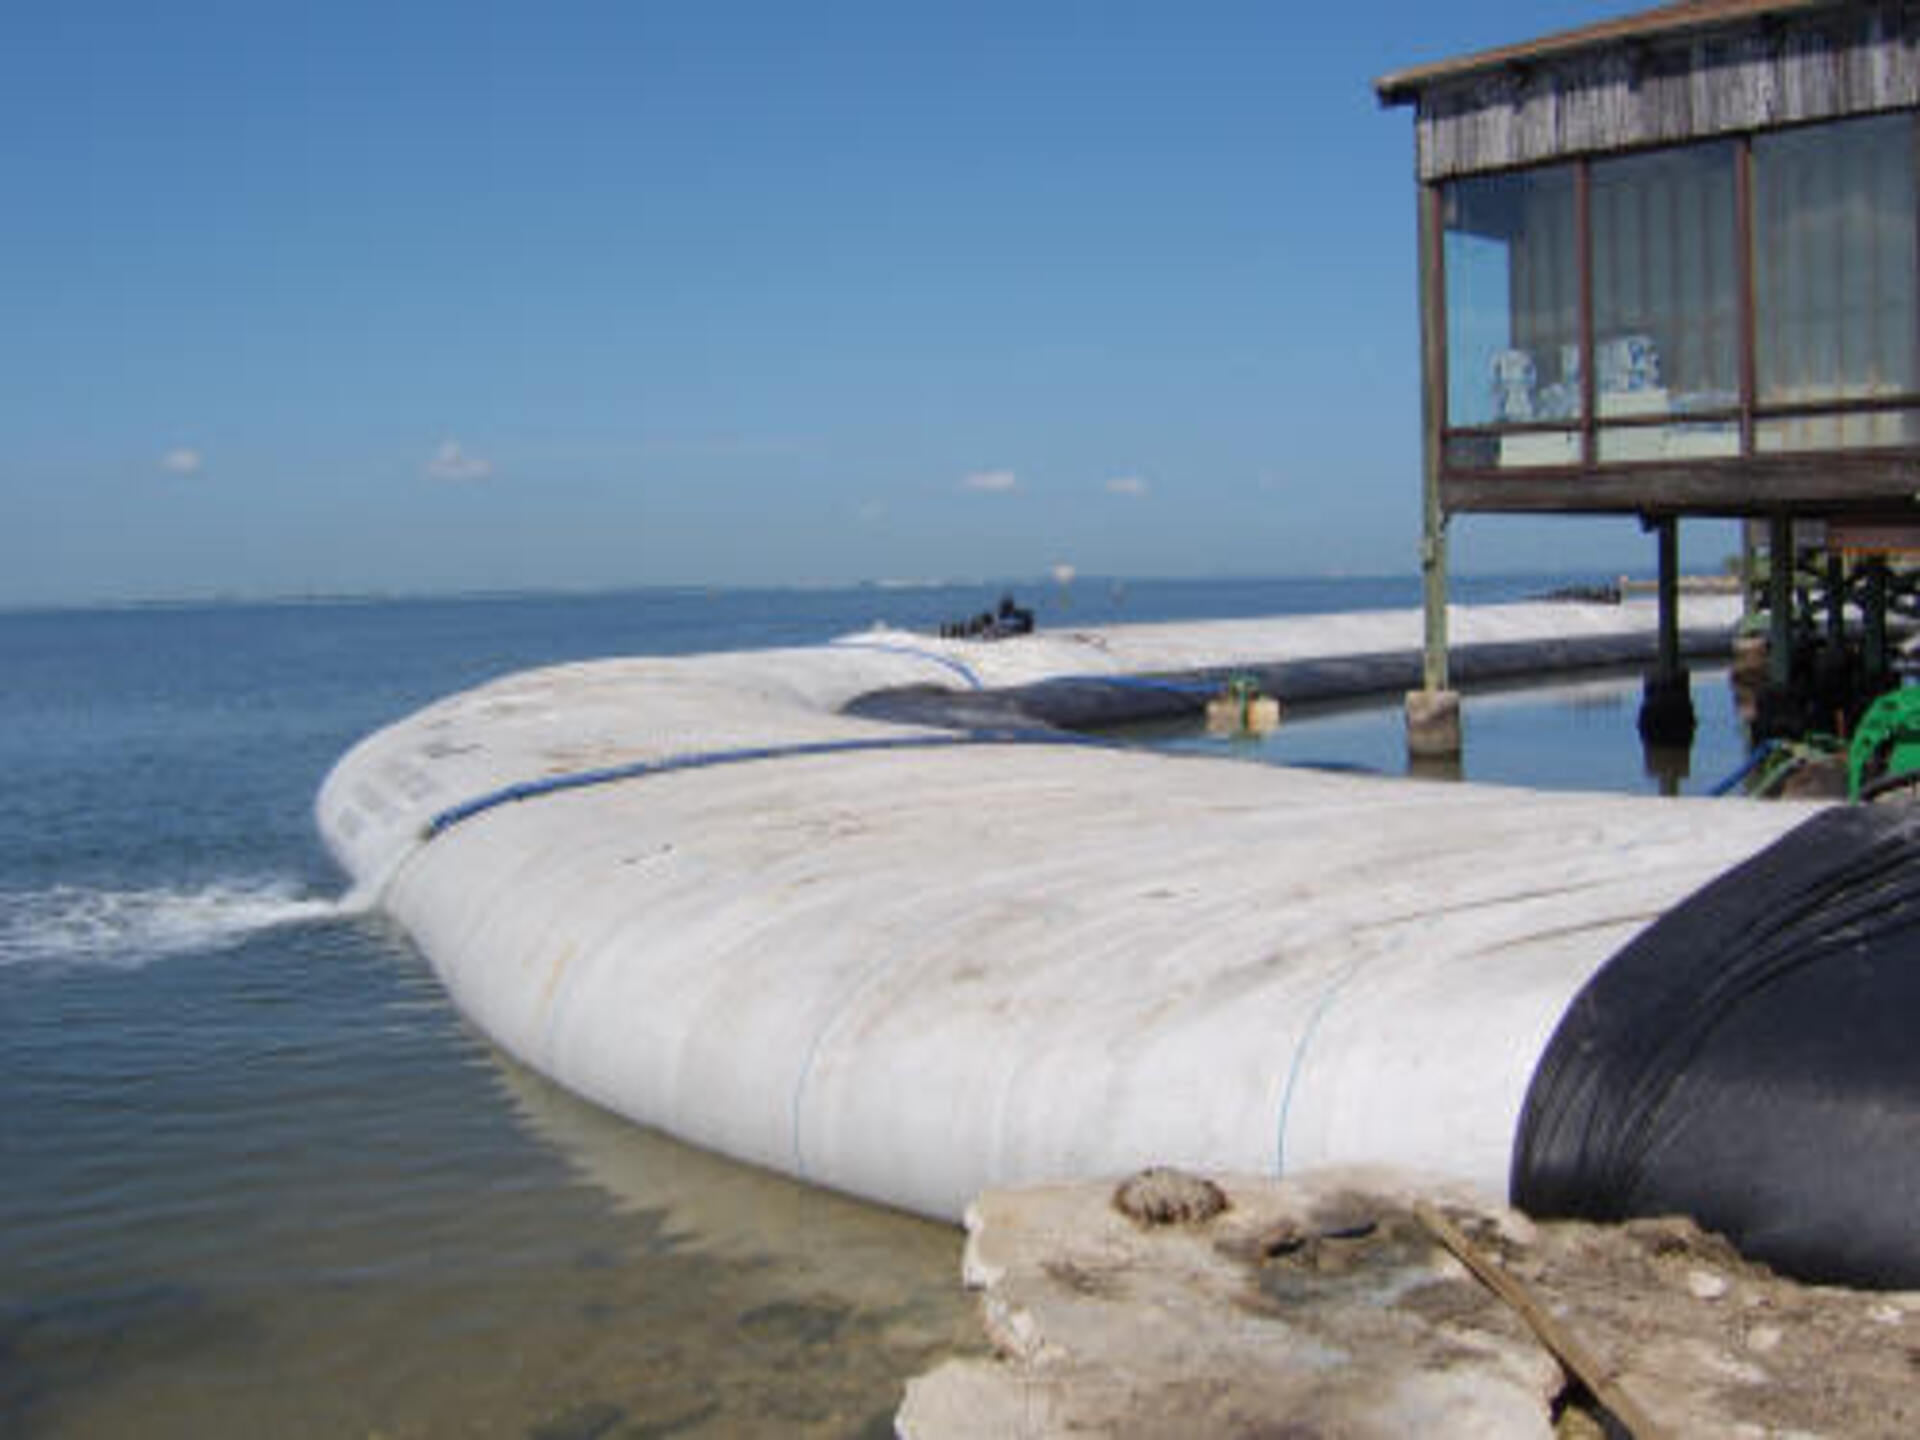
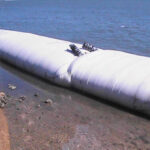
11.) Can you tell the water depth difference from one side of the AquaDam® to the other?
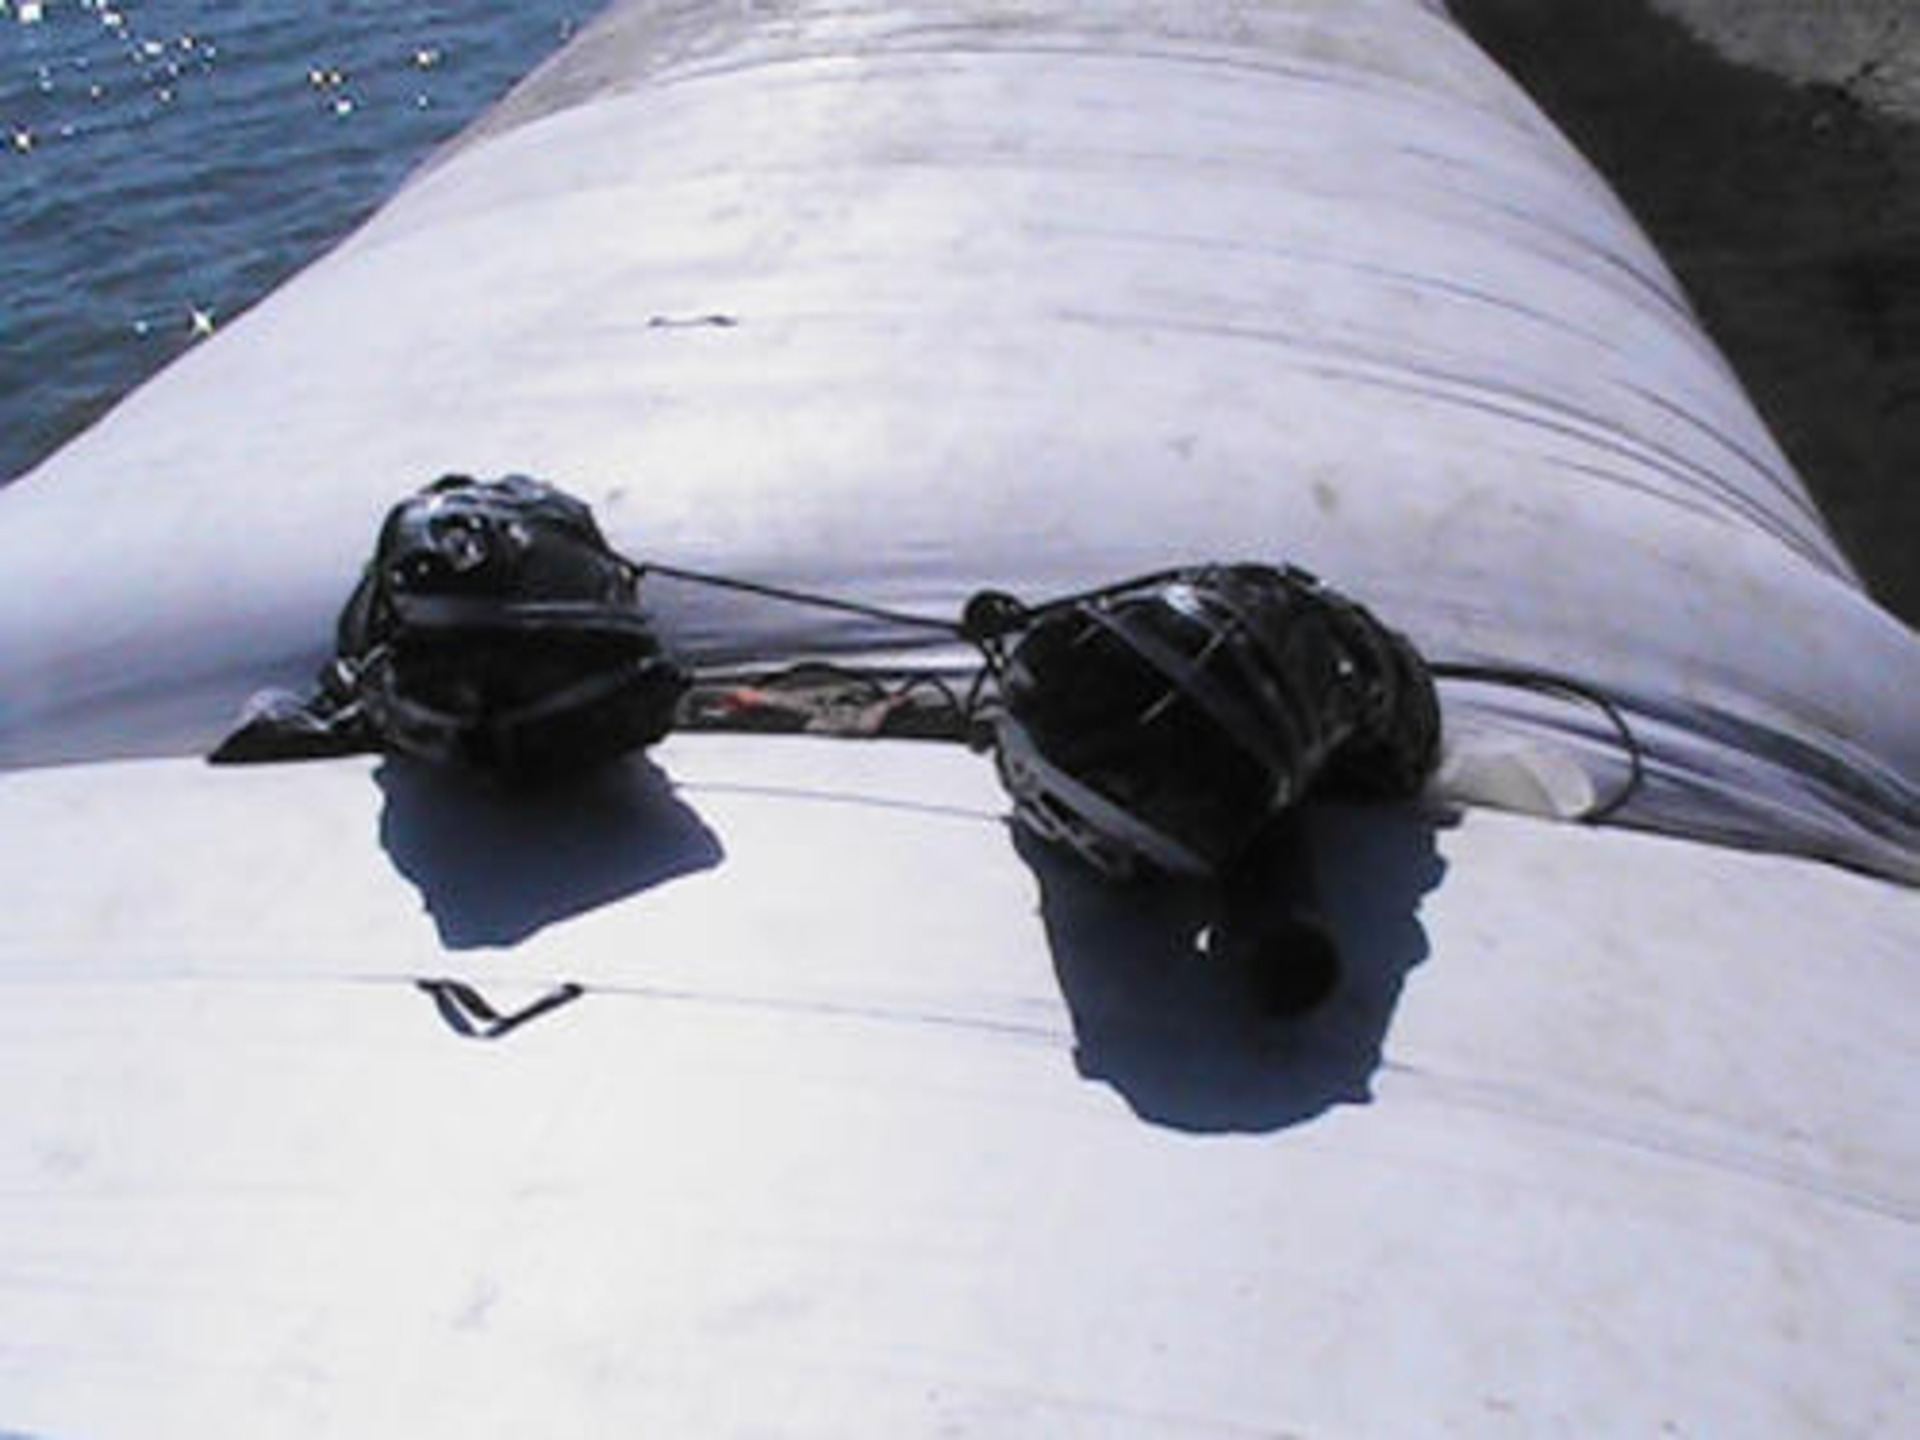
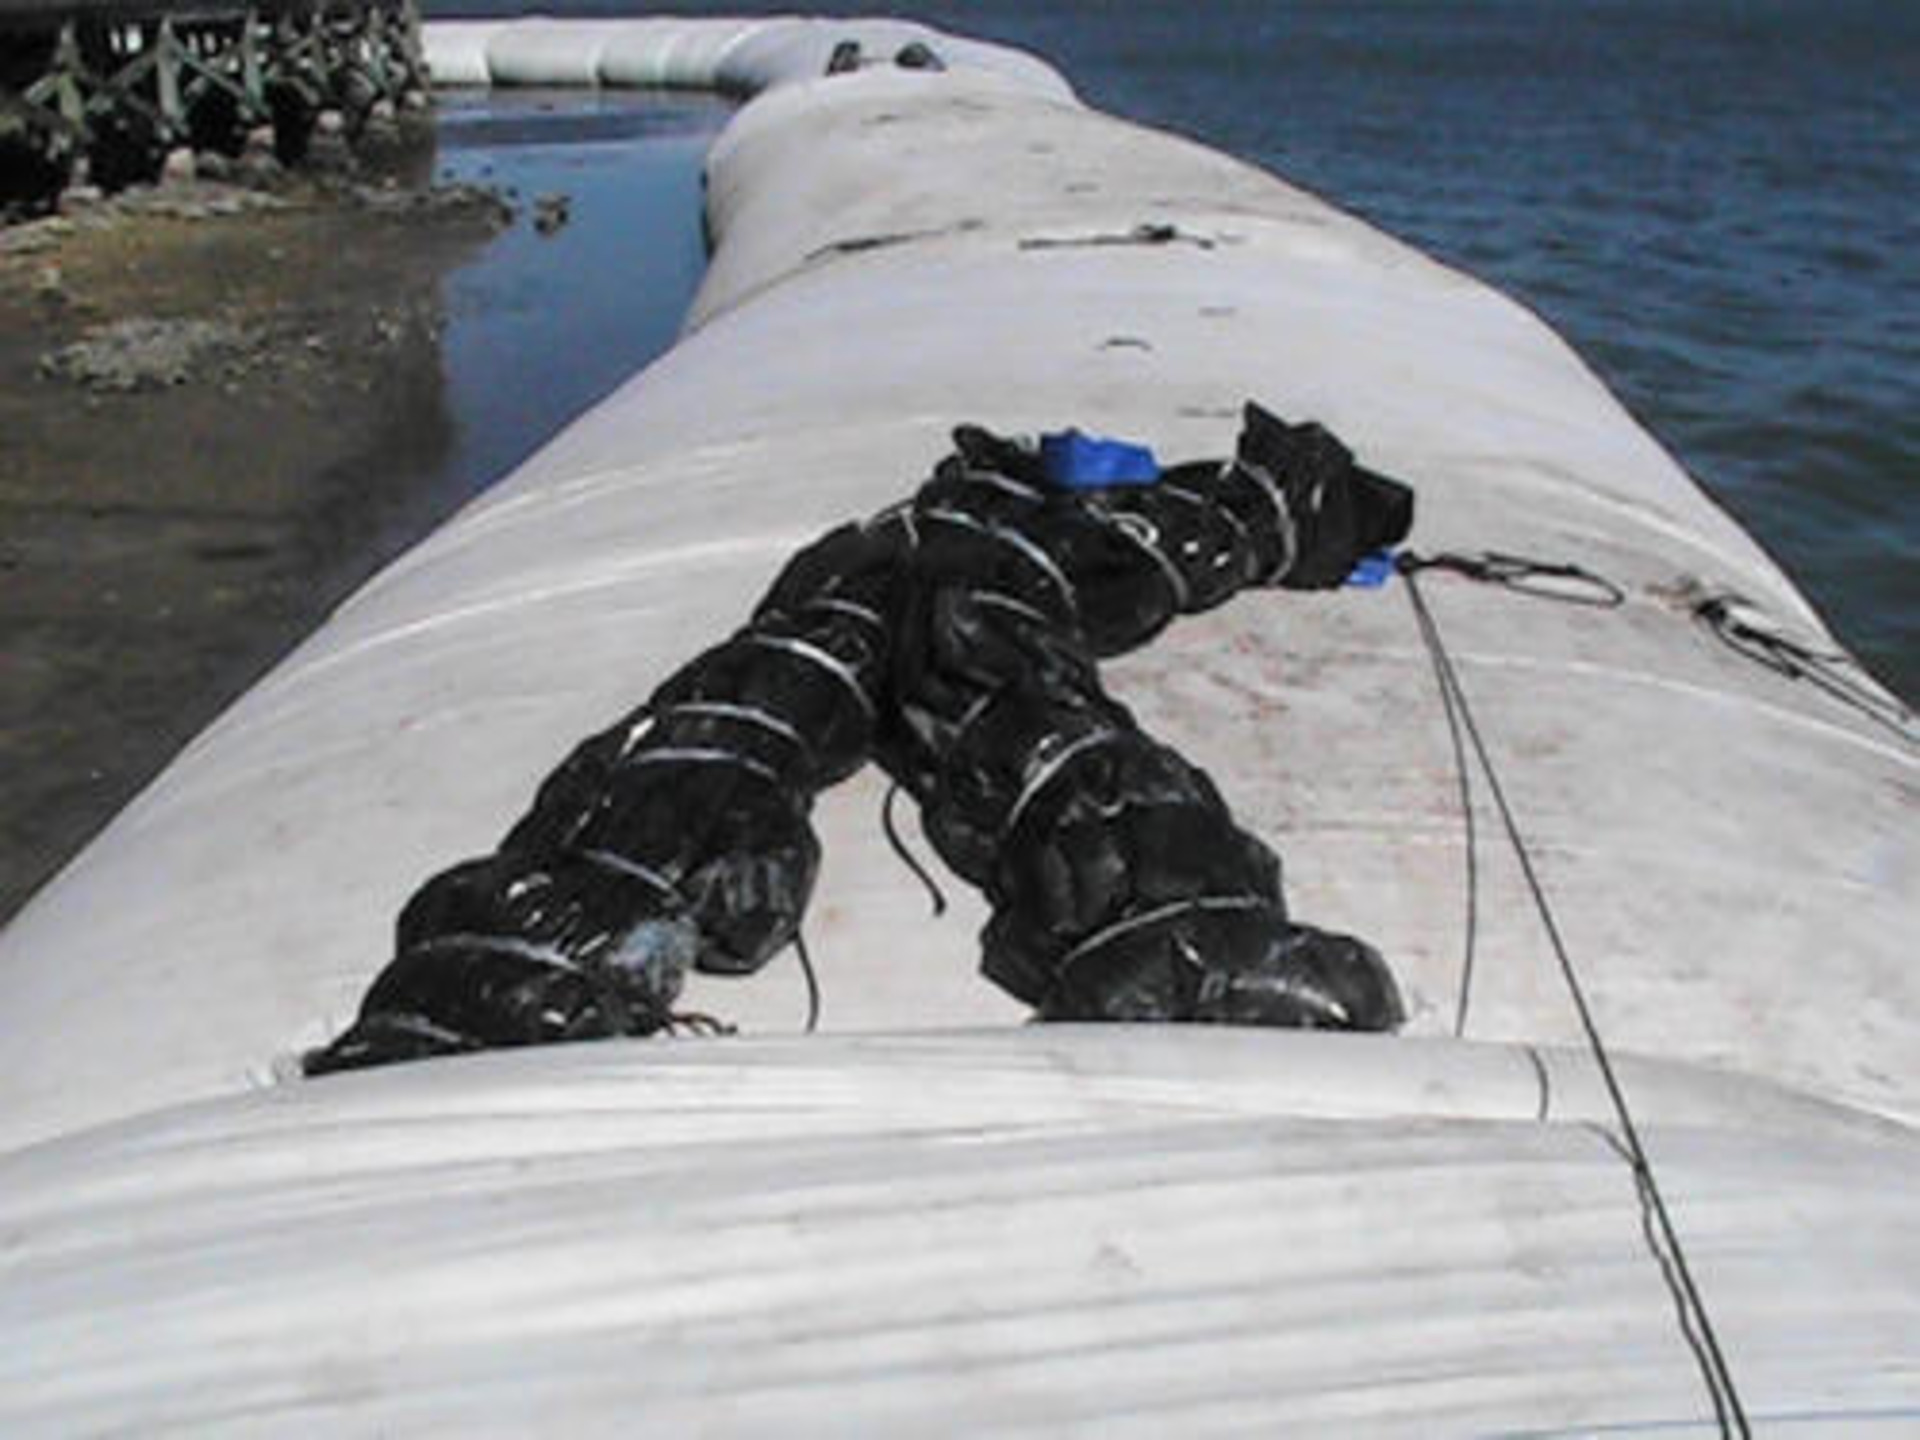
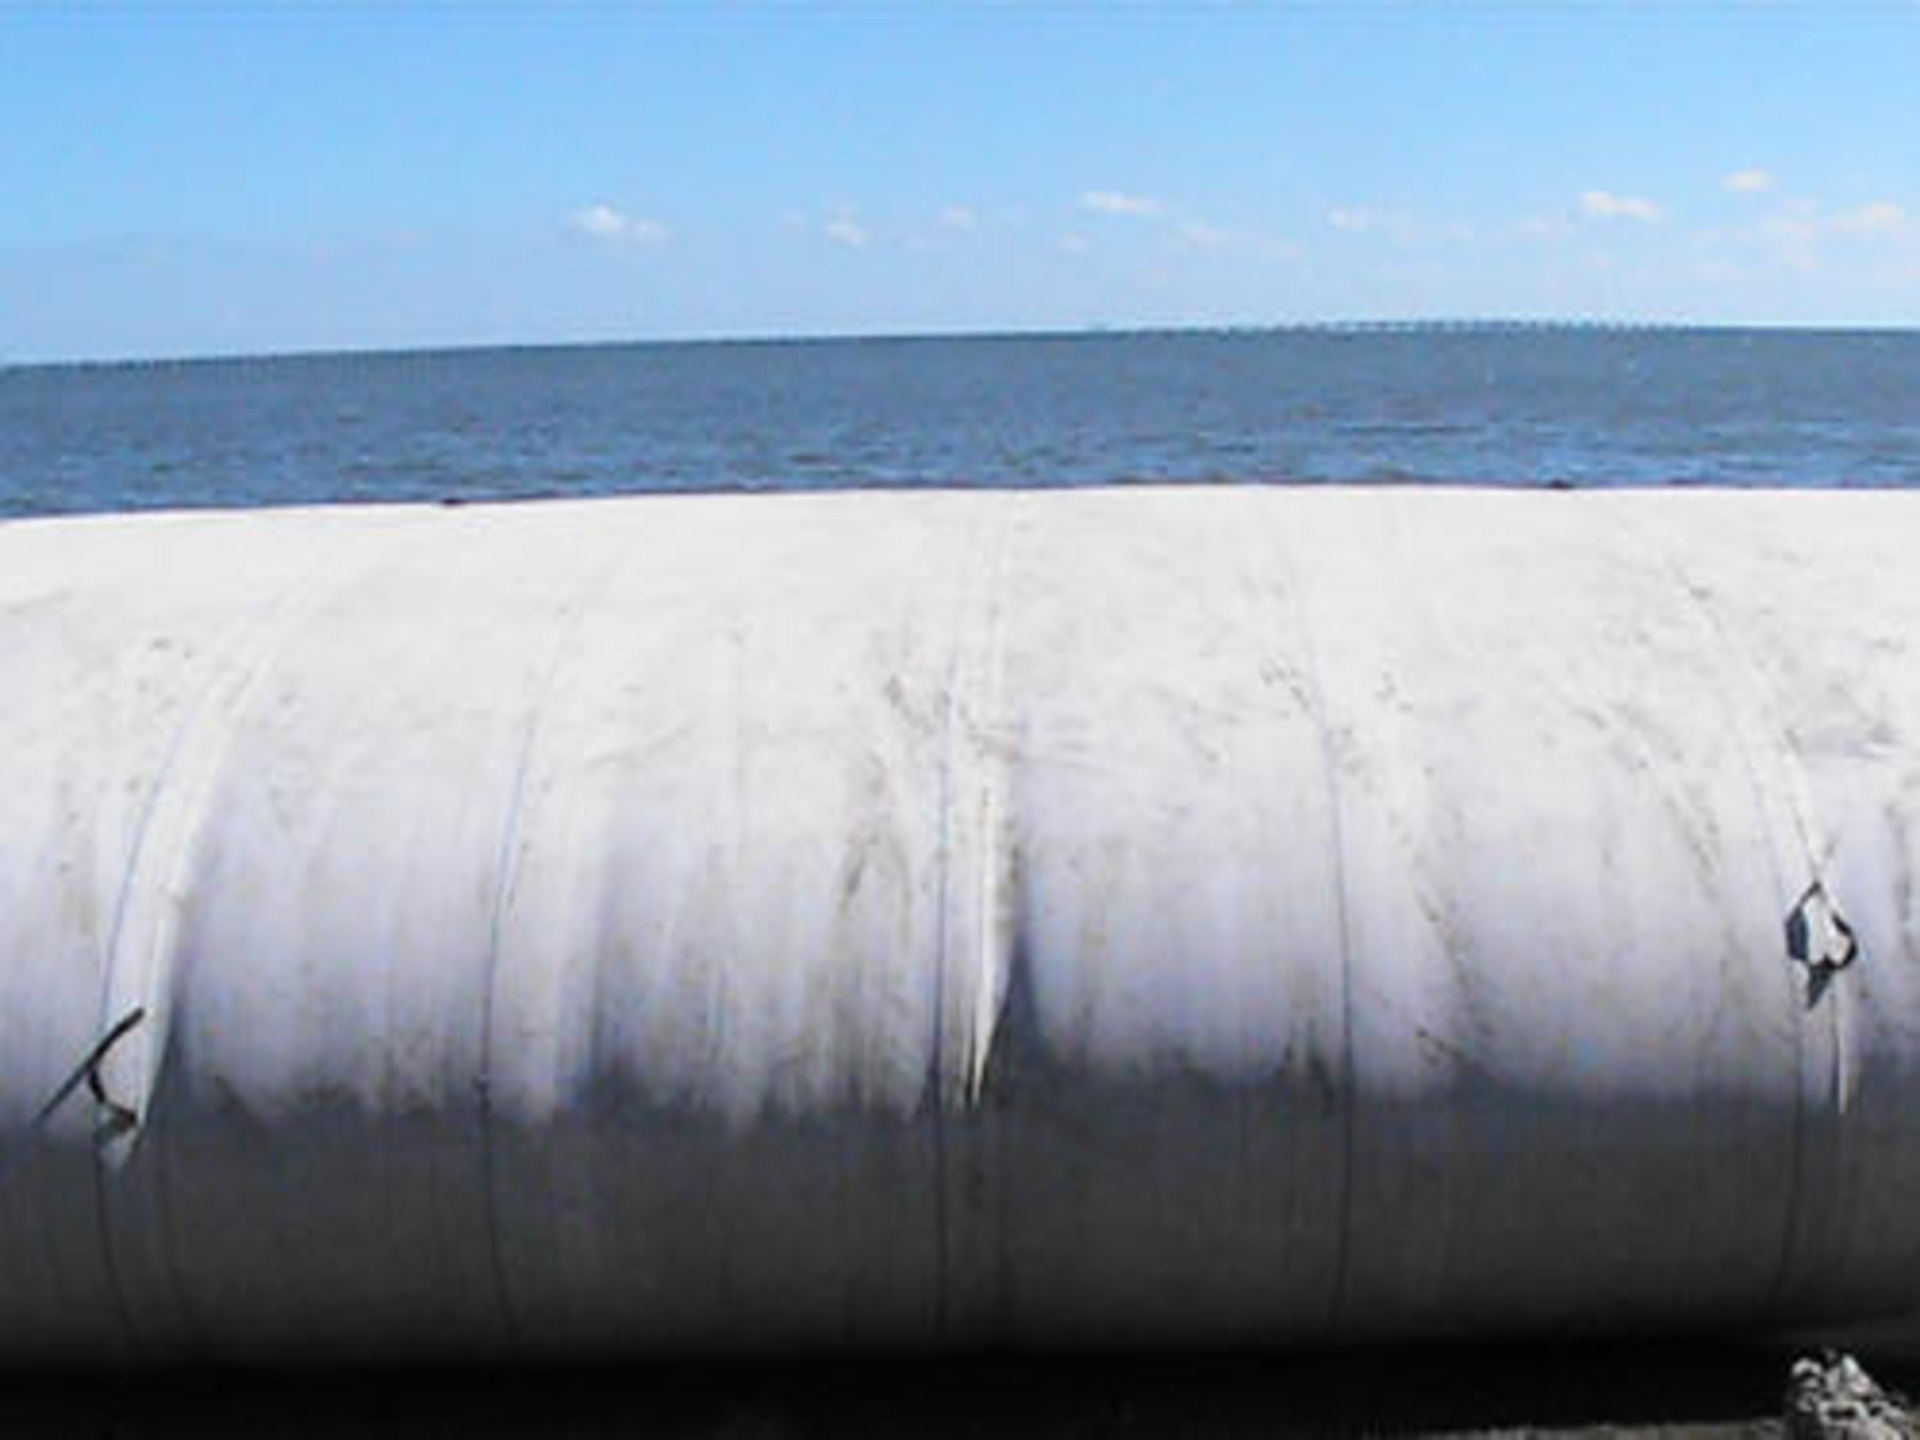
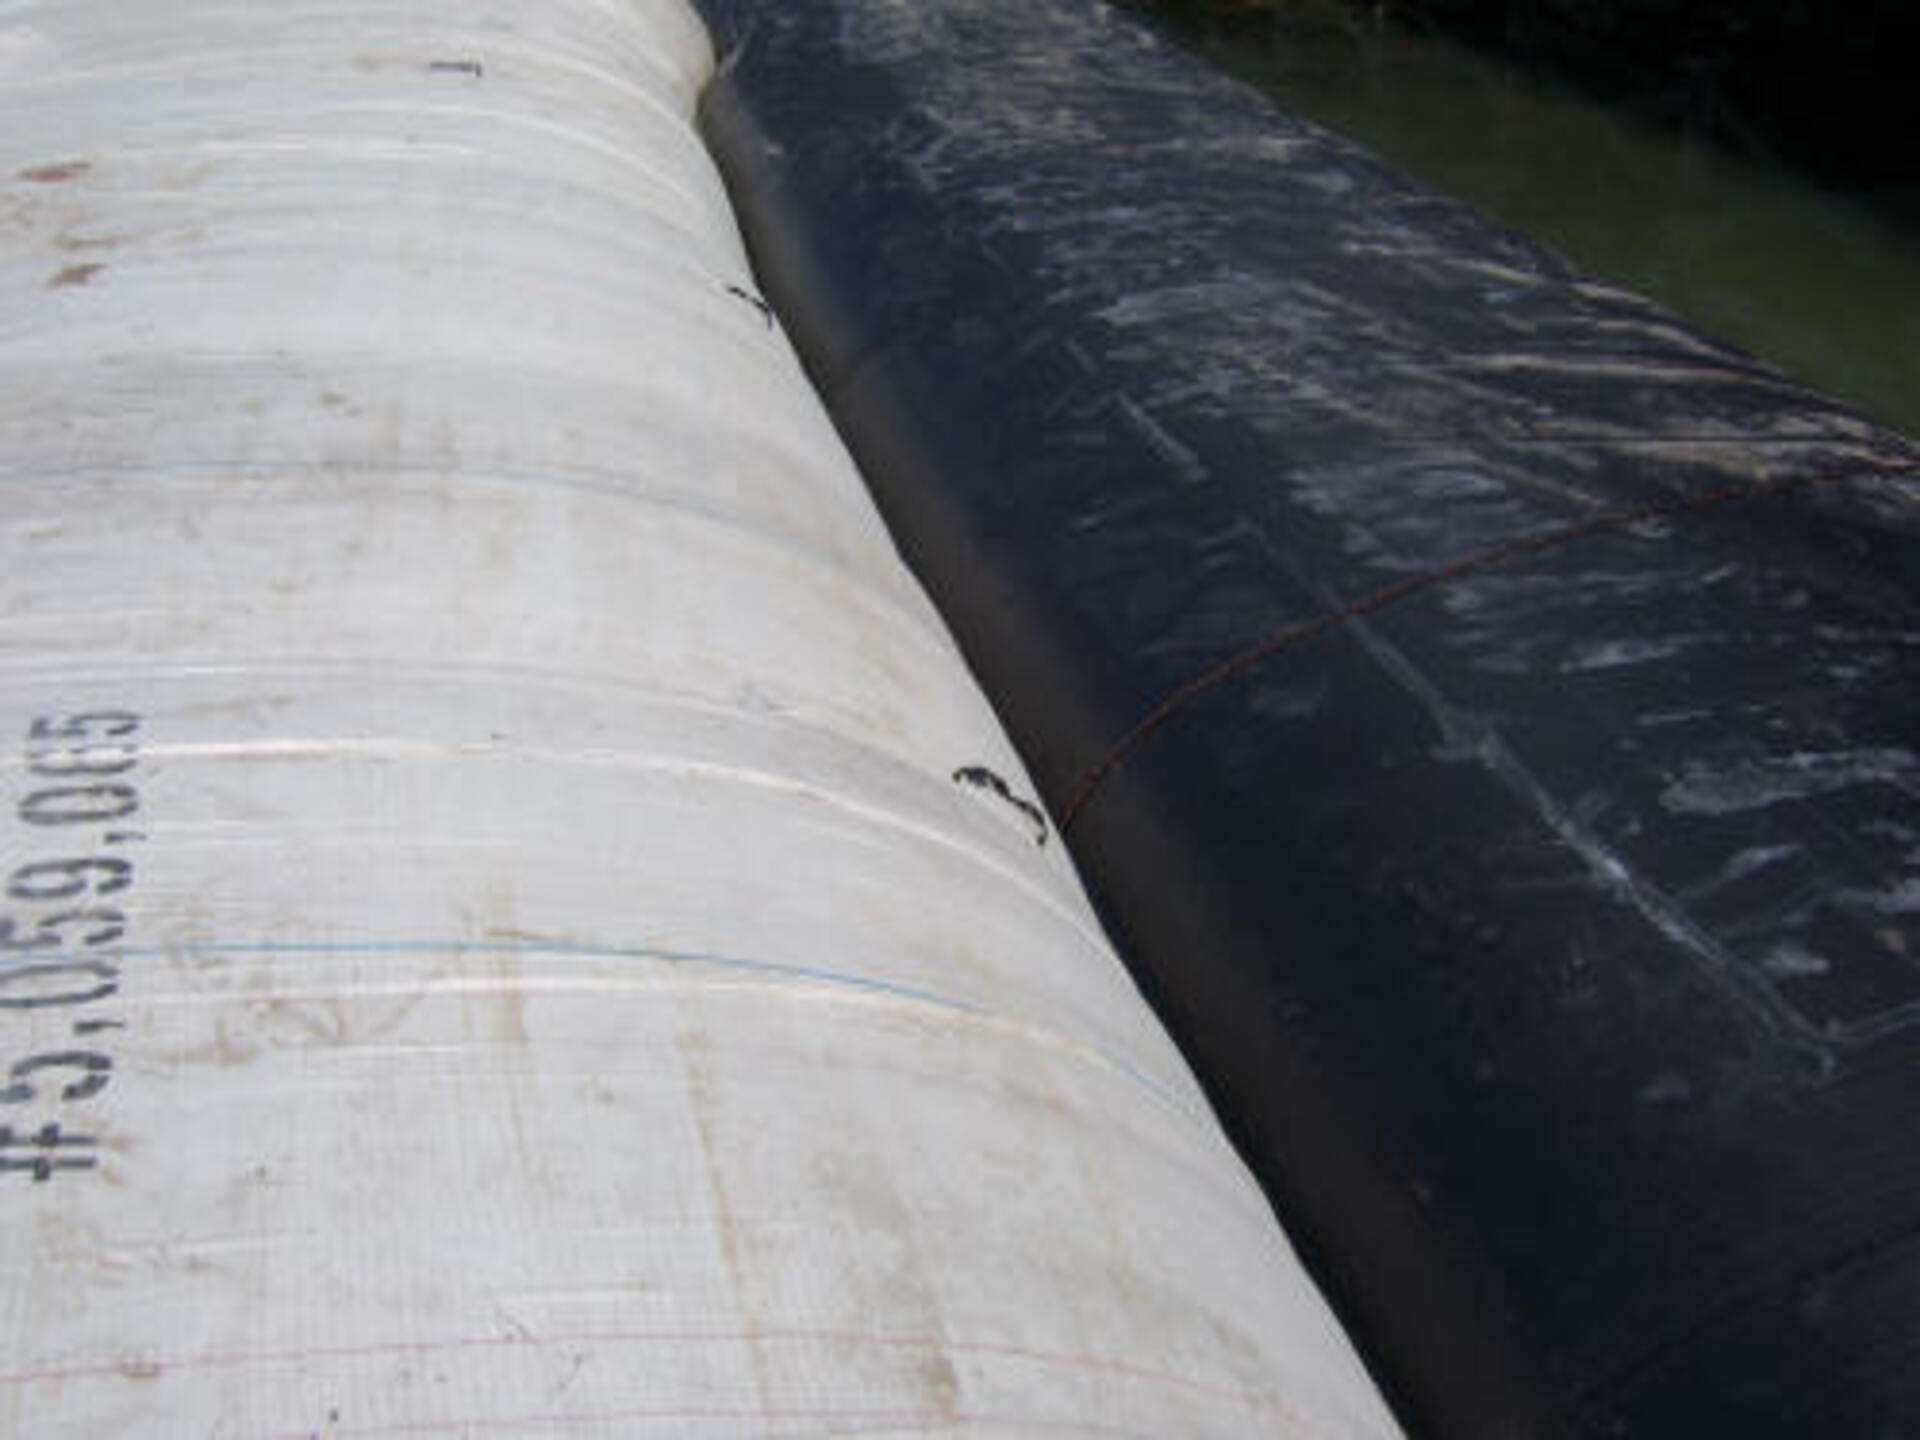
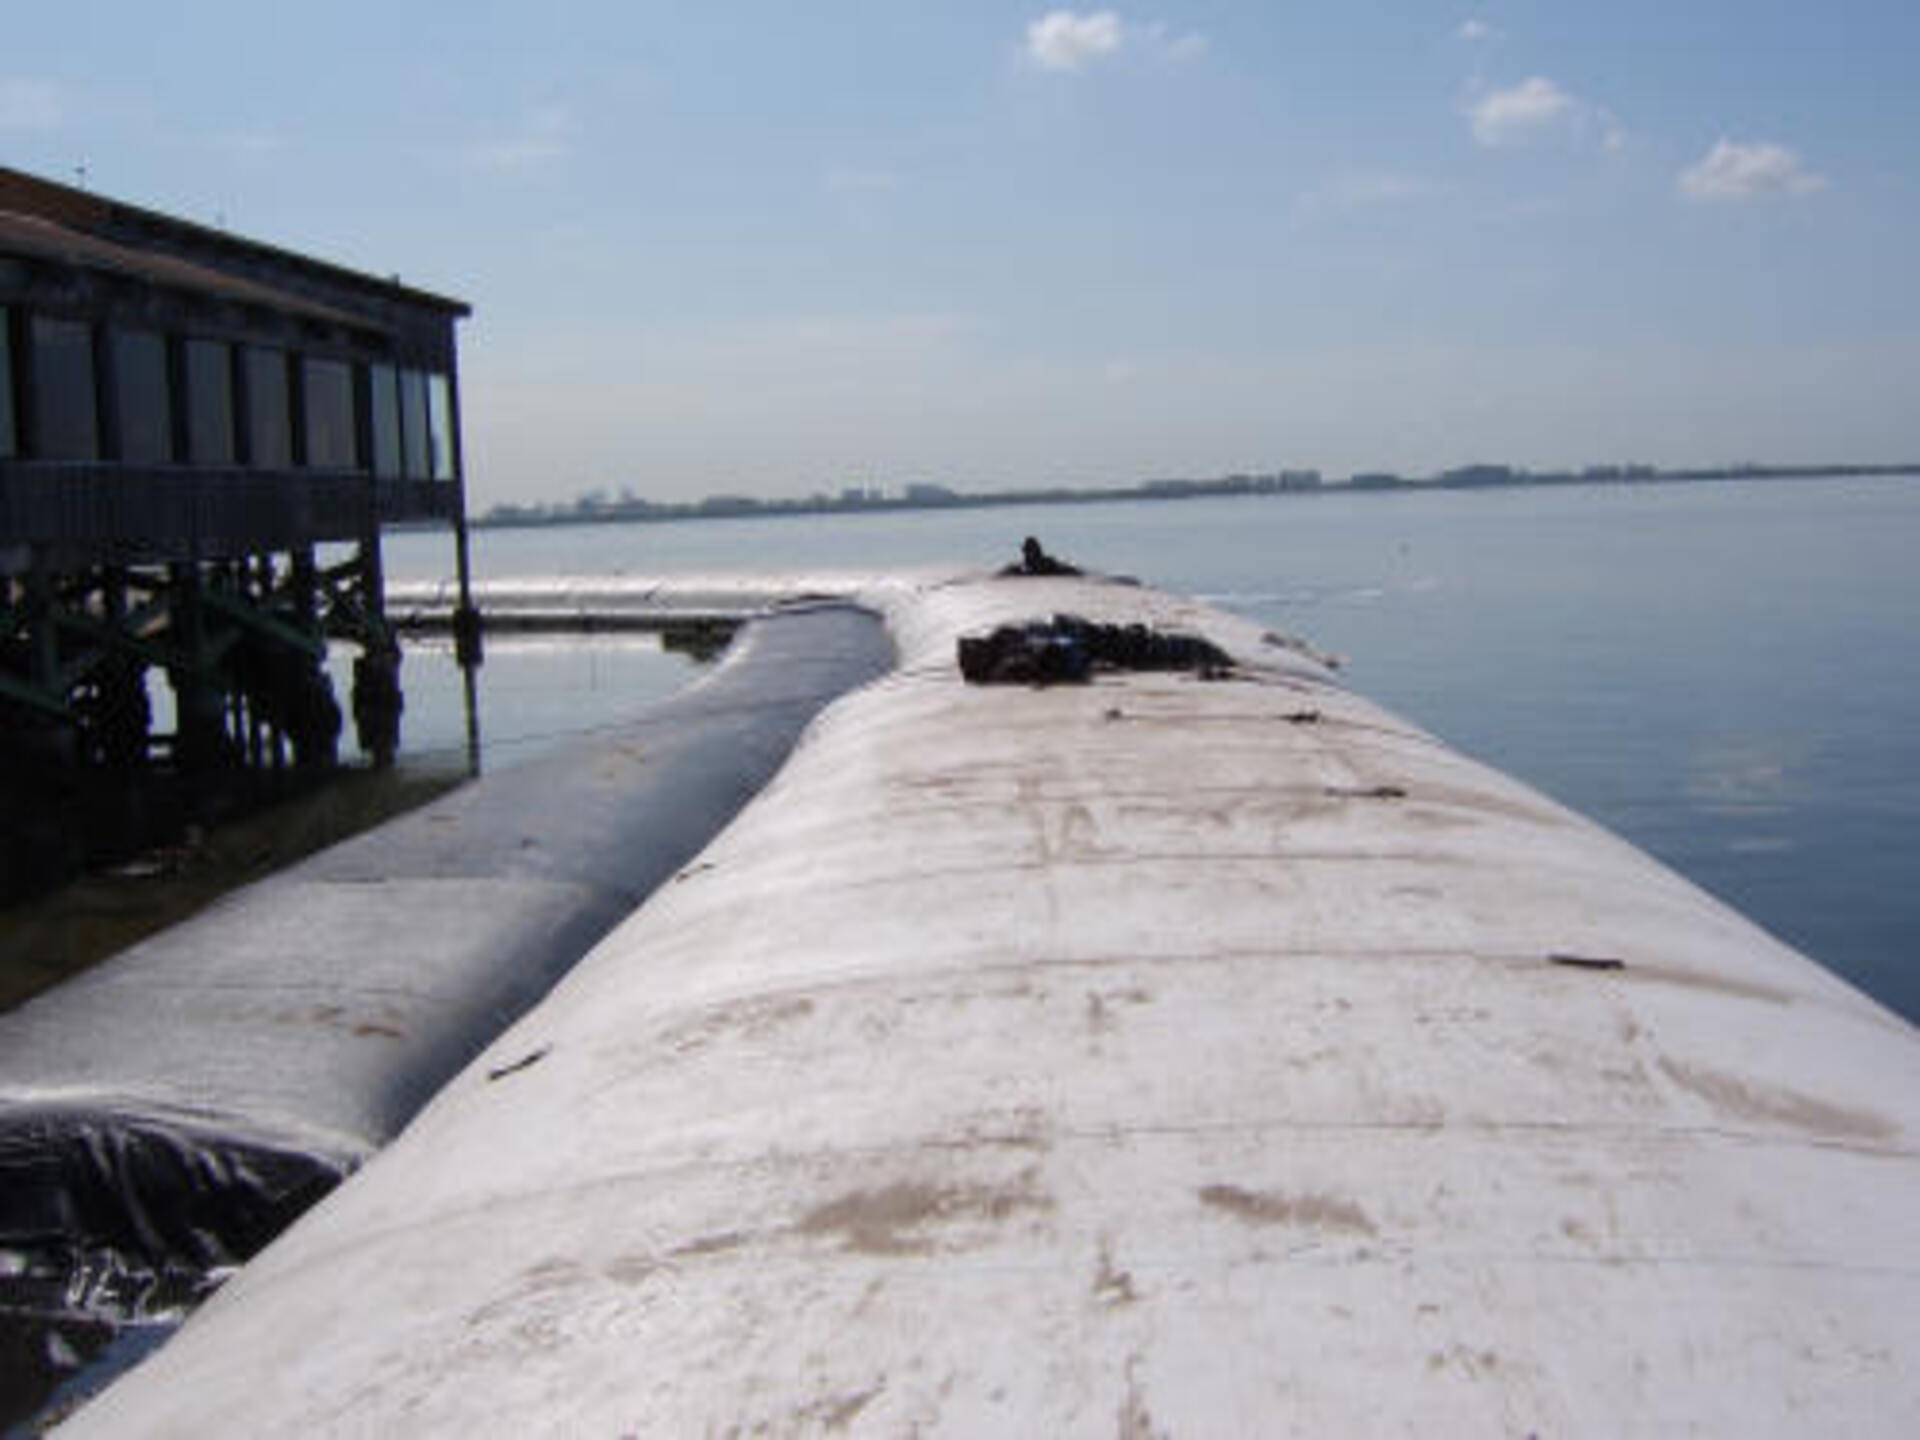
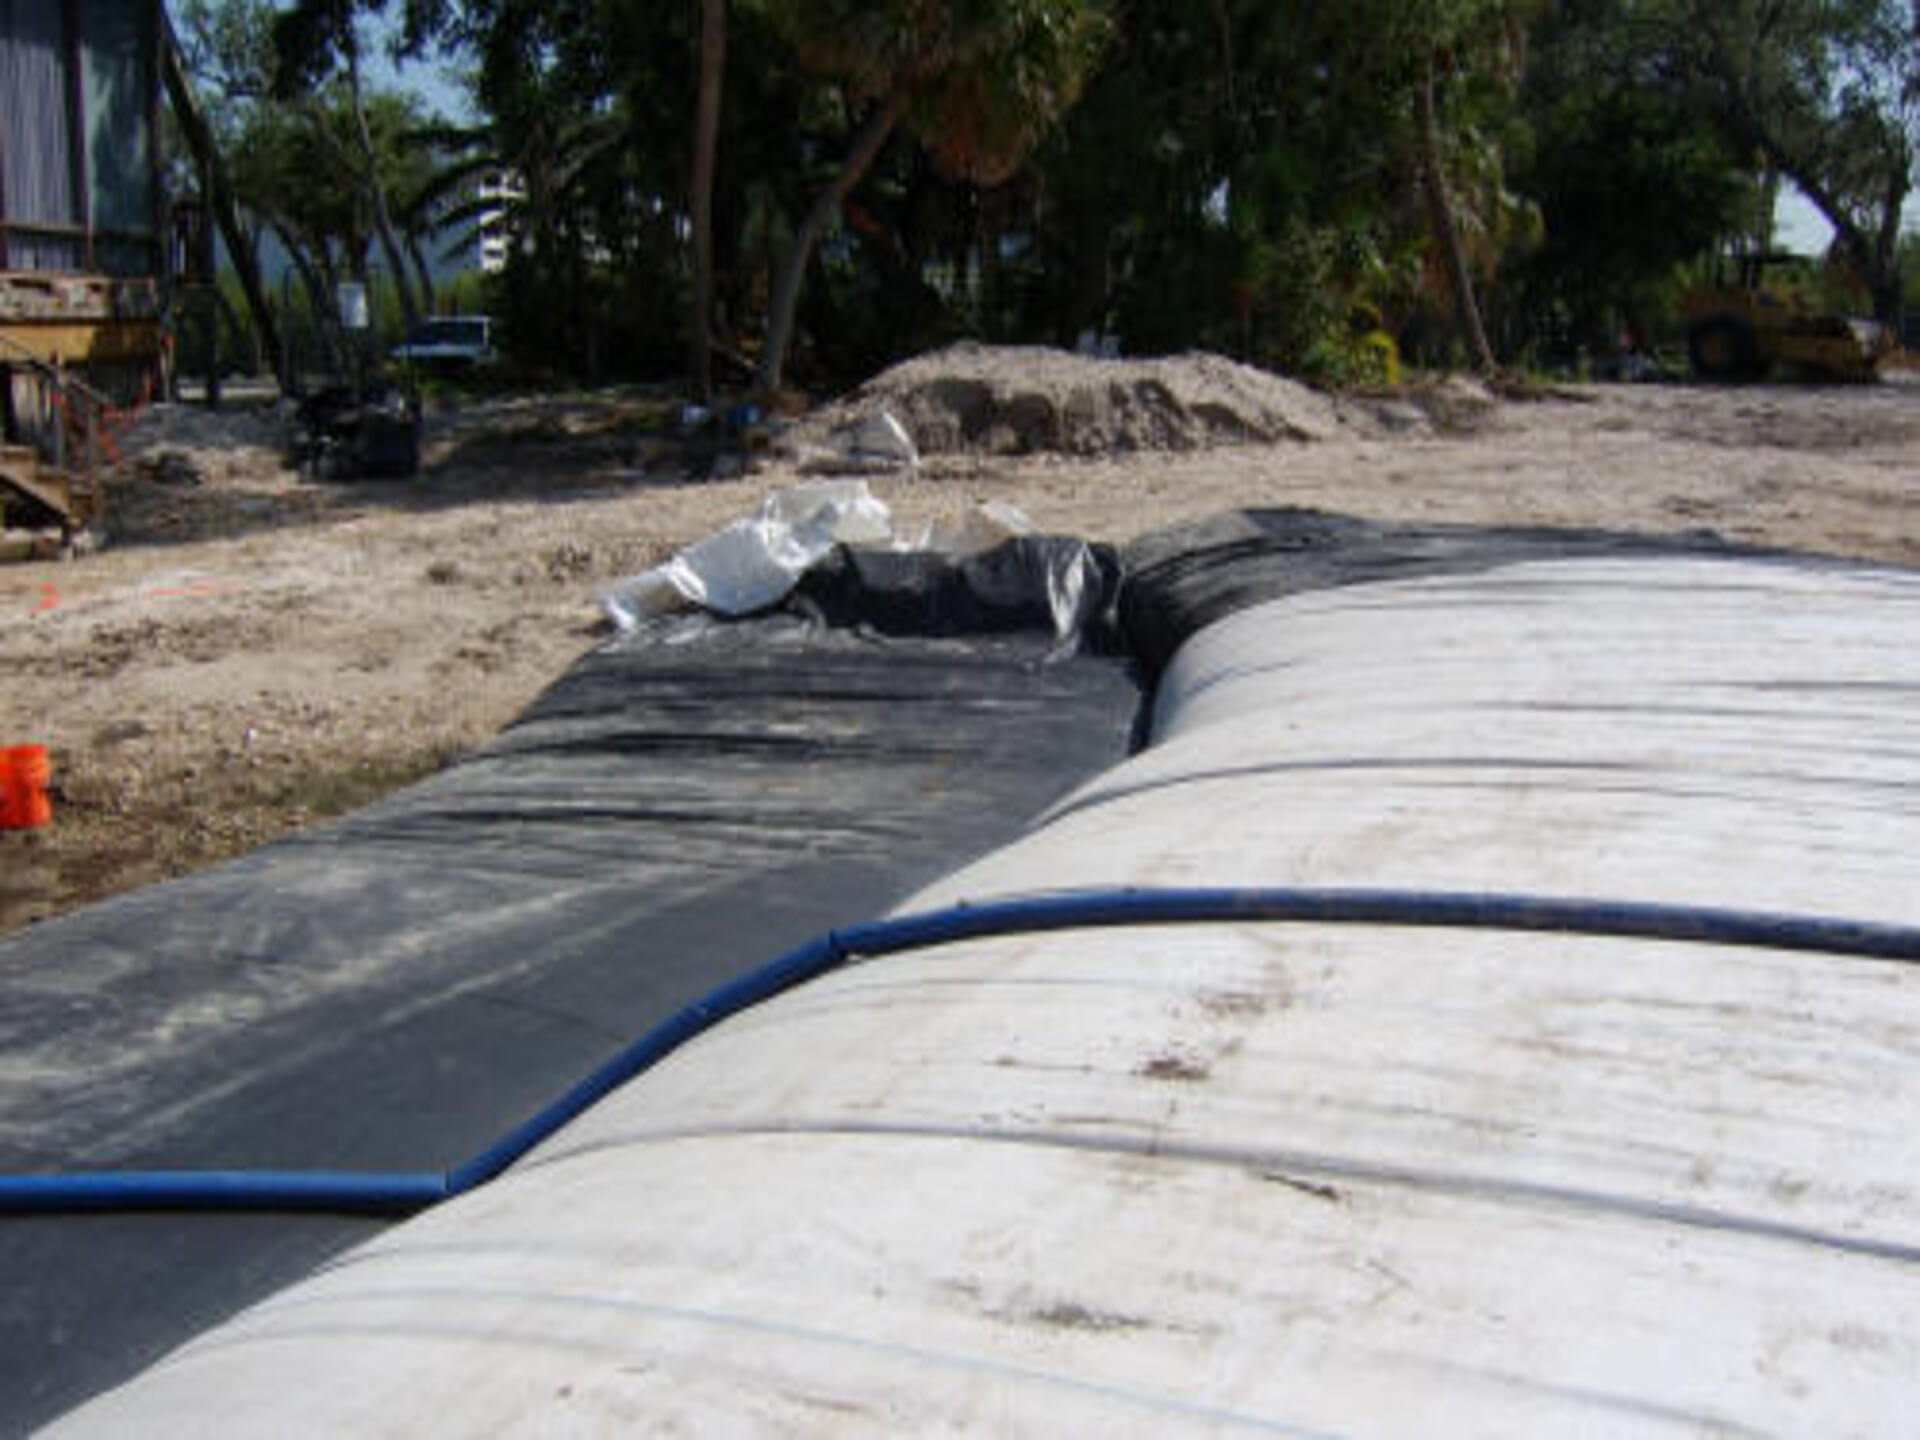
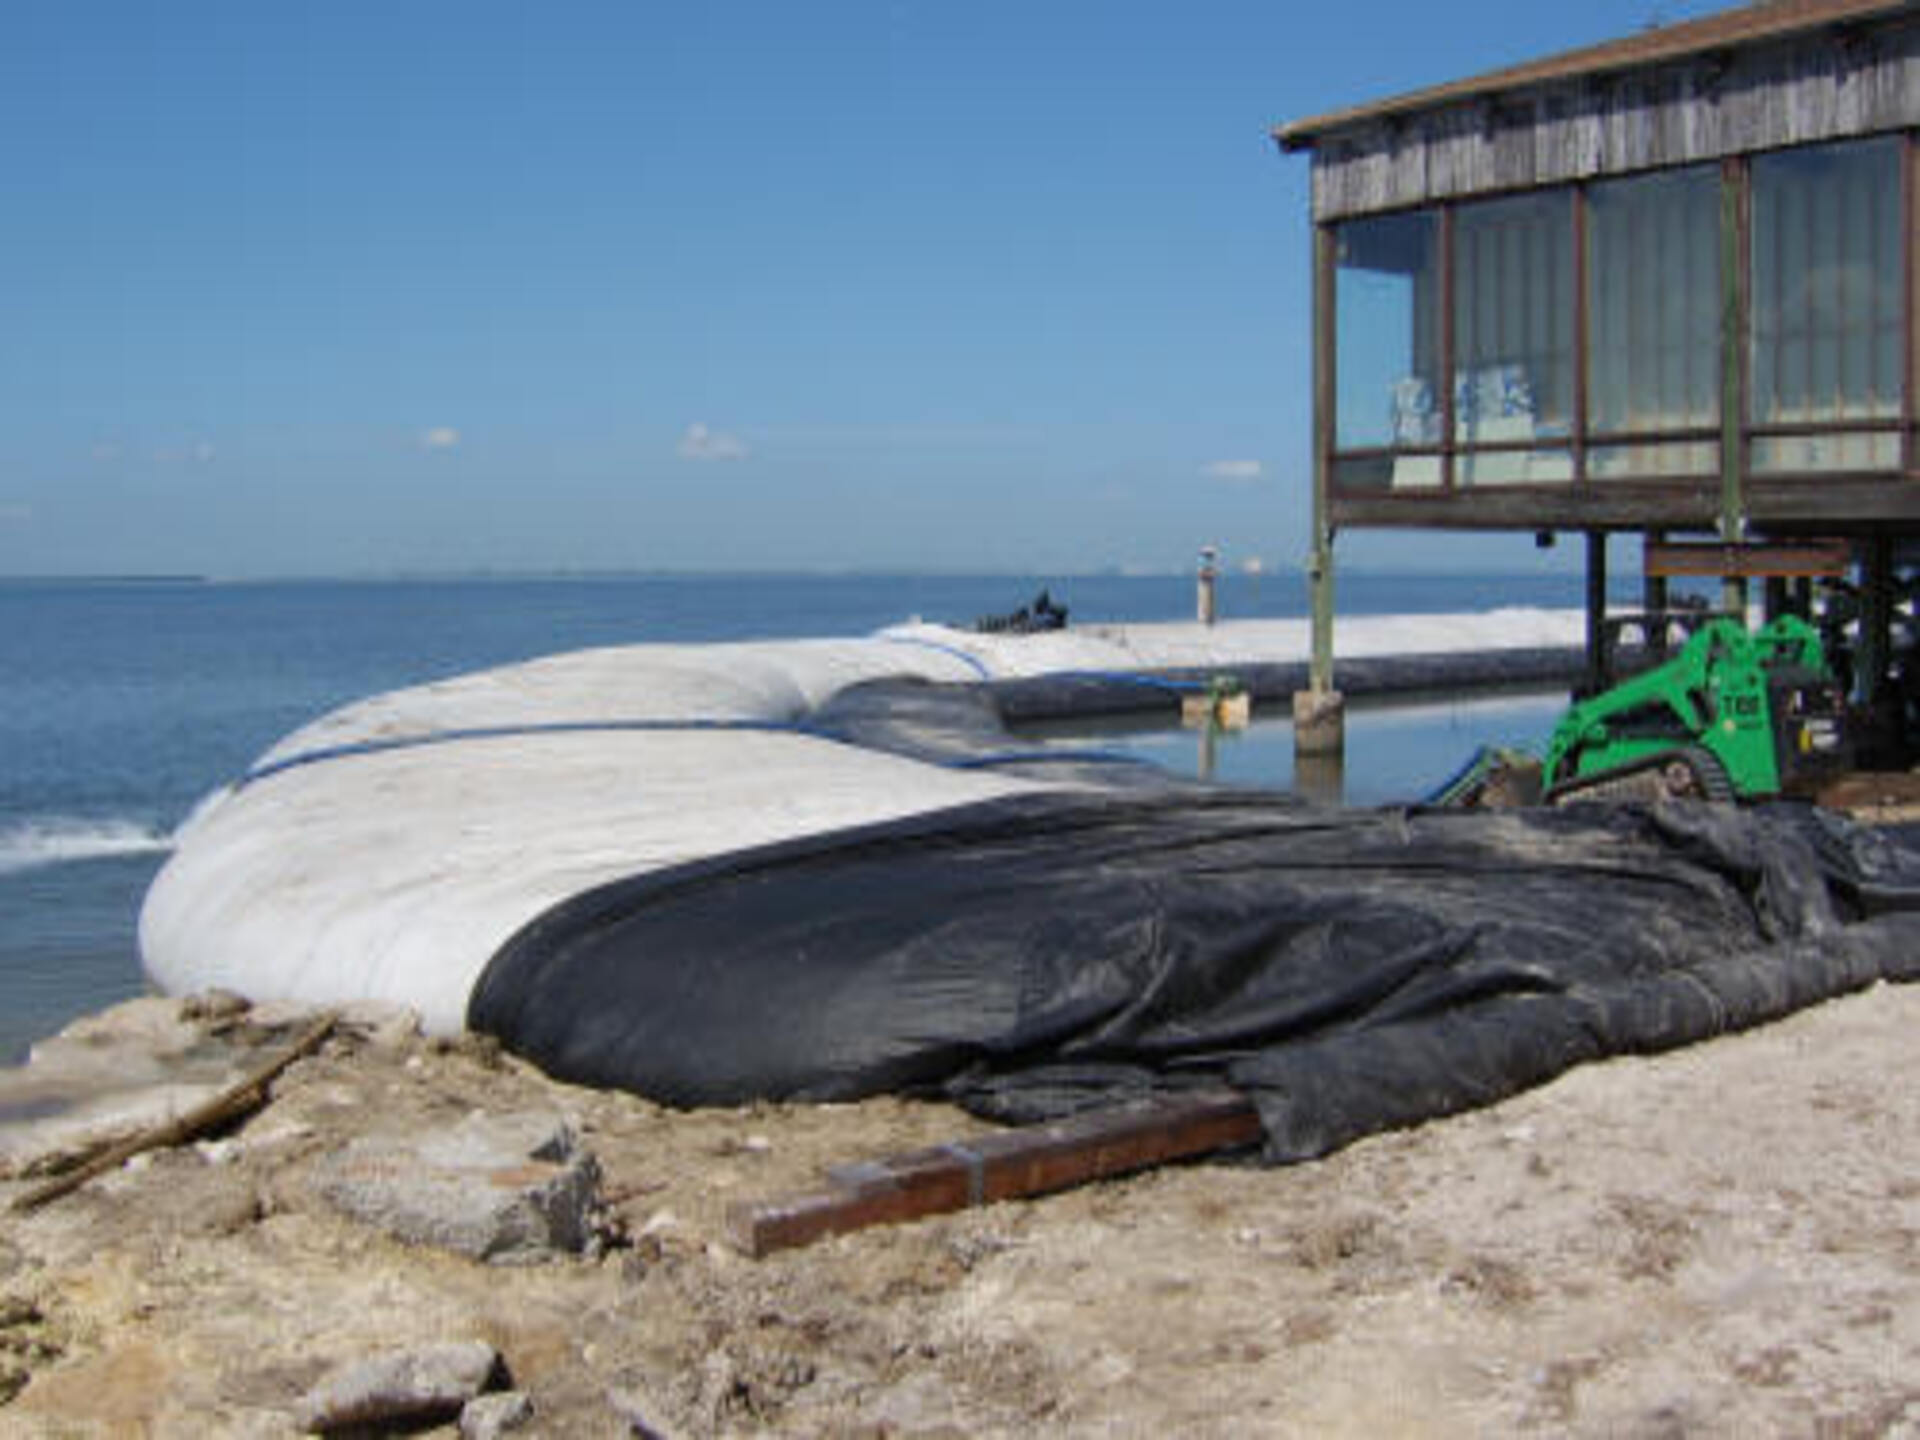
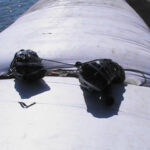
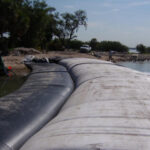
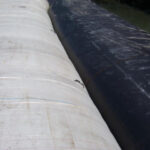
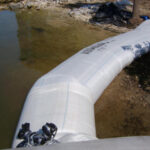
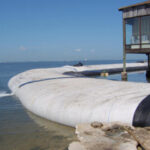
12.) Multiple AquaDams have been joined together to make this cofferdam. AquaDams are joined together with a connection collar which can be added to the closed end of an AquaDam. The fill-tubes of a SCE AquaDam® can be seen (black material) extending out of the top of the dam. The fill-tubes are run inside the collar and through holes to be brought out atop for filling.
13.) During the installation process, ropes were securely fastened to the outer sleeve material and anchored back to shore to assist in guiding and positioning the unit effectively.
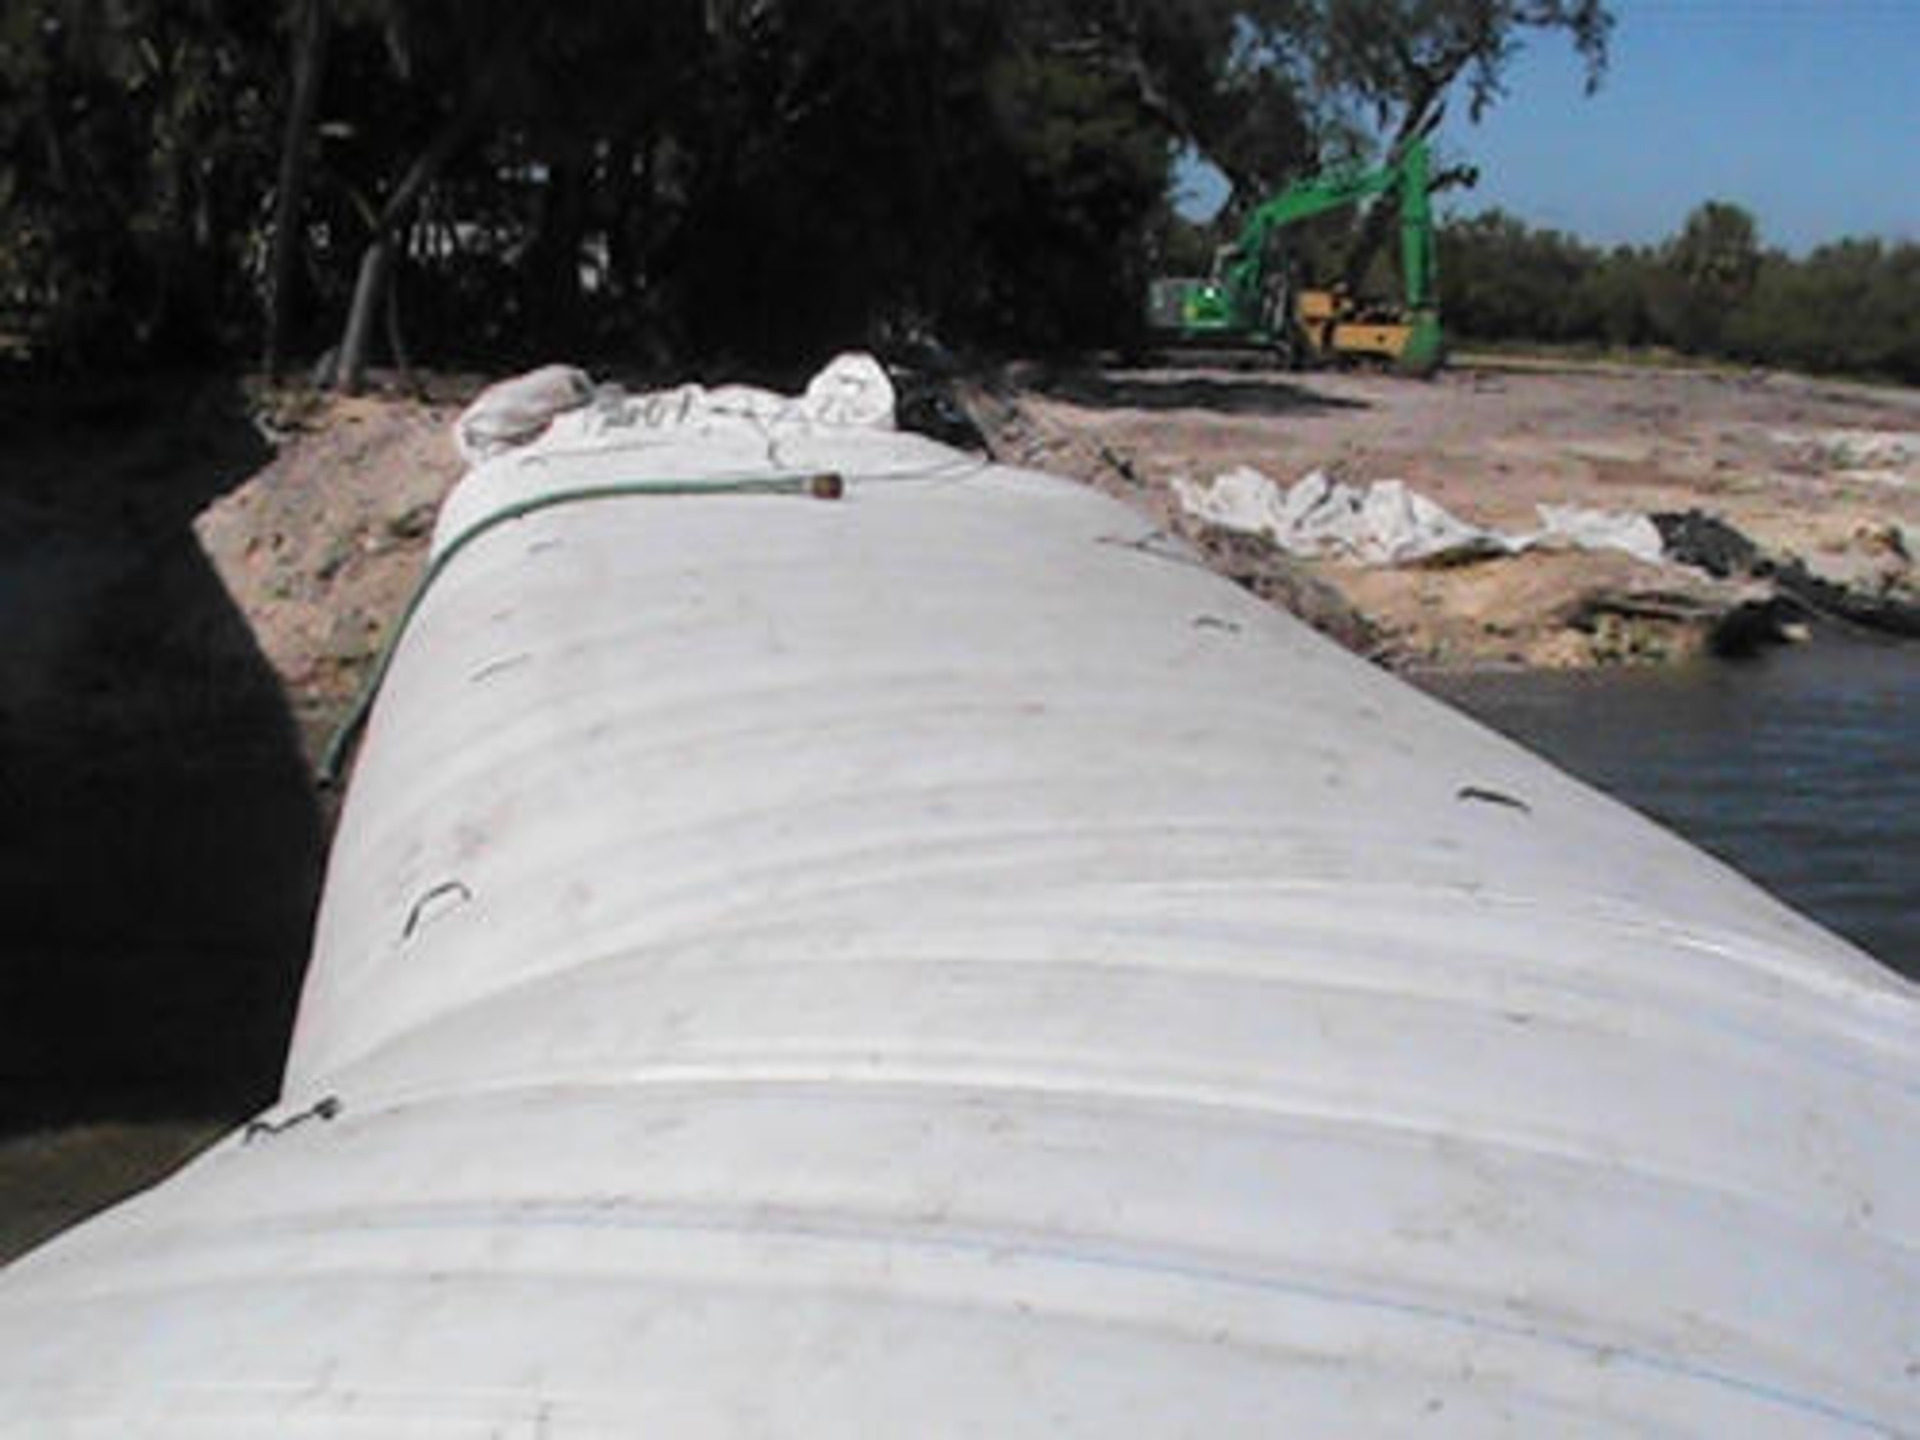
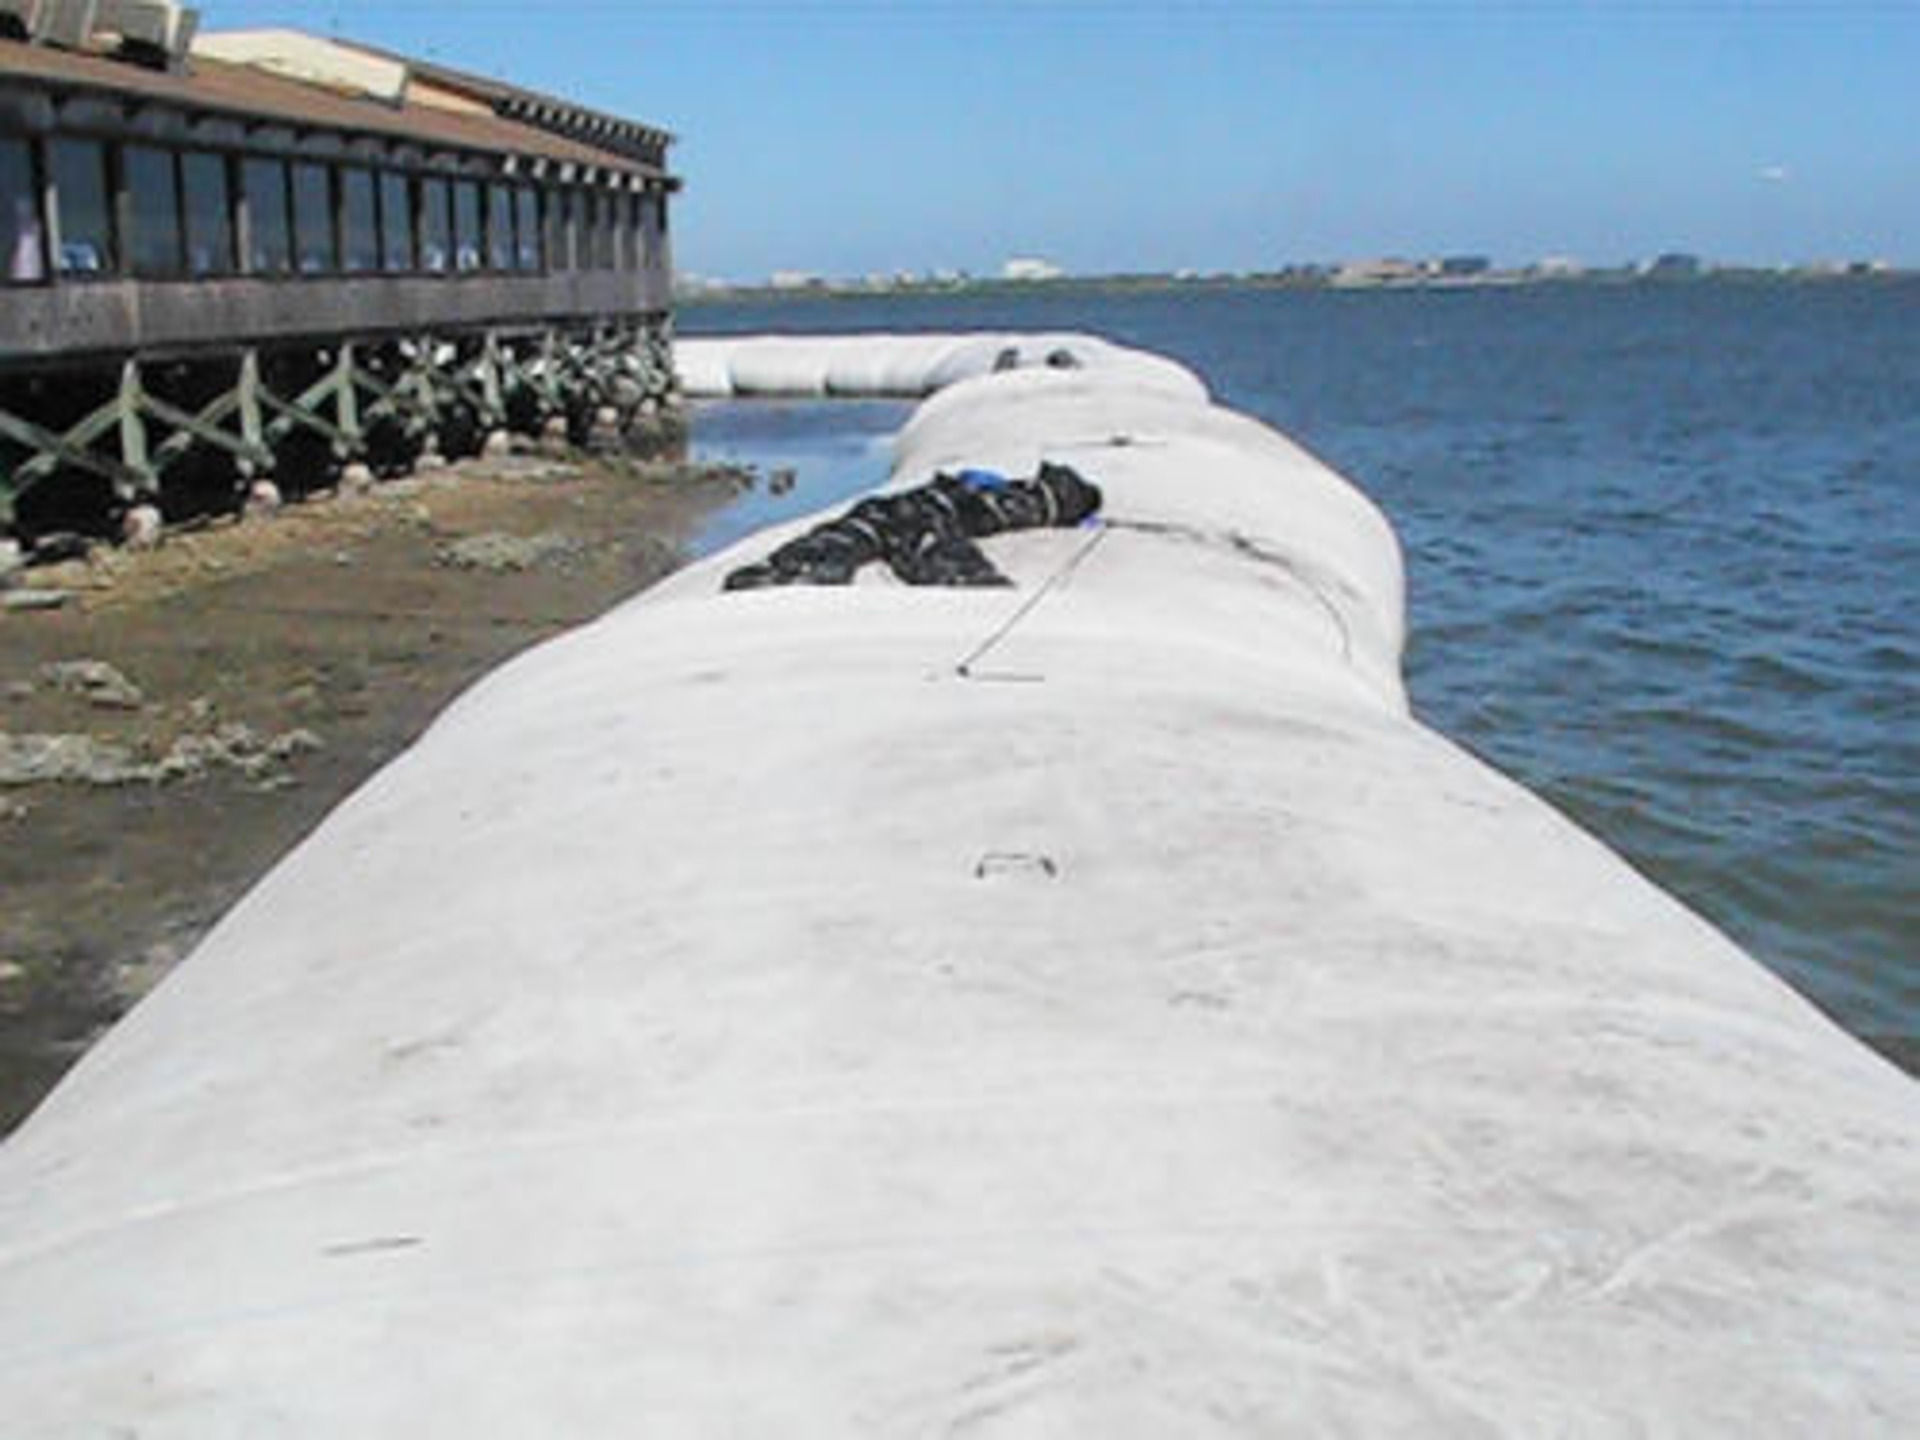
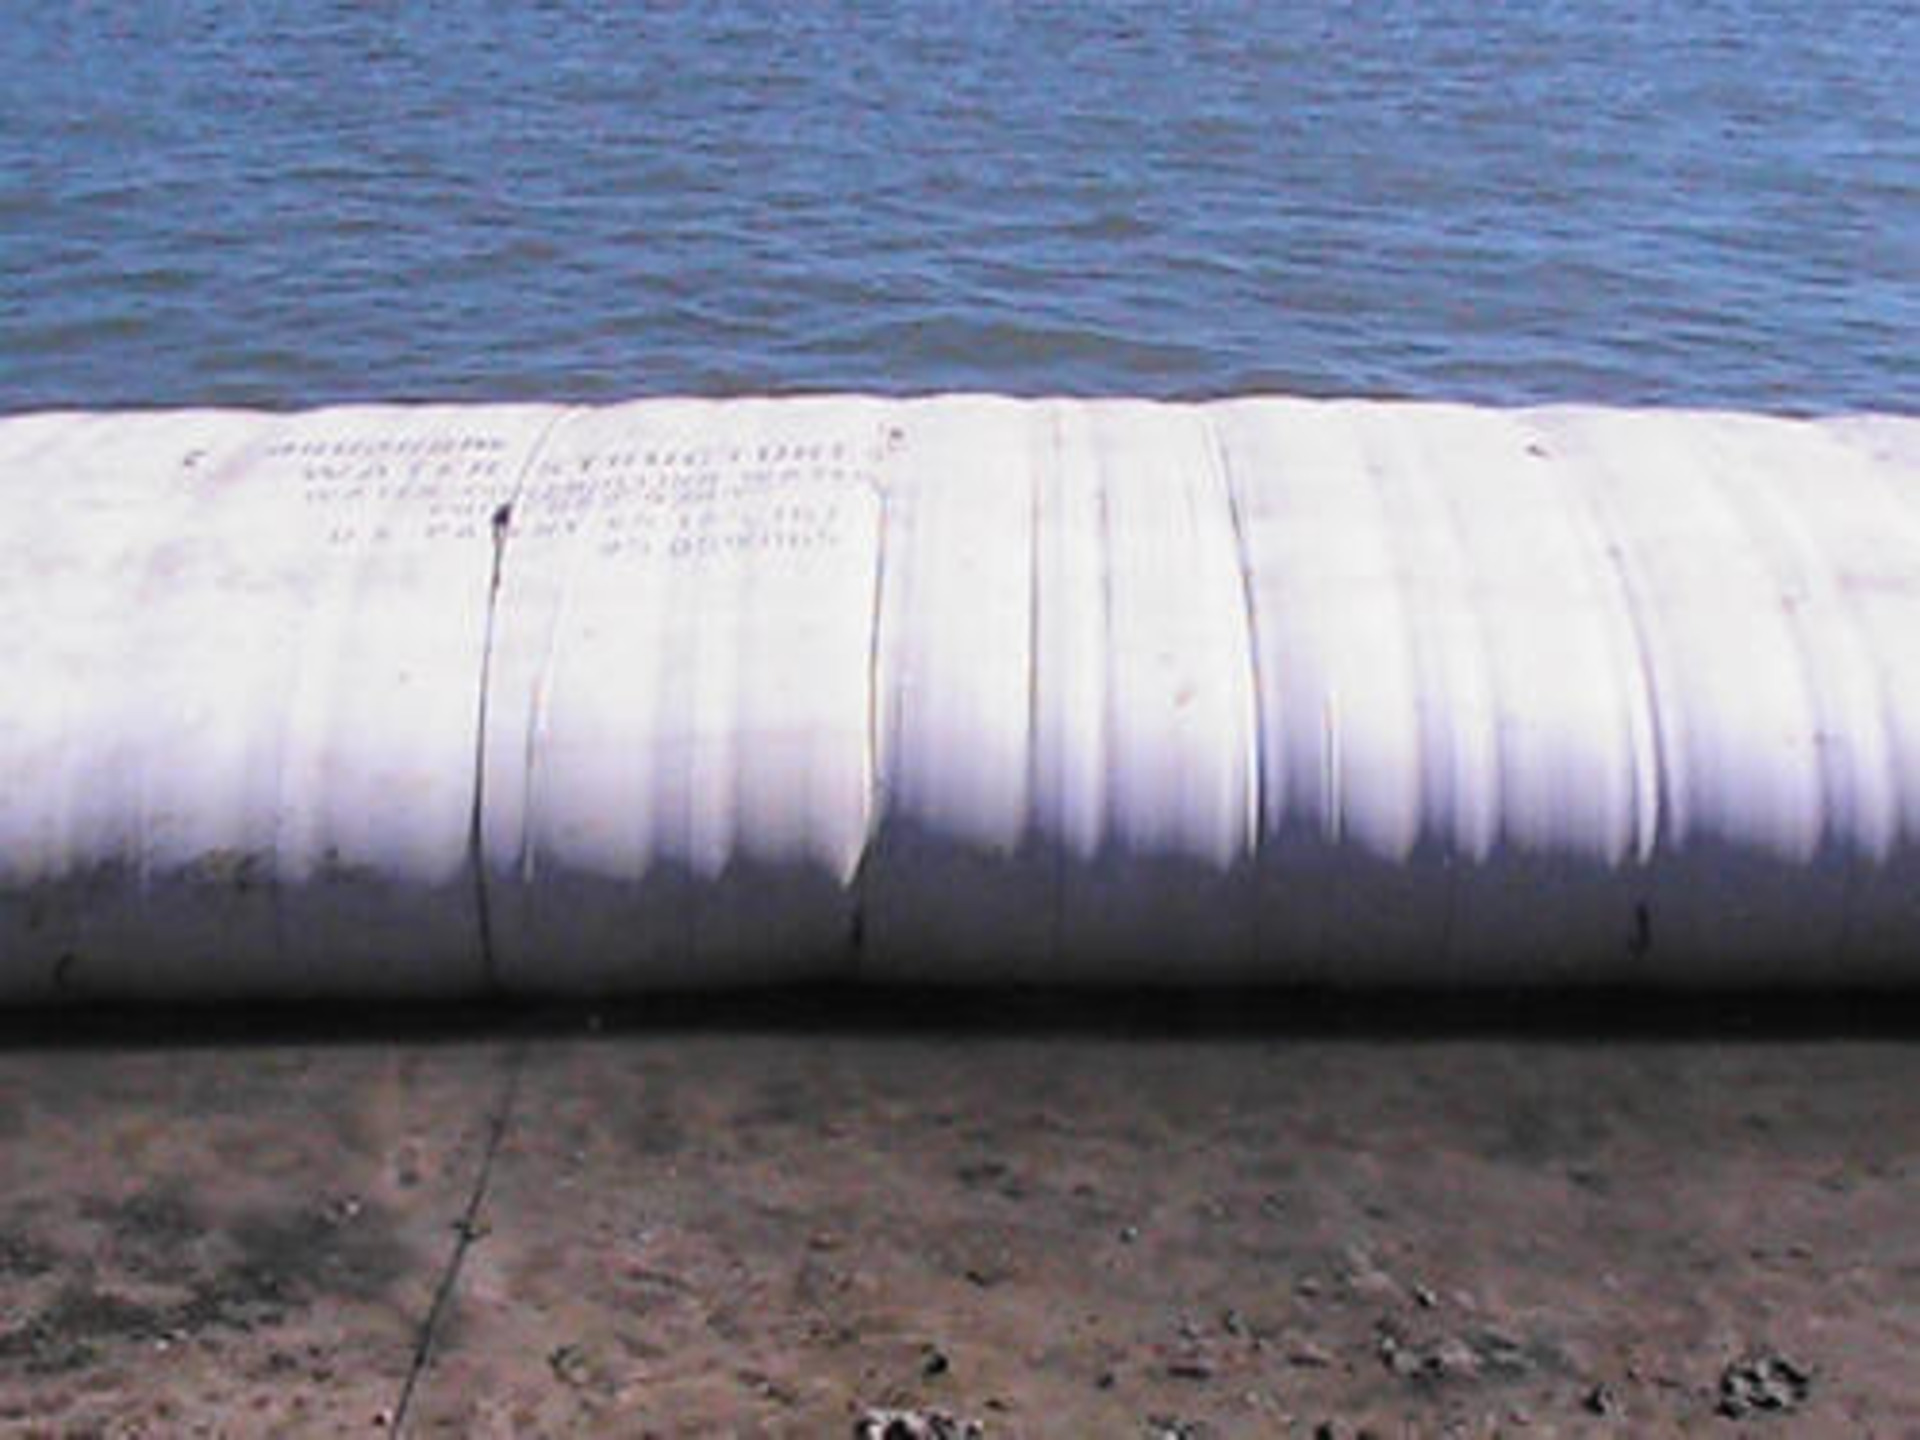
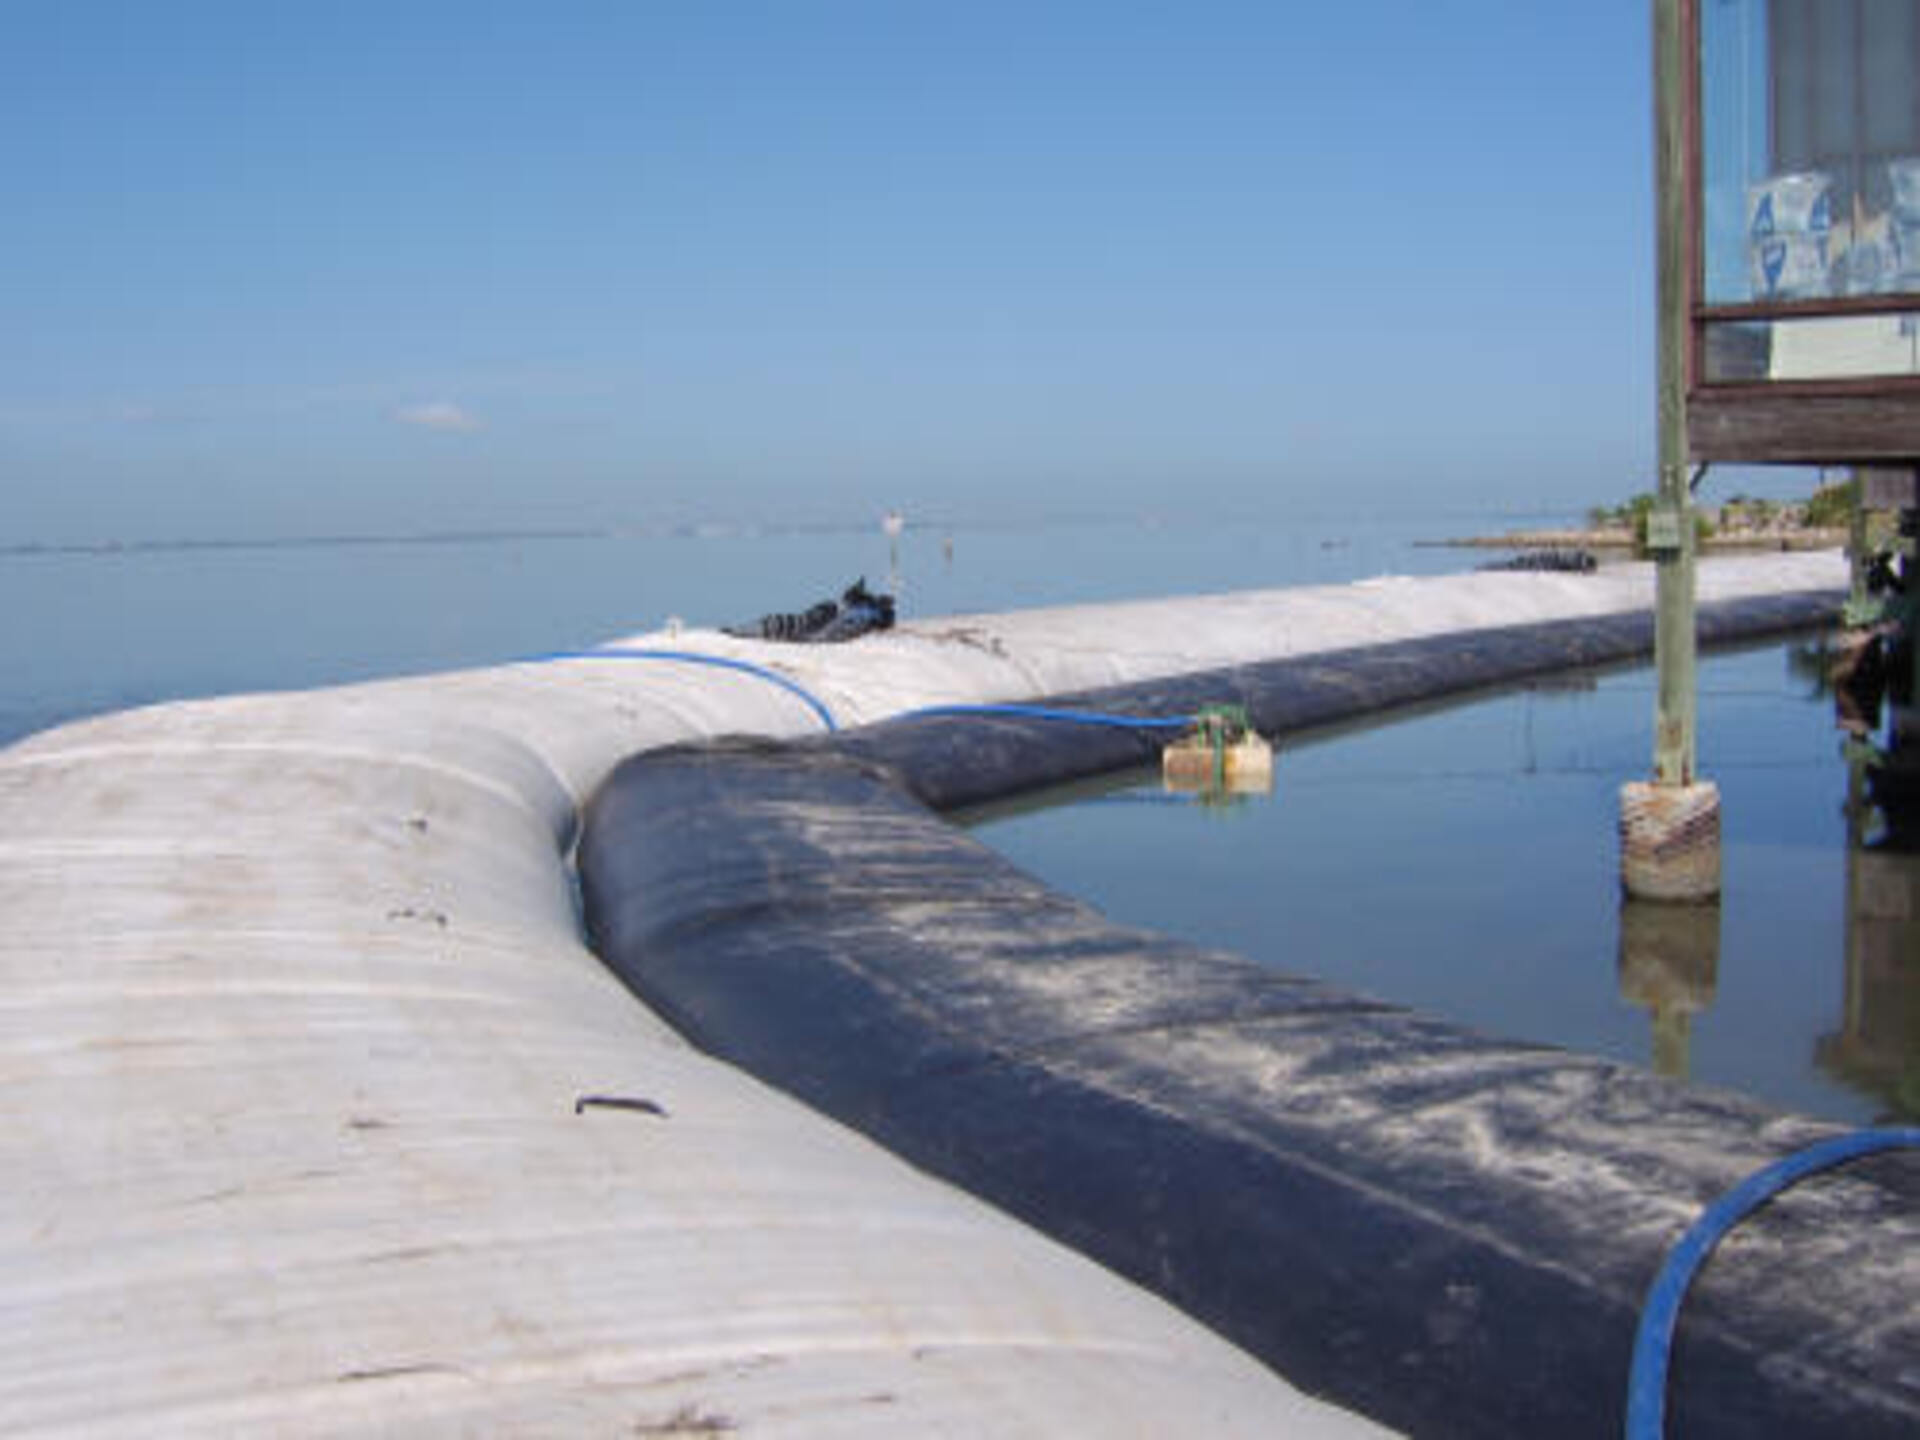
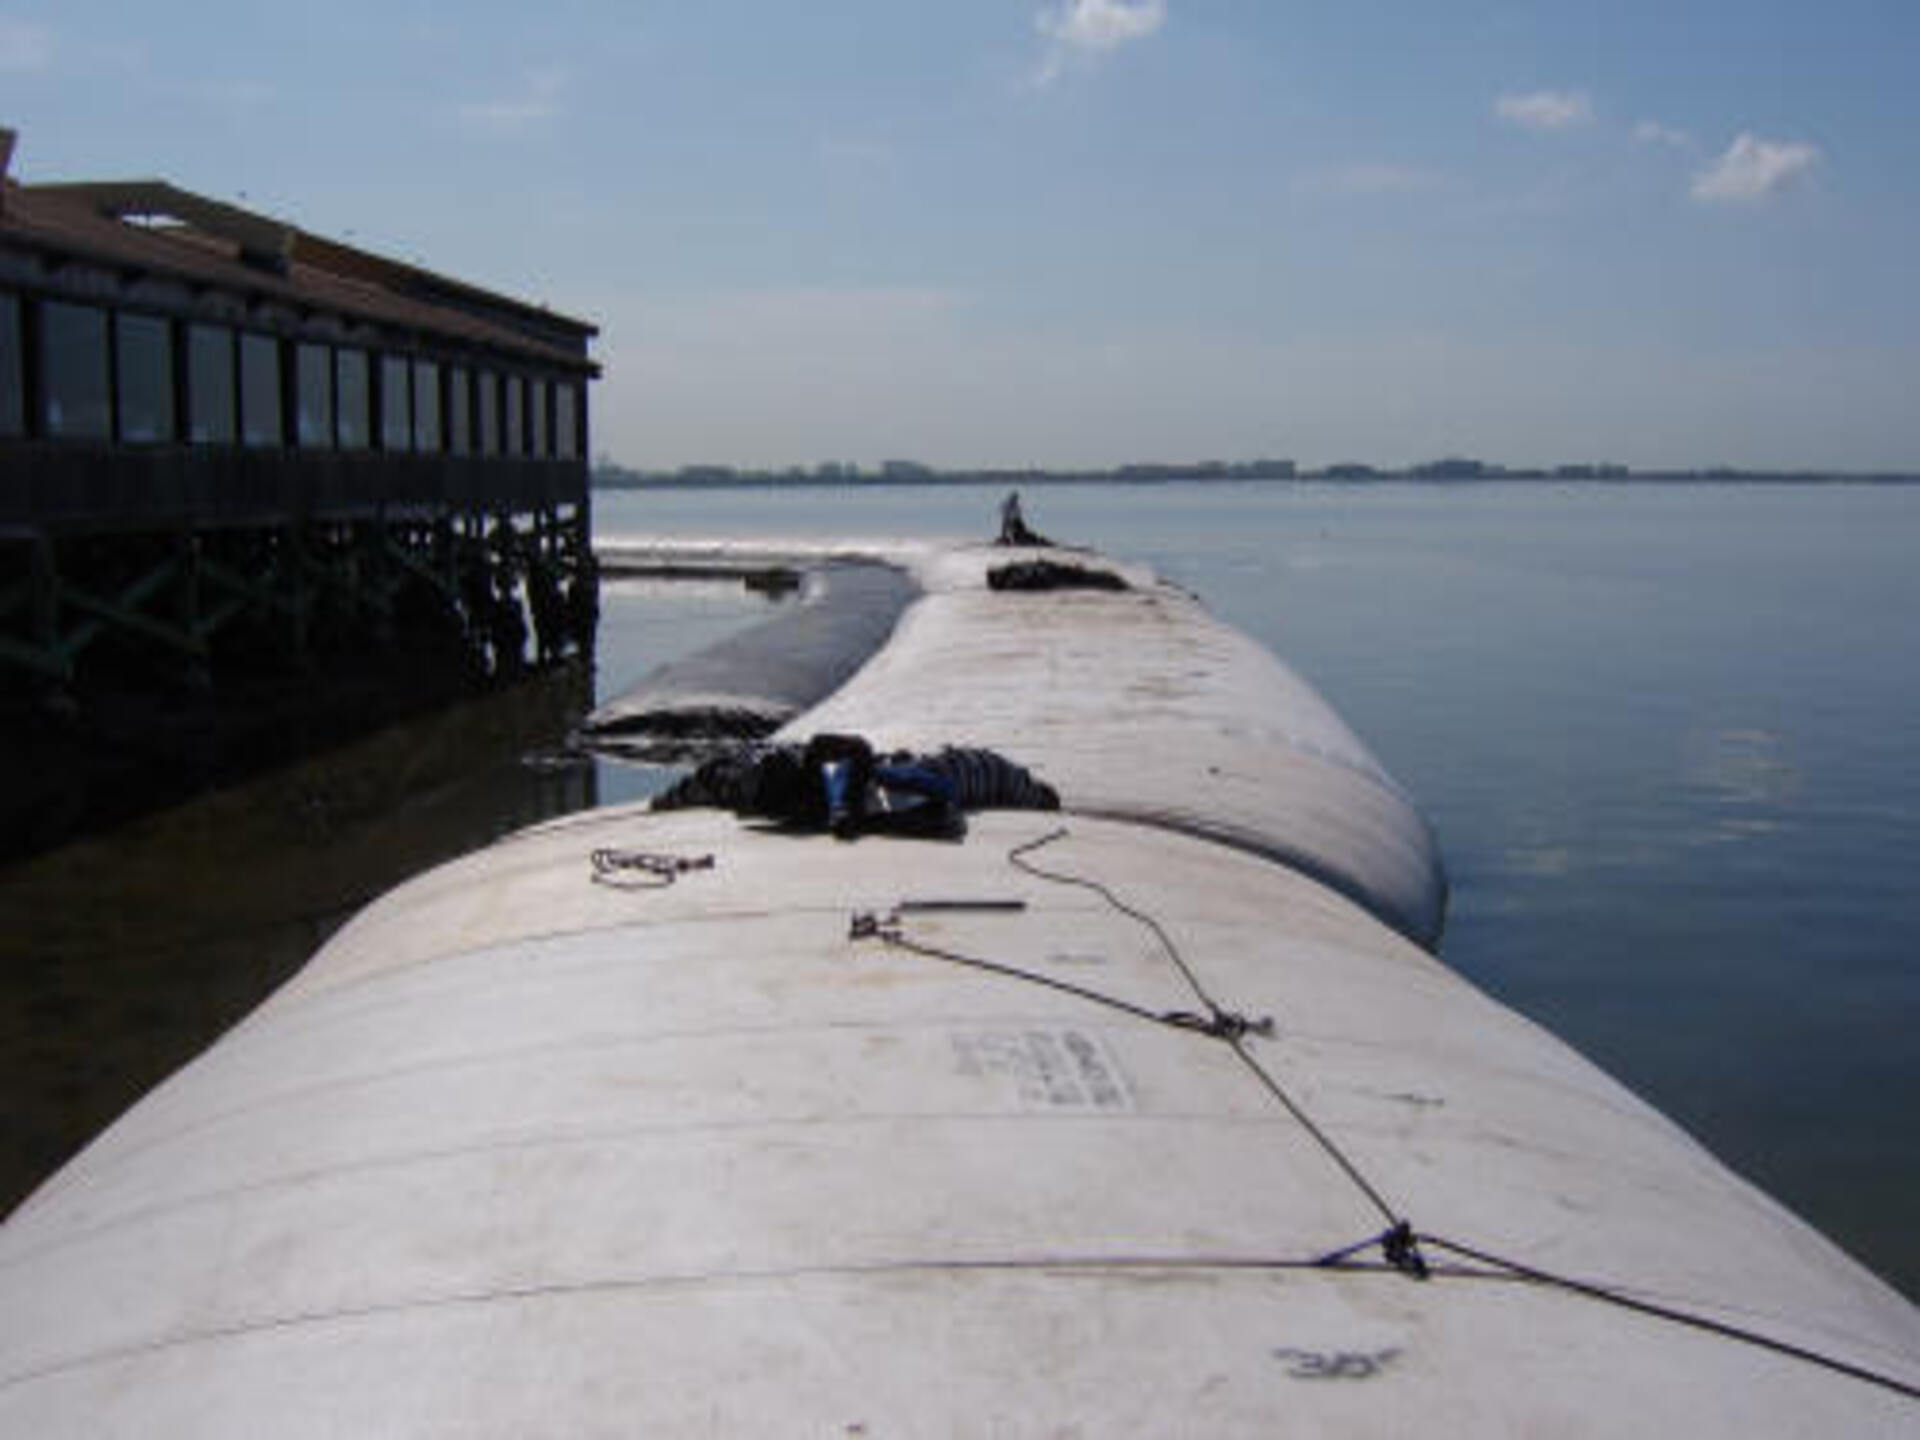
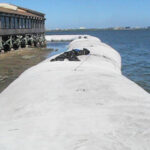
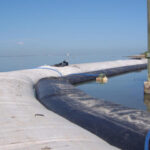
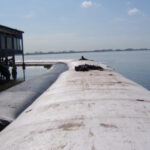
14.) Looking back at the starting bank from atop the AquaDam, the bank is just a few inches taller than the full dam.
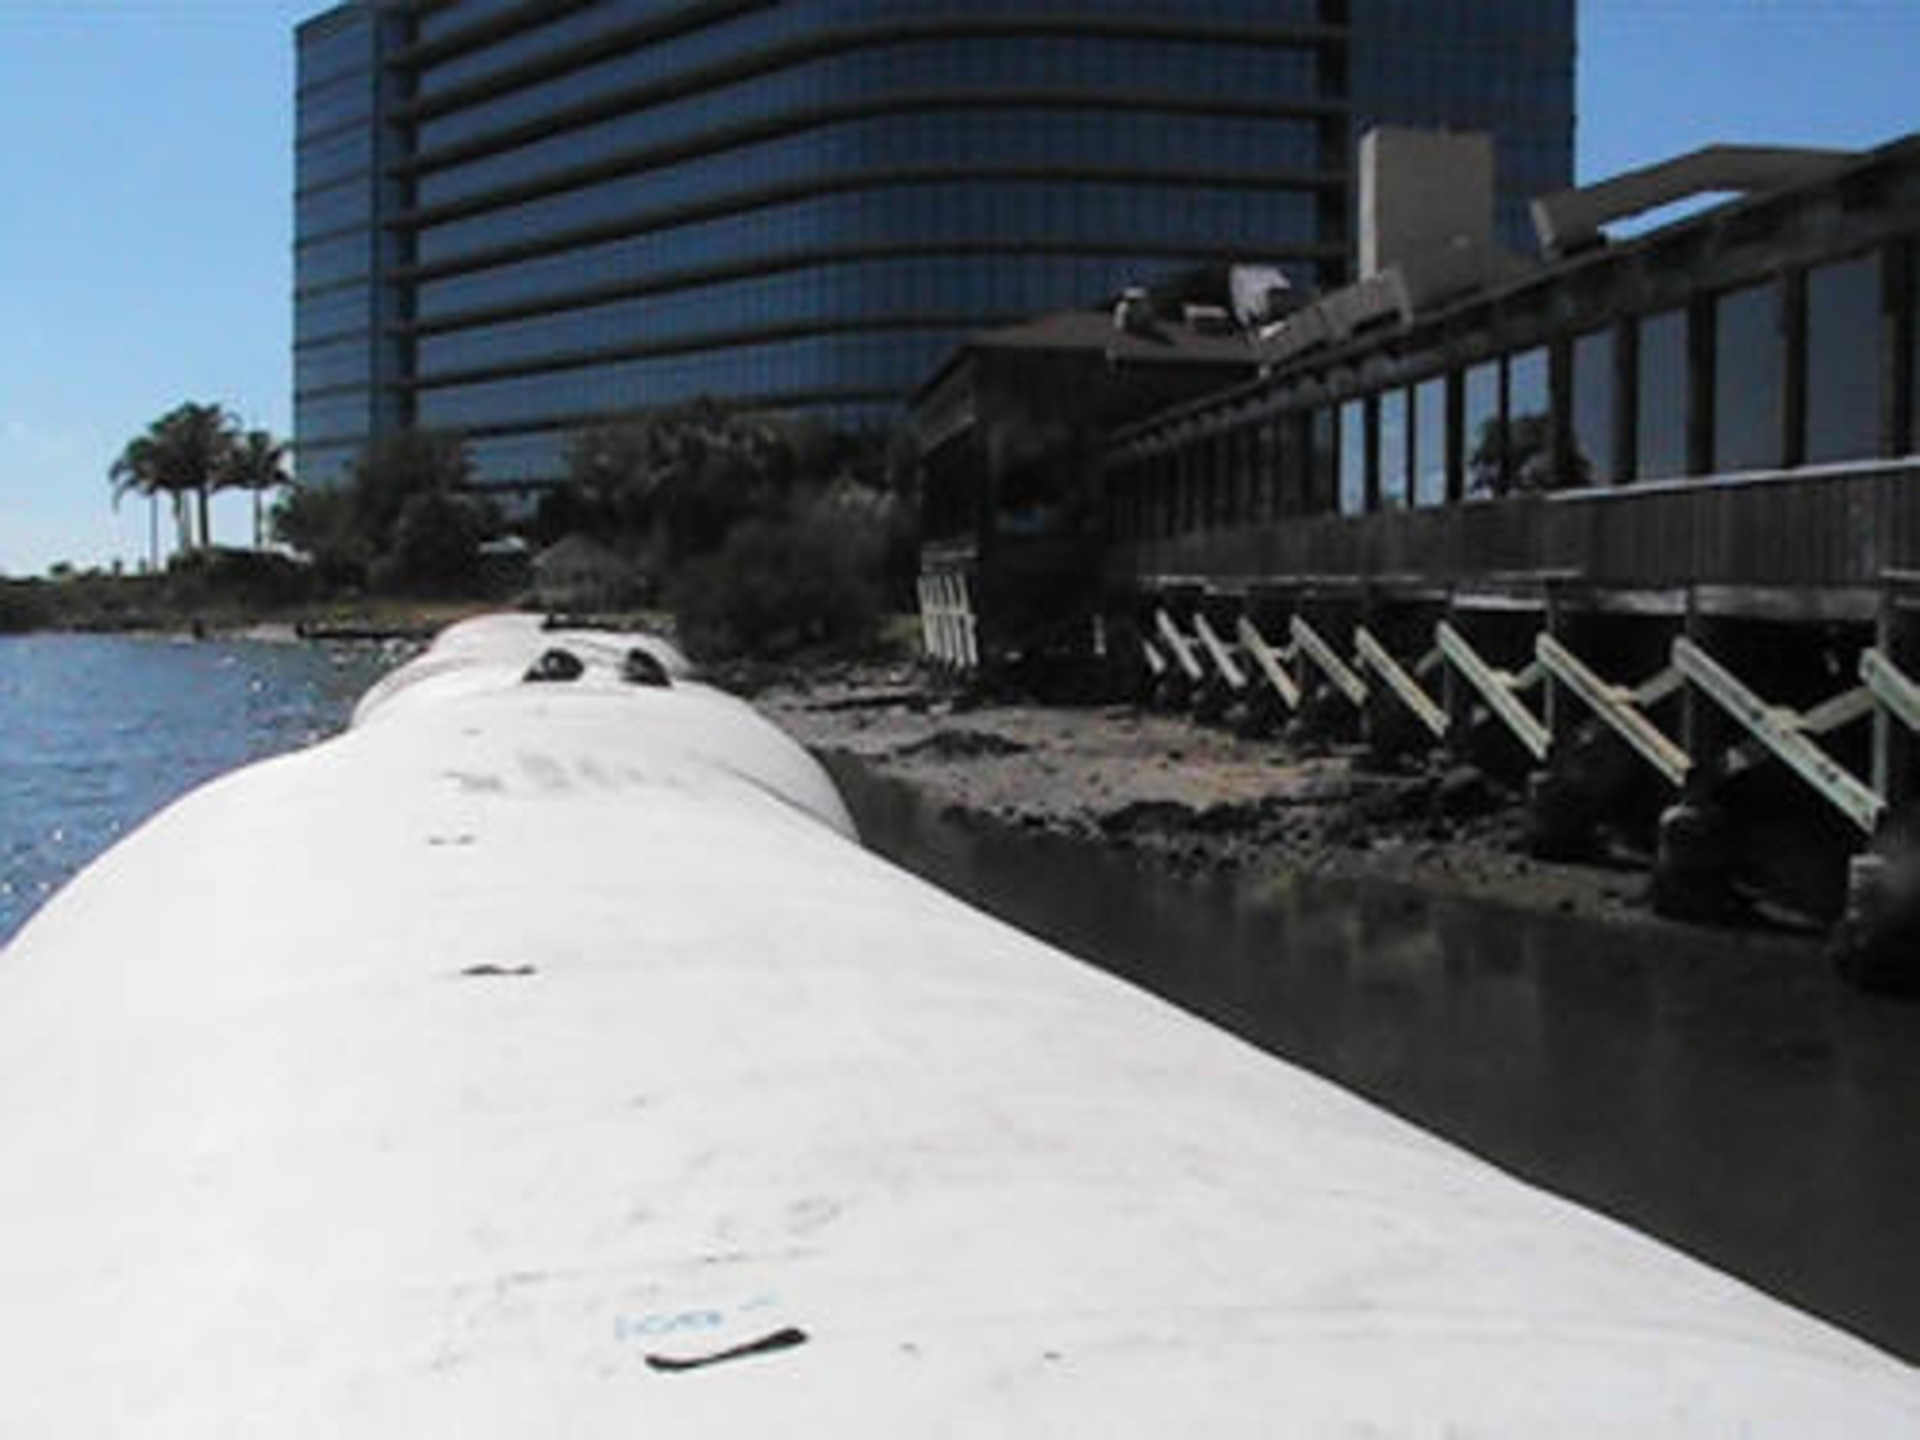
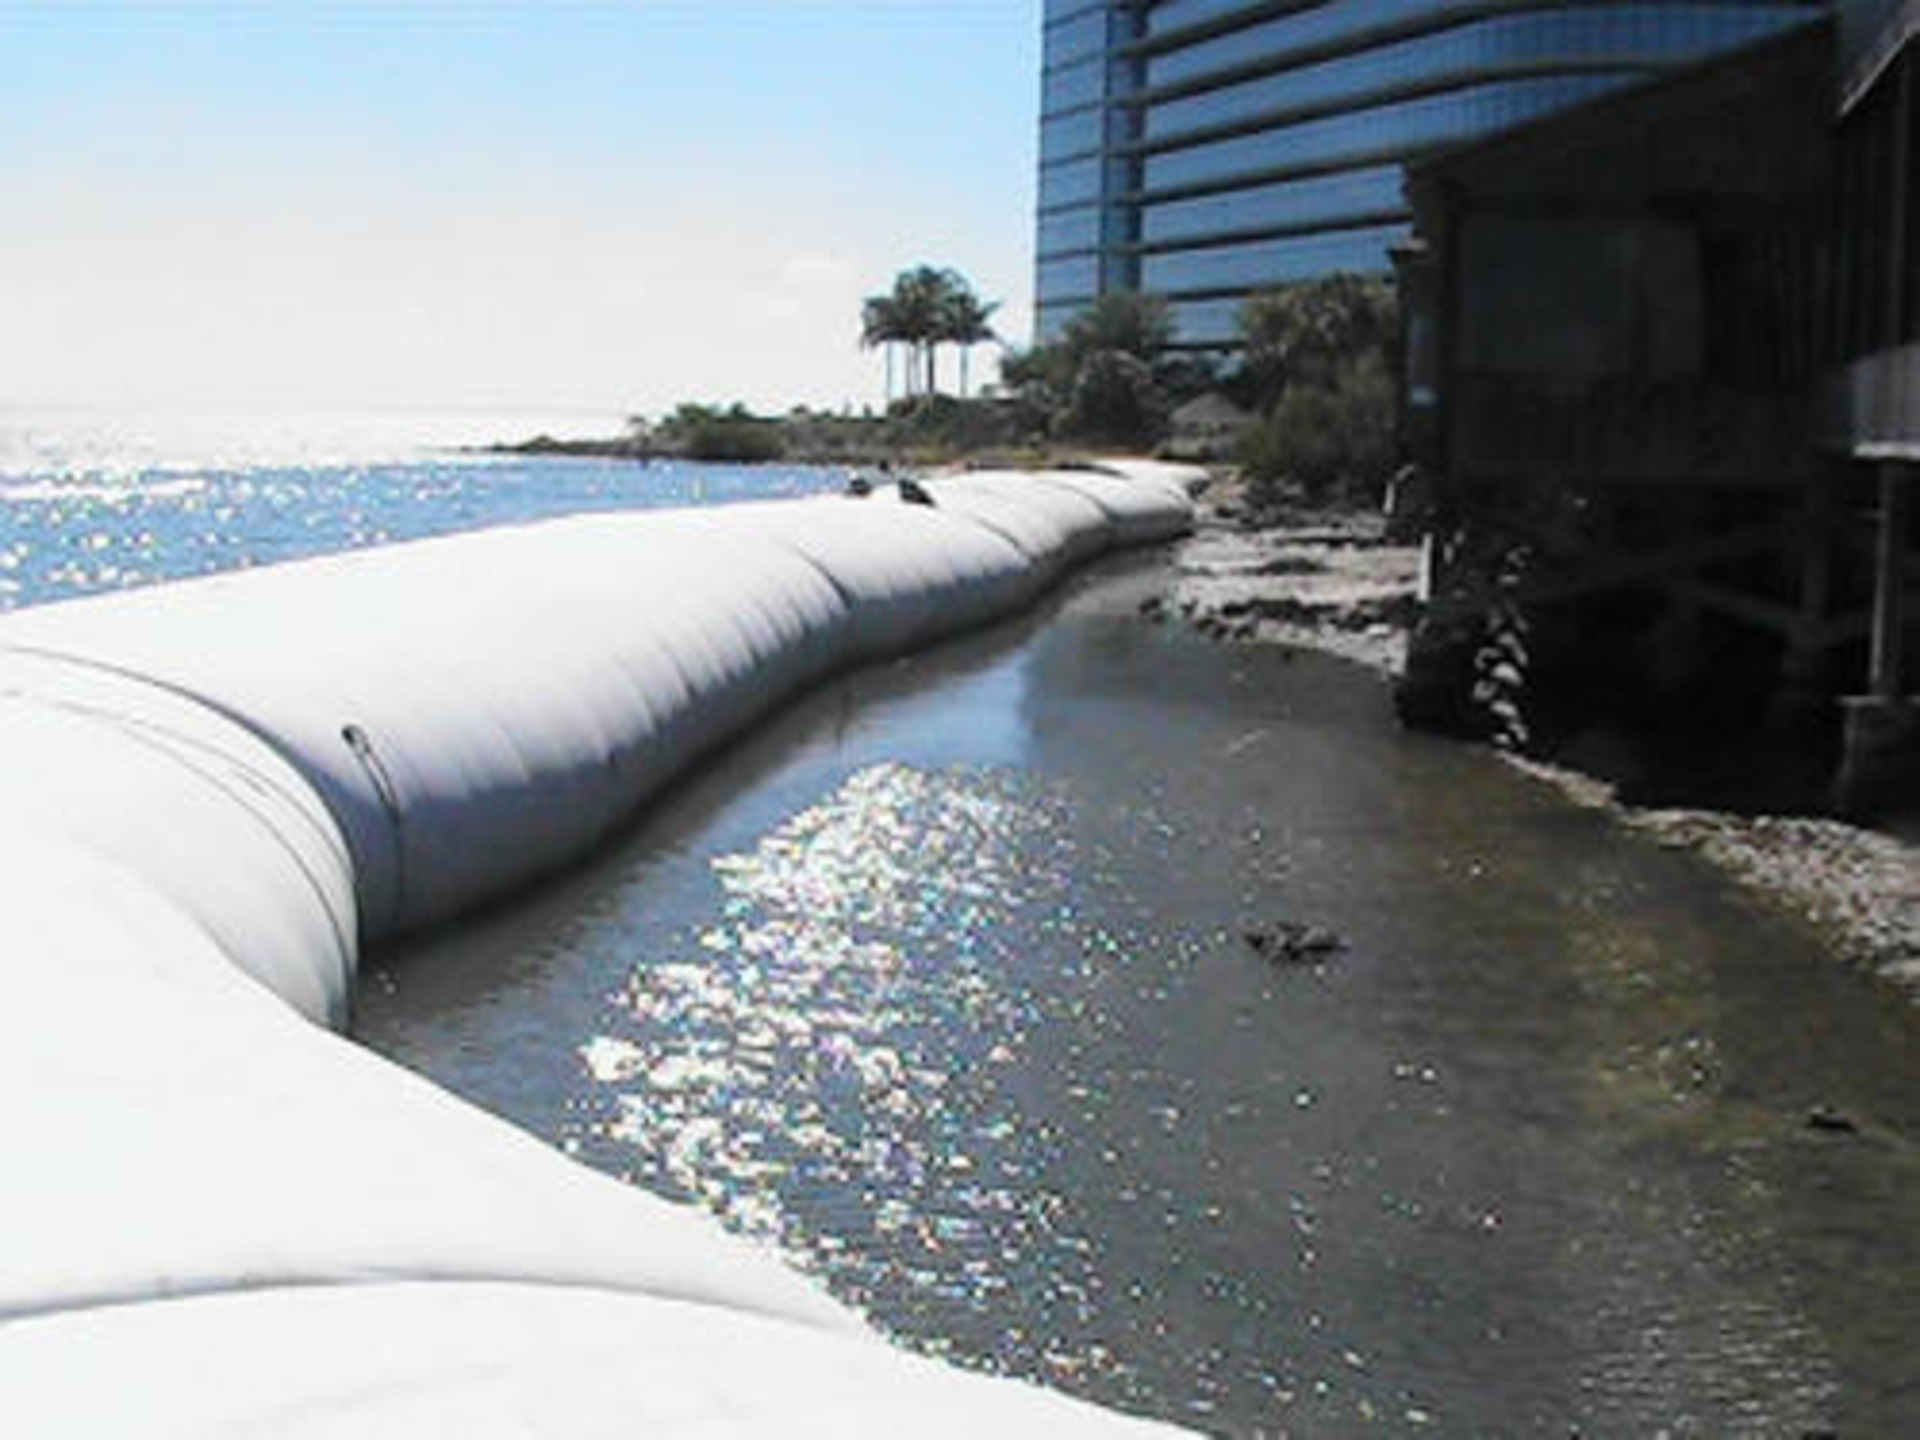
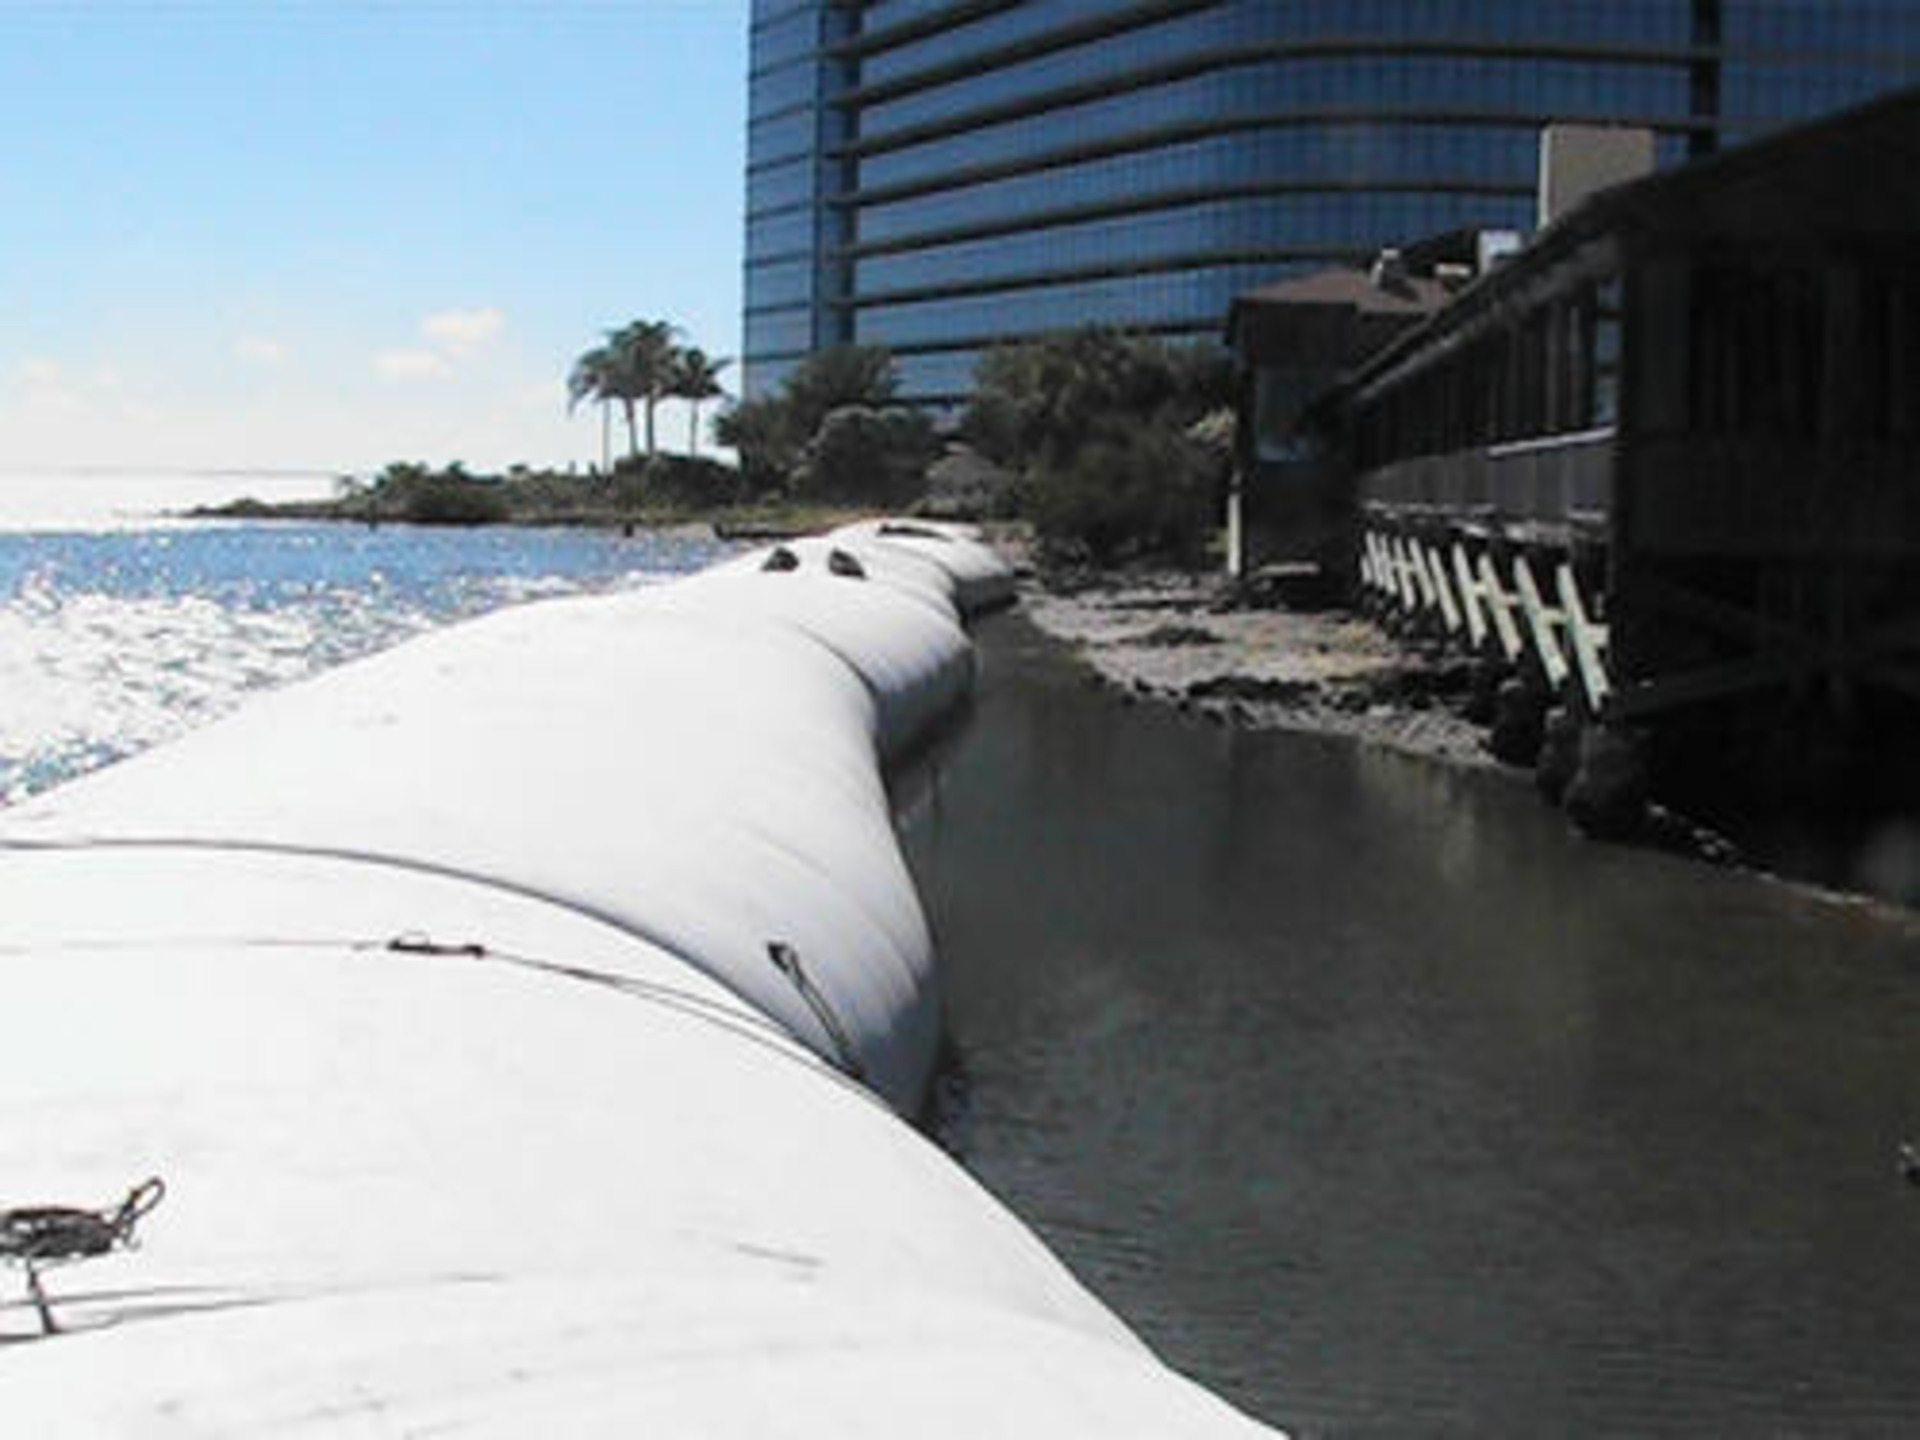
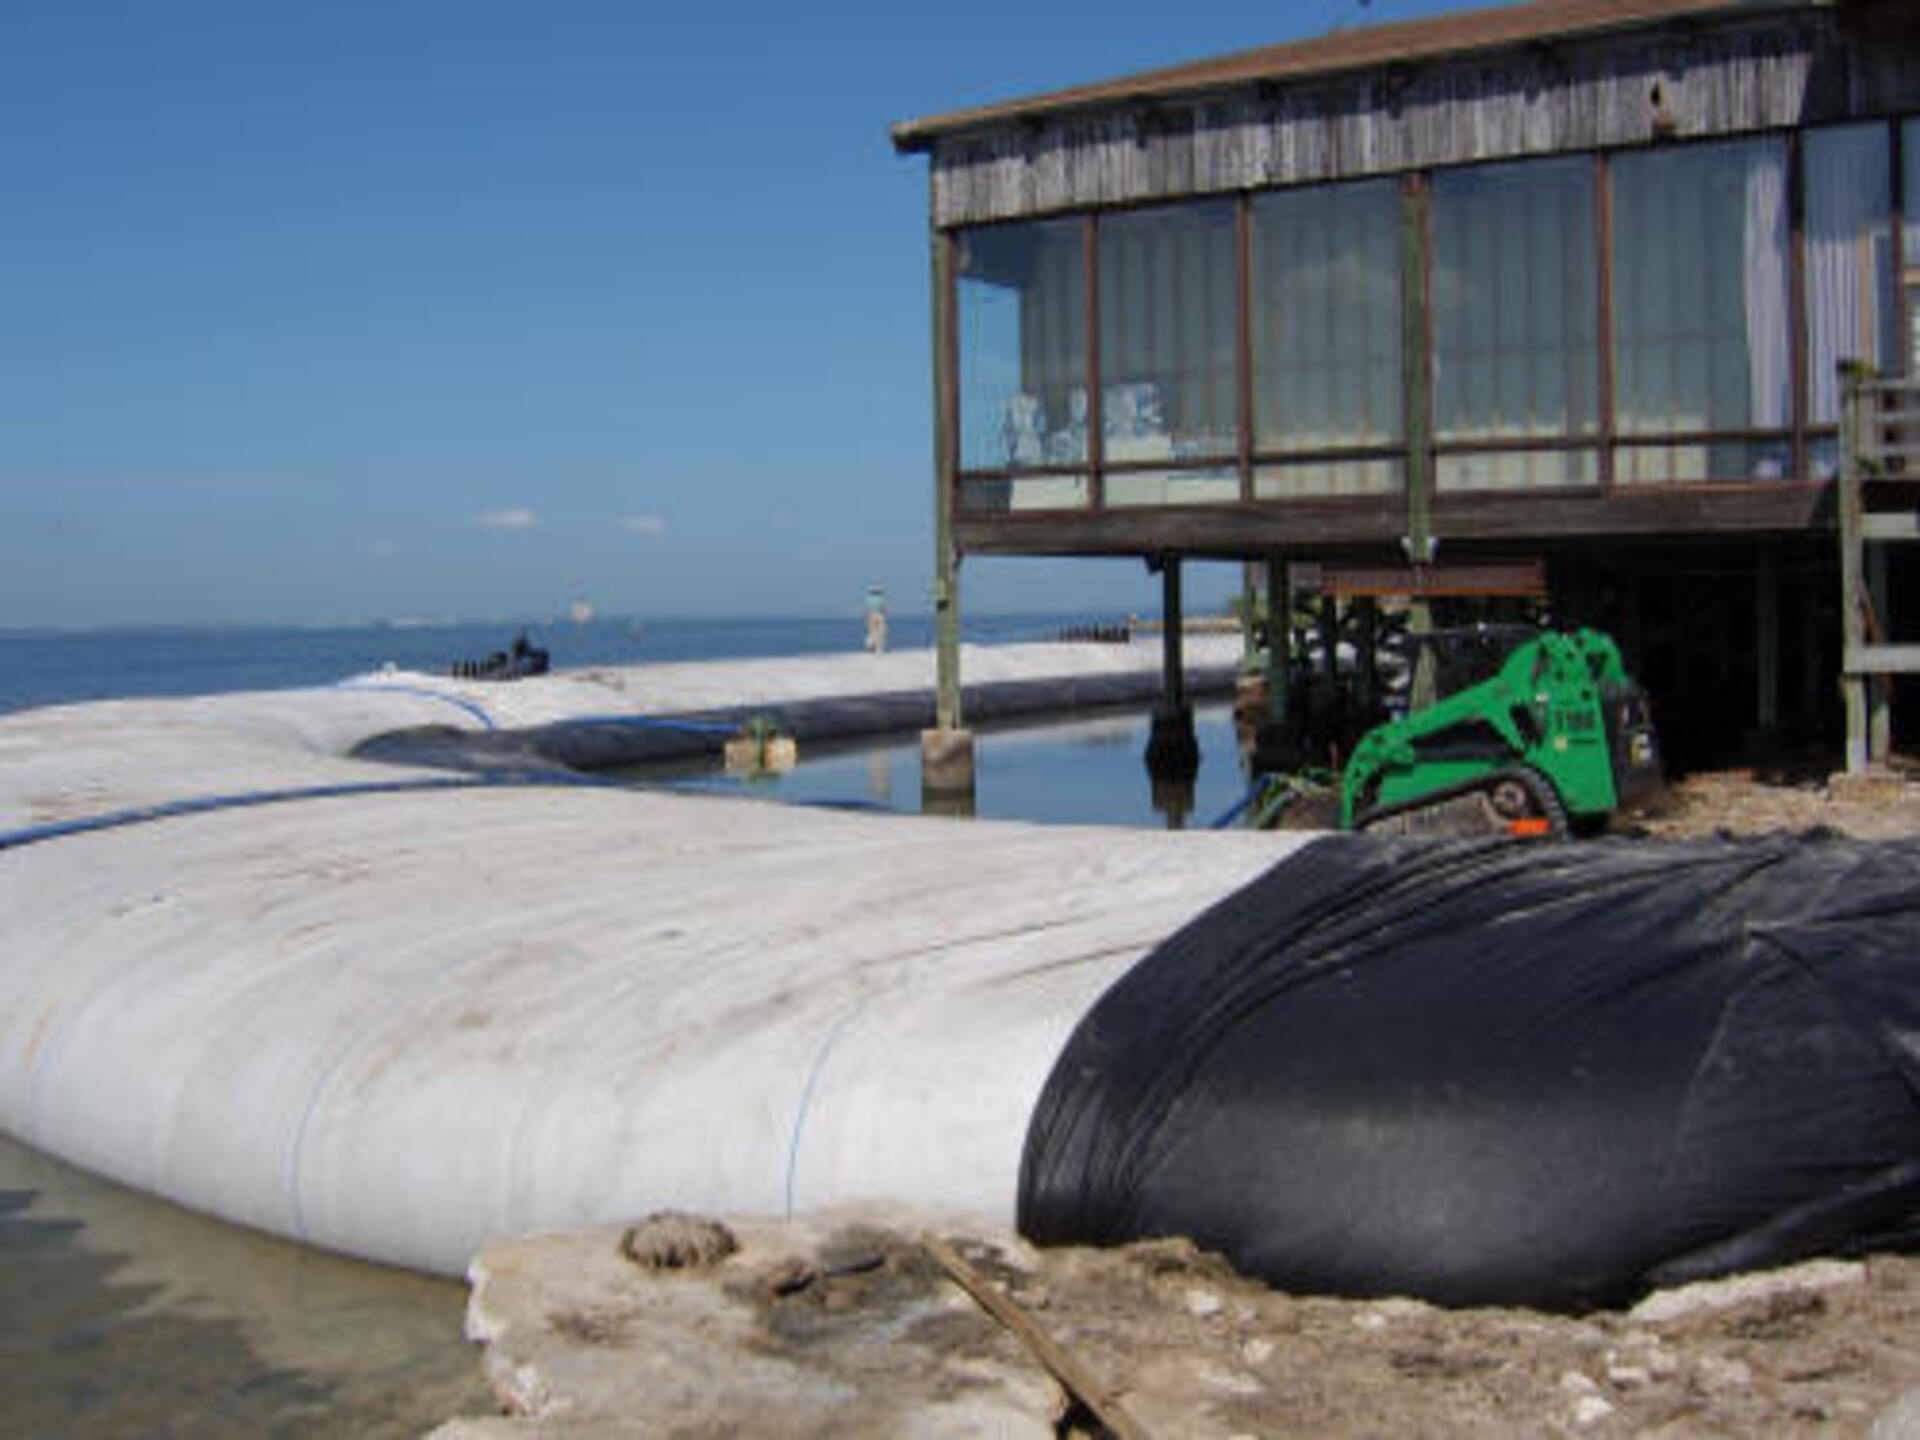
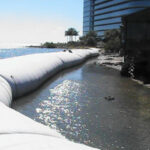
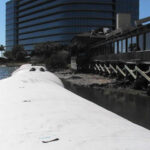
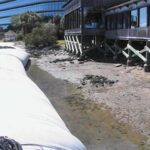
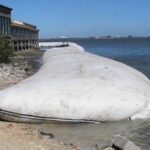
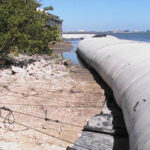
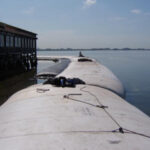
15.) The AquaDams are up and successfully isolating the bay from the restaurant.
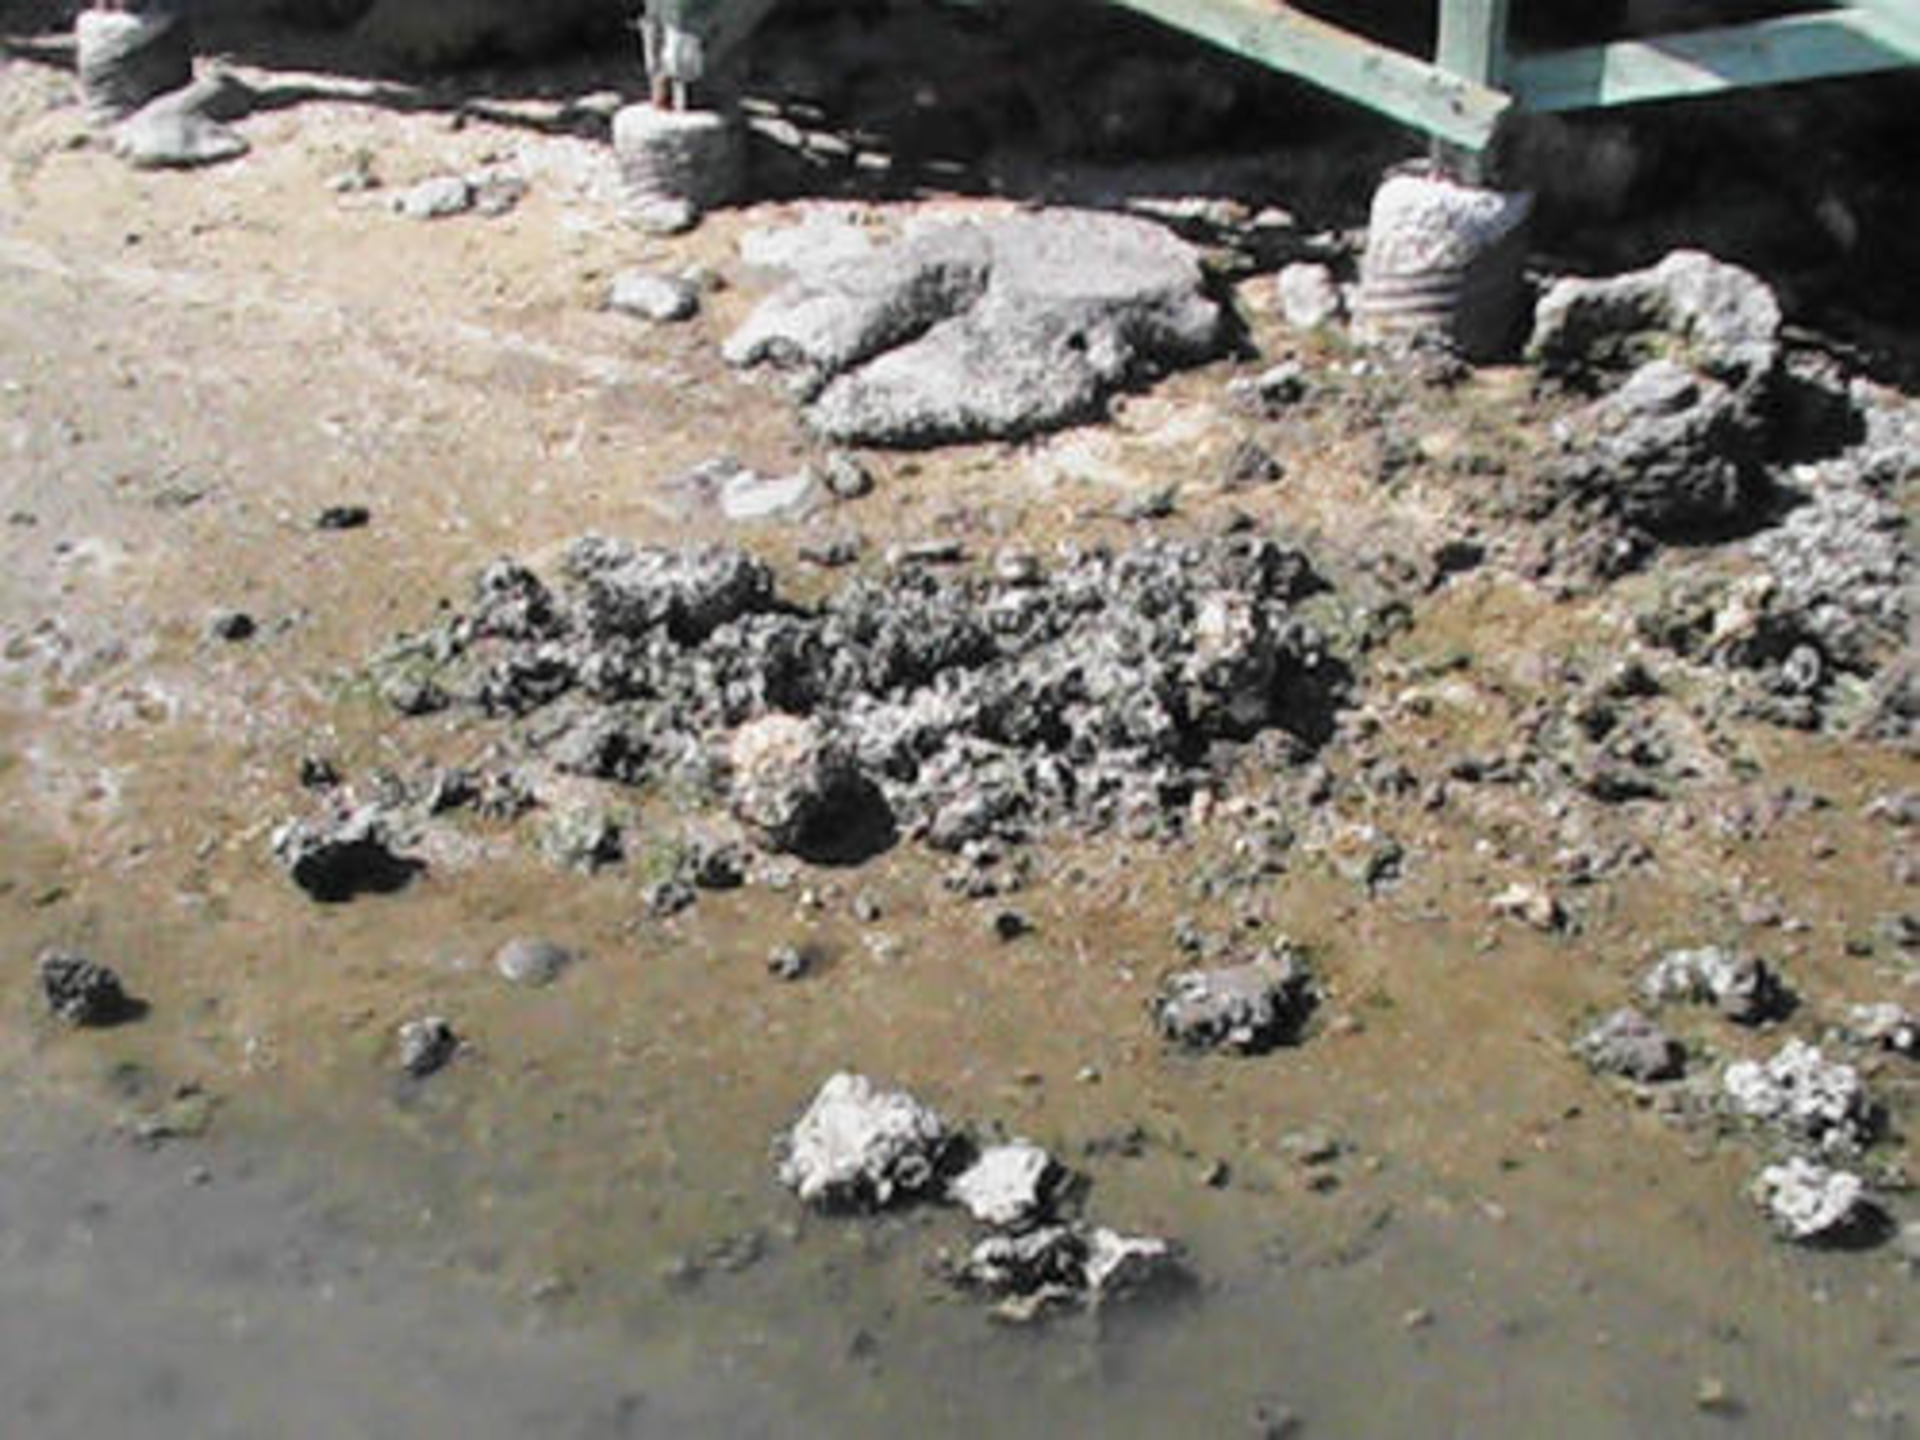
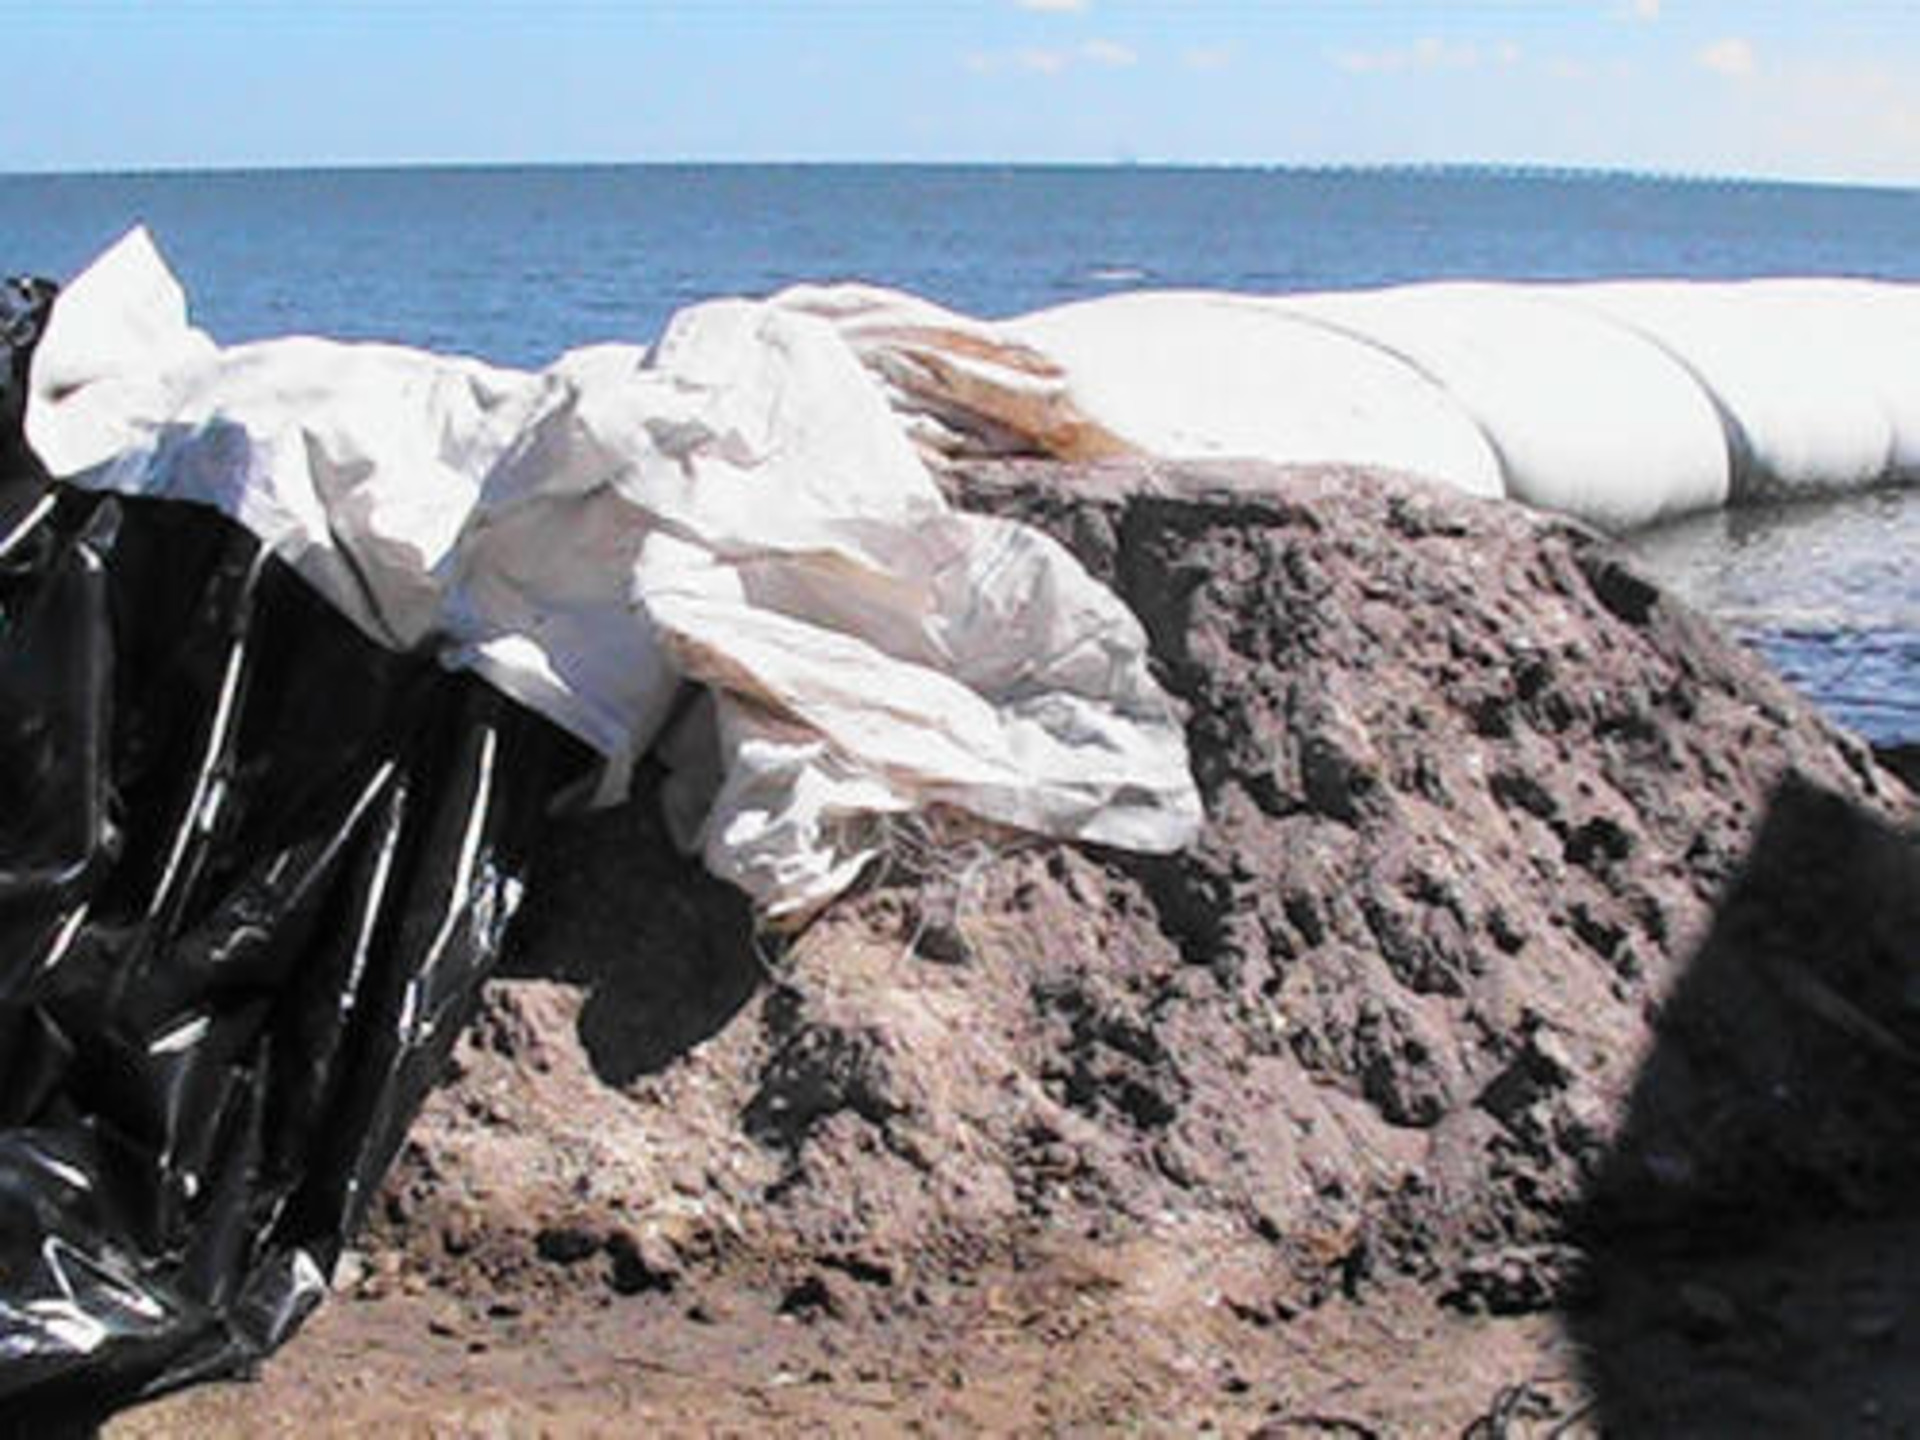
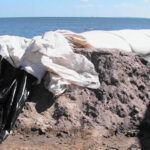
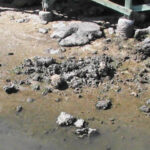
16.) Looks like large chunks of concrete scrap. When installing an AquaDam® these types of materials, abrasive and sharp concrete chunks, should be avoided.
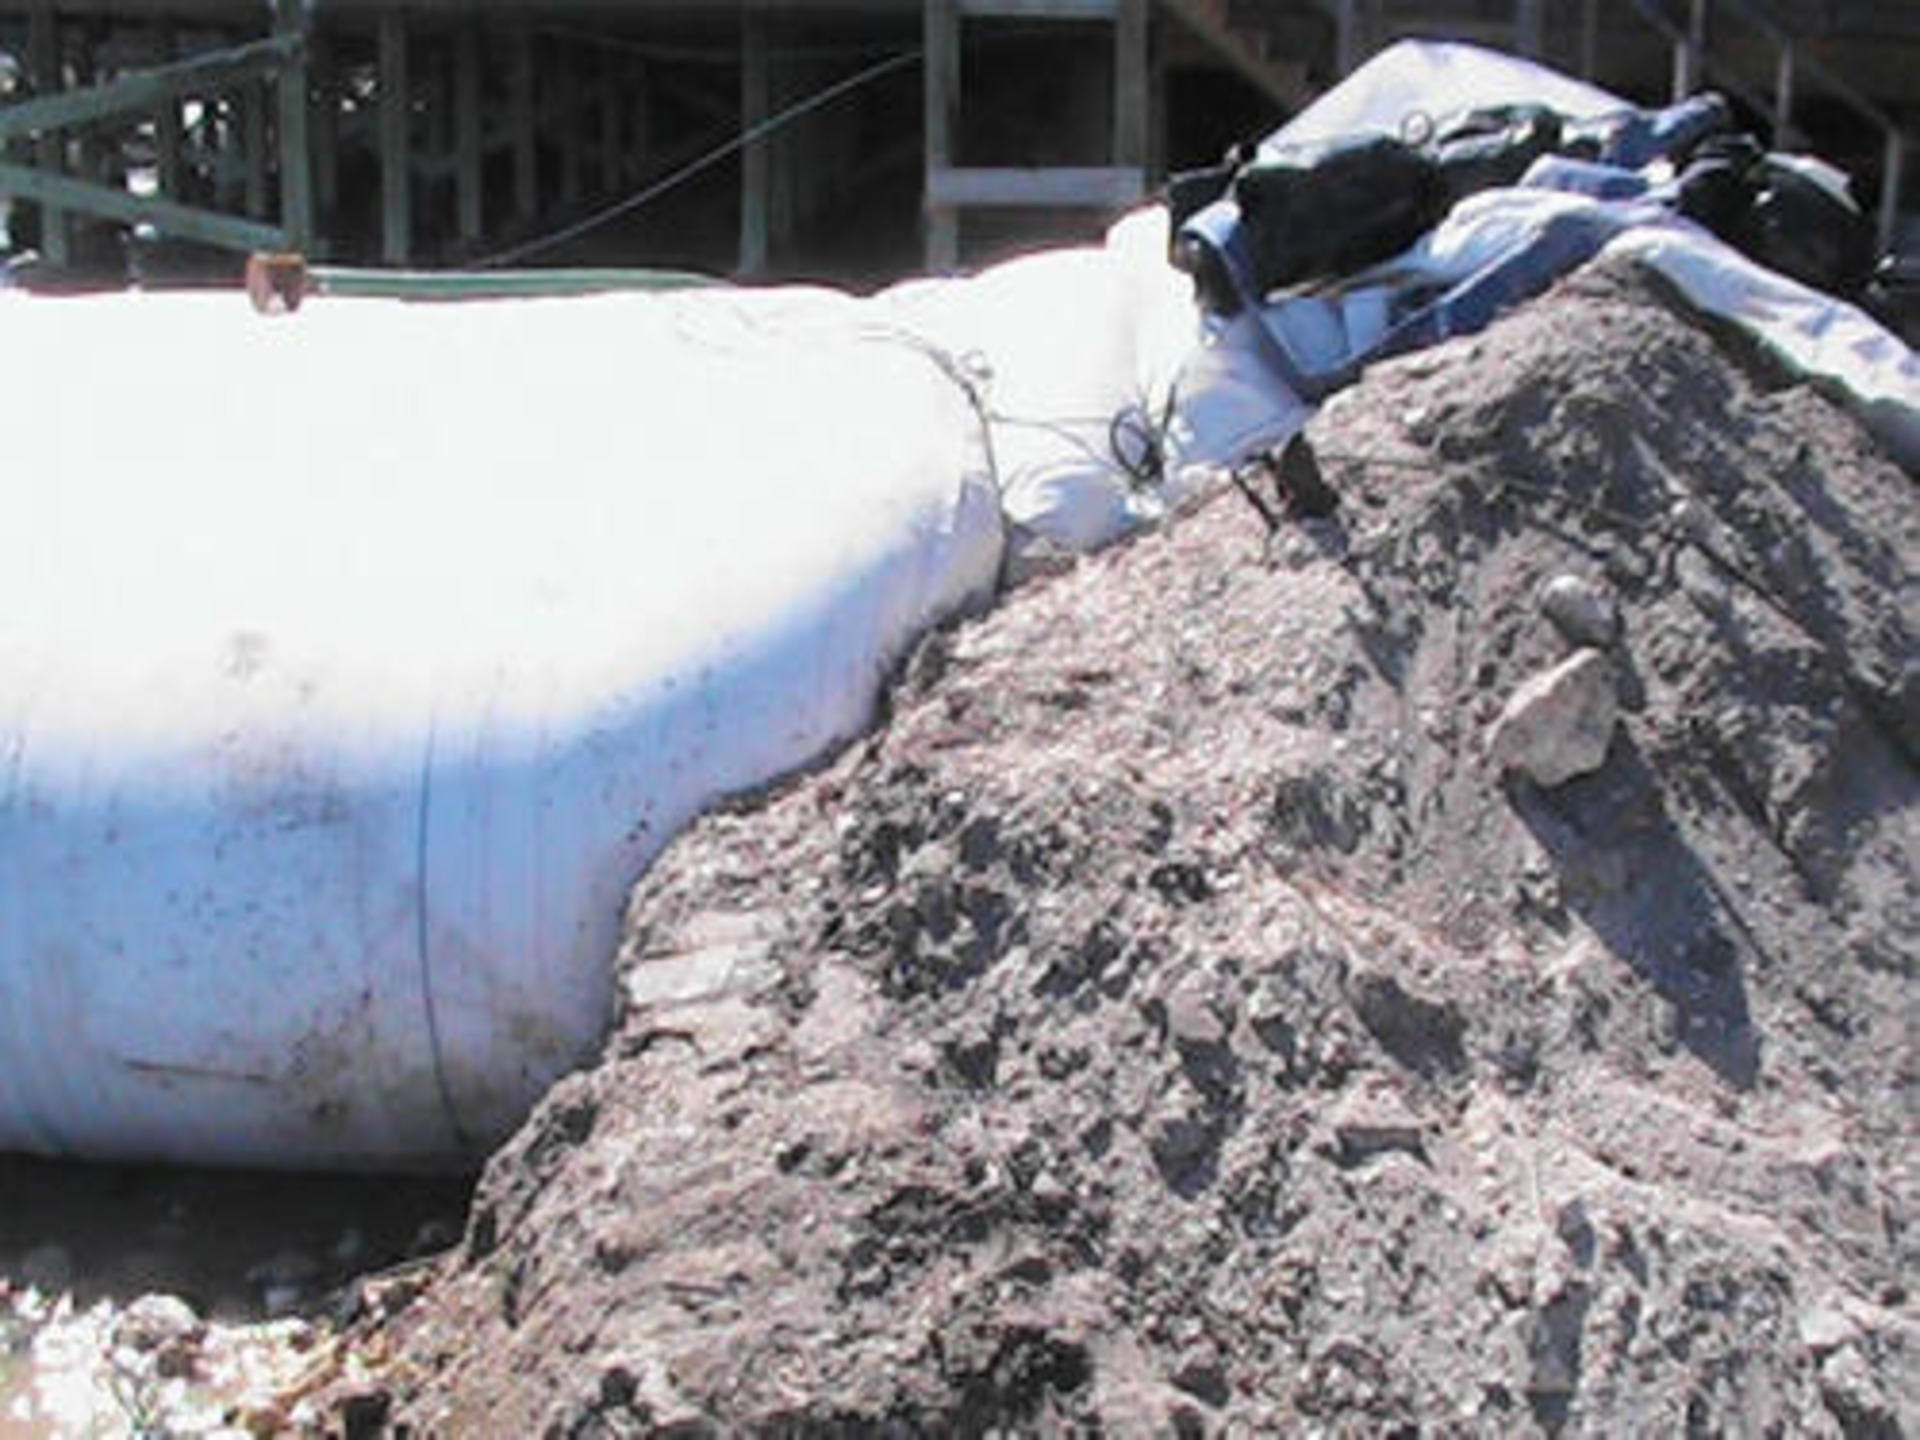
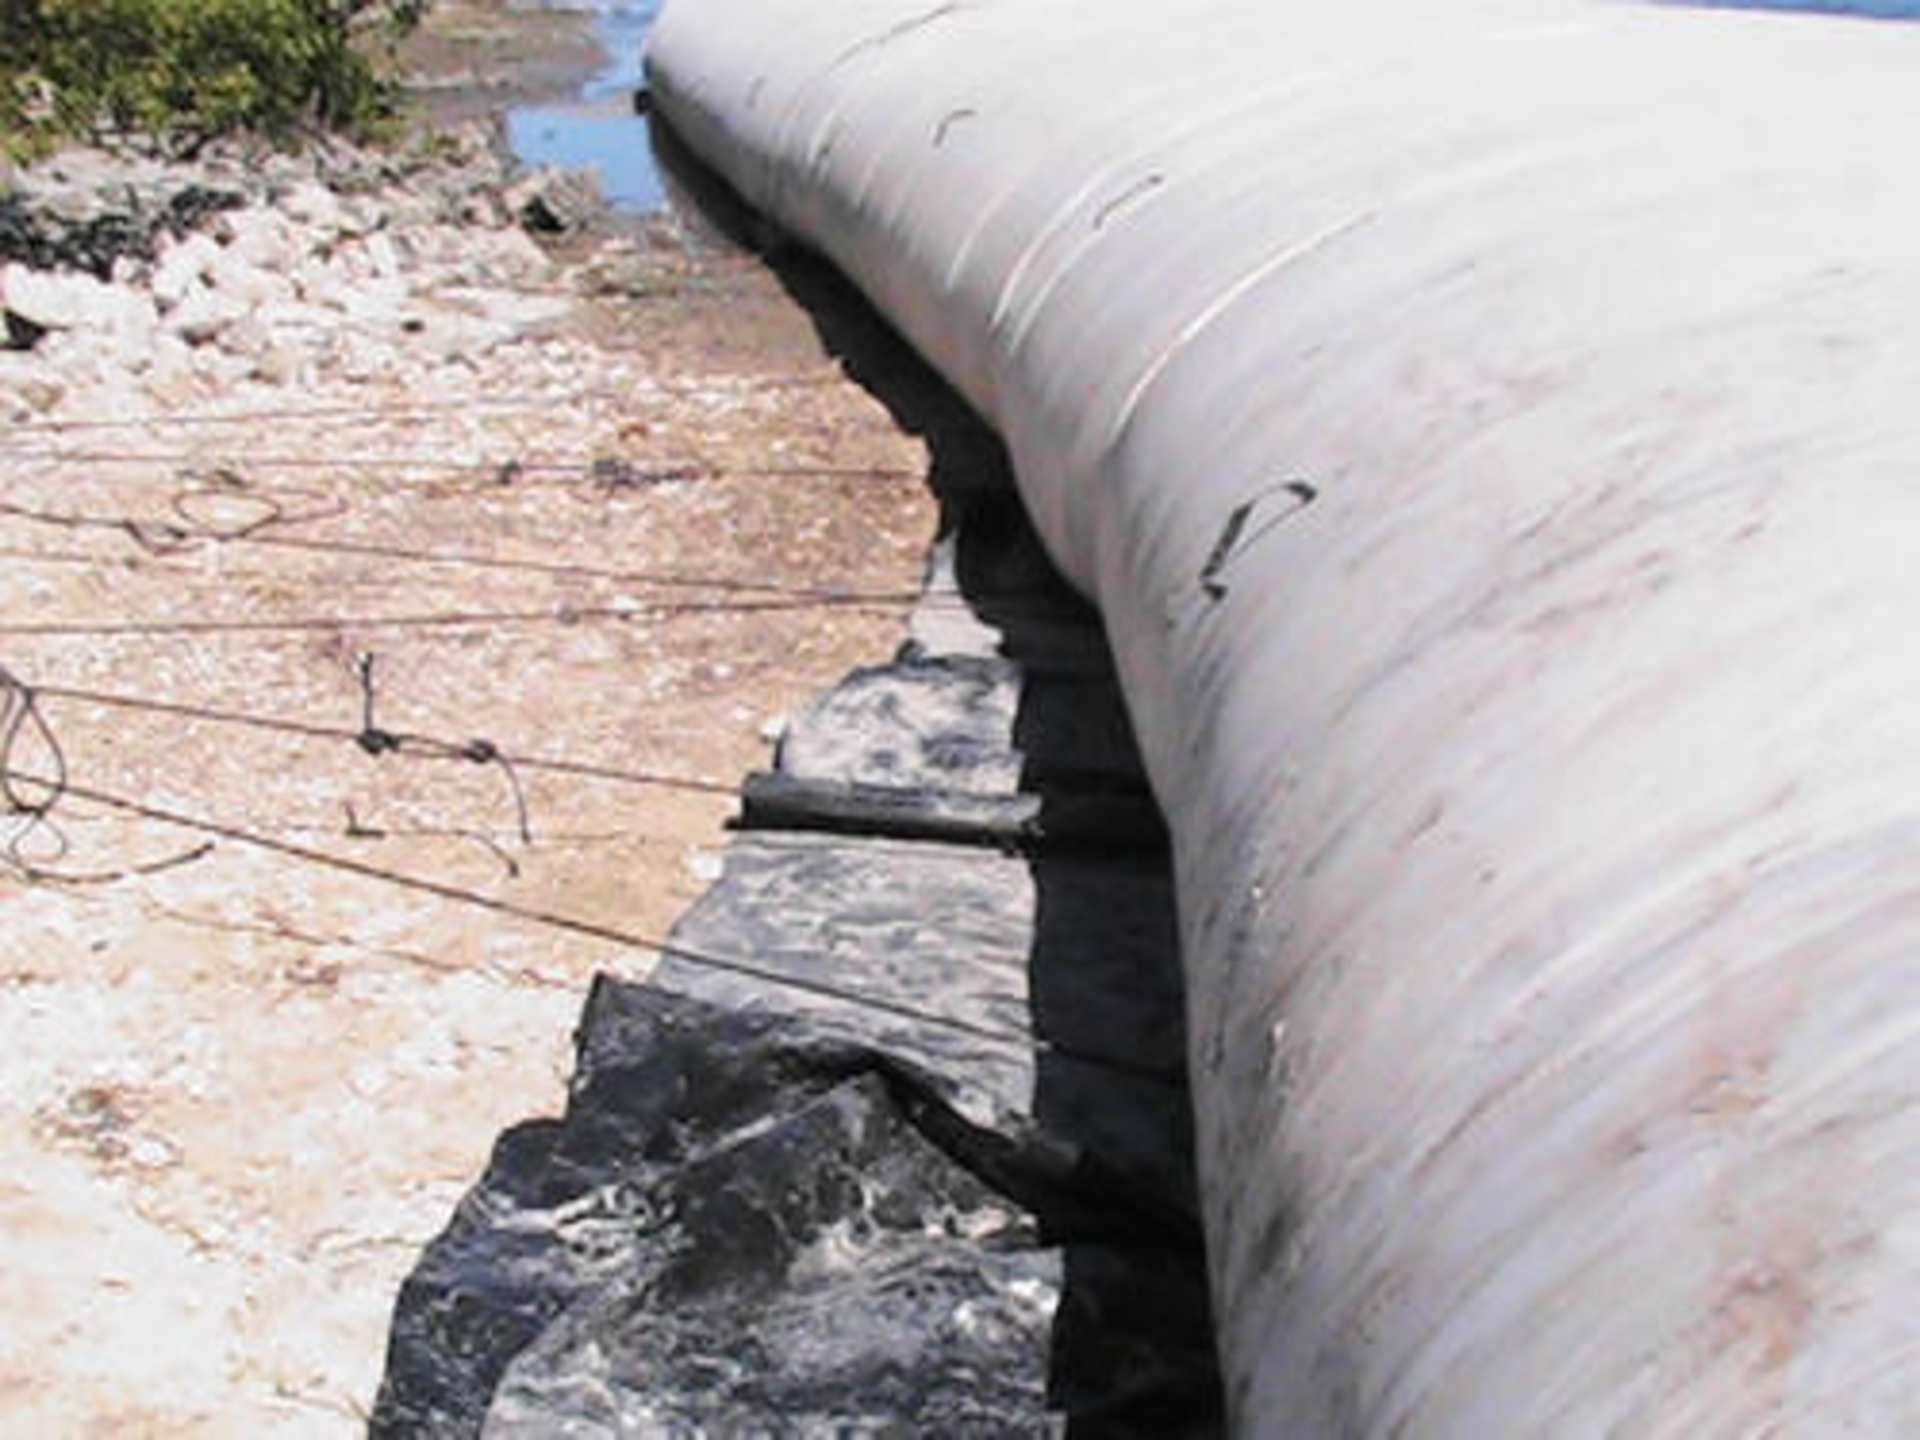
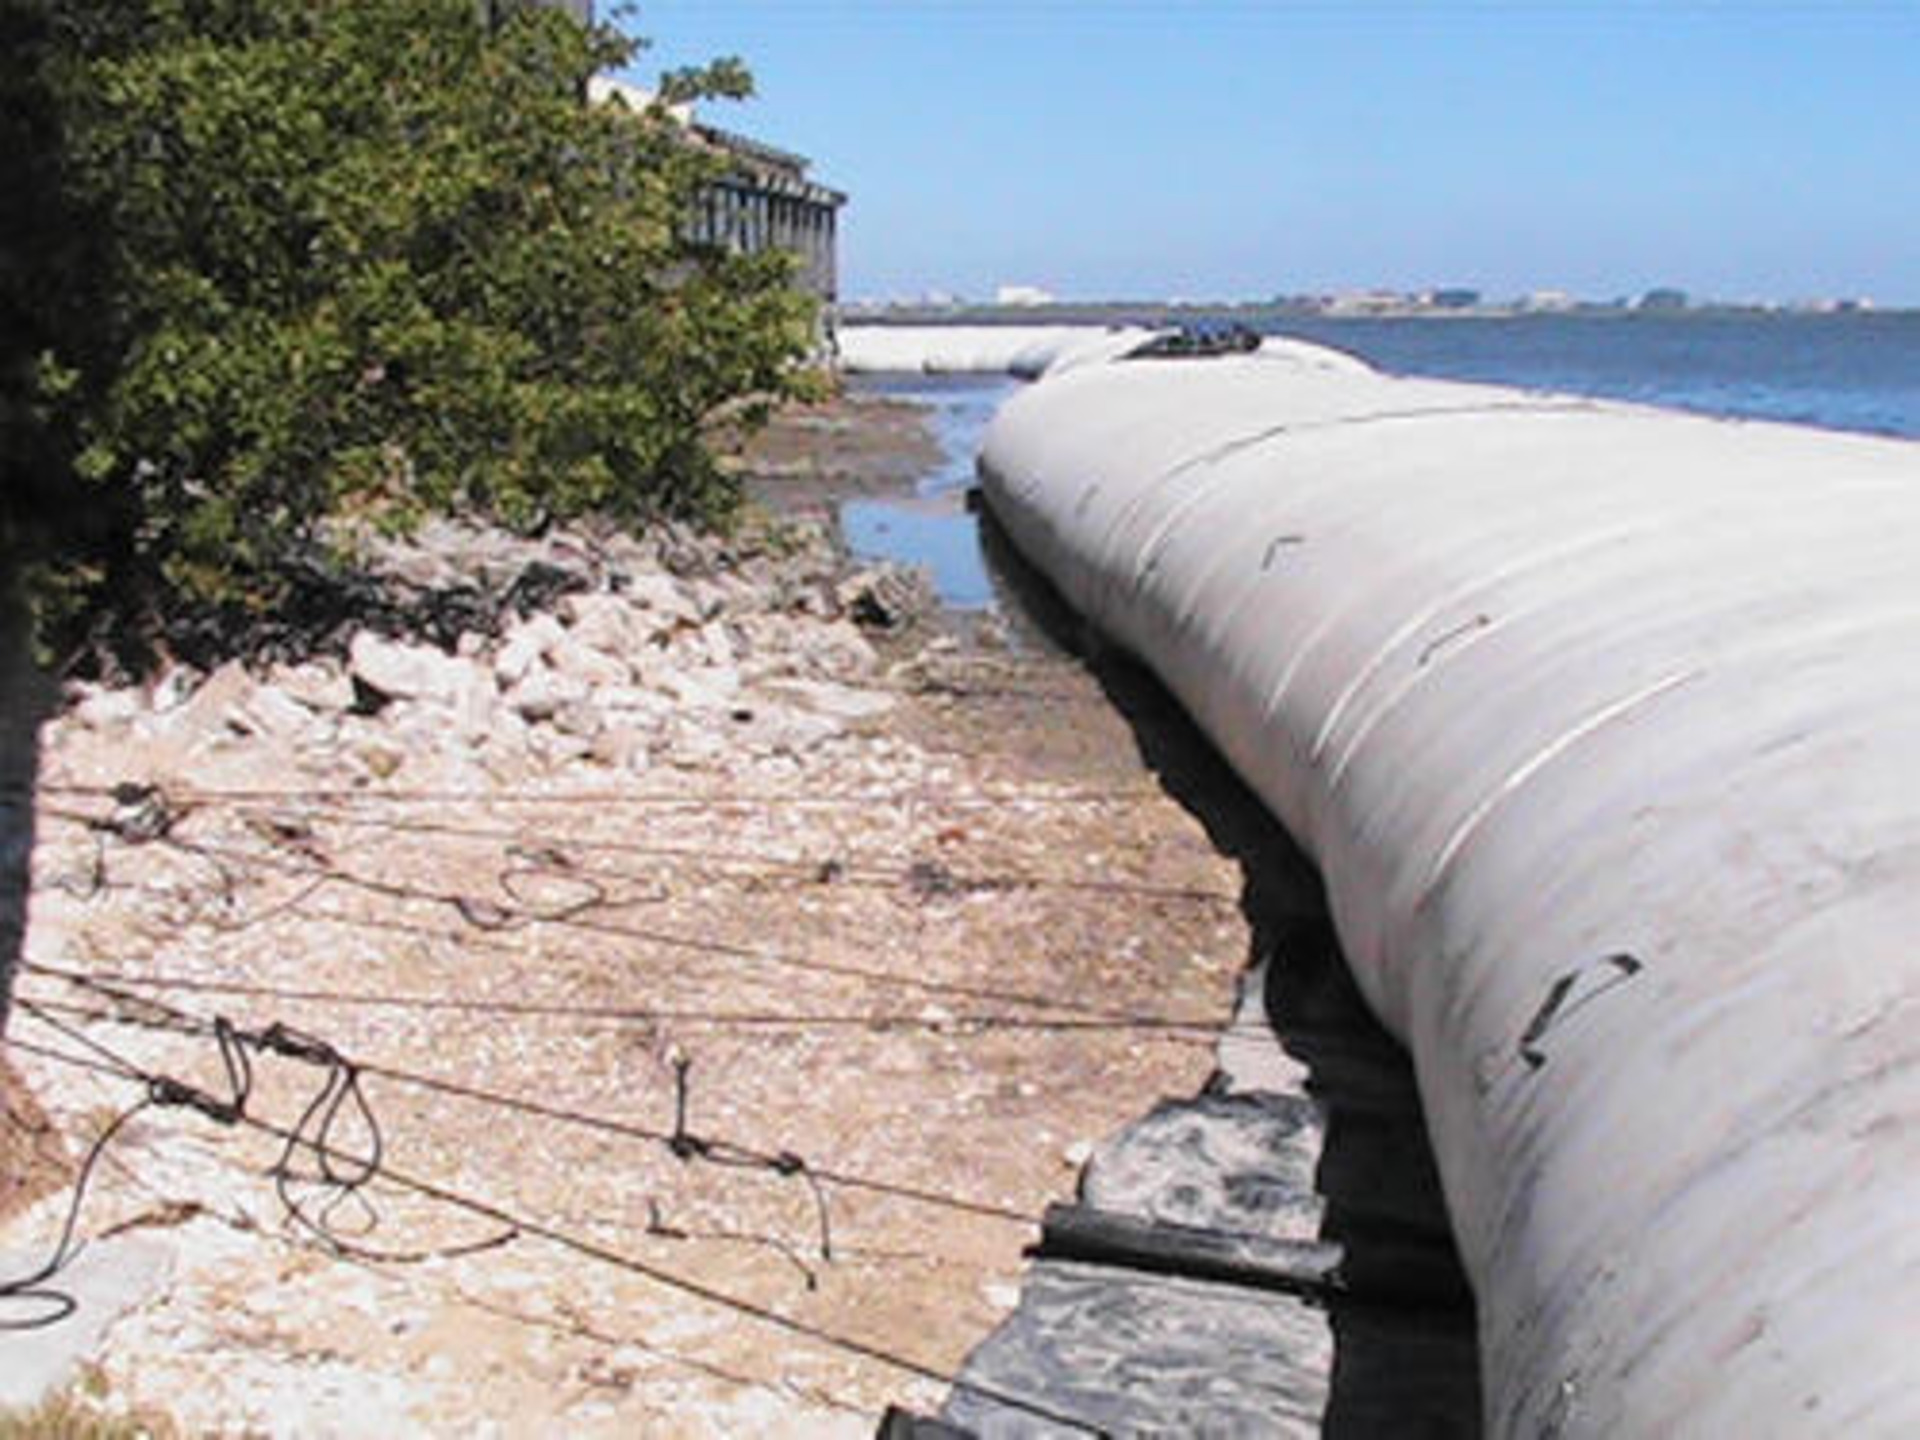
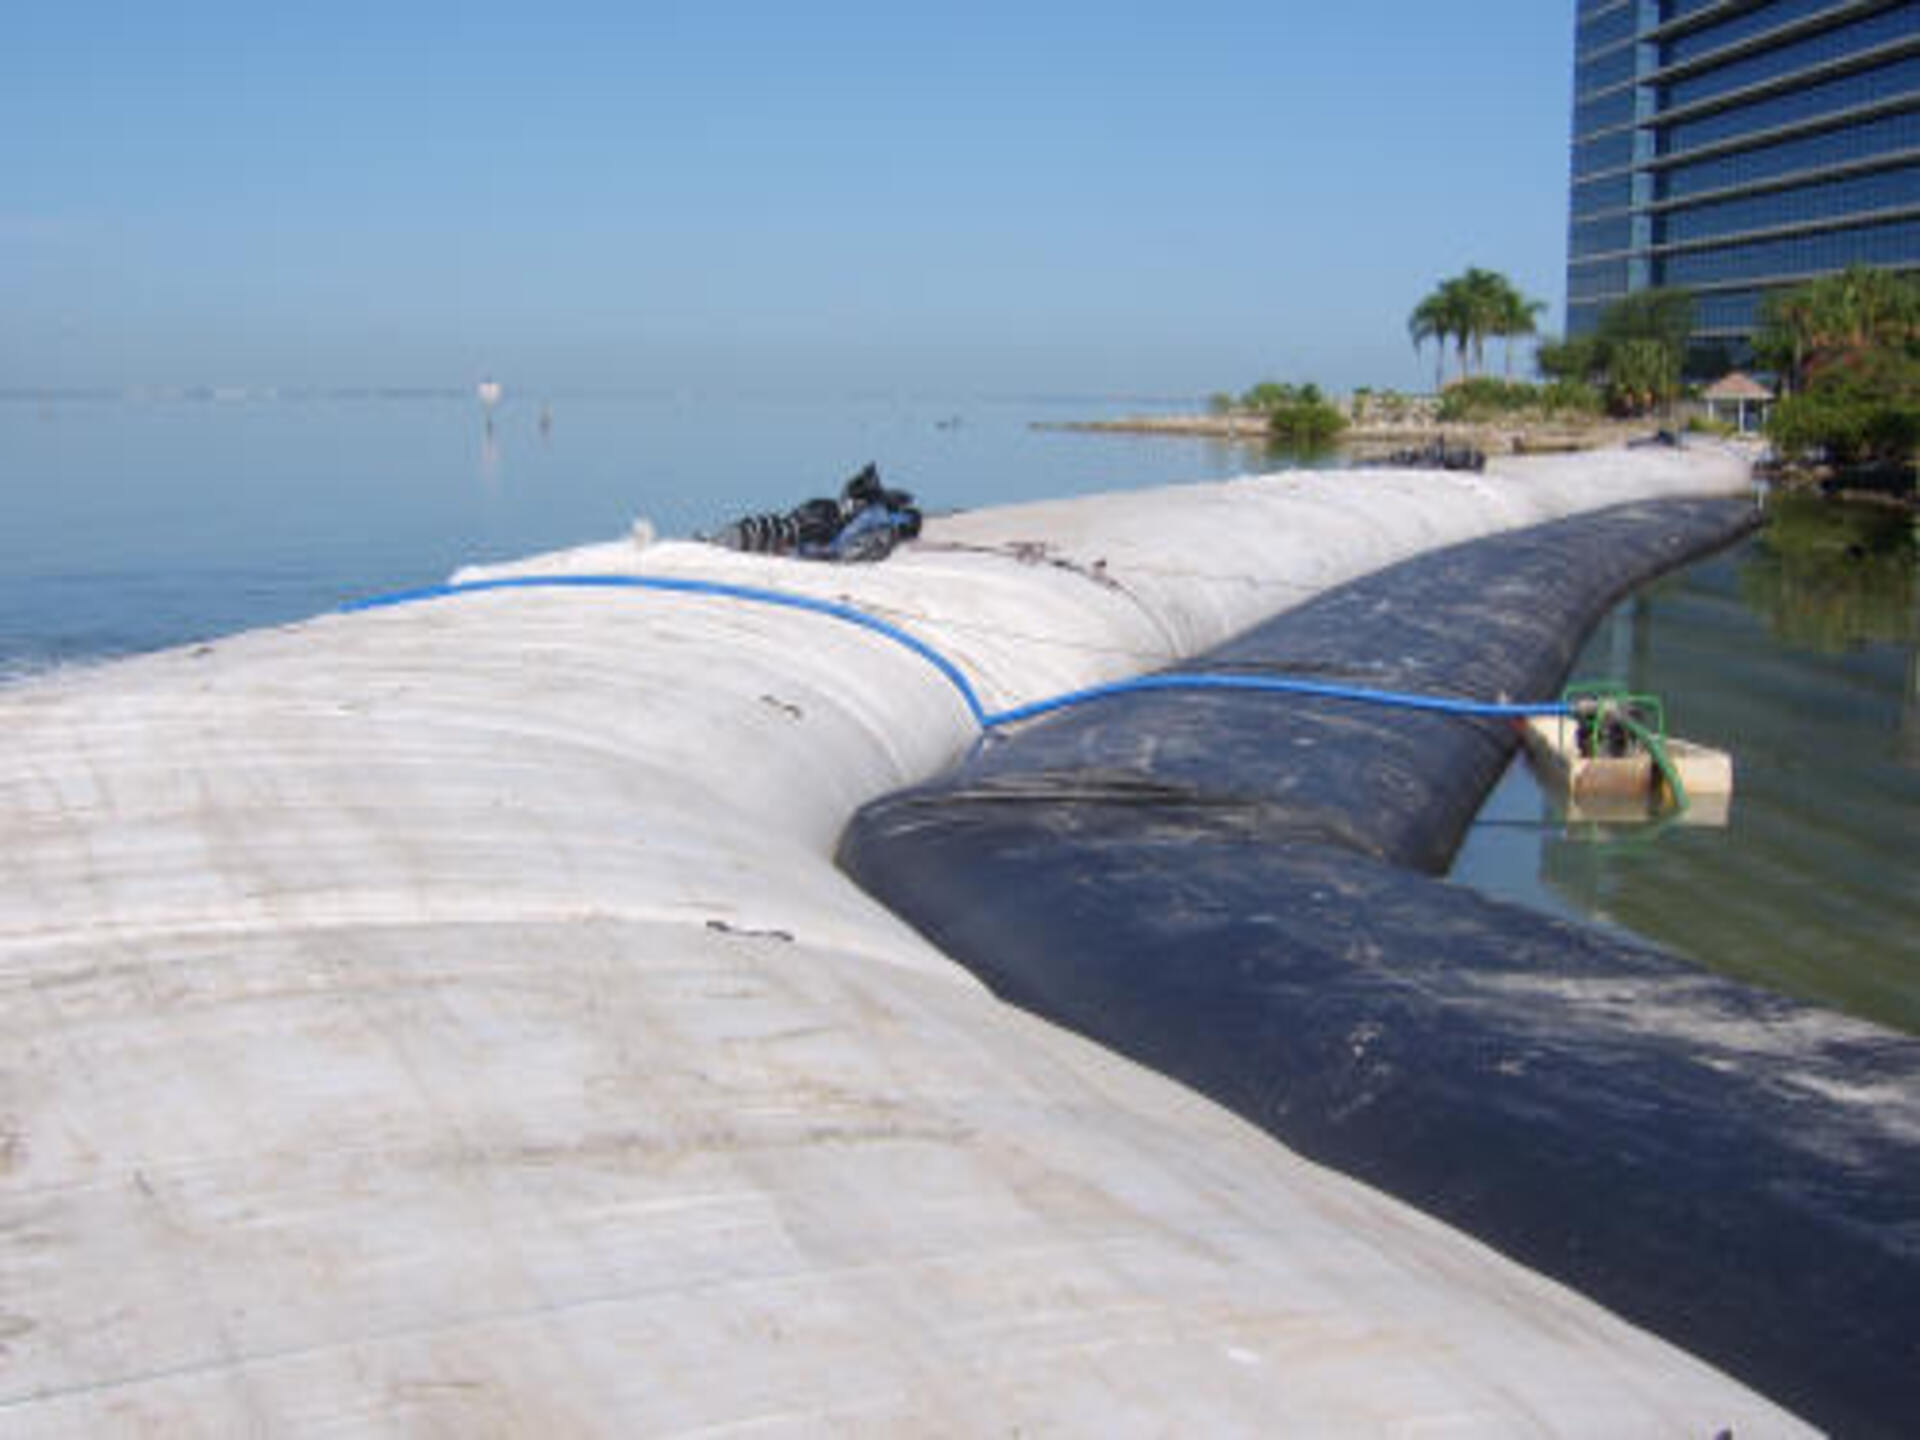
17.) Here we can see the fill-tubes for a SCE AquaDam, which was joined to another AquaDam® with a connection collar. The closed end, with the collar, acts as the starting bank for the SCE AquaDam. Workers have secured these fill-tubes with rope to prevent any water from escaping.
18.) Seepage is inevitable and should be planned for with sump pits and pumps.
19.) The connection collar makes a seamless joint, which might be hard to see with an untrained eye.
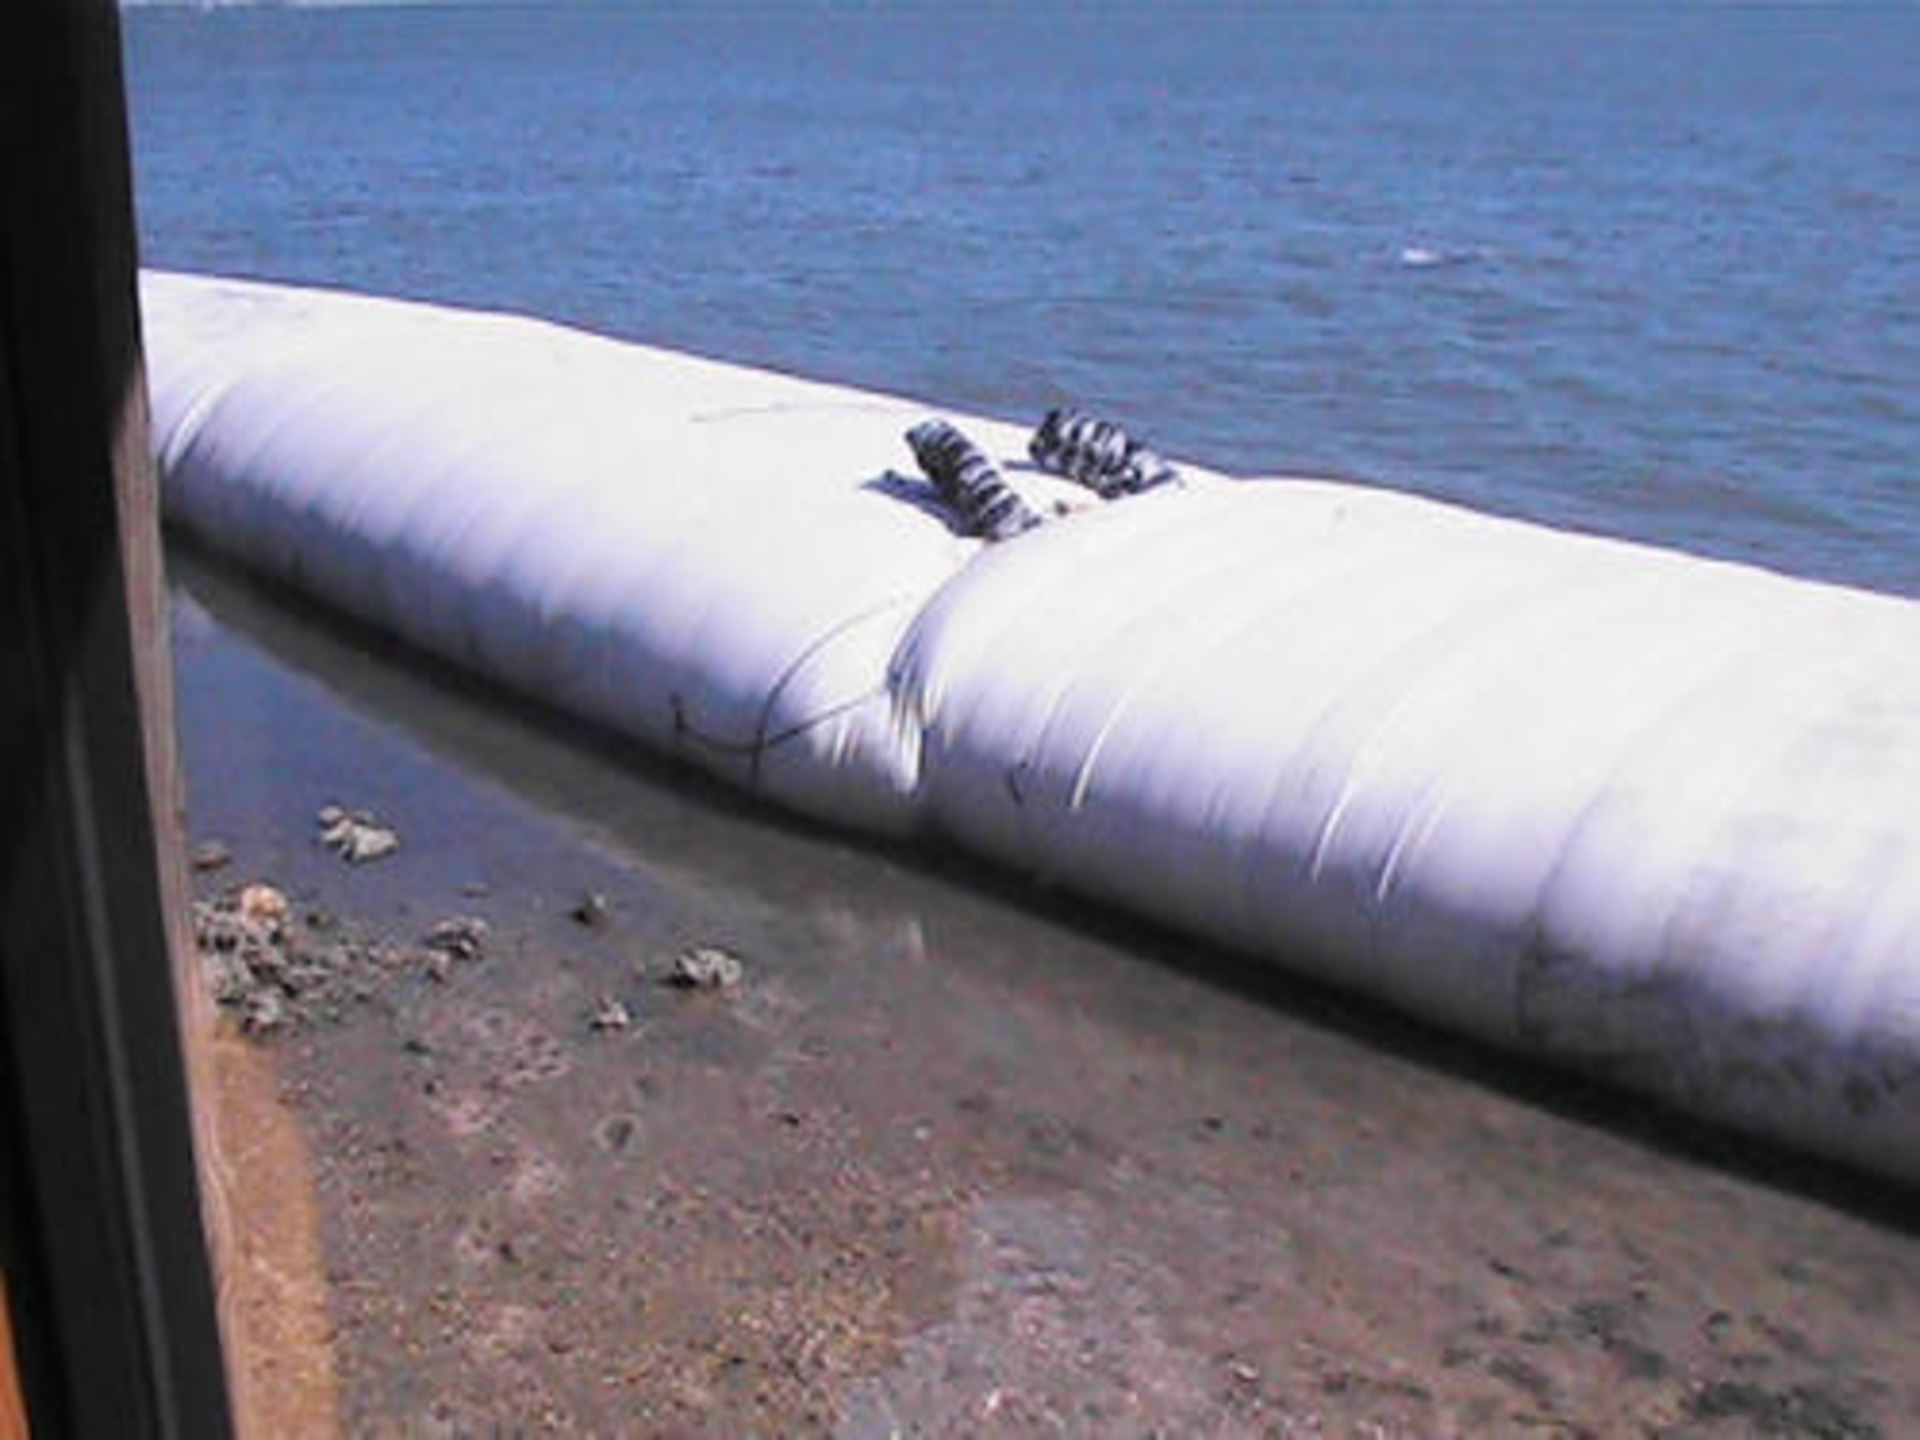
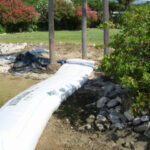
20.) The fill-tubes of one SCE AquaDam® lay atop the closed end of another AquaDam. The fill-tubes have been secured closed to prevent any water from draining out.
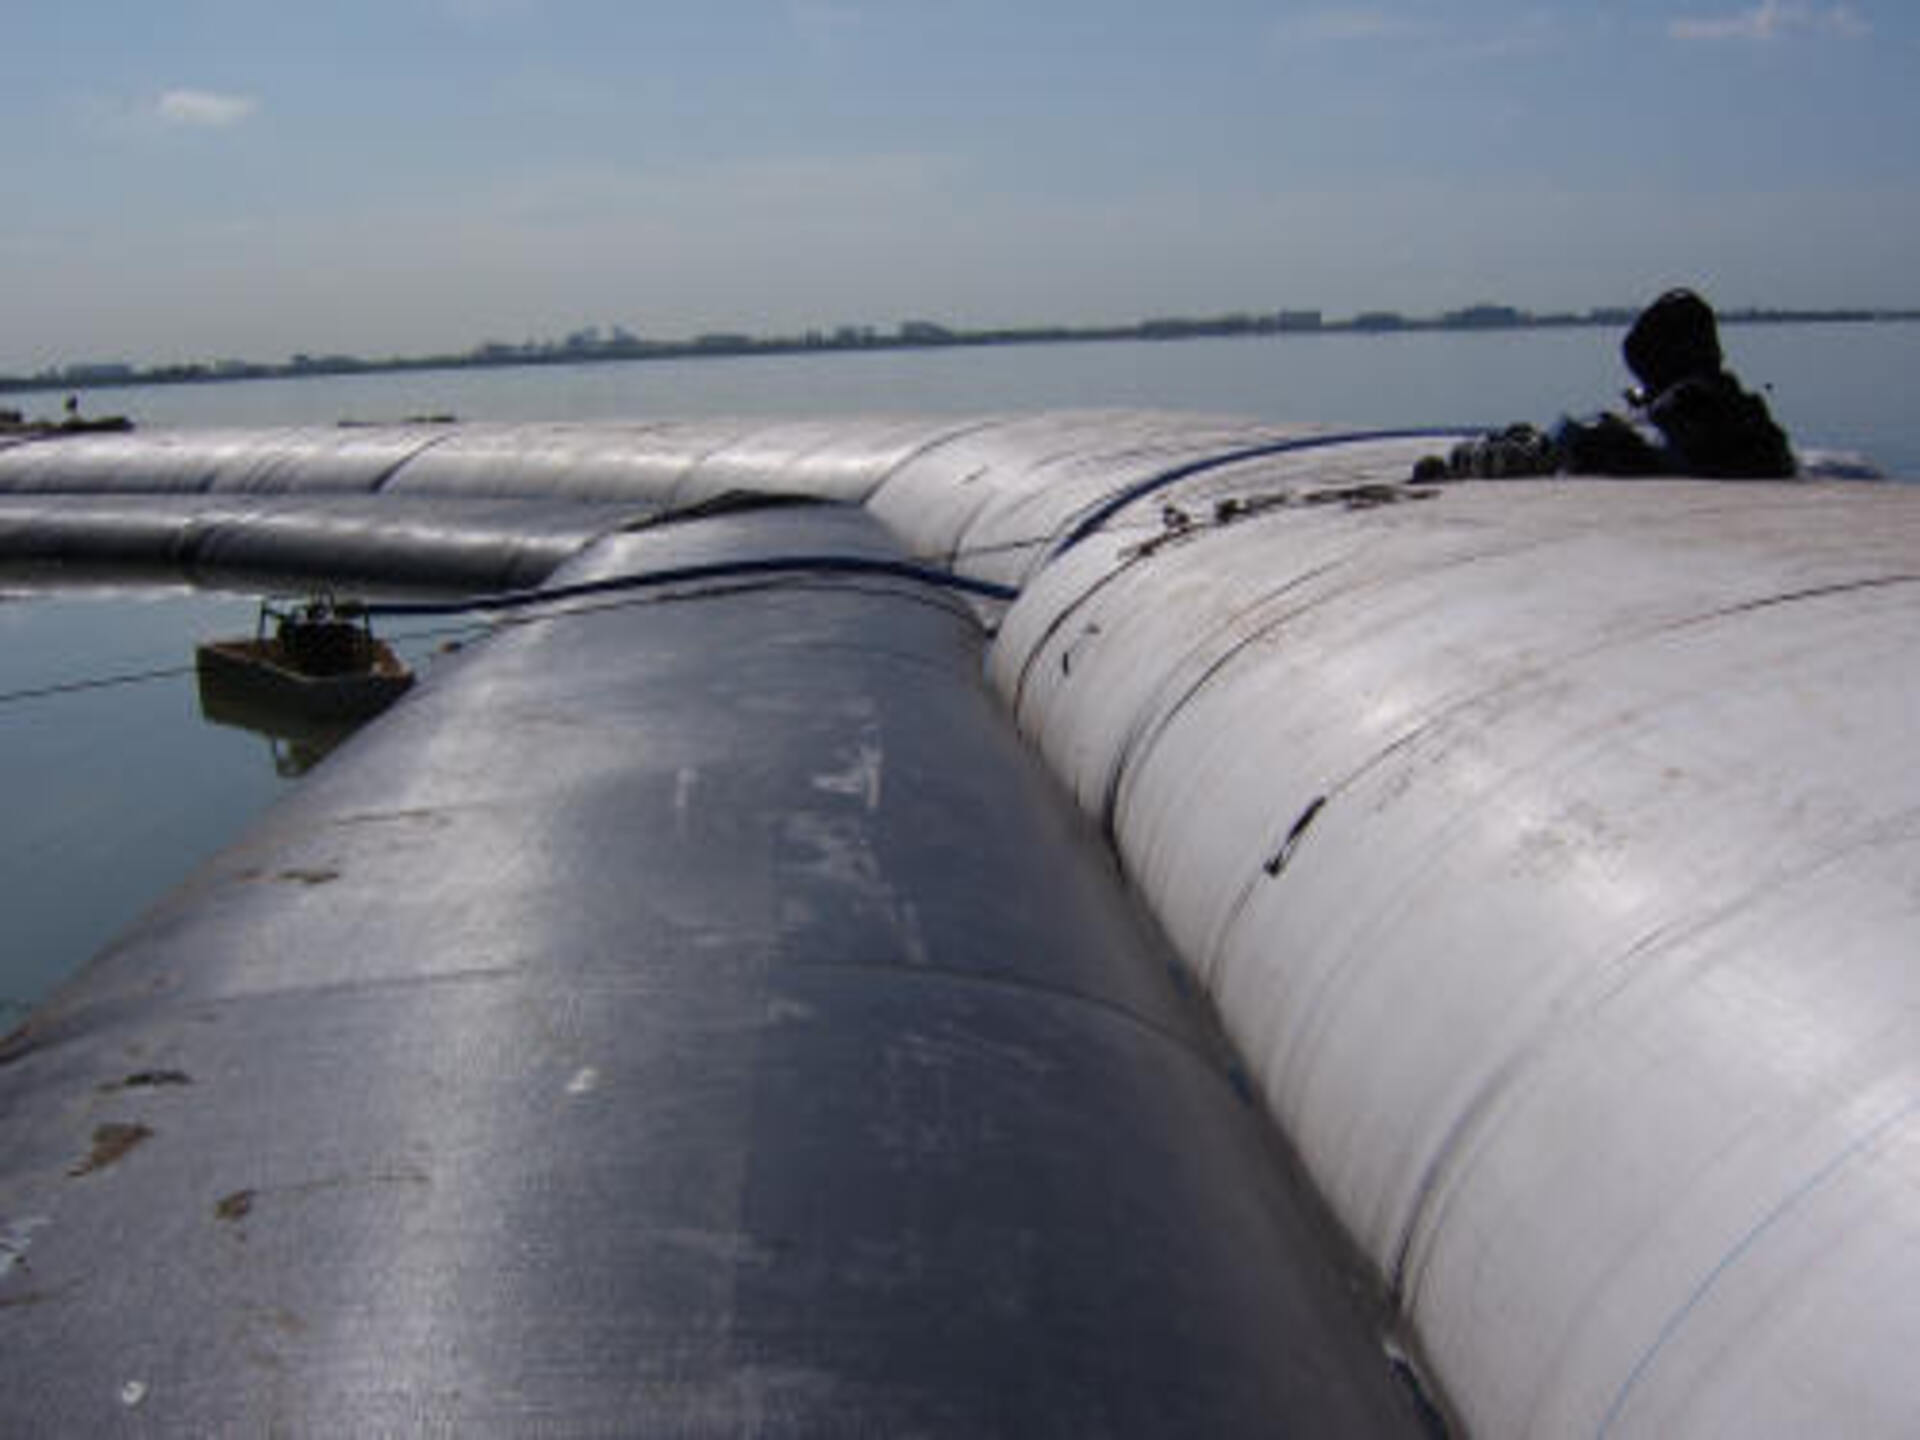
21.) Making a straight line with an AquaDam® is difficult and when determining the length needed for a job it is always better to have more length than not enough.
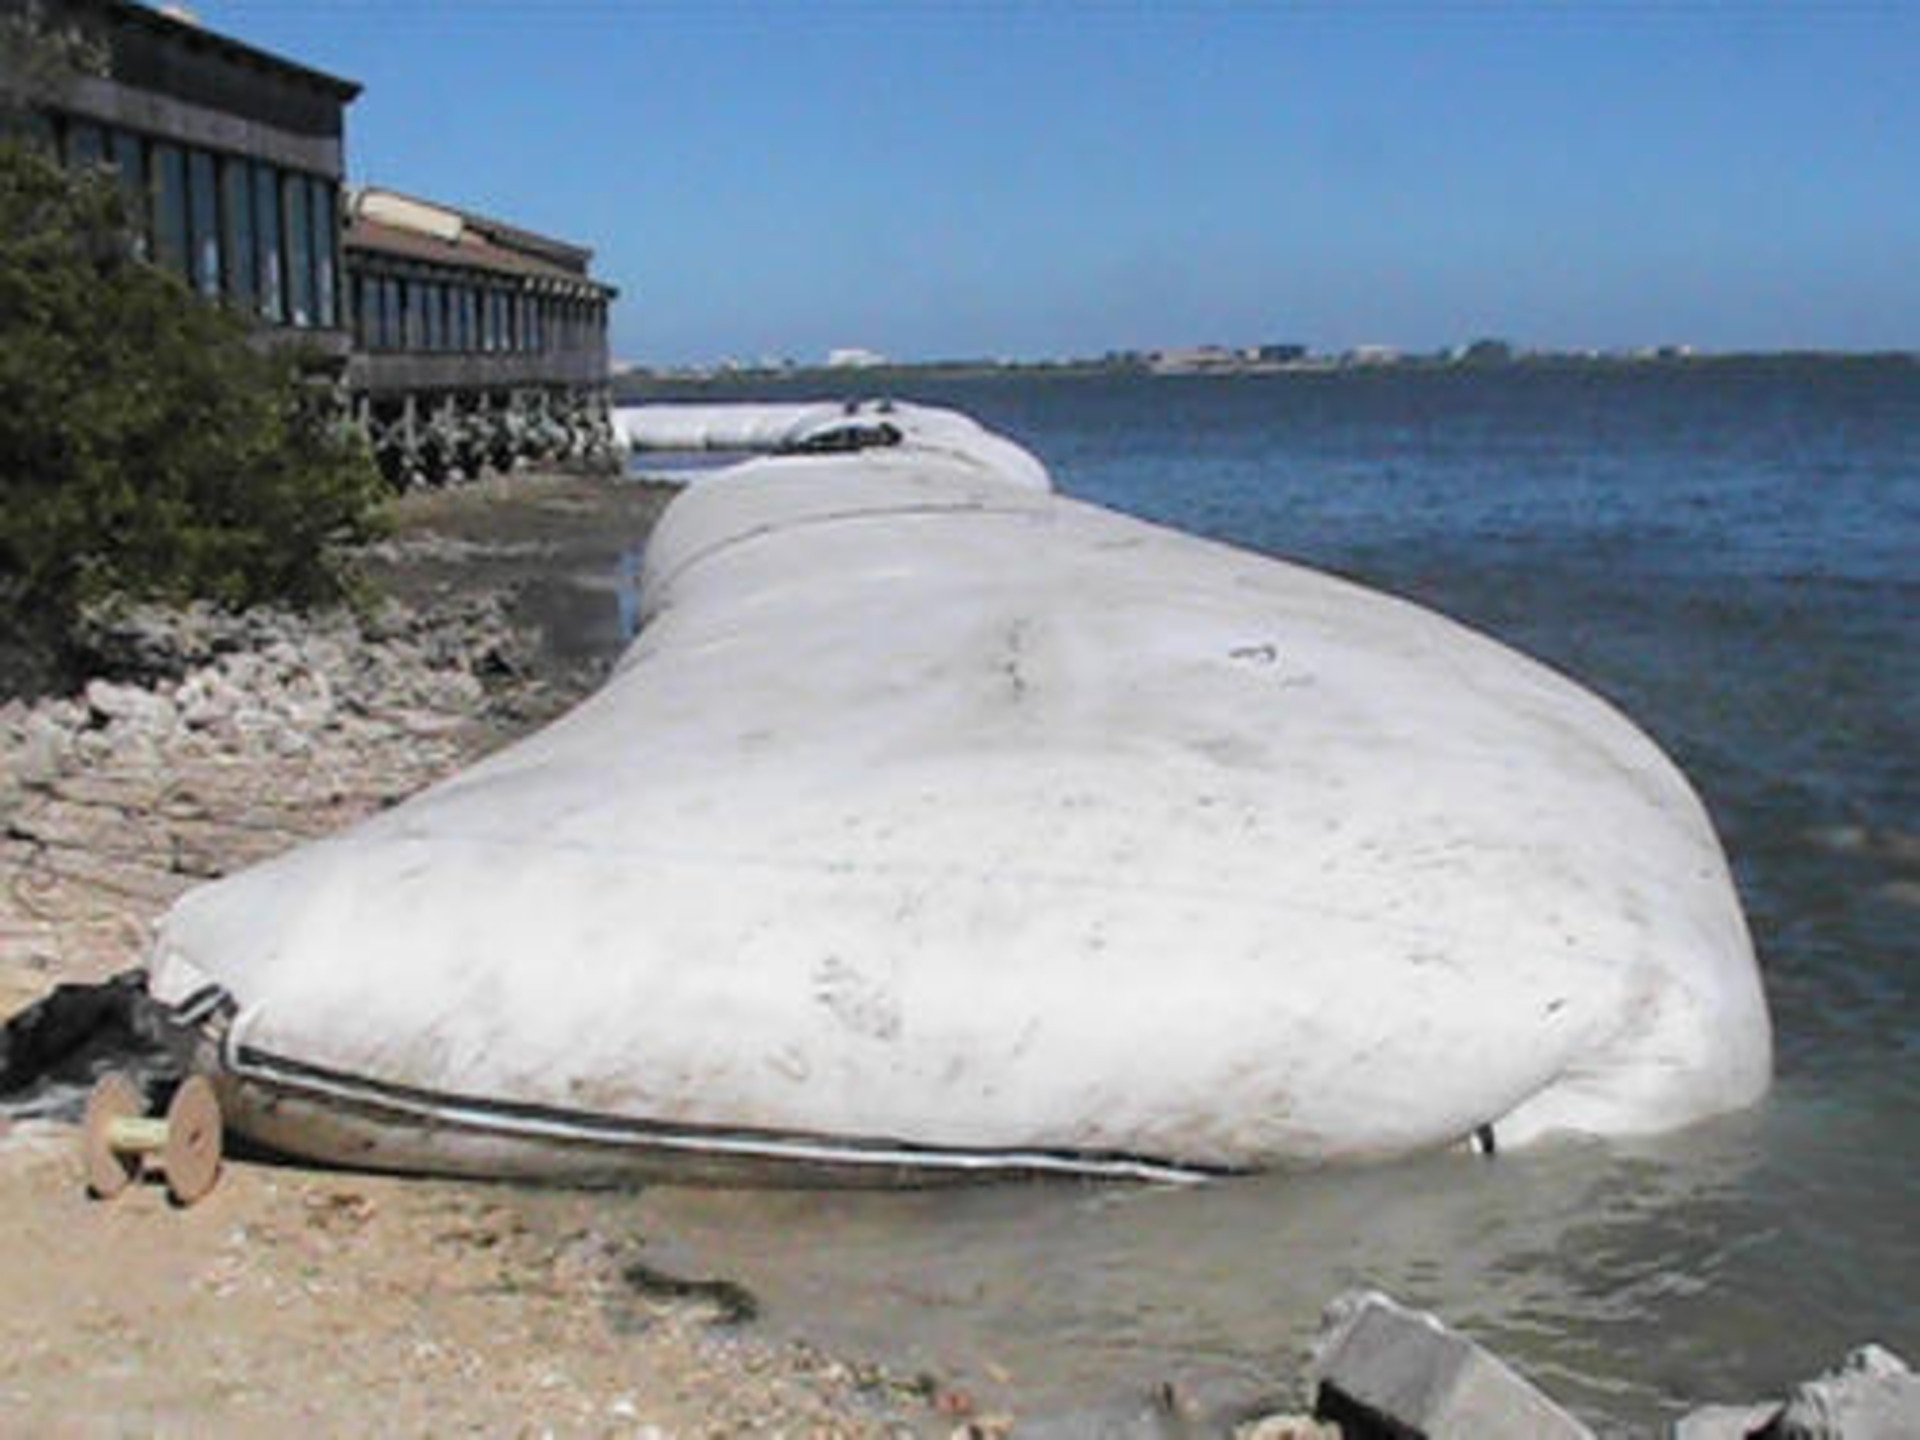
22.) Standing on shore looking at the end of the AquaDam® cofferdam system. There appears to be a pretty steep cross slope here at the end, the left side is narrow and the right side is bulgy. Ropes can be used to help keep the unit from rolling down the slope, while it is being filled with water.
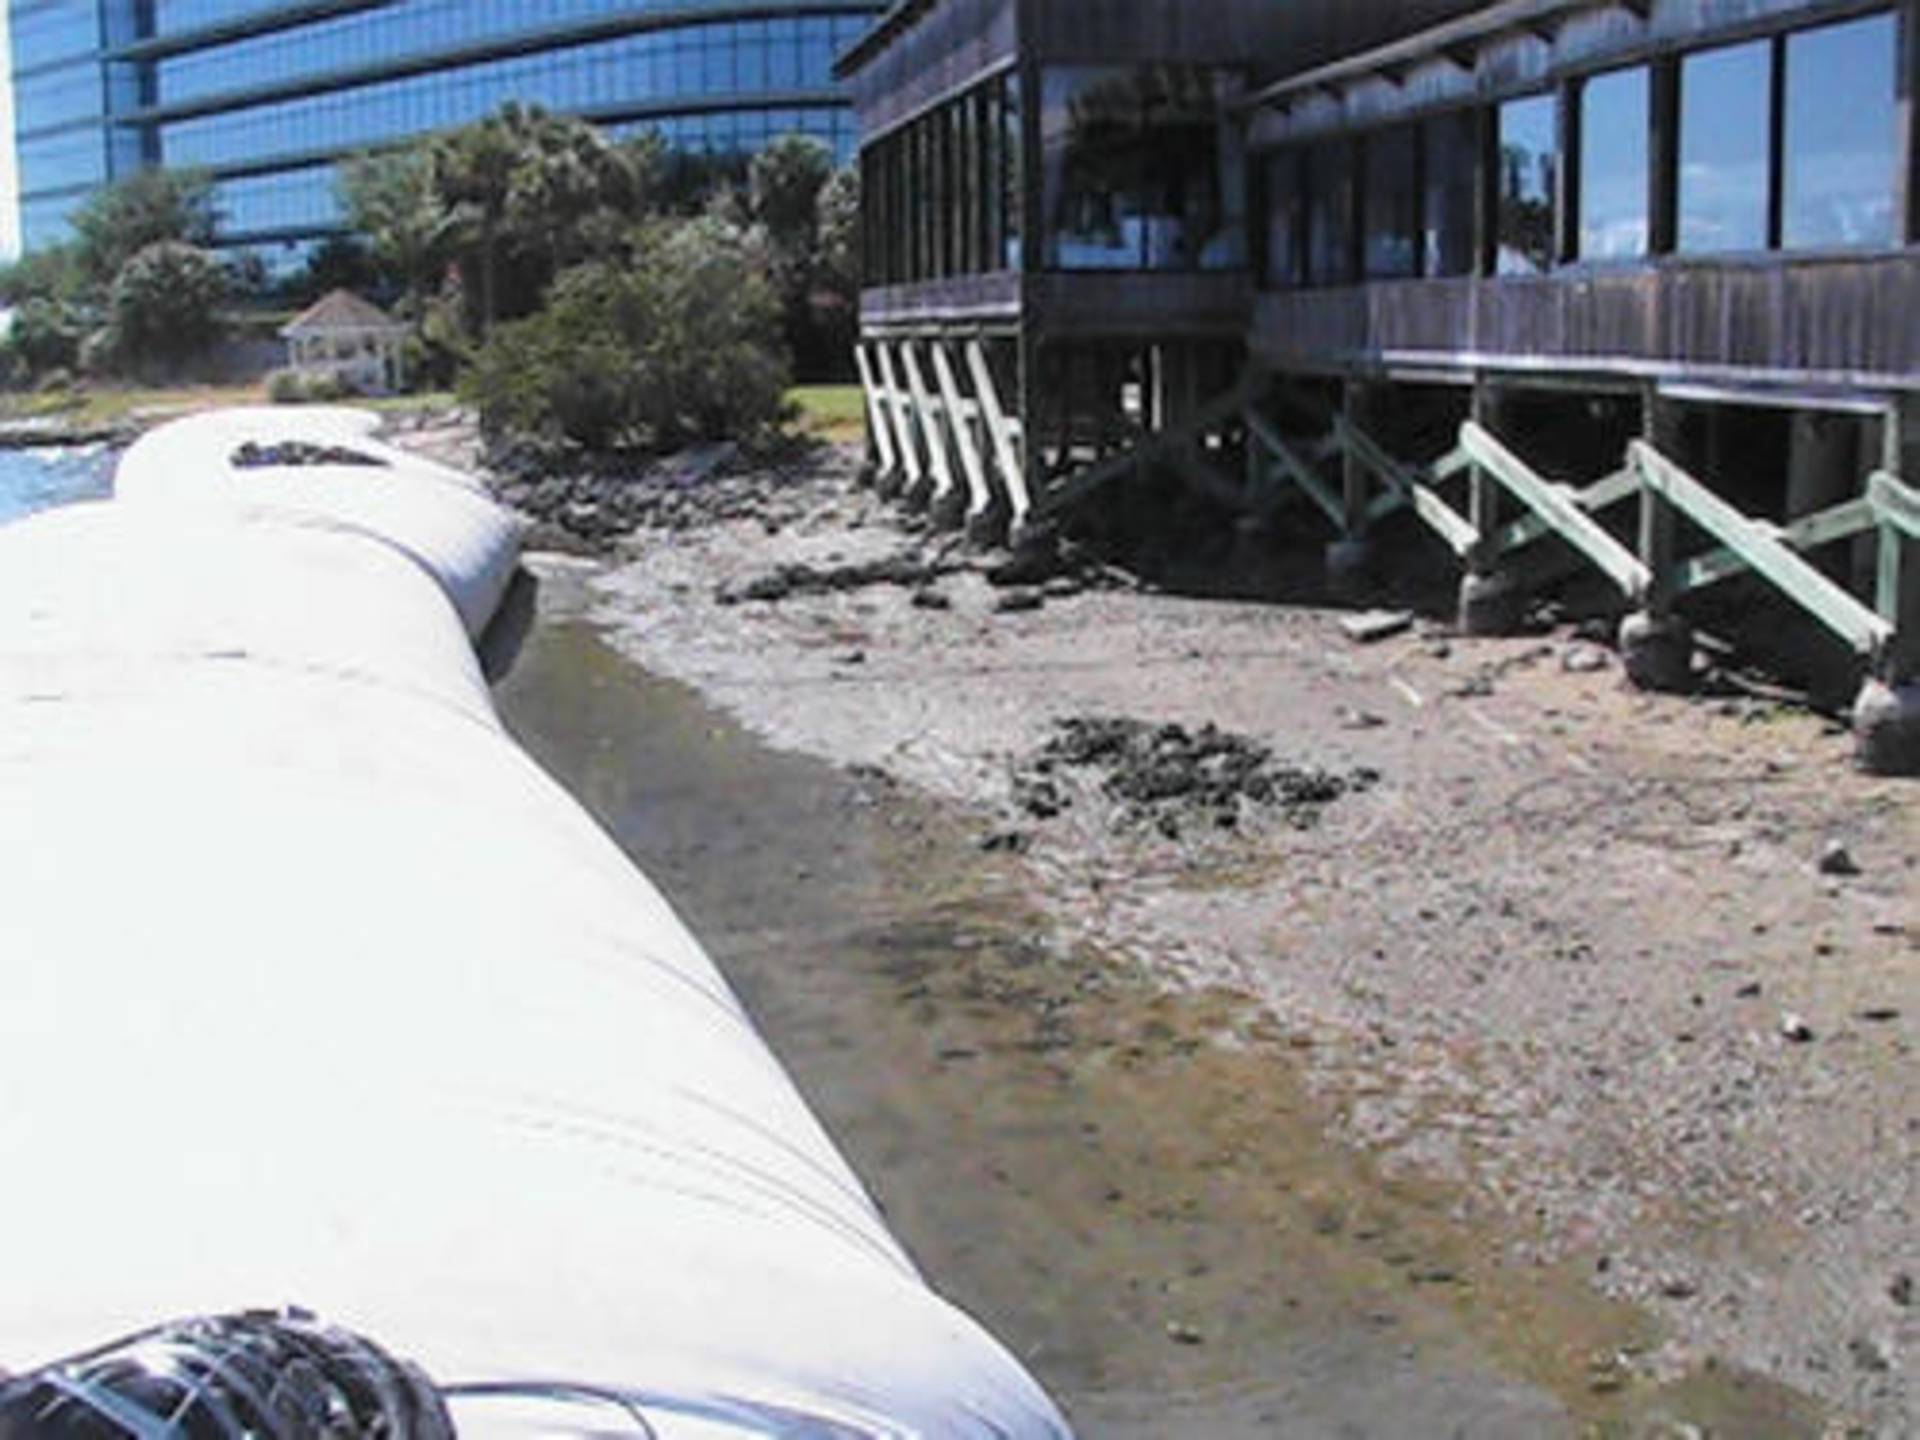
23.) Old Tampa Bay side of the AquaDam® cofferdam system.
24.) Several ropes were used at the steep cross slope, to help keep the AquaDam® in place while it was filled with water.
25.) Rope is an AquaDam® installer’s best friend.
26.) Here we can see one of the connections from the work area.
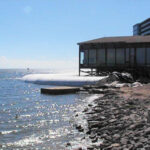
27.) The Old Tampa Bay is just on the other side of that AquaDam.
28.) Can you tell the water depth difference from one side of the AquaDam® to the other?
29.) Can you tell where the connection collar starts and ends?
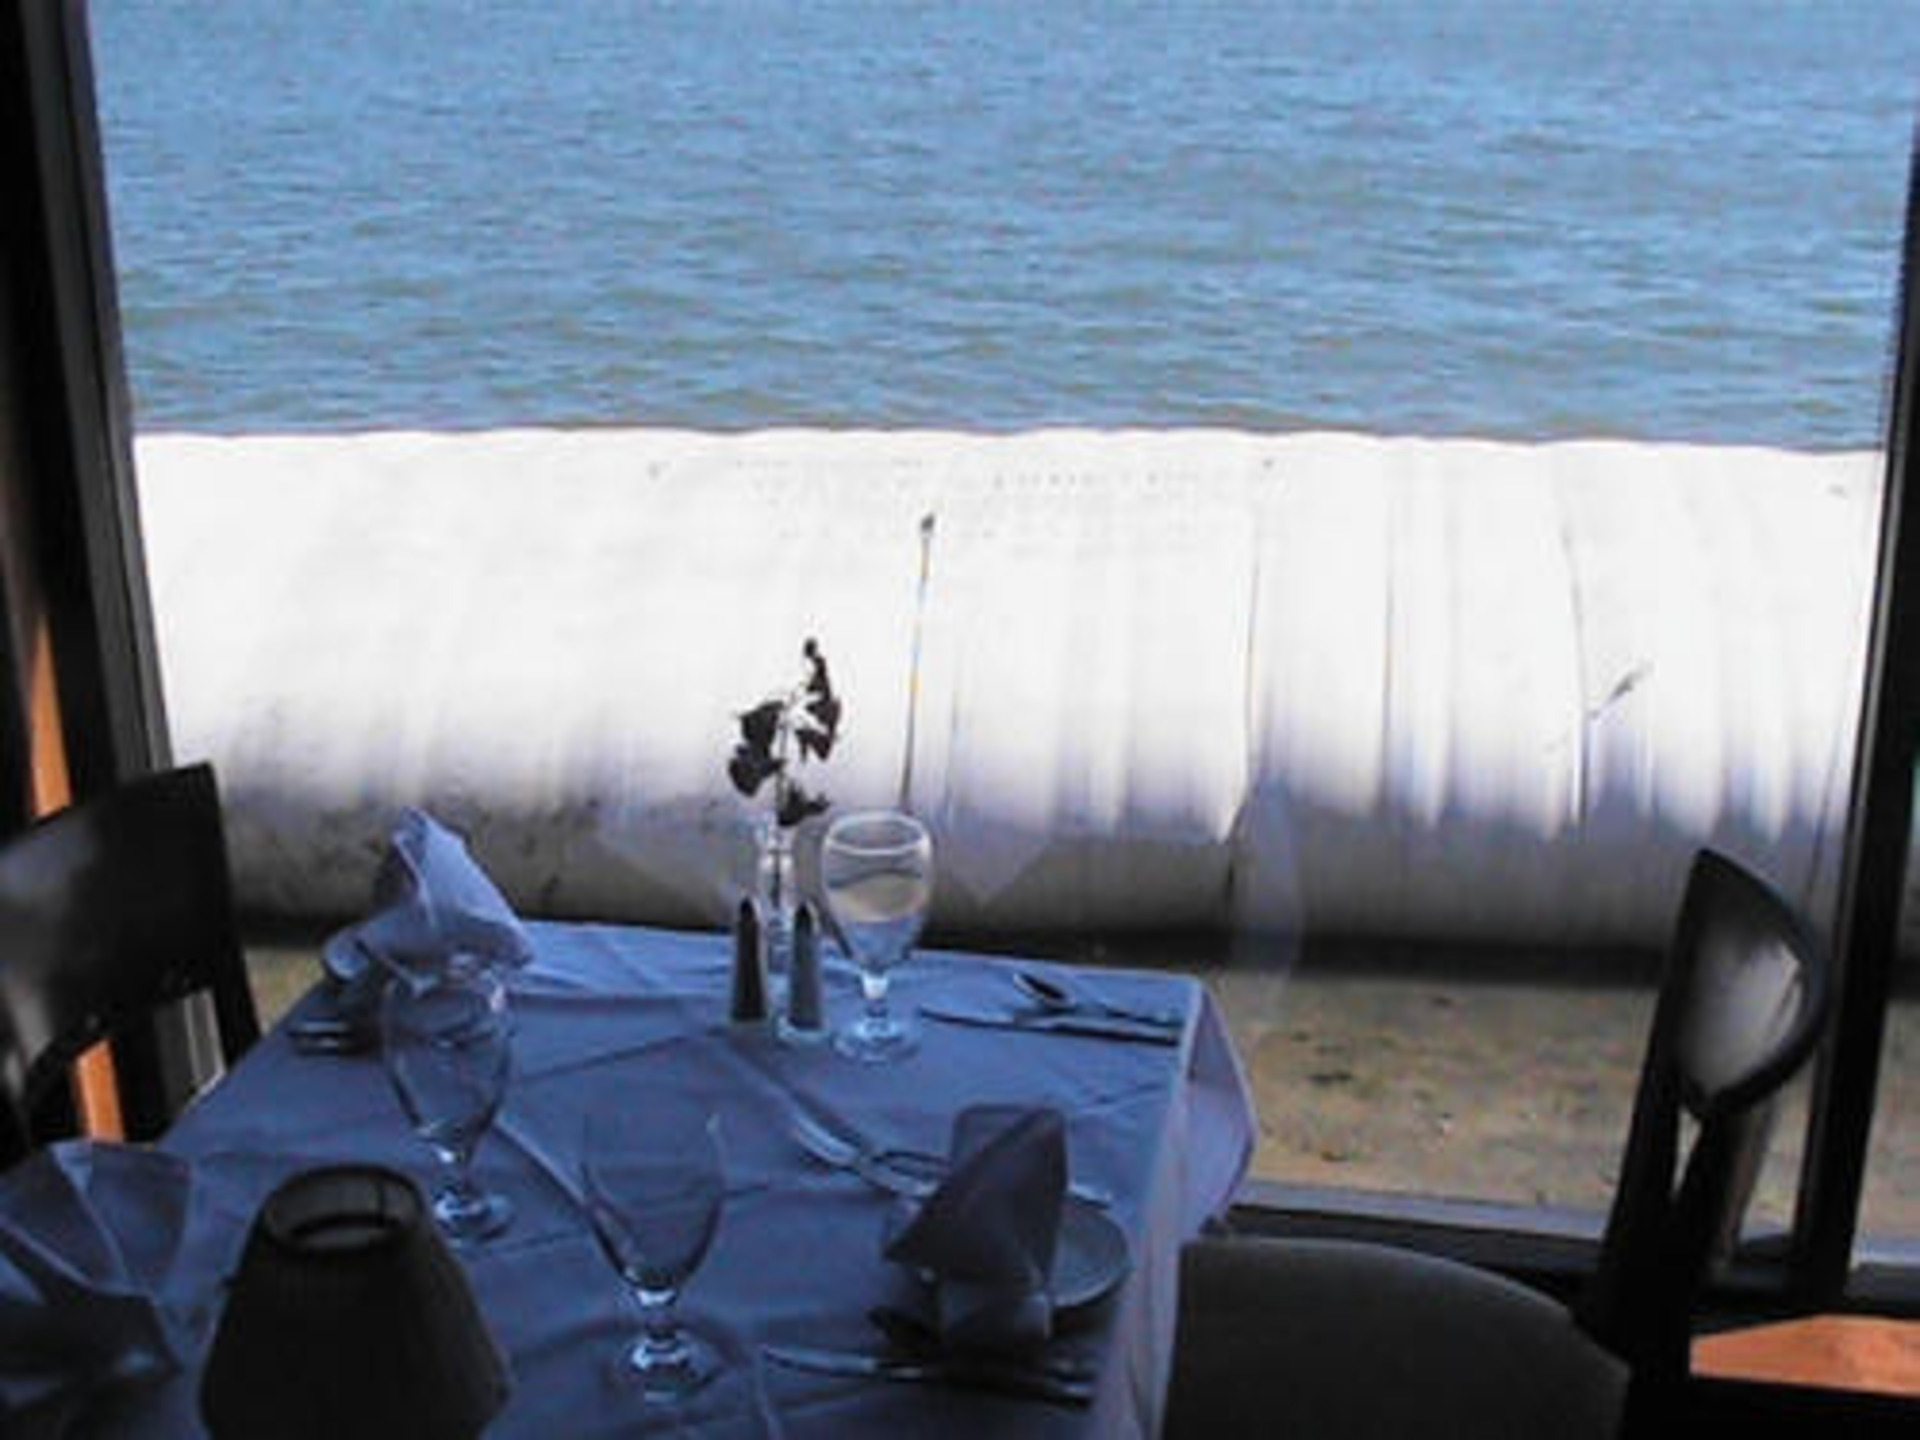
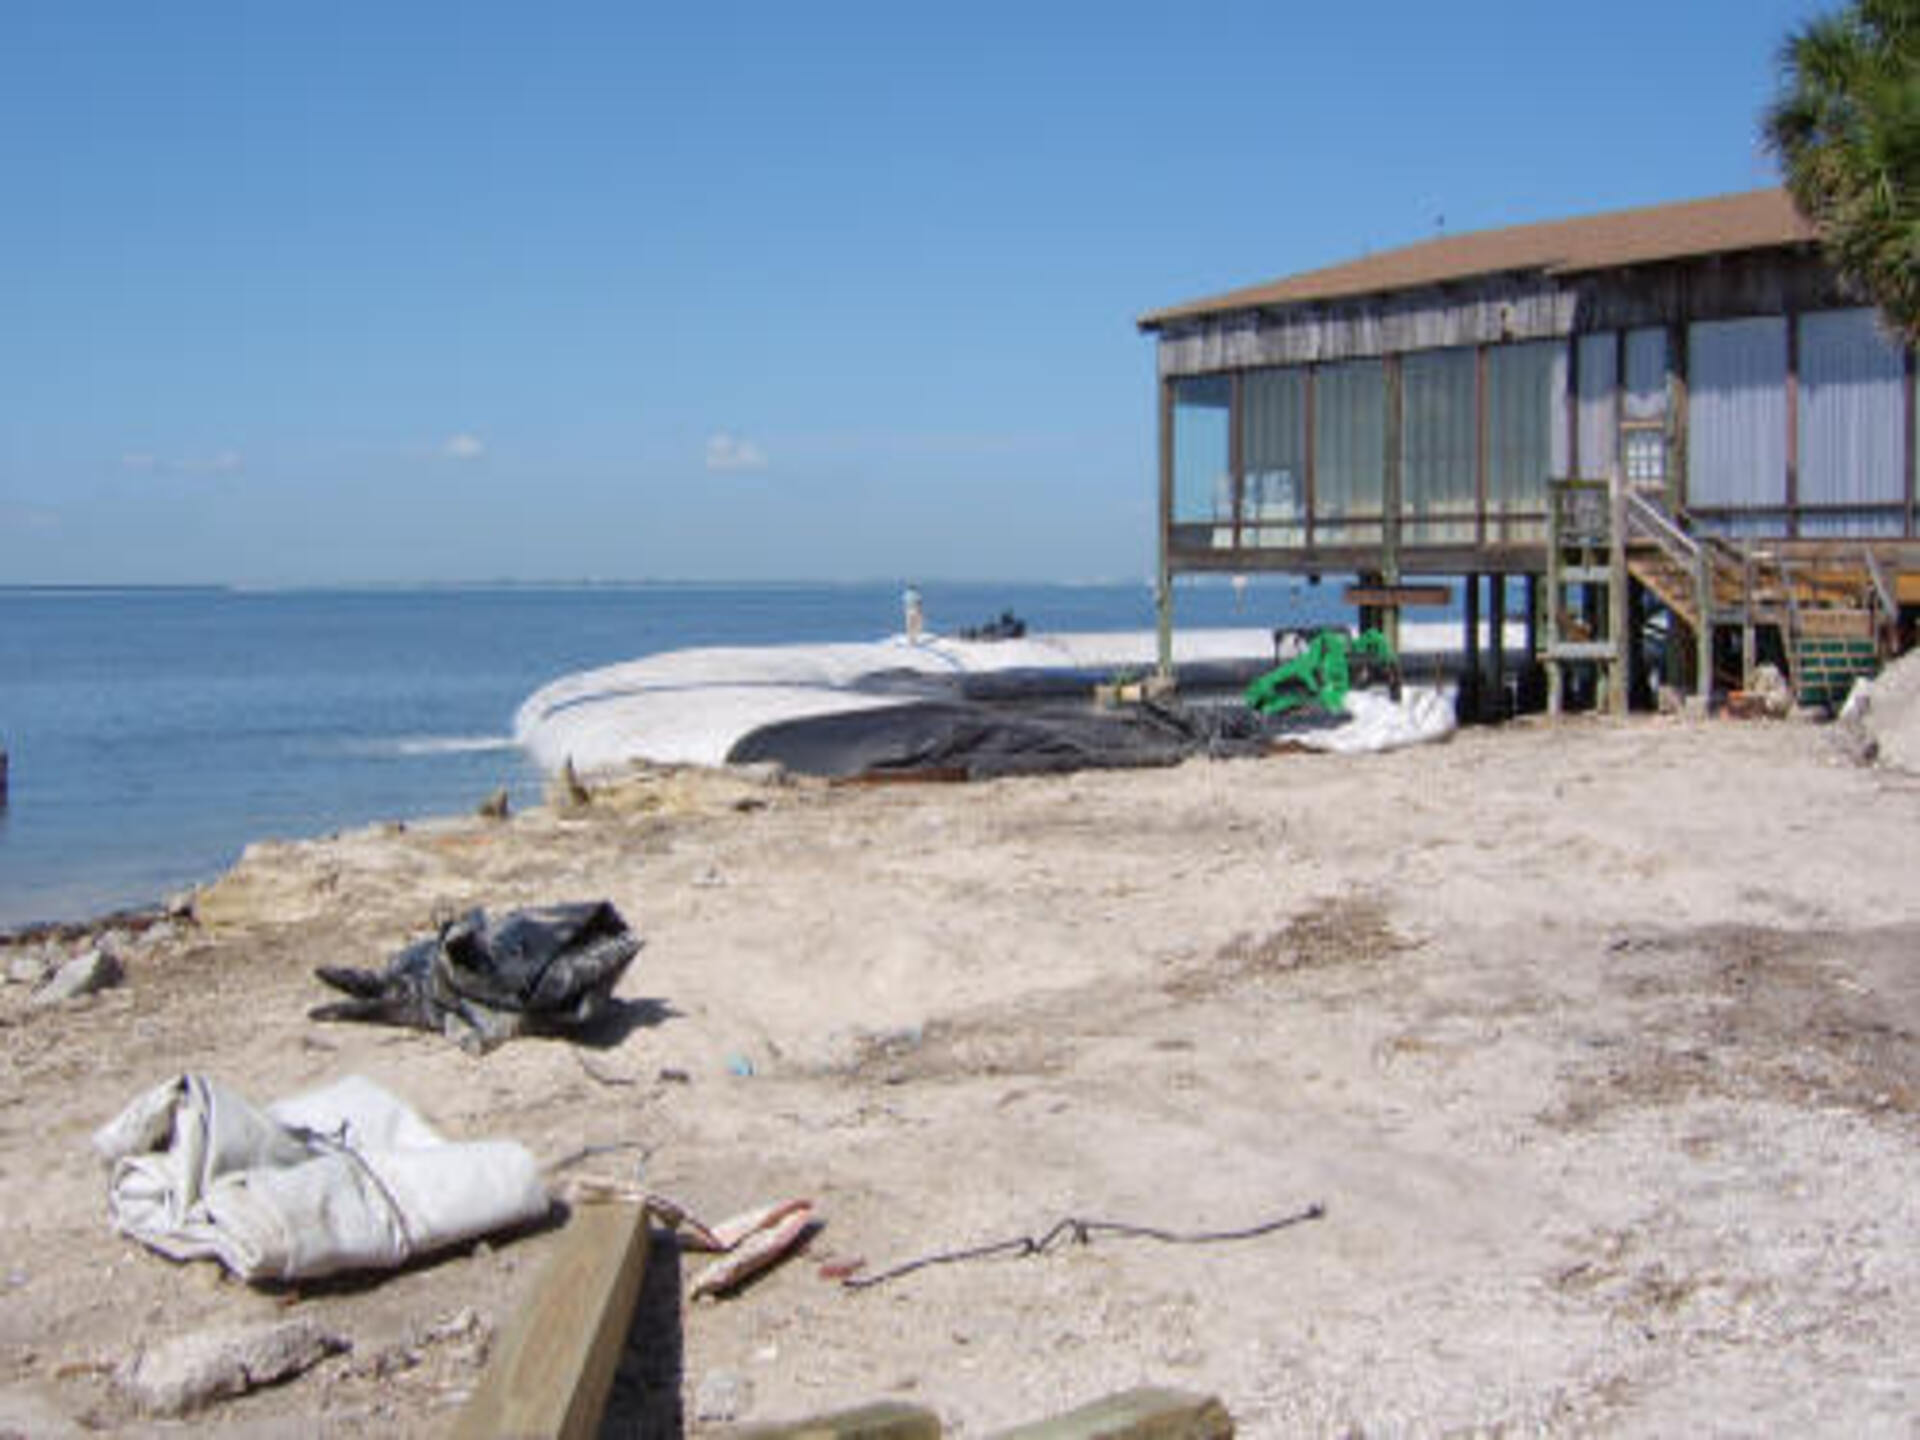
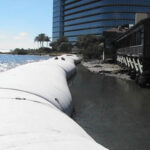
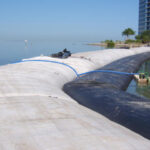
30.) Customers were still able to eat and have a nice view, while workers got their job done.
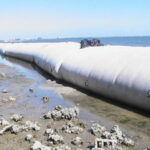
31.) A larger set of AquaDams have been installed in the same location. This set also included support AquaDams, the smaller dams made of black material on the right.
32.) The AquaDam® cofferdam system appears to be installed and working. Workers have a floating de-watering pump in the work area.
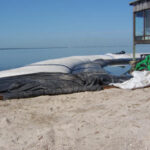
33.) The work area has been isolated.
34.) It is important for the support AquaDams to be snuggled up against the main AquaDams to provide the best functionality.
35.) The support AquaDam® should be slightly shorter in length too, so that water does not get trapped between the two during de-watering.
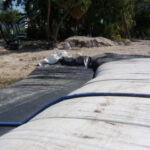
36.) It may be hard to tell, but these AquaDams are abutted to one another.
37.) As the work area is de-watered, the AquaDams will begin to experience a pressure difference.
38.) The work area is almost de-watered, again.
39.) Can you tell the water depth difference from one side of the AquaDam® to the other?
40.) The last support AquaDam® here has a connection collar on its closed end, that is the loose material.
41.) Multiple AquaDams can be joined together with connection collars to make any length needed.
42.) When installing an AquaDam, it is important to leave a buffer zone between the work area and the dam.
43.) Various sized AquaDams can be joined together with a connection collar too.
44.) Shorter height AquaDams can be used in less deep areas.
45.) When using a support AquaDam® the combined width of the main and support dams must be accounted for.
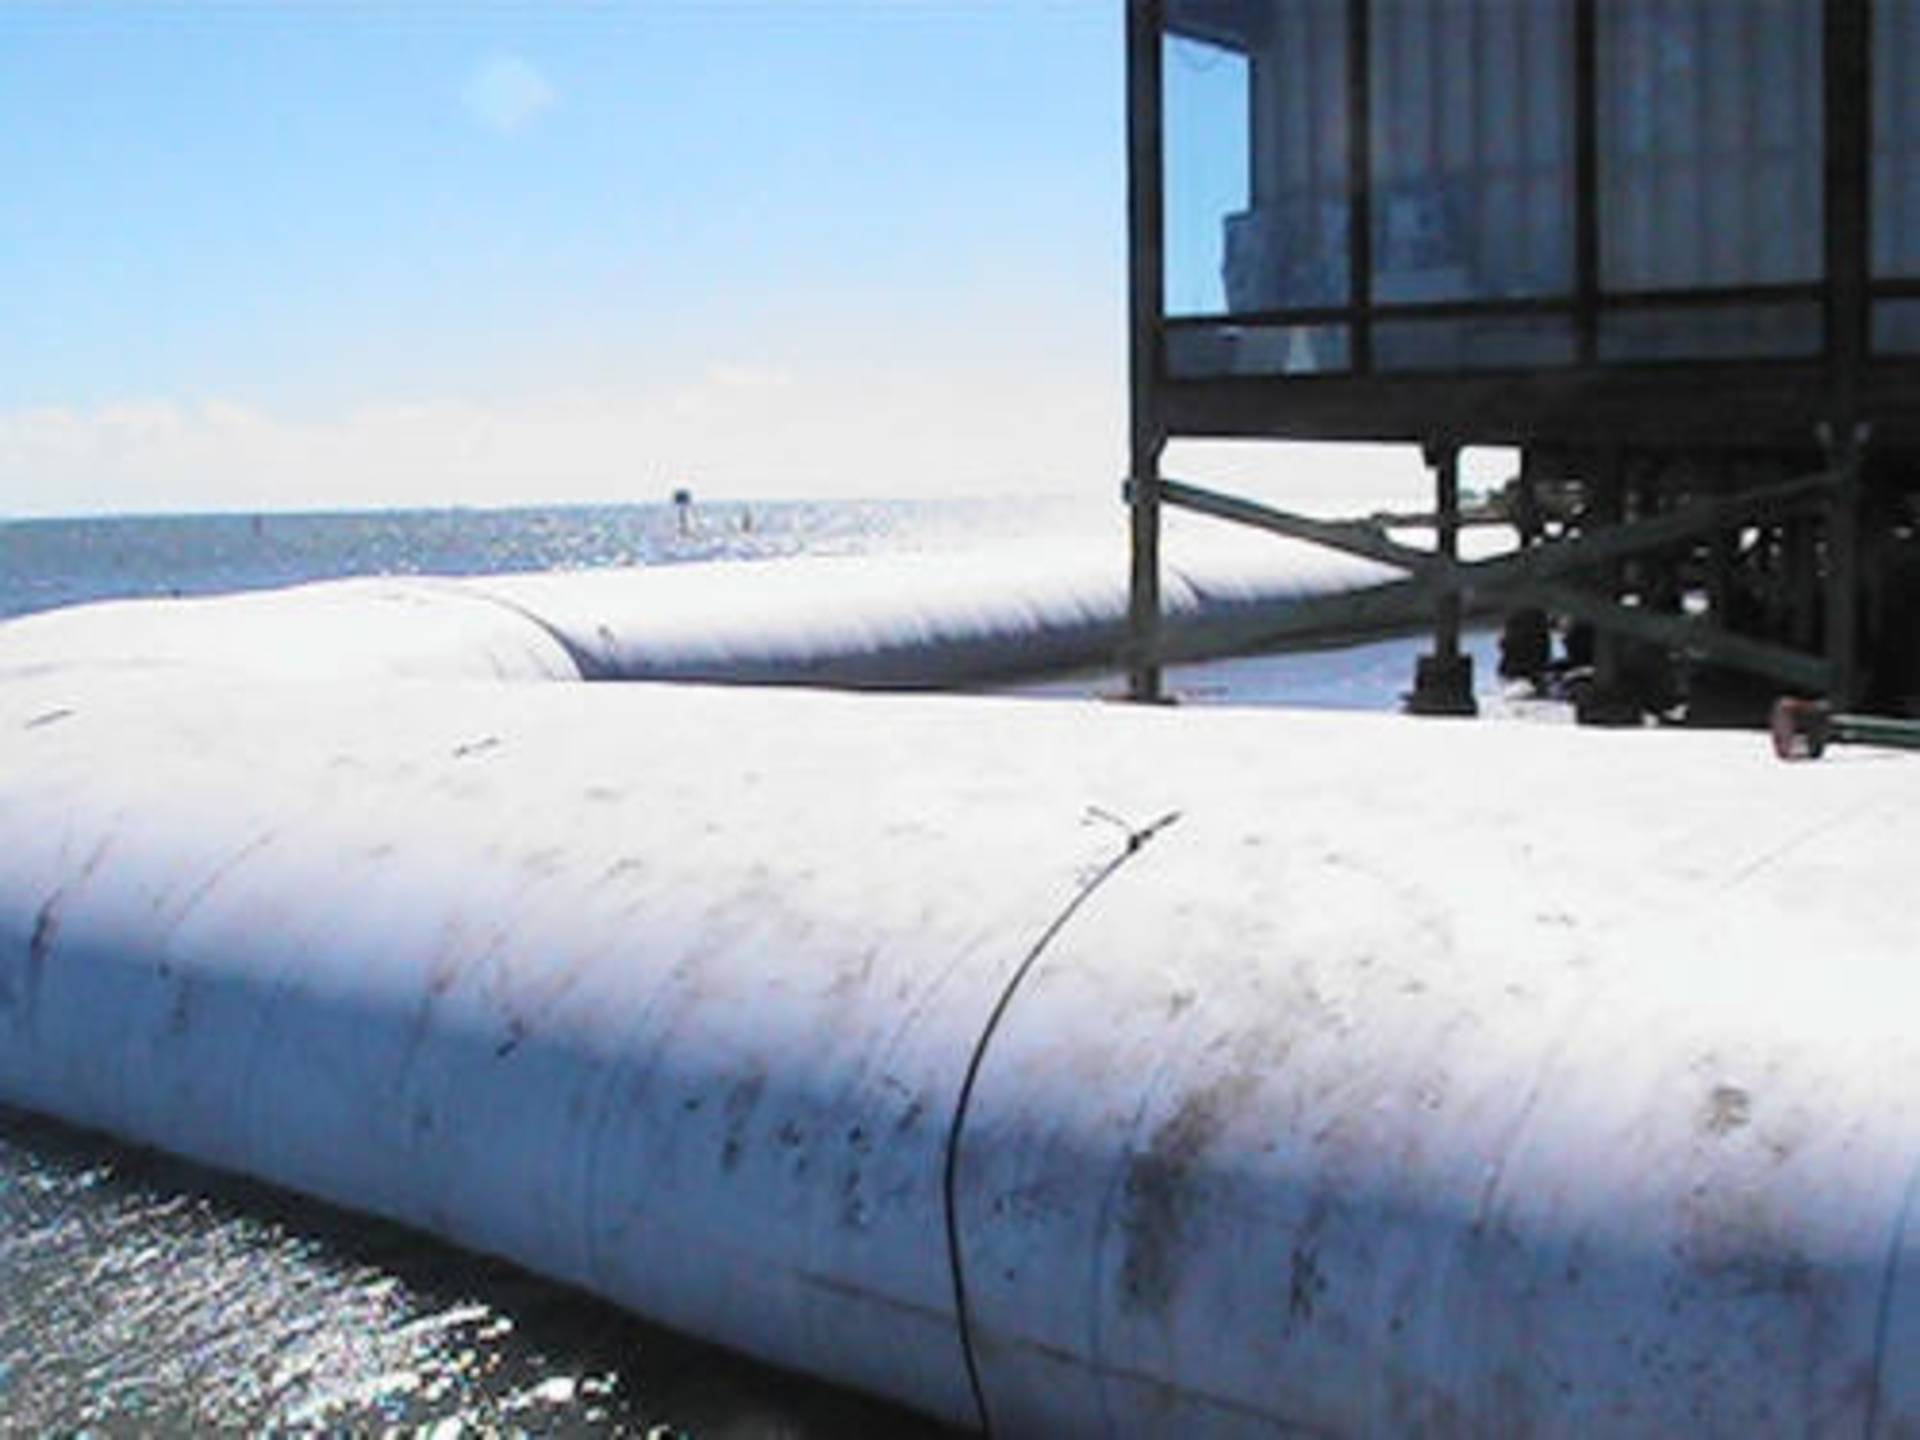
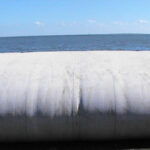
46.) After an AquaDam® is full, the top of the unit acts as a platform for walking and staging tools.
47.) Having additional length is always better than not having enough. Any extra length can just remain still rolled on the beam and can be secured with rope.
48.) When installing an AquaDam® in tidal influenced water, it is important to know the highest tide expected during the duration of the project.
49.) Fantastic job AquaDam!


Multiple AquaDams, Old Tampa Bay, Rocky Point, “L” Shape Configuration